The albatross is known for its graceful wings and majestic flight, and is an interesting subject to draw. With their large wingspans and elegant lines, these seabirds offer simplicity and detail that can challenge and engage artists. In this guide, I’ll walk you through the key features that will help you learn how to draw an albatross accurately.
Distinct Features of an Albatross
When drawing an albatross, focus on these important characteristics to capture its unique look and presence:
Wings: Albatrosses are known for their elongated wings, which are well-adapted for gliding over the ocean. Make sure the wings appear broad at the base and taper gradually.
Body: The body of an albatross is streamlined for minimal air resistance. Keep it narrow and slightly curved.
Beak: An albatross has a long, hooked beak that is ideal for catching fish. The beak is usually slightly curved at the tip.
This guide uses specific color cues in each step to make the process as straightforward as possible. Here’s how the color cues will guide you:
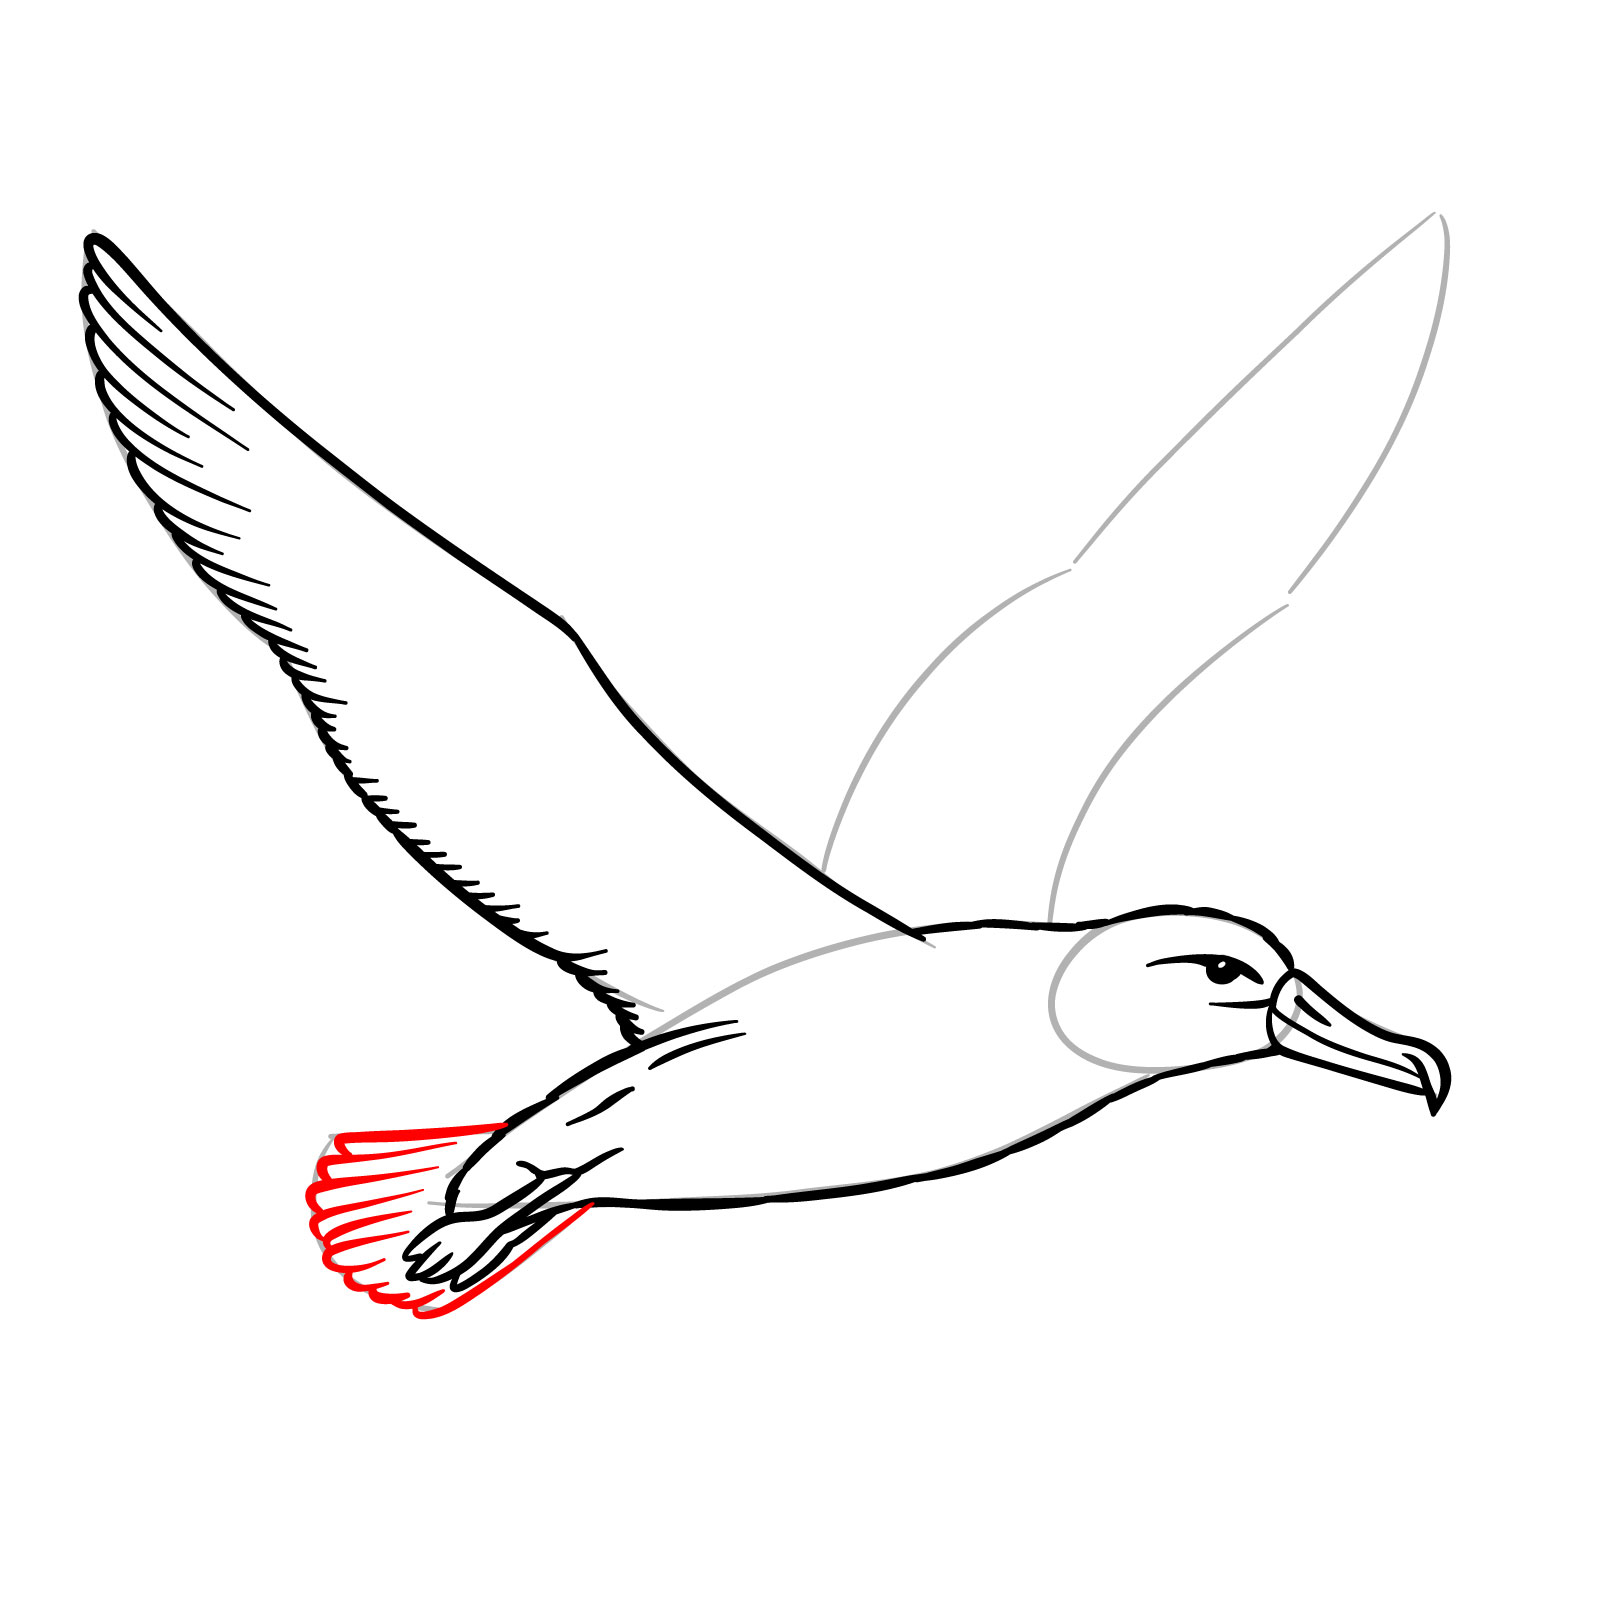
Red Color: Marks the lines to focus on in the current step, helping you stay centered on the active area of the drawing.
Black Color: Shows the lines you’ve already completed in previous steps, giving you a sense of the overall structure as it builds up.
Grey Color: Used for the initial sketch, setting up the basic shape and proportions of the albatross.
These color cues will help you keep track of your progress and maintain clarity, especially when working on finer details like the beak shape or wing texture.
Step 1: Draw an oval shape for the head of the albatross and an almond-like shape just behind it to form the body. This will serve as the base structure for the albatross drawing, allowing you to position other elements accurately, so don’t press too hard on your pencil.
Step 2: Sketch out rough outlines for the wings, beak, and tail. Add a small circle within the head oval to represent the eye. At this stage, focus on capturing the general placement and shape of these major parts and keep the lines barely visible.
Step 3: Define the upper part of the beak by drawing a smooth curve extending from the face. The top line of the beak should be slightly curved to follow the natural shape of an albatross’s beak.
Step 4: Add the lower part of the beak beneath the upper beak shape, completing the full shape of the beak. Draw the upper part of the head and fill in a small circle with black for the eye, leaving a blank dot inside it for a highlight effect.
Step 5: Add more details around the eye area, such as a subtle line to define the eye socket. Draw a small line for the nostril at the upper part of the beak to give more definition.
Step 6: Draw the upper outline of the body from the head to the start of the wing. Extend a line for the lower body toward the legs area.
Step 7: Outline the front part of the albatross’s first wing. This front outline should give the wing its length.
Step 8: Add the rear part of the first wing, including feathers along it. Extend a line from the base of the wing to connect with the tail area to form part of the body.
Step 9: Draw the first leg, which is closer to the viewer. Add some minor details near it as well.
Step 10: Sketch the second leg, partially hidden behind the first leg. Add a bit of the body section connecting it to the tail.
Step 11: Draw the tail, dividing it into multiple sections to represent feathers. Each section should be slightly tapered, giving the tail a natural layered look.
Step 12: Outline the front part of the second wing with a few feathers near the tip. This wing should match the angle and shape of the first wing, creating symmetry in the albatross drawing.
Step 13: Add the upper and rear part of the second wing, including many feathers to create a detailed, natural look. These feathers should vary in size, with the larger ones toward the outer edges.
Step 14: Add small details across the wings and body, using short lines to create texture and depth. These lines should follow the direction of the feathers.
Step 15: Erase the rough sketch lines carefully to clean up the drawing. If necessary, fix any remaining areas that need adjustments. Optionally, use ink over the finalized lines and erase pencil marks afterward, which will give the drawing a clear and sharp finish.
Step 16: Refer to the colored image provided as a guide to add colors to your drawing. You may choose natural tones for realism or add your own colors for a creative twist. Typically, albatrosses have a light body, dark grey wings, and an orange beak.
Your support is essential to keeping these tutorials available and accessible. If you found this guide on how to draw an albatross helpful, please consider making a contribution. Every donation helps sustain more resources and drawing guides for aspiring artists.
On my Patreon you can grab unique hand-made coloring pages: each one drawn by me personally. Every purchase directly supports the creation of new drawing tutorials. It's the best way to practice your skills, keep the site going, and get something truly original at the same time.
Once you’re done with your albatross drawing, feel free to share it in the comments on this pinned article on Pinterest to showcase your work alongside other artists. Don’t forget to follow on social media for more tutorials, tips, and updates:
Disclaimer: All original artworks and photos used as references for the creation of these drawing tutorials are the property of their respective owners. If your work has been featured without proper credit, please kindly leave a comment below, and the issue will be promptly addressed. We greatly appreciate your exceptional art. Thank you.
2 thoughts on “Learn How to Draw an Albatross: Detailed Guide for Beginners”


Love it. My favorite bird!!
I love them too, but to be honest, I’ve never seen them in person