If you want to know how to draw a flamingo, the key is in observing its long, graceful neck, slender legs, and distinct body shape. Flamingos are unique birds, and this guide simplifies the process of sketching them step by step. By focusing on basic forms and refining the details, you can create a lifelike representation.
Understanding Flamingo Features
Head and Beak: A small head with a thick, downward-curved beak that transitions from black to pale shades.
Neck: Long and gracefully curved, forming an elegant reversed “S” shape.
Body: Rounded and compact, with layers of feathers forming smooth textures.
Legs: Extremely thin and long, with a slightly backward-bent knee (technically the ankle joint). One leg often appears tucked in their resting pose.
Color: Vibrant pink feathers, often with subtle white or orange highlights.
After you’ve completed your flamingo sketch, you might enjoy drawing other birds like a blackbird, a crow, a sparrow, or even a penguin to expand your bird drawings collection.
Step-by-Step Guide with Color Cues
This guide uses color-coded visuals to make the drawing process clear:
Red Color: Highlights the current step to focus on.
Black Color: Represents completed lines from previous steps.
Grey Color: Indicates the basic sketch structure for proportions and positioning.
These color-coded steps help you organize your process and make it easier to follow each stage of the drawing.
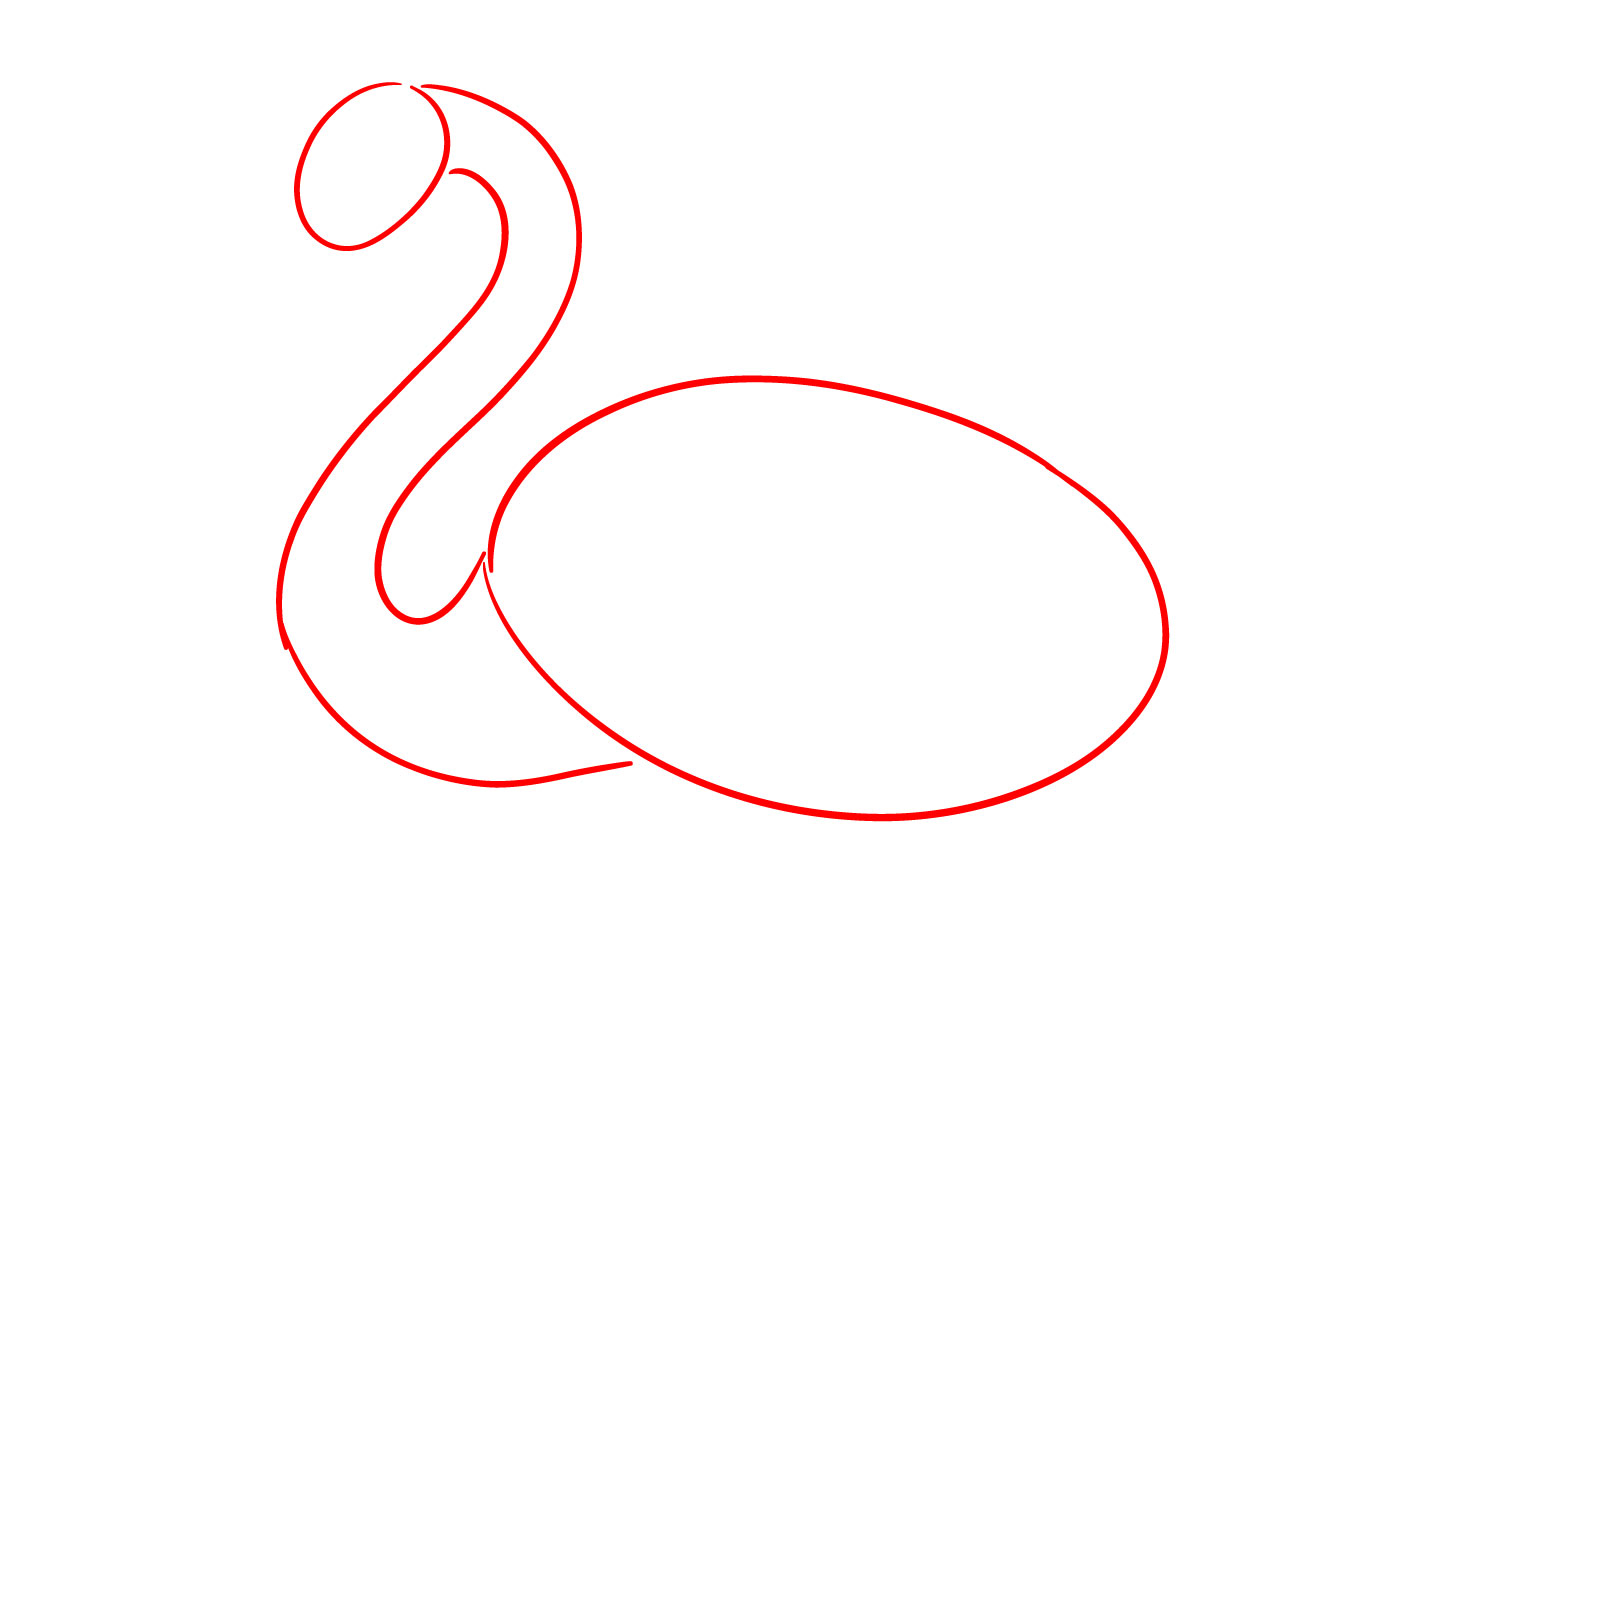
Step 1 – Don’t press hard in the first two steps as these are for proportions. Draw a small oval for the head base and a much larger oval for the body base. Connect these ovals with two curved lines to form the neck.
Step 2 – Use simple lines to form the beak, a small circle to position the eye, and lines with circles at the joints for the legs.
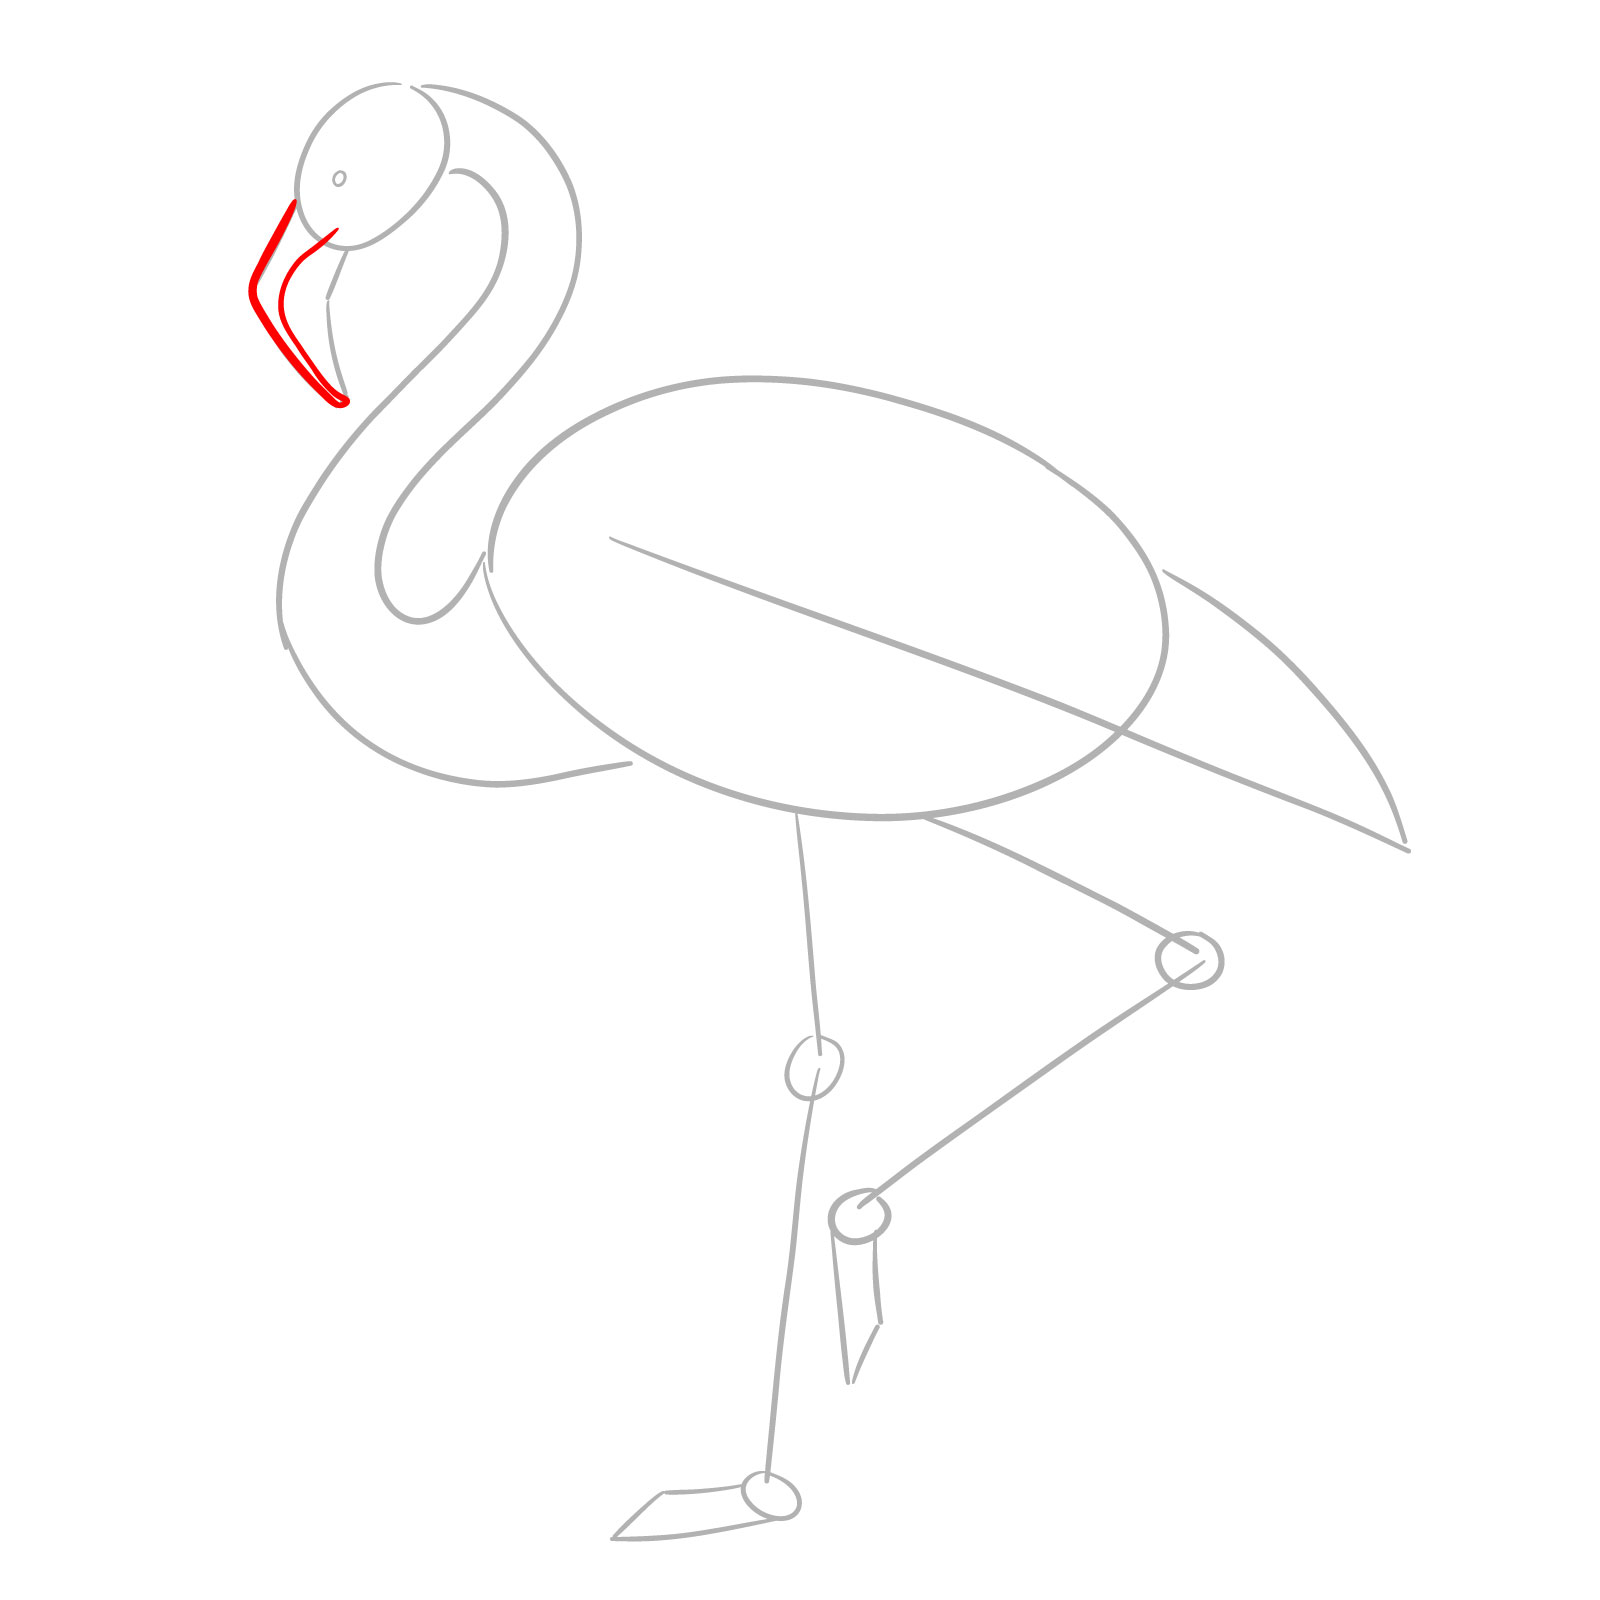
Step 3 – Outline the upper section of the beak, focusing on its curve and defined shape.
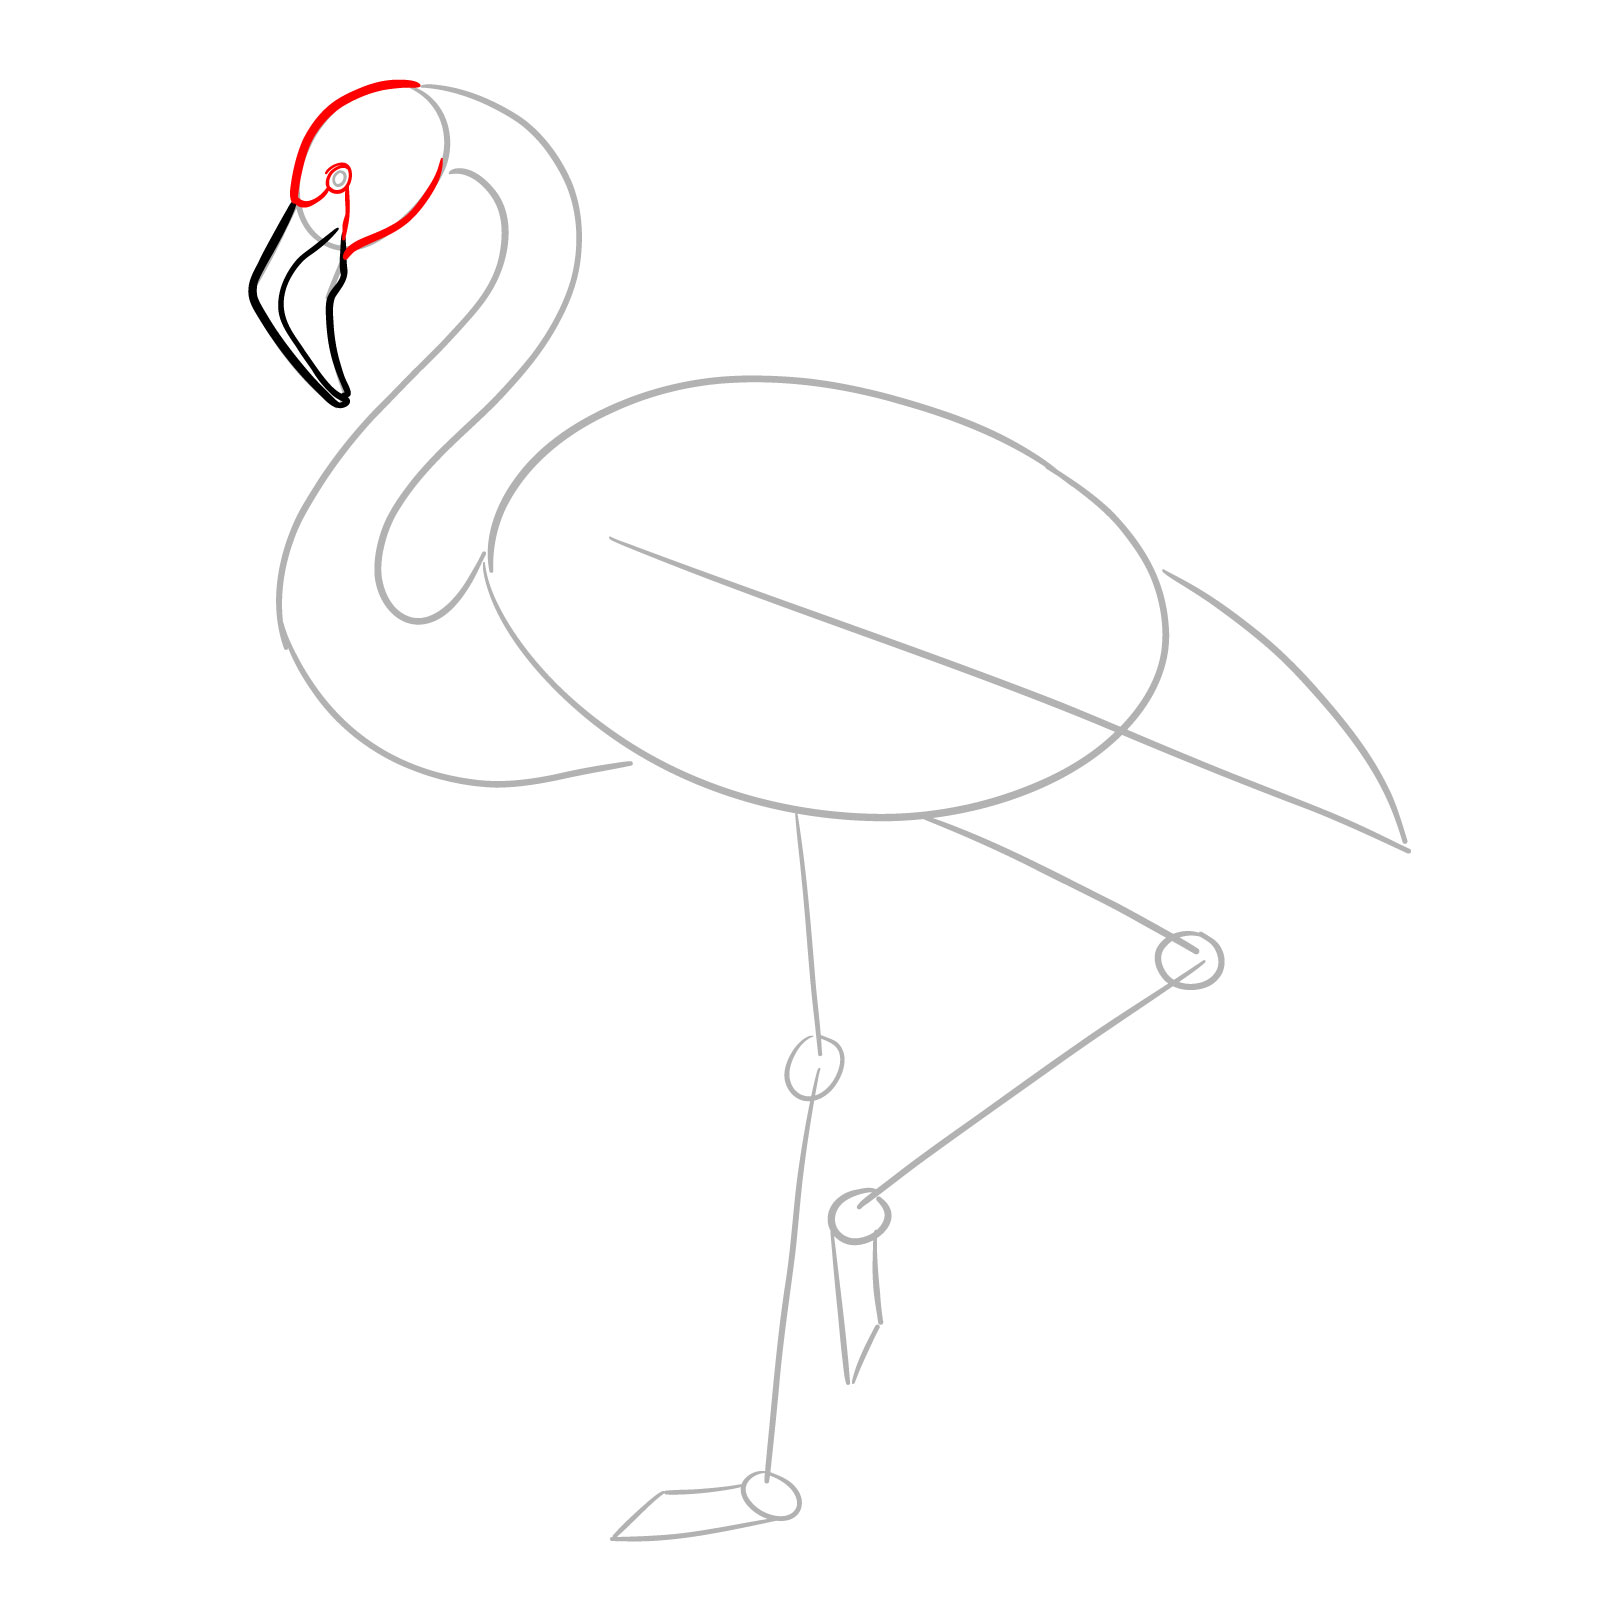
Step 4 – Add the bottom section of the beak, ensuring it aligns smoothly with the upper section.
Step 5 – Sketch the head outline, adding a slightly larger circle around the small eye circle from step 2. Draw lines connecting the beak to this circle for the full head/beak structure.
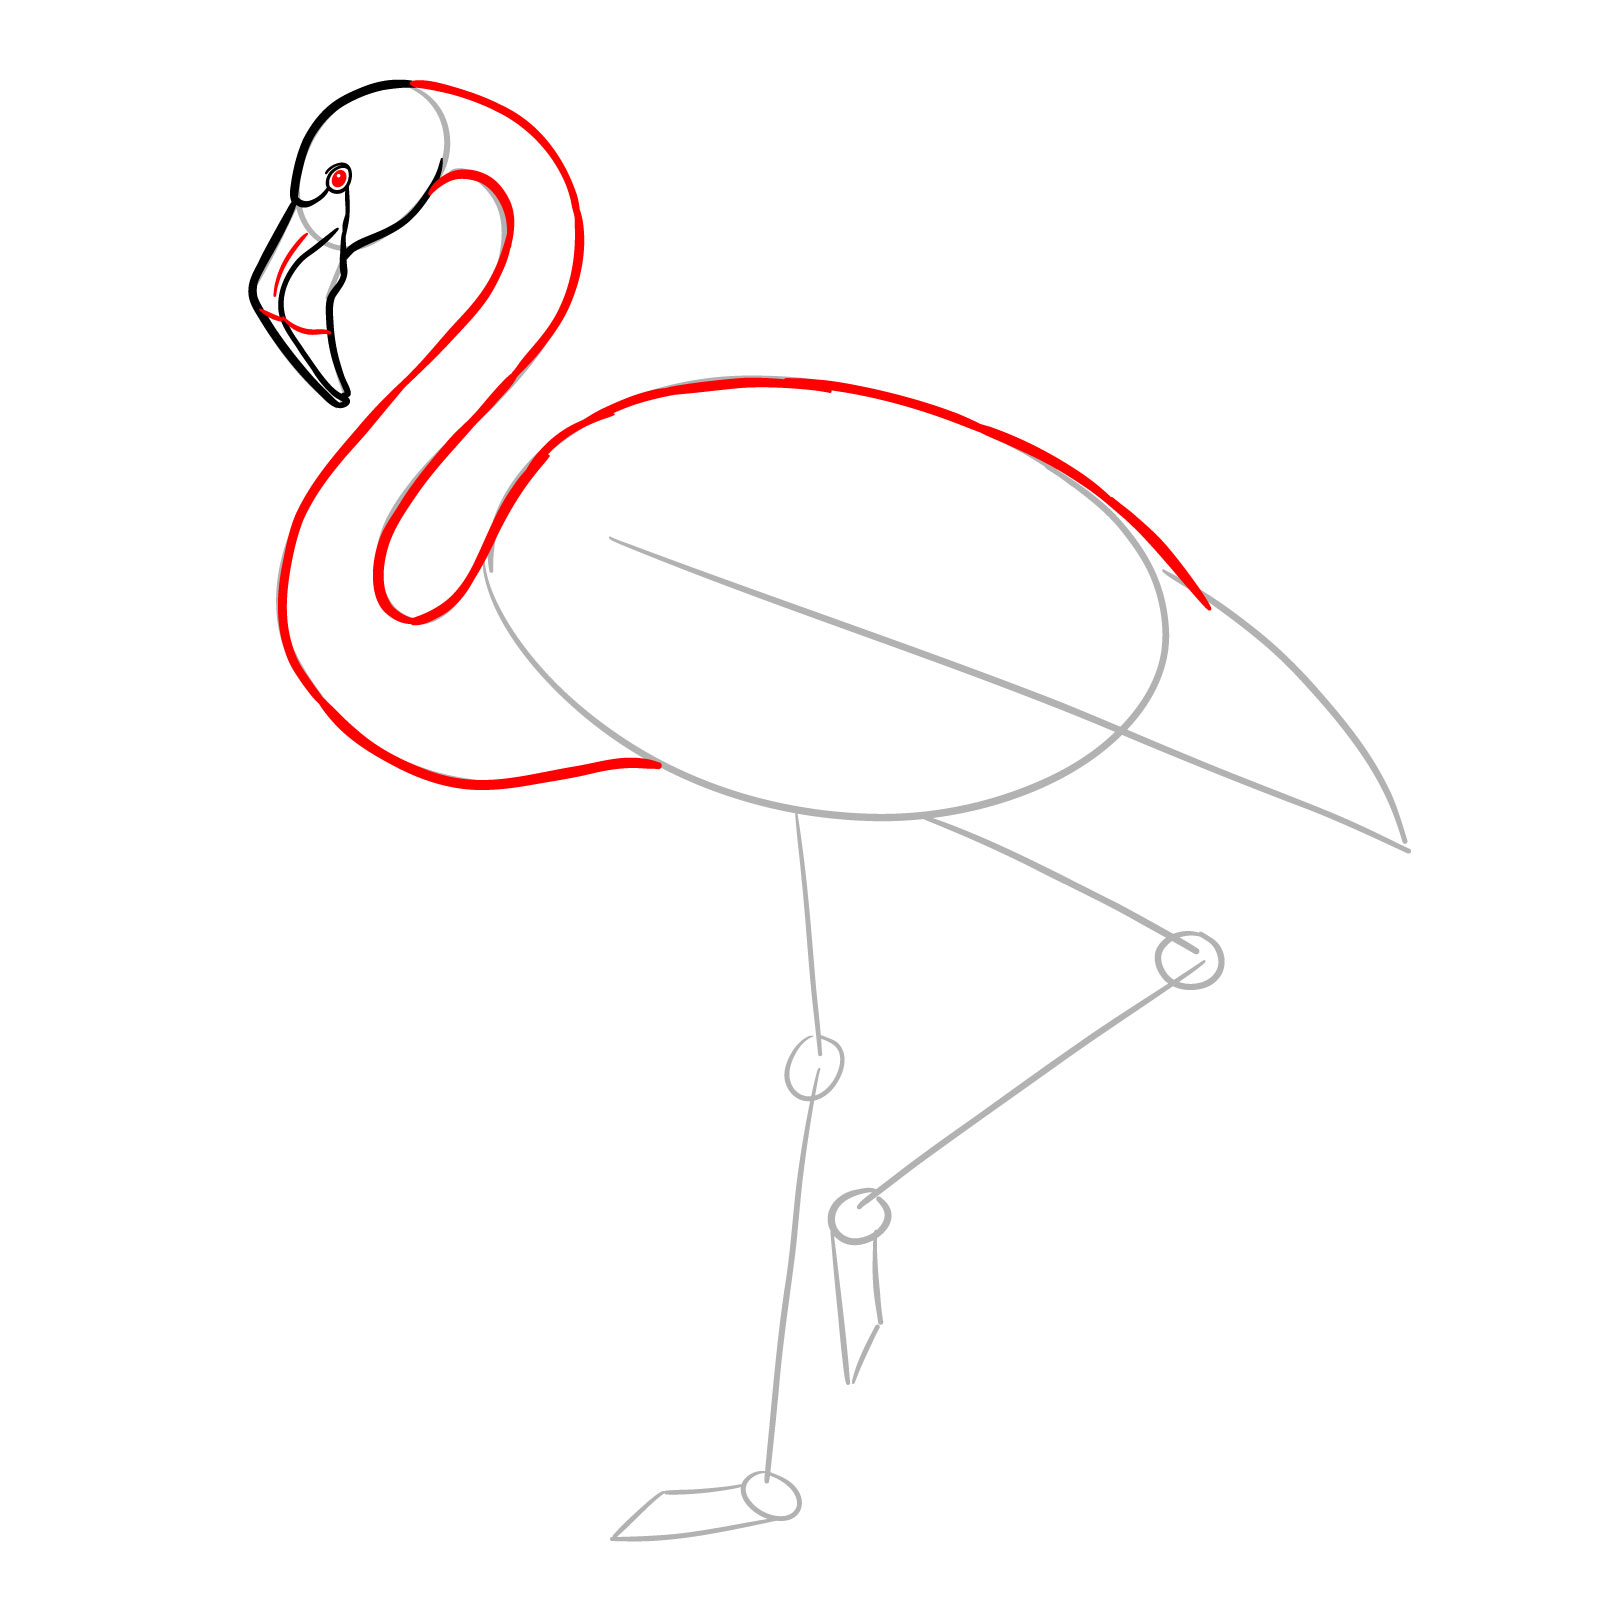
Step 6 – Draw a black circle with a small highlight for the eye. Add details to the beak and outline the neck, extending it down to the back and stopping at the tail area.
Step 7 – Outline the bottom of the body with short lines to create a feathered texture. Stop the outline at the start of the first leg. Add some feathers in the middle of the body to start forming the wing.
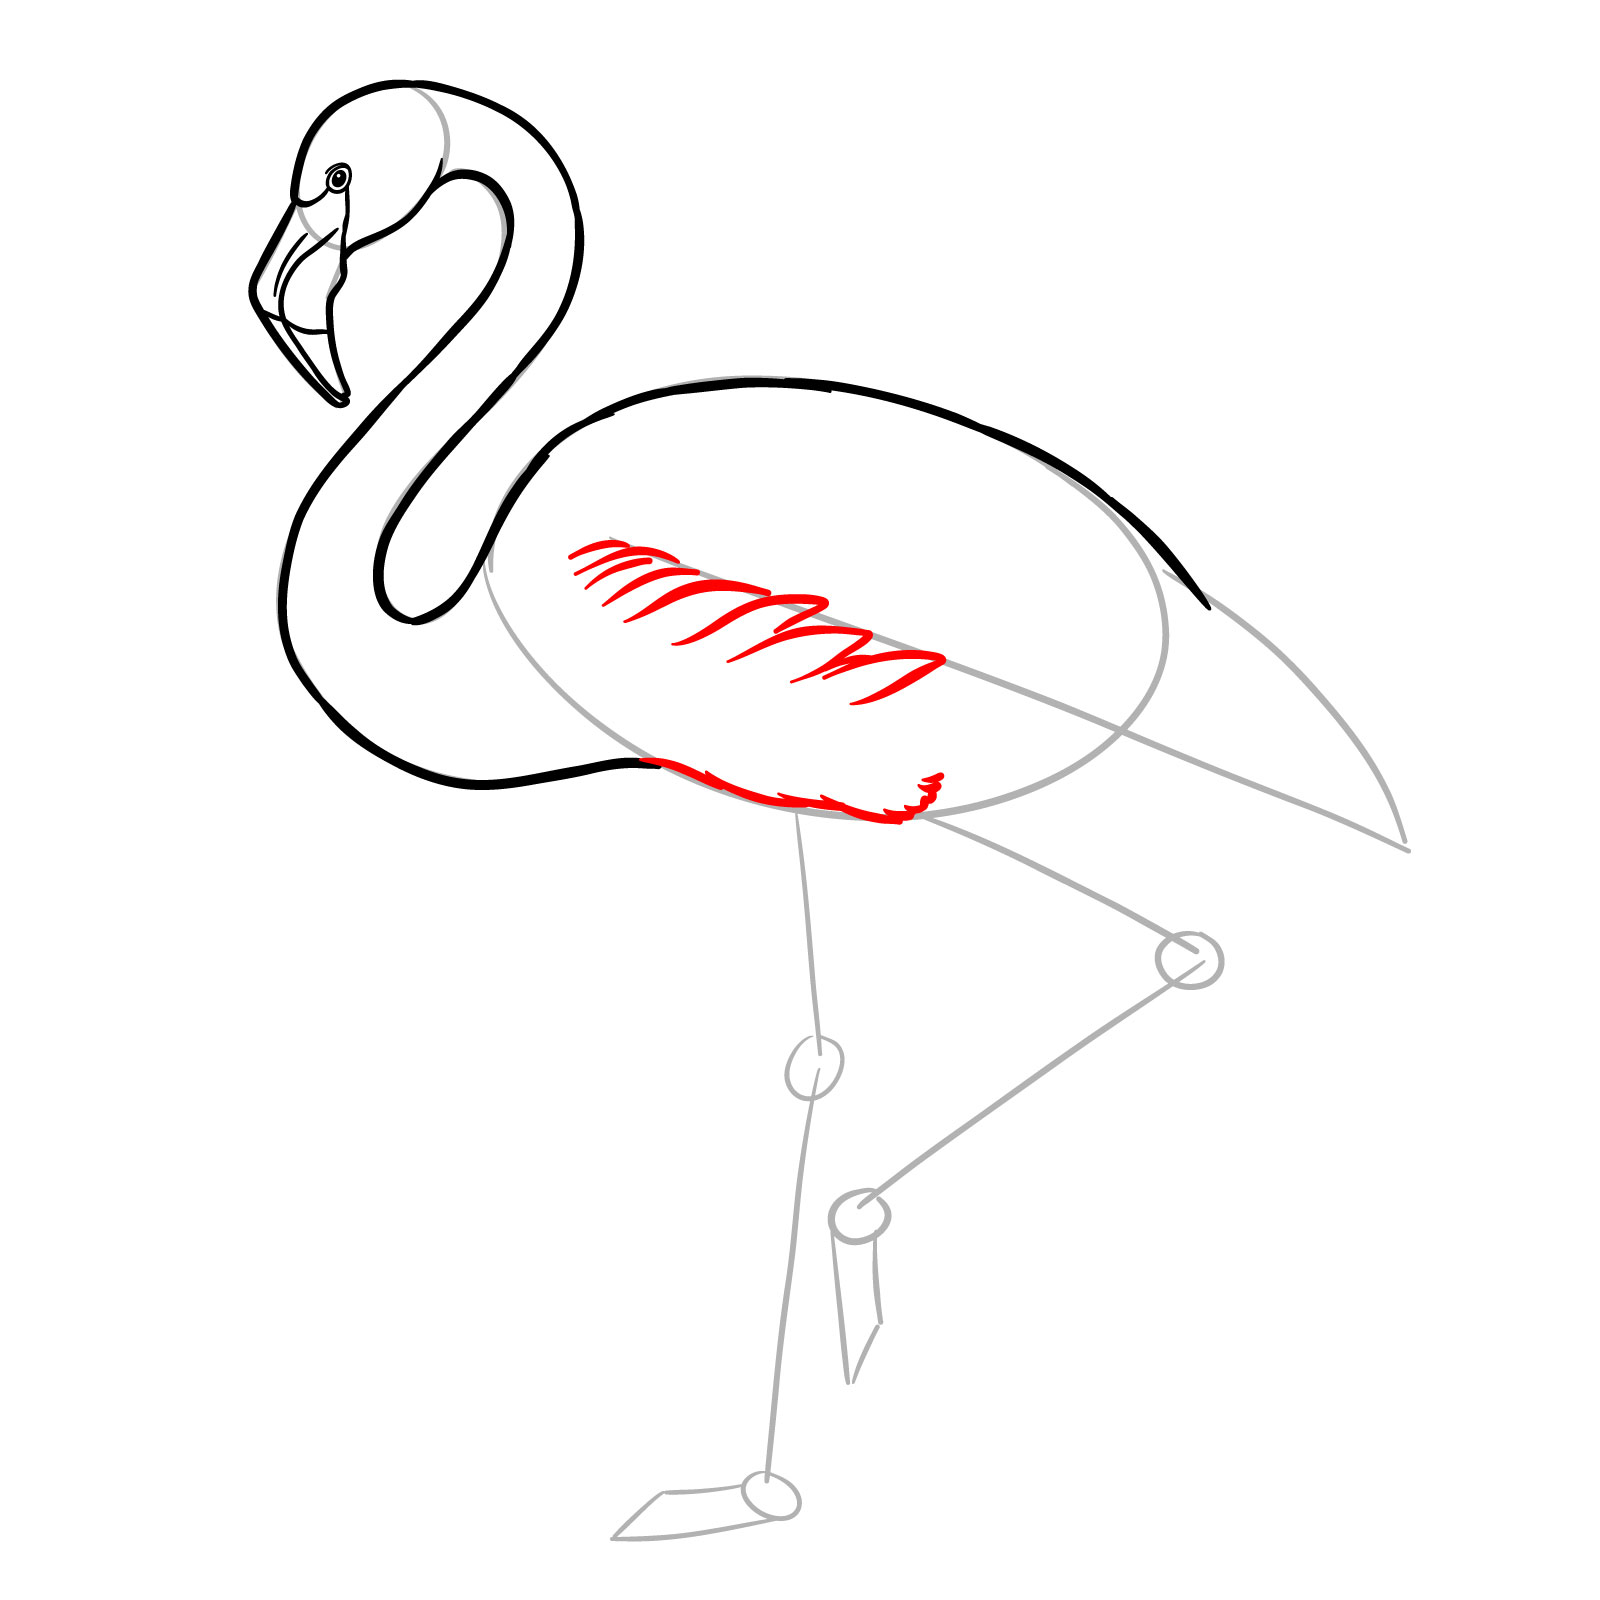
Step 8 – Add another layer of feathers positioned in the opposite direction from the middle of the body to the tail. This will form the wing structure.
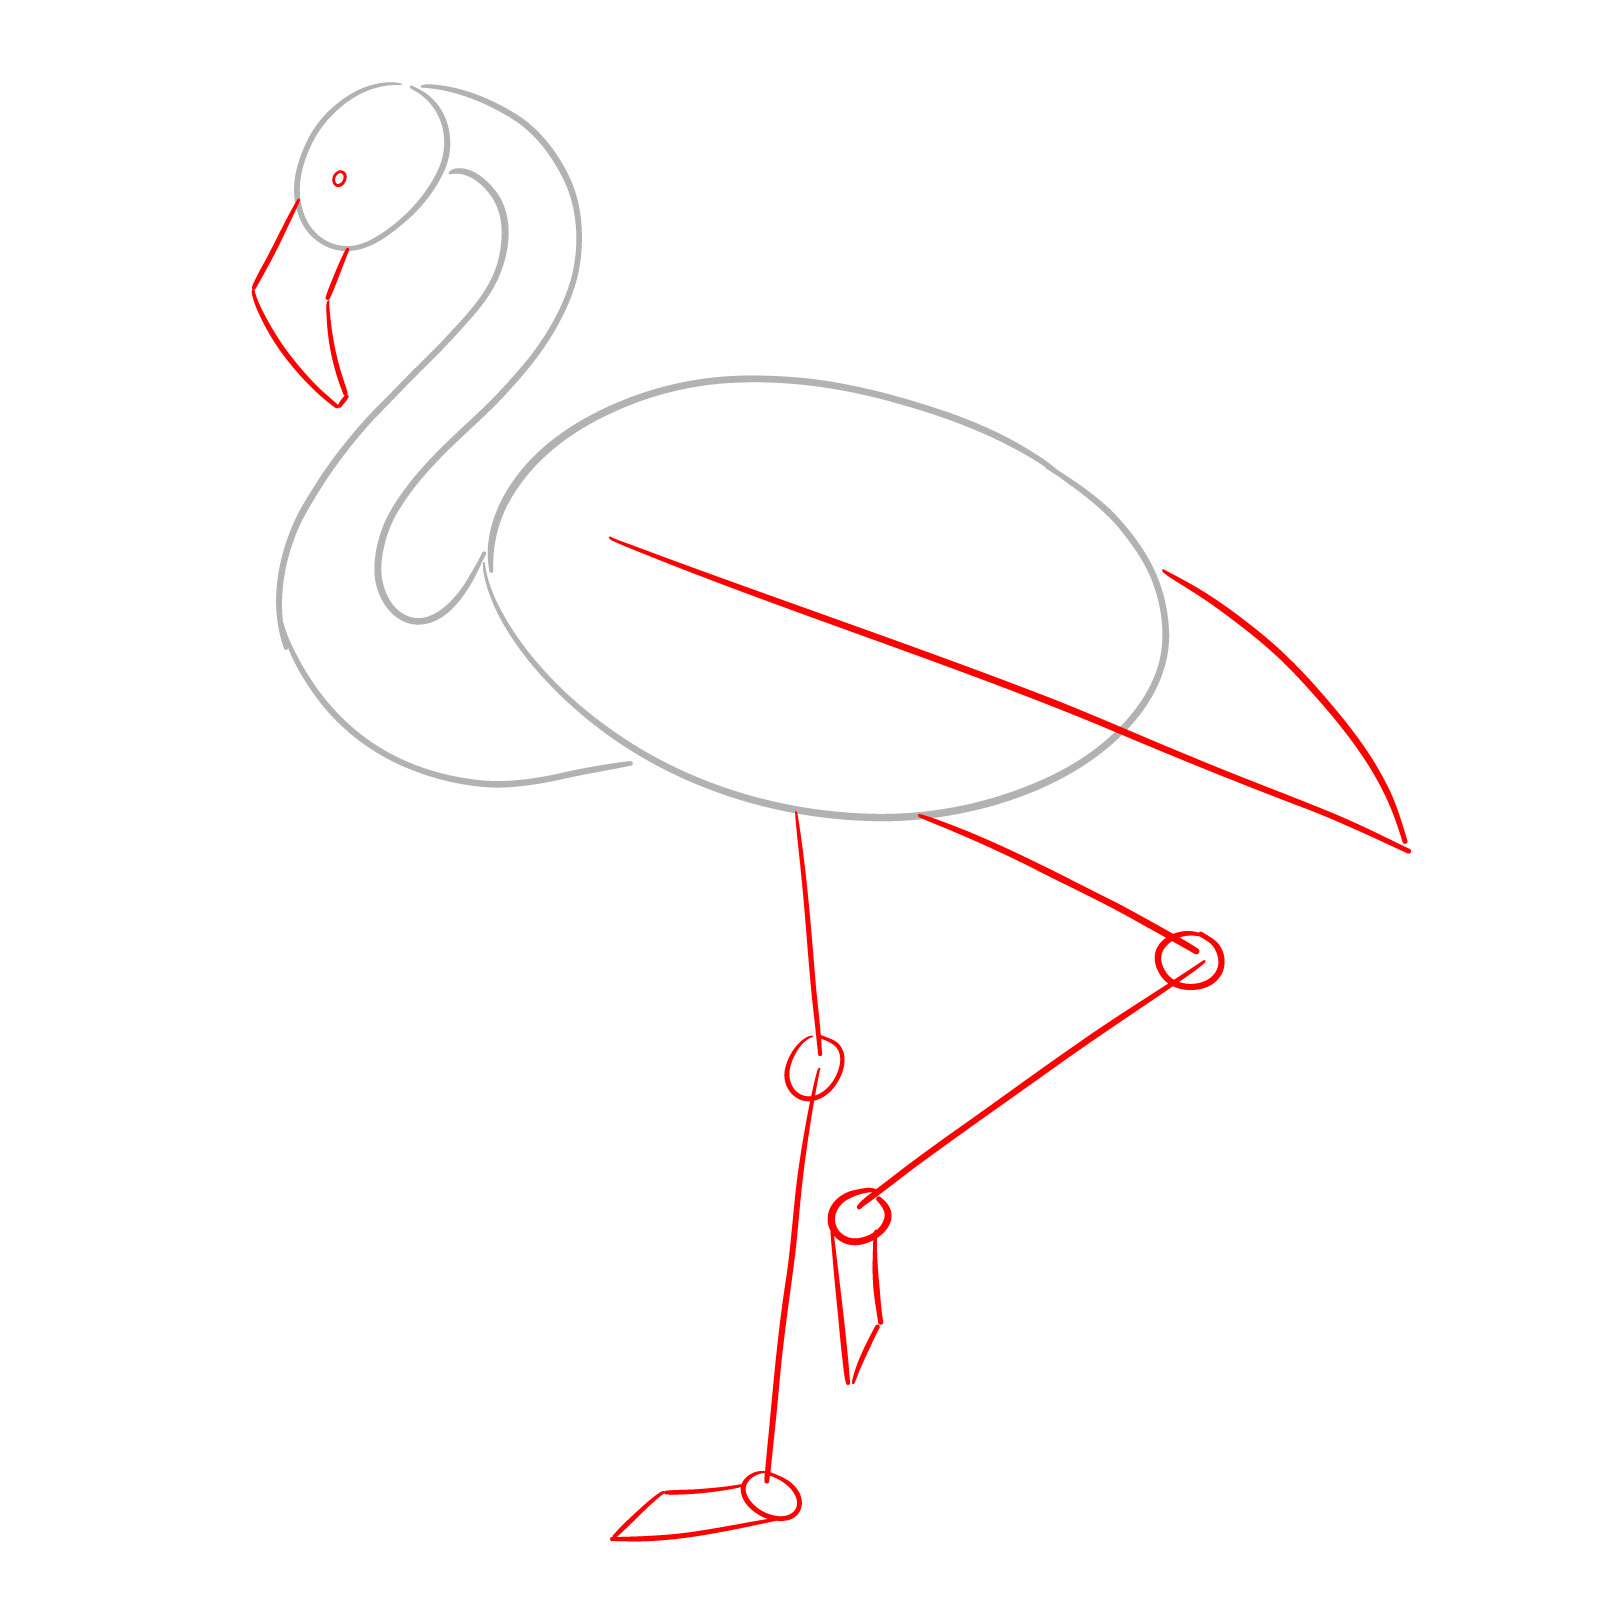
Step 9 – Sketch the feathered section from where the second leg will begin, and add a feathered section below the wing to complete the body structure.
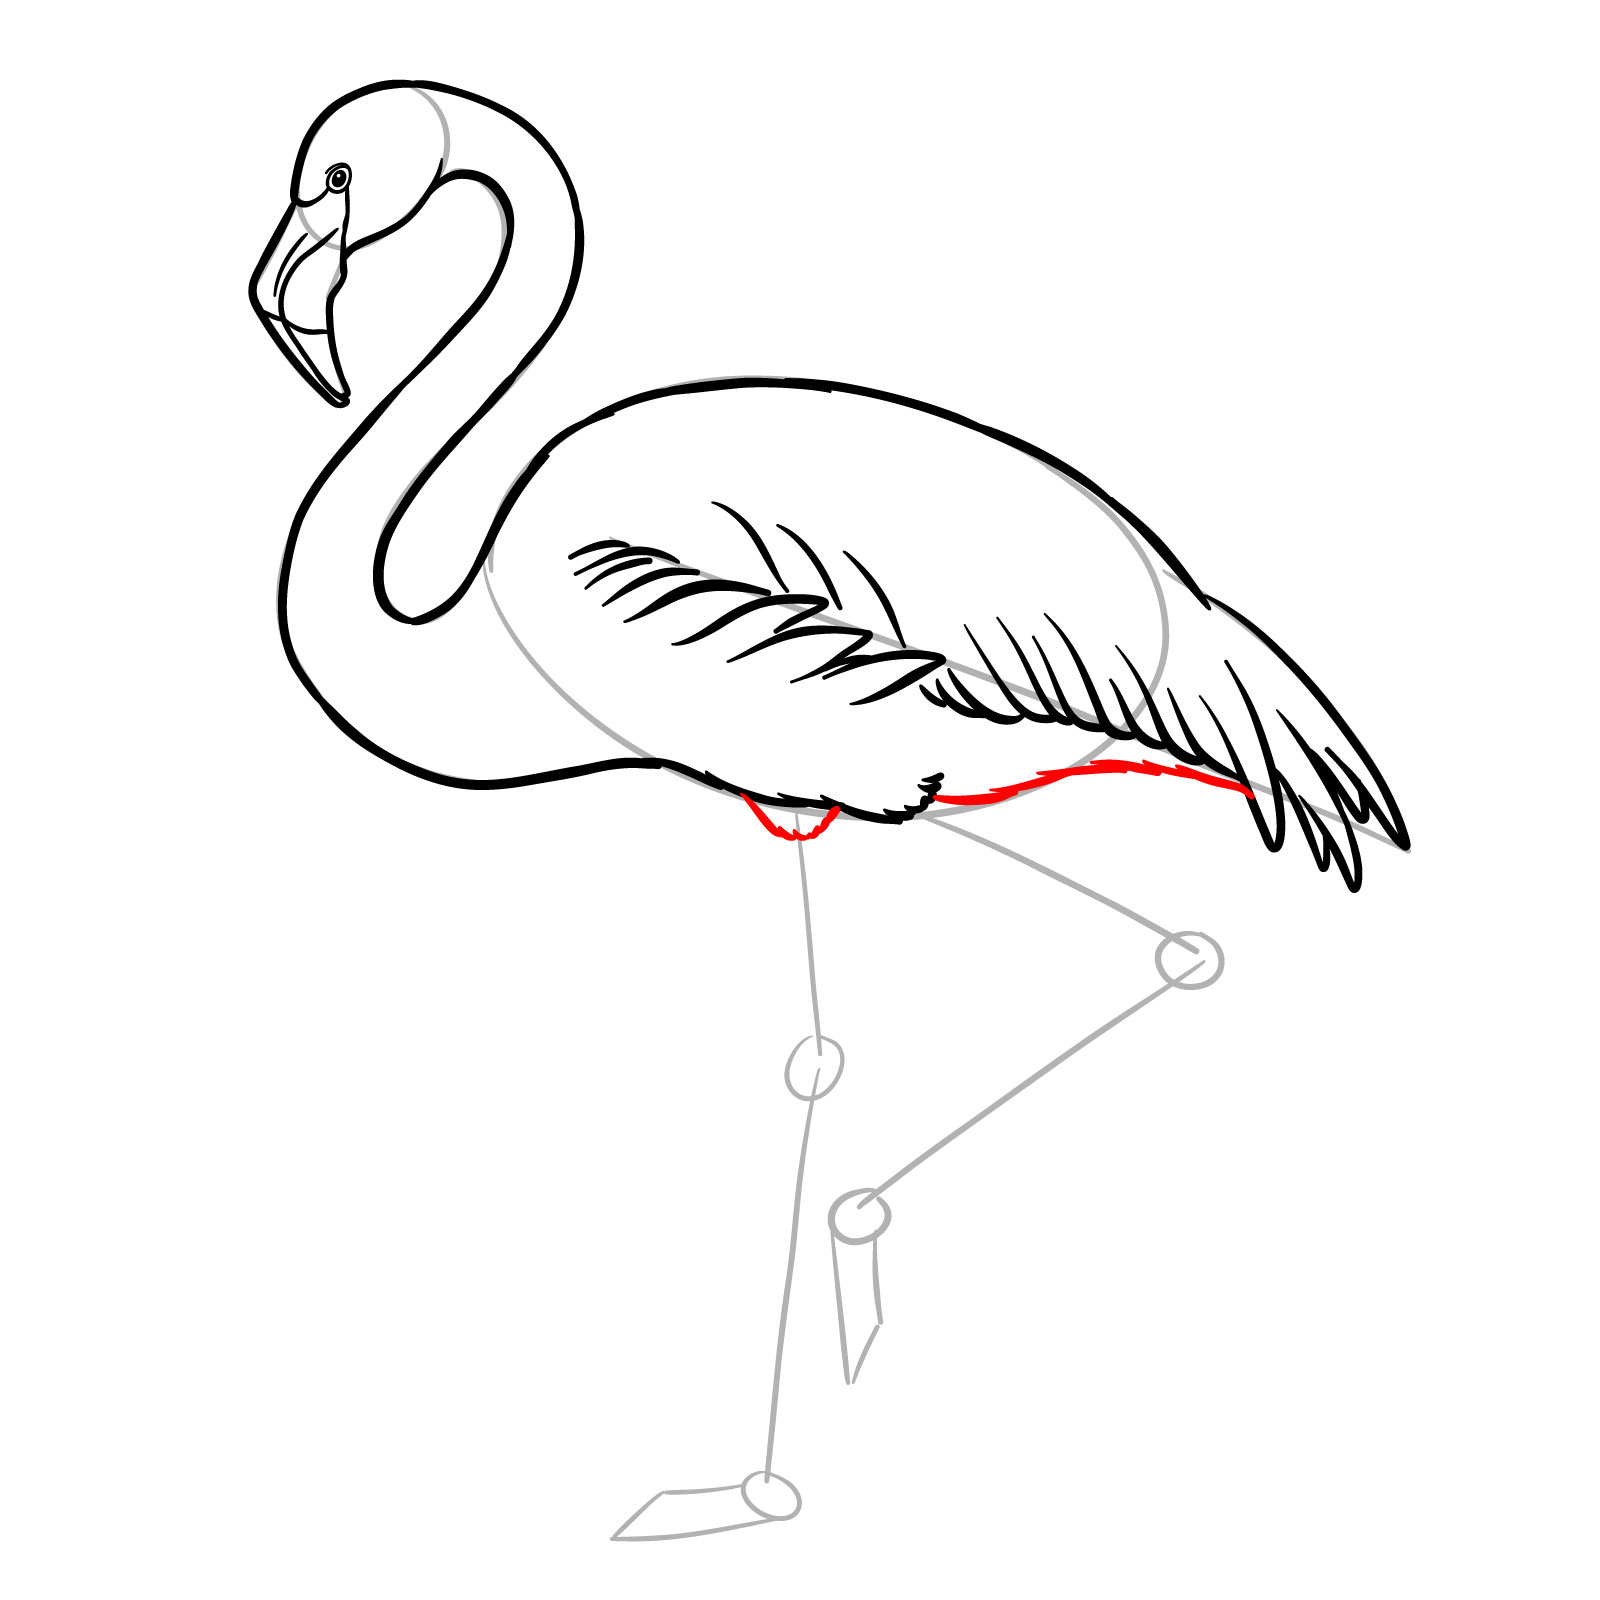
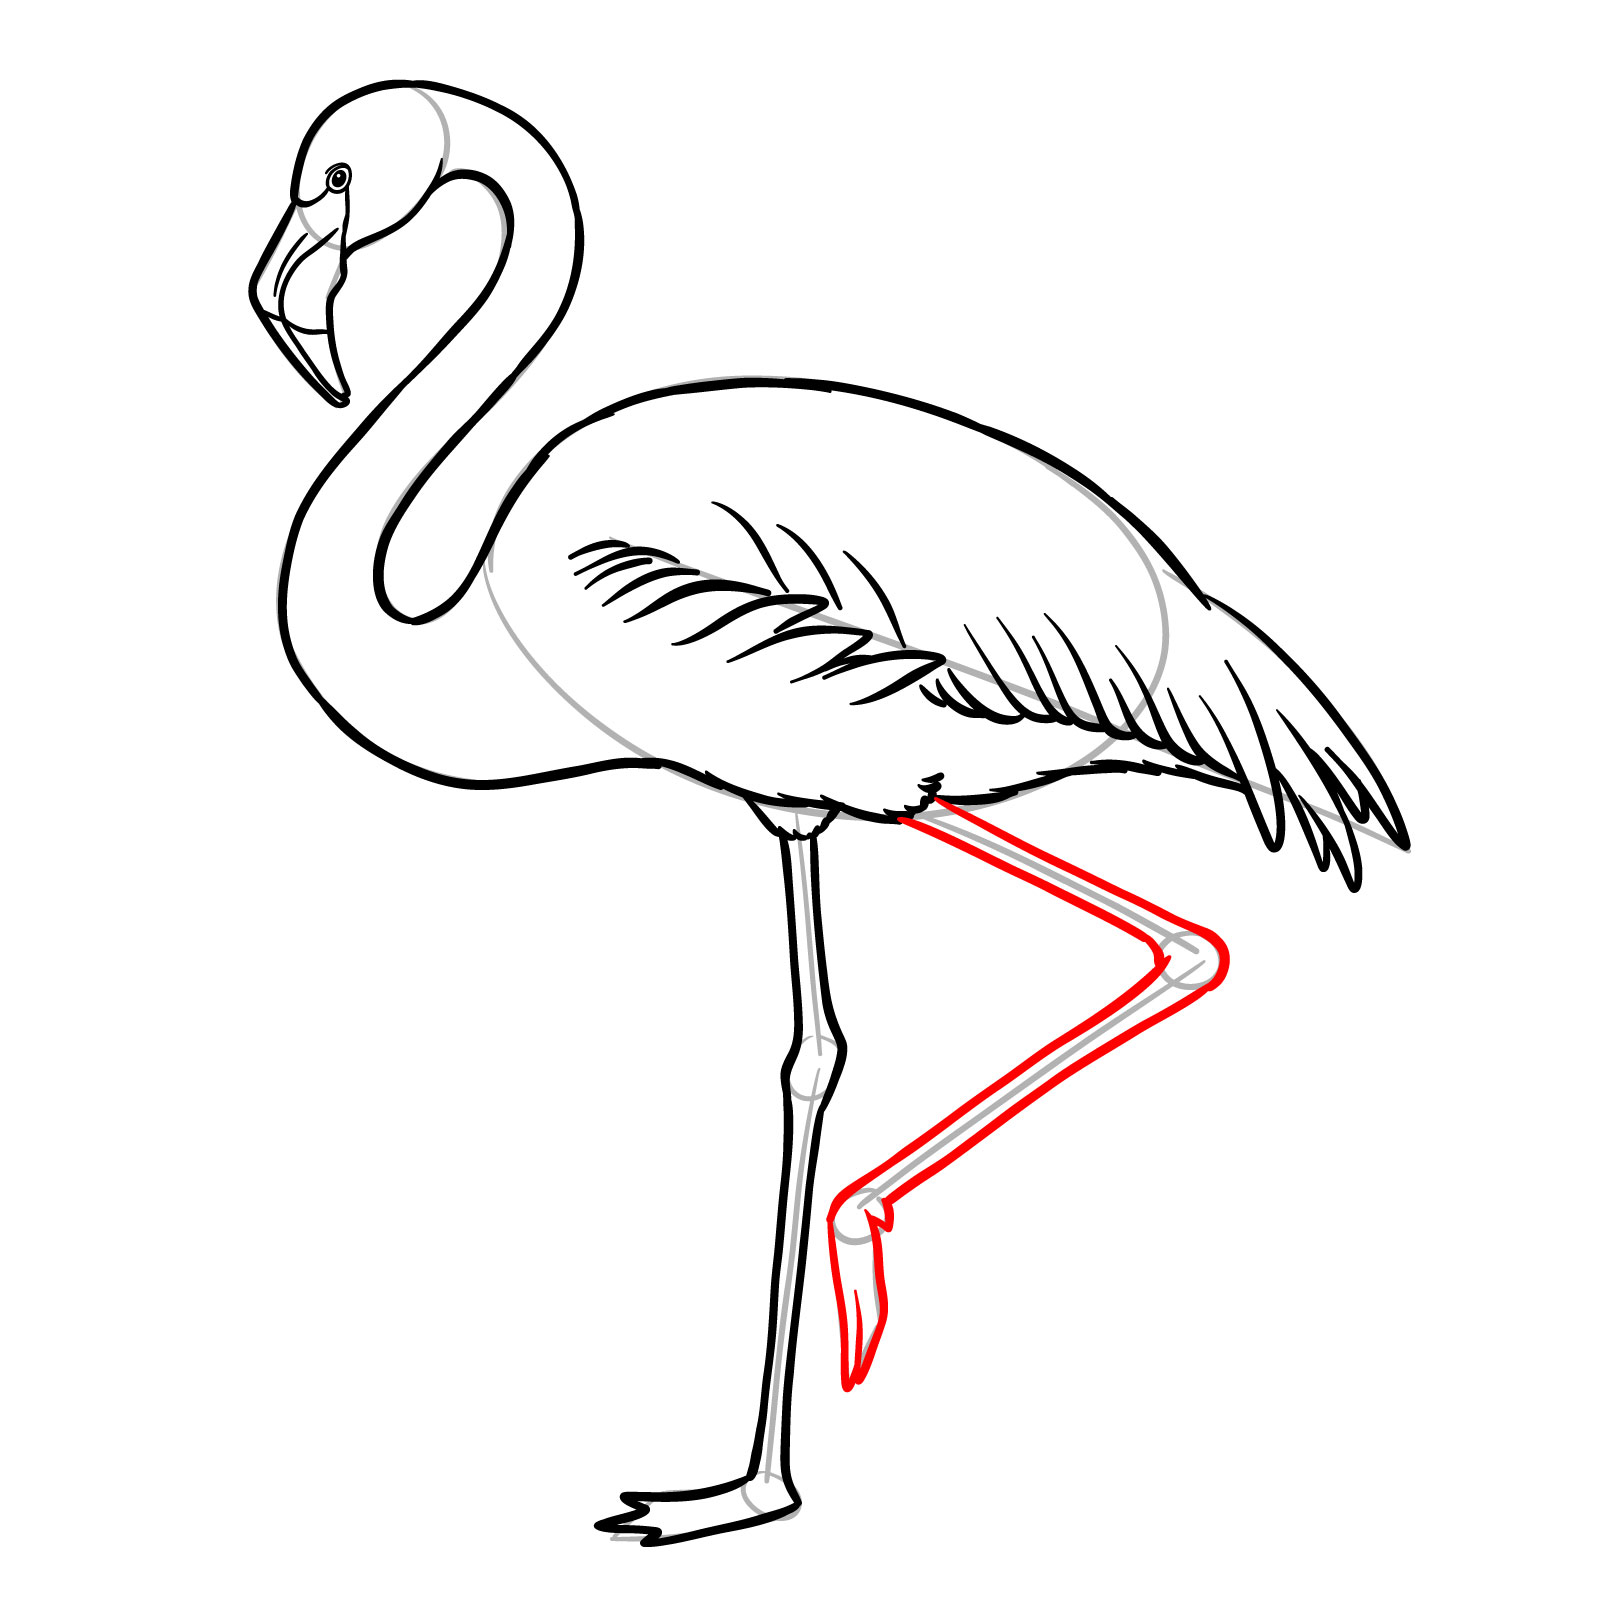
Step 10 – Draw the first leg, which stands straight and supports the body. Follow the basic lines from step 2 for proper placement.
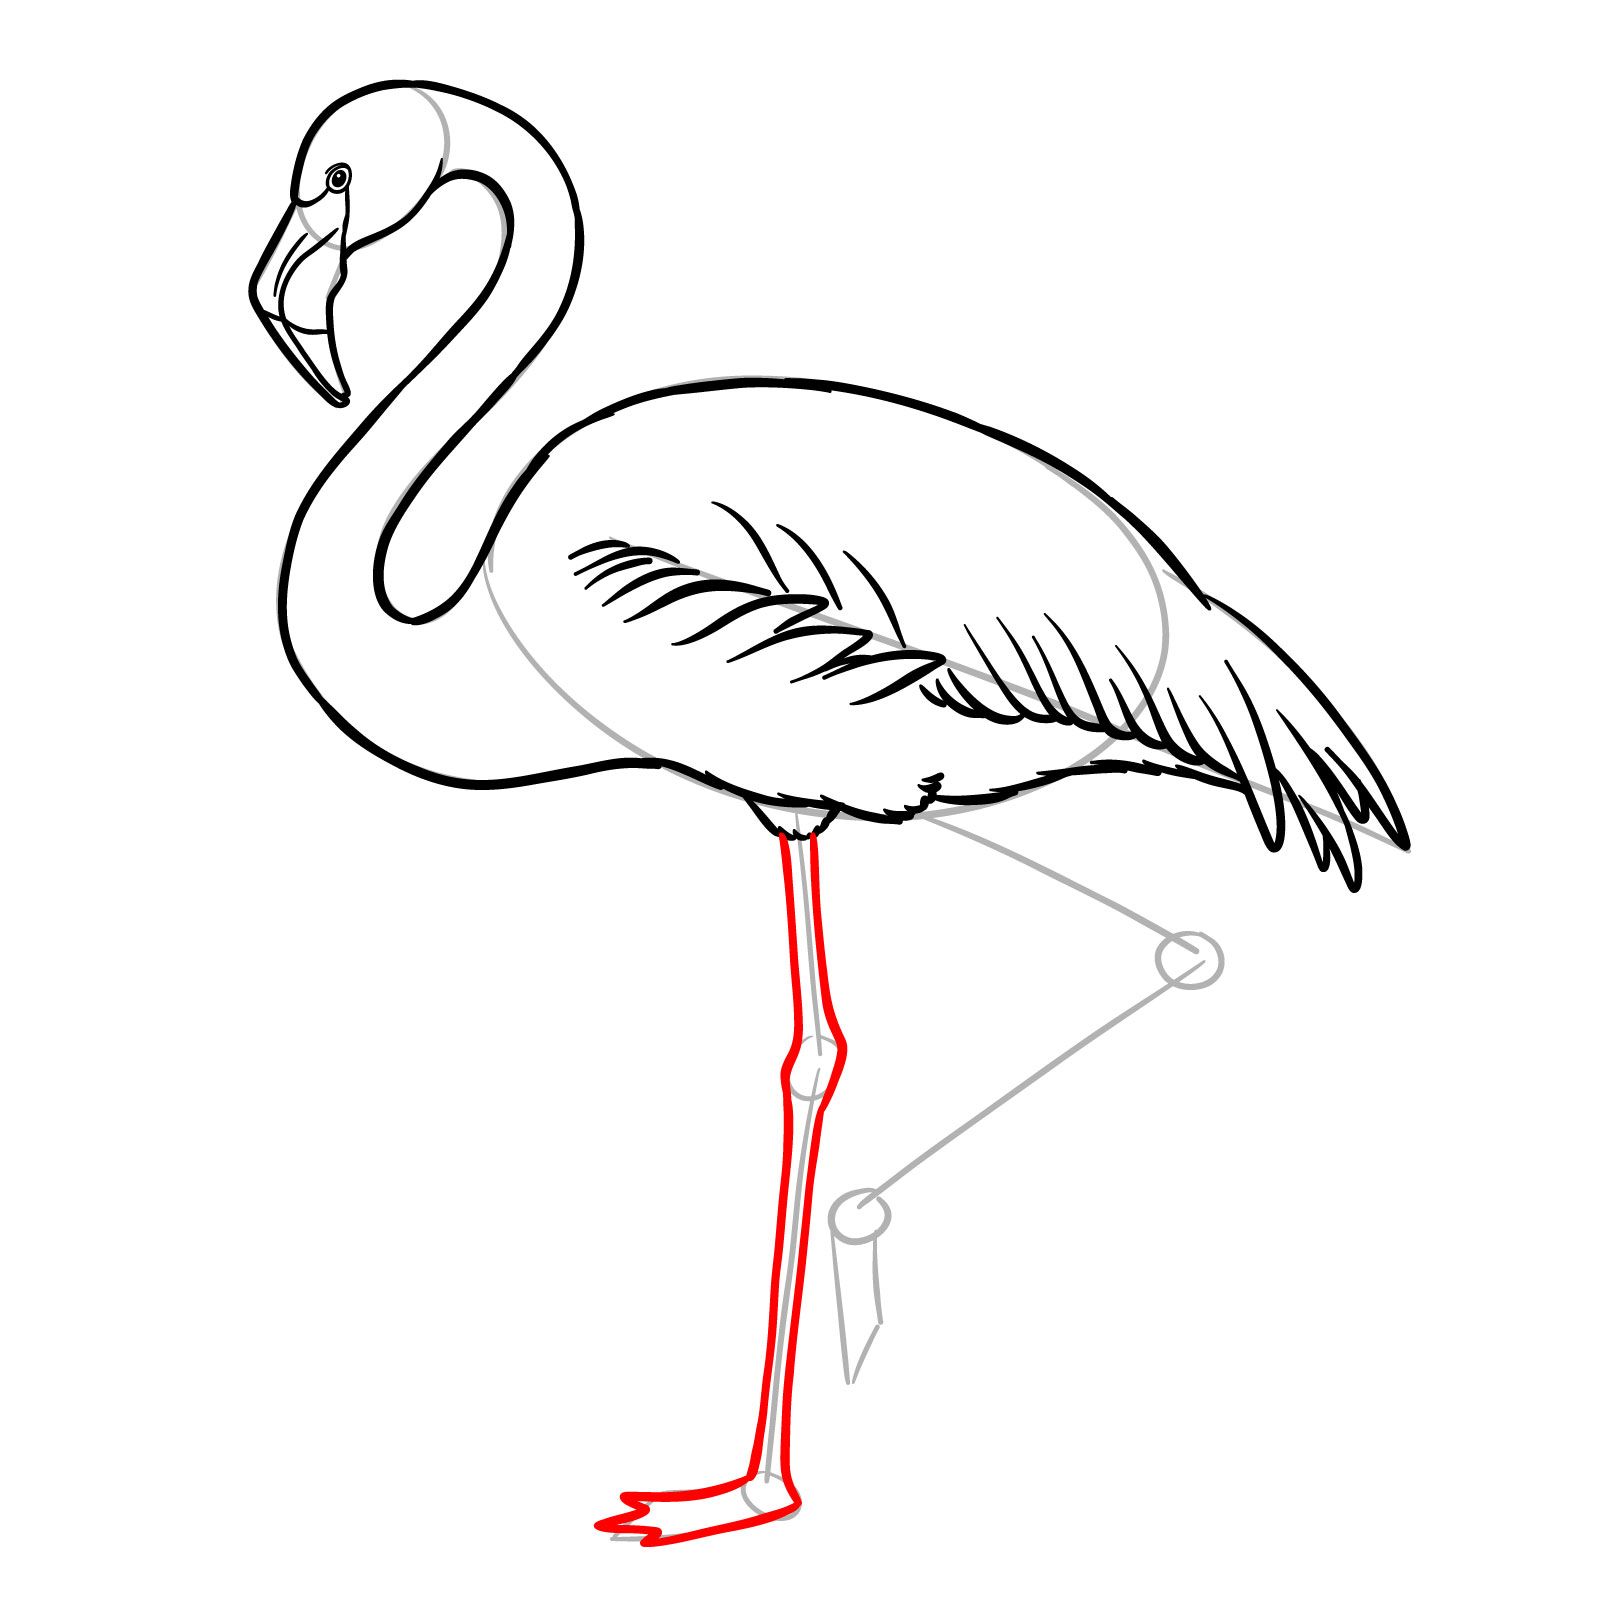
Step 11 – Add the bent leg, ensuring it appears tucked into the flamingo’s resting pose. Use the guidelines from step 2 for joint placement.
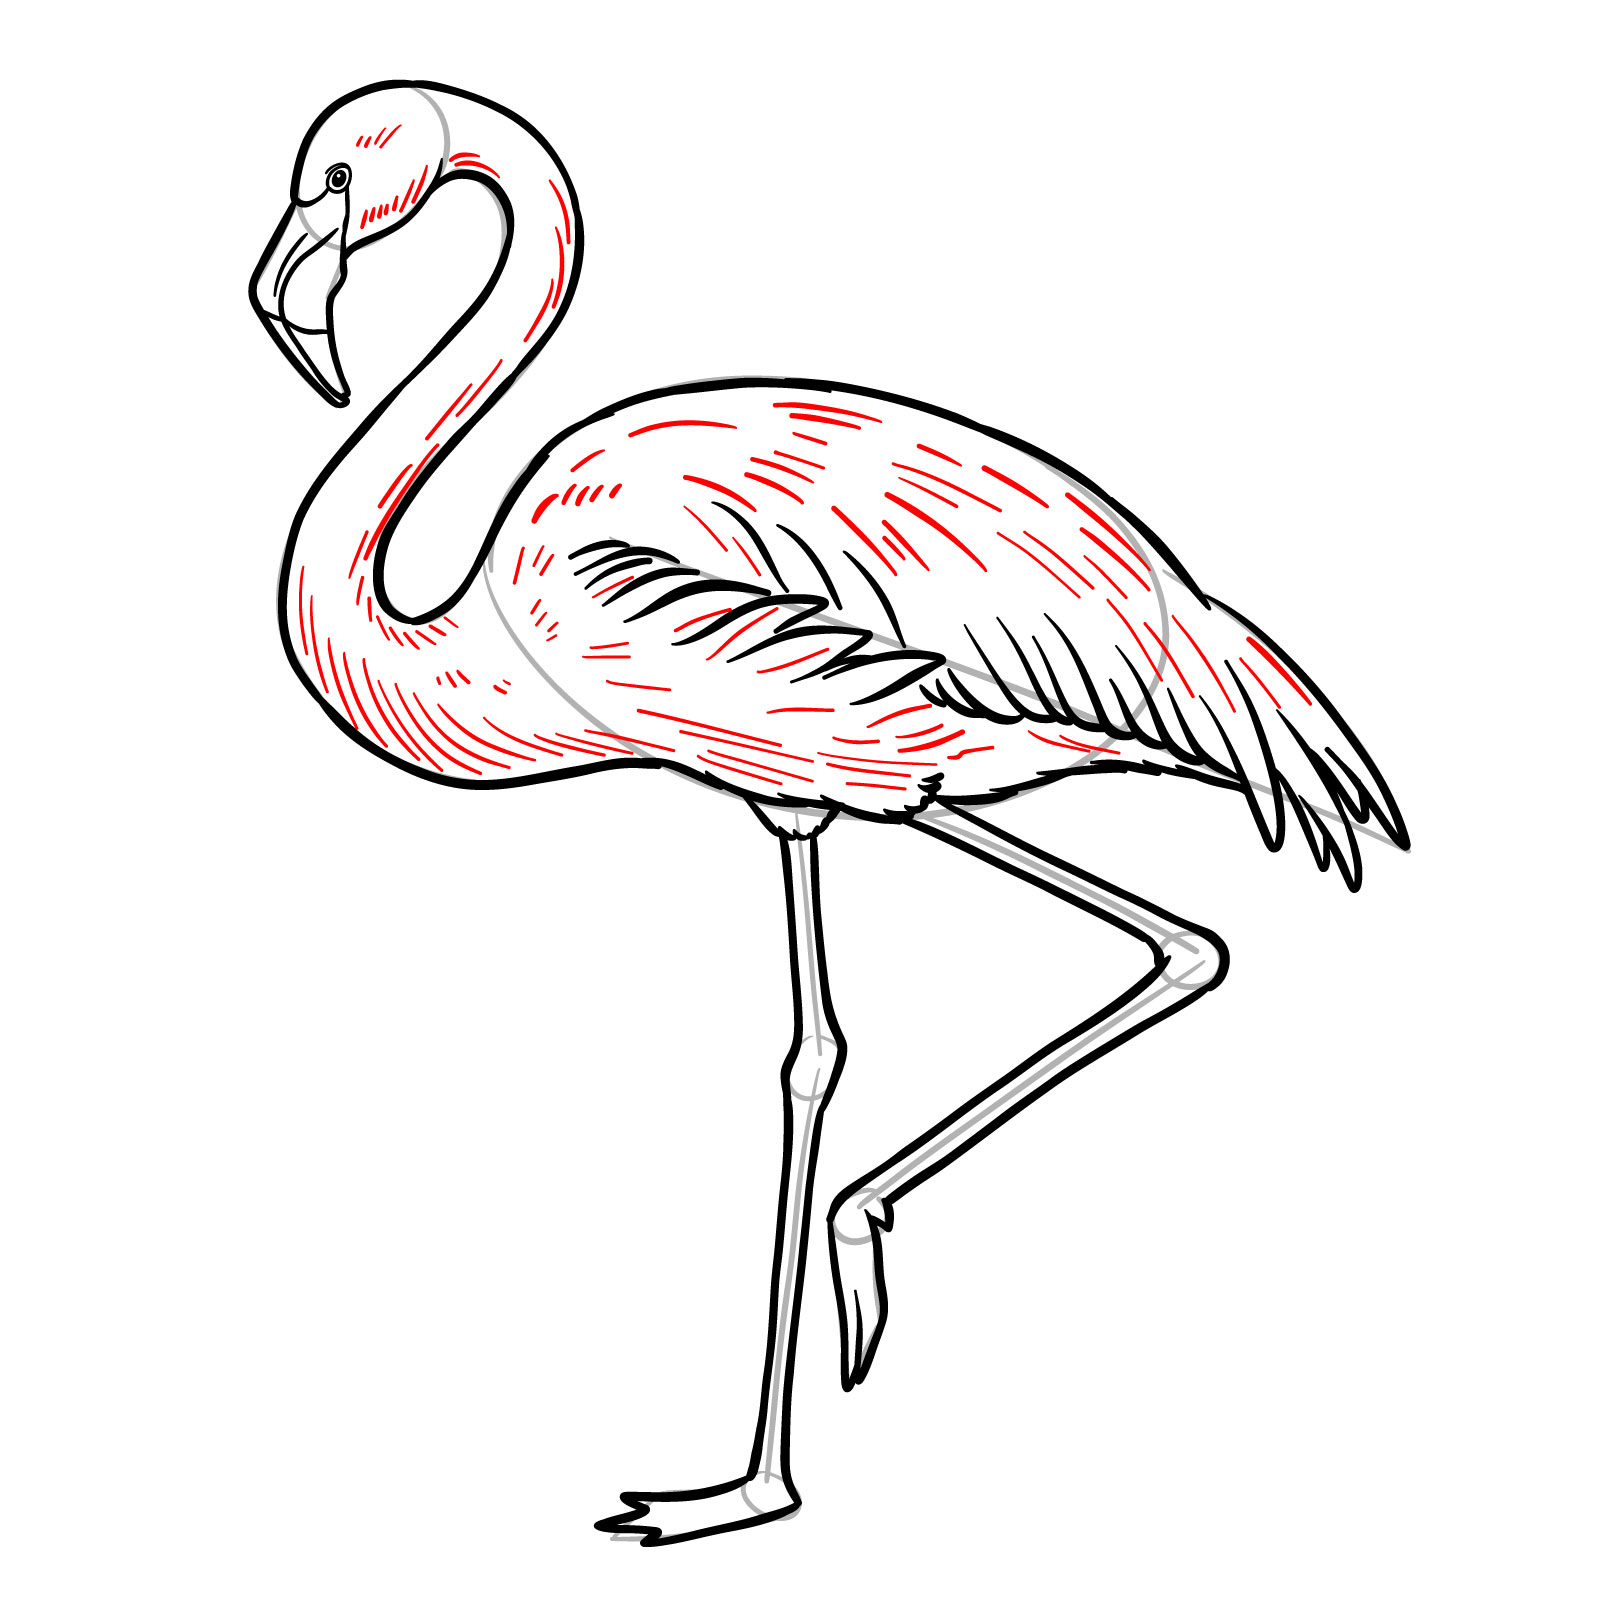
Step 12 – Optionally, add short lines across the body, neck, and wings to create a feathered texture. This adds detail to the drawing.
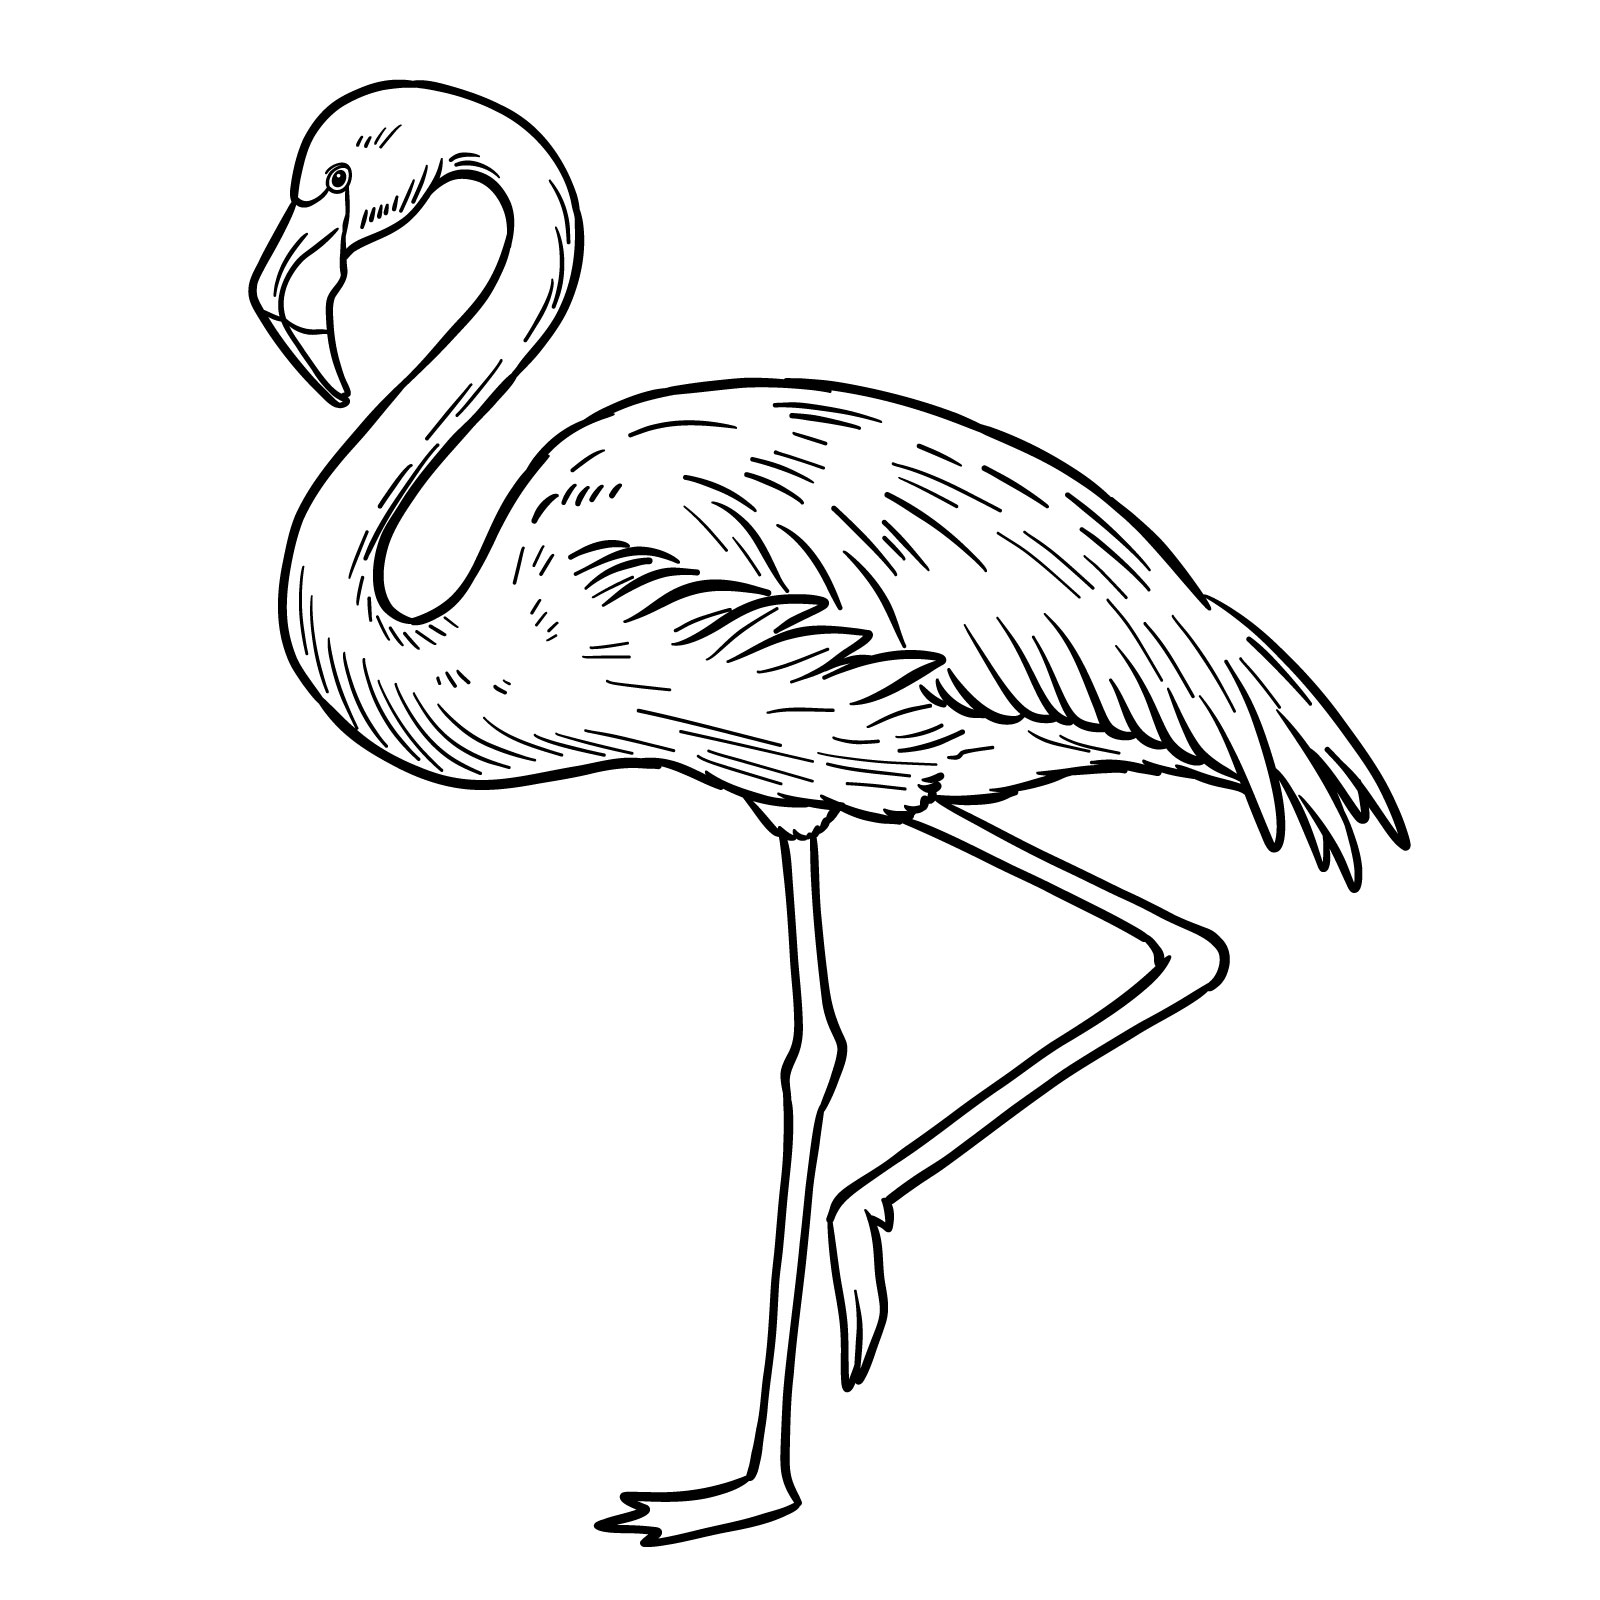
Step 13 – Finalize the sketch by refining the lines and erasing unnecessary marks. Smooth out rough edges and clarify all key details for a polished result. Optionally ink the sketch and erase any pencil lines when the ink dries.
Step 14 – Use the finished reference image for coloring. Apply vibrant pink for the body, darker shades for feather accents, pale shades for the beak, and black for its tip. Add shading to highlight the curves and textures of the flamingo.
Your support helps me create more detailed tutorials like this one. If this guide on how to draw a flamingo was helpful, consider donating to help me continue providing free content for artists. Every contribution makes a big difference.
On my Patreon you can grab unique hand-made coloring pages: each one drawn by me personally. Every purchase directly supports the creation of new drawing tutorials. It's the best way to practice your skills, keep the site going, and get something truly original at the same time.
I’d love to see your finished artwork! Share your flamingo drawings in the comments of this post on Pinterest. Follow us on social media for more tutorials and inspiration:
Disclaimer: All original artworks and photos used as references for the creation of these drawing tutorials are the property of their respective owners. If your work has been featured without proper credit, please kindly leave a comment below, and the issue will be promptly addressed. We greatly appreciate your exceptional art. Thank you.