Learning how to draw a penguin front view can be straightforward if you break it into simple steps. By focusing on basic shapes and proportions, it becomes much easier to capture the symmetry and structure of the penguin’s body. In this guide, I’ll show you a methodical way to approach this drawing while keeping the process enjoyable and productive.
Understanding the Penguin’s Front View
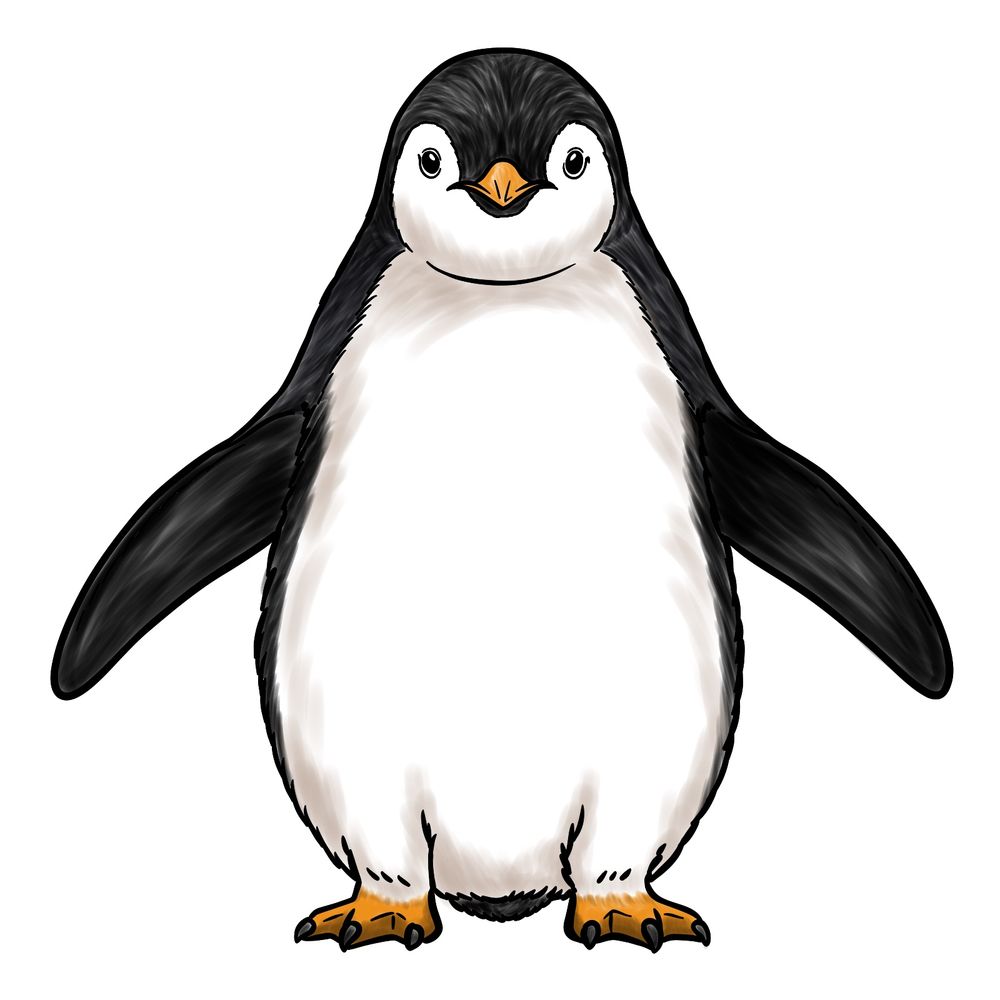
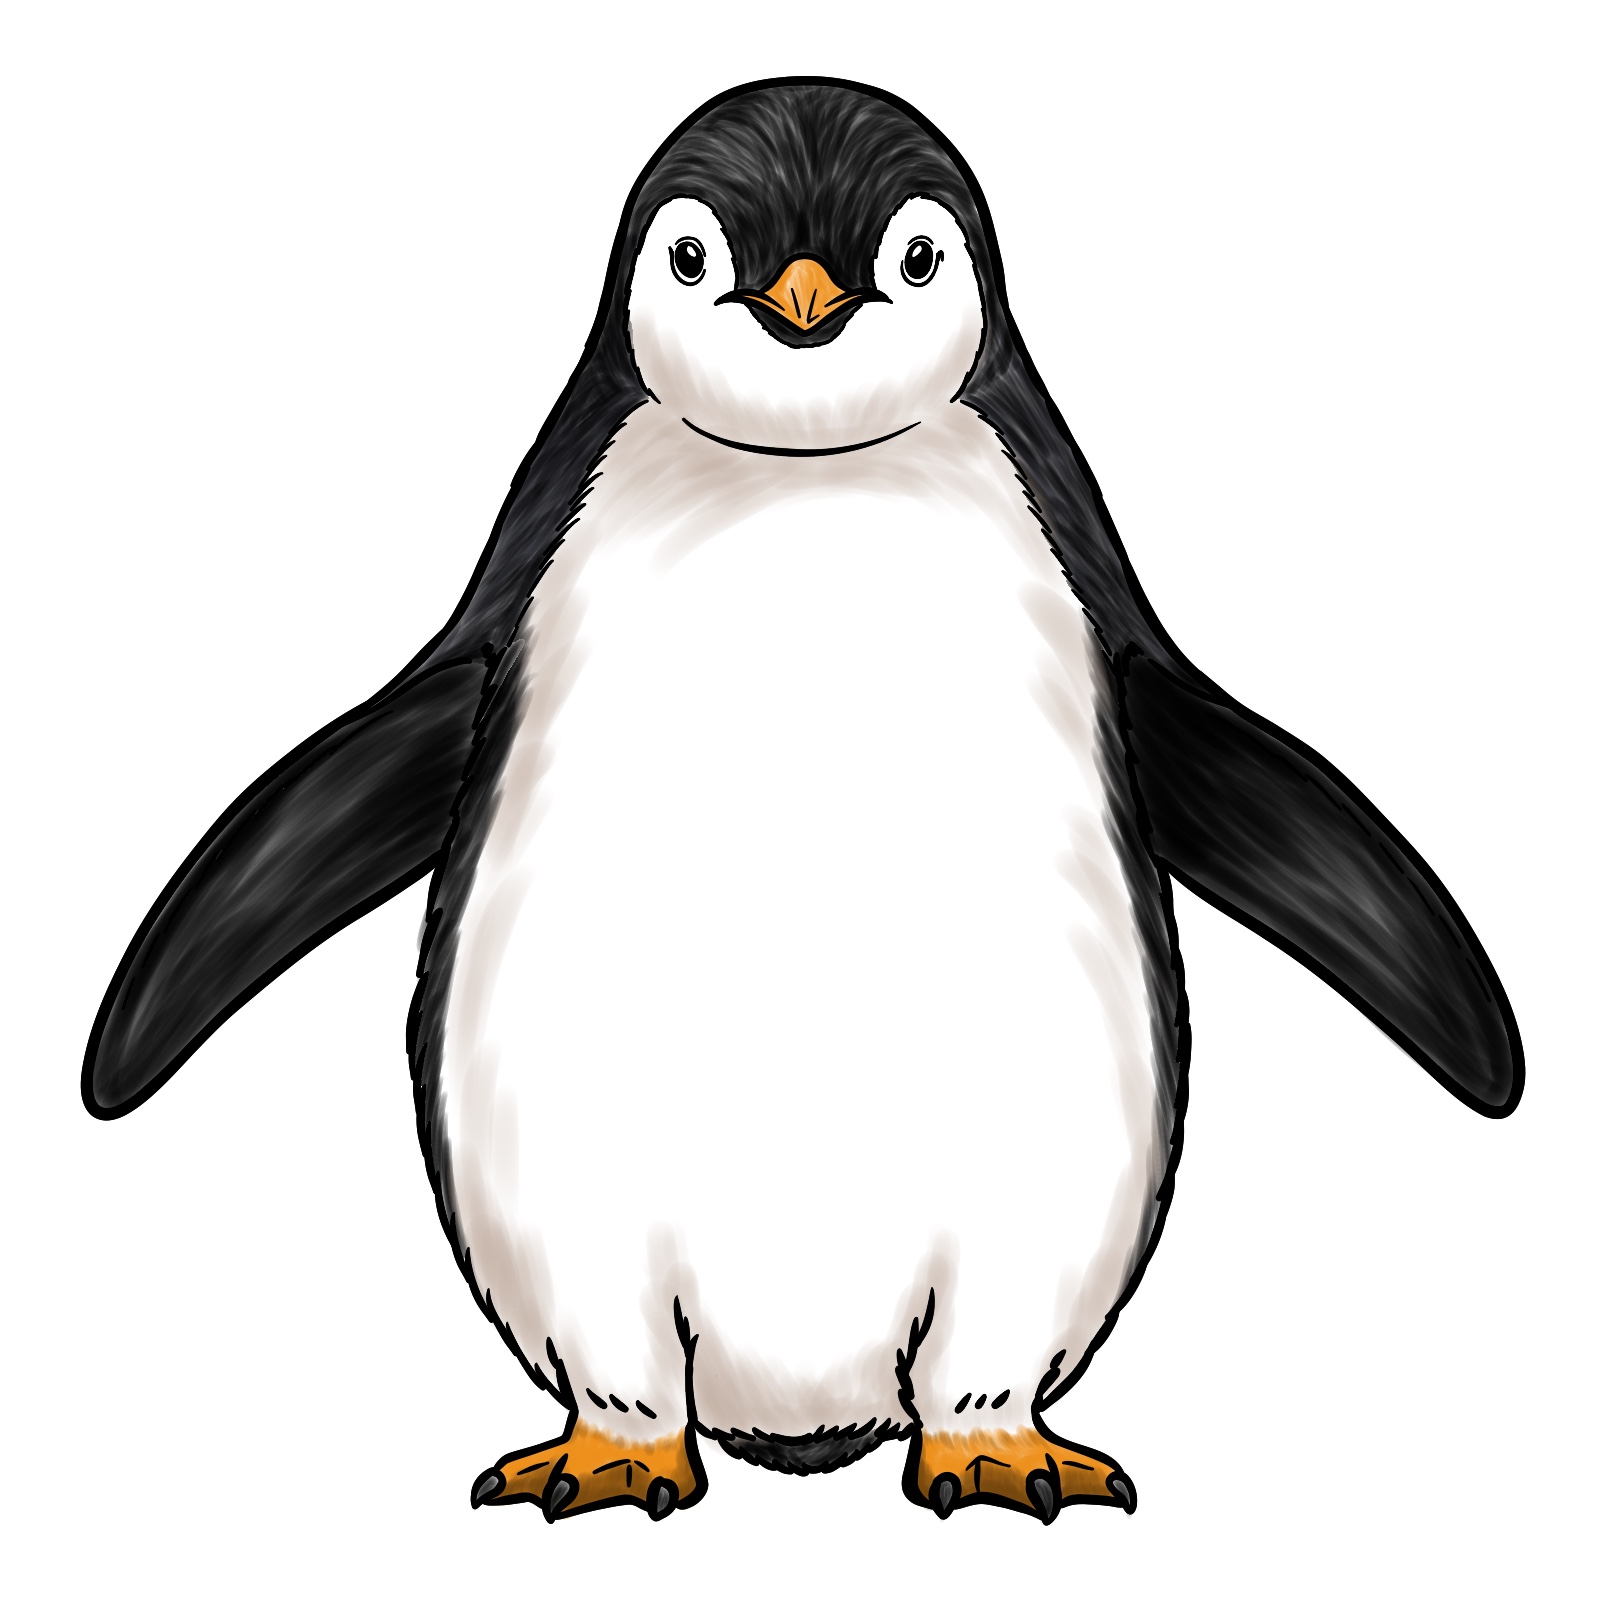
Head and Face: Rounded with clear division between the black and white areas.
Body Shape: A teardrop shape that widens at the bottom.
Flippers: Positioned along the sides, slightly angled outward.
Feet: Short and sturdy, aligned under the body for balance.
To keep the drawing process simple and clear, we use a color-coded system in the guide:
Red Color: Indicates the current step to focus on.
Black Color: Shows previously drawn lines.
Grey Color: Displays the basic sketch outlines for guidance.
By following these color cues, it’s easier to stay organized and maintain clarity throughout the drawing process.
Step 1 – First two steps are for the basic sketch; use light strokes for it – Draw a circle for the head and a larger circle for the body base below it, with a gap about the size of the head circle in between – Add curved lines on the sides to connect the two circles.
Step 2 – Add a straight vertical line and a curved horizontal line across the head to center the face – Draw two short lines on the horizontal line to position the eyes – Use simple lines to shape the legs as shown in the image.
Step 3 – Outline the top and sides of the head – Add a curved line at the base of the head circle to define the bottom shape of the head.
Step 4 – Draw two black ovals for the eyes with small blank spaces for highlights – Sketch the base of the beak (its bottom part) using a symmetrical check-mark-like shape.
Step 5 – Add the upper part of the beak and include small lines for detail – Sketch a circular outline around the eyes to enhance the features.
Step 6 – Expand the head outline on both sides to begin forming the wings (or flippers) – Follow the natural curve of the body for smooth transitions.
Step 7 – Outline the sides of the body down to the legs, following the basic sketch lines – Use short strokes to add texture and create a more natural look.
Step 8 – Draw the legs, making sure they are proportional to the body – Keep the shape clean and symmetrical for balance.
Step 9 – Draw the bottom part of the body, ensuring it connects naturally with the legs – Add a small visible part of the tail at the bottom.
Step 10 – Outline the wings and add a divide line between the black and white areas of the penguin’s body using short, textured strokes – Add a missing detail to the bottom part of the beak as shown in the image.
Step 11 – Finish the sketch by erasing the basic guidelines and refining the details – Optionally ink the sketch by carefully tracing over the lines with a fine-tipped pen, allowing the ink to dry before erasing any pencil marks to keep the drawing clean.
Step 12 – If you want to add colors, use the final image as a reference – Apply black for the back and head, white for the belly, and orange for the beak and feet, with shading to enhance depth.
Don't Miss New Tutorials! Follow SketchOk
I publish new step-by-step drawing guides every single day. Follow on your favorite platform so you never miss a tutorial. Thousands of artists are already drawing along and I can't wait you to join in!
On my Patreon you can grab unique hand-made coloring pages: each one drawn by me personally. Every purchase directly supports the creation of new drawing tutorials. It's the best way to practice your skills, keep the site going, and get something truly original at the same time.
If you want to see how other people tackled their penguin front view drawing, the pinned post for this guide on Pinterest is a great place to look. That’s where the SketchOk community drops their finished sketches and talks through what worked or what gave them trouble, so it’s worth a visit whether you’re proud of your result or still figuring out the beak shape. Video versions of some guides also appear on the SketchOk YouTube channel, which is handy if you prefer watching the steps play out in real time.
Vector illustrator and the creator of Sketchok.com and TheHowToDraw.com. I publish free step-by-step drawing tutorials to help people of all levels learn to draw.
Disclaimer: This is a non-commercial, fan-made educational site. All characters belong to their respective owners. We are not affiliated with any rights holders.
Read full Disclaimer