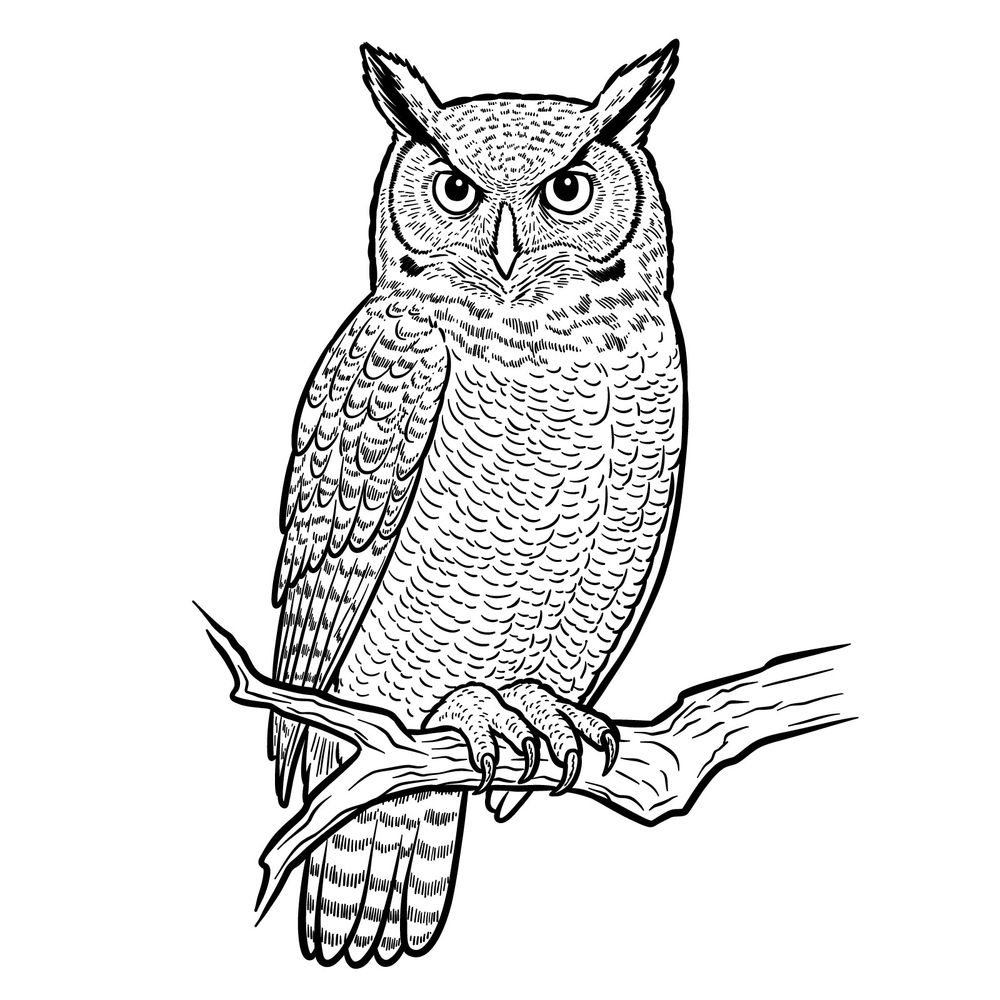
If you’ve ever wanted to figure out how to draw a great horned owl sitting calmly on a branch, this one’s for you. It’s a front-facing view of the full body, and I kept the steps as simple and clear, as possible. There are 24 steps in total.
Key Features to Focus on When Drawing the Owl
- Upright feather tufts on the head
- Large, round eyes with intense focus
- Detailed facial disk and short, hooked beak
- Layered feather texture across the body and wings
- Visible front toes gripping the branch
- Long tail feathers extending behind the branch
Once you’re done with this one, you might want to try drawing a bald eagle, a flamingo, or even a penguin to explore different body structures and head shapes.
How the Drawing Guide is Structured
- Red Color: Highlights the step you’re currently working on.
- Black Color: Shows everything you’ve drawn so far.
- Grey Color: Represents the basic sketch layout.
Just a quick note about the owl’s feet in this guide. I used to think owls always perched with three toes gripping the branch from the front and one at the back, but once I got deeper into drawing this pose, I realized they usually rest with two toes forward and two back. From this angle, only the front two toes on each foot are clearly visible. Often their feet are mostly covered by the body feathers (to stay warm, I believe), but for this guide, I kept them fully visible so it’s easier to follow the shape and placement as you draw.


If you enjoy these guides and want to support the project, you can donate using this button:
Feel free to share your final drawing in the comments under the pinned article on Pinterest. A lot of artists post their work there, and it’s great seeing all the different takes on each guide.
Want to keep up with new tutorials and drawing ideas? Follow SketchOk on social media:

