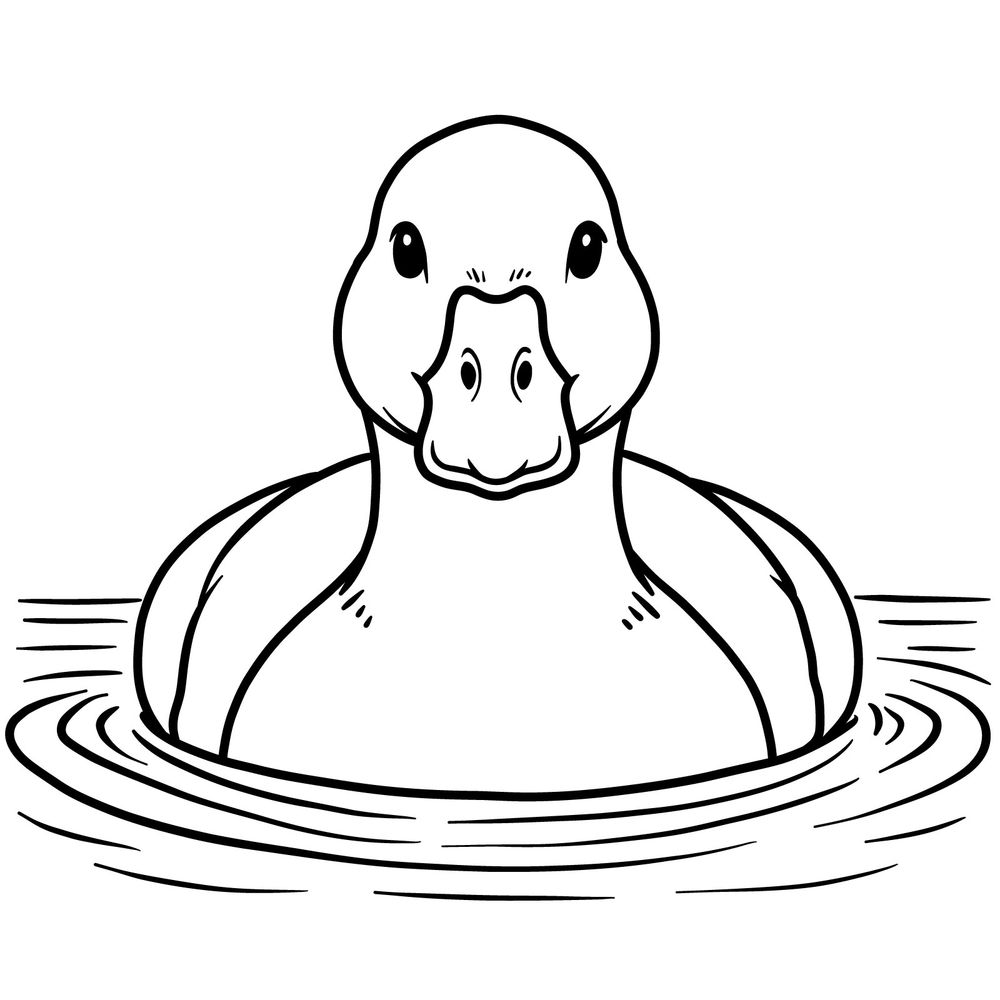
Let’s work on how to draw a duck floating on water, viewed from the front. The perspective here is pretty straightforward since we’re looking right at the duck’s face and chest while it calmly floats. There aren’t too many complicated parts, but you’ll need to keep your lines clean to get the smooth shape of the body and head right.
Key Details To Focus On In This Floating Duck Drawing
- Head is almost oval-shaped and faces directly forward
- Beak placed in the center with simple curved lines and nostril shapes
- Small rounded eyes positioned symmetrically on each side
- Rounded chest with smooth curves connecting to the neck and head
- Wings slightly visible from both sides, folded along the body
- Water ripples surrounding the duck, giving the floating effect
- Simple feather details on the sides of the neck and above the nose
Once you complete this duck, you can also try drawing other birds from different angles, like a bald eagle, a pelican, a great horned owl or a penguin facing forward to practice different body shapes and proportions.
Color Guidelines I Use For This Tutorial
To make each step easy to follow, I’ve used these color indicators:
- Red Color: shows the current step you are working on.
- Black Color: shows the lines you have already drawn in previous steps.
- Grey Color: shows the basic sketch outlines to help you place the elements correctly.


If you enjoy these guides and want to support the project, you can donate using this button.
When you finish your duck drawing, feel free to share it in the comments under the pinned post on Pinterest. A lot of artists share their drawings there, and it’s always interesting to see how everyone approaches the same subject.
For more drawing tutorials, updates, and new guides, follow SketchOk on these social media pages:

