Home » Animals » Birds » Easy Guide on How to Draw an Emu’s Face from a Side Angle

Easy Guide on How to Draw an Emu’s Face from a Side Angle

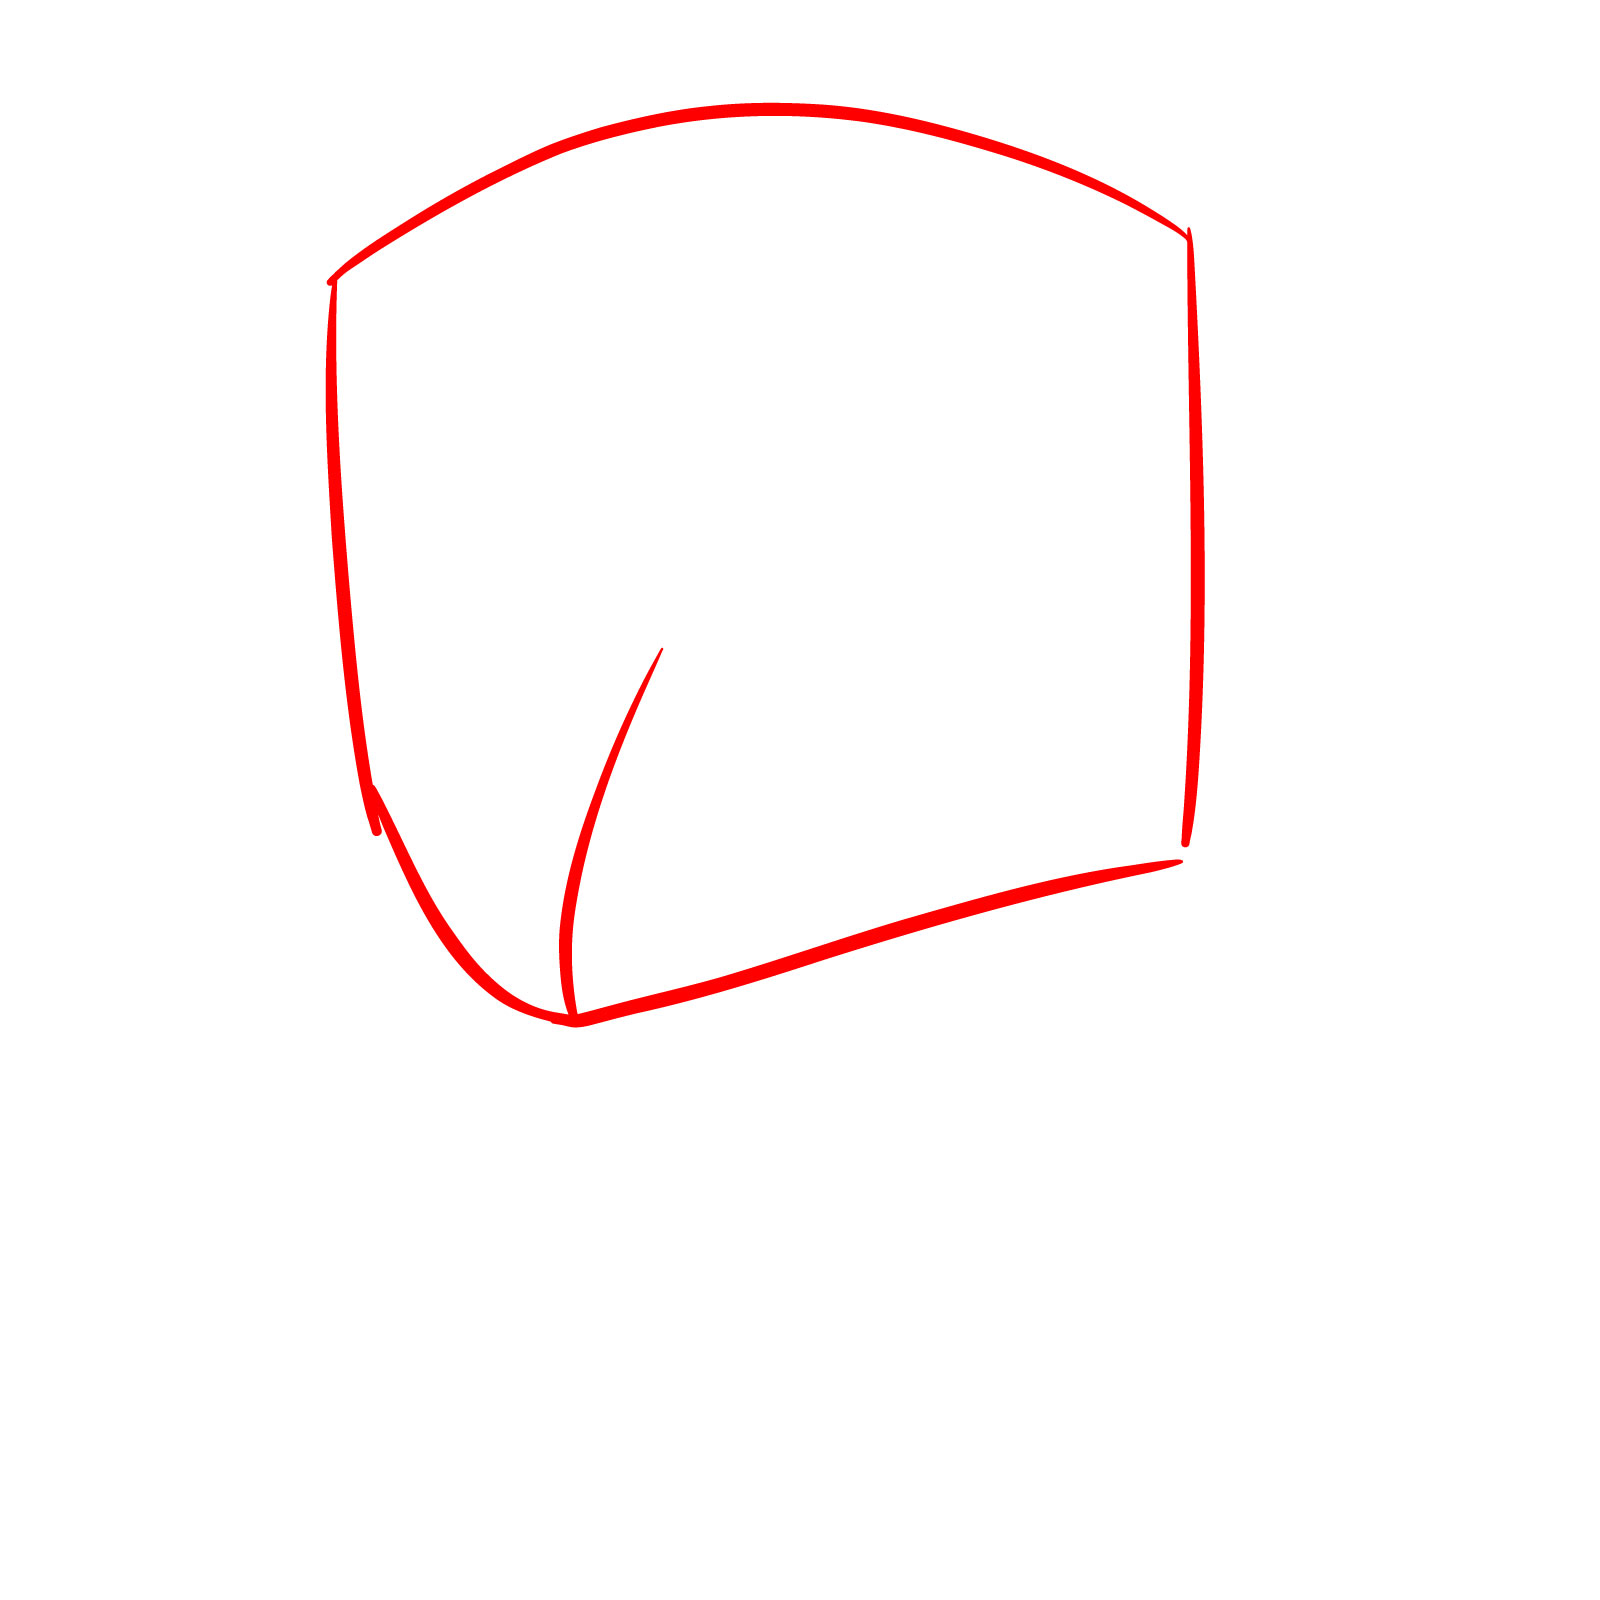
If you’re looking for a relaxed drawing session, this one’s a good pick. I’ll walk you through how to draw an emu head in 3/4 view. The guide is broken into 15 steps, and it’s moderately detailed. It works well if you’ve drawn a few similar faces before, but even if not, the steps are pretty manageable.

Key Features of the Emu Head Drawing

  • Visible 3/4 angle, so one side of the head is more prominent
  • Long, narrow beak with a slight curve
  • Large round eyes placed to follow the curve of the face
  • Dense, short feather texture all around the face and neck
  • Visible mouth line and slight nostril shape

If you want more like this, try sketching a bald eagle’s head next or do the front-view emu drawing to compare.

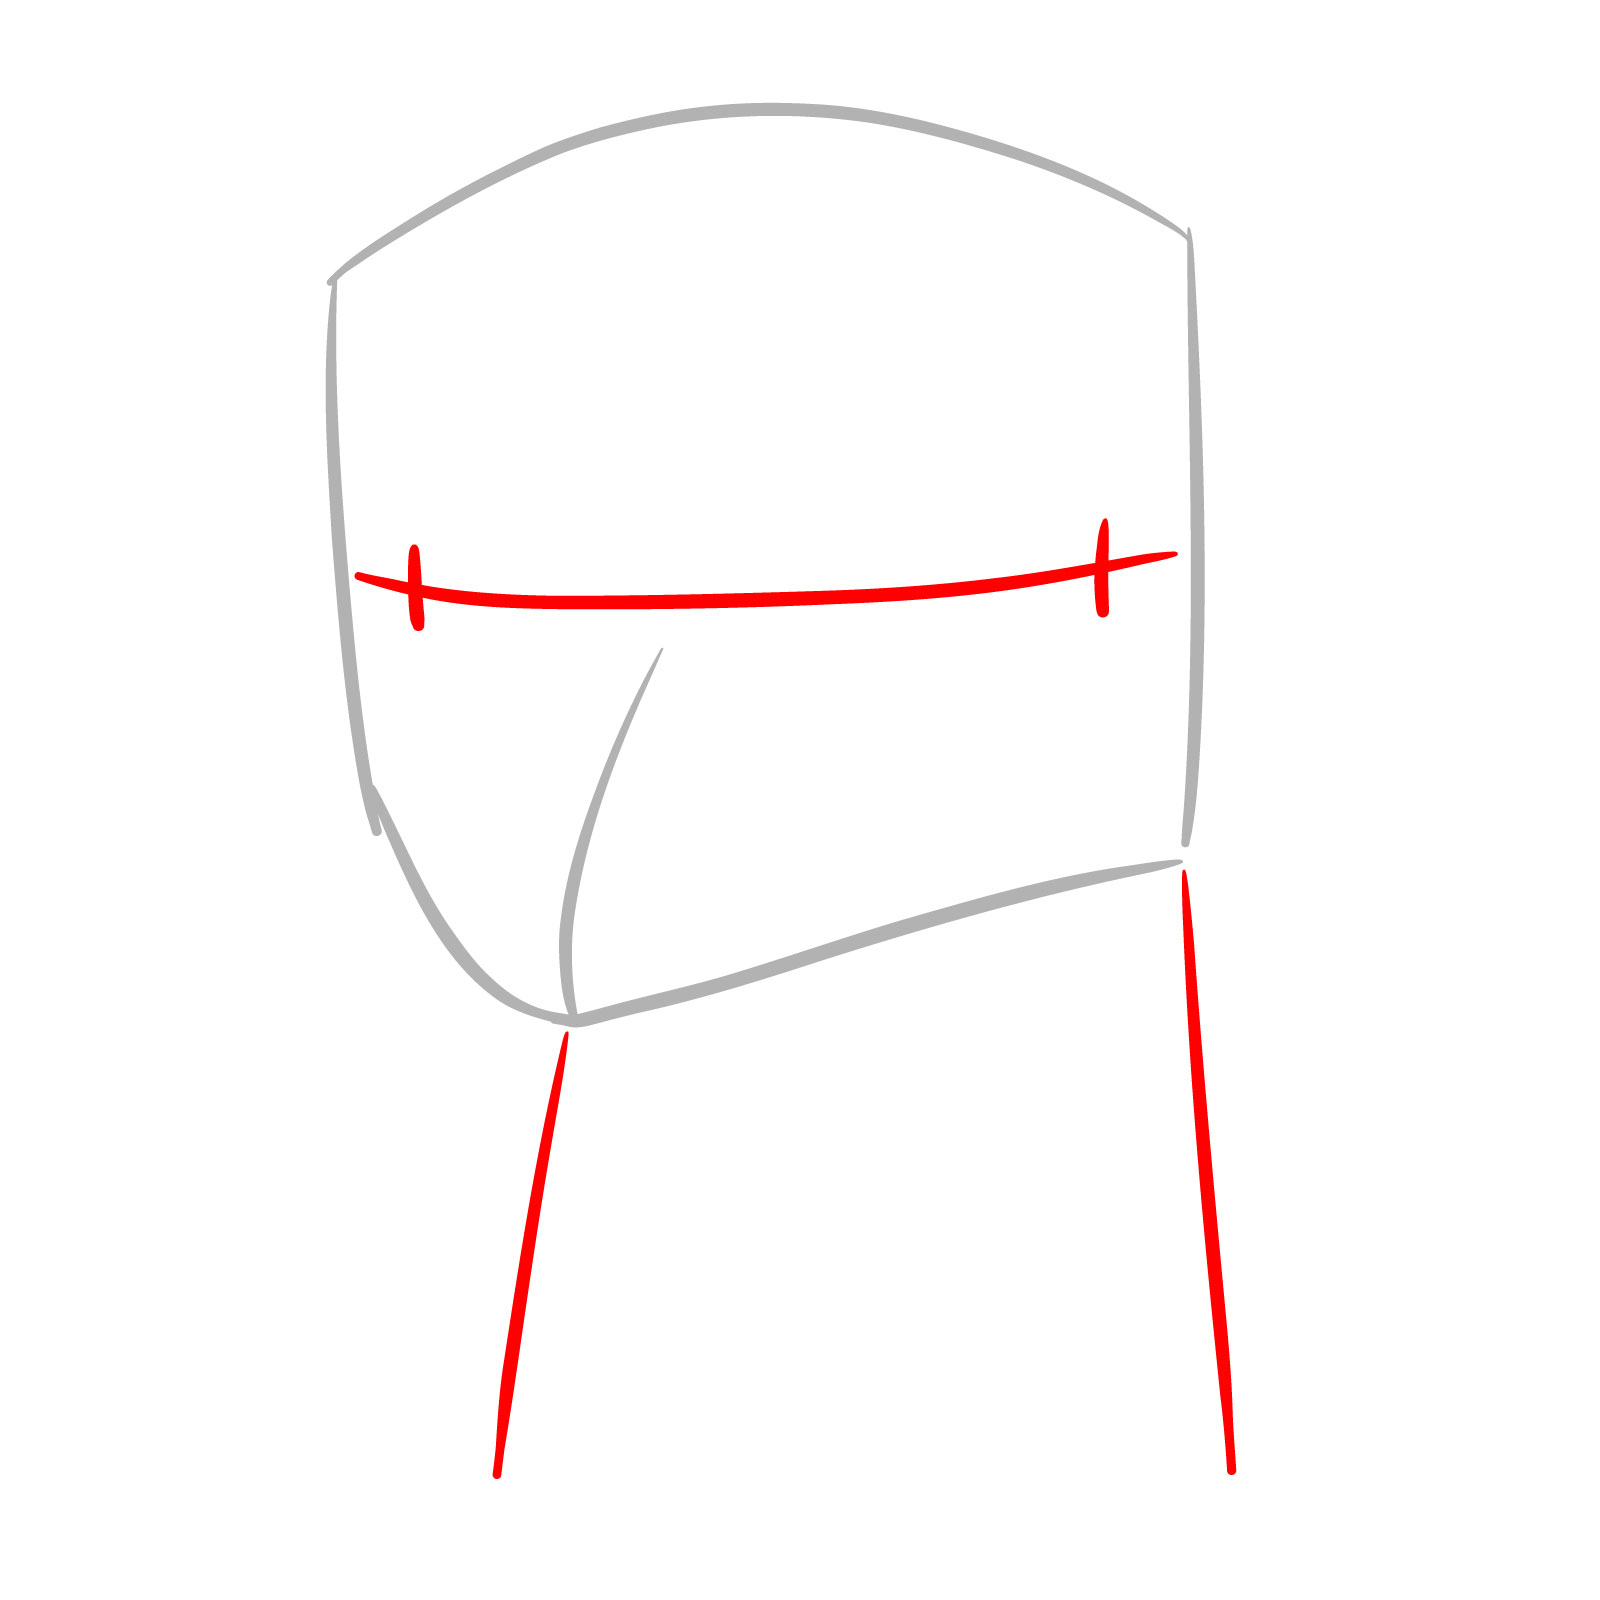
Line Color Breakdown

  • Red Color: shows the current step you should be working on
  • Black Color: shows lines you’ve already drawn in earlier steps
  • Grey Color: shows the rough base sketch to guide your proportions

This color system helps keep track of what to focus on at each stage, especially when the feather lines start layering up.

Step 01

How to Draw an Emu Head in 3/4 View - step 01

Step 02

How to Draw an Emu Head in 3/4 View - step 02

Step 03

How to Draw an Emu Head in 3/4 View - step 03

Step 04

How to Draw an Emu Head in 3/4 View - step 04

Step 05

How to Draw an Emu Head in 3/4 View - step 05

Step 06

How to Draw an Emu Head in 3/4 View - step 06

Step 07

How to Draw an Emu Head in 3/4 View - step 07

Step 08

How to Draw an Emu Head in 3/4 View - step 08

Step 09

How to Draw an Emu Head in 3/4 View - step 09

Step 10

How to Draw an Emu Head in 3/4 View - step 10

Step 11

How to Draw an Emu Head in 3/4 View - step 11

Step 12

How to Draw an Emu Head in 3/4 View - step 12

Step 13

How to Draw an Emu Head in 3/4 View - step 13

Step 14

How to Draw an Emu Head in 3/4 View - step 14

Step 15

How to Draw an Emu Head in 3/4 View - final step

If you enjoy SketchOk and want to support the project, you can donate using this button:

Me and the community would love to see your drawings, so feel free to share them in the comments on the Pinterest pin for this guide (artists usually attach their sketches there).

Disclaimer: All original artworks and photos used as references for the creation of these drawing tutorials are the property of their respective owners. If your work has been featured without proper credit, please kindly leave a comment below, and the issue will be promptly addressed. We greatly appreciate your exceptional art. Thank you.

Did you like the tutorial?

You can support the author of this website and also suggest your own ideas for new drawings by making a small donation here:

Leave a Comment