
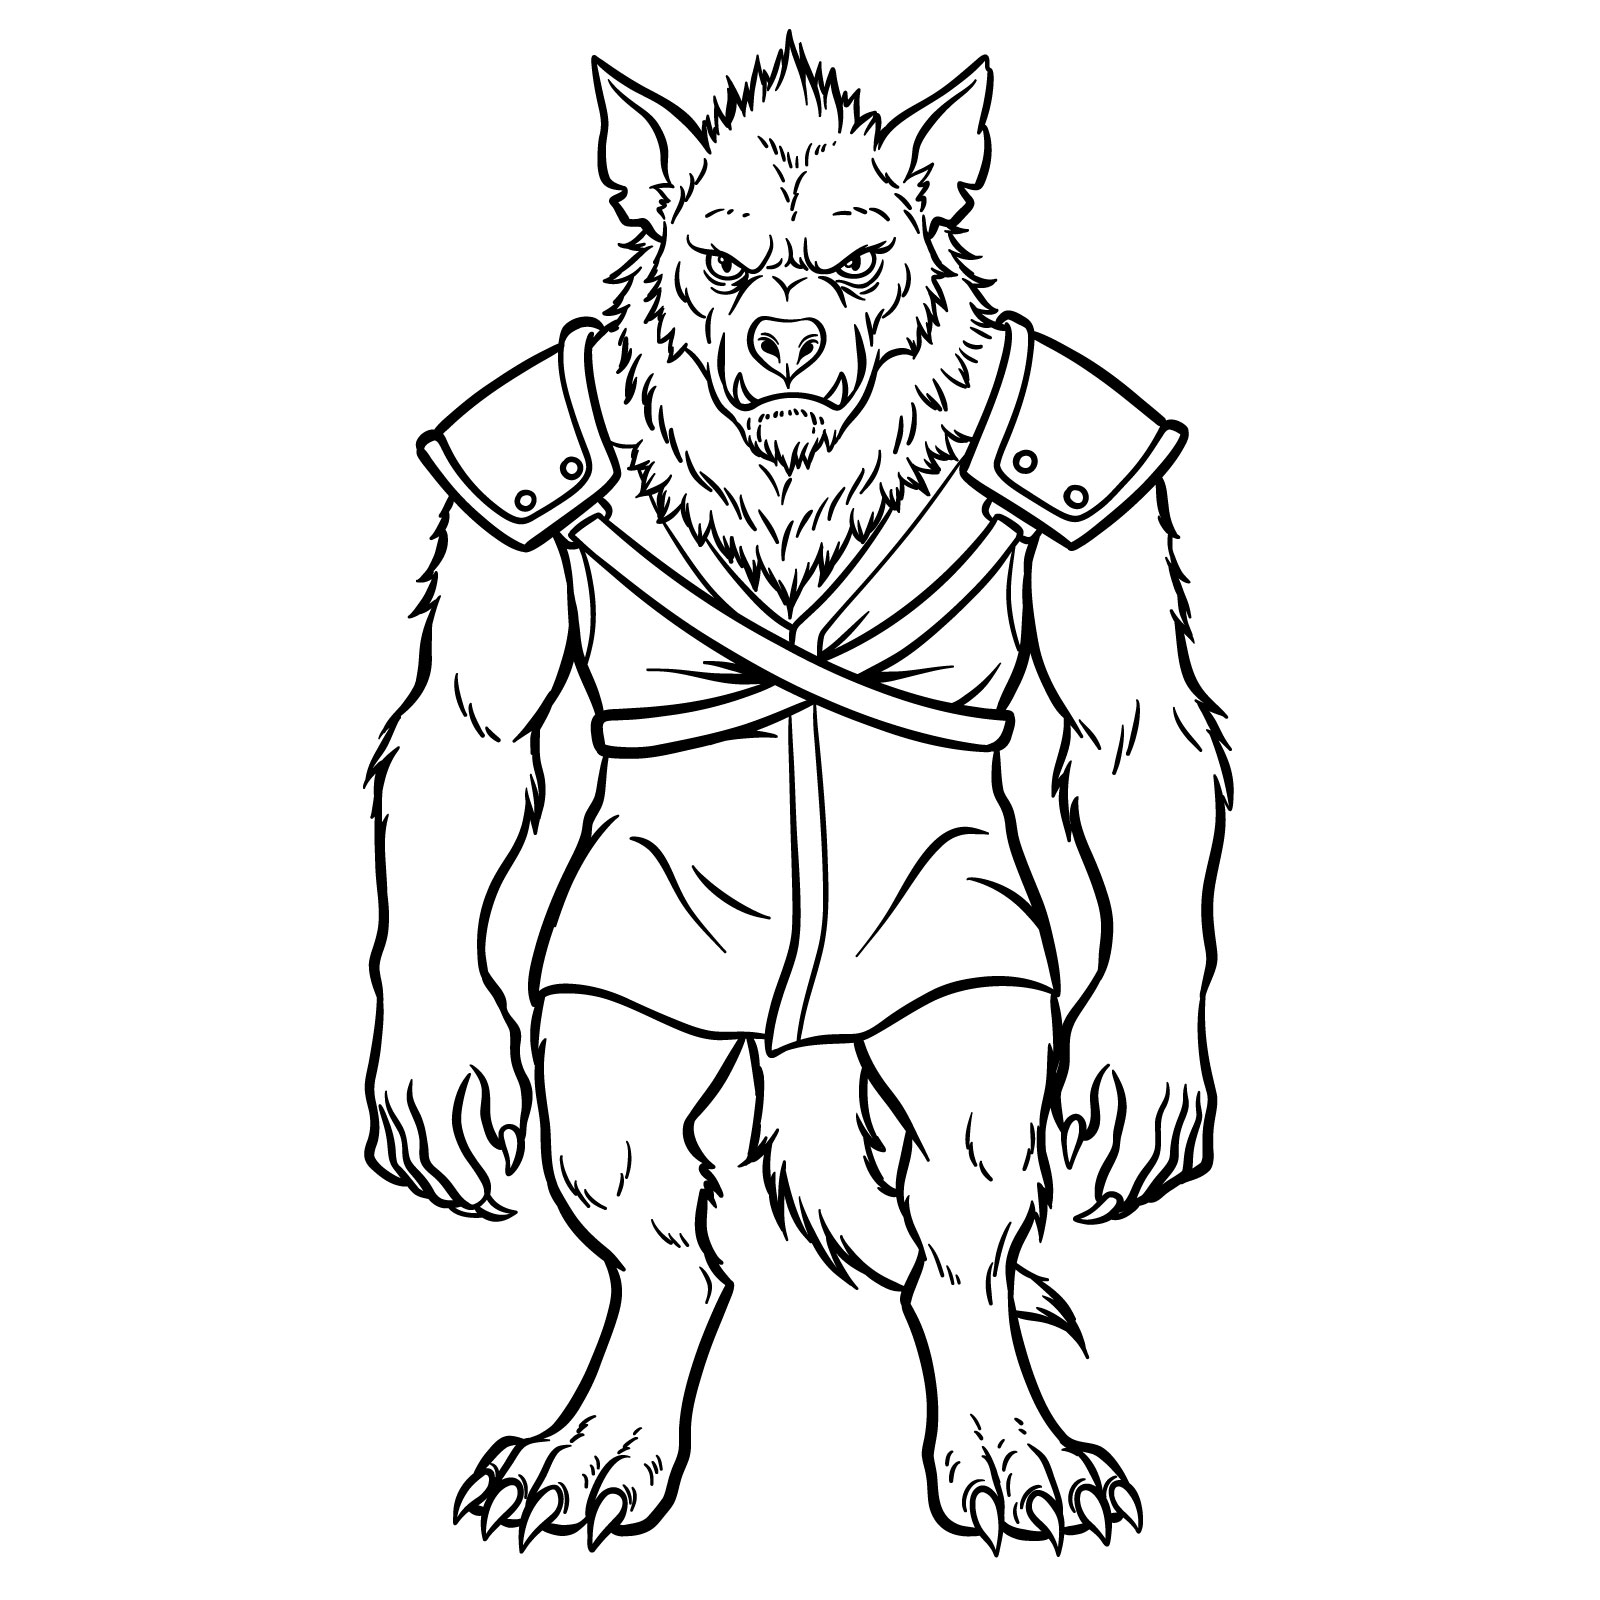
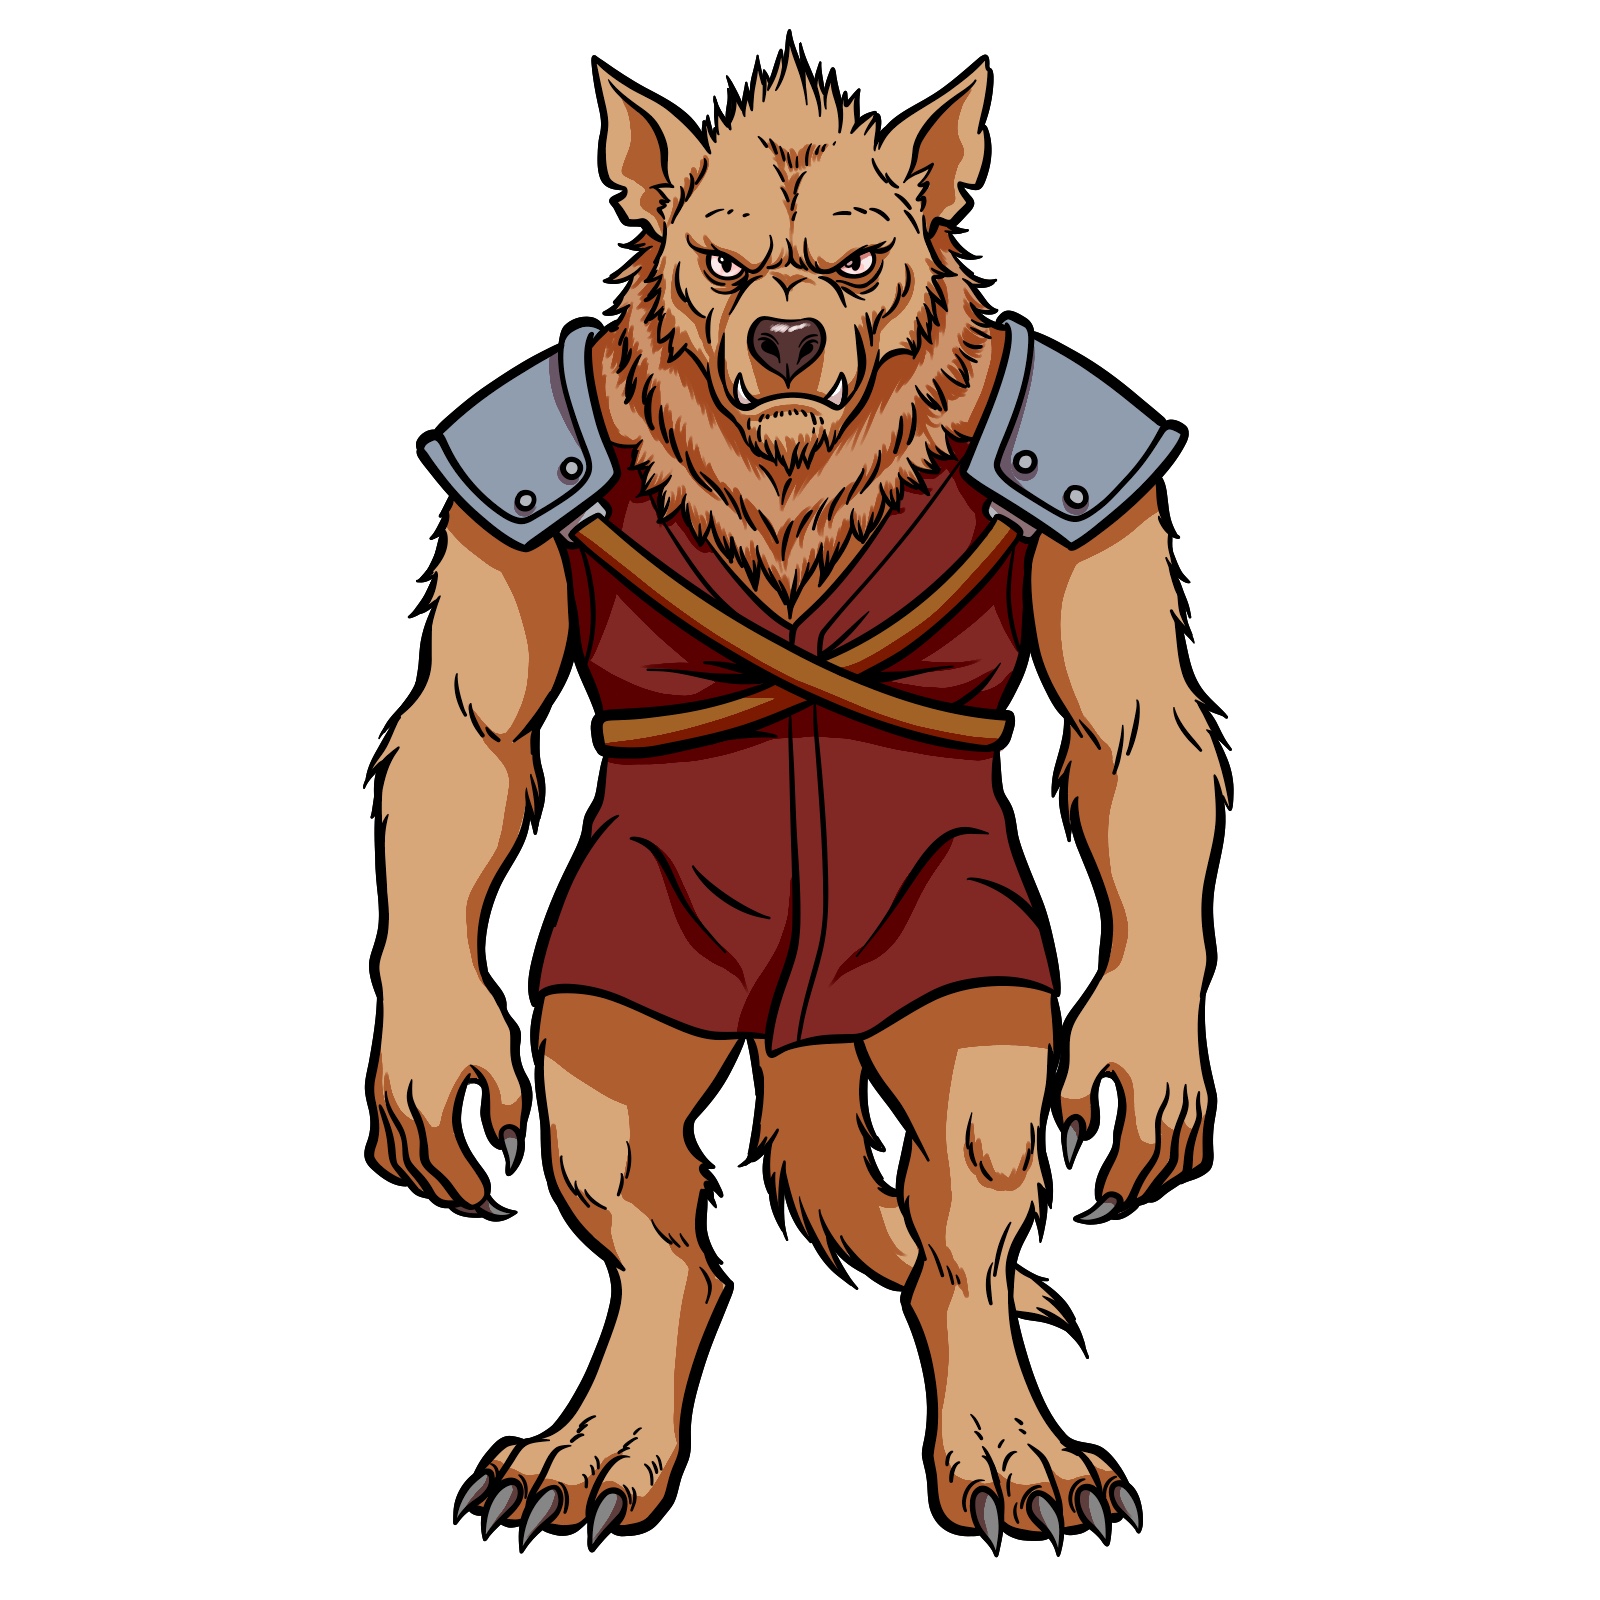
If you’ve ever wanted to understand how to draw a gnoll from scratch, this 23-step walkthrough focuses on building it layer by layer. We’ll sketch the fearsome hyena-like creature seen in many fantasy worlds. The guide breaks down the drawing into 23 simple steps that focus on structure, simple anatomy, and texture so that the final result looks balanced and powerful.
Understanding the Gnoll’s Appearance
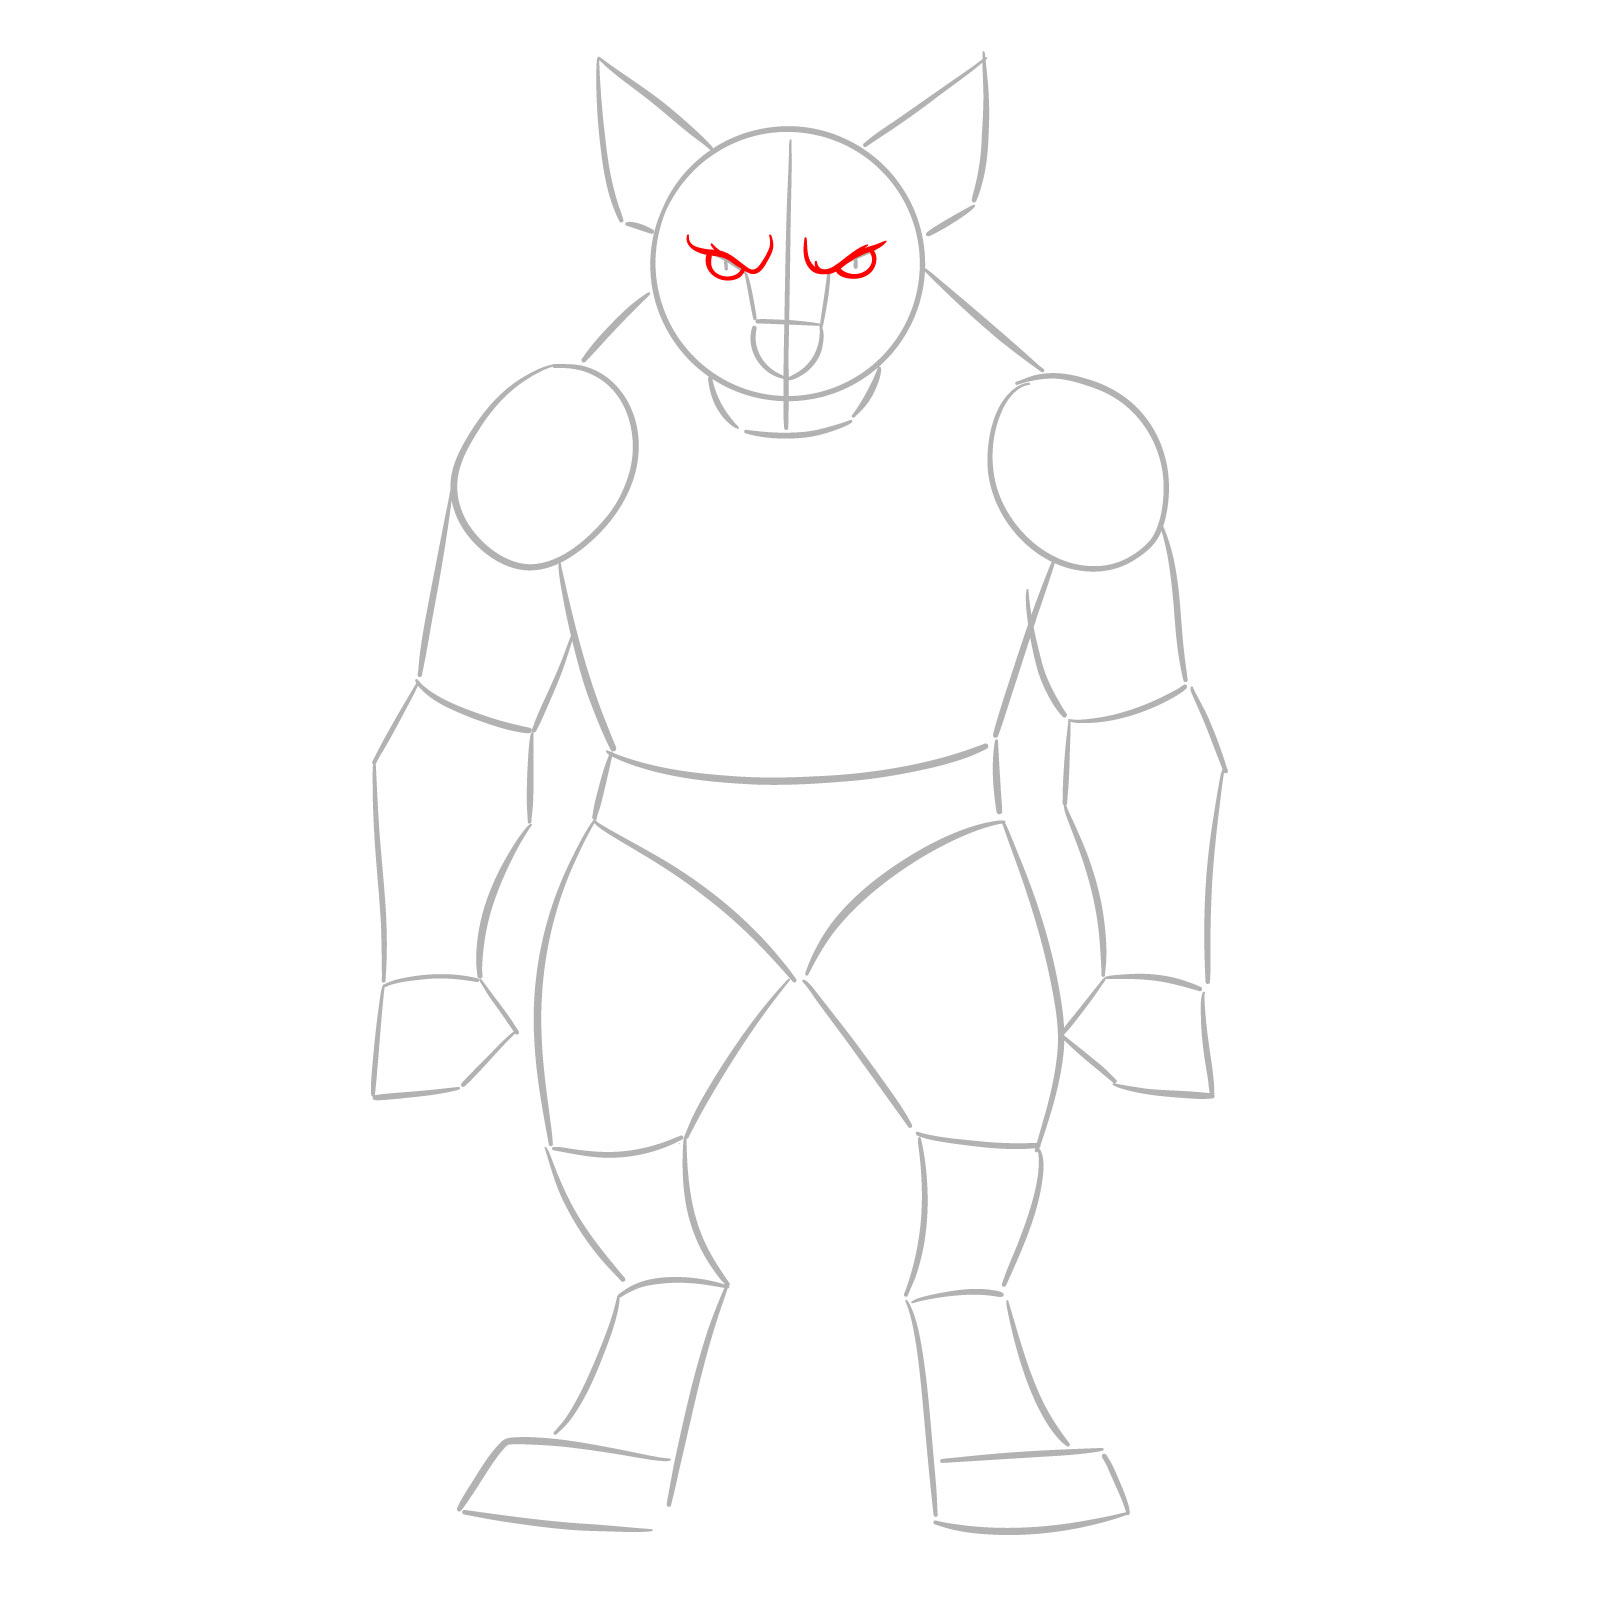
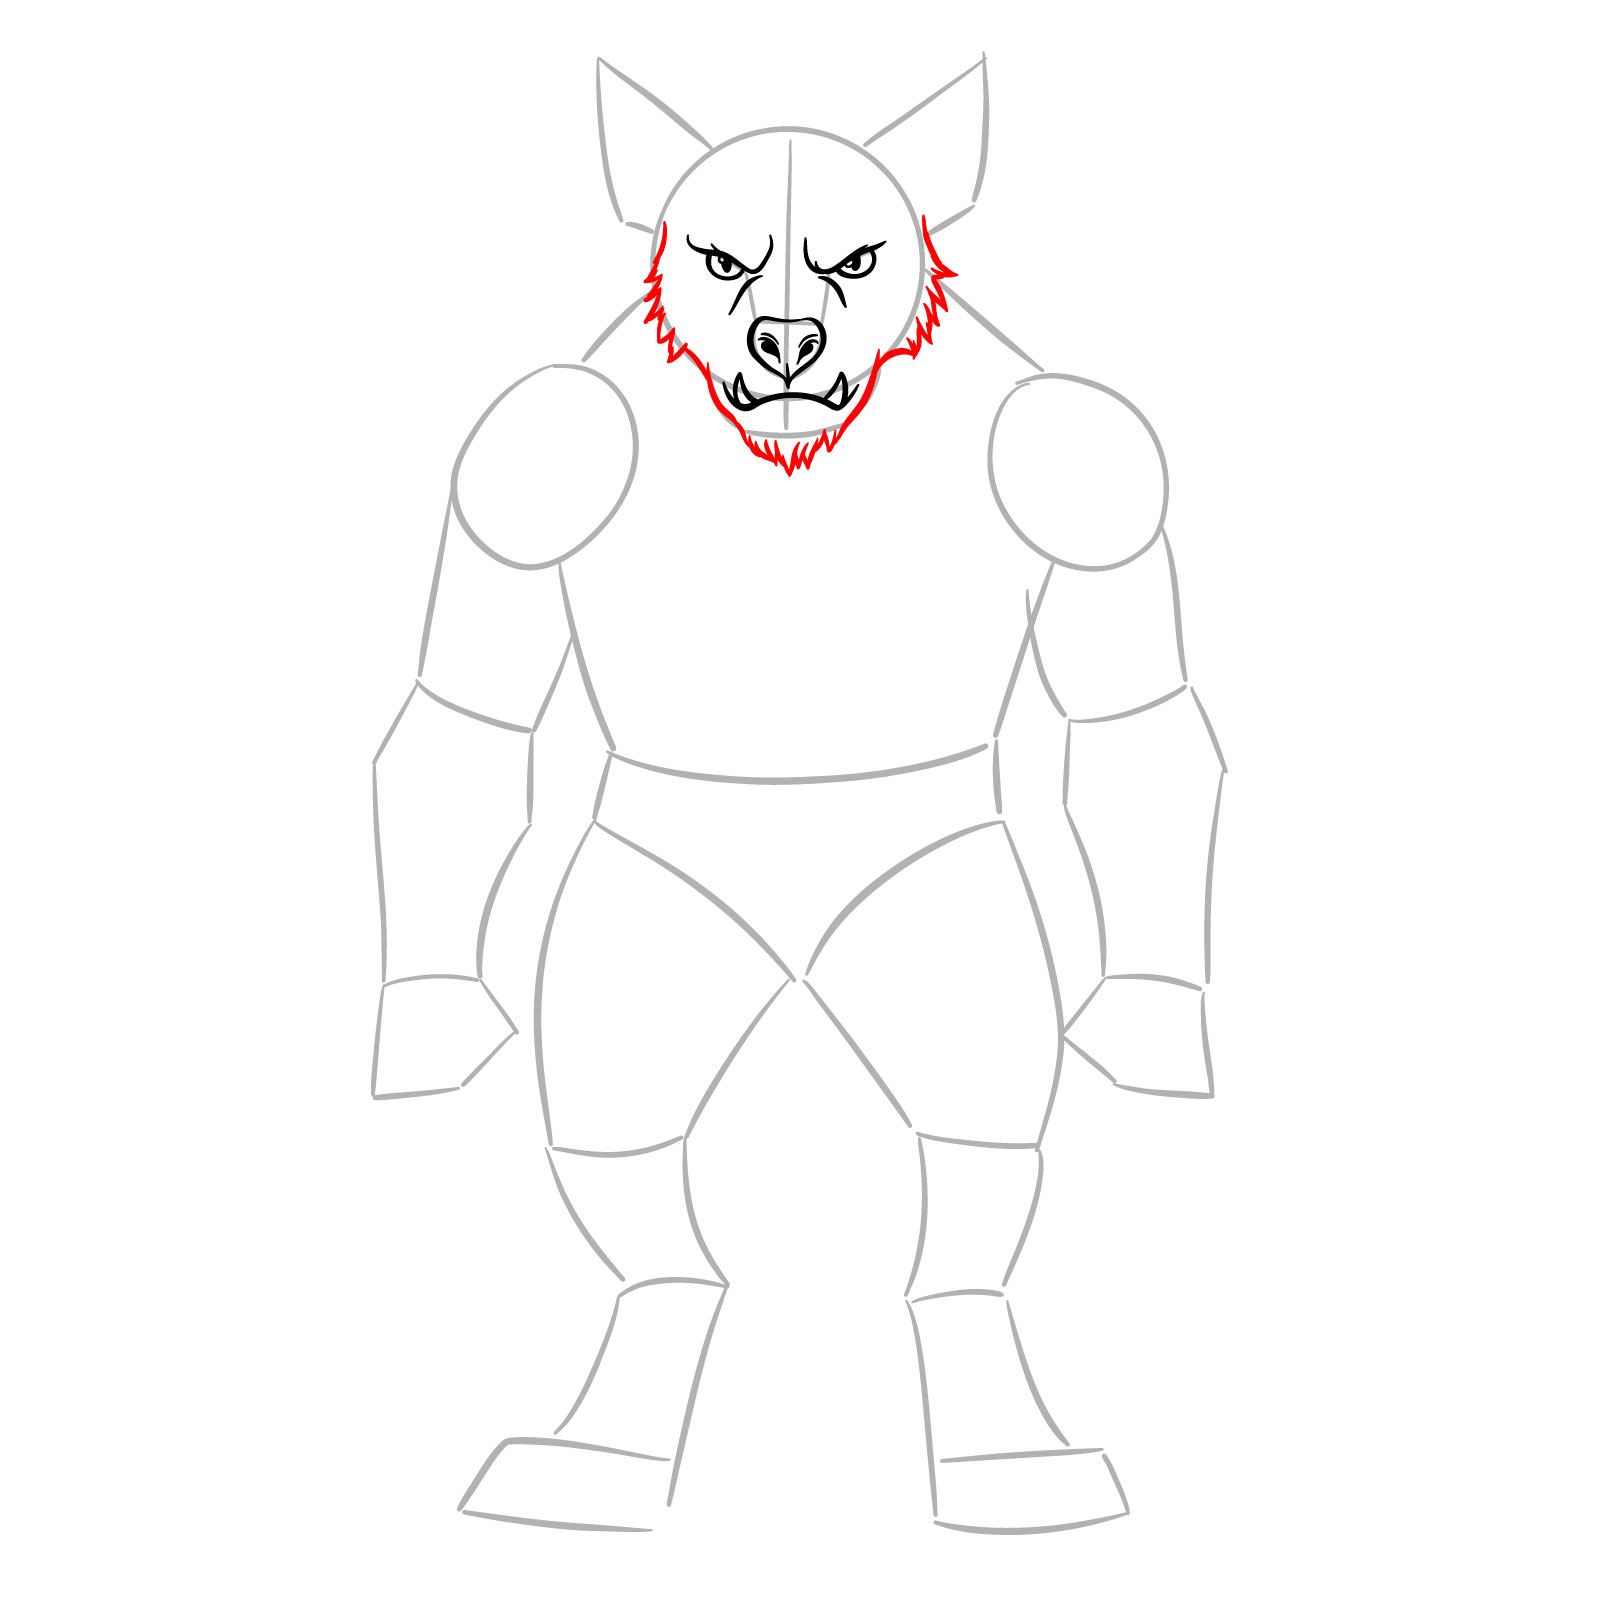
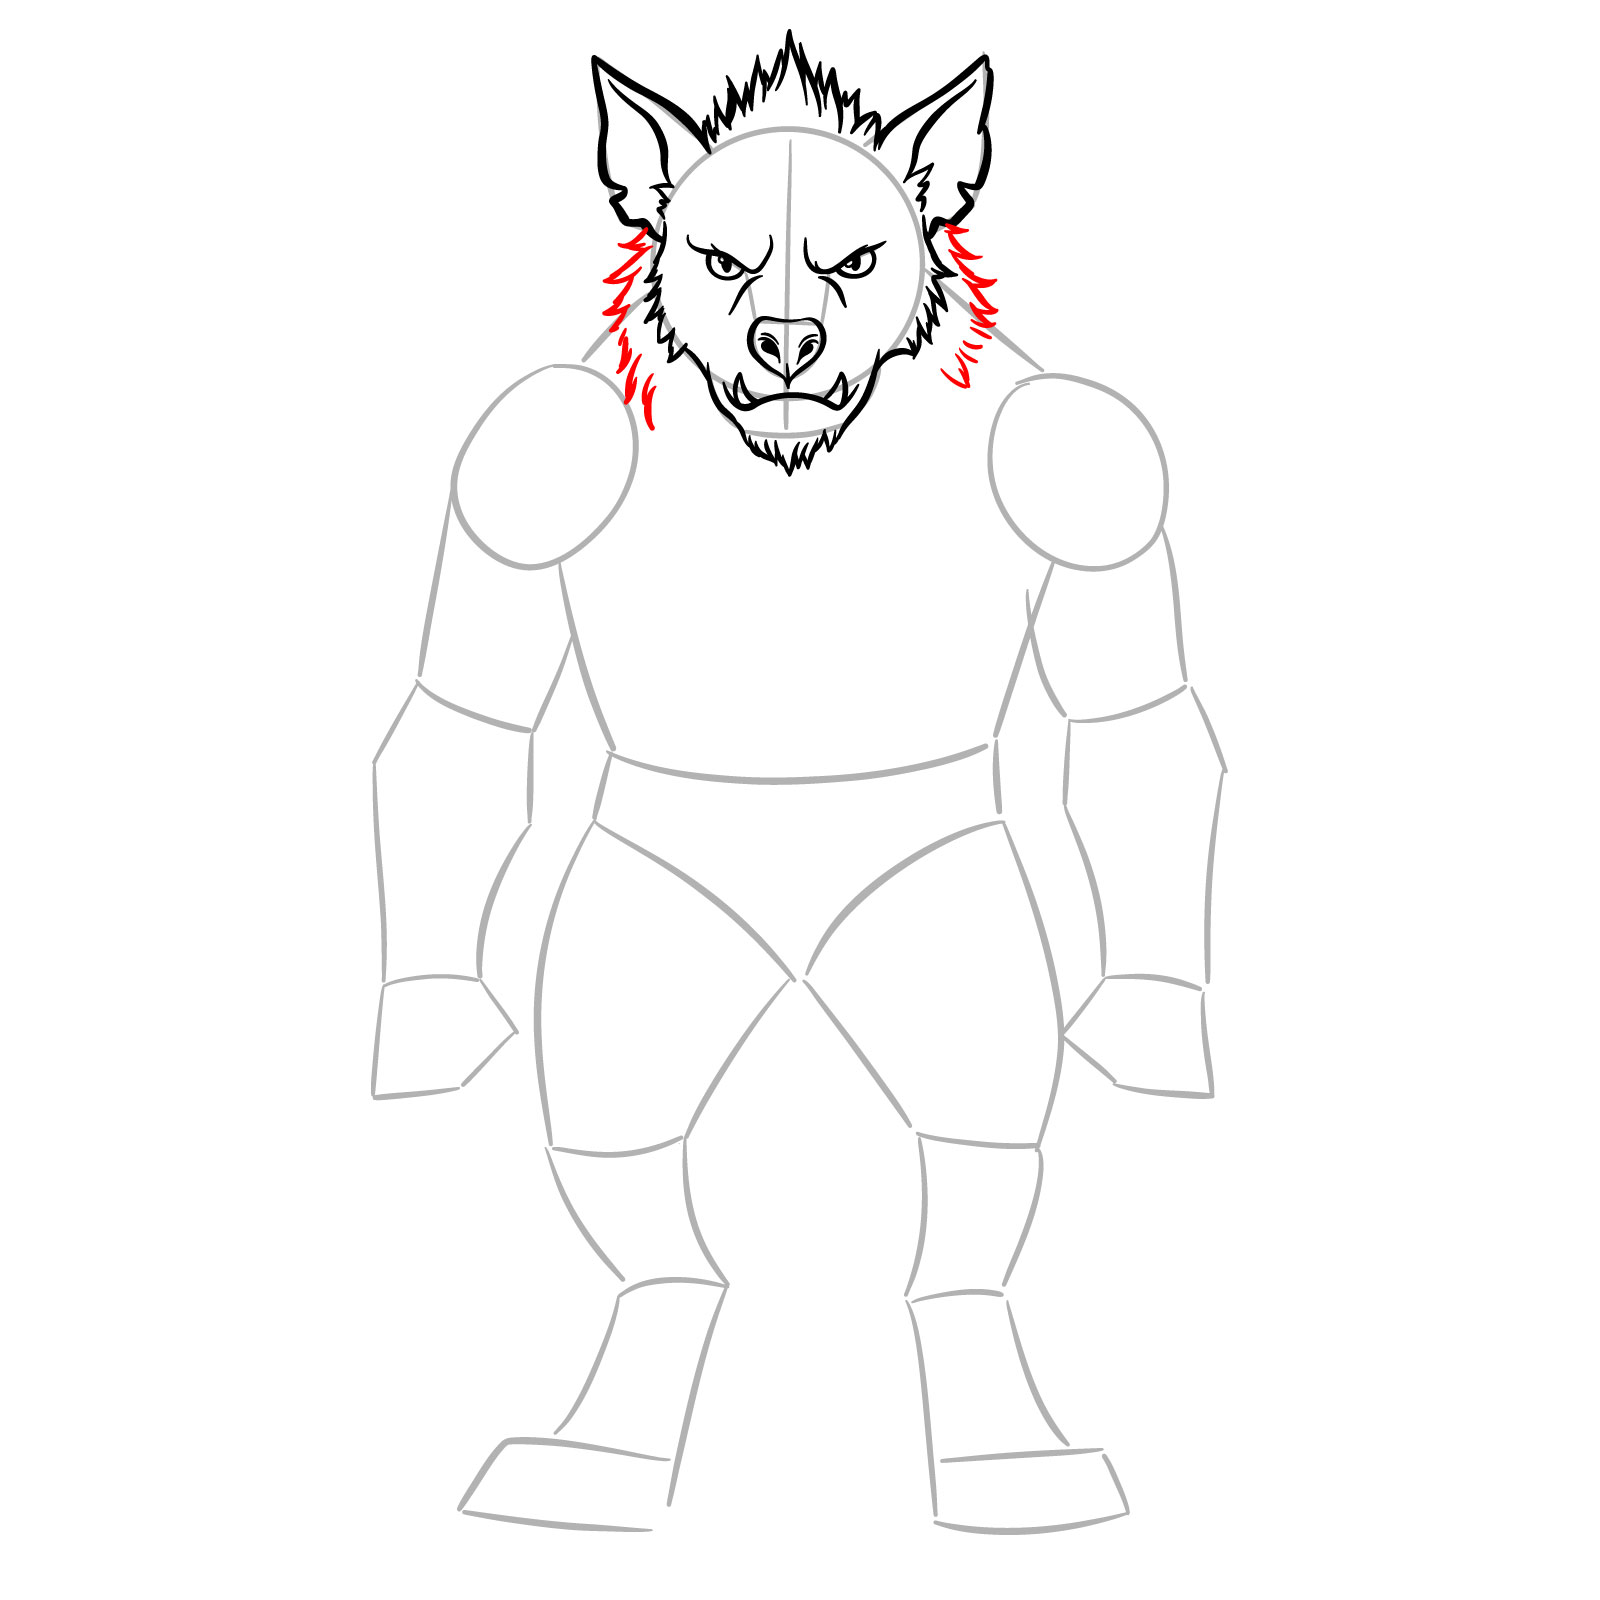
- Head: hyena-shaped with sharp features, a short muzzle, and upright pointed ears.
- Fur: thick around the neck and shoulders, fading toward the arms and legs.
- Expression: fierce and alert, with deep-set eyes and bared teeth.
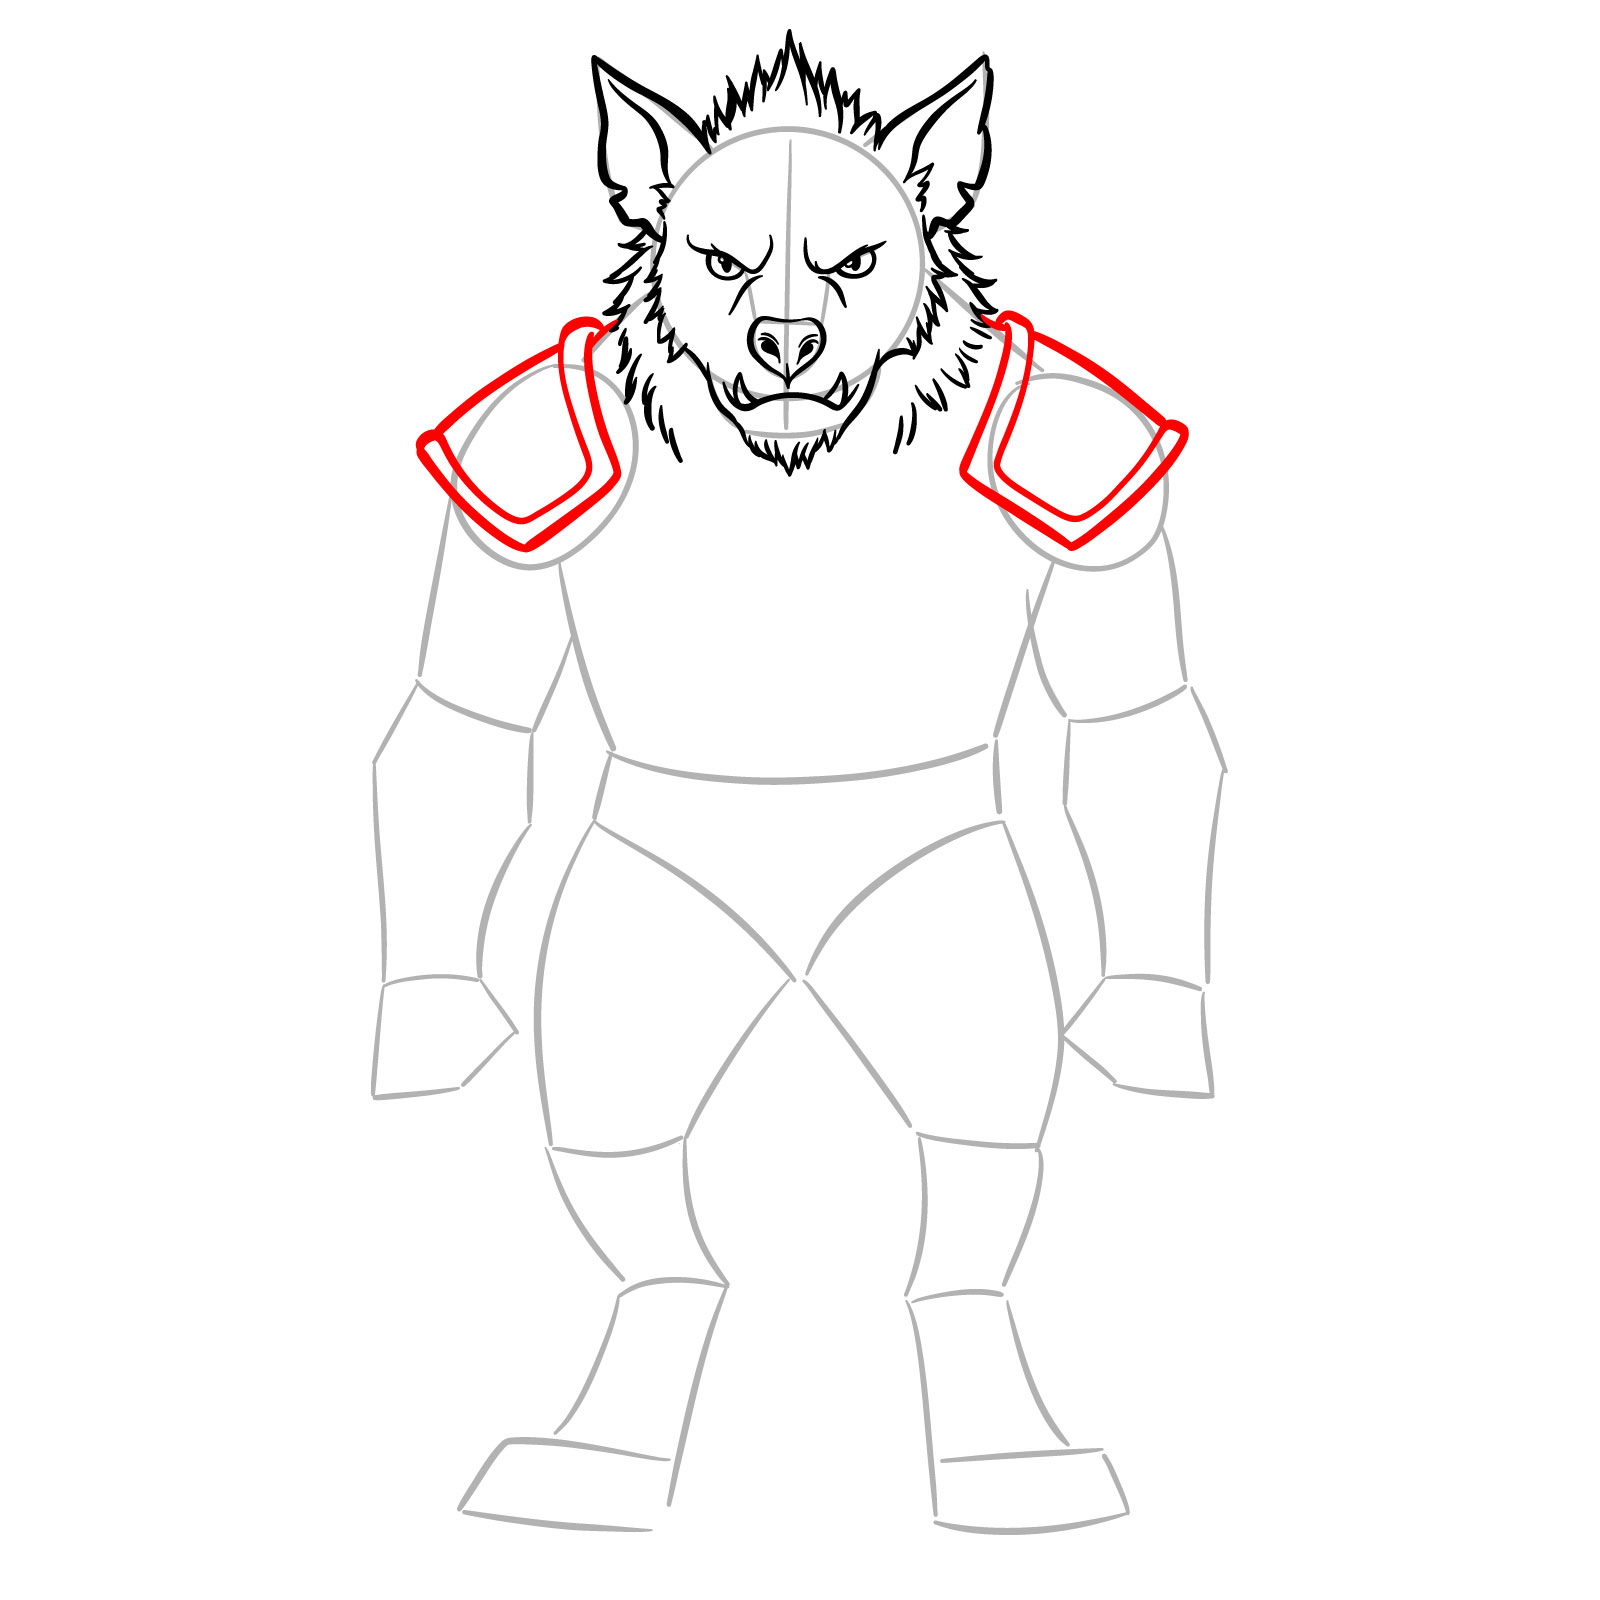
- Torso: broad and muscular, covered with a simple leather or cloth tunic.
- Arms: strong, longer than human proportions with clawed fingers.
- Legs: digitigrade stance (walking on toes), ending in clawed feet.
- Armor: shoulder pads with straps.
- Tail: furry tail.
Once you finish your gnoll drawing, you might want to continue building your fantasy lineup with other creatures like bugbears, ettins, trolls, or minotaurs.
How the 23-Step Gnoll Drawing Guide Works
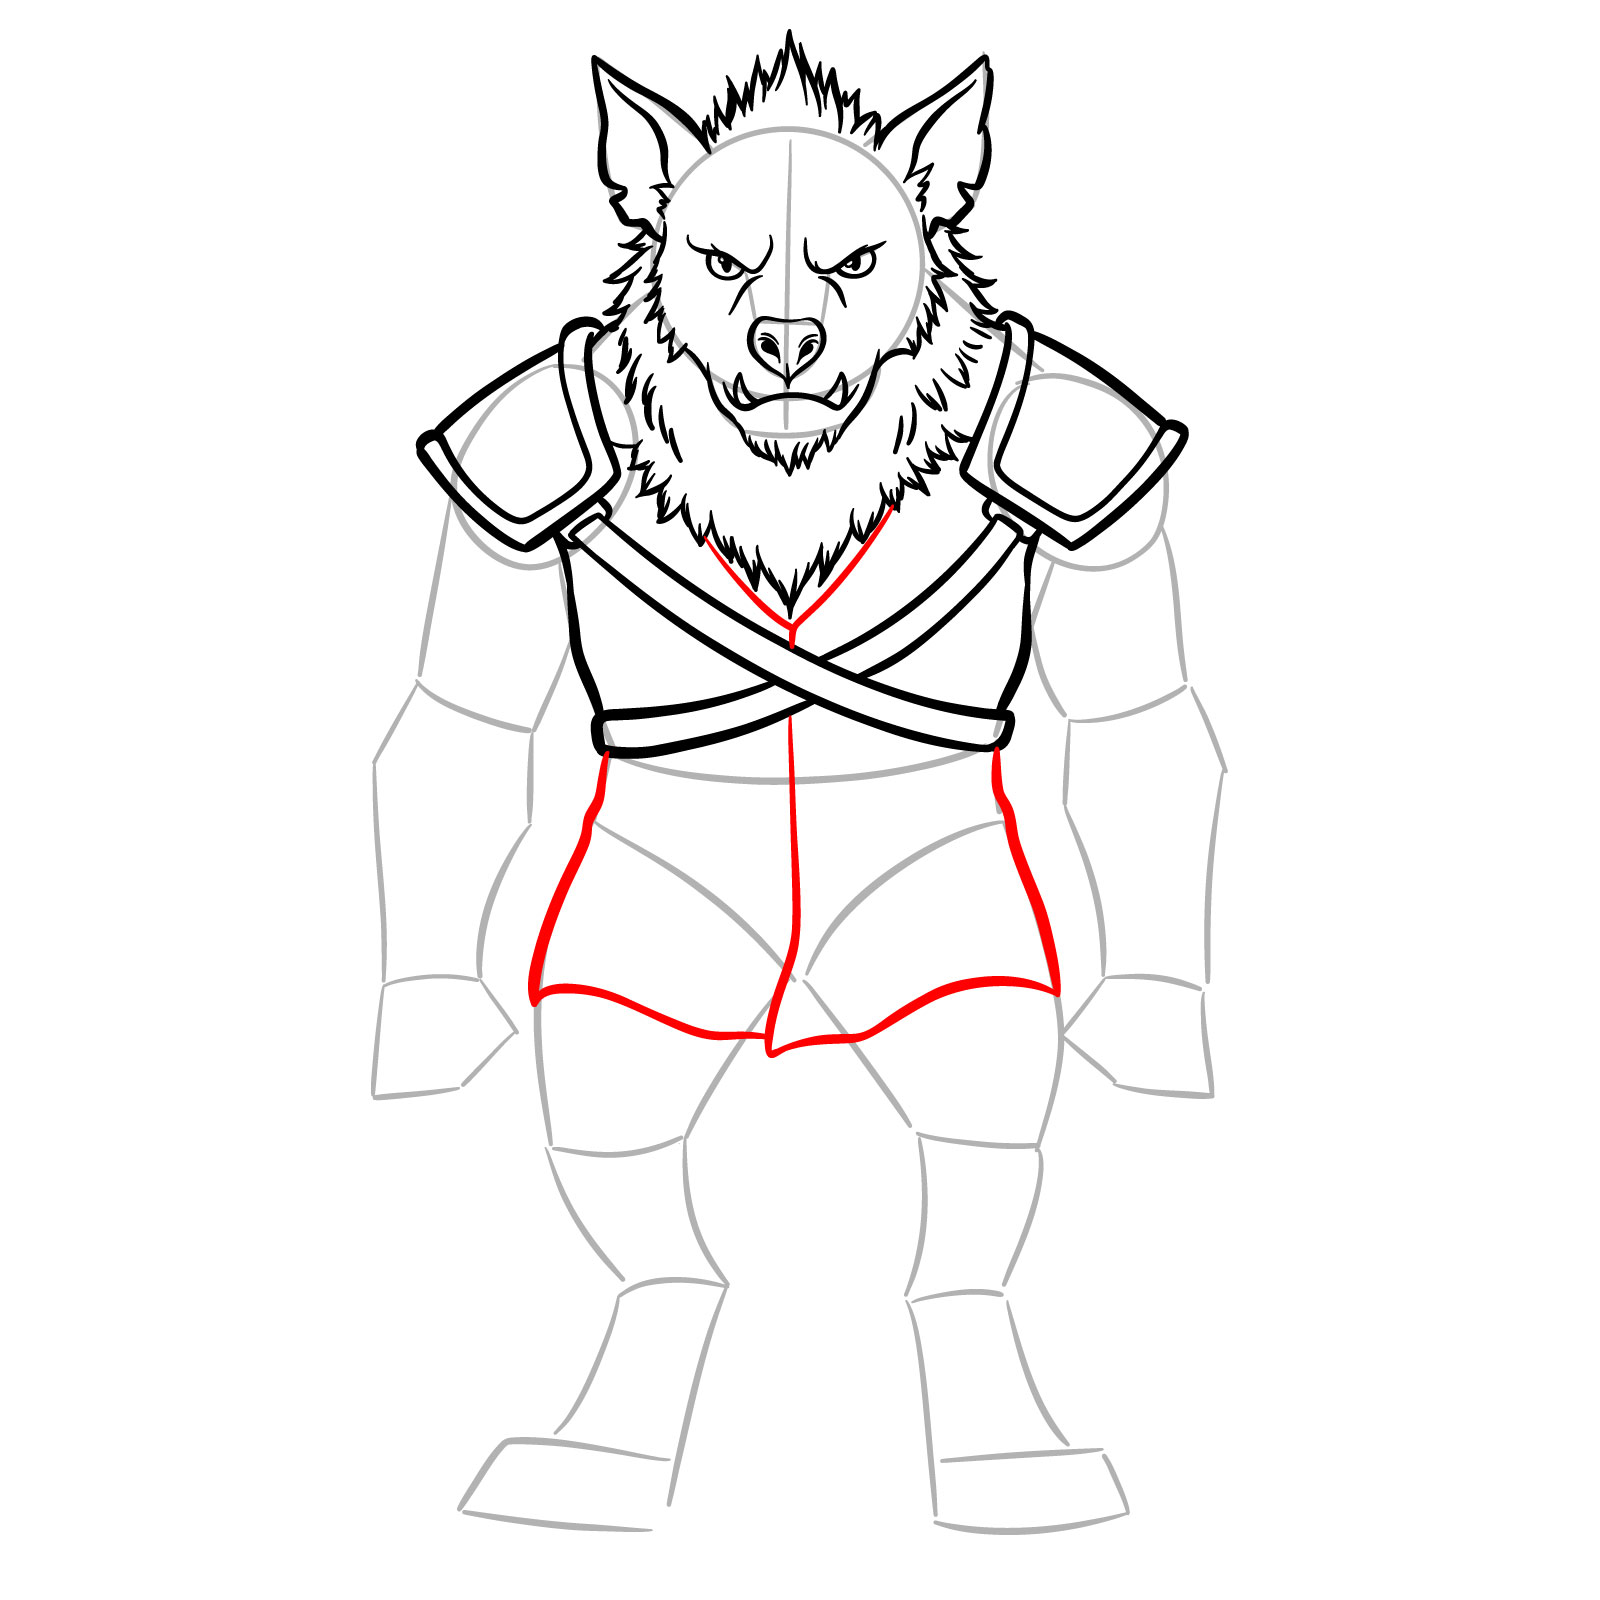
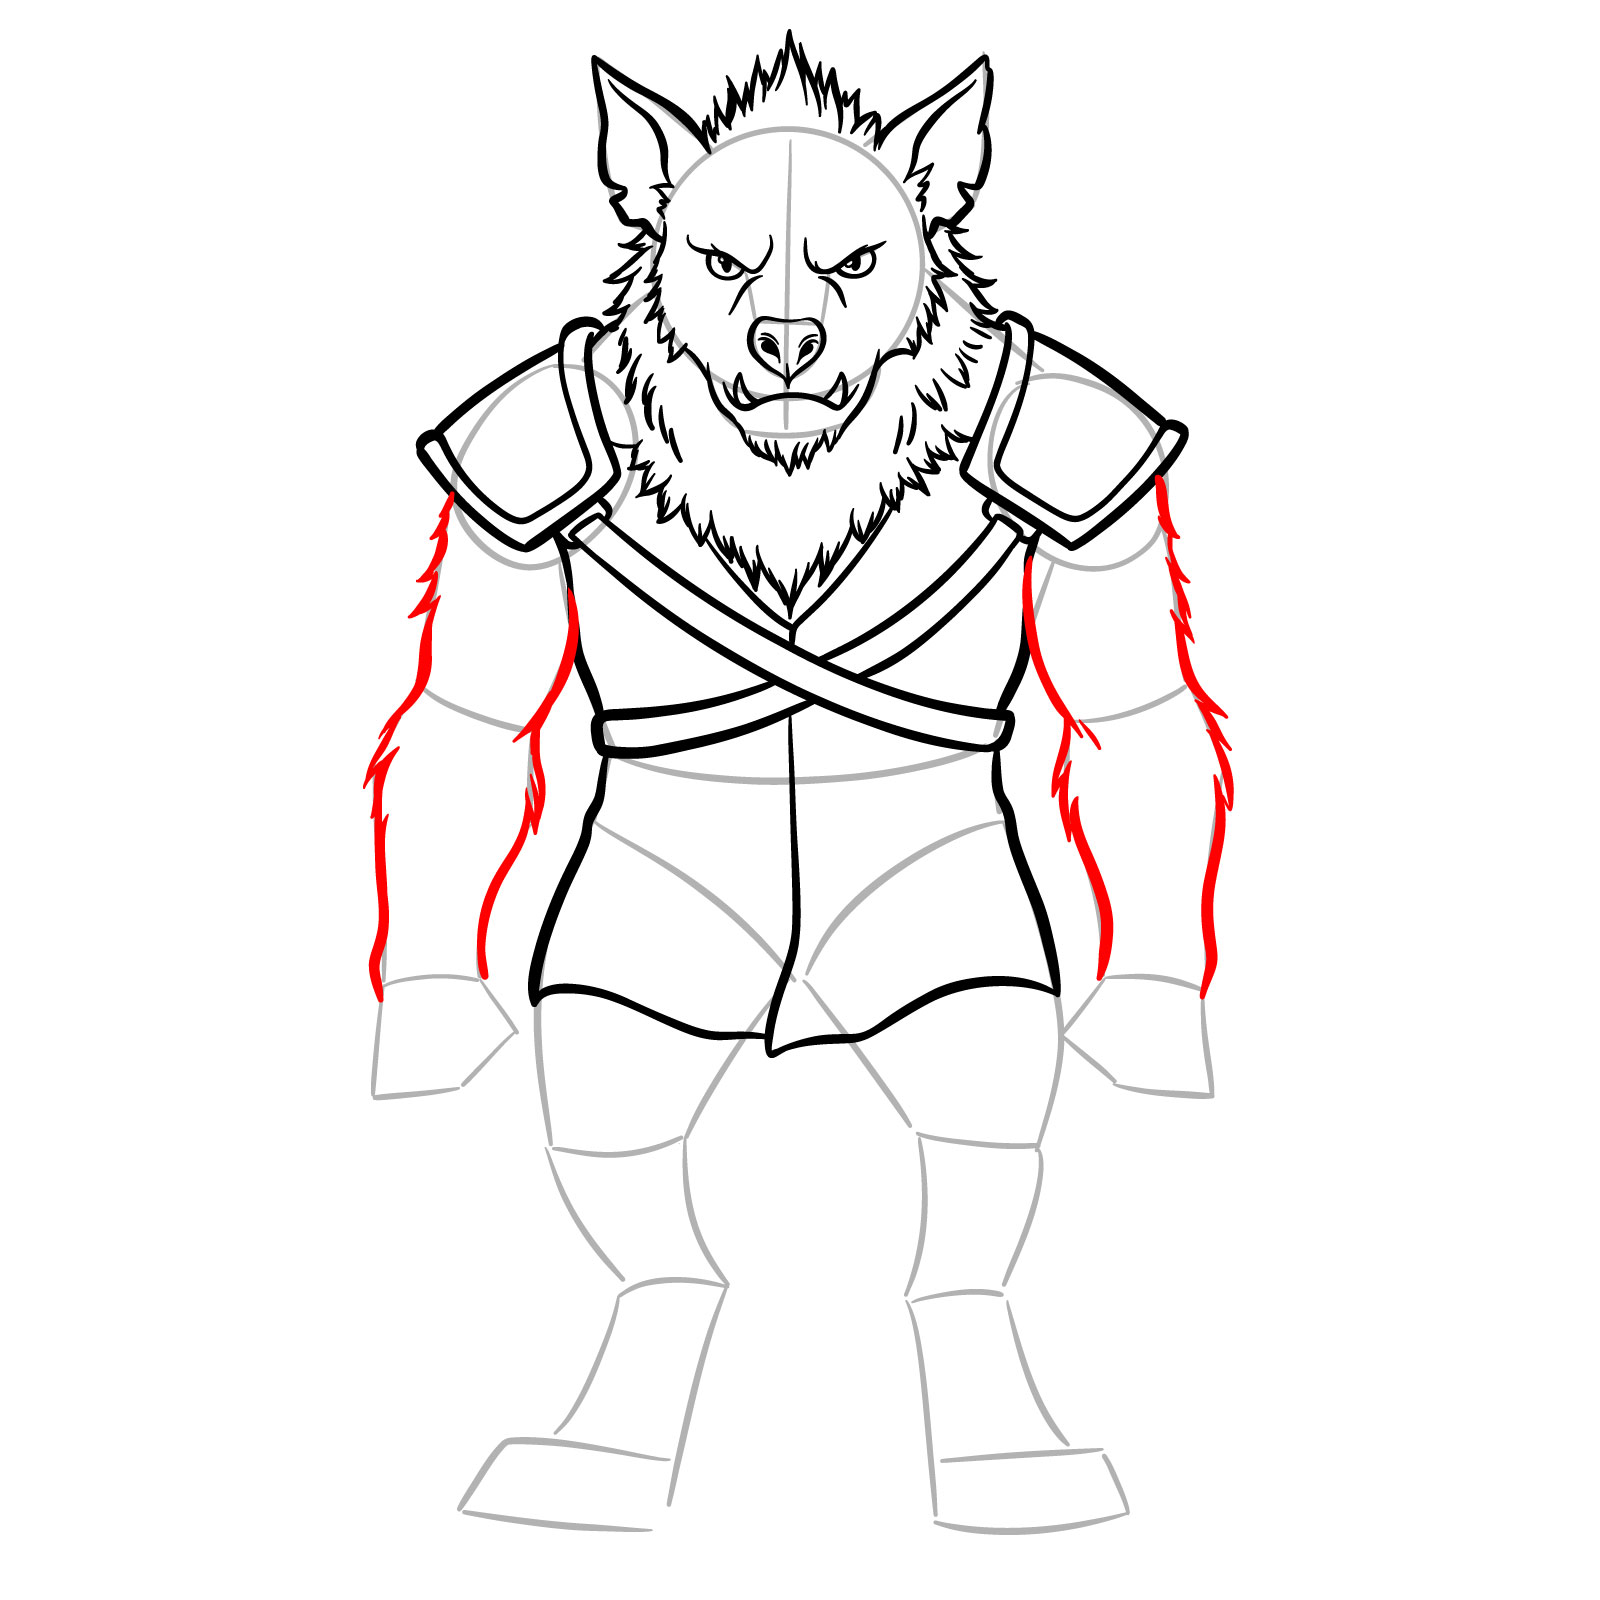
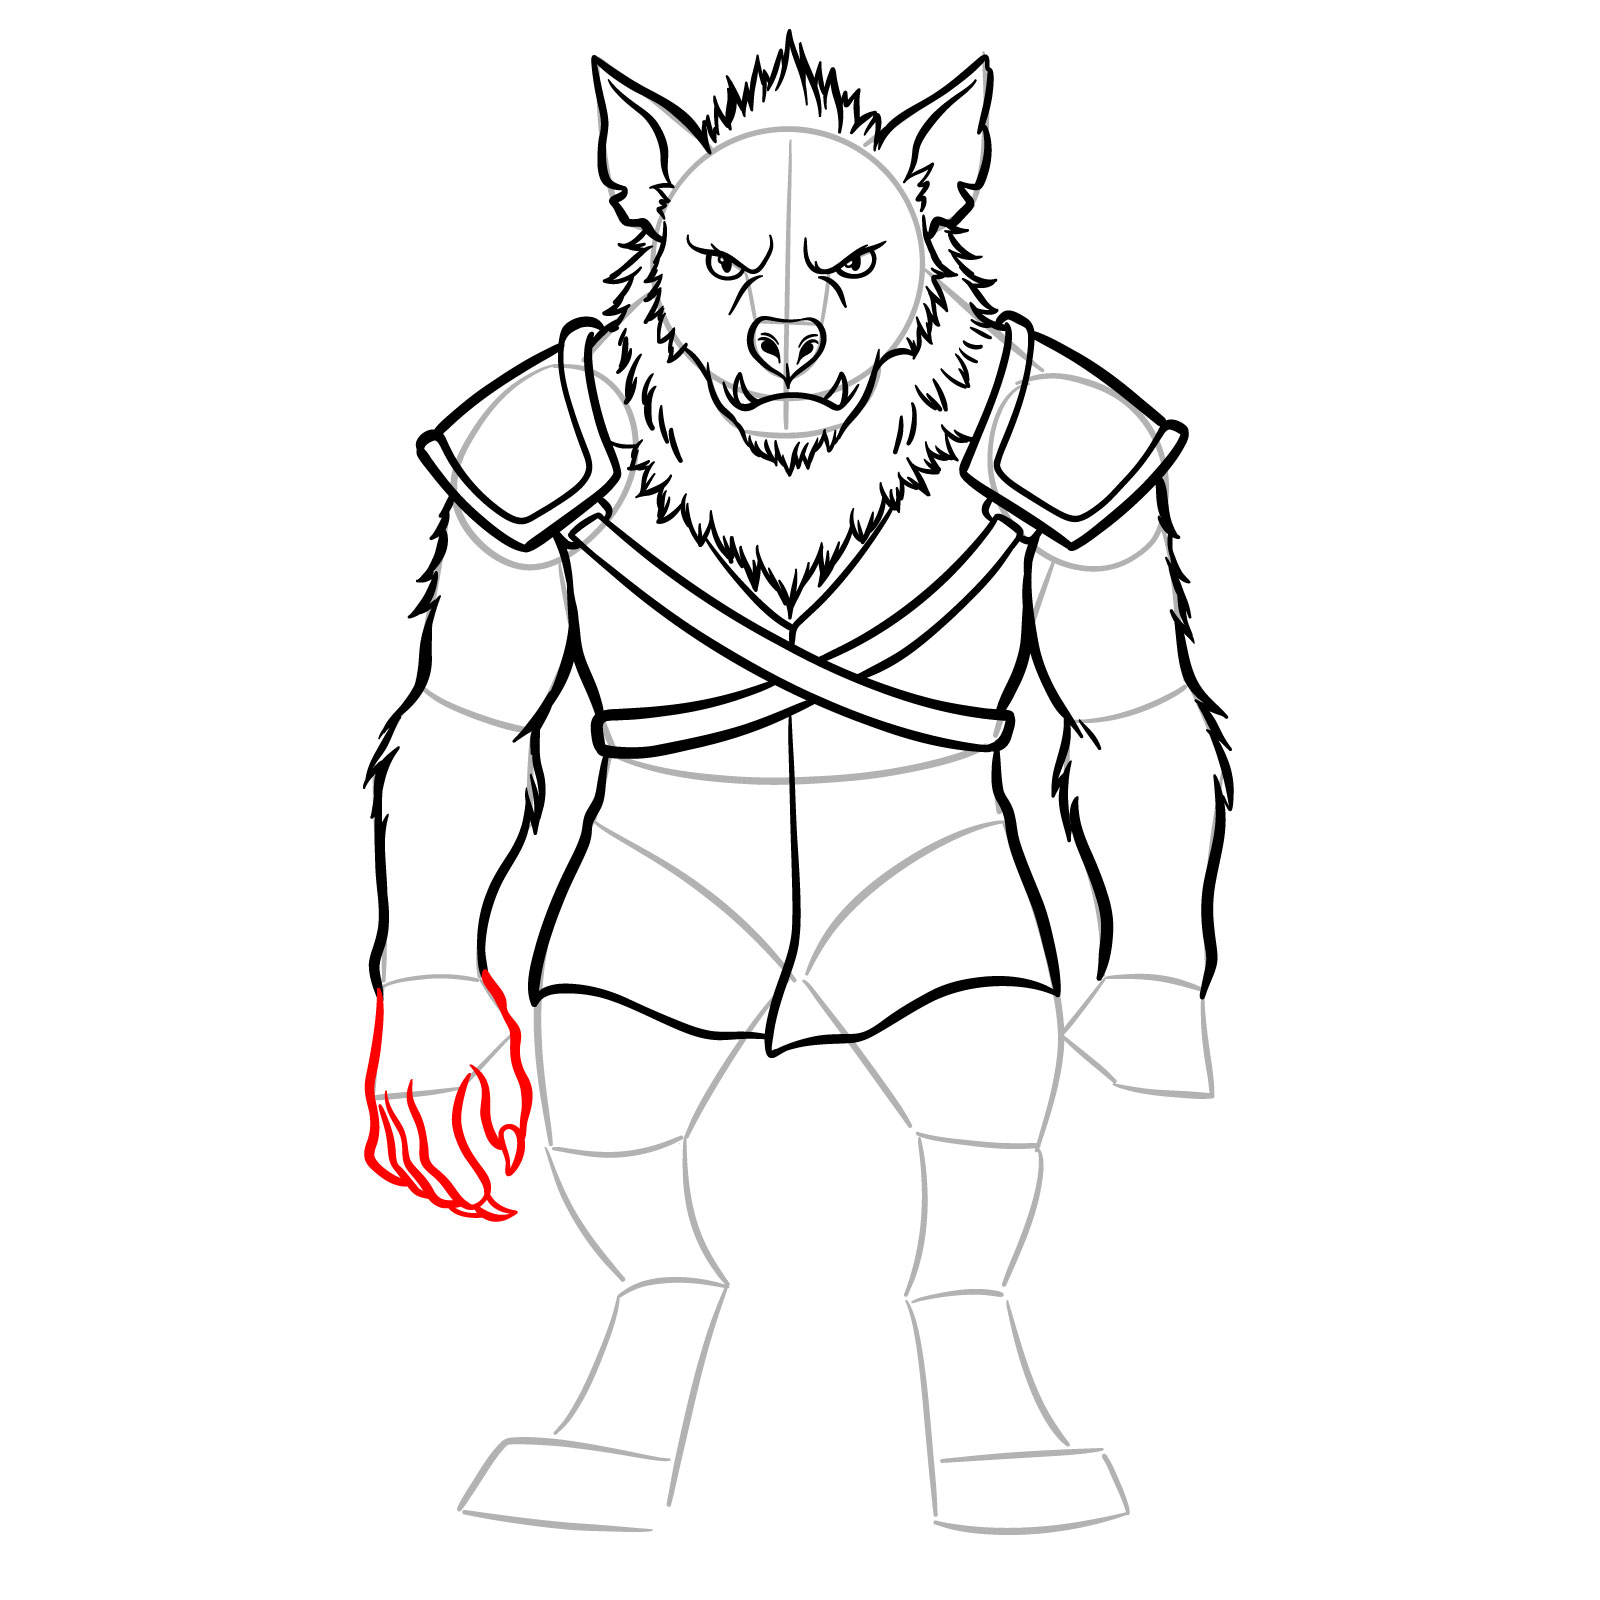
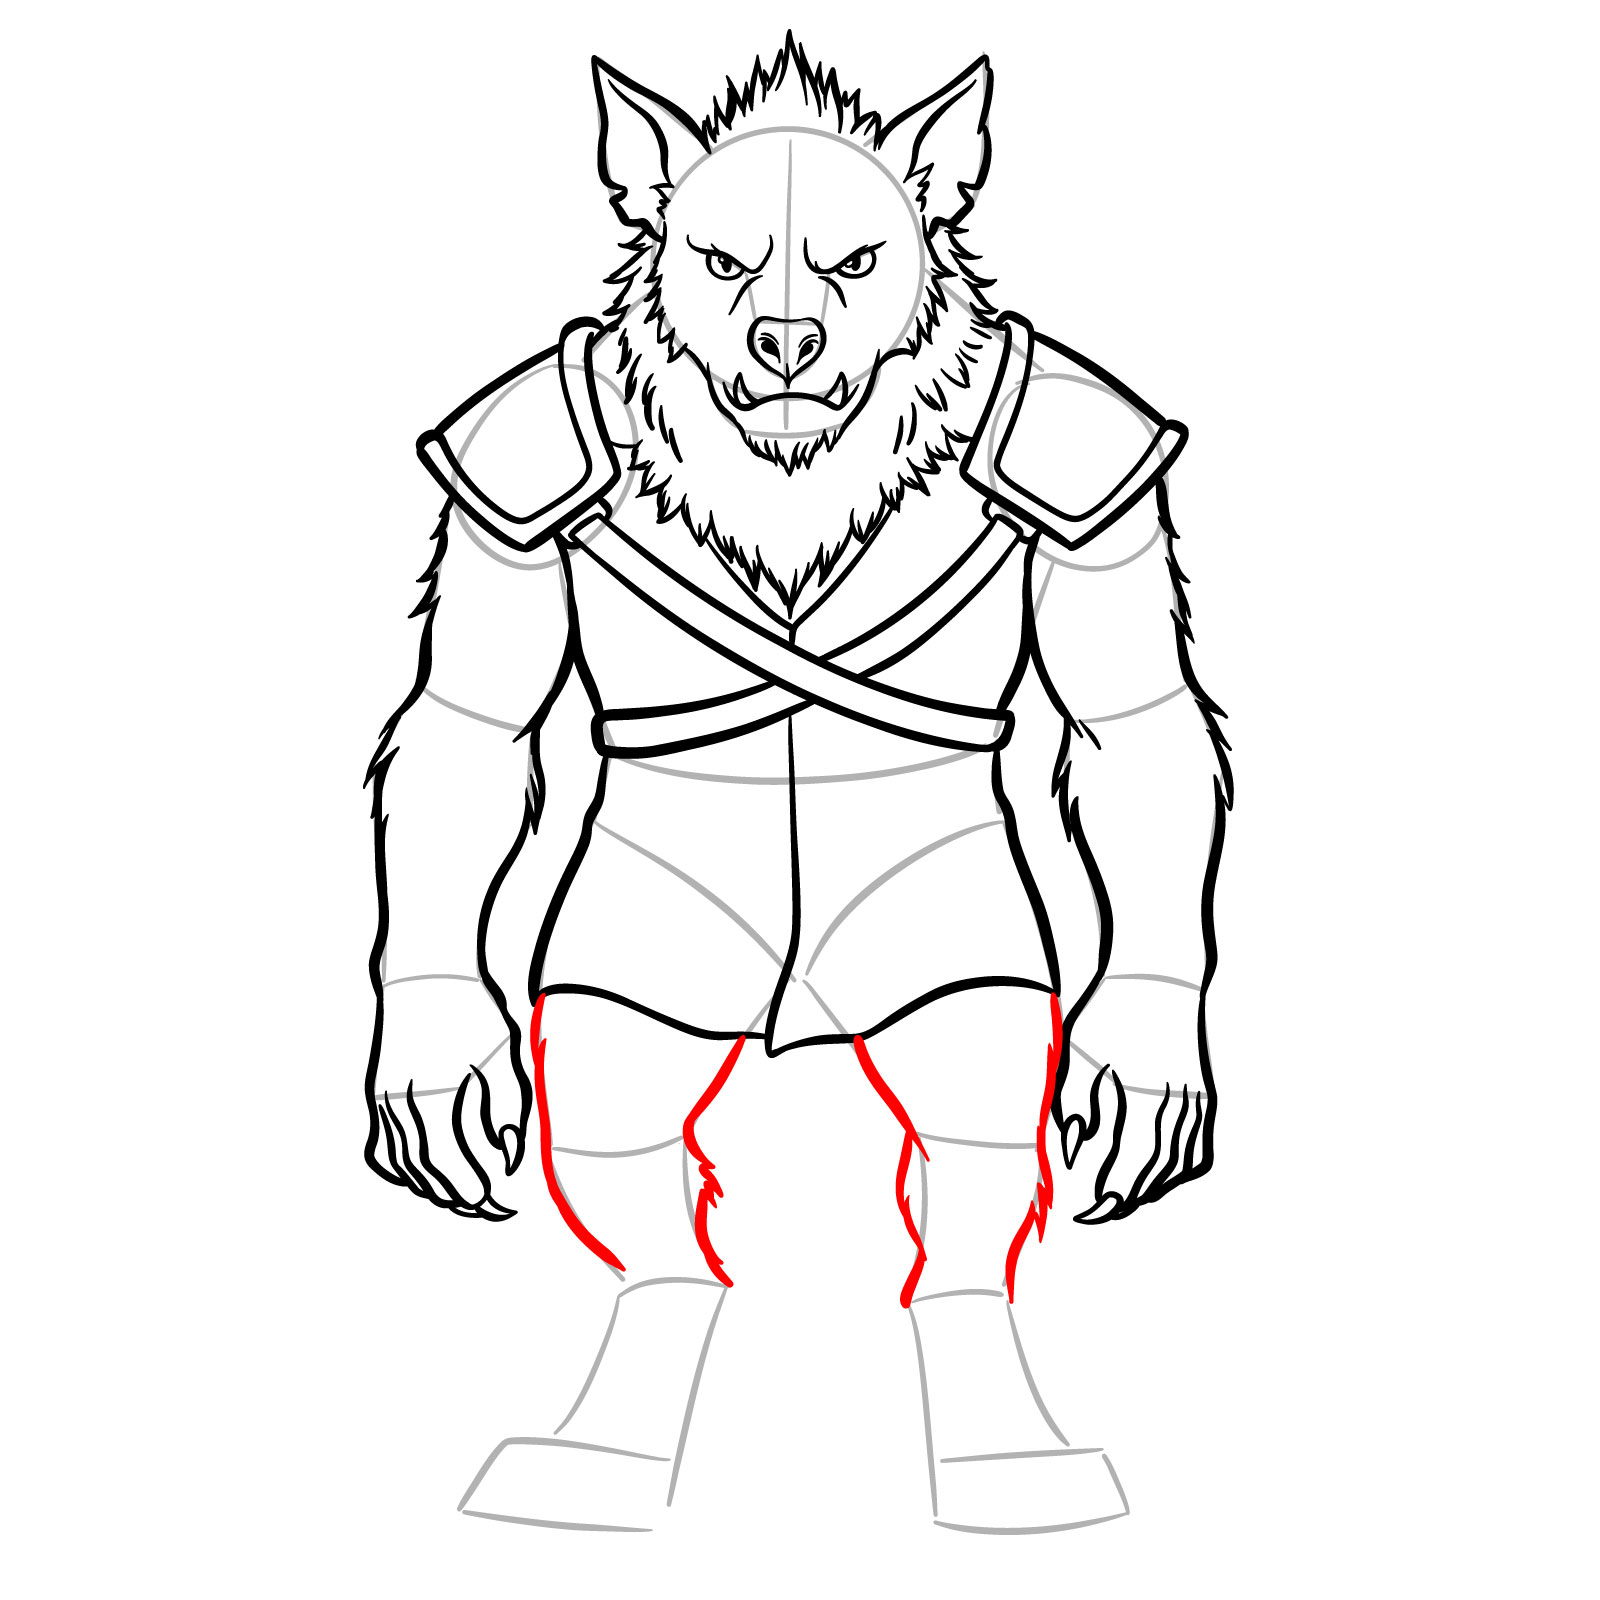
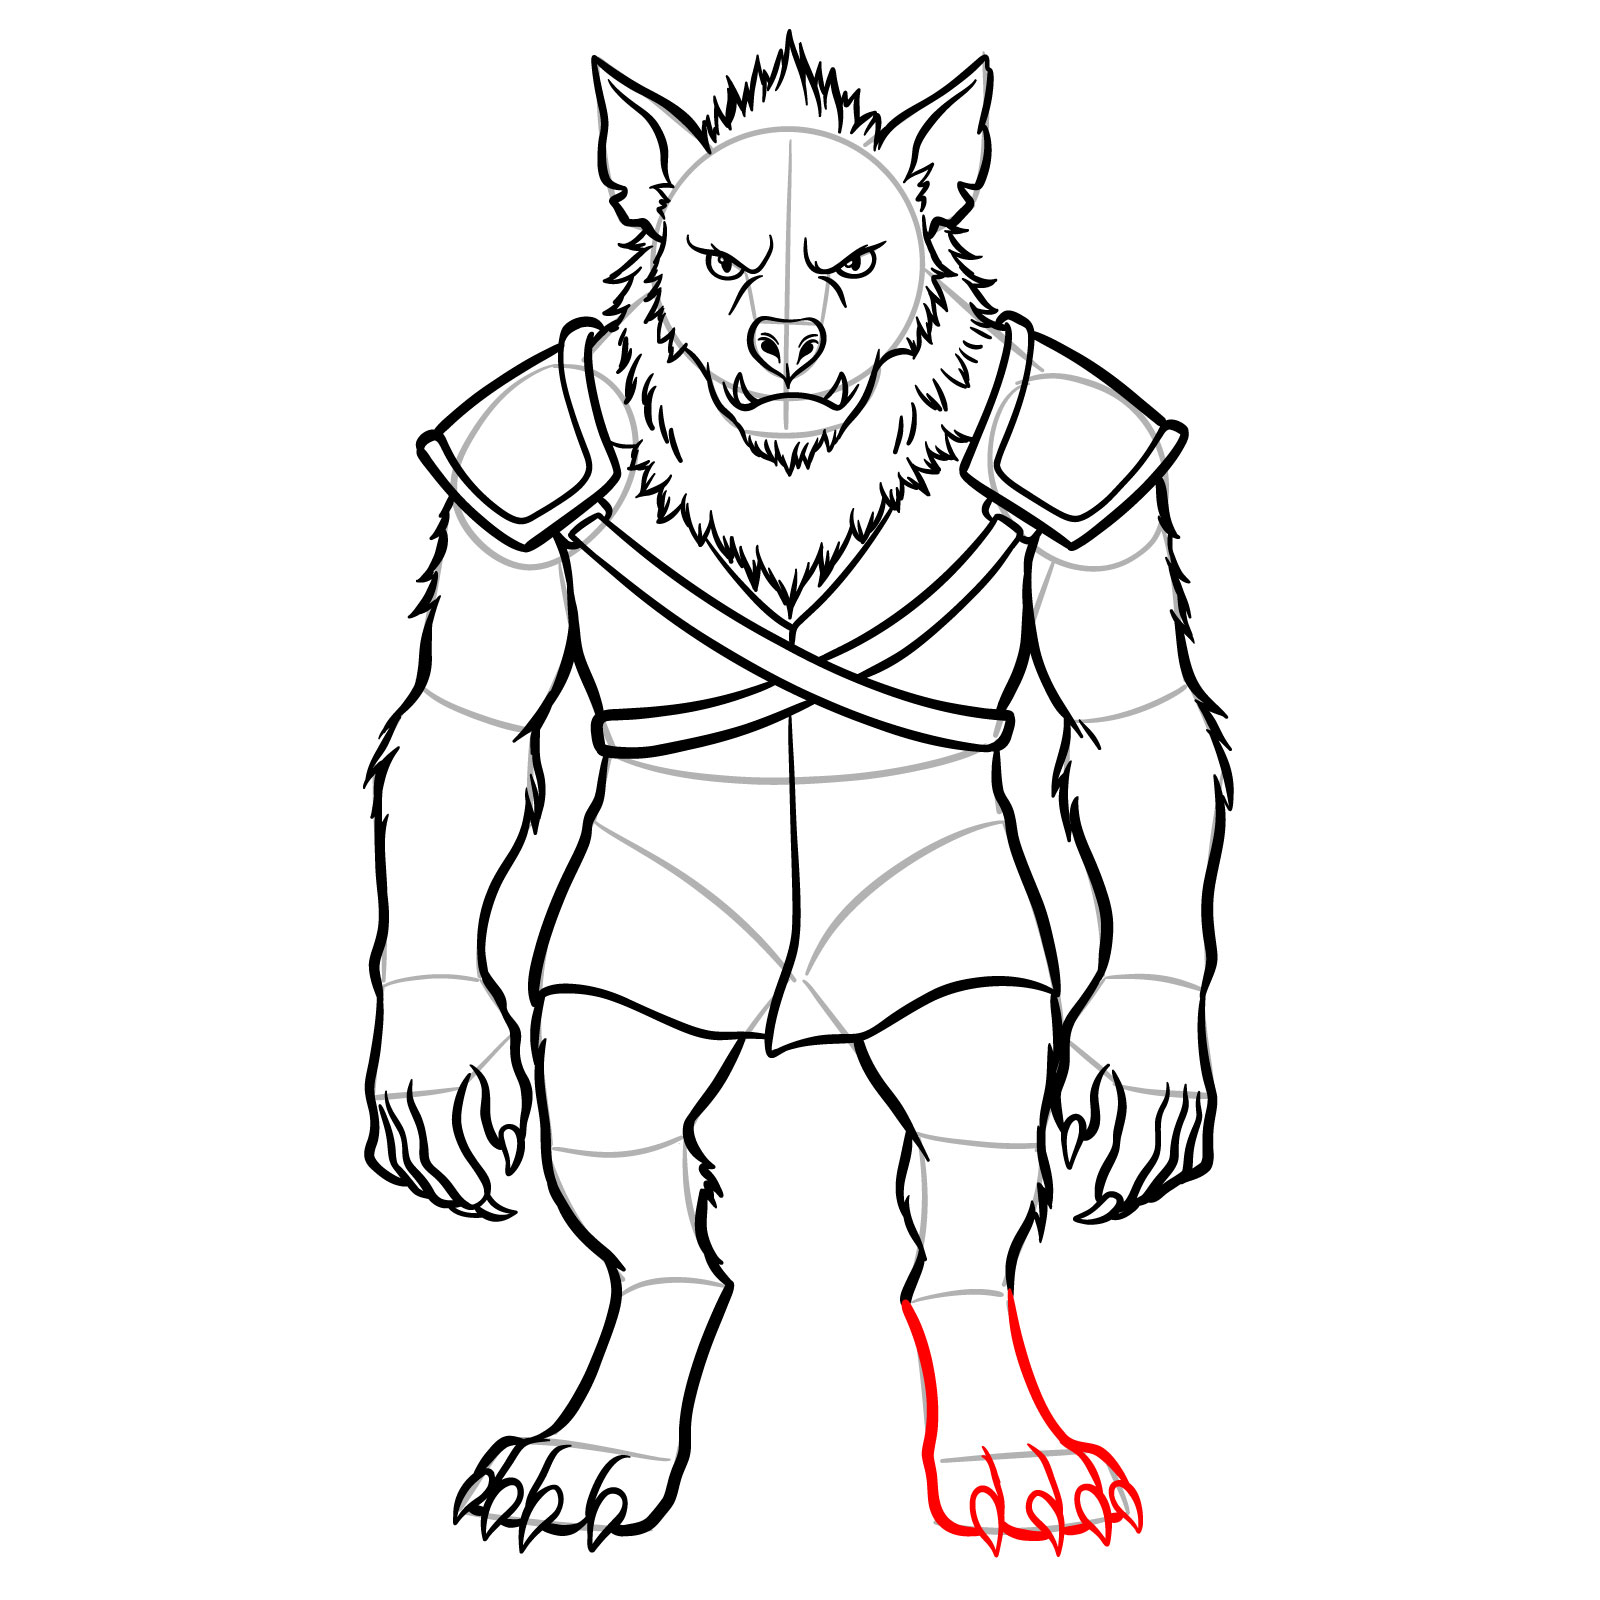
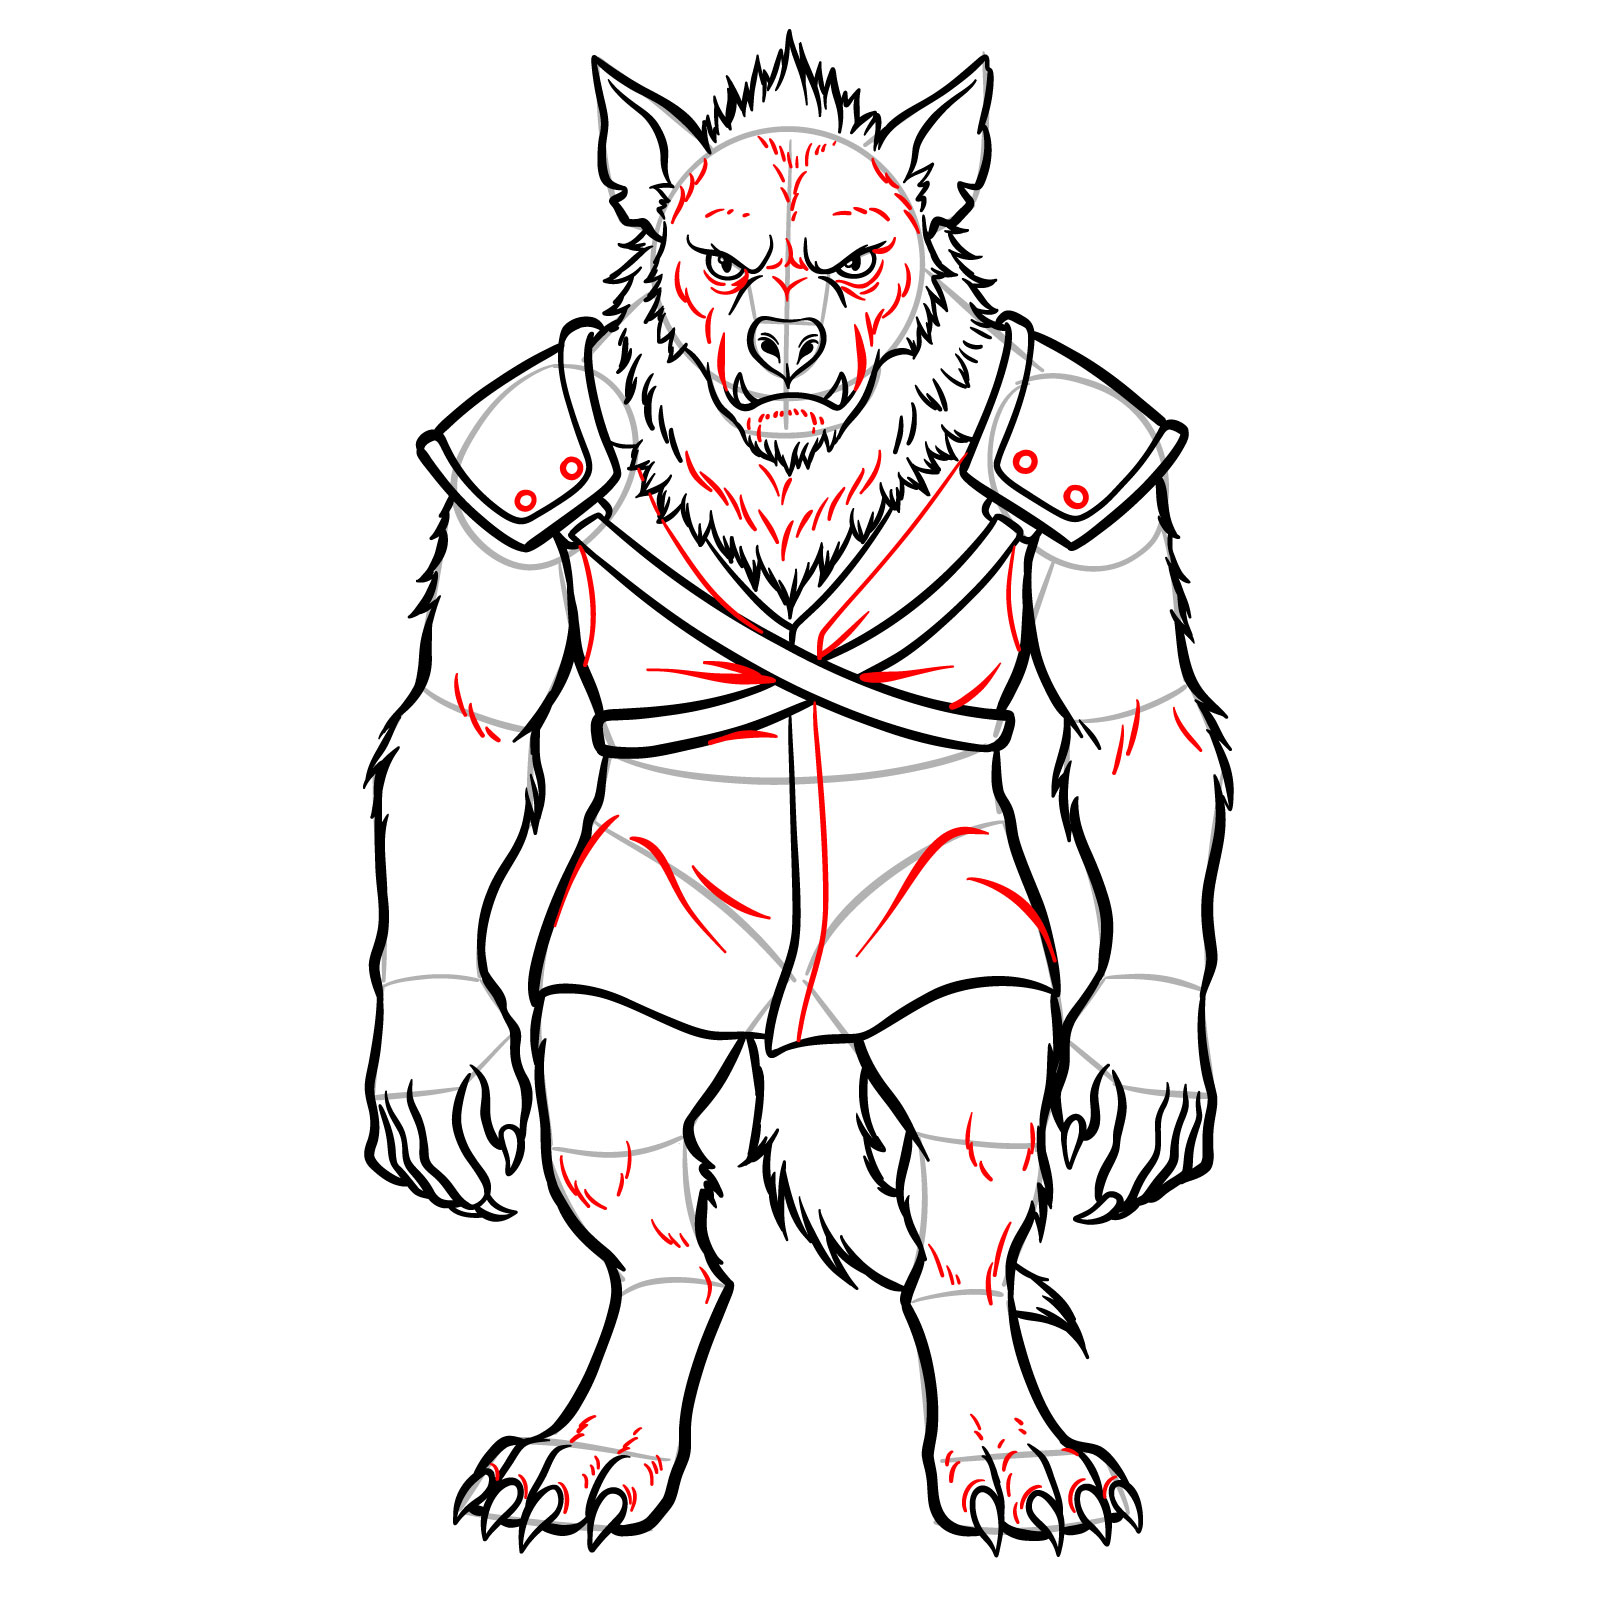
To make this guide clear and beginner-friendly, each step uses color-coded lines:
- Red Color: lines added in the current step.
- Black Color: lines from previous steps.
- Grey Color: base sketch or initial structure.


I’d love to see your version of the gnoll, share it in the comments section of the pinned post on Pinterest to showcase your take on this classic creature.
Follow SketchOk for more fantasy and creature design tutorials:
New drawing tutorials are posted every other day on YouTube, covering creatures, heroes, and mythical beings like the gnoll.