Hi everyone! Today, I’ll guide you on how to draw a snowman with a broomstick. This snowman is dressed in a festive top hat and a red-and-green Christmas scarf, holding a broomstick. With its carrot nose, this cheerful character is a perfect addition to your holiday-themed drawings. If you enjoyed the earlier guide featuring a snowman with a bird, you’ll find this one just as fun to draw.
Understanding the Snowman’s Look
A classic snowman design with three snowball sections: head, middle, and lower body.
Wears a tall purple top hat with a red band and golden buckle.
A festive red-and-green striped scarf wraps around its neck.
Red gloves on twig arms—one holding a broomstick, the other resting on its body.
Facial features include open eyes, a carrot nose, and a big smile.
Two gray buttons on its middle section complete the look.
You could also draw other snowman characters, such as the one holding a bird, for a variety of winter-themed illustrations. Or consider sketching Santa’s face with this easy guide.
Helpful Notes on the Drawing Process
In this guide, I’ve included simple steps to break down the drawing. The red color in the images represents the current step you should focus on, while the black color shows the lines you’ve already drawn. The grey color indicates the basic sketch structure:
Red Color: Current step.
Black Color: Previous lines.
Grey Color: Basic sketch.
Feel free to adjust as you go along, adding your unique touch to your snowman drawing.
Step 1: Start with a rough sketch by drawing three ovals stacked on top of each other to form the snowman’s body sections: the head, middle, and lower body.
Step 2: Add a curved line where the top hat will meet the snowman’s head. Place it slightly tilted for a natural look.
Step 3: Outline the head, ensuring it’s smooth and rounded. Add the end of the scarf hanging down on one side of the neck area.
Step 4: Sketch the edge of the top hat by adding a wide oval brim around the curved line from step 2.
Step 5: Draw the top hat’s main structure, a tall rectangle with slightly curved sides, and connect it to the brim.
Step 6: Add the scarf wrapping around the neck.
Step 7: Sketch the twig arm resting on the lower body. Use slightly uneven lines to give it a natural look, and add a curved line for the start of the glove’s cuff at the end of the twig.
Step 8: Outline the glove on the twig arm. Draw it slightly oversized for a natural feel.
Step 9: Draw the outline of the snowman’s middle body section, ensuring it’s larger than the head but still rounded.
Step 10: Add the lower body section, the largest of the three ovals, to complete the snowman’s basic body shape.
Step 11: Sketch the second twig arm on the opposite side. Start adding part of the glove with the thumb.
Step 12: Draw the stick of the broom in the twig arm. Make it a straight line, slightly uneven for a more natural look.
Step 13: Finish the glove holding the broomstick, and sketch uneven lines at the top to represent the broom’s bristles.
Step 14: Draw the carrot nose as a small curved triangular shape protruding from the center of the face.
Step 15: Add the eyes as two small ovals with blank dots for highlights, and sketch the mouth as a curved smile. Draw tiny eyebrows above the eyes.
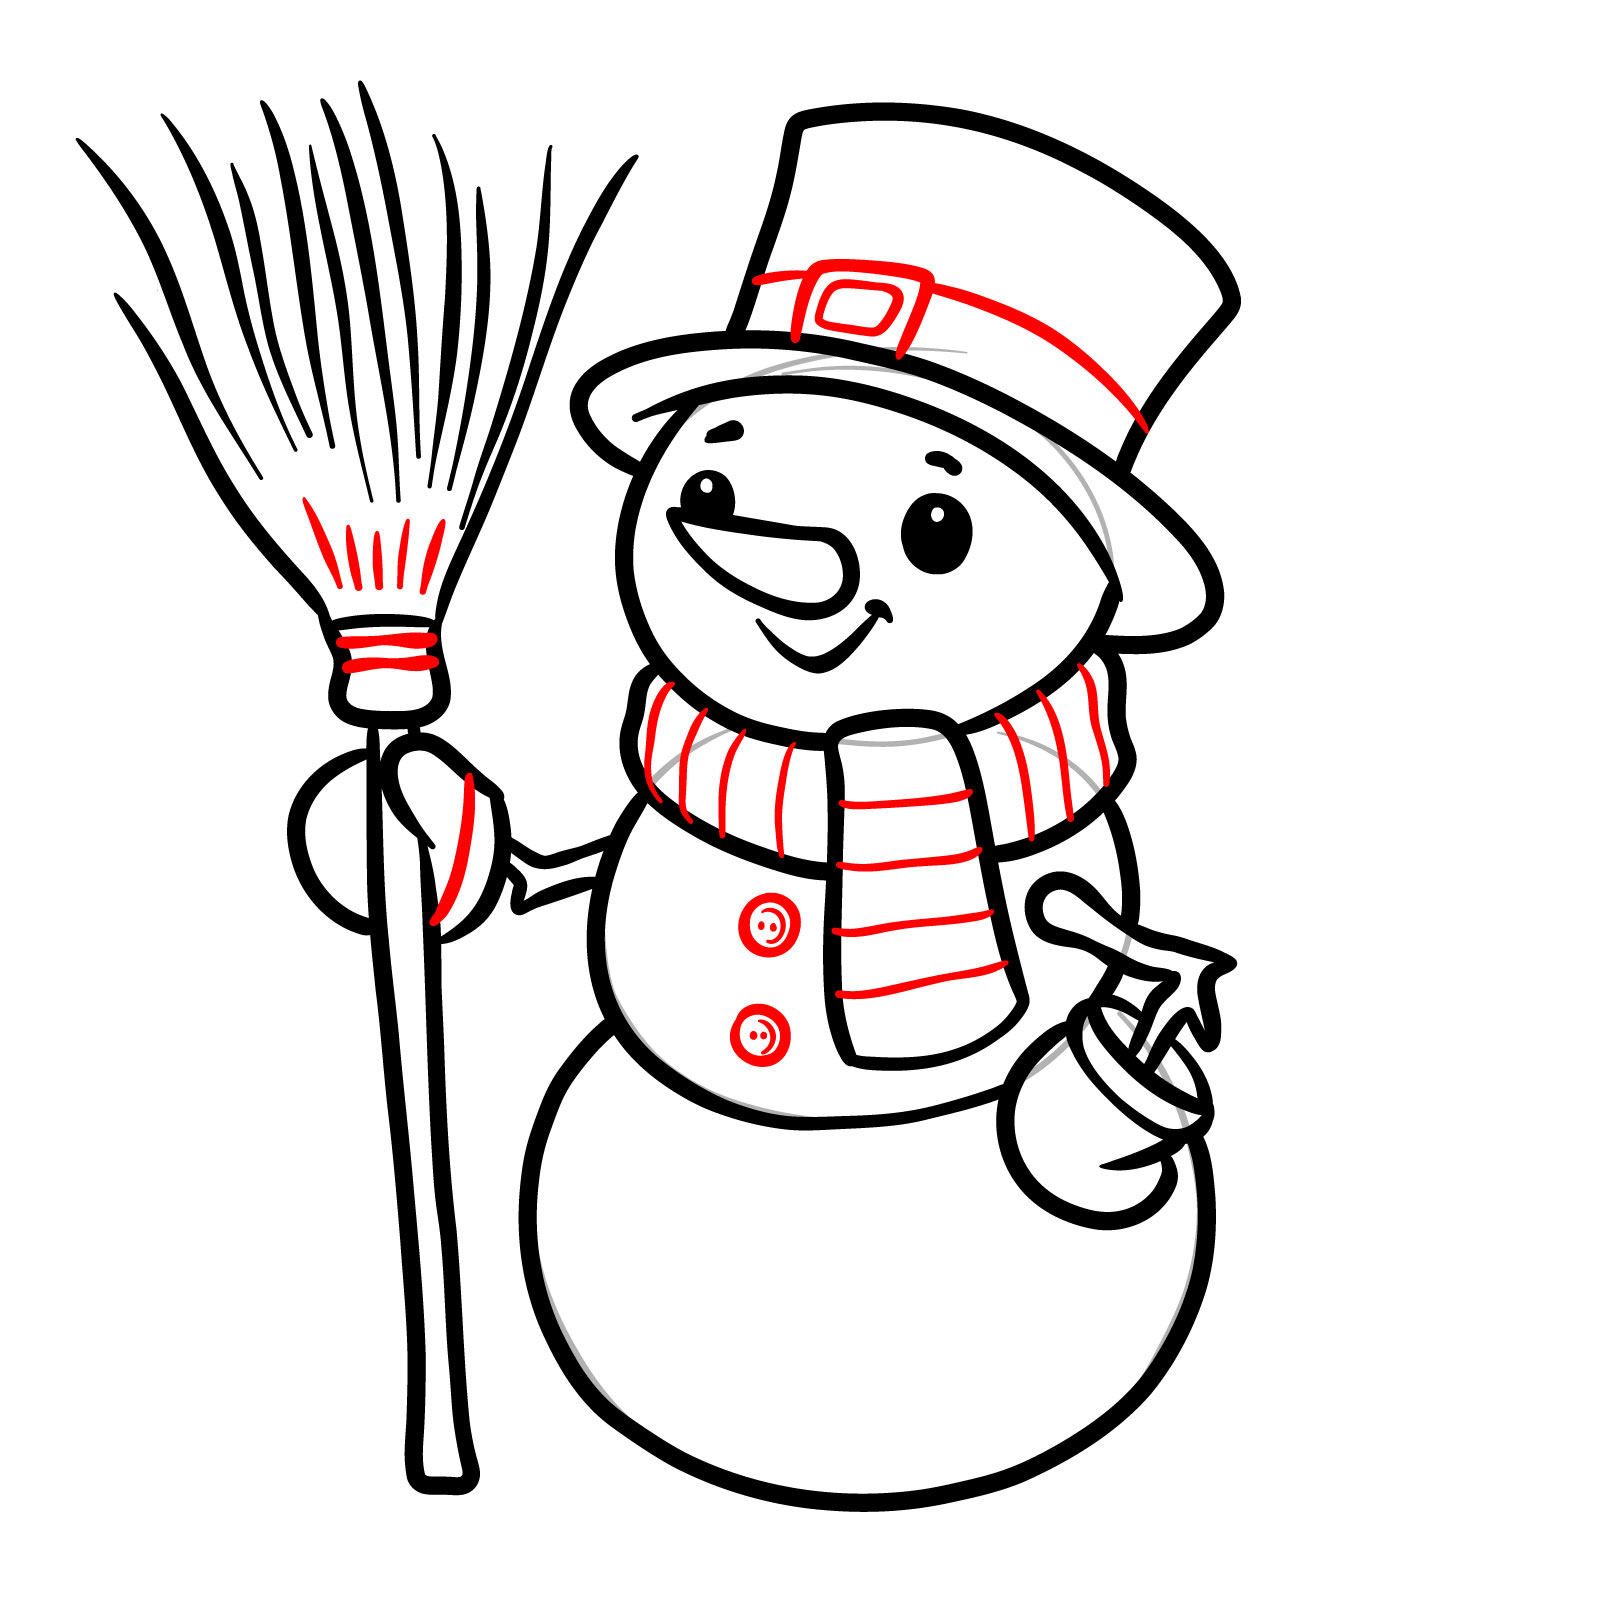
Step 16: Add final details. Sketch a band with a buckle around the top hat, stripes on the scarf for its red-and-green pattern, two buttons on the middle body, and a cuff on the glove holding the broomstick. Add some texture lines to the broom bristles.
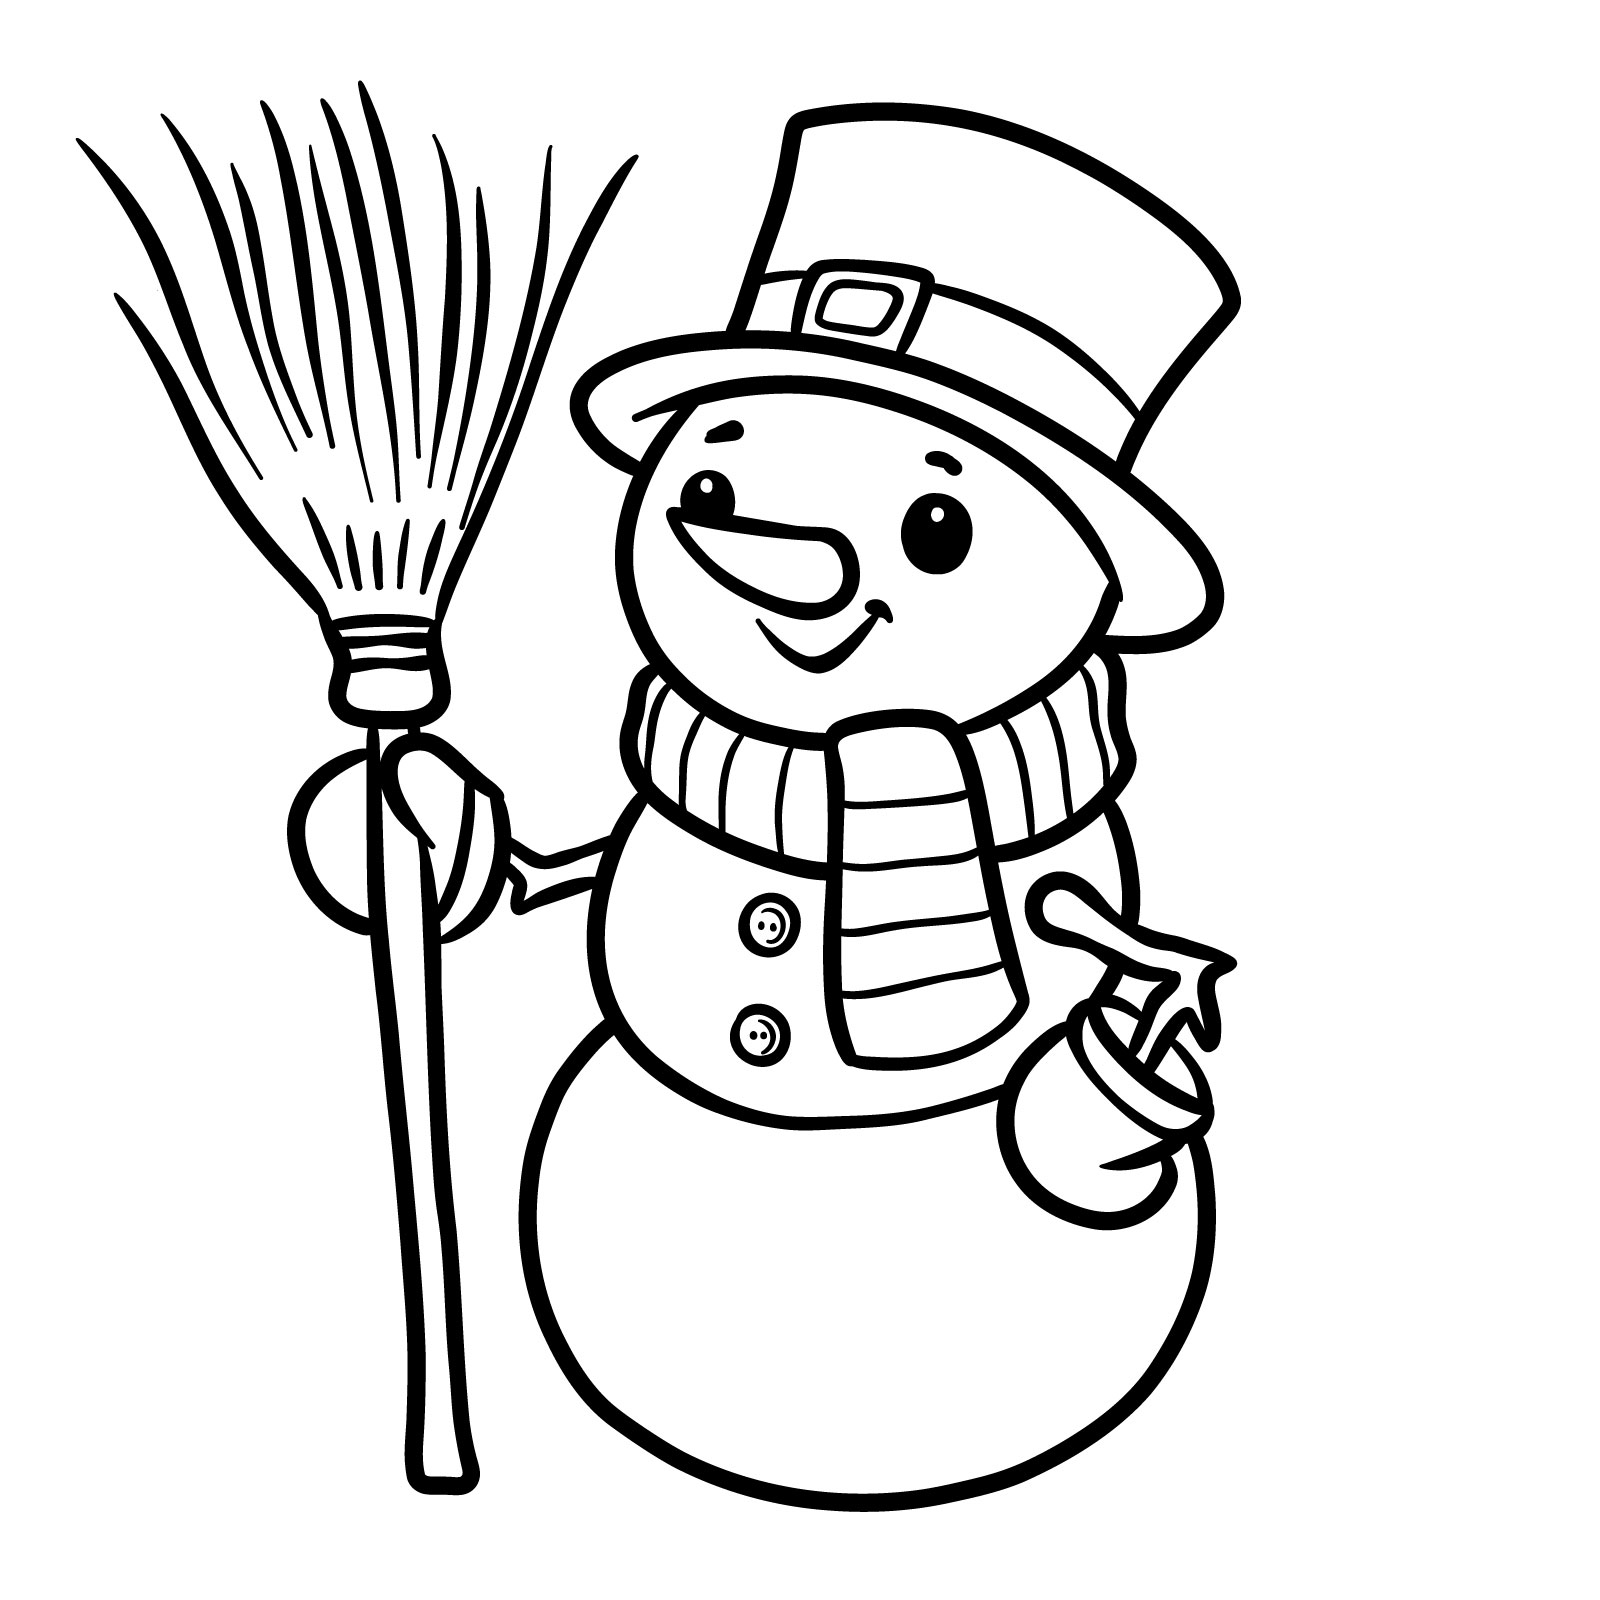
Step 17: Finish the sketch by erasing any extra marks or the basic oval guides. Optionally, ink the drawing and erase pencil lines after the ink dries.
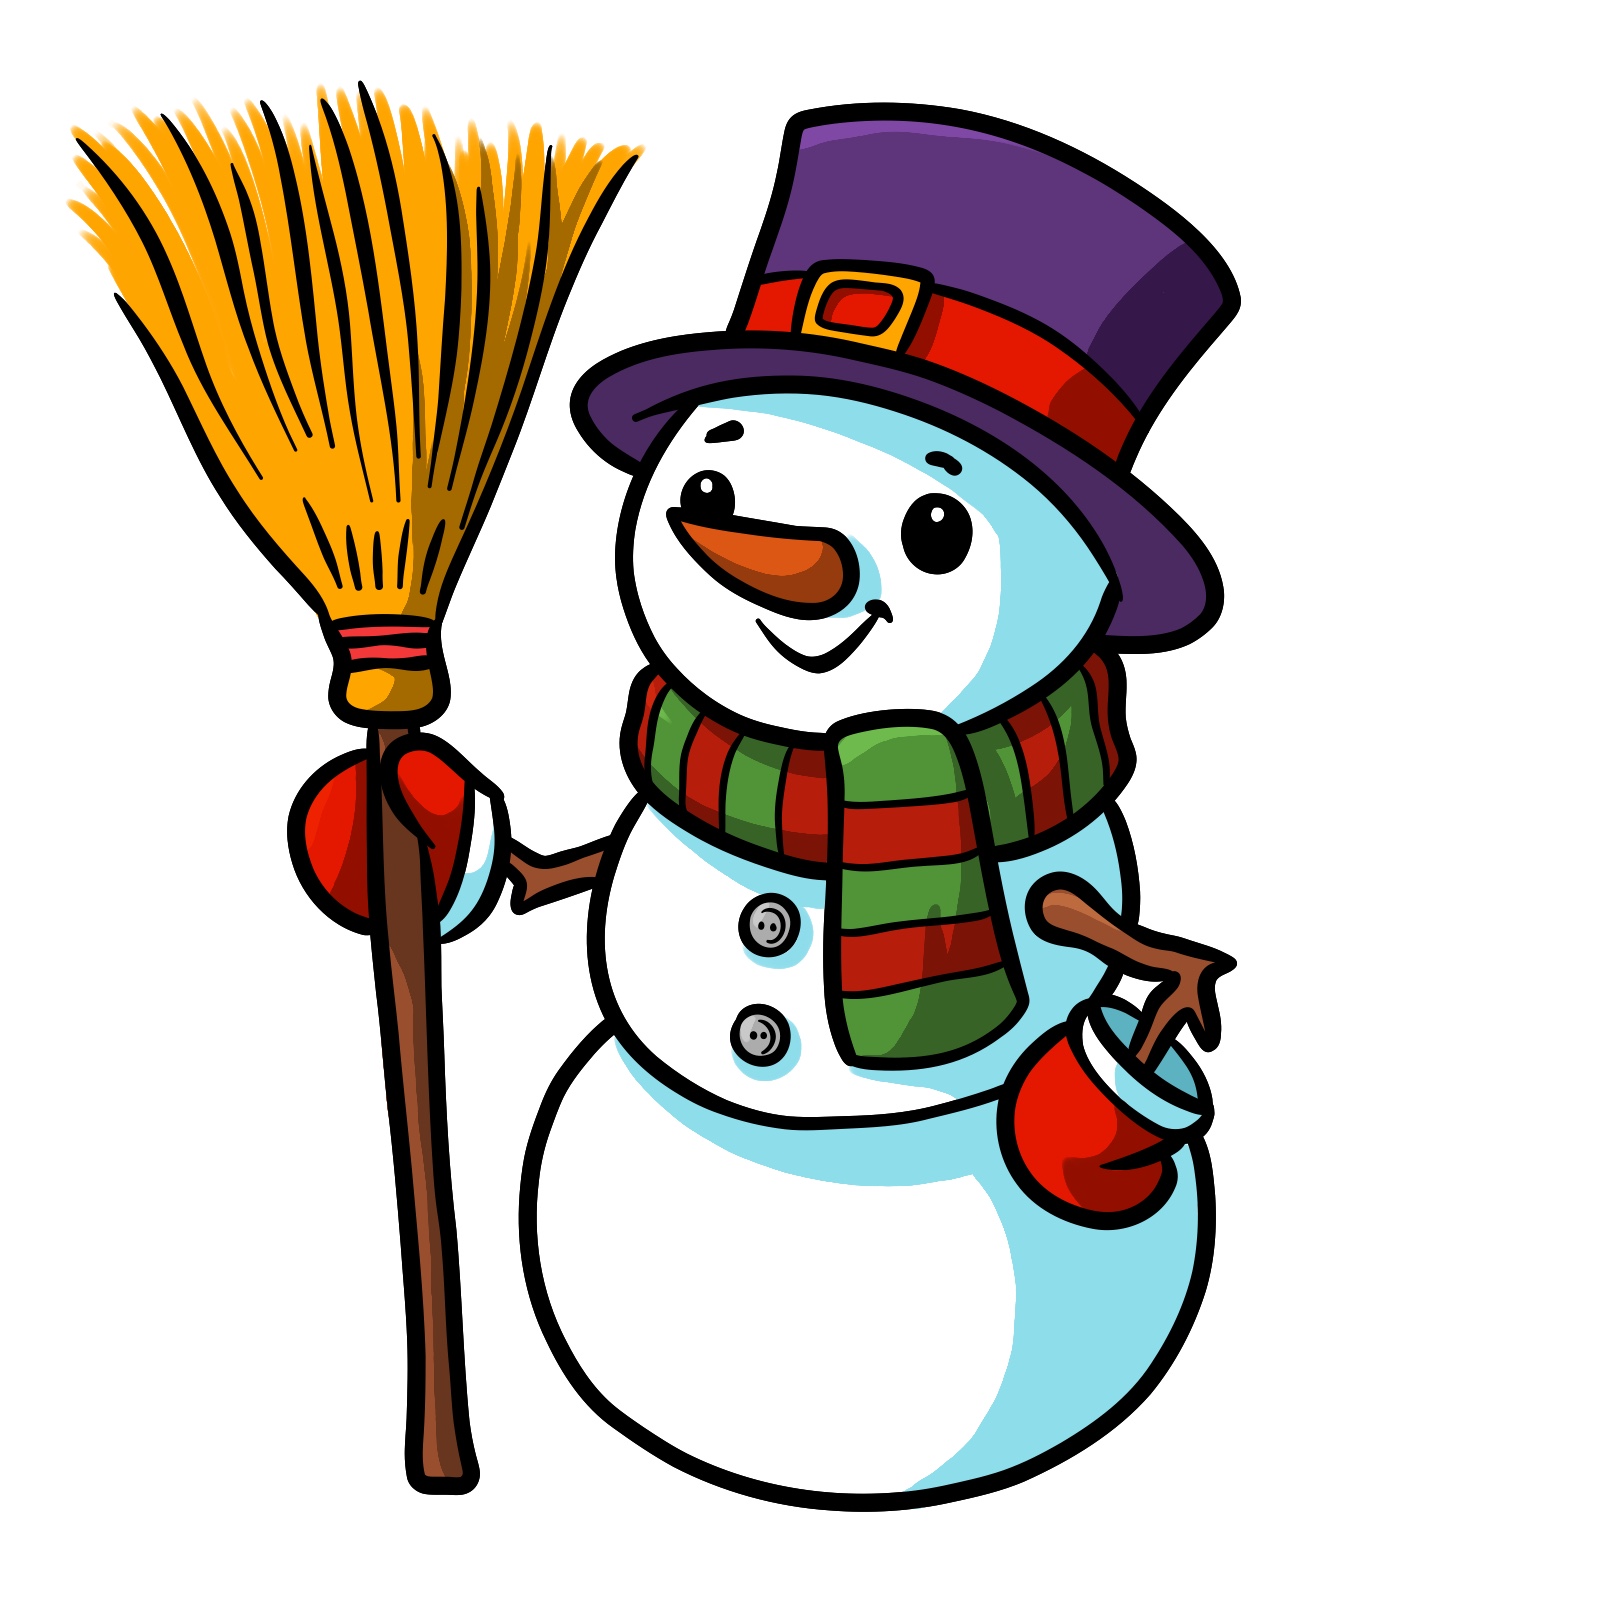
Step 18: Color the drawing by choosing any colors you like. I used purple for the hat, bright red for the gloves and hat’s band, brown for the twig arms, darker red and green for the scarf, brown for the broomstick, yellow for the broom, and orange for the carrot nose.
As you complete your artwork, please consider supporting SketchOk. Your contributions help keep these drawing guides free and accessible to everyone.
Don’t forget to share your finished snowman drawings in the comments section on Pinterest. I’d love to see how yours turned out! Follow us on social media for more guides:
Disclaimer: All original artworks and photos used as references for the creation of these drawing tutorials are the property of their respective owners. If your work has been featured without proper credit, please kindly leave a comment below, and the issue will be promptly addressed. We greatly appreciate your exceptional art. Thank you.
Did you like the tutorial?
You can support the author of this website and also suggest your own ideas for new drawings by making a small donation here: