
Here’s a full guide on how to draw Vineria from Incredibox Sprunki. The layout is mostly simple, but you’ll need to pay attention to the placement of the flowered vines and the single horn to get it right.
Key Elements to Focus on When Drawing Vineria
- Green head and body with typical Sprunki shapes
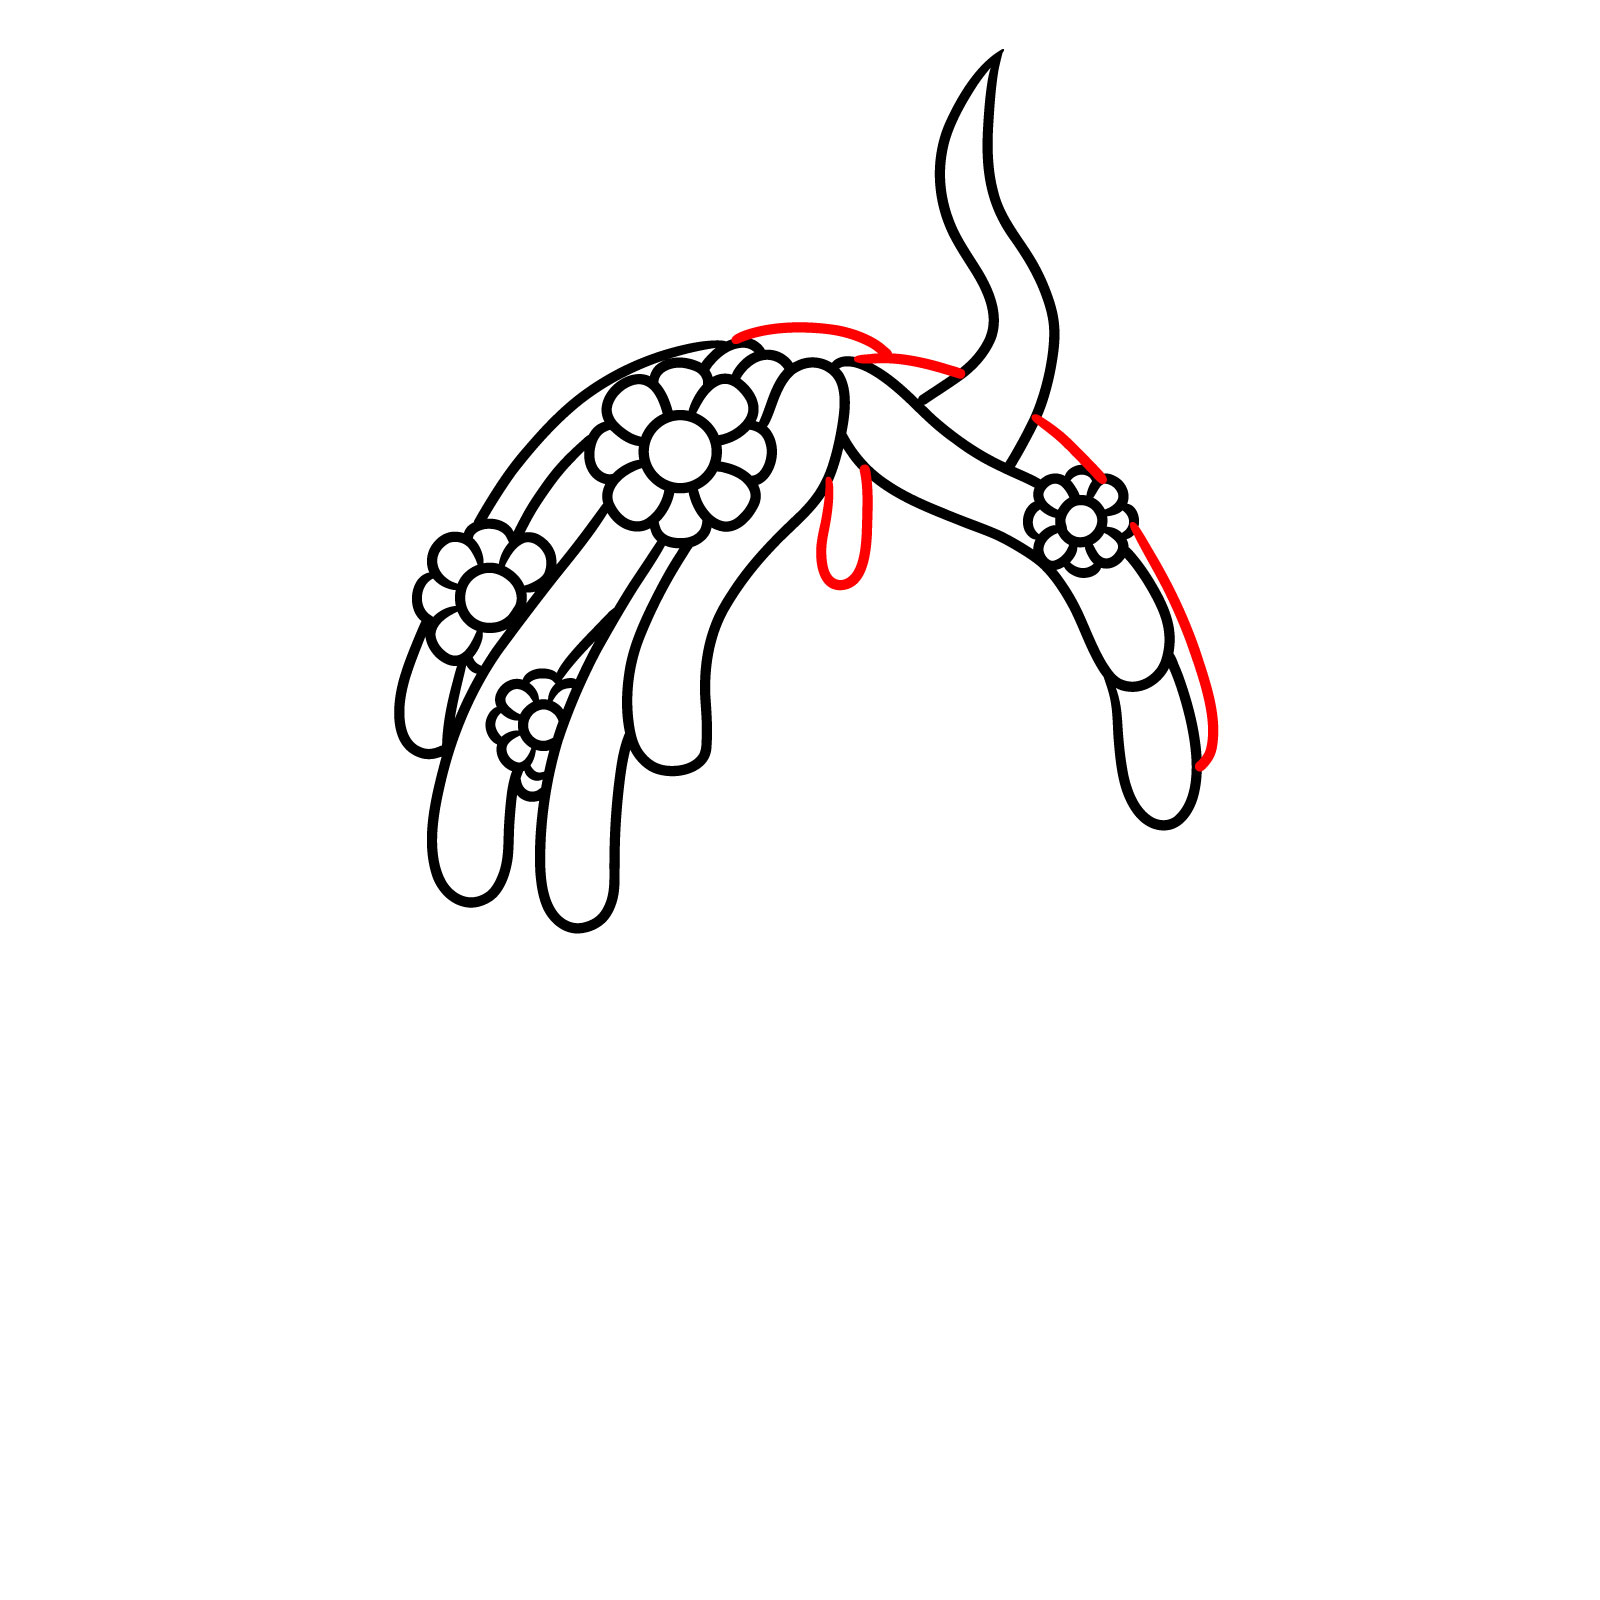
- One curved horn coming out from the top side of the head
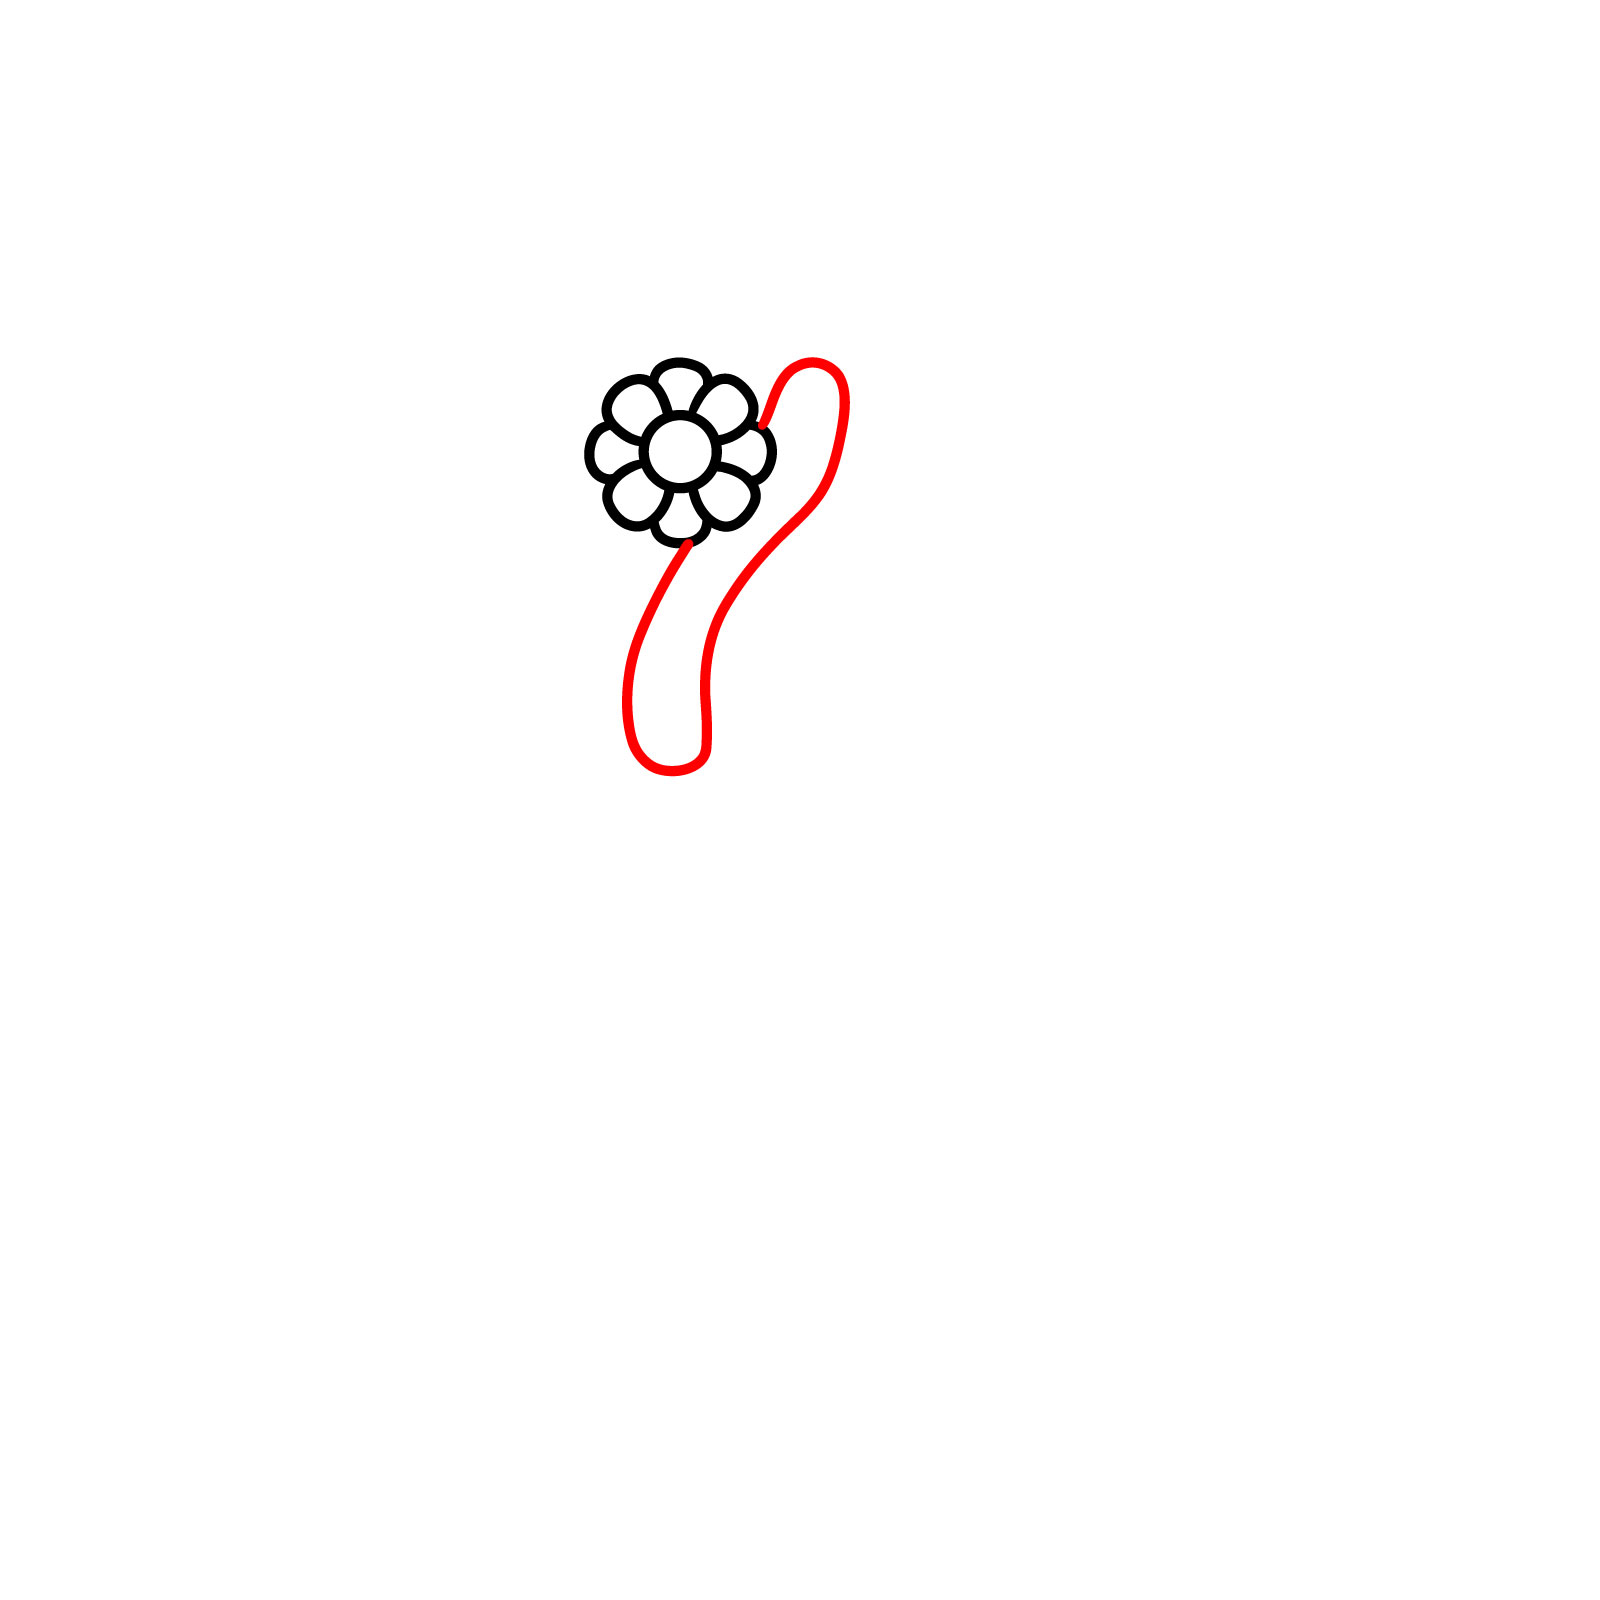
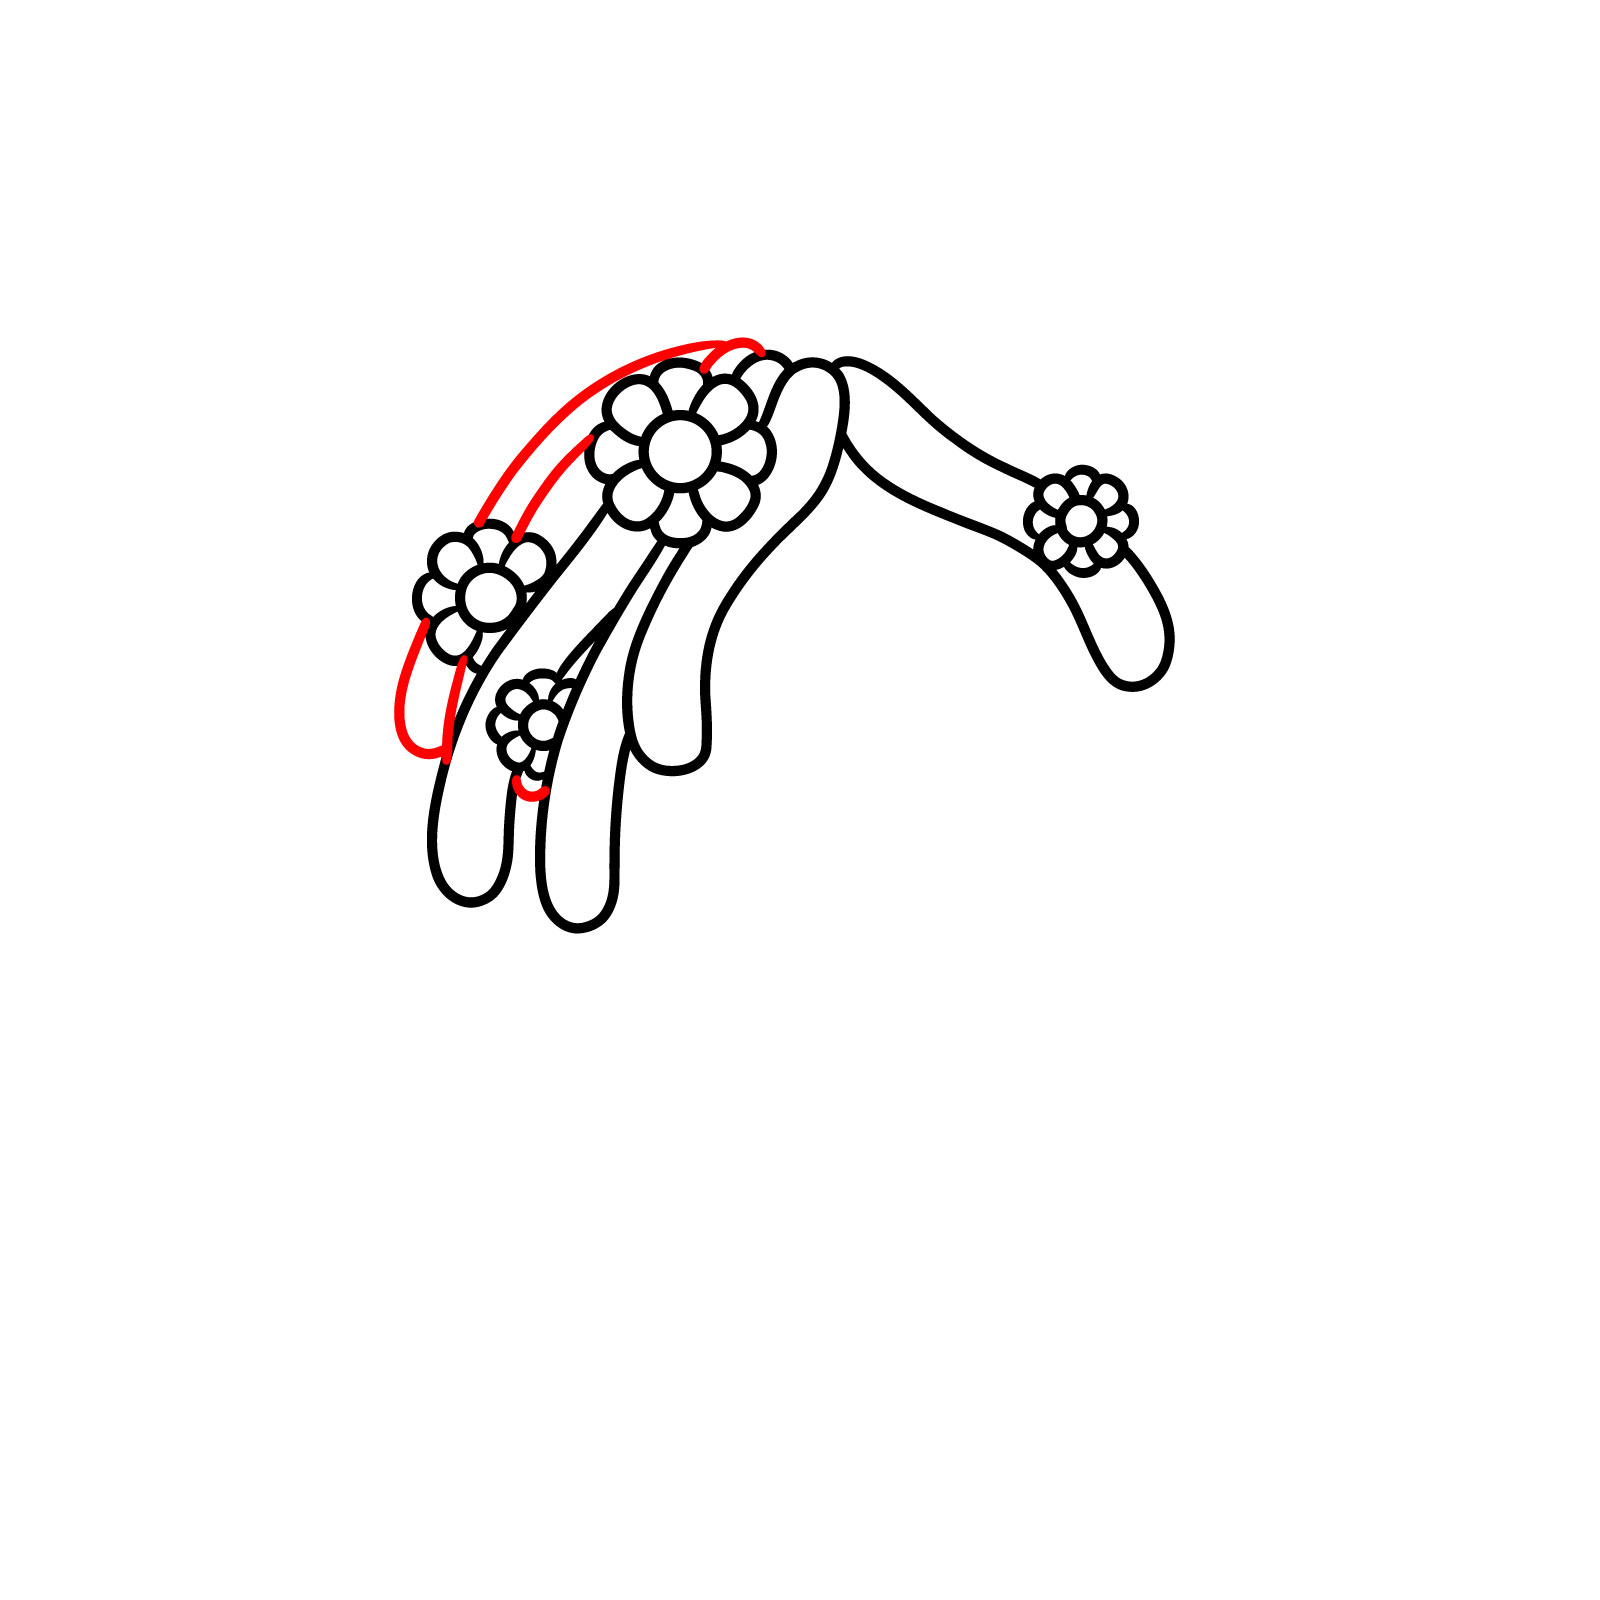
- Vine-like hair flowing around the face, with layered segments and flower clusters
- Four pink flowers with yellow centers placed across the vines
- Half-lidded eyes with green eyelids and visible eyelashes
- Simple small smile and calm expression
If you want to continue drawing characters in this style, I’d suggest Pinki, Wenda, or OWAKCX next. They share similar shapes and expressions.
Color Code Guide Used in the Vineria Drawing Steps
The tutorial uses colors so it’s easy to follow each step:
- Red Color: Draw these lines for the current step.
- Black Color: These are the previously drawn parts that stay in place.


If you enjoy these guides and want to support the project, you can donate using this button:

PATREON
Love Drawing? Help Me Create More Tutorials
On my Patreon you can grab unique hand-made coloring pages: each one drawn by me personally. Every purchase directly supports the creation of new drawing tutorials. It's the best way to practice your skills, keep the site going, and get something truly original at the same time.
Get Coloring Pages on Patreon
When your drawing is done, share it in the comments under the pinned article on Pinterest. That’s the usual place where everyone drops their versions.
Follow SketchOk for more tutorials like this one and updates on future character drawings:
Disclaimer: All original artworks and photos used as references for the creation of these drawing tutorials are the property of their respective owners. If your work has been featured without proper credit, please kindly leave a comment below, and the issue will be promptly addressed. We greatly appreciate your exceptional art. Thank you.