Are you a fan of the friendly neighborhood Spider-Man? If so, you’re in luck! In this blog post, we’ll teach you how to draw Spider-Man in a jump, capturing his dynamic and acrobatic movements. With our easy-to-follow step-by-step guide, you’ll be swinging through the streets of New York City alongside your favorite web-slinger in no time!
Spider-Man, aka Peter Parker, was created by writer Stan Lee and artist Steve Ditko and made his first appearance in Amazing Fantasy #15 in 1962. Since then, he has become one of the most popular and enduring superheroes, sharing the stage with the likes of Iron Man, Captain America, and Thor. Our Spider-Man drawing tutorial will help you bring this iconic character to life on your sketchbook!
Before You Begin: Tips for Drawing Spider-Man in a Jump
Drawing a dynamic pose like Spider-Man in a jump can be challenging, but with these helpful tips, you’ll be able to create a fantastic piece of art:
- Start with light pencil strokes to create the basic structure and proportions. This will help you make adjustments easily without leaving marks on the paper.
- Use reference images of Spider-Man in various poses to help you understand his anatomy and costume design.
- Pay attention to the flow and rhythm of the character’s movements, especially if you decide to add his web lines.
- Don’t be afraid to make mistakes and practice! Remember, practice makes perfect, and even professional artists need time to hone their skills.
Step-by-Step Guide: How to Draw Spider-Man in a Jump
Now that you have some helpful tips in mind, it’s time to dive into our step-by-step guide on how to draw Spider-Man in a jump! Follow along, and you’ll have a fantastic Spider-Man drawing in no time:
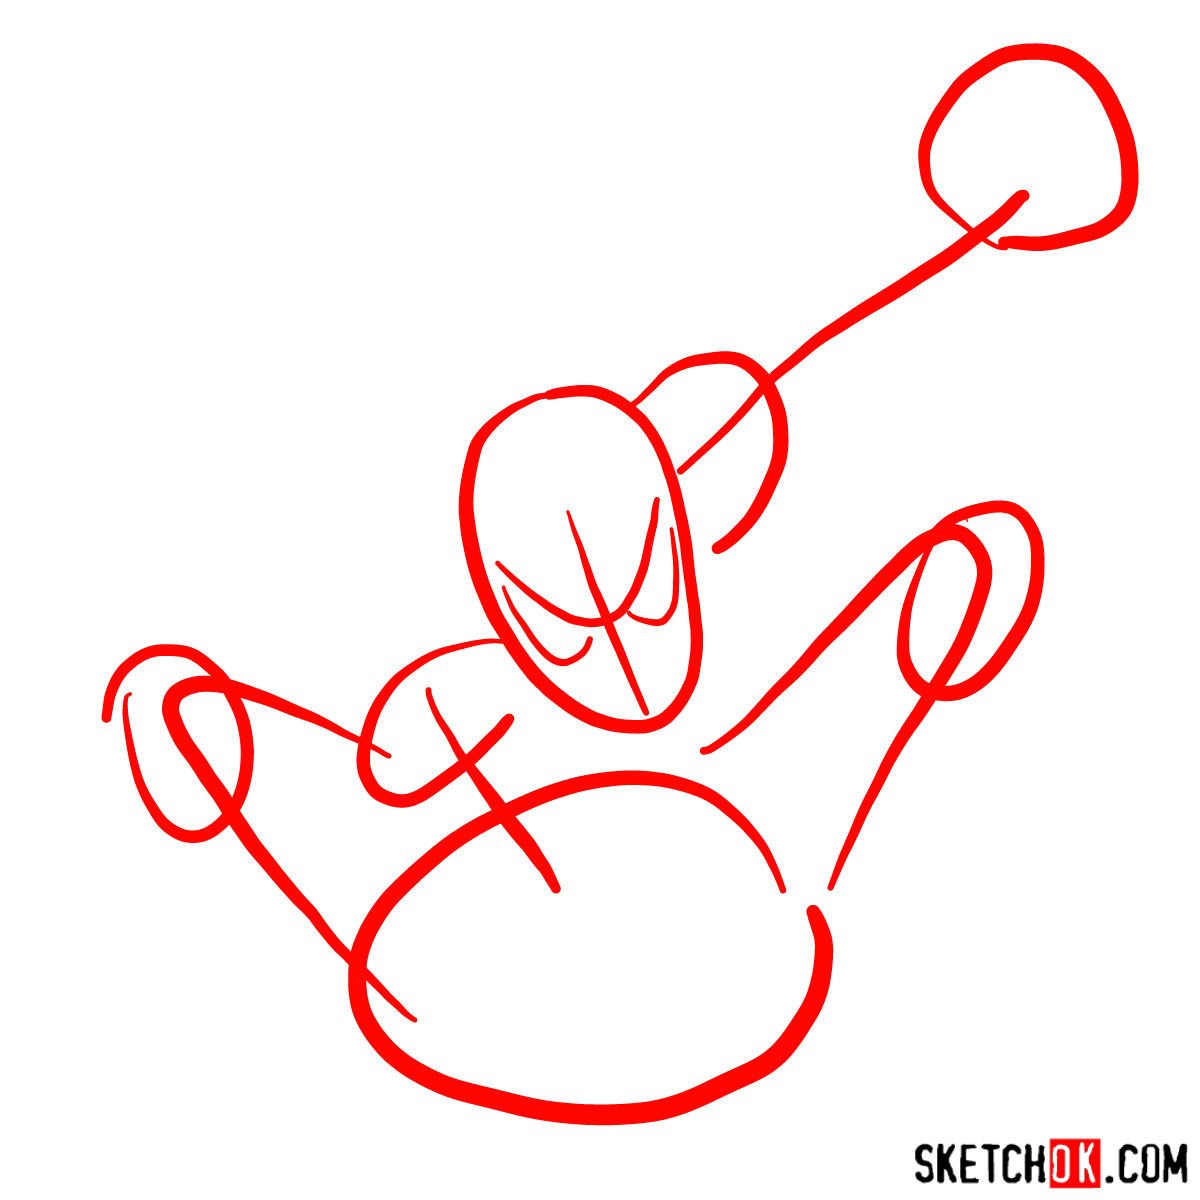
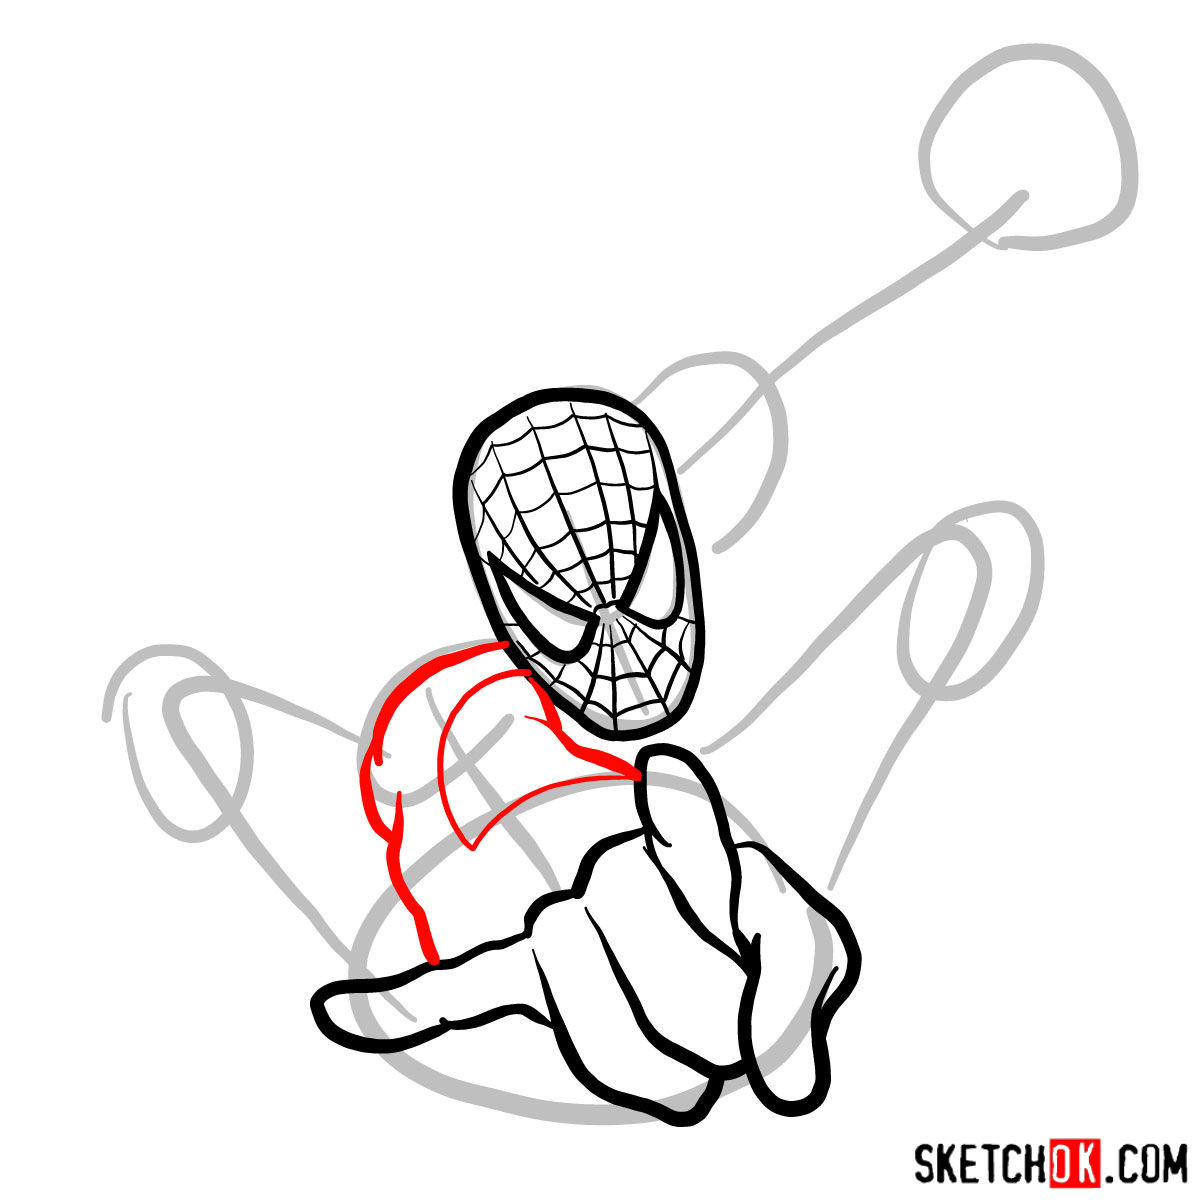
Part 1: Basic Structure and Proportions
Start by sketching a rough outline of Spider-Man’s body using light pencil strokes. This will serve as the foundation for your drawing. Focus on capturing his overall shape and proportions, including the position of his arms and legs.
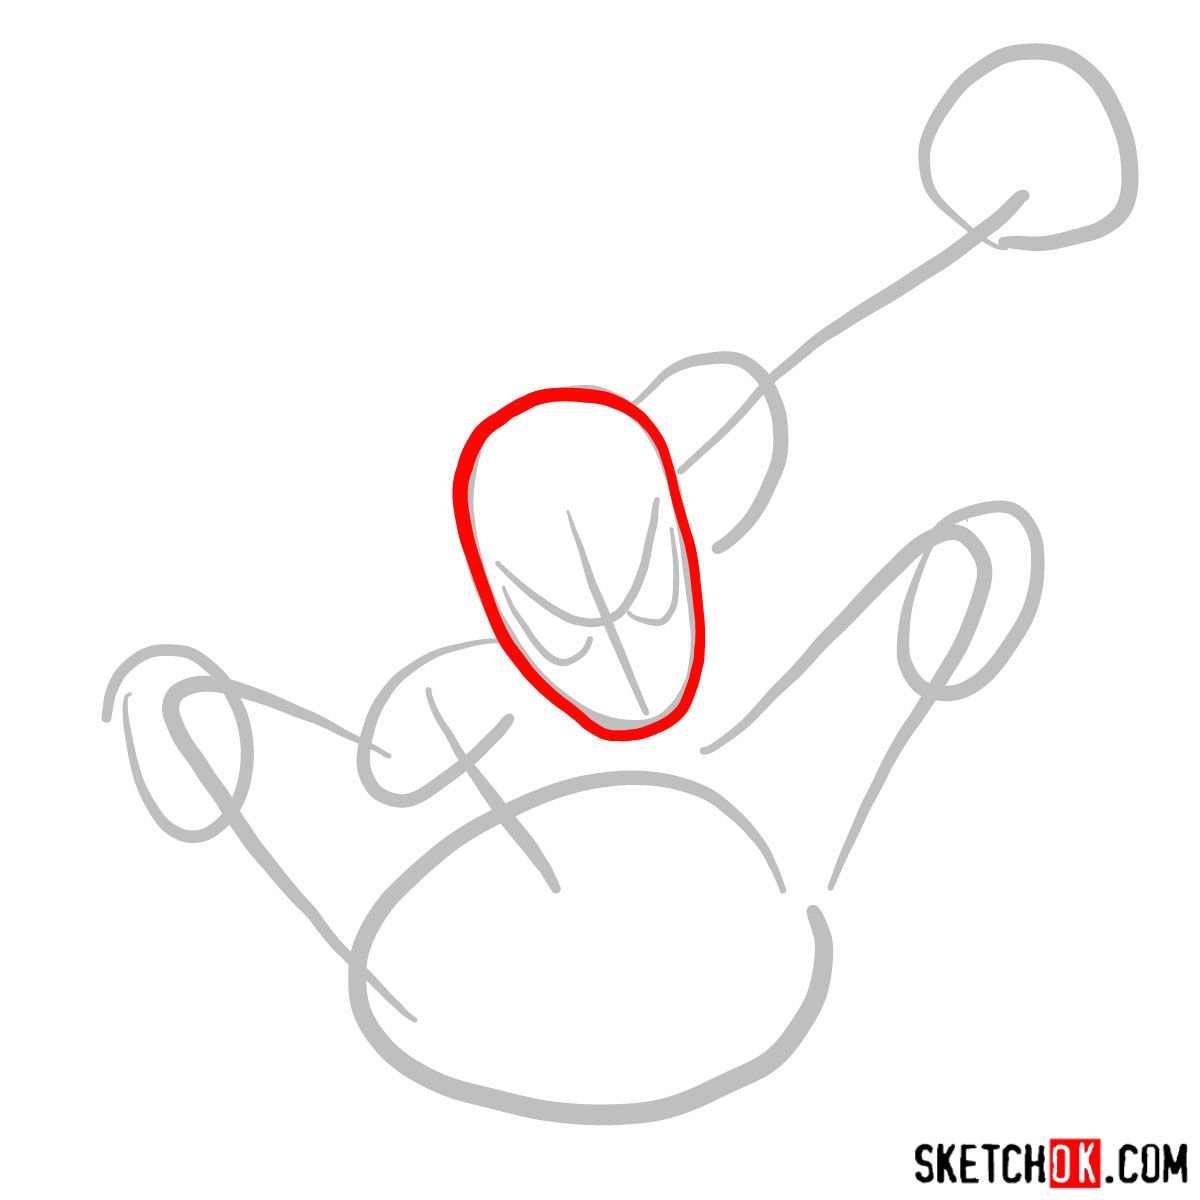
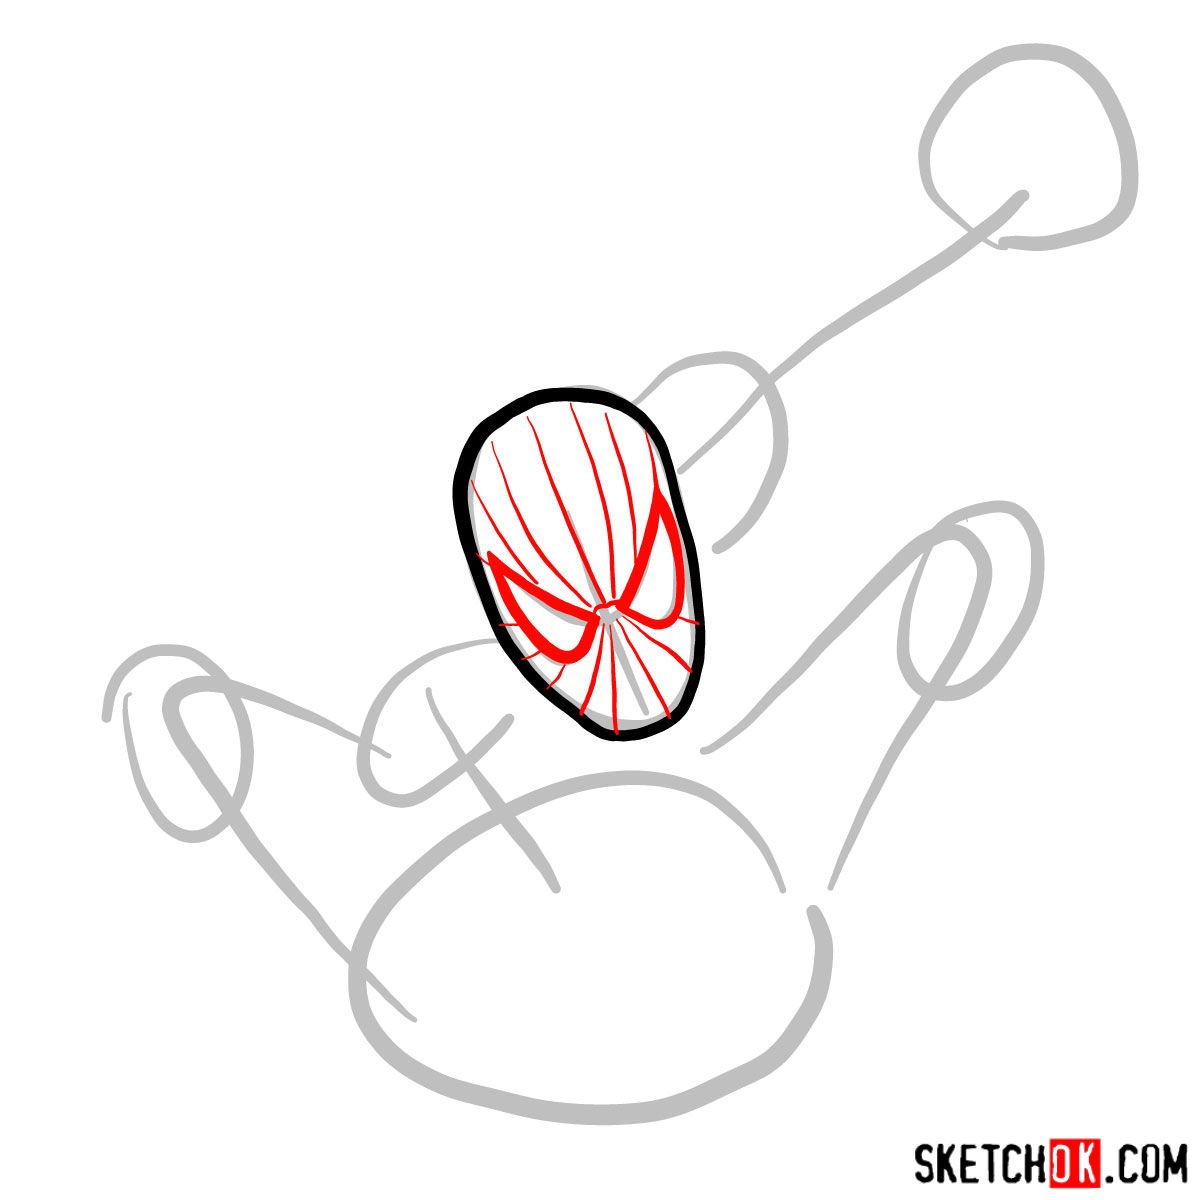
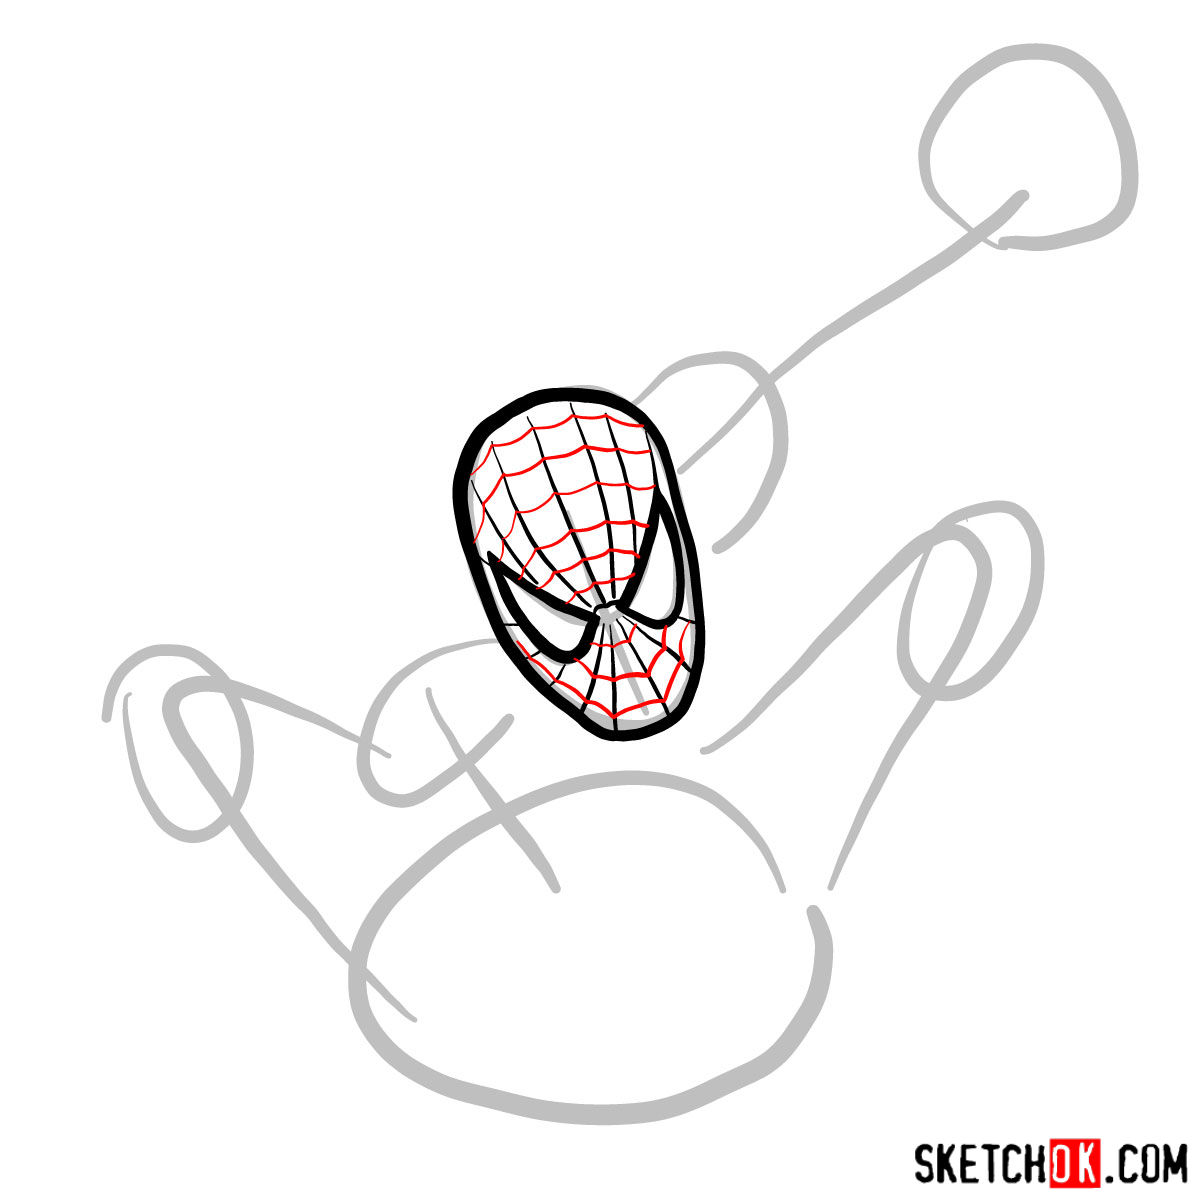
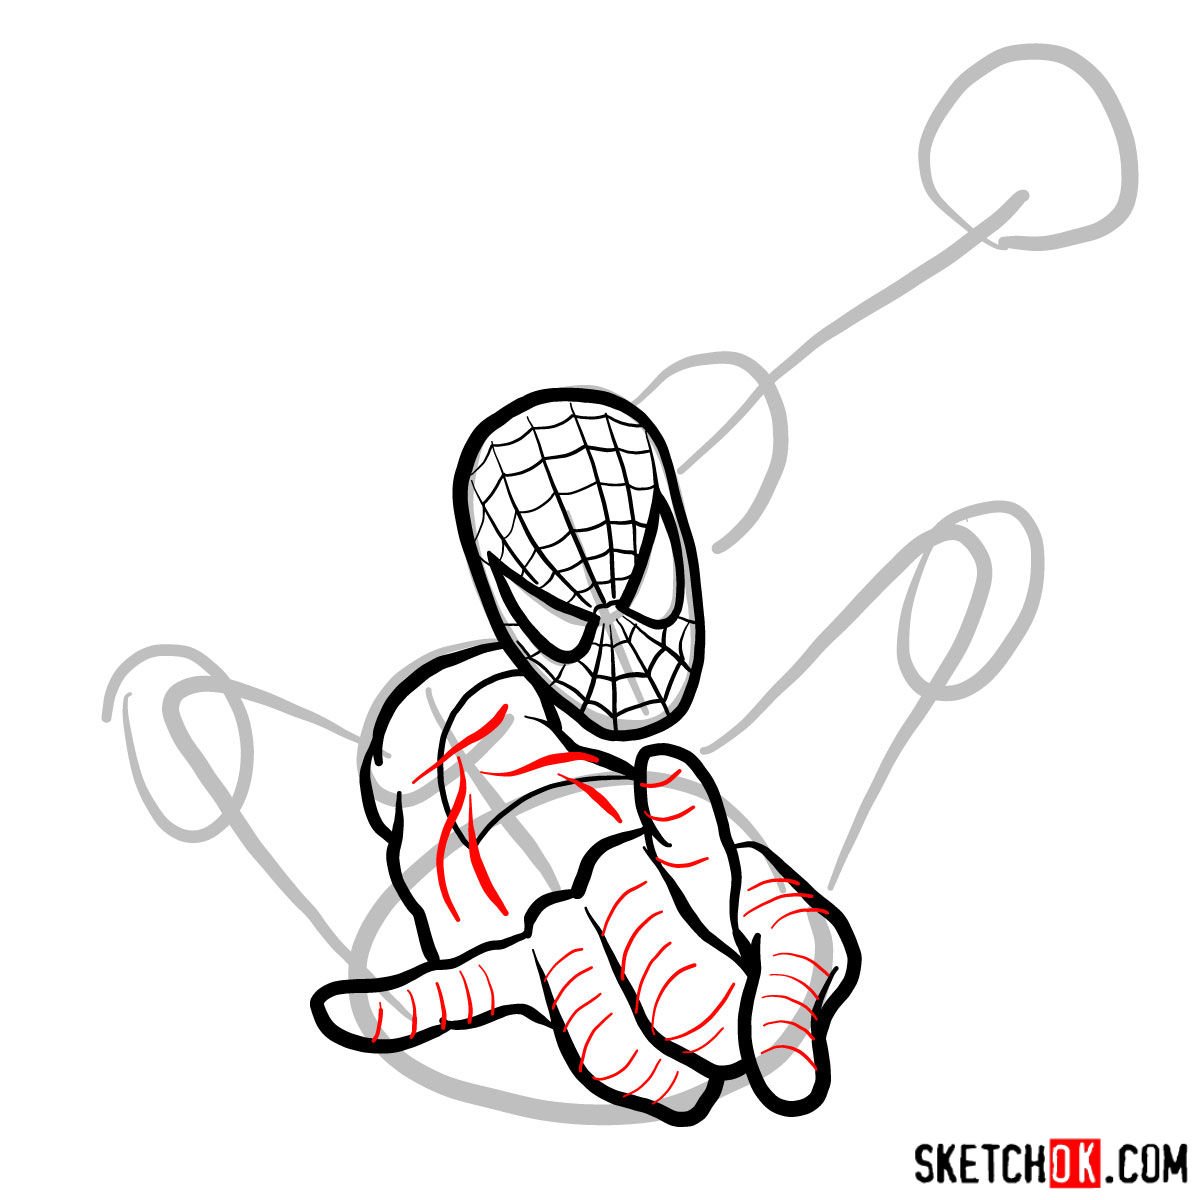
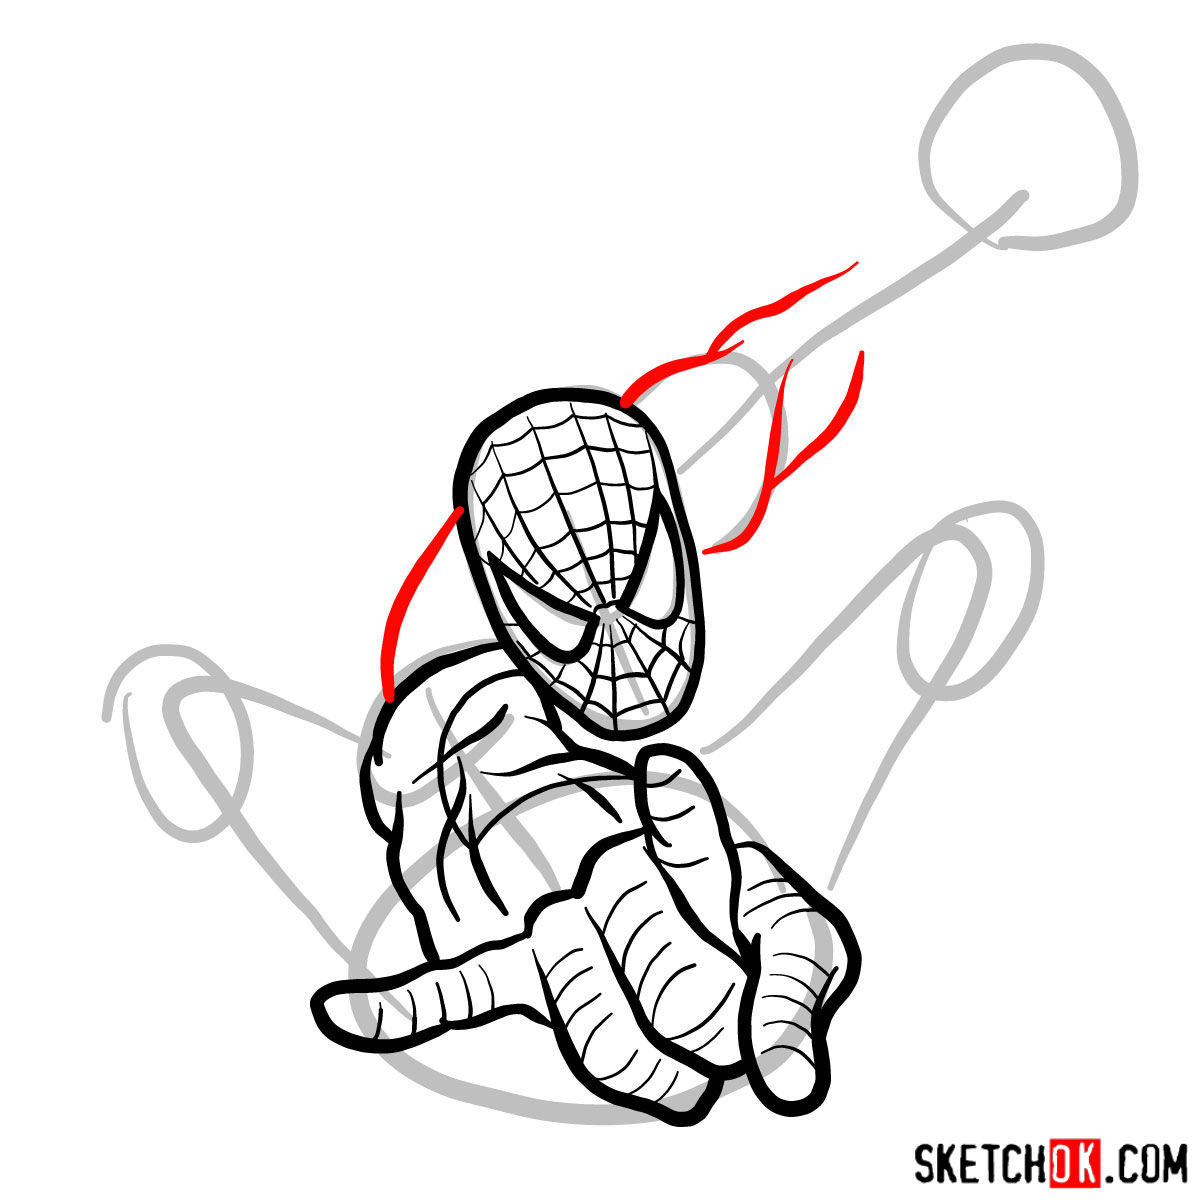
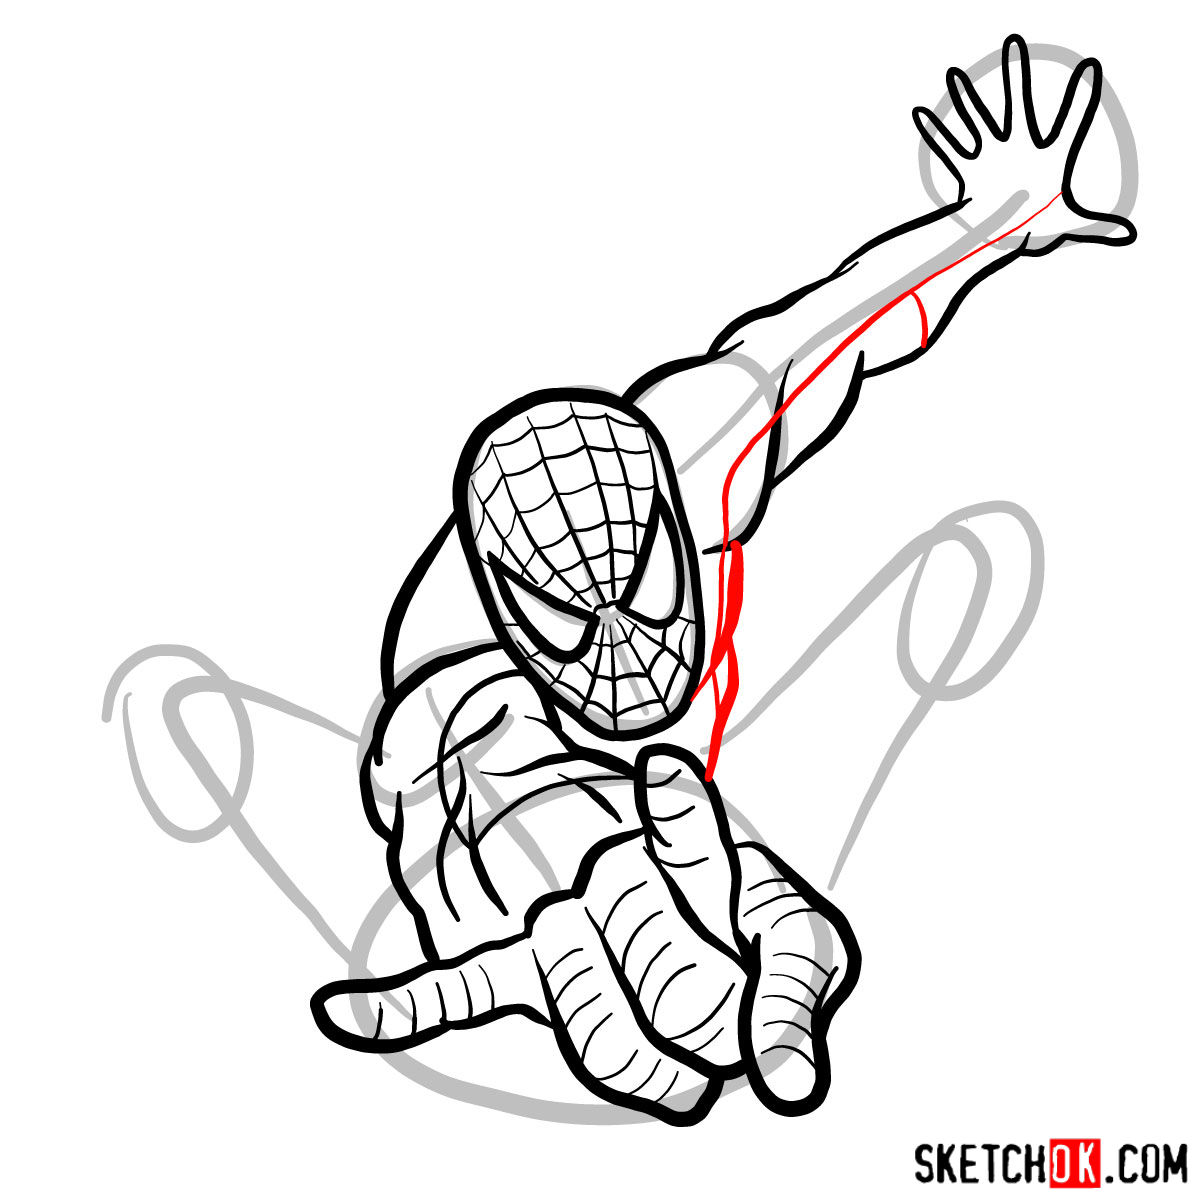
Part 2: Adding Details
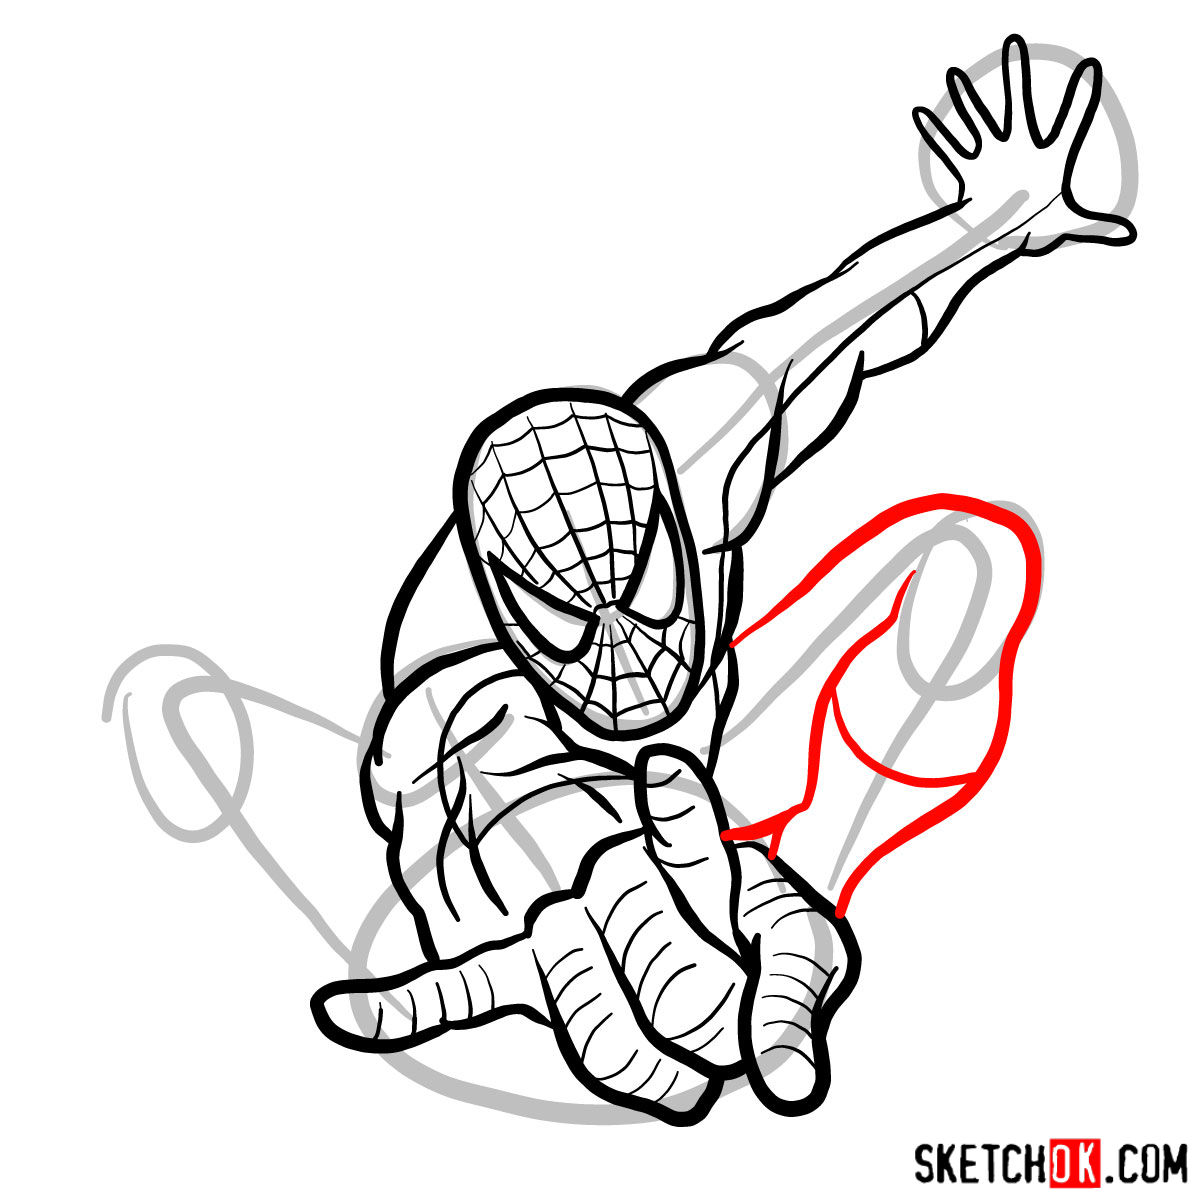
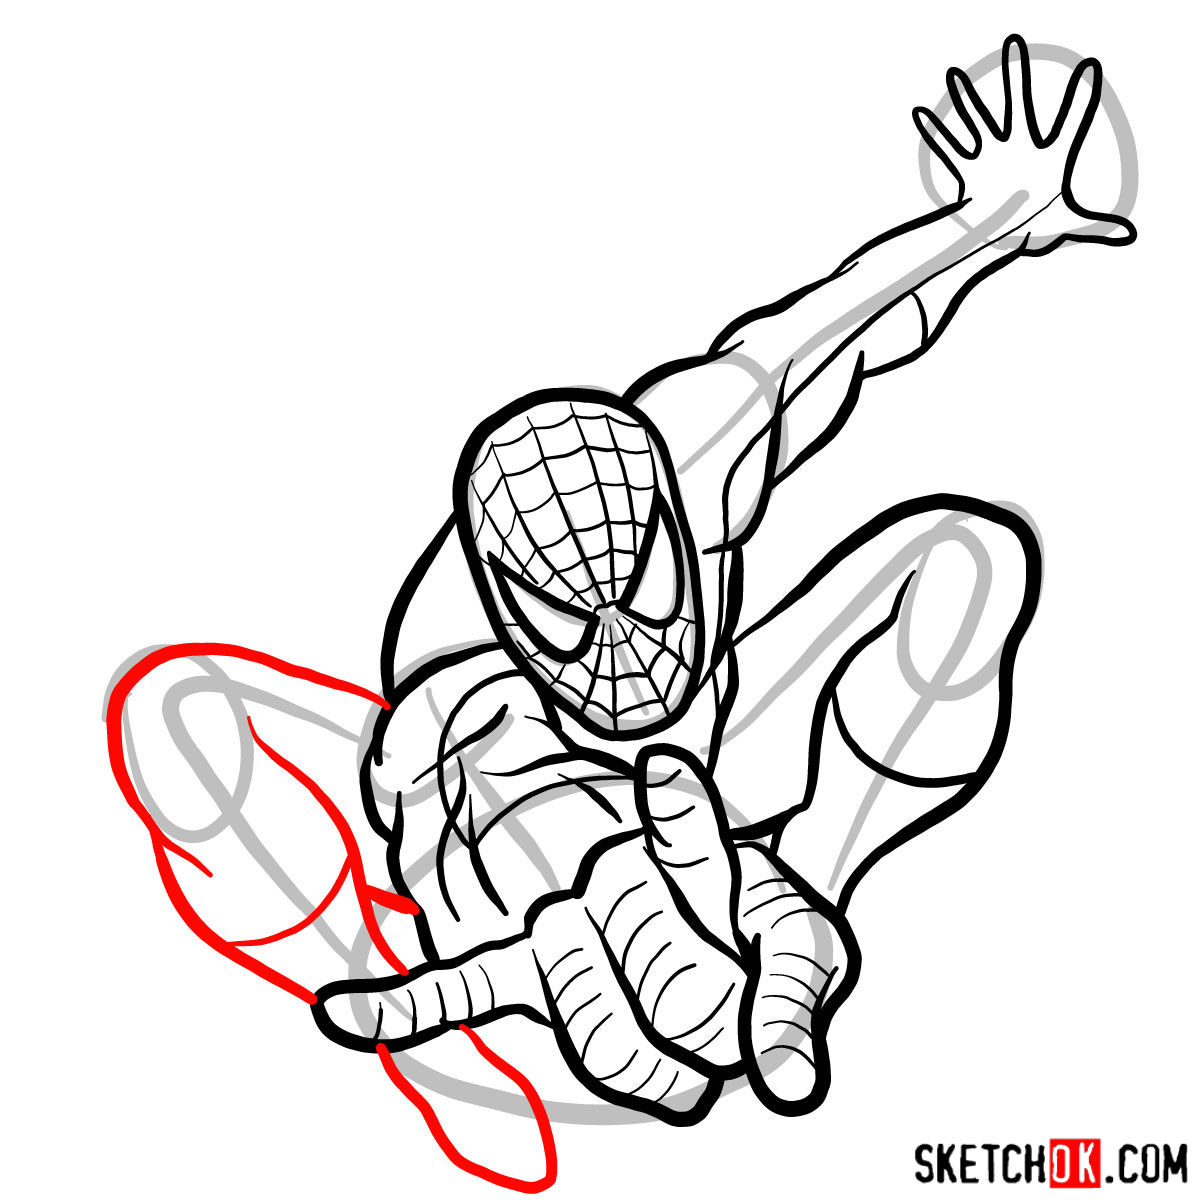
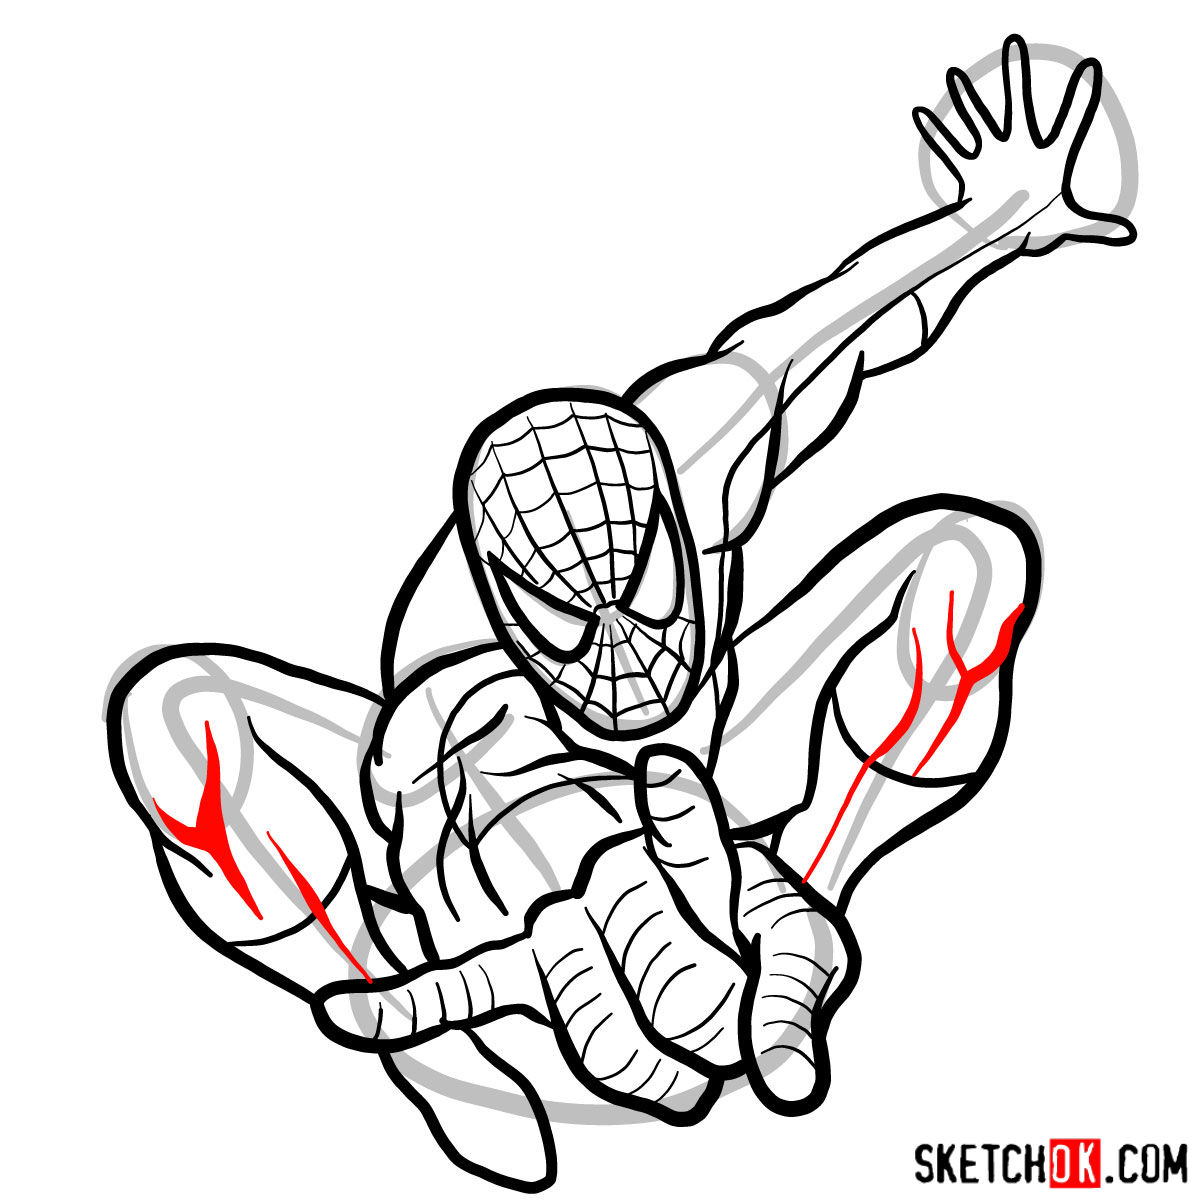
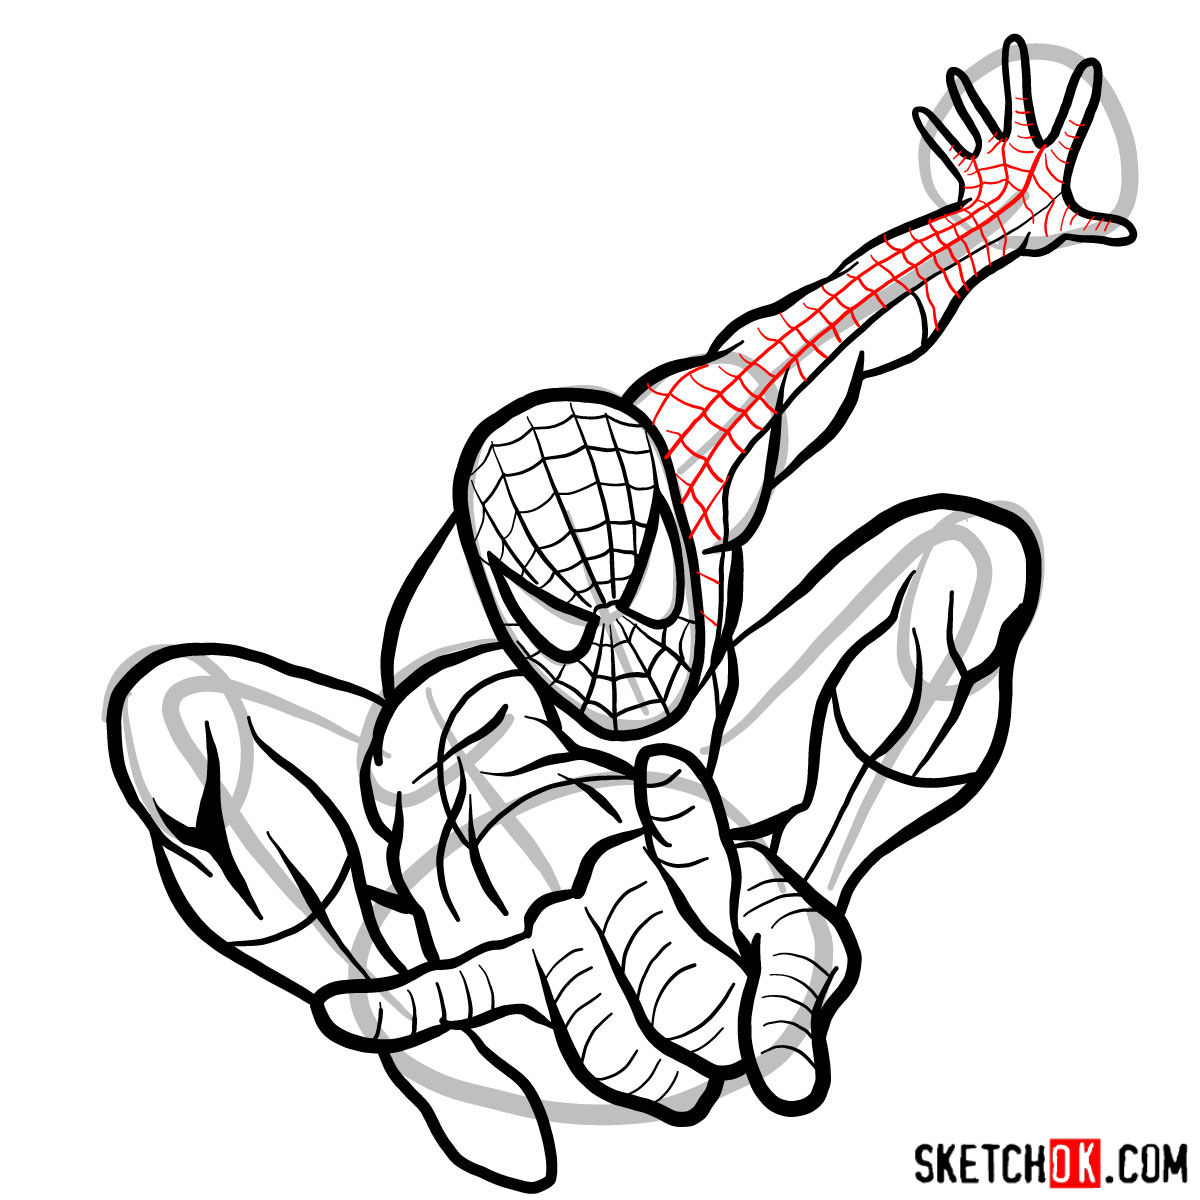
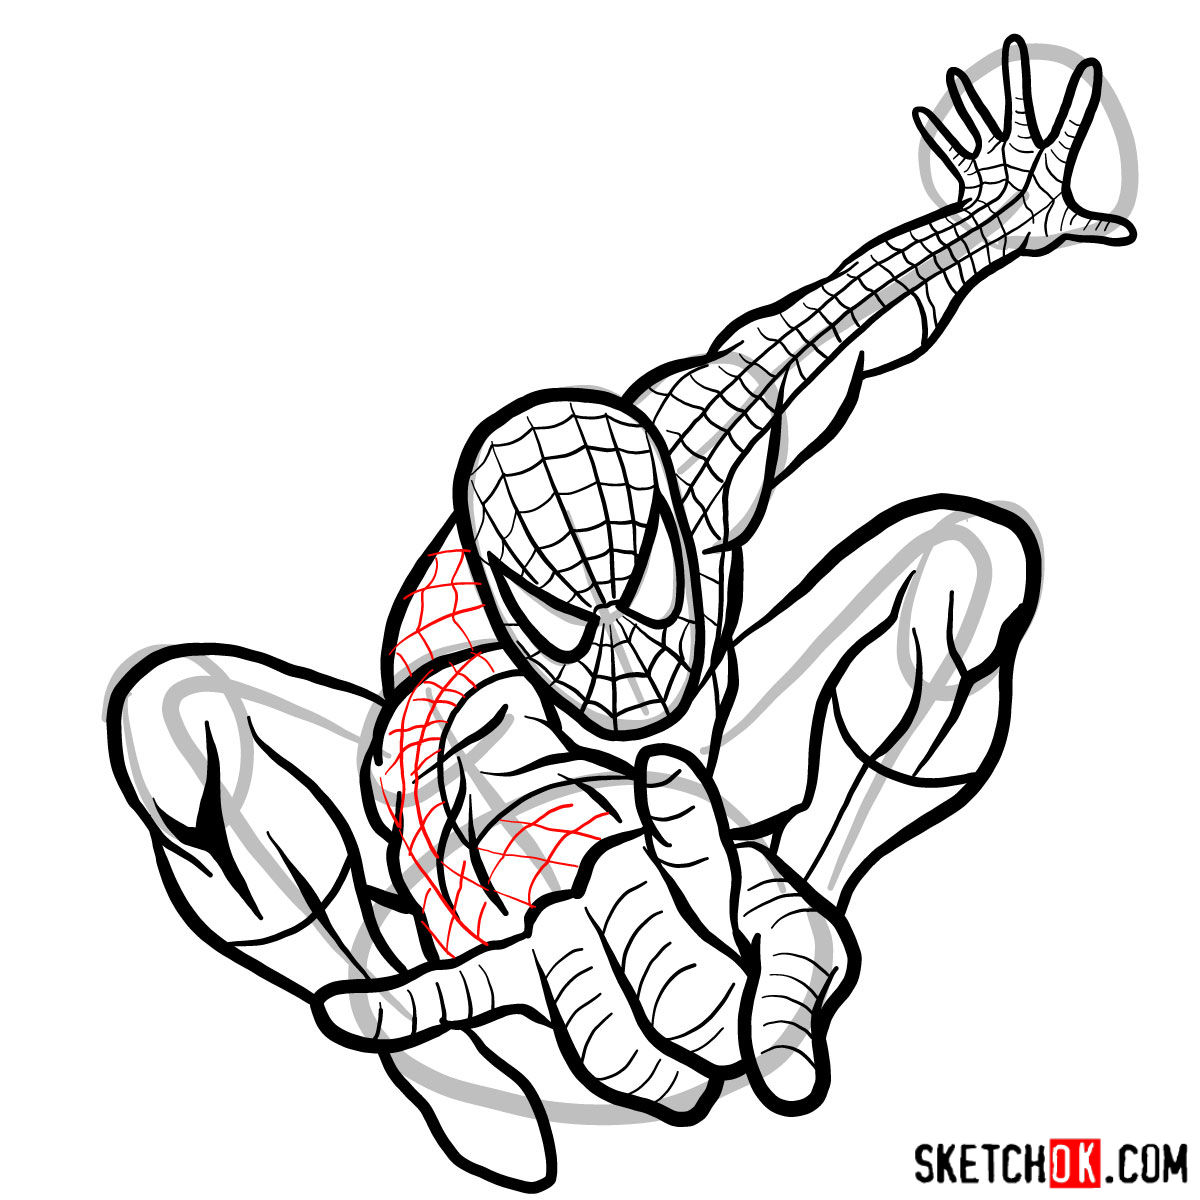
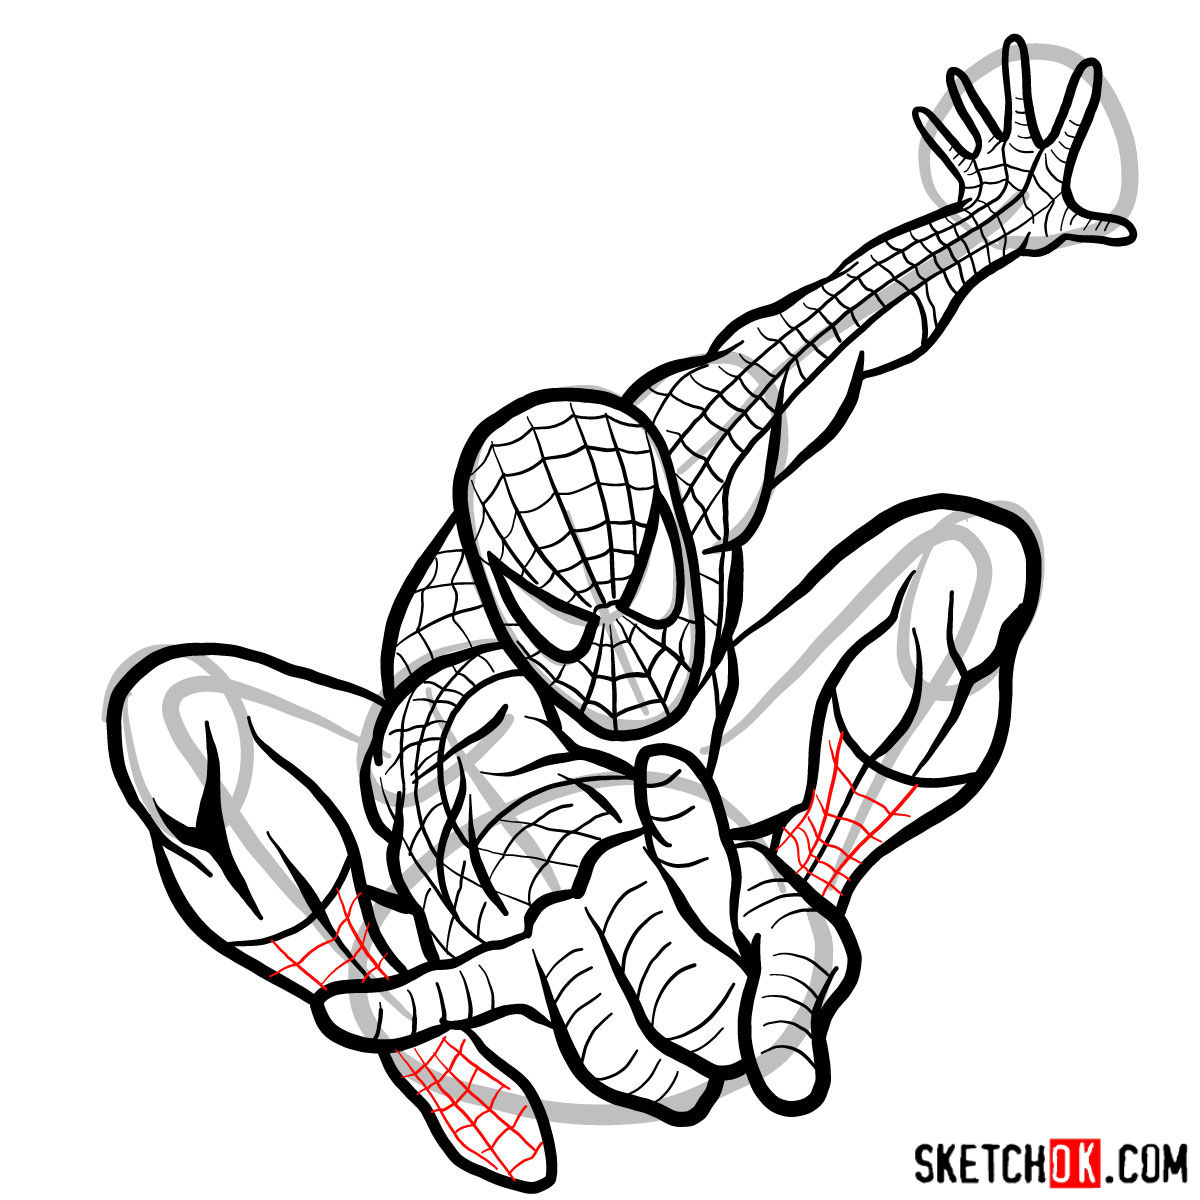
Once you’re satisfied with the basic structure, begin adding details to Spider-Man’s iconic costume. Draw the web pattern on his mask, torso, and limbs. Remember to use reference images below to ensure accuracy.


Part 3: Refining and Inking
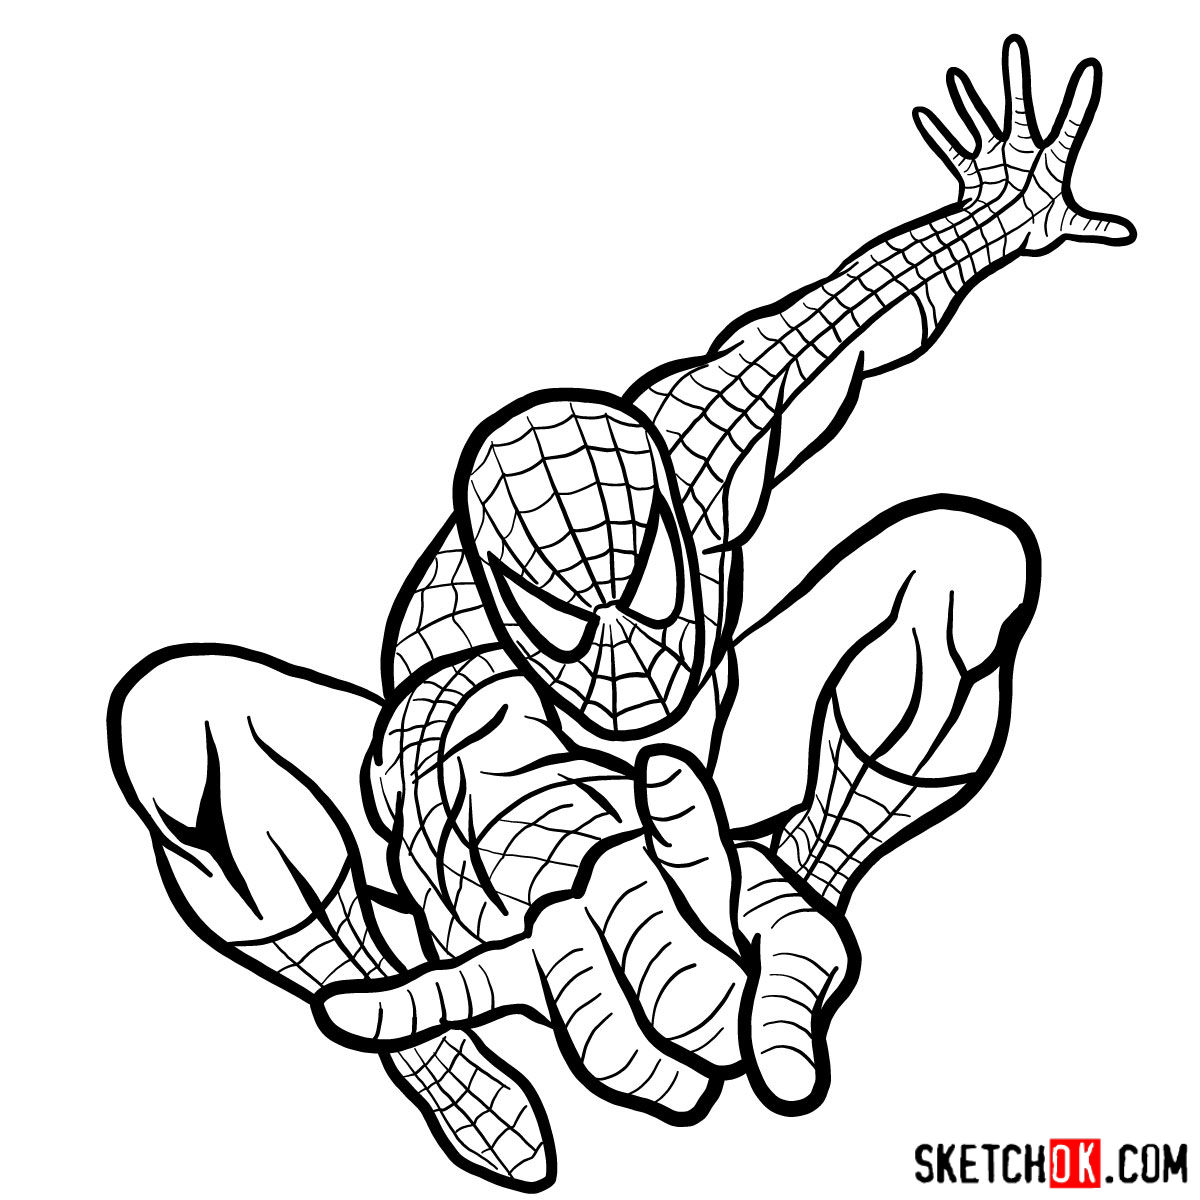
With the pencil sketch complete, it’s time to refine your drawing and add final touches. Erase any unnecessary lines and make adjustments as needed. Once you’re happy with your sketch, go over your drawing with ink to make the lines crisp and clean.
Part 4: Coloring Your Spider-Man Drawing
Bring your Spider-Man drawing to life by adding color! Use colored pencils, markers, or even digital tools to fill in the iconic red and blue hues of Spider-Man’s costume. Don’t forget to add shadows and highlights to give your drawing depth and dimension.

One of the fun things about learning how to draw Spider-Man in jump is seeing how differently everyone interprets the pose, some going for a tight tuck, others stretching him out wide mid-air. If you want to see how your version stacks up against other artists’ takes, drop it in the comments of the pinned Pinterest post for this guide. You can also sign up for the weekly digest at the top of the page to catch new tutorials as they come out.
Great Job!
Thanks
You’re most welcome!