If there’s one character in the world of animation that exemplifies both charm and wit, it’s none other than Tweety Bird. This yellow canary has won the hearts of millions with its clever antics in the Warner Bros. Looney Tunes and Merrie Melodies series of animated cartoons. Our guide focuses on helping you learn how to draw Tweety Bird in a simple, approachable manner.
Identifying Tweety’s Unique Features
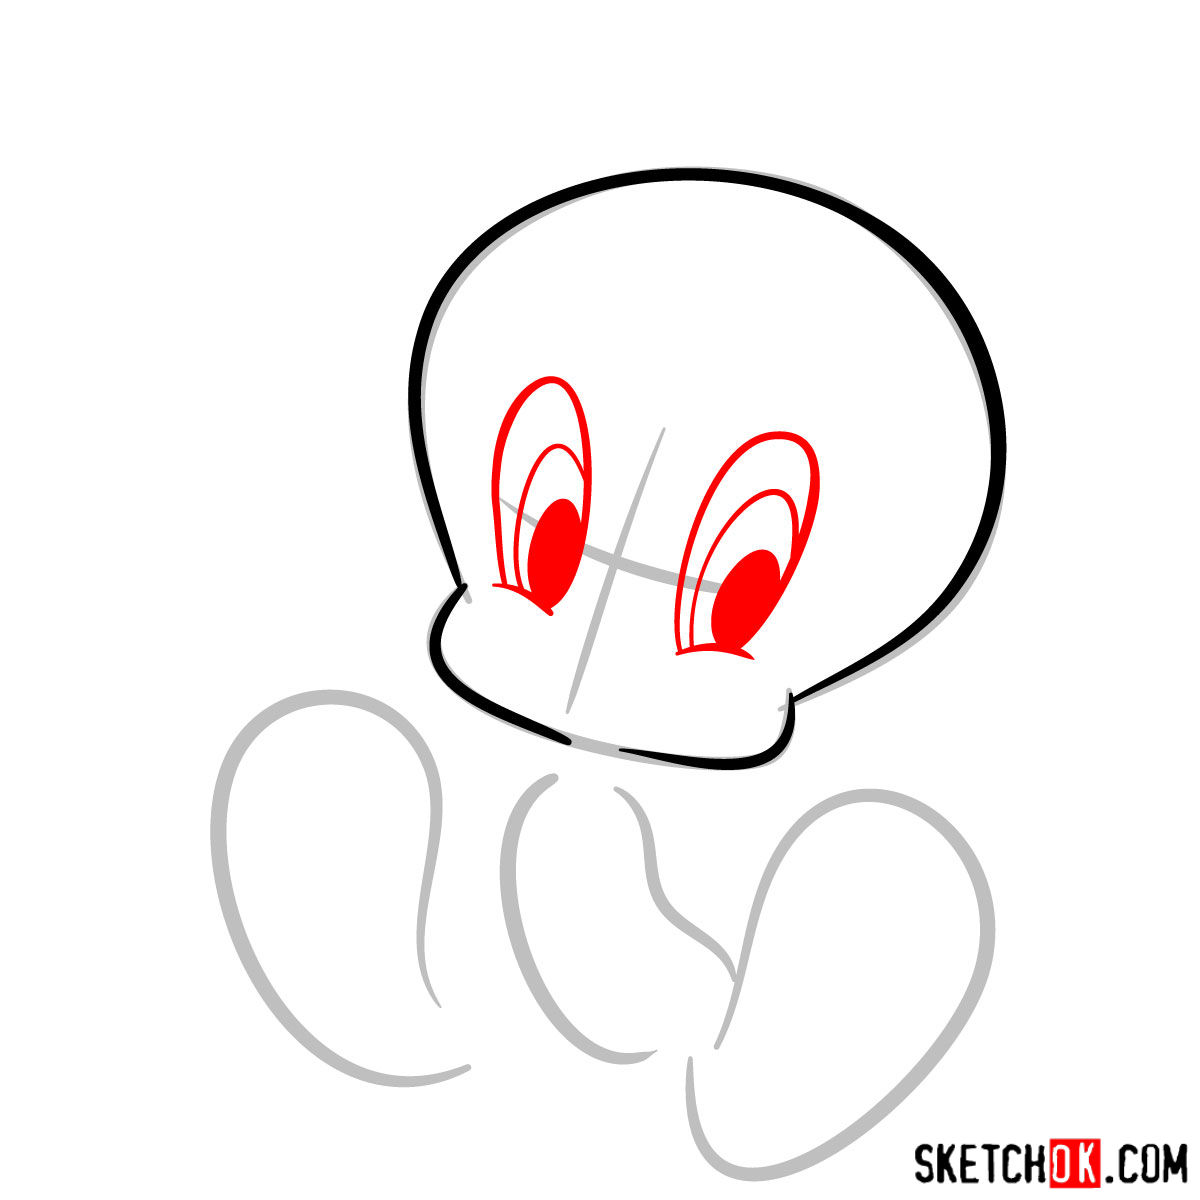
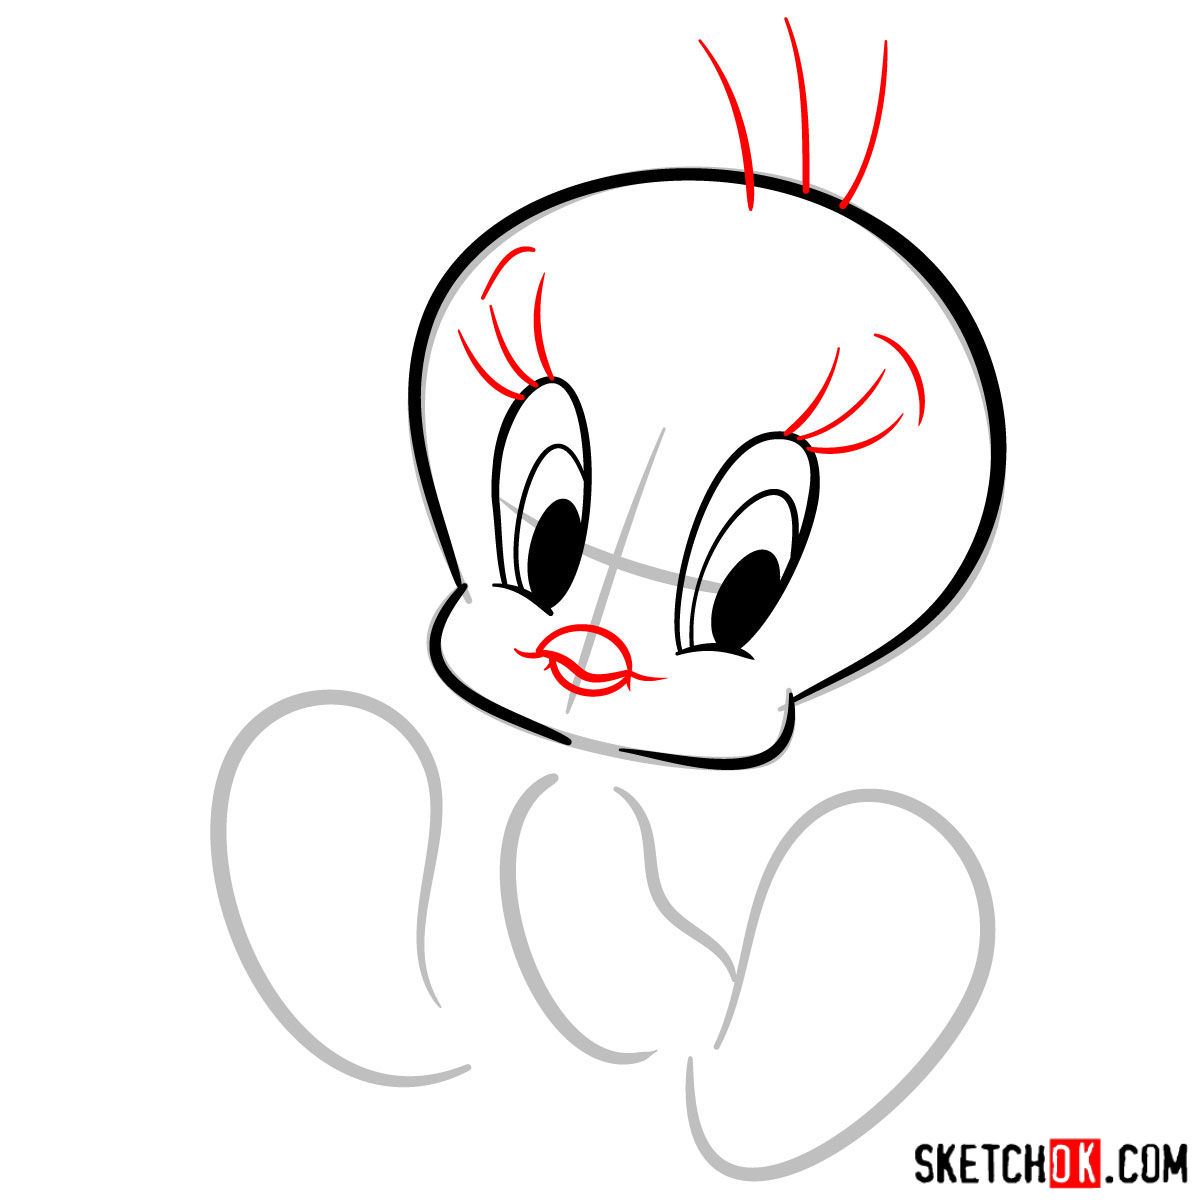
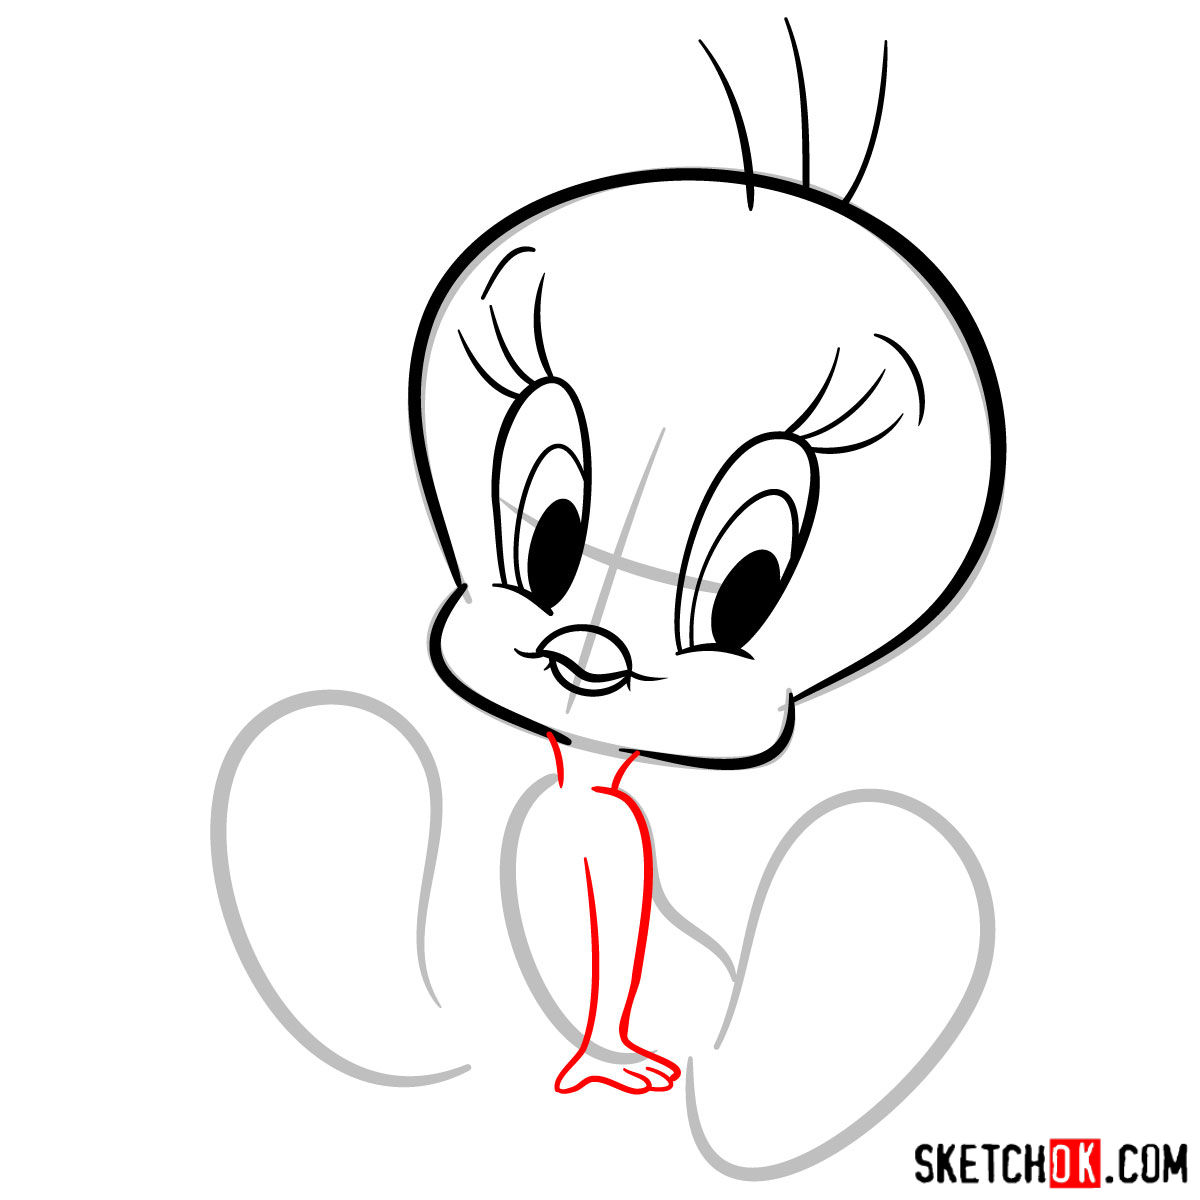
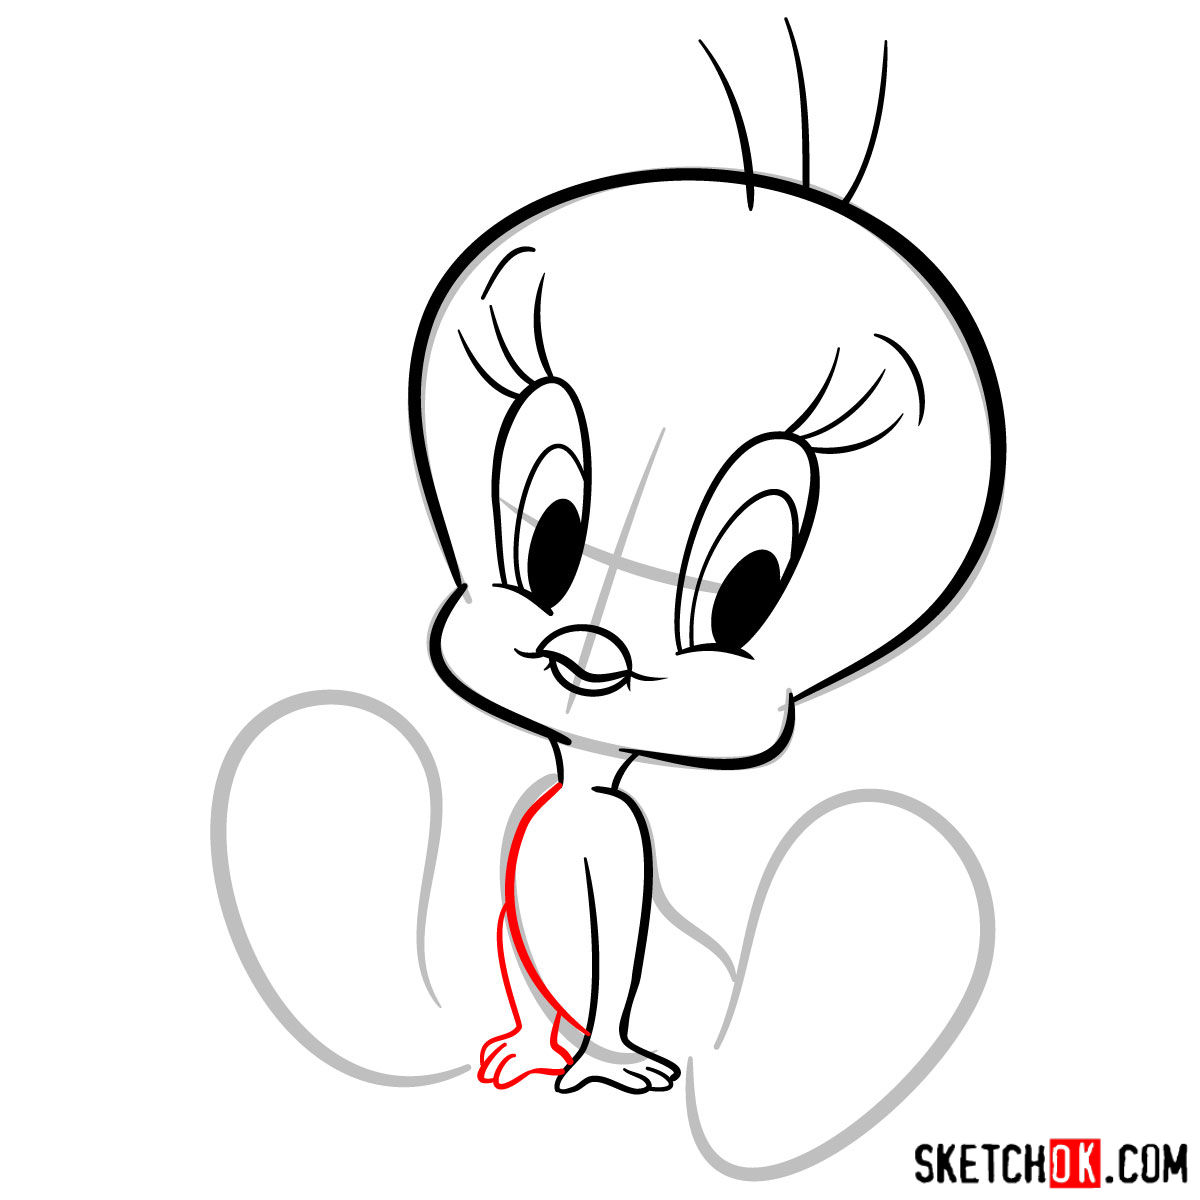
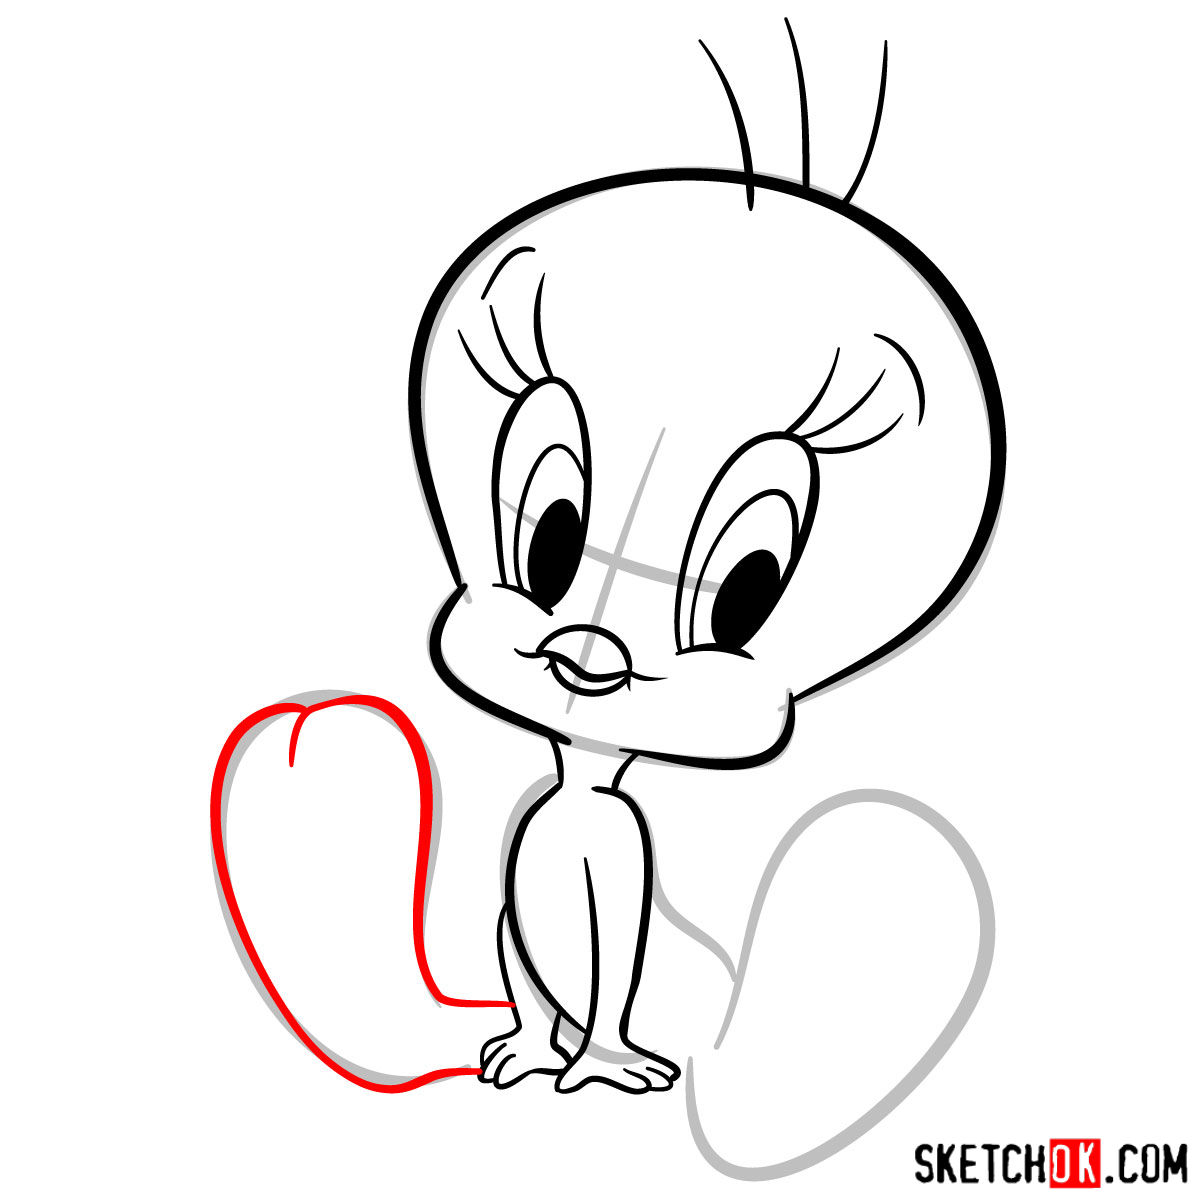
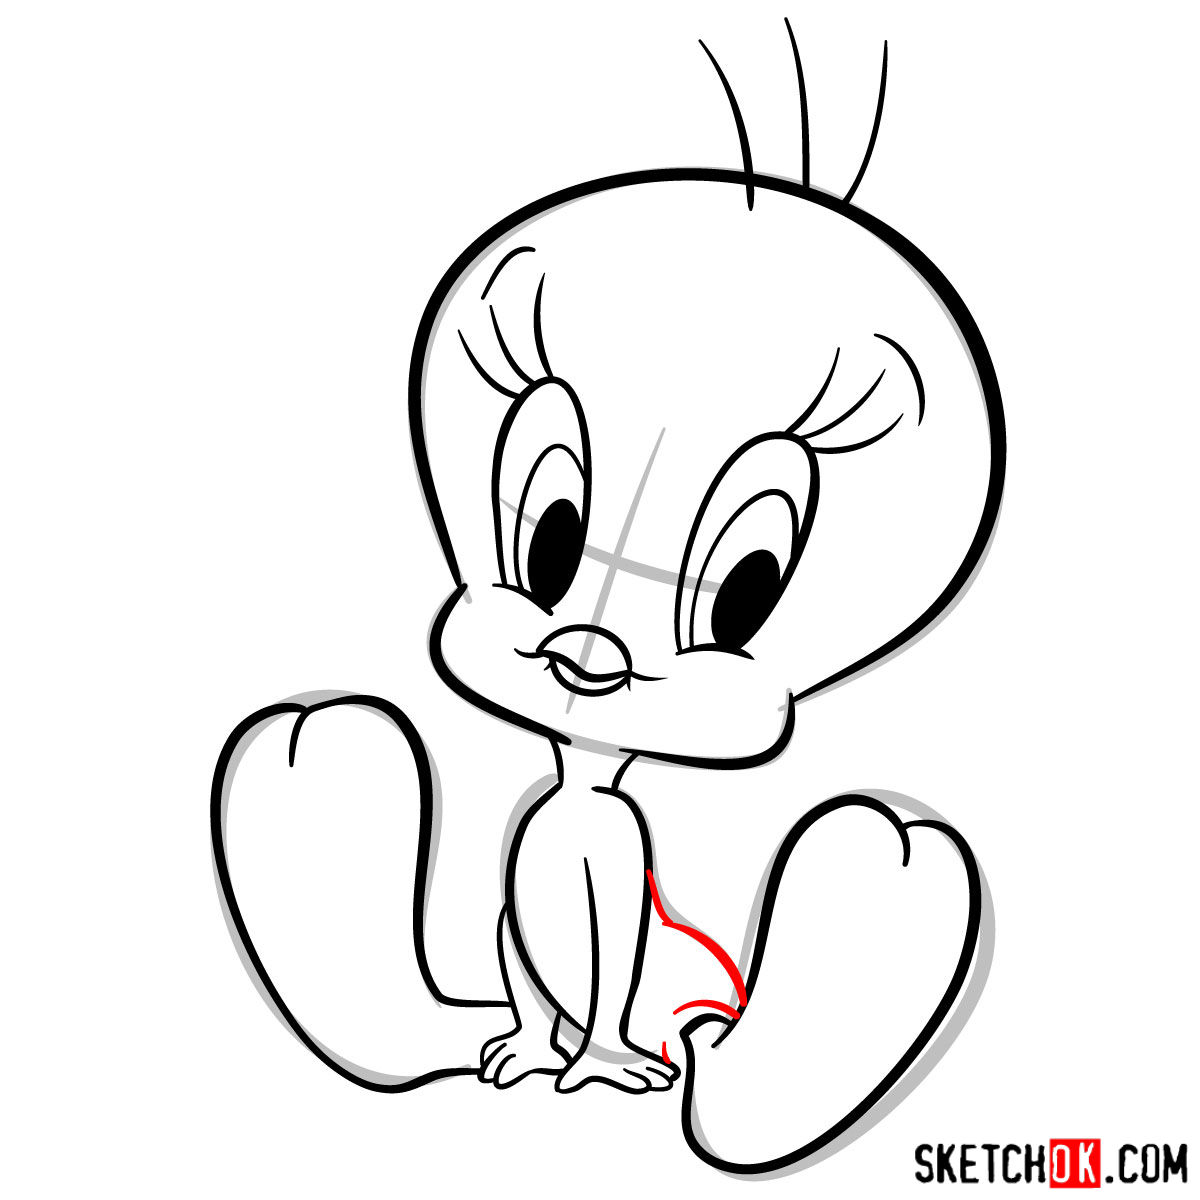
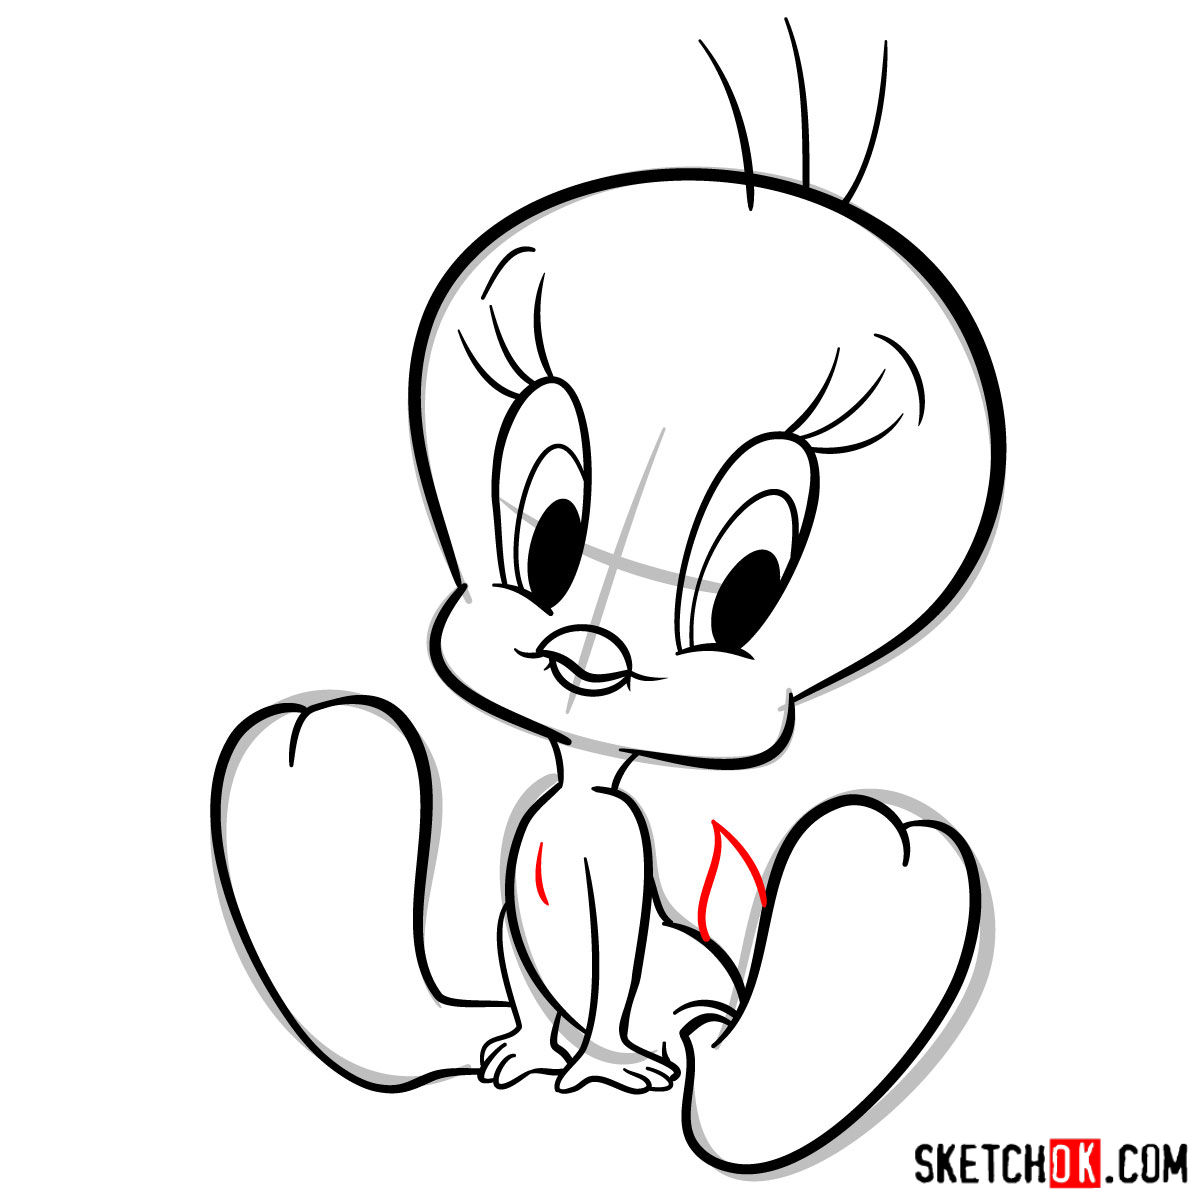
To create a faithful rendition of Tweety, it’s essential to focus on the character’s distinctive features. Tweety Bird is known for its large head relative to its small body, along with a prominent, bulbous beak. Its eyes are typically large and expressive, emphasized with long eyelashes. One cannot forget Tweety’s slender legs that end in oversized feet. Finally, it has a small tuft of feathers on top of its head, adding to its youthful and innocent appearance.
Consider including other characters like Sylvester the Cat, Tweety’s main antagonist in the series, to add a touch of story and interaction in your sketch. This will give your artwork a dynamic and narrative aspect, making it more engaging. Here are some other suggestions: Marvin the Martian, Morocco Mole, Plucky Duck and the Road Runner
Understanding the Guide
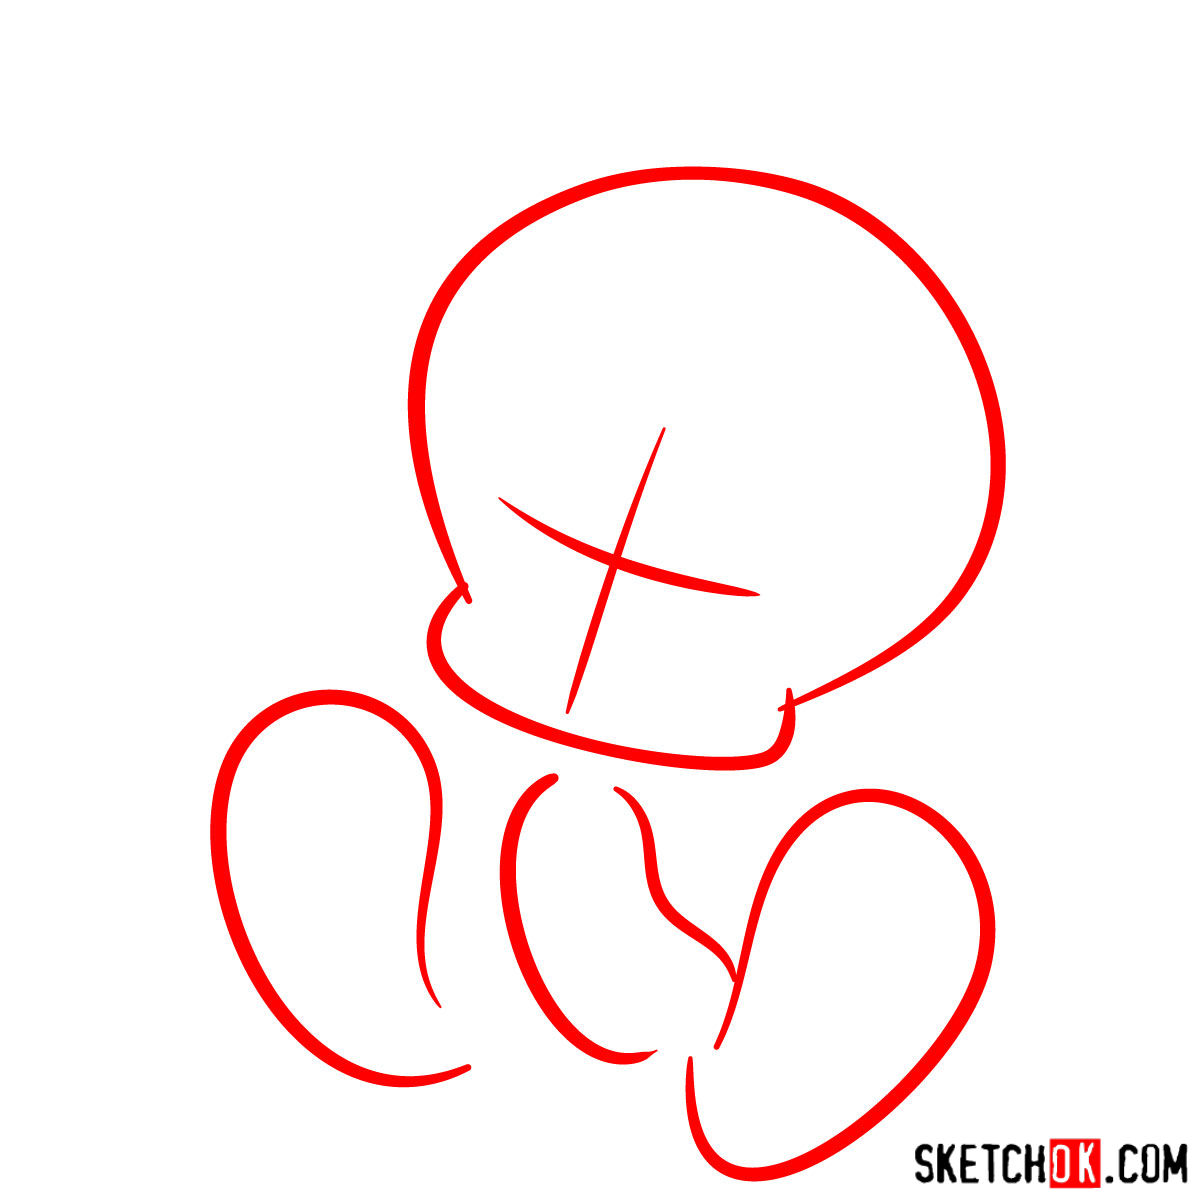
Our guide comprises 12 well-defined steps to help you draw Tweety Bird. We’ve implemented a color coding system to aid your understanding. Let’s decode these colors:
- Red Color: Represents the current step you should be focusing on.
- Black Color: Indicates the lines you’ve previously drawn.
- Grey Color: Shows the basic sketch or the structure.
The first step involves creating a basic sketch using light pencil strokes. In the final step, you can choose to ink your sketch. Remember to wait until the ink dries completely before gently erasing the underlying pencil sketch. This prevents smudging and keeps your artwork clean and neat.


FAQs: How to Draw Tweety Bird
Why do we start with a basic sketch using light strokes?
Starting with a light basic sketch allows you to lay the foundation of your drawing without committing to the final lines. This approach enables easy adjustments in the early stages of your drawing, making the process more forgiving and less messy.
Why do we need to wait for the ink to dry before erasing the pencil sketch?
Inking your sketch gives it a crisp, finished look. However, it’s crucial to wait until the ink dries before erasing the pencil lines. Doing so prematurely may cause the ink to smudge, ruining your artwork. Patience in this step ensures a neat and clean drawing.
How can I make my drawing of Tweety Bird more dynamic?
To make your drawing more dynamic, consider including other characters or adding a setting. For instance, drawing Sylvester the Cat in pursuit of Tweety can capture the playful nature of their relationship. You could also depict Tweety in its cage or flying free, to enhance the narrative of your artwork.
Bringing Your Artwork to Life
There’s a unique sense of fulfillment in bringing a beloved character like Tweety Bird to life on paper. It’s a journey, a learning process, and most importantly, it’s a whole lot of fun.
So, I urge you to pick up your pencil, follow the guide, and bring your imagination to life. And when you’re done, don’t hesitate to share your masterpiece on social media or with your friends and family. By sharing, you’re helping spread the joy of drawing, inspiring others to take up the pencil, and helping keep the SketchOk project alive.
Your generous donations help us create more free drawing guides like this one. These funds allow us to continue providing high-quality, step-by-step guides, making the art of drawing accessible to everyone.
And don’t forget to follow us on our social media channels: Facebook, Instagram, and Pinterest. You’ll be the first to know when we release new guides, tips, and tutorials. Thank you for being a part of our artistic journey!