Welcome to our step-by-step guide on how to draw the Pink Panther, the iconic character from the beloved animated series. With our detailed instructions, you’ll be able to recreate the Pink Panther’s unique charm right on your sketchpad!
Understanding the Pink Panther’s Appearance
The Pink Panther’s design is quite distinctive and consists of a few key elements:
- Sleek and slender body: His physique is long, sleek and emphasizes his agile nature.
- Pink fur: As the name implies, the Pink Panther is covered in a unique shade of pink fur. While we won’t be coloring in this tutorial, it’s important to consider this when outlining and shading your drawing.
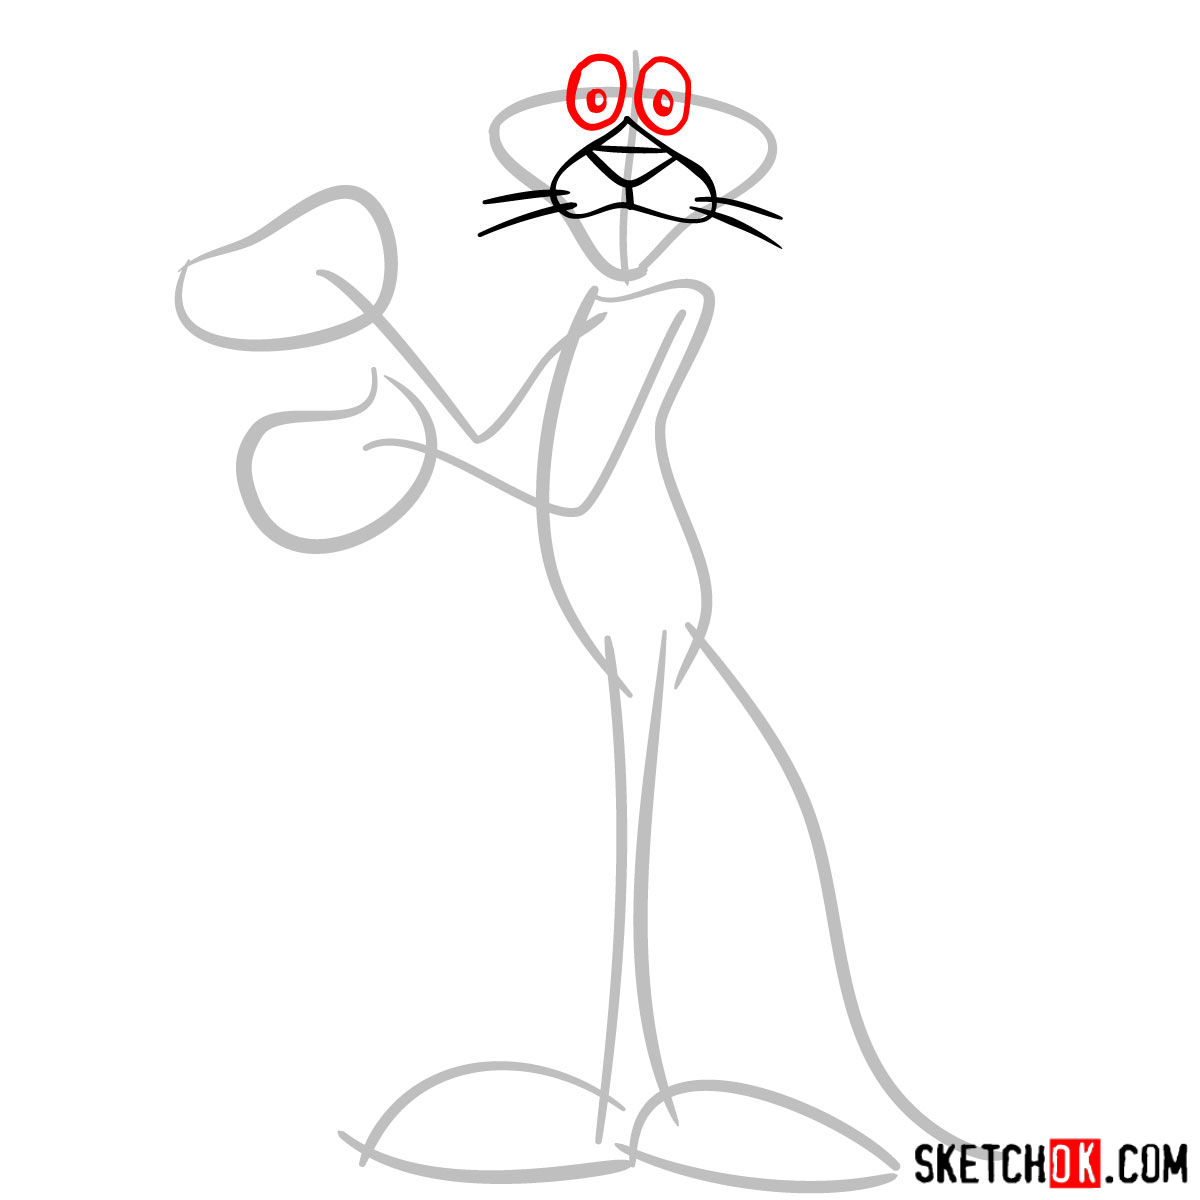
- Expressive black eyes: The Panther’s black eyes, complete with yellow sclerae, are a major highlight of his design. They’re often used to express a wide range of emotions throughout the series.
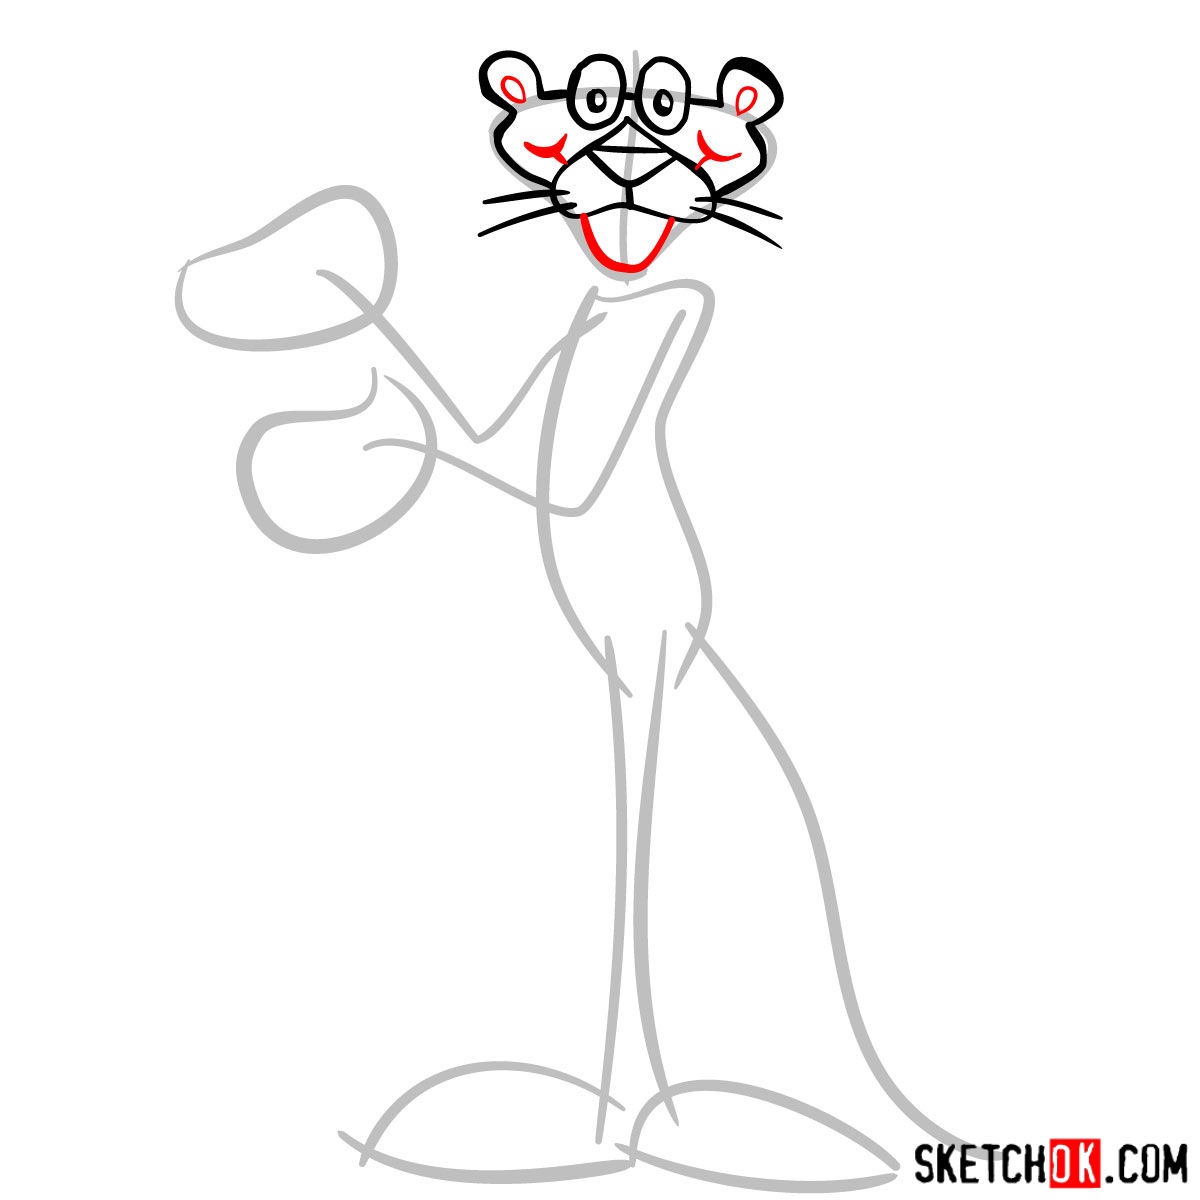
- Pink snout and whiskers: The Pink Panther’s snout is another important feature to capture, as it gives him his cat-like appearance.
You might also want to consider adding other panthers from other animated series to your drawing for a more dynamic scene, such as Bagheera or even Marvel’s Black Panther.
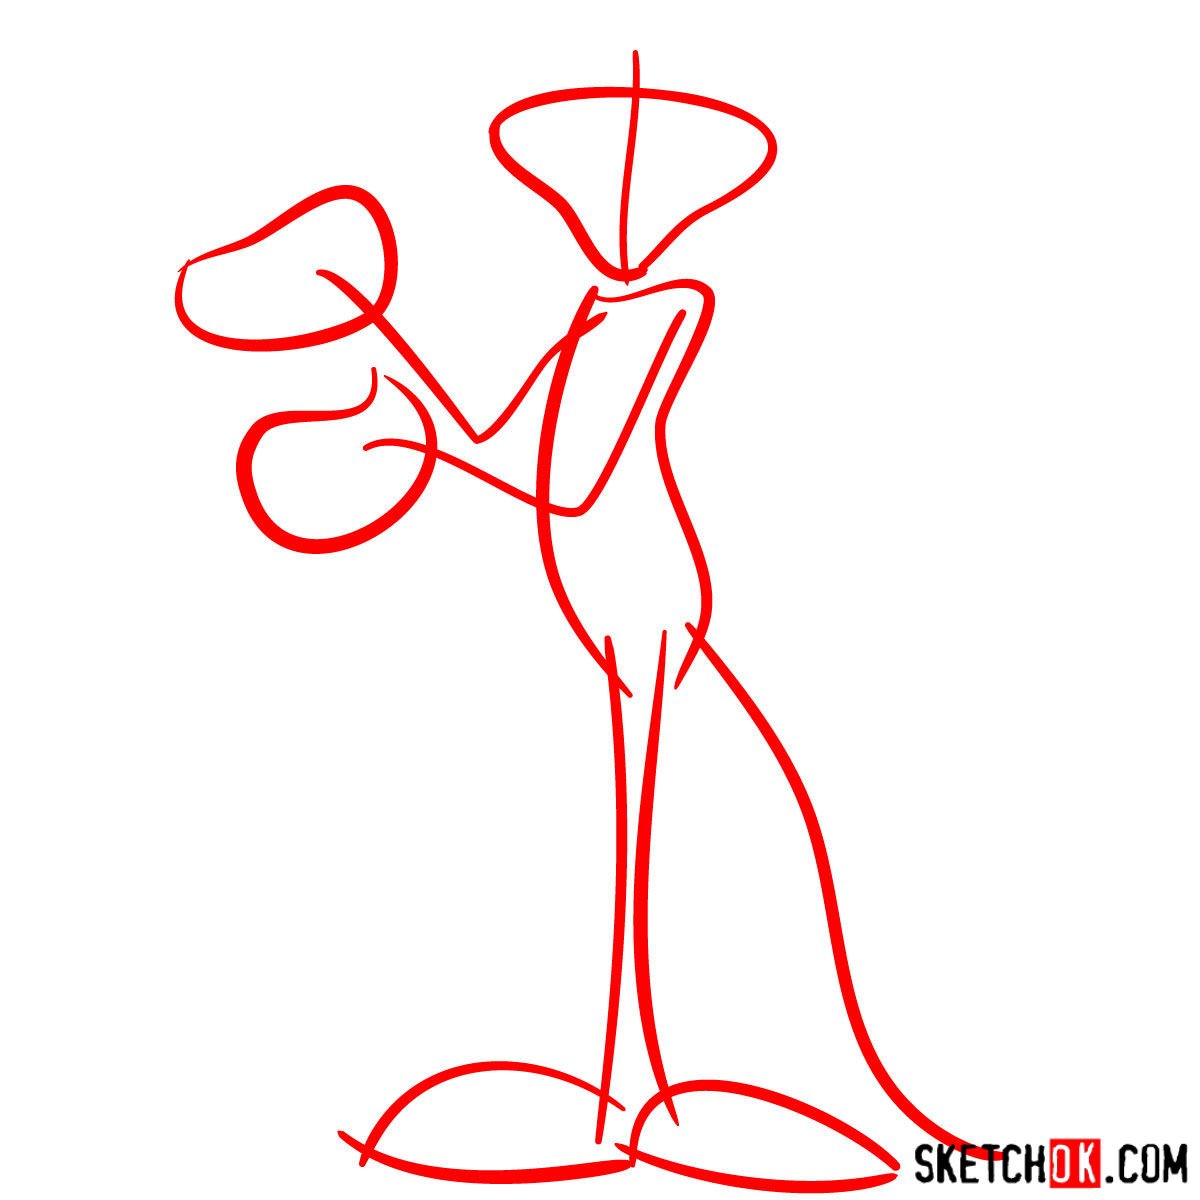
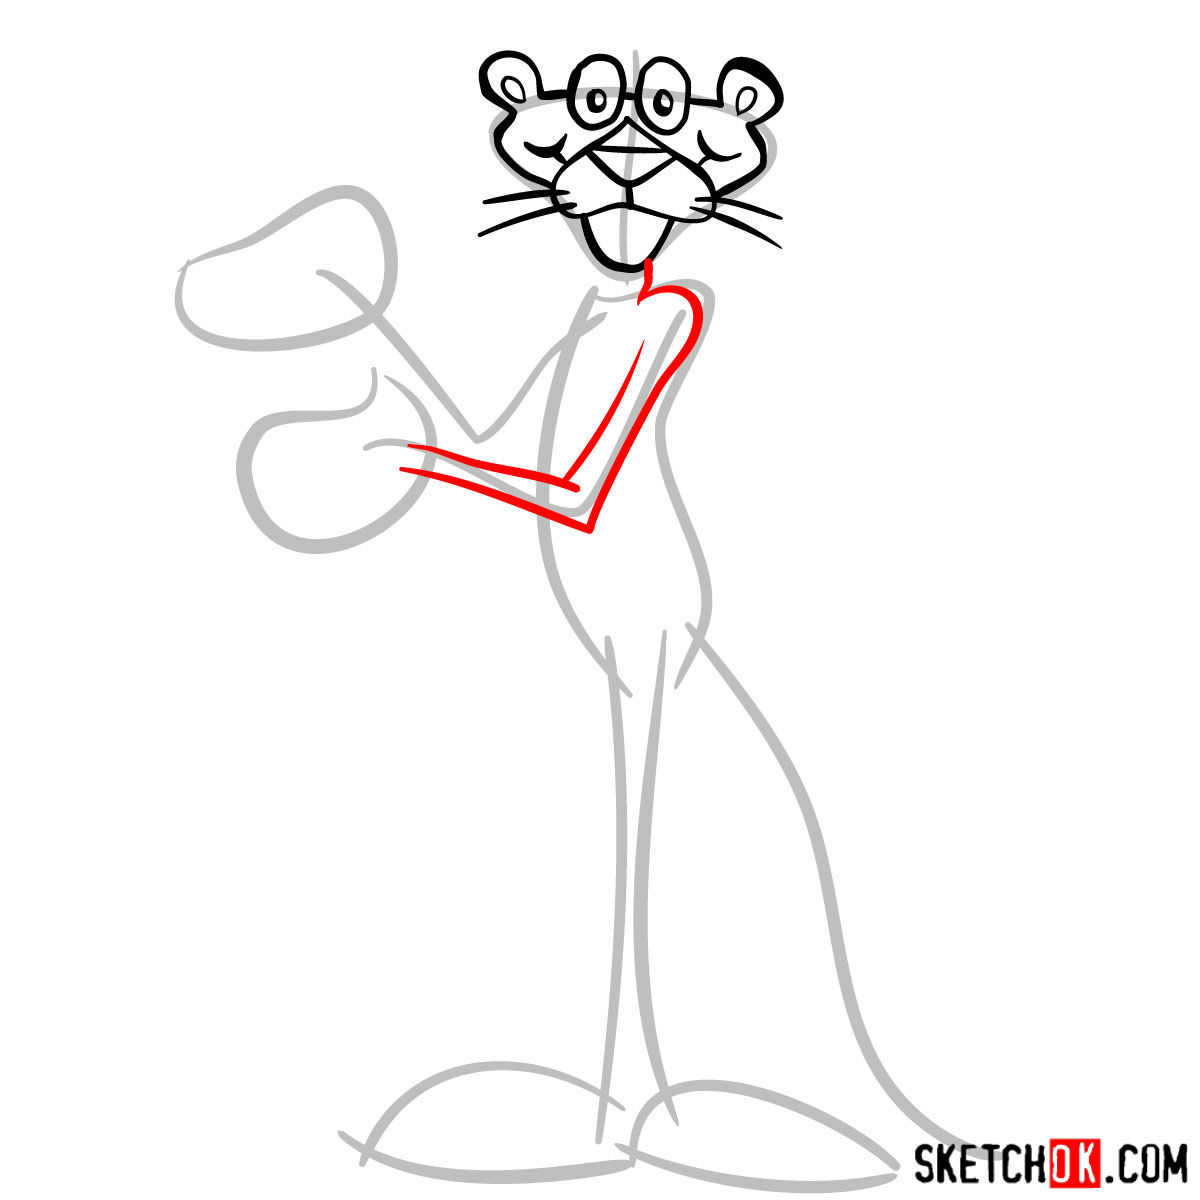
Decoding the Guide
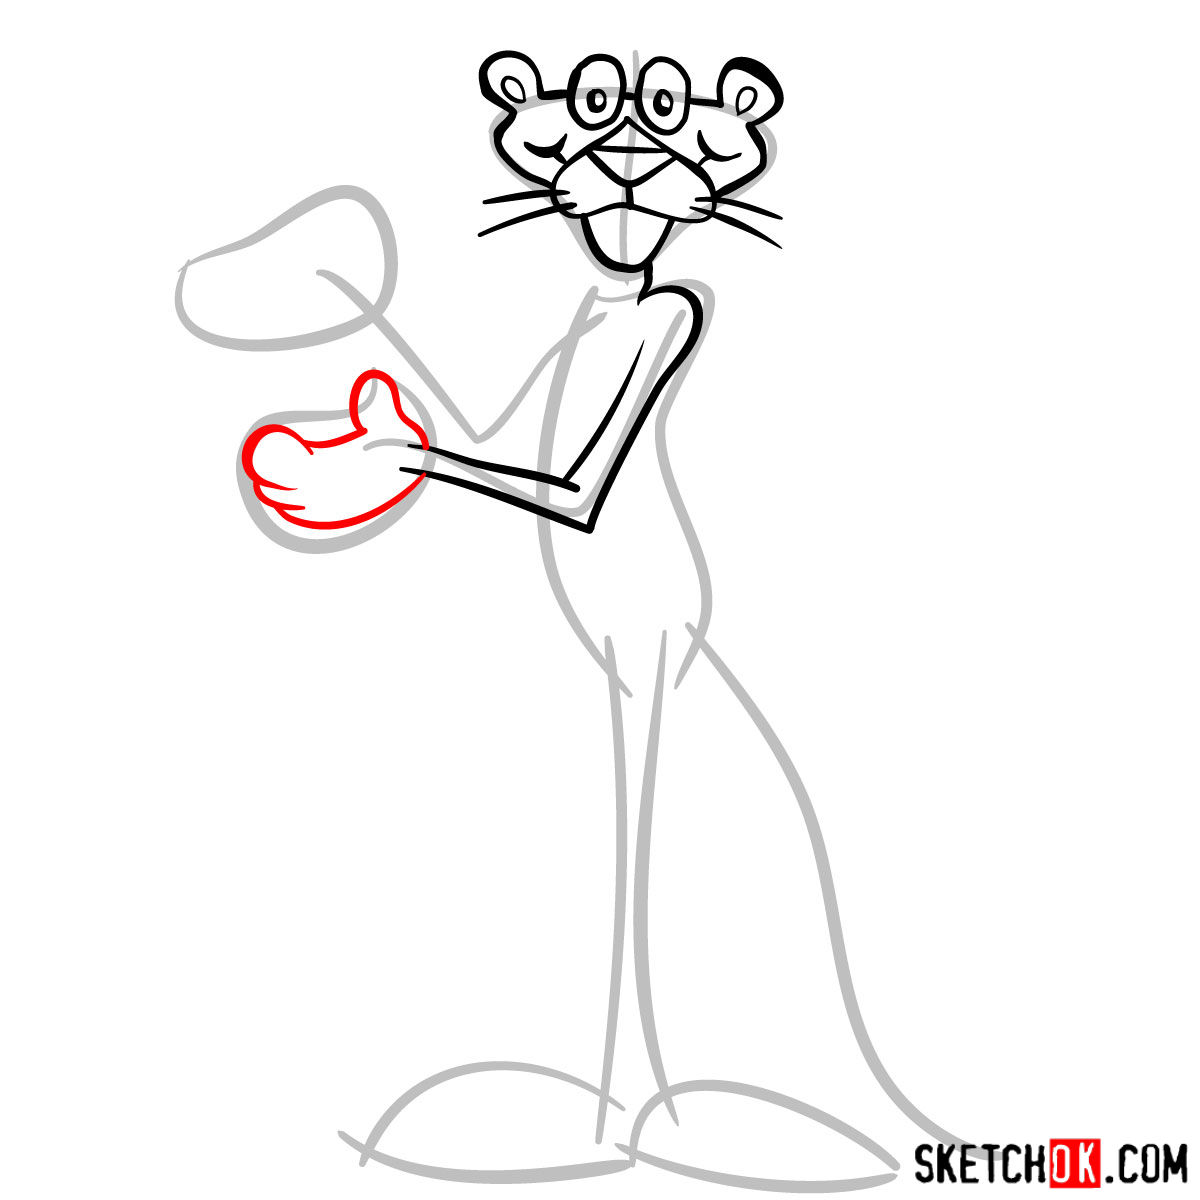
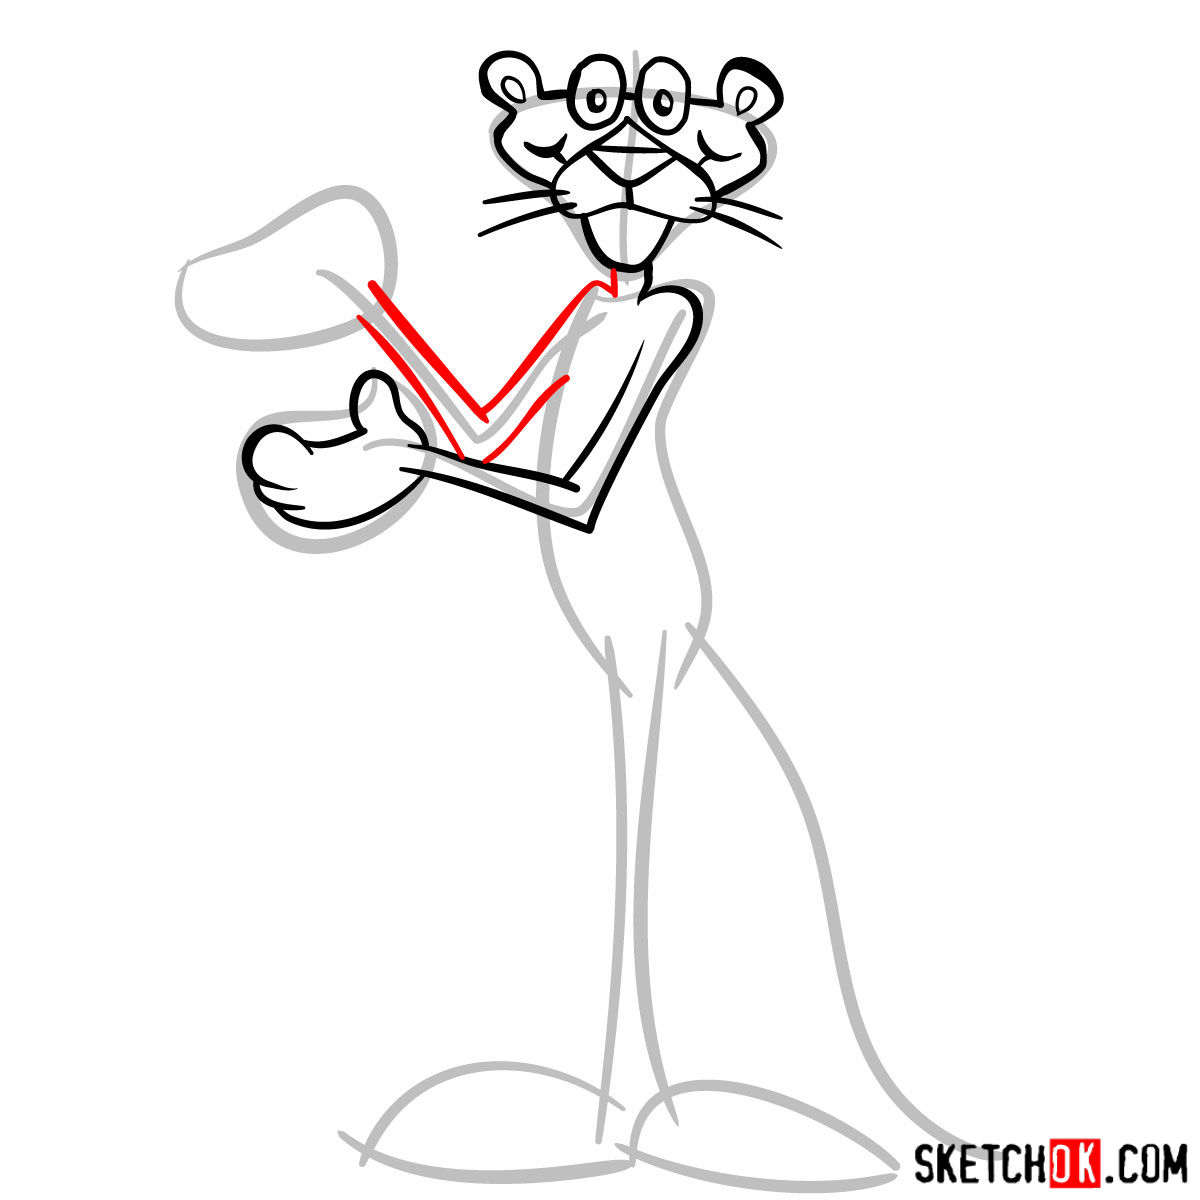
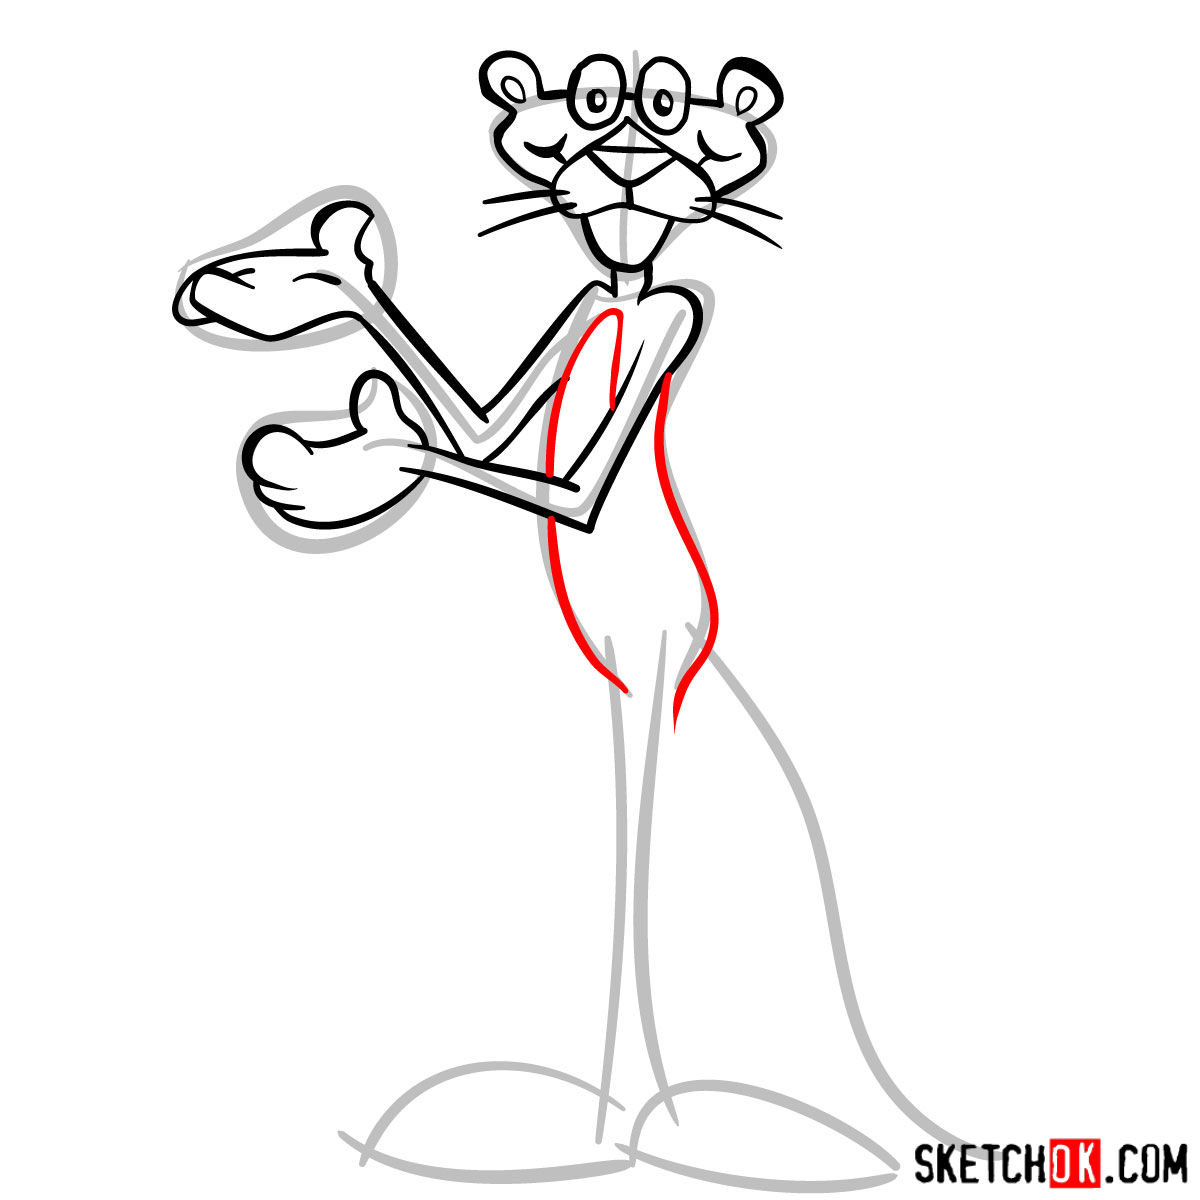
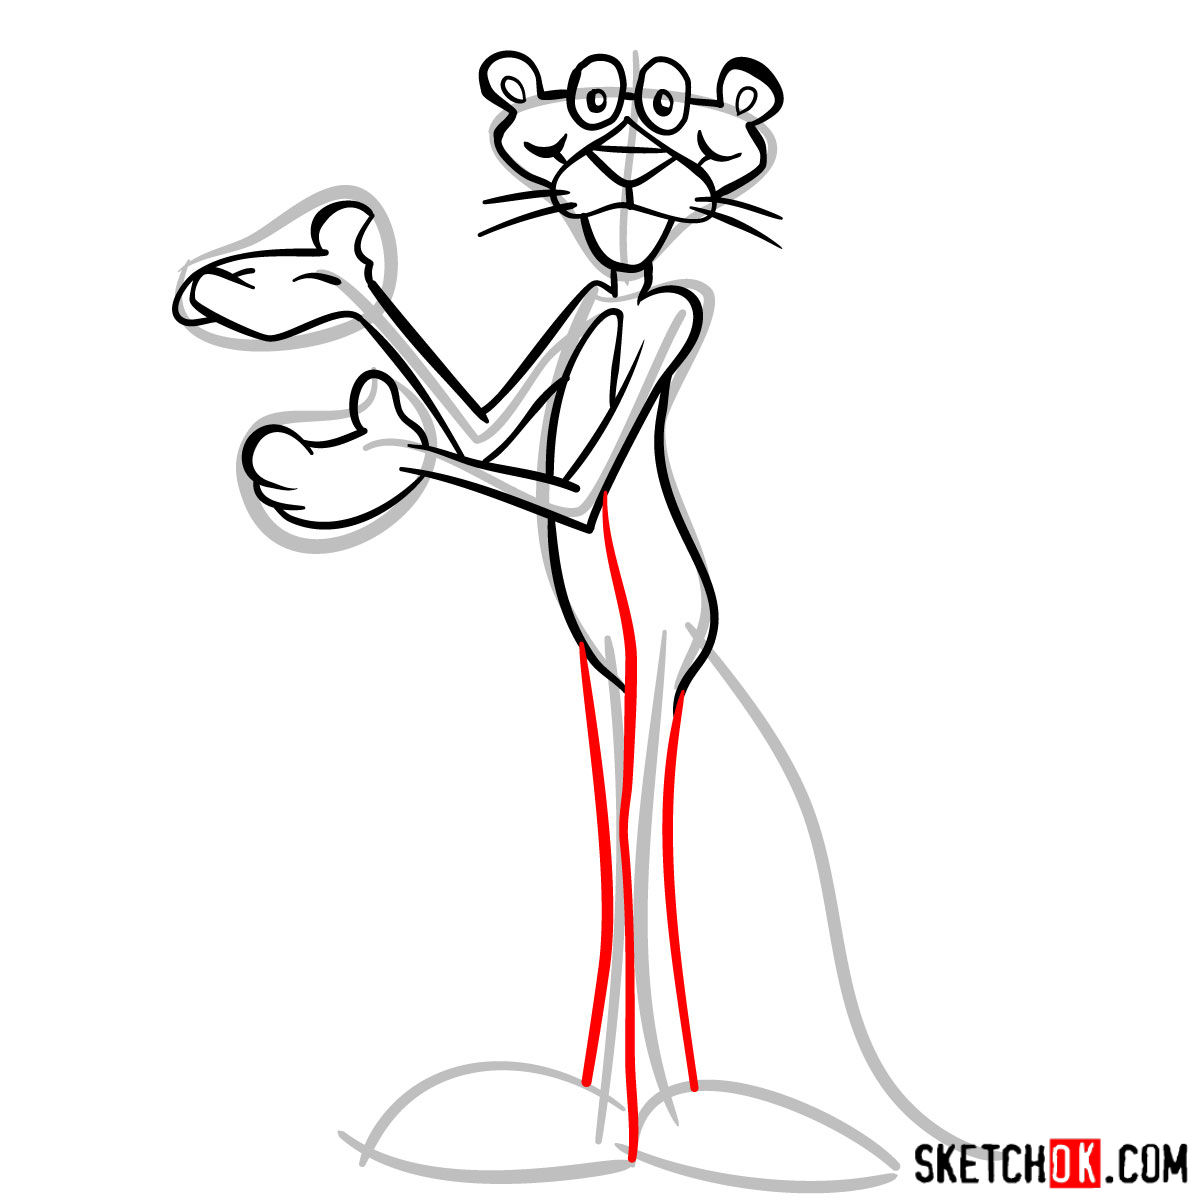
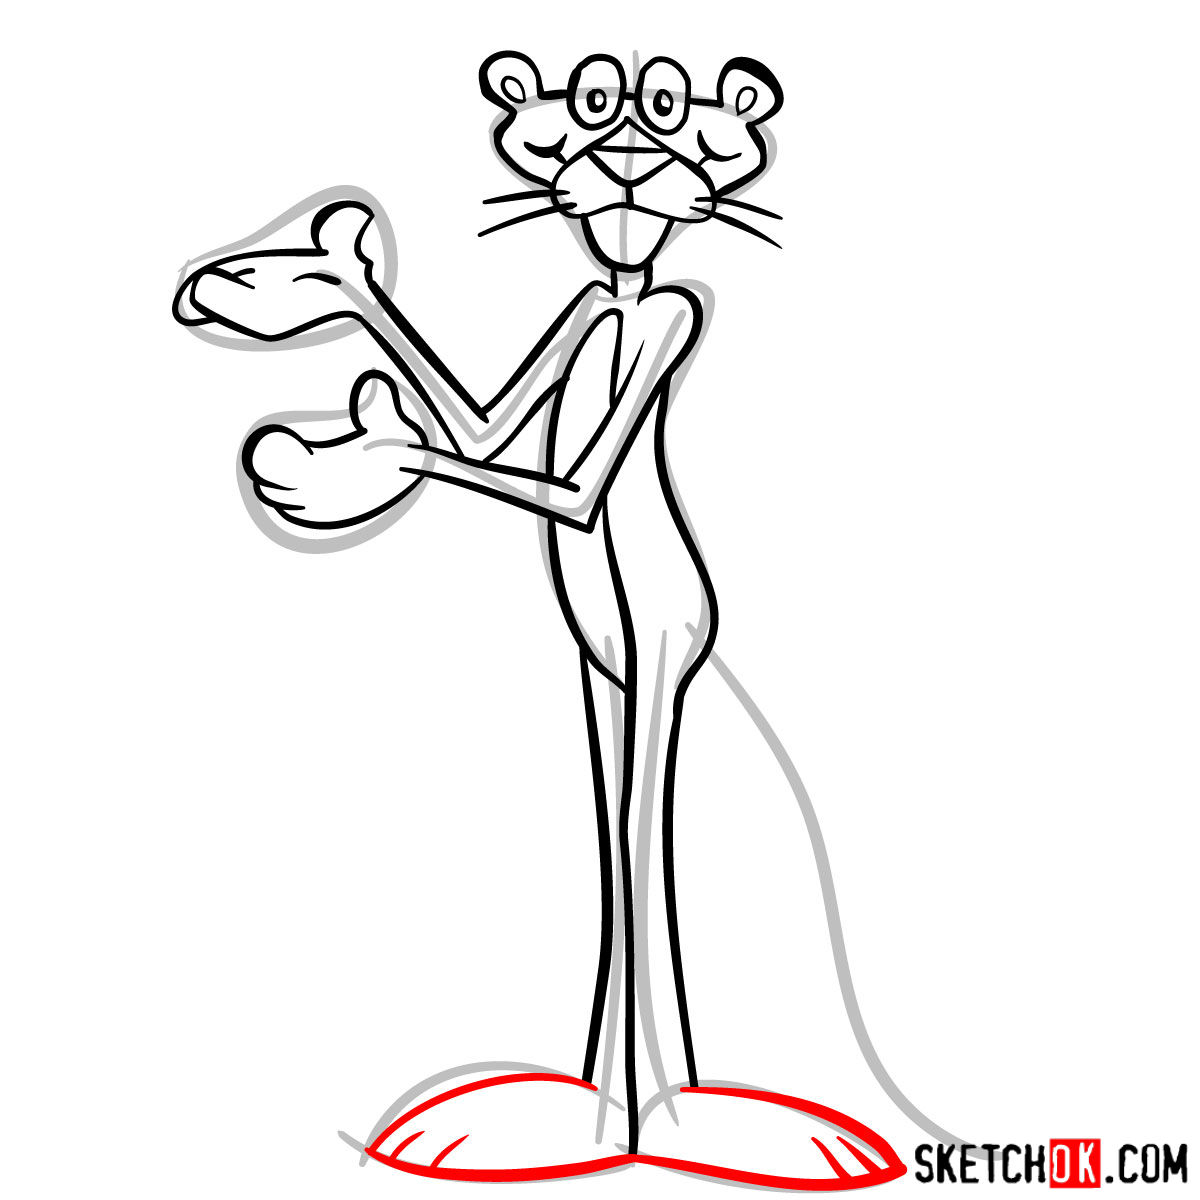
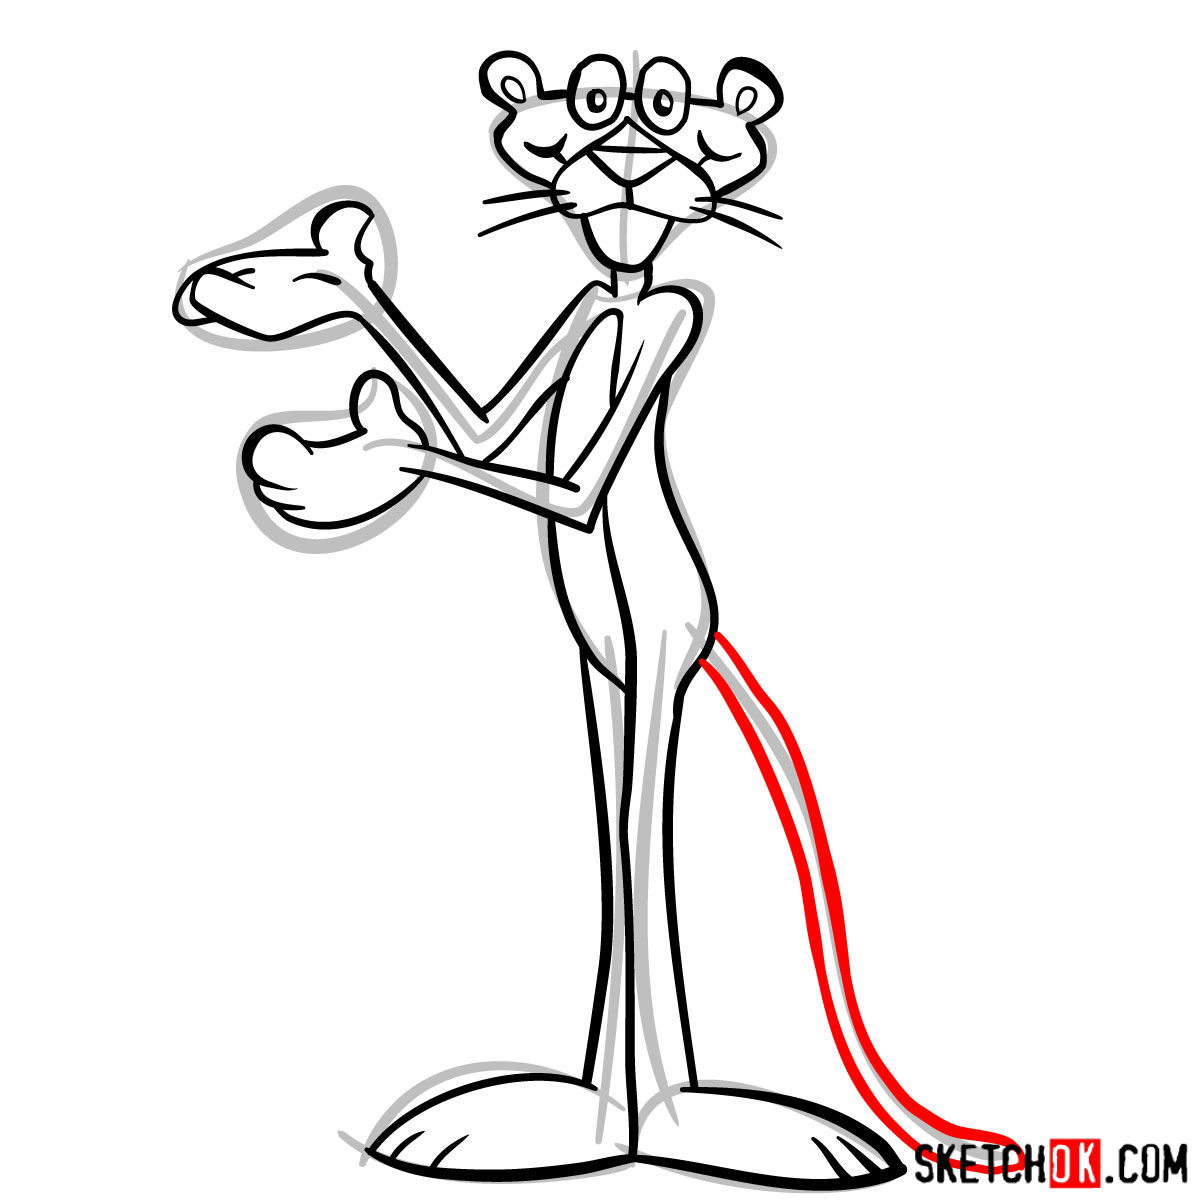
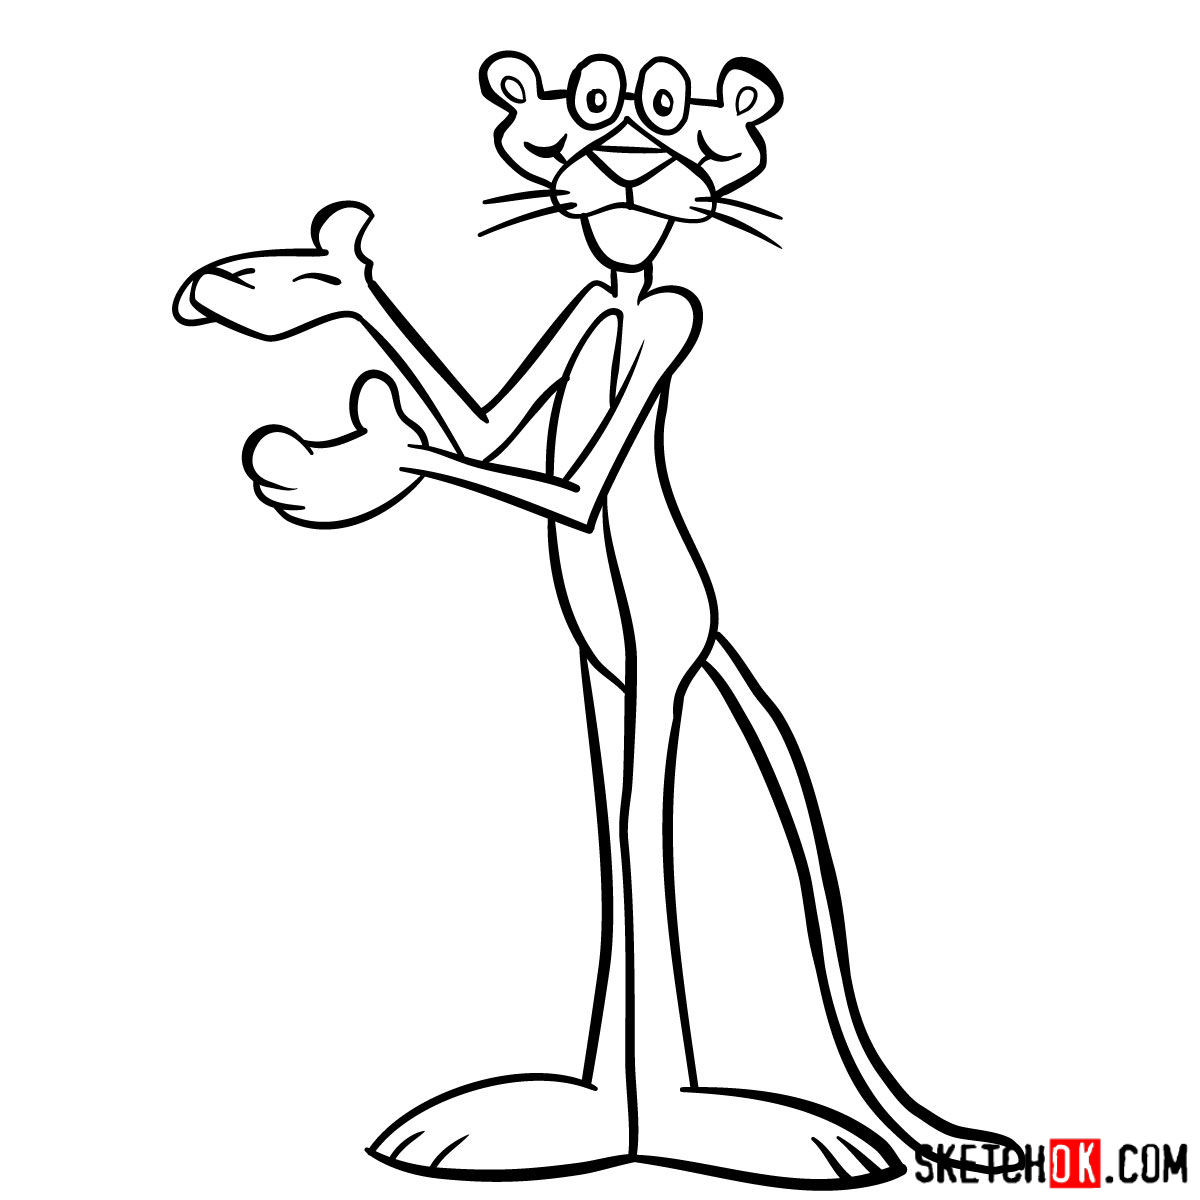
Our guide consists of 15 clear steps that will guide you from a basic sketch to a detailed final piece. To help you follow along, we’ve used a simple color-coding system:
- Red Color: Indicates the lines you should be focusing on in the current step.
- Grey Color: Represents the basic sketch that guides your proportions and structure.
- Black Color: Showcases the lines you’ve already drawn in the previous steps.
The final steps of the guide give you the option to ink your sketch. Inking provides a neat, defined outline to your drawing. If you choose to ink, remember to wait until the ink dries before gently erasing the pencil lines to avoid smudging.


Paws for Thought: FAQs
Why is light sketching important in the initial steps?
Sketching lightly helps you to easily erase and adjust lines in the early stages. It makes the refining process more forgiving and less messy.
Why should I wait for the ink to dry before erasing the pencil lines?
Inking makes your sketch pop and gives it a clean finish. However, if you attempt to erase the pencil lines before the ink dries, it can lead to smudging and ruin the neat look of your drawing.
What can I do if I find it difficult to draw the Pink Panther’s proportions correctly?
If you’re struggling with proportions, try to break the Pink Panther’s body into basic shapes like circles, ovals, and lines. This method makes it easier to understand the character’s structure and get the proportions correct.
Bringing Down the Curtain
That’s a wrap on our guide on how to draw the Pink Panther! By following our guide, we hope you’ve discovered the fun and satisfaction of recreating this iconic character. Remember, practice makes perfect, so don’t be discouraged if you don’t get it right the first time.
If you found our guide helpful, consider donating to keep the SketchOk project live. Your donations help us continue to create free drawing guides for all to enjoy. Plus, you can share our guides on Facebook, Instagram, and Pinterest to inspire others to pick up a pencil and start drawing.
Happy drawing, and remember to keep practicing and having fun!