Welcome to our exciting new drawing tutorial! Today, we’re featuring a beloved character from the classic cartoon series, Ricochet Rabbit & Droop-a-Long. This easy step-by-step guide will teach you how to draw Ricochet Rabbit, the ping-pinging, wall-bouncing, fastest sheriff in Hoop ‘n’ Holler!
Understanding Ricochet Rabbit’s Unique Appearance
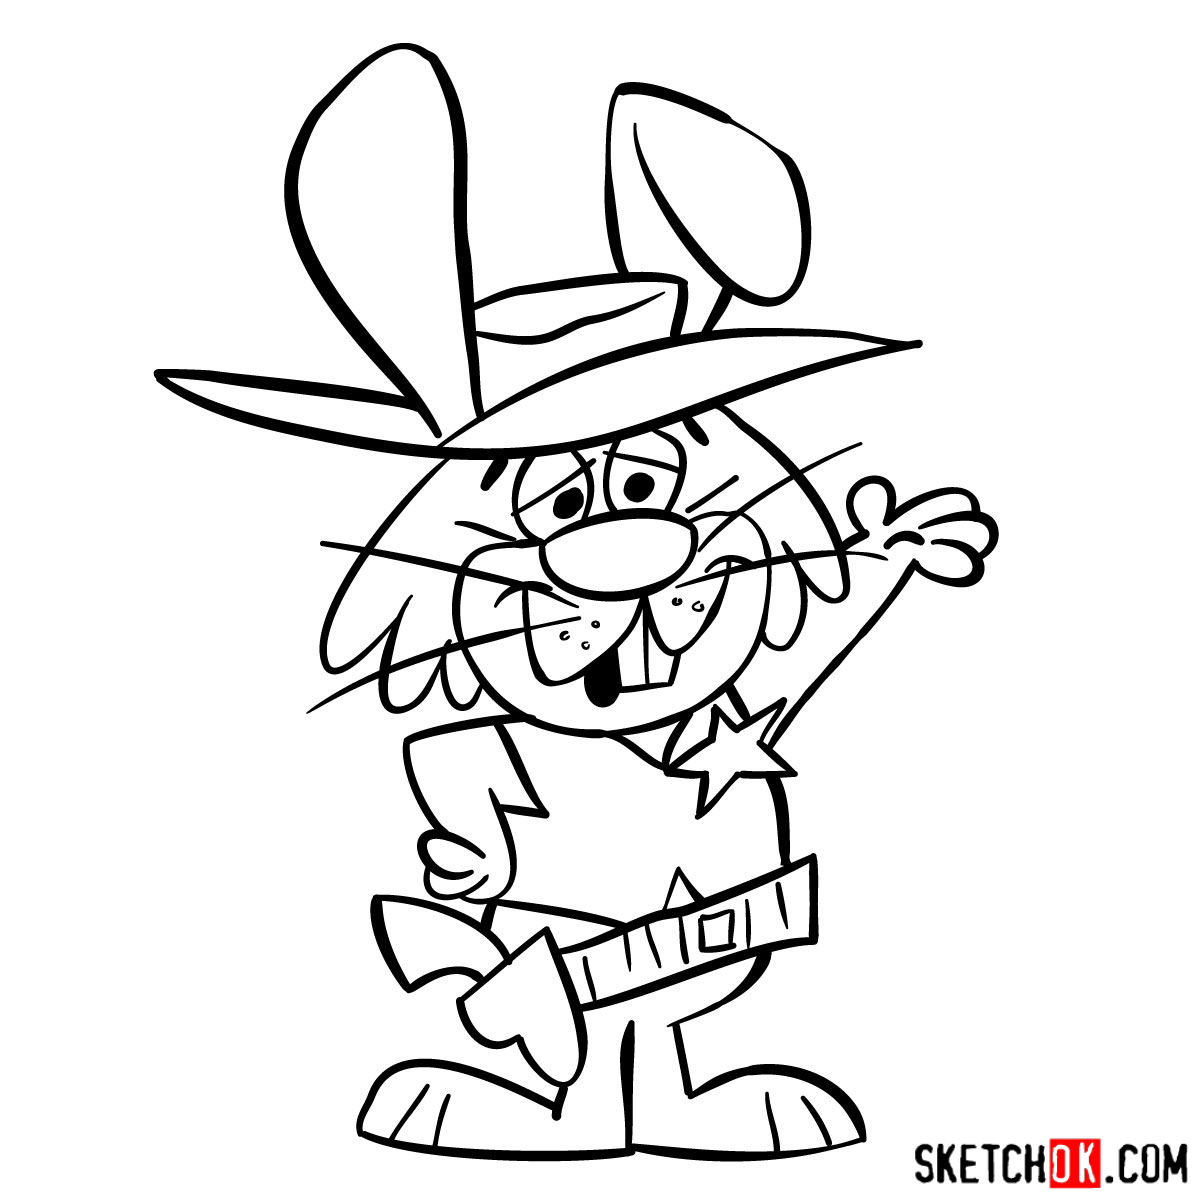
Before we delve into the drawing process, let’s explore the unique characteristics of Ricochet Rabbit that make him stand out:
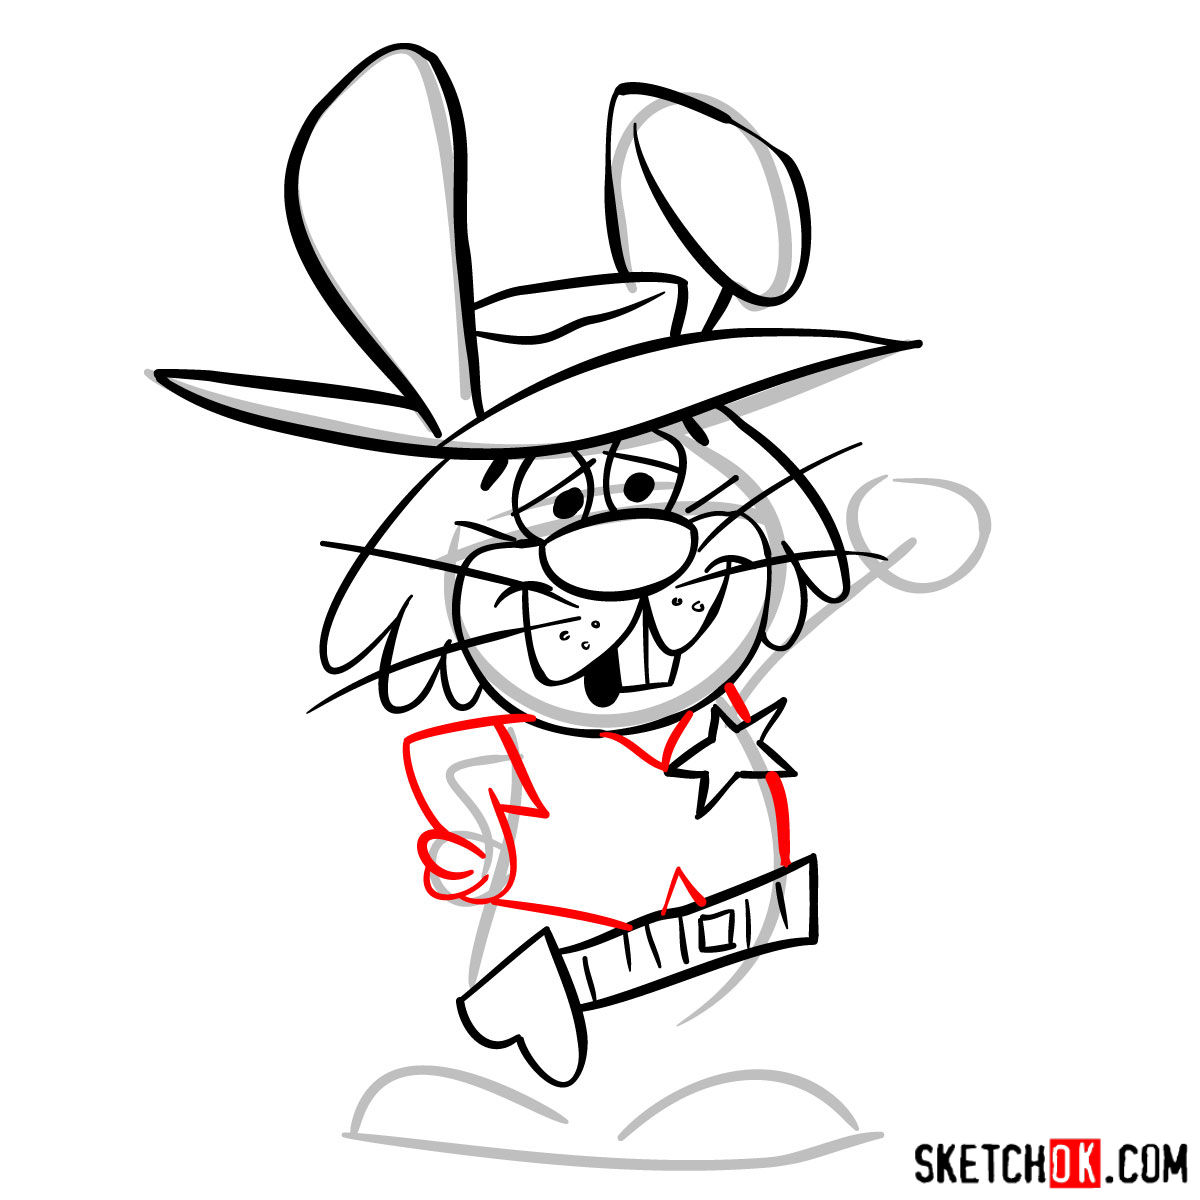
- Iconic Attire: As the sheriff of Hoop ‘n’ Holler, Ricochet Rabbit is often portrayed in classic Western attire, including a cowboy hat and a sheriff’s badge.
- Ping-Pinging Action: True to his name, Ricochet Rabbit is known for his distinctive bouncing off the walls, always accompanied by his trademark “ping-ping-ping!” sound effect.
- Trick Bullets: Ricochet Rabbit’s arsenal of trick bullets, featuring ropes, hammers, and even bullets that separate into smaller ones, is a defining aspect of his character.
With these features in mind, you might also consider adding his sidekick, Droop-a-Long Coyote, to the drawing for an exciting scene straight out of Hoop ‘n’ Holler!
Getting Started with the Guide
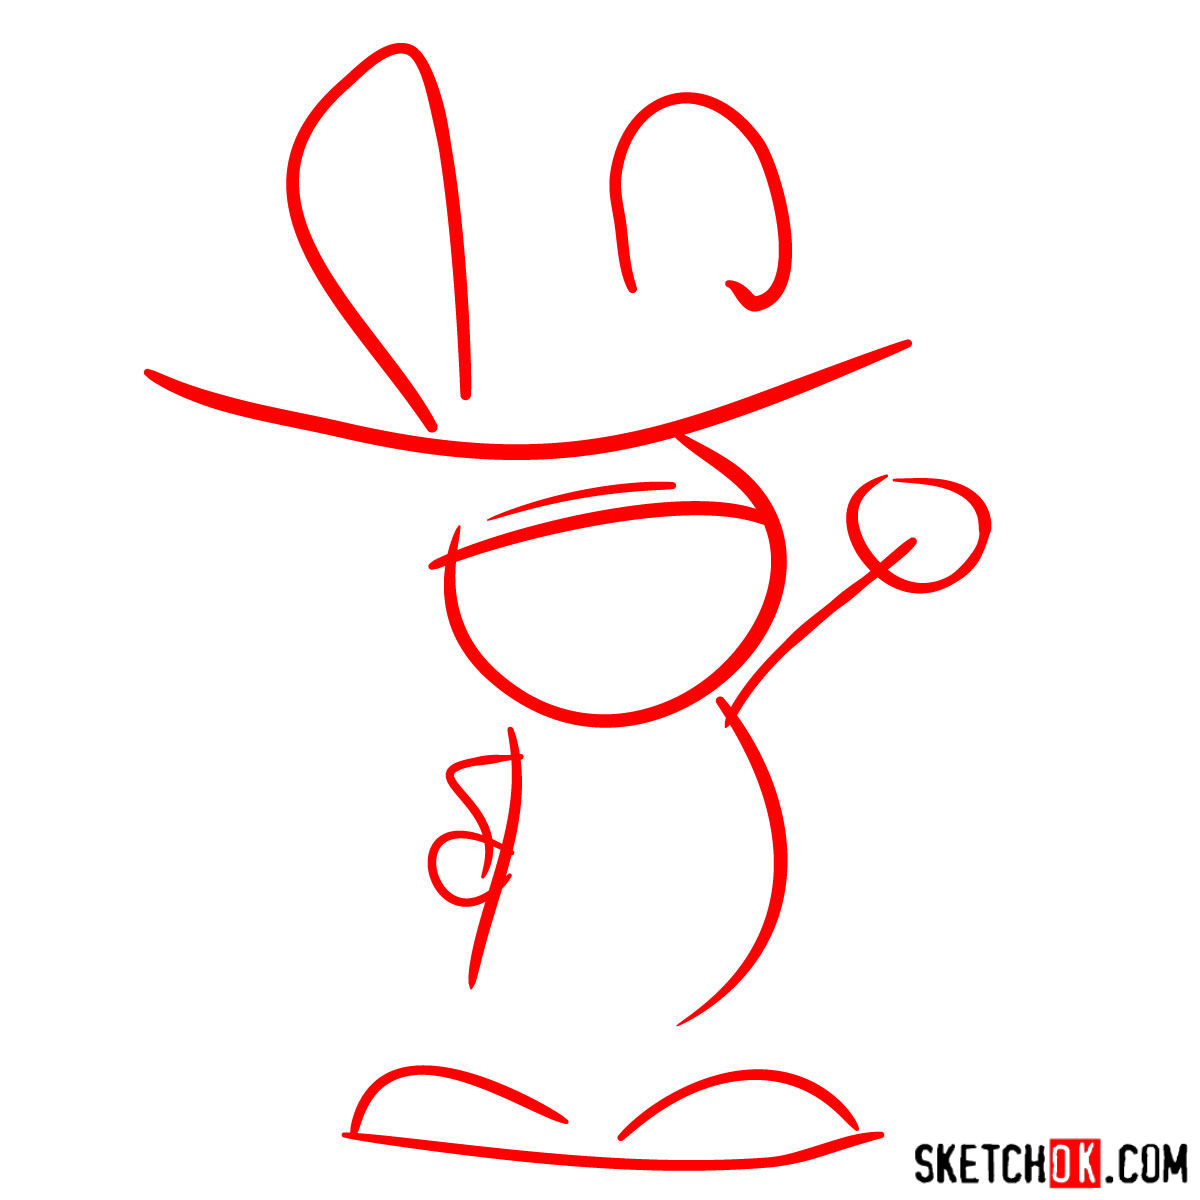
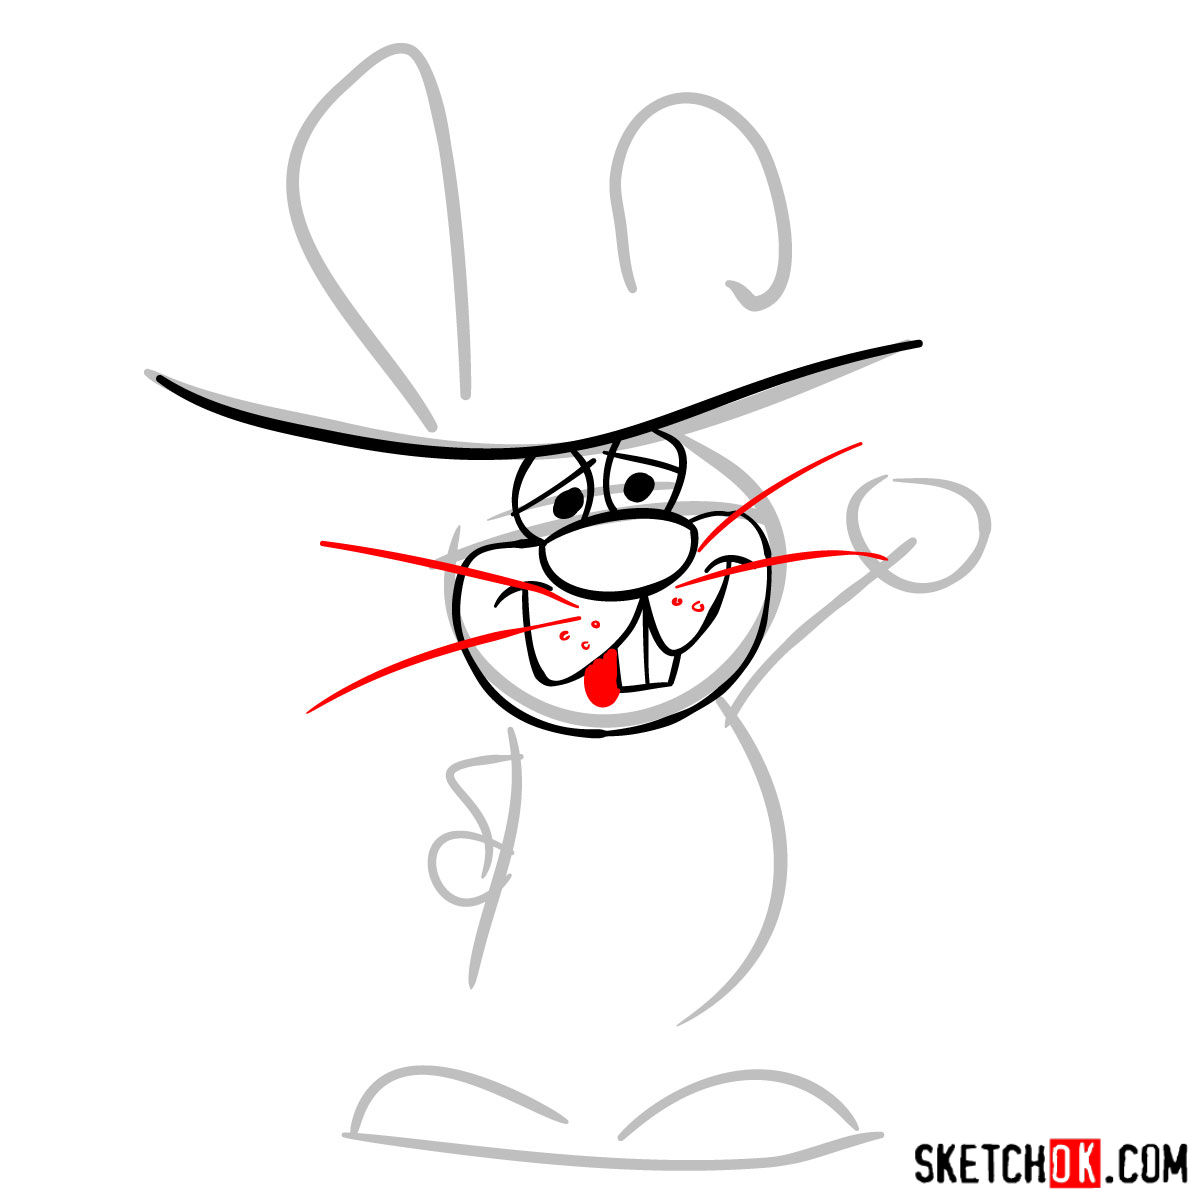
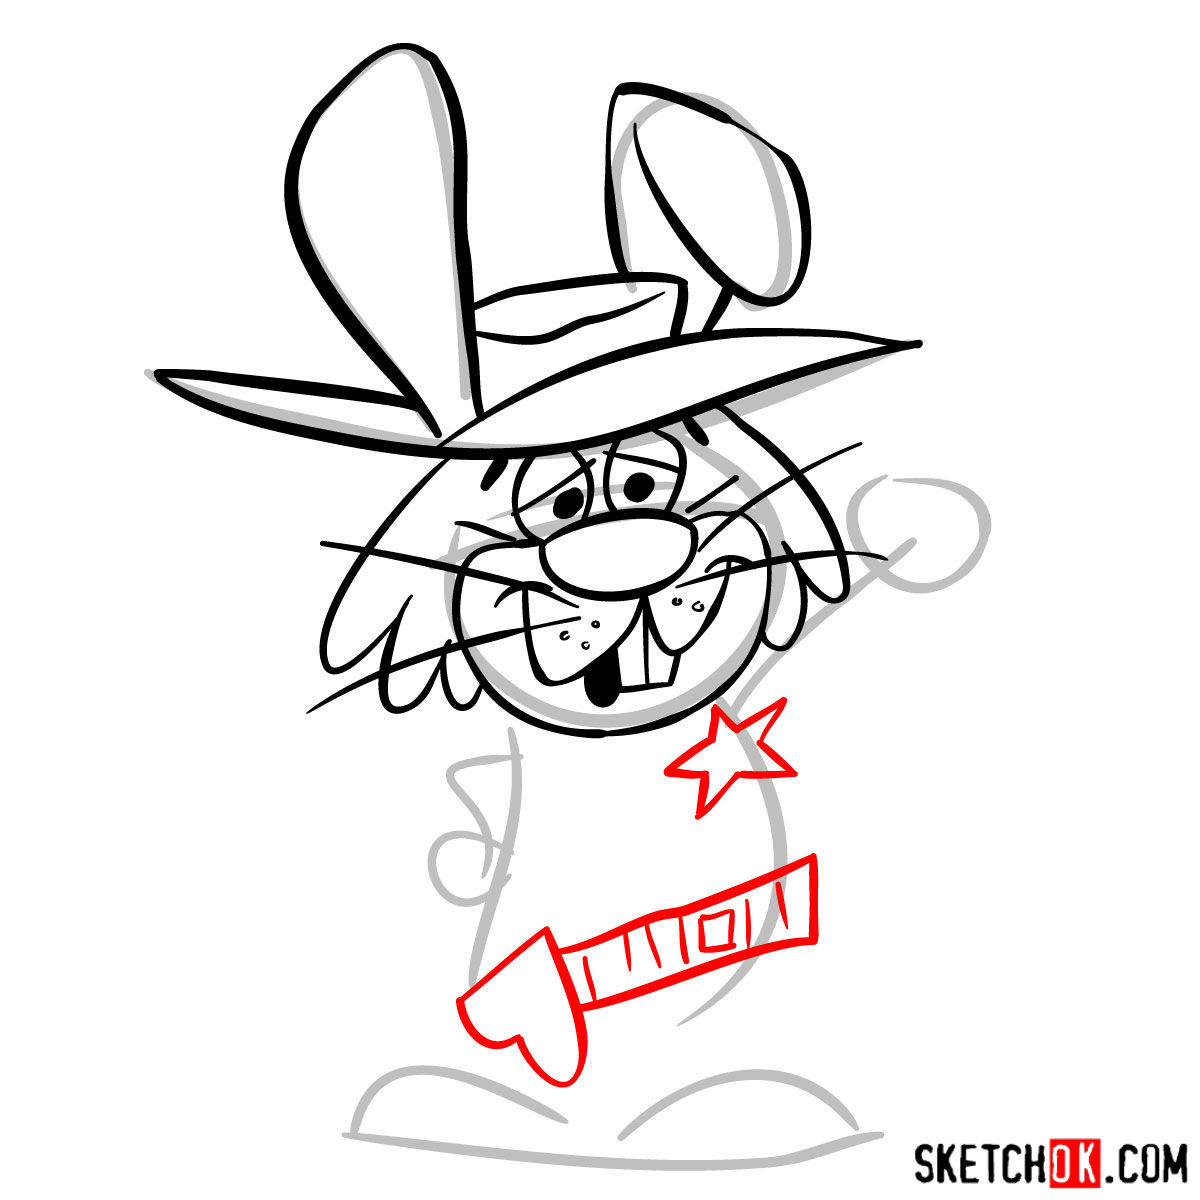
Our guide consists of 14 meticulously crafted steps designed to help you capture the essence of Ricochet Rabbit. Here’s how to navigate our color-coded system:
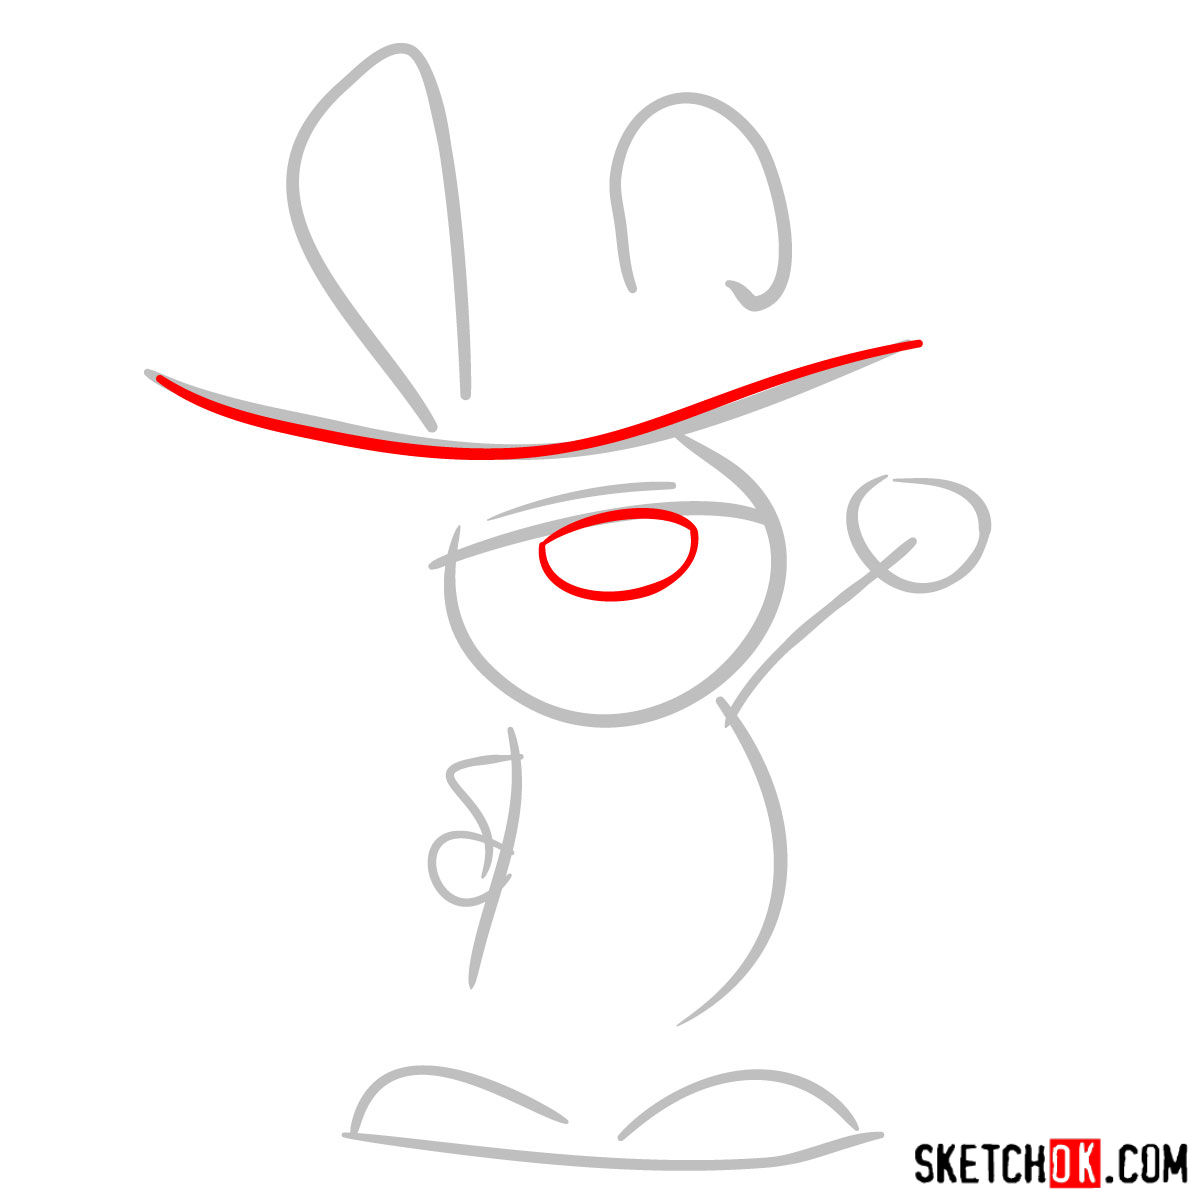
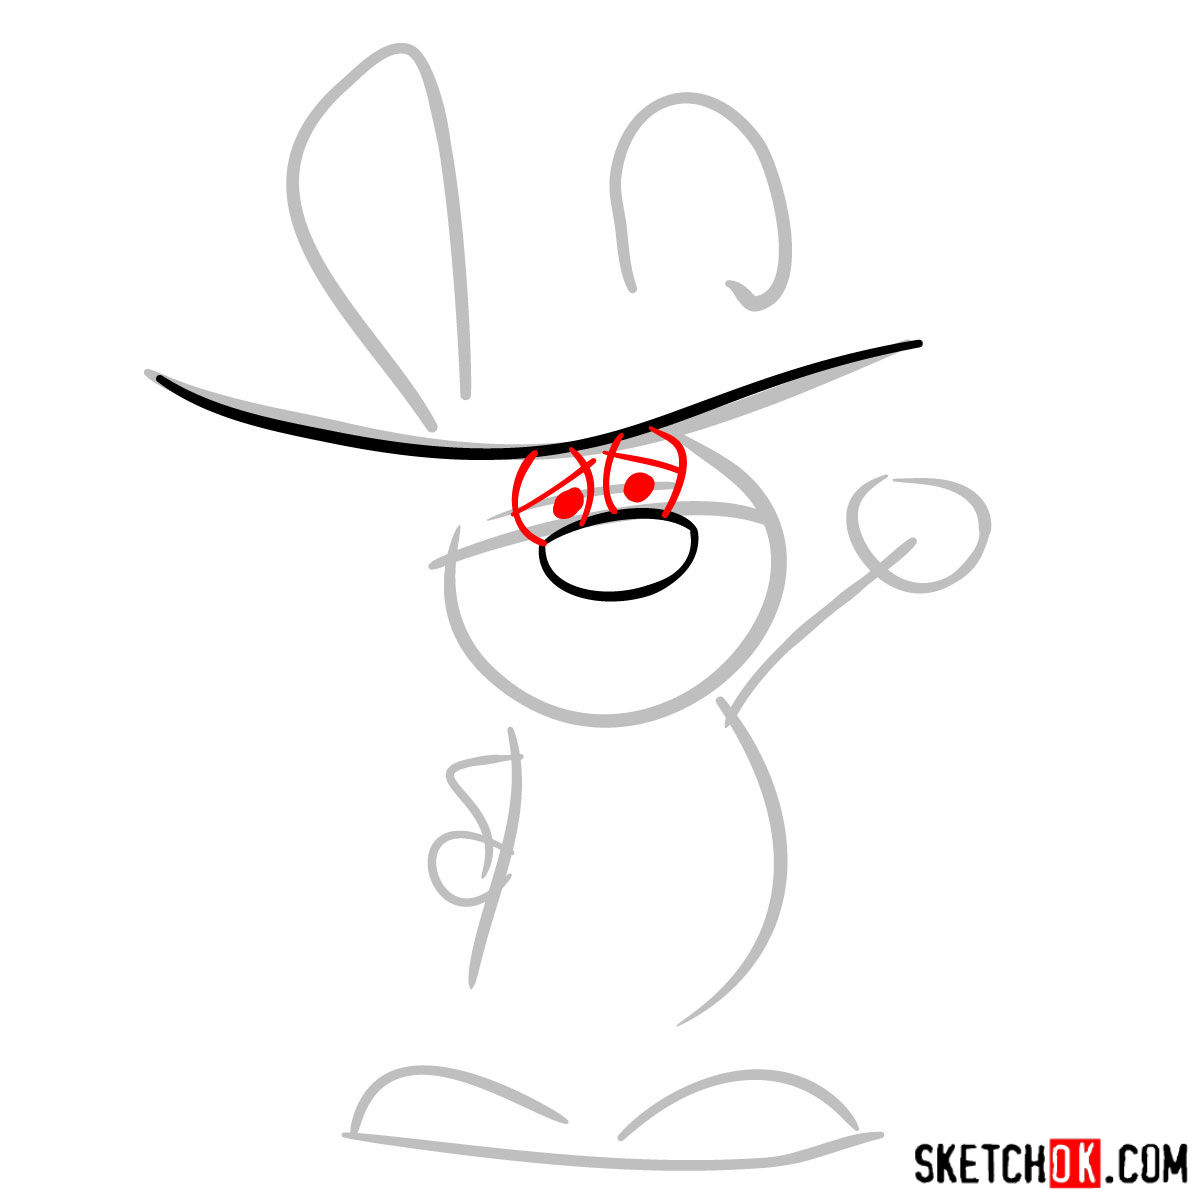
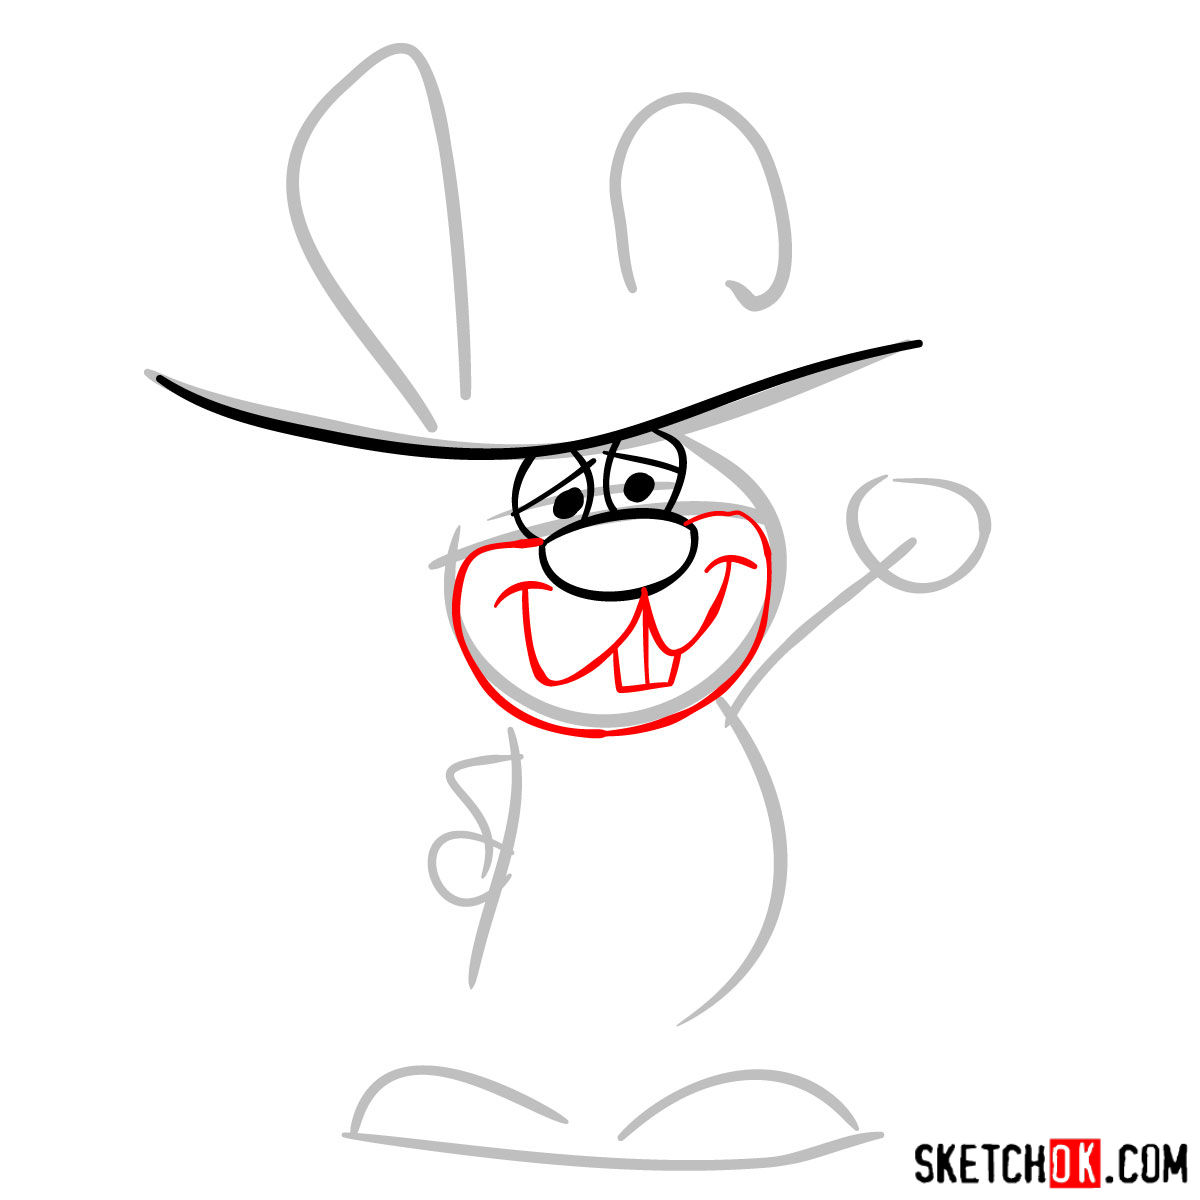
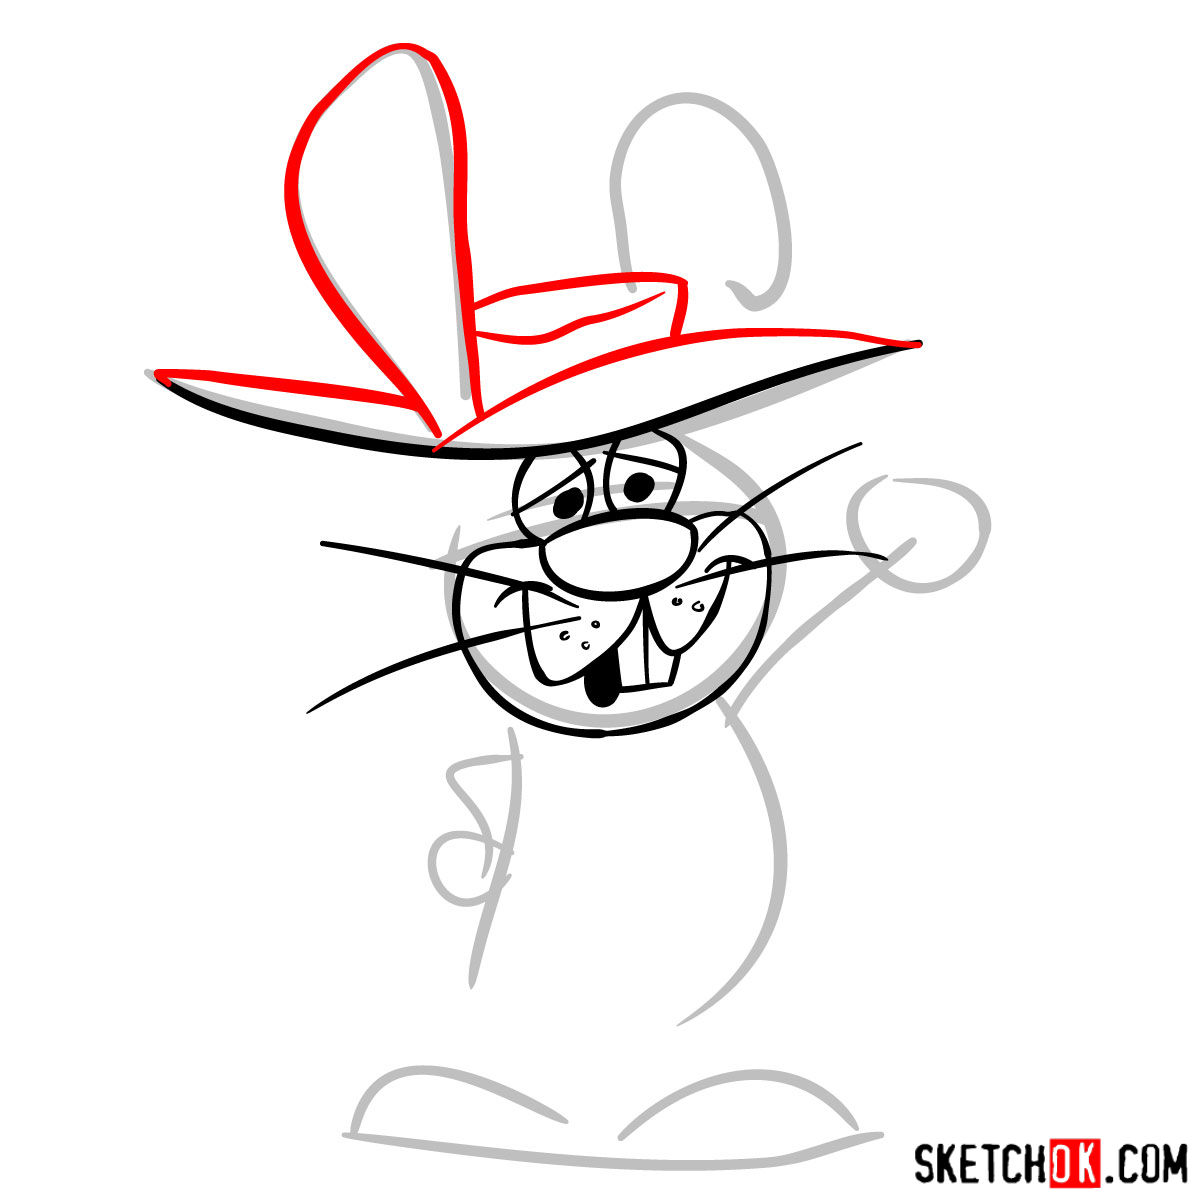
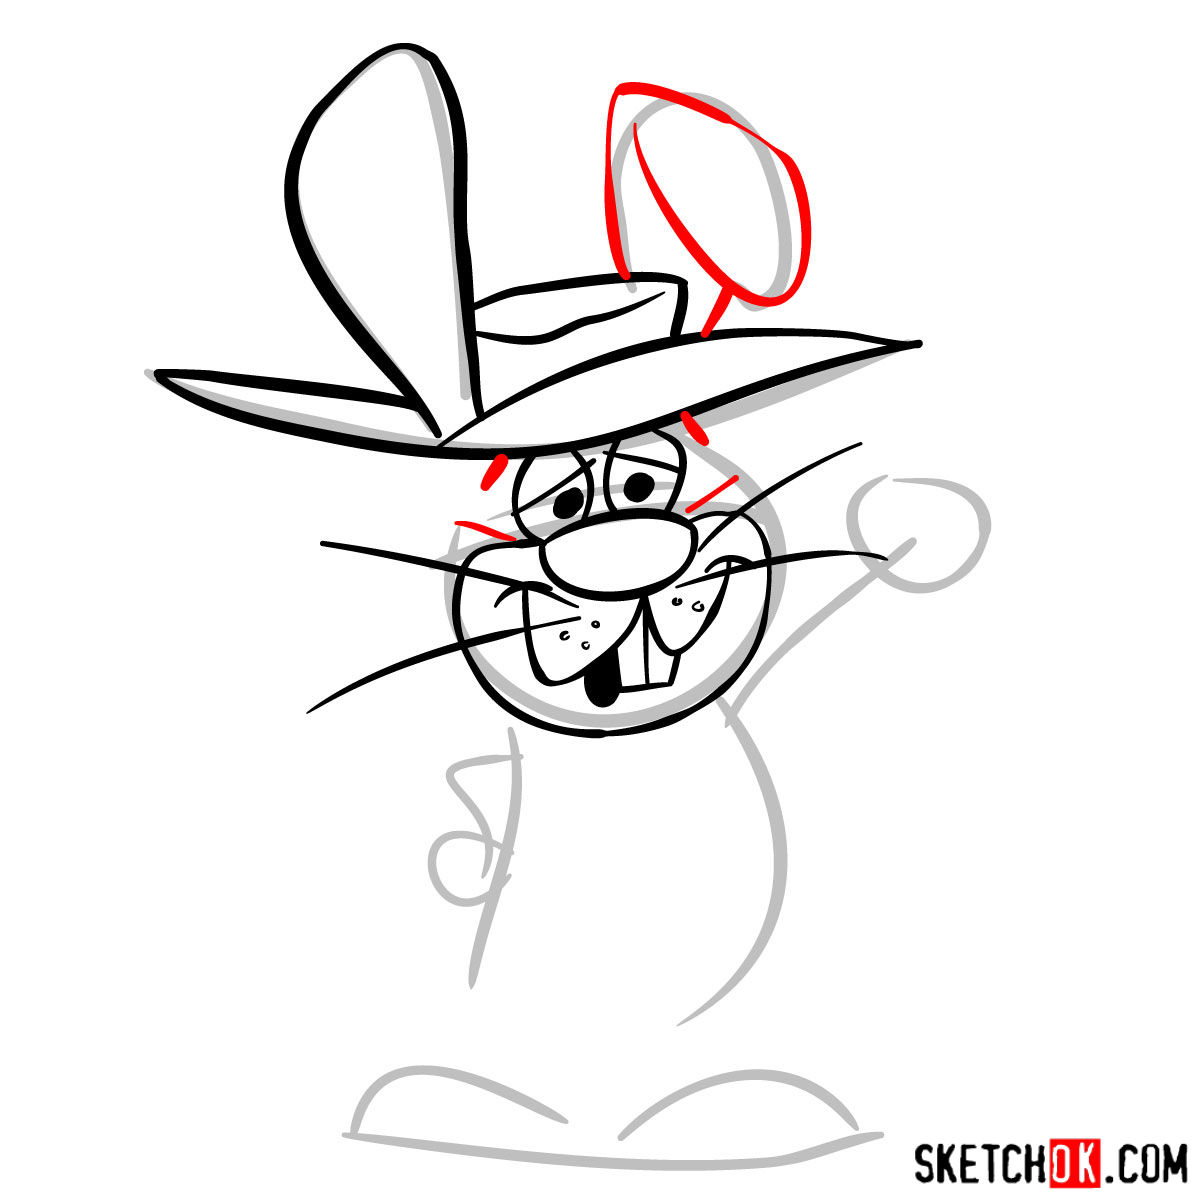
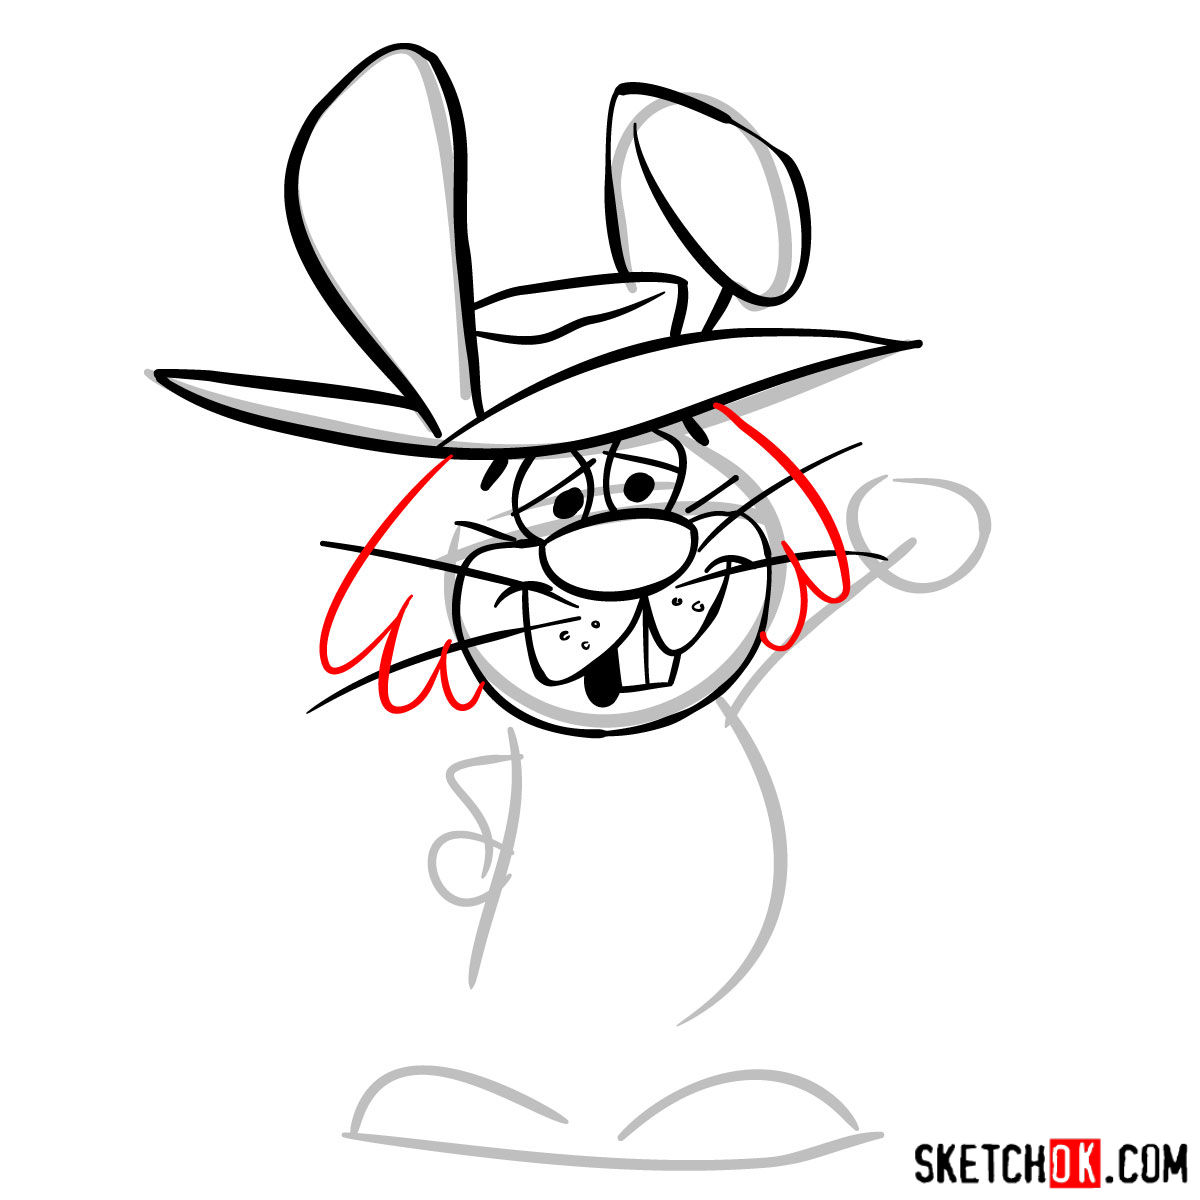
- Red Color: Indicates the current step you should be focusing on.
- Black Color: Showcases the lines you have previously drawn.
- Grey Color: Presents the basic sketch that guides you through the drawing process.
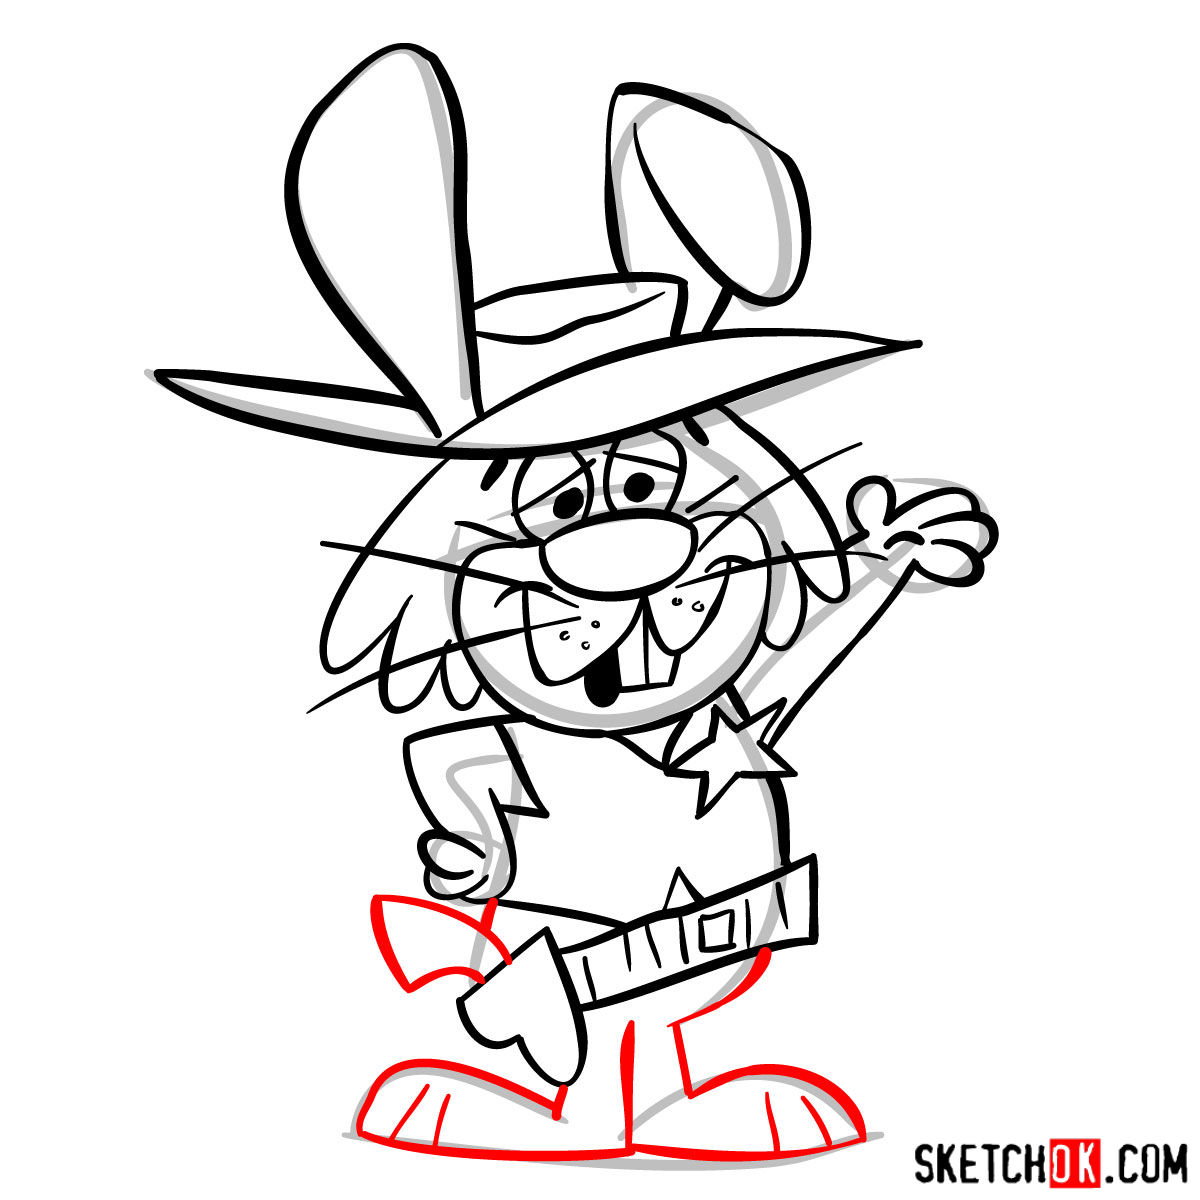
The first step helps you to build the basic structure of the sketch using light pencil strokes. This foundation allows for accurate proportions and easier adjustments as you progress. The final stage involves inking the sketch to highlight your drawing. Remember to let the ink dry before gently erasing the pencil sketch to prevent smudging and keep your artwork clean.

Drawing Ricochet Rabbit: Your Questions Answered
Why do we start with light pencil strokes?
Starting with light pencil strokes is a fundamental practice in sketching. This technique allows for easy erasure and adjustment of lines in the early stages, making the refining process more forgiving and less messy. As you progress with the sketch and become more confident about the lines and shapes, you can gradually darken your strokes.
Why should we wait for the ink to dry before erasing the pencil sketch?
It’s crucial to wait for the ink to dry before erasing the pencil sketch to prevent any smudging. Smudging could distort your artwork and create unwanted marks on your drawing. Patience during this final stage will ensure the cleanliness and sharpness of your final sketch.
Supporting the SketchOk Project and Spreading the Word
Creating these free step-by-step drawing guides takes time and resources. If you’ve found this tutorial helpful, consider donating to support our project. Your contributions allow us to keep creating new guides and maintaining the SketchOk platform.
Enjoyed this guide on how to draw Ricochet Rabbit? Share it with your friends, art groups, or anywhere on the web! Spreading the word helps more people discover and benefit from our tutorials. Don’t forget to connect with us on Facebook, Instagram, and Pinterest for more drawing inspiration and tutorials.
Keep sketching, keep learning, and most importantly, keep having fun. Until the next drawing adventure!