Drawing a character as dynamic and mysterious as Perry the Platypus is a thrilling journey. Known to many as a simple pet, and to some as Agent P, the secret spy, this dual-natured character from “Phineas and Ferb” is an excellent challenge for any aspiring artist. This step-by-step guide will help you harness the essence of Perry’s duality and bring it to life on your sketchpad. So, how to draw Perry the Platypus? Let’s explore!
Perry’s Appearance and Key Focus Points
Perry’s design, though seemingly simple, is a medley of well-thought-out features. Here are some pivotal points to consider:
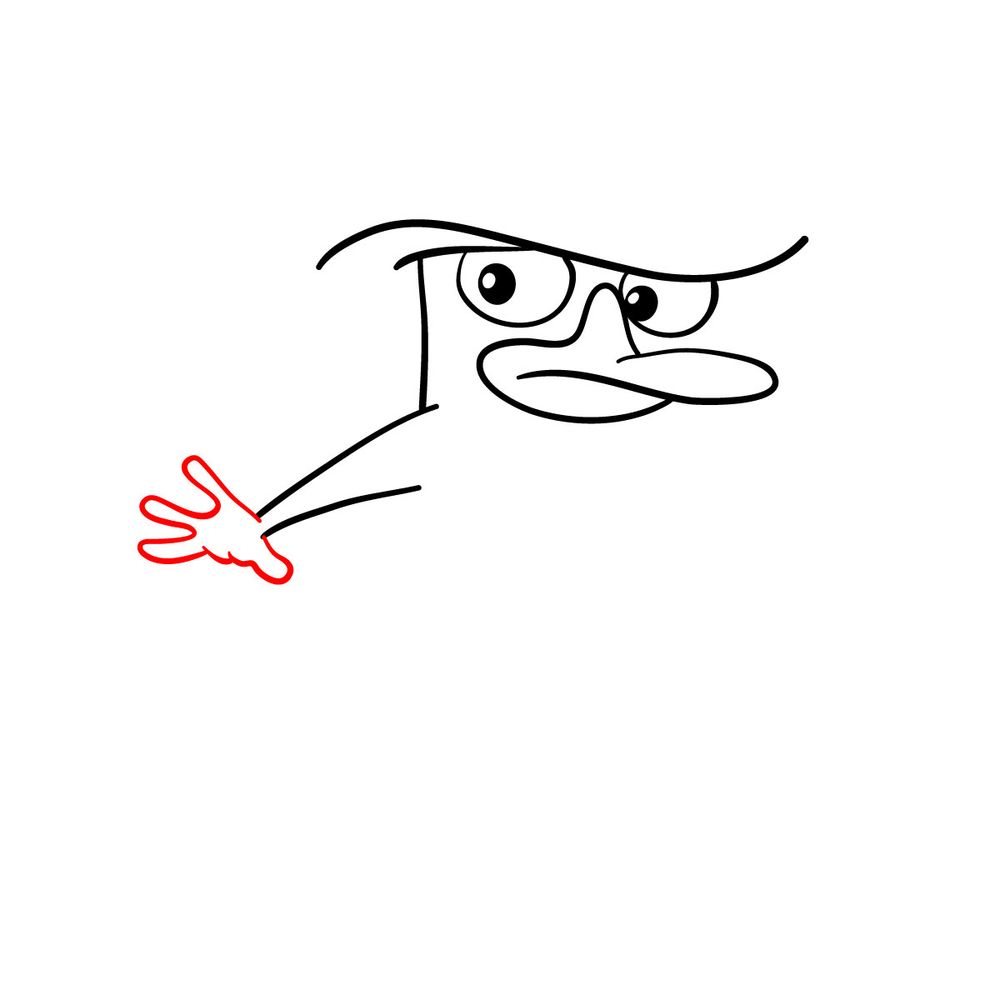
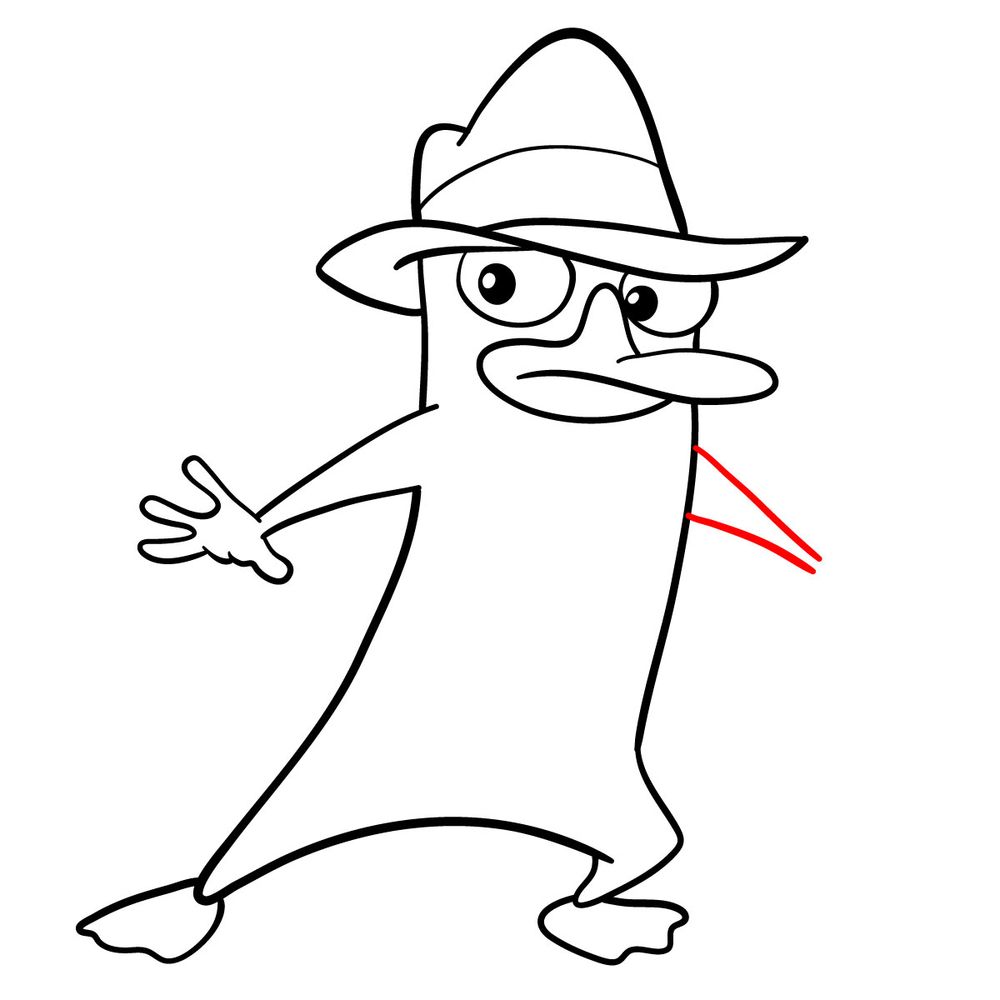
- Basic Structure: Perry’s body follows a cubic structure, lending him a distinct and recognizable silhouette.
- Fur and Color: While this guide is about sketching, keep in mind Perry’s teal fur for shading and future reference.
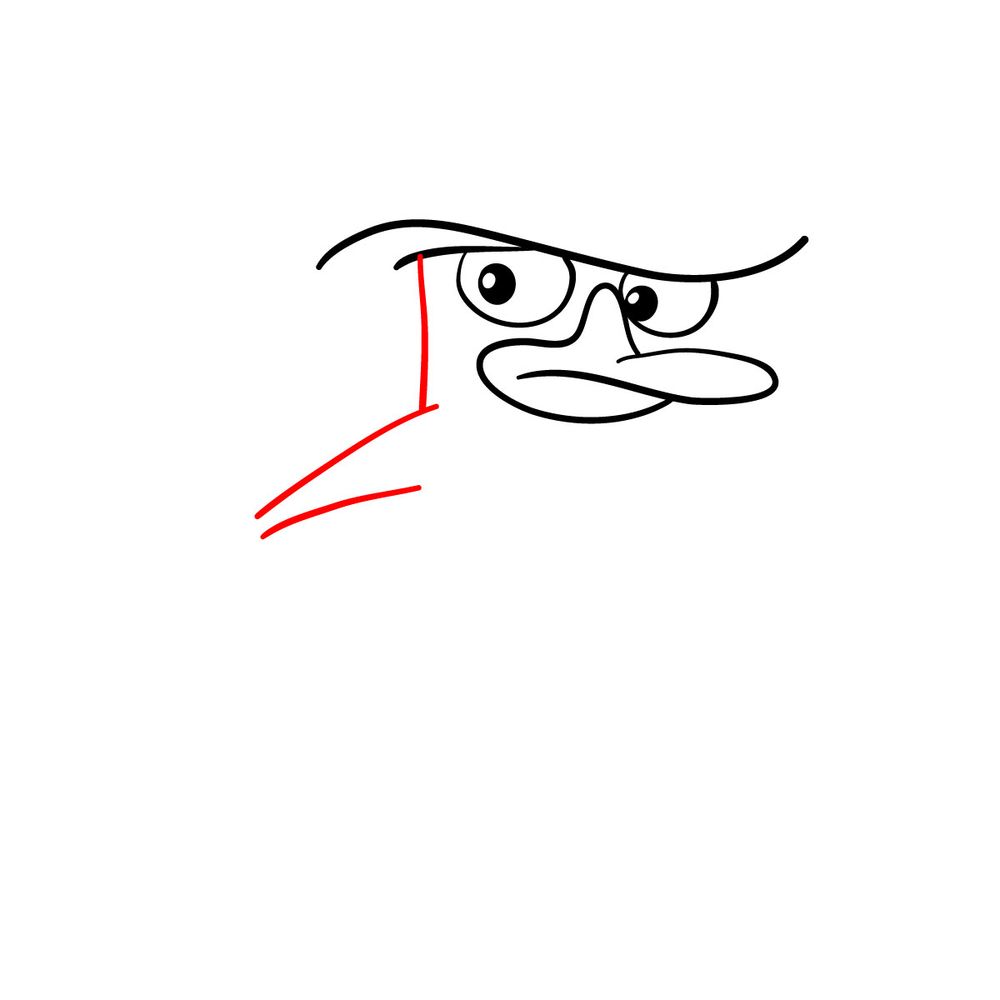
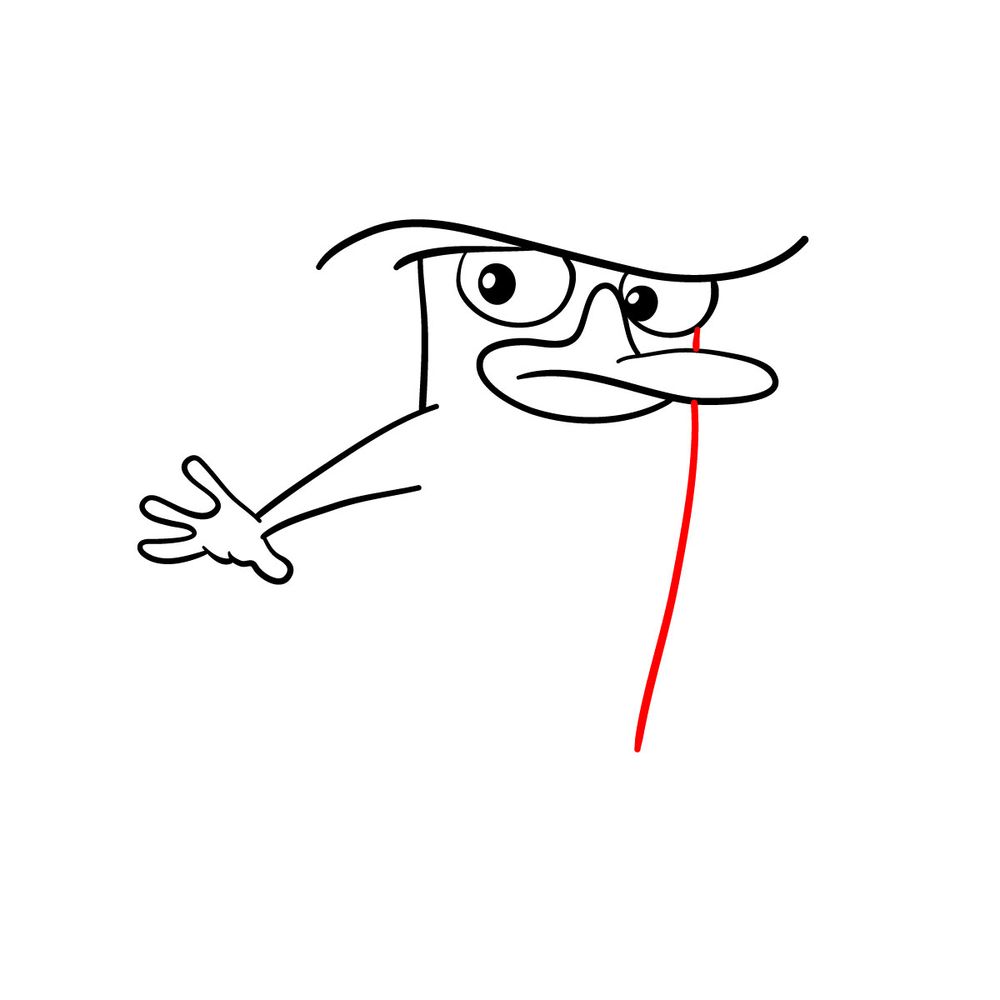
- Eyes: Perry’s eyes undergo a transformation. As a pet, they’re wide and seemingly directionless. But as Agent P, they’re sharp and focused.
- Fedora: A trademark of Agent P, his fedora adds an element of mystery and command to his appearance.
If you’re familiar with the show, consider also sketching related characters such as Dr. Doofenshmirtz, Phineas, or Ferb to create an engaging scene or story!
About this Drawing Guide
This guide consists of 17 steps, crafted to help you master every facet of Perry’s design. Before diving in, here’s what you need to know:
- Red Color: Represents the current step in the drawing process.
- Black Color: Showcases the lines you’ve already drawn.
Once your drawing is complete, you can opt to ink it. Use a steady hand and a fine pen for the inking. Ensure you wait for the ink to dry before gently erasing the underlying pencil sketch. This helps preserve the integrity and clarity of your final piece.


Drawing Perry: FAQ Section
What’s the best technique to capture Perry’s iconic eyes?
Perry’s eyes are central to his dual persona. Start with light circles, ensuring they’re directionless for his pet look. For Agent P, make them more oval and focused. Practice drawing eyes separately to master the switch between both personas.
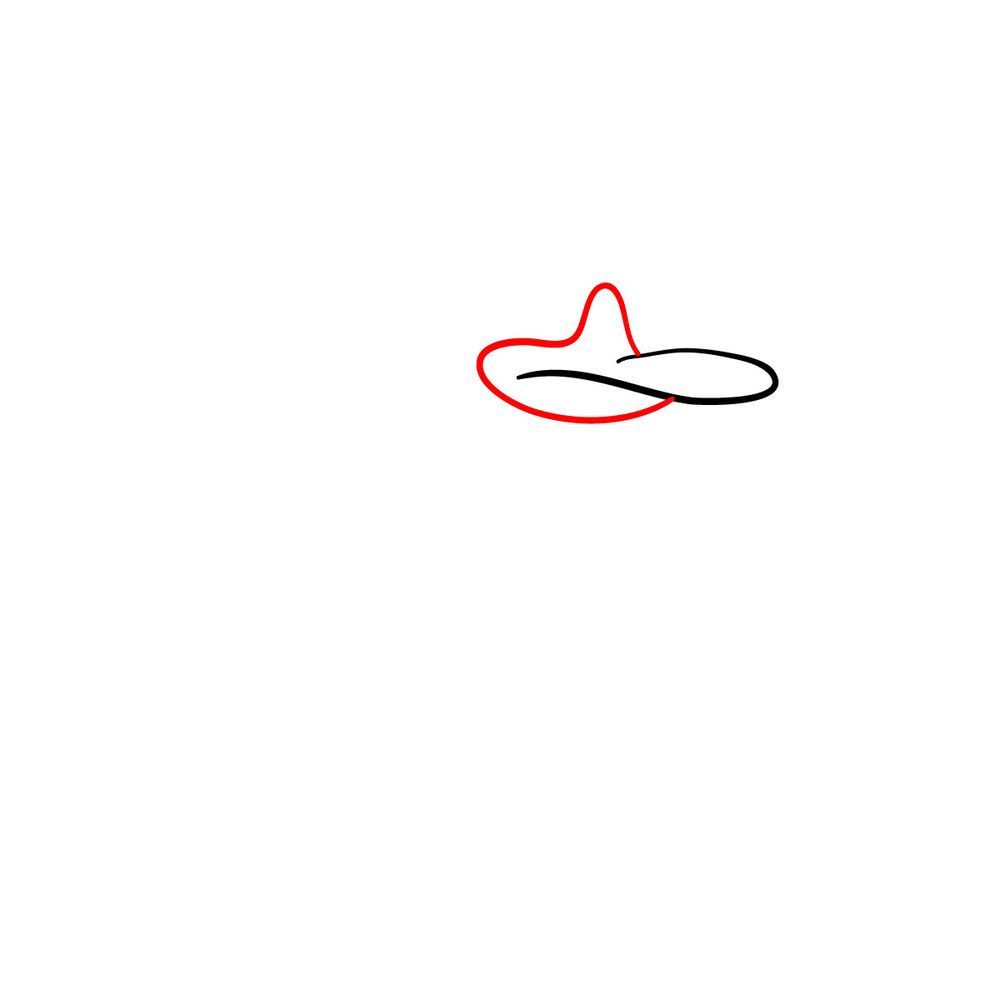
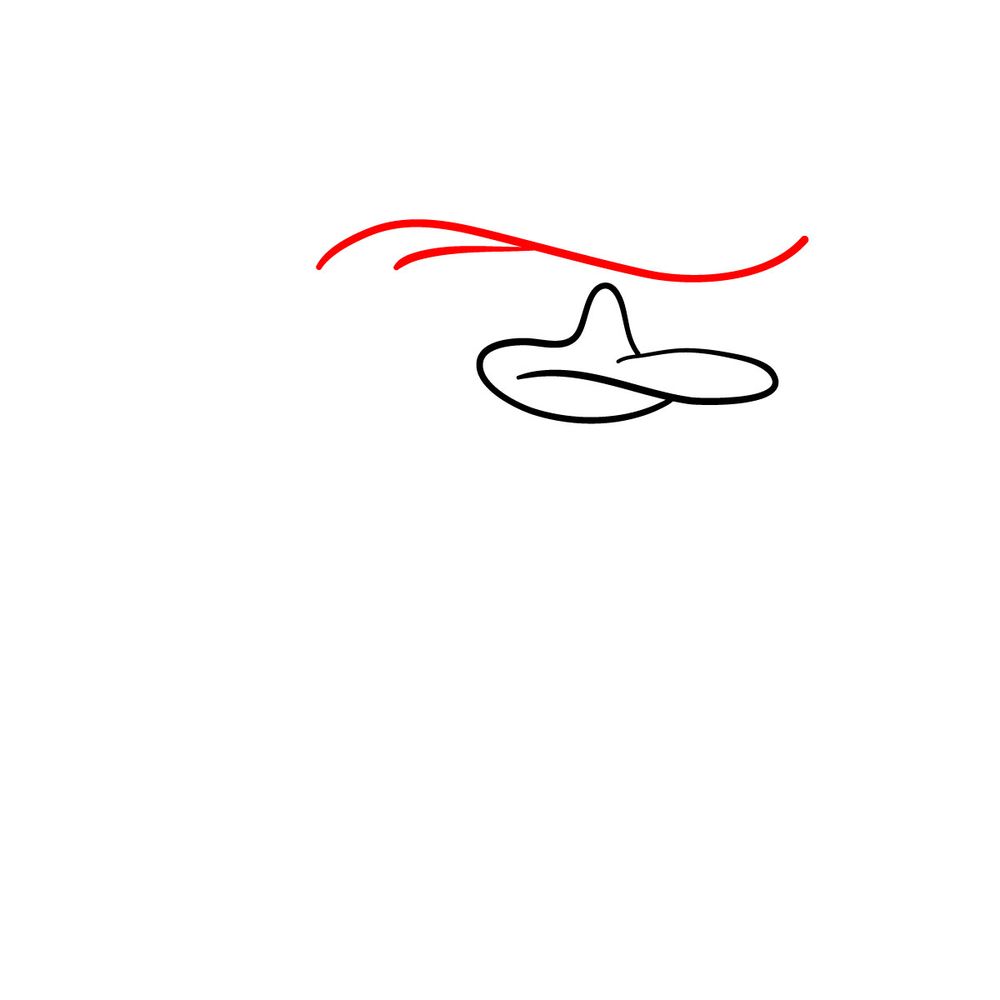
How do I sketch Perry’s fedora with accuracy?
The fedora is a defining feature of Agent P. Begin with a flat oval for the top and sketch a brim around it. Ensure it sits tilted on Perry’s head, adding to his mysterious demeanor.
Any tips on capturing Perry’s cubic structure?
Yes! Start with a rough rectangular shape, rounding the edges slightly. This serves as a guideline. As you refine, pay attention to Perry’s curves, especially around his back and belly, to get the perfect cubic form.
Wrapping Up:
I sincerely hope this guide assists you in mastering the art of drawing Perry the Platypus. If you’ve benefited, consider donating. Your support not only keeps SketchOk alive but empowers us to create more free drawing guides. By contributing, you can suggest new tutorials and be a part of our creative journey.
Also, don’t forget to share this guide with fellow art enthusiasts. Connect with us on Facebook, Instagram, and Pinterest for more such tutorials. Together, let’s make the world a more creative place. Happy drawing!