Brace yourself to plunge into the unique world of 1980s animation as we delve into the exciting journey of learning how to draw Inspector Gadget. This animated television series that started in 1983 has captivated audiences of all ages with the crime-fighting adventures of a lovable but bumbling cyborg detective. Now, it’s your turn to bring this iconic character to life on your canvas!
Decoding Inspector Gadget’s Appearance
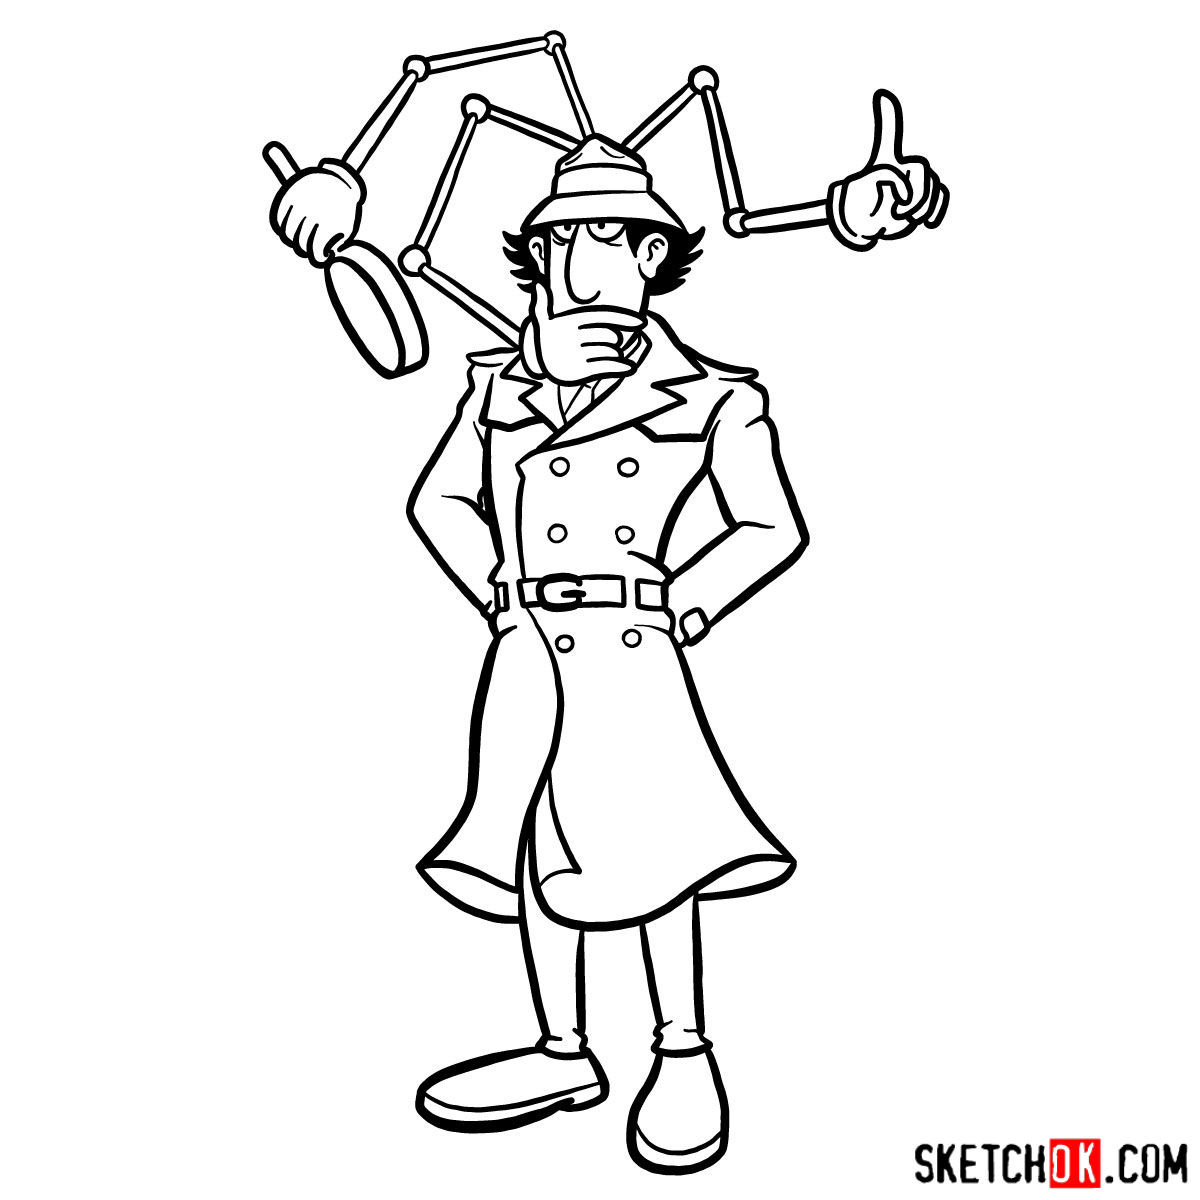
Known for his gadgets galore and a knack for inadvertent heroism, Inspector Gadget is a mix of comic relief and unexpected competence. Here are some key aspects to keep in mind when sketching this character:
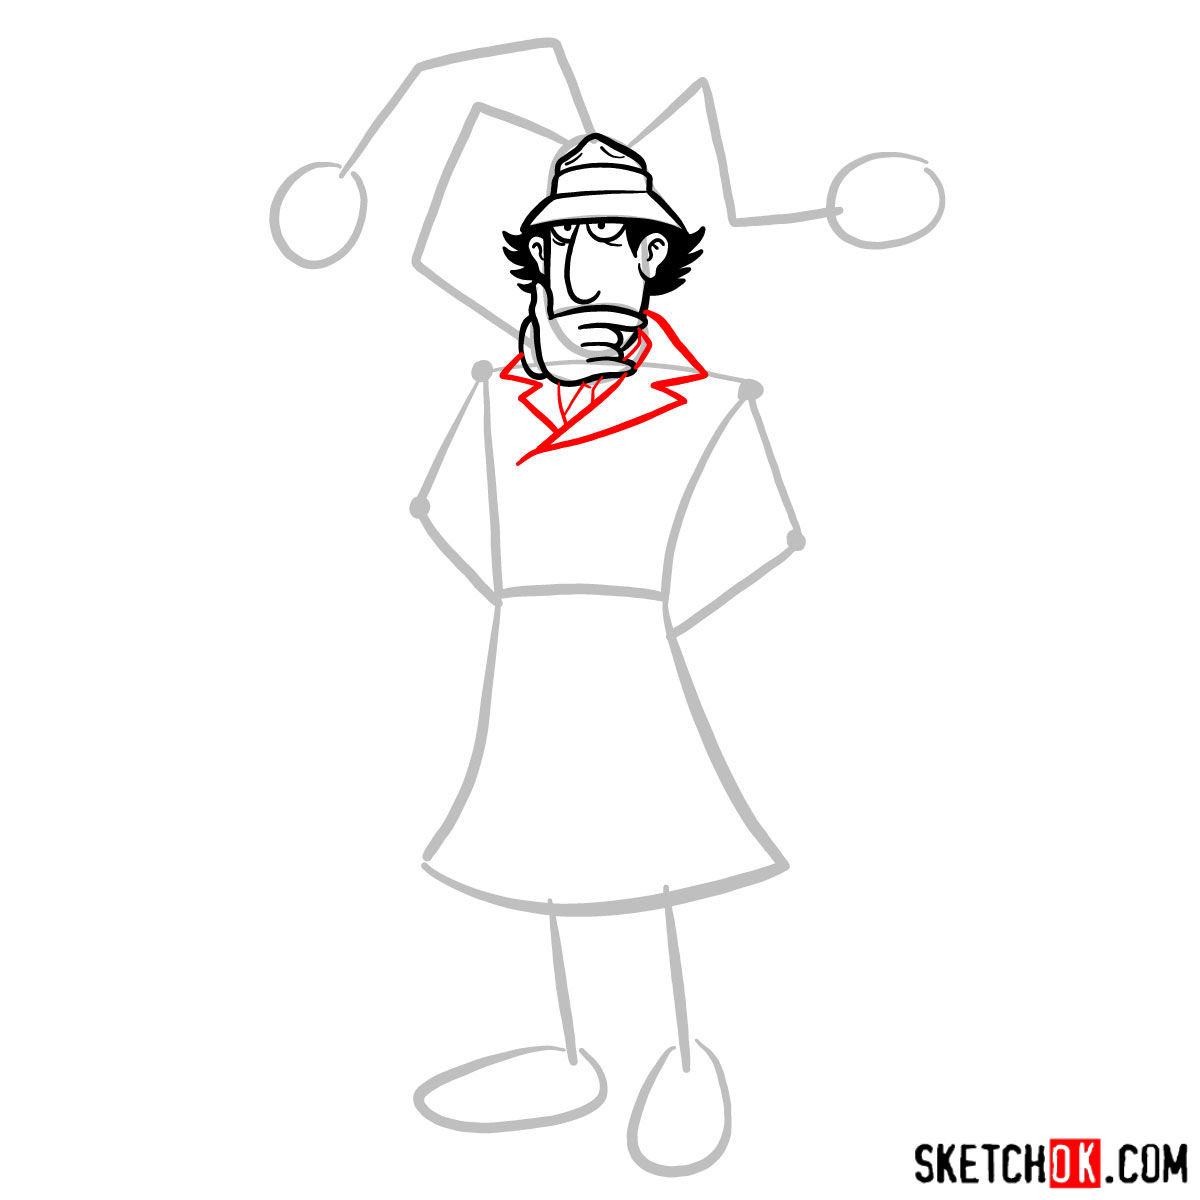
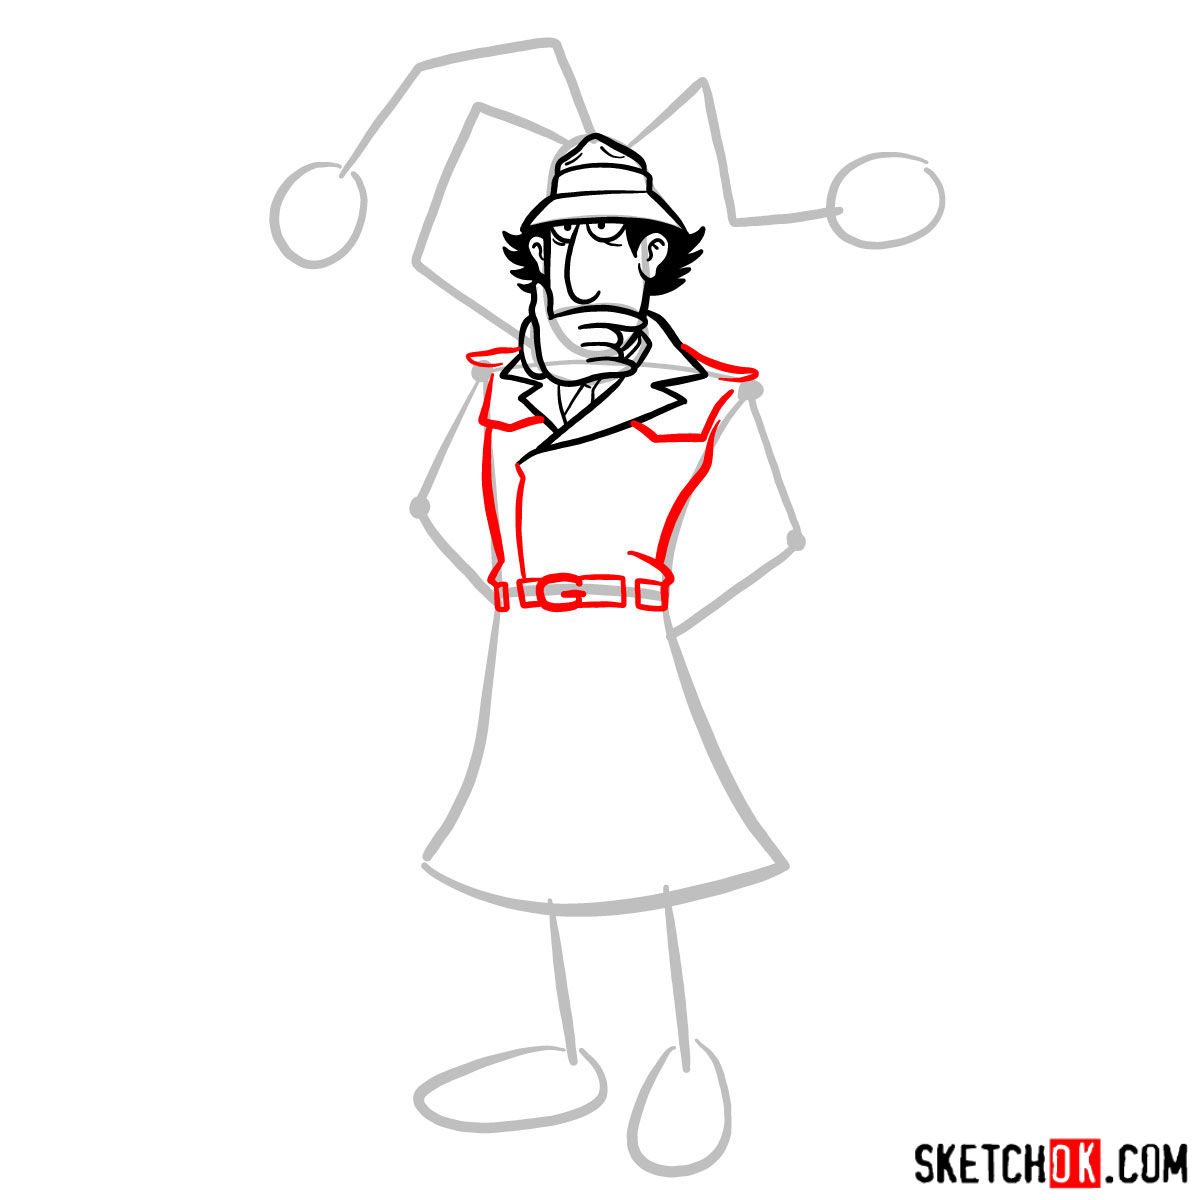
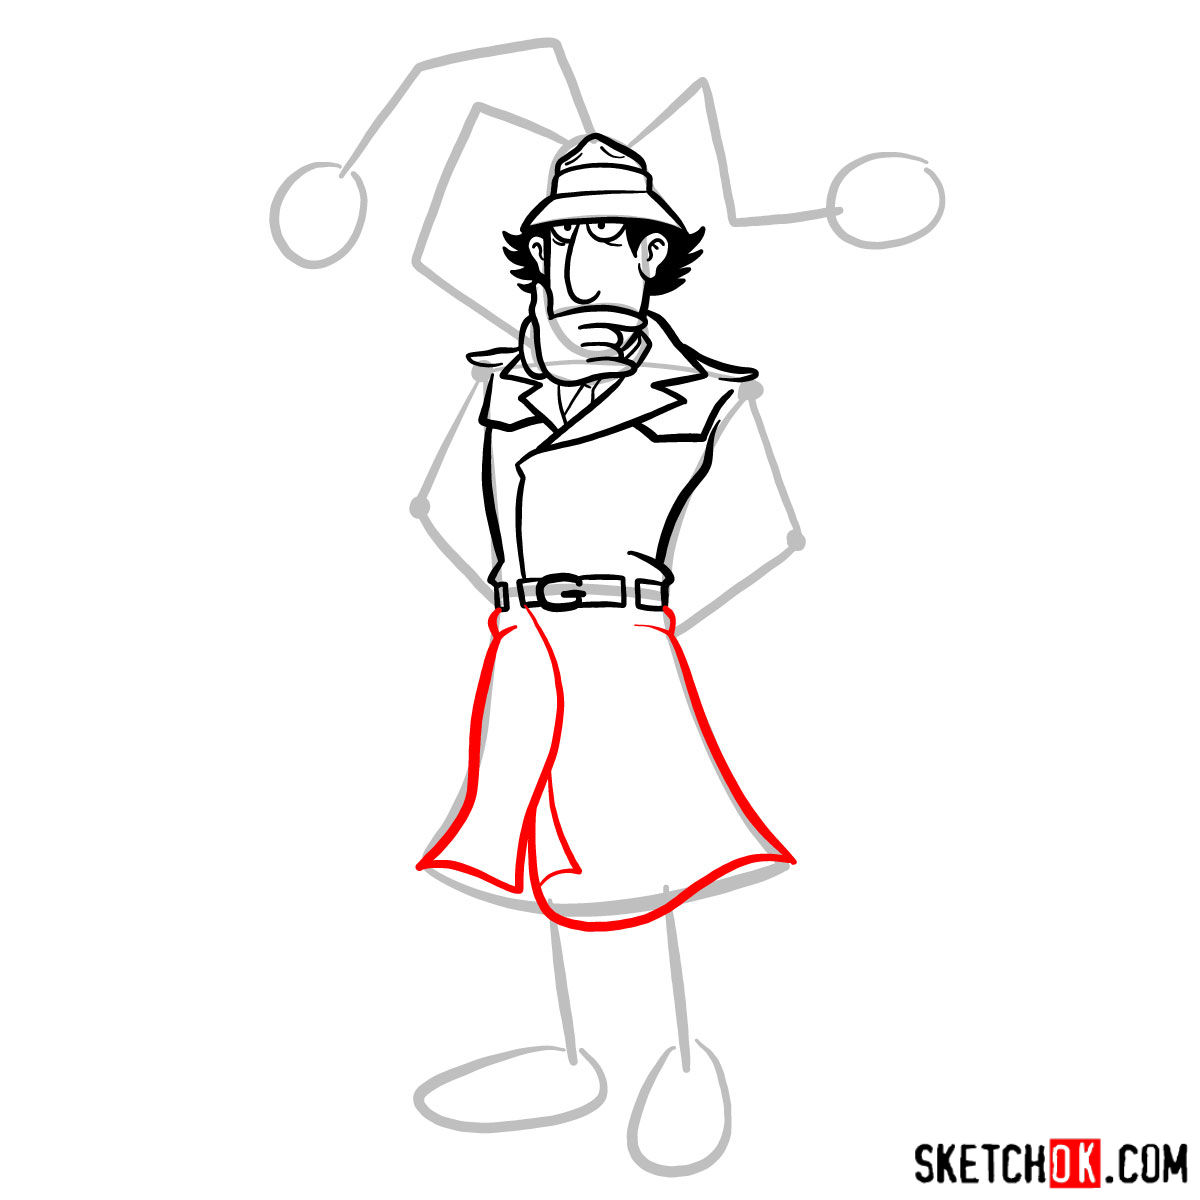
- Famous Trench Coat: One of his distinctive features, this elongated piece of attire enhances his detective look.
- Robotic Limbs: Extendable arms and legs that pop out various tools and gadgets are key to Gadget’s cyborg identity.
Some of the other characters that come to mind are the Pink Panther and Laputian Robot (don’t ask me why). Sketching them next to the inspector could make an intriguing composition.
Understanding Our Guide
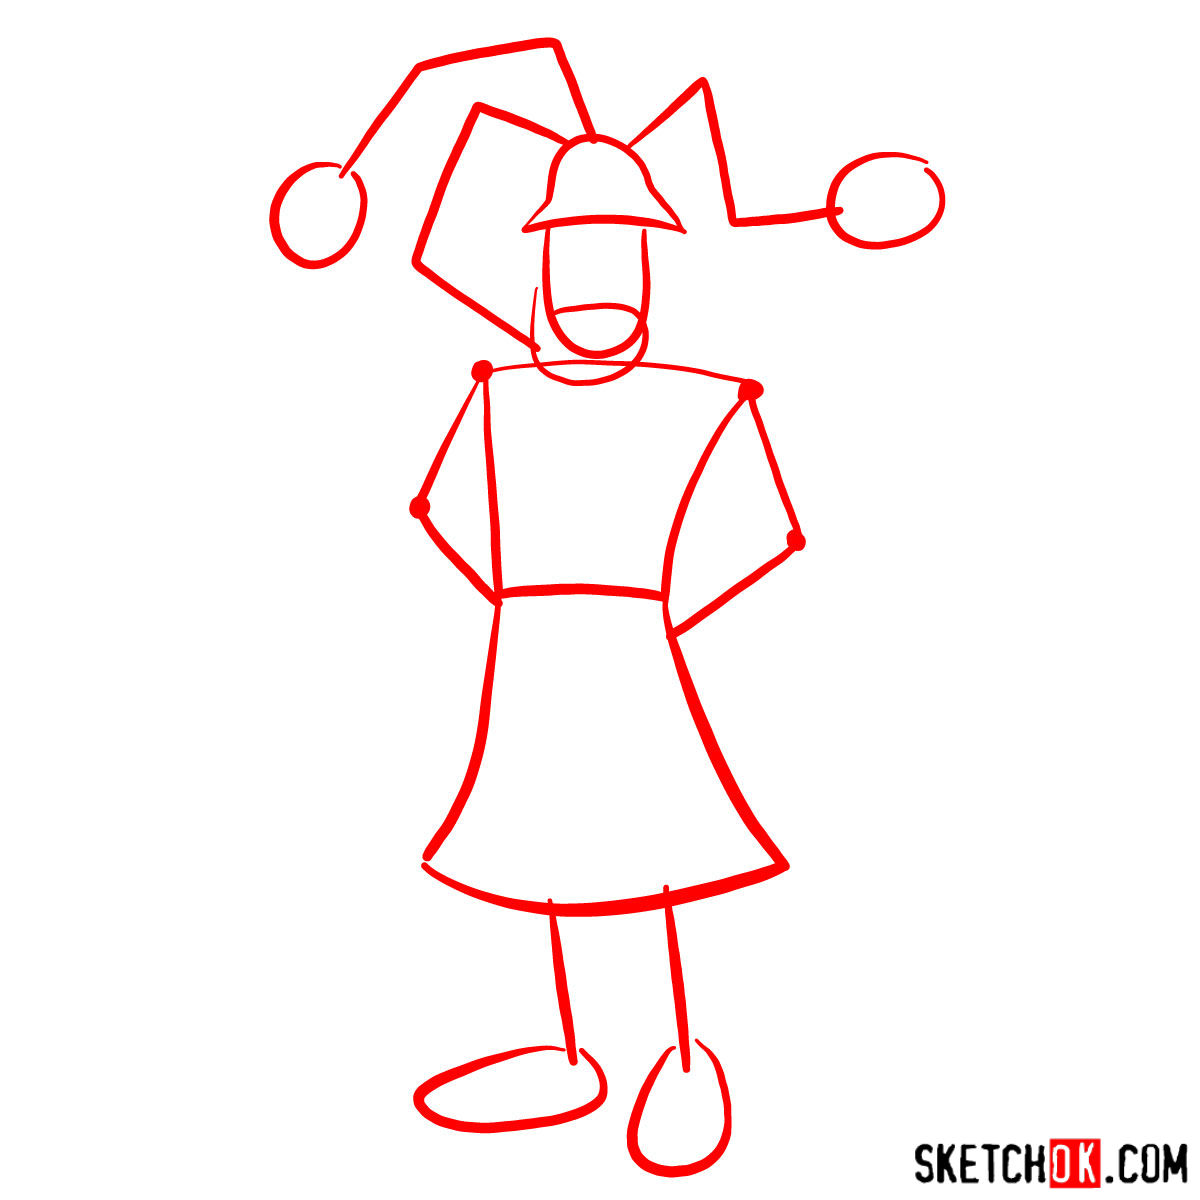
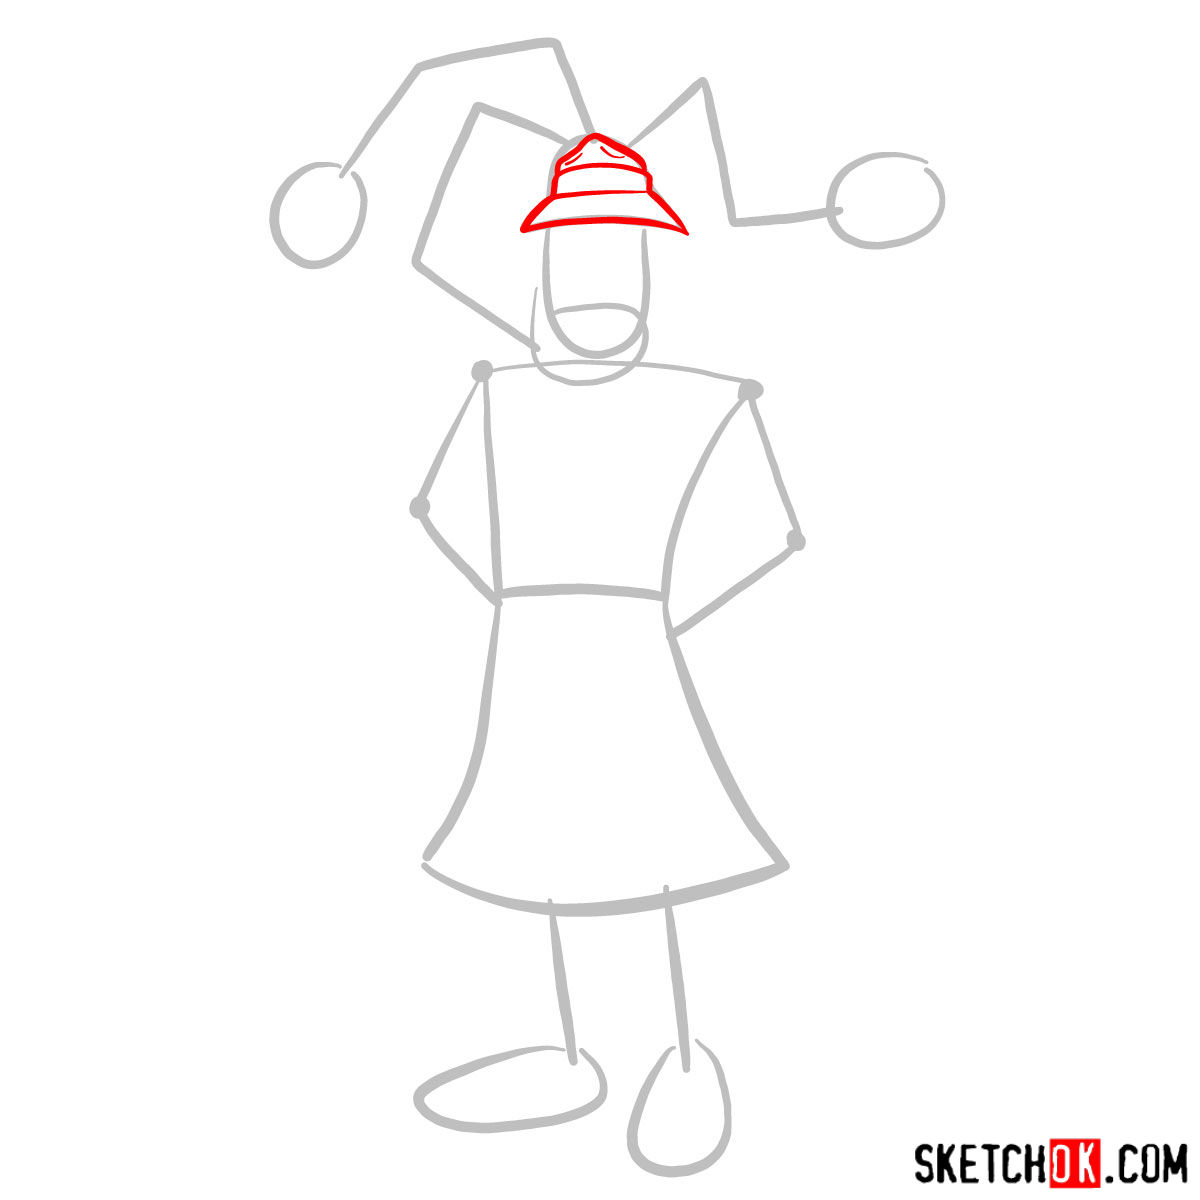
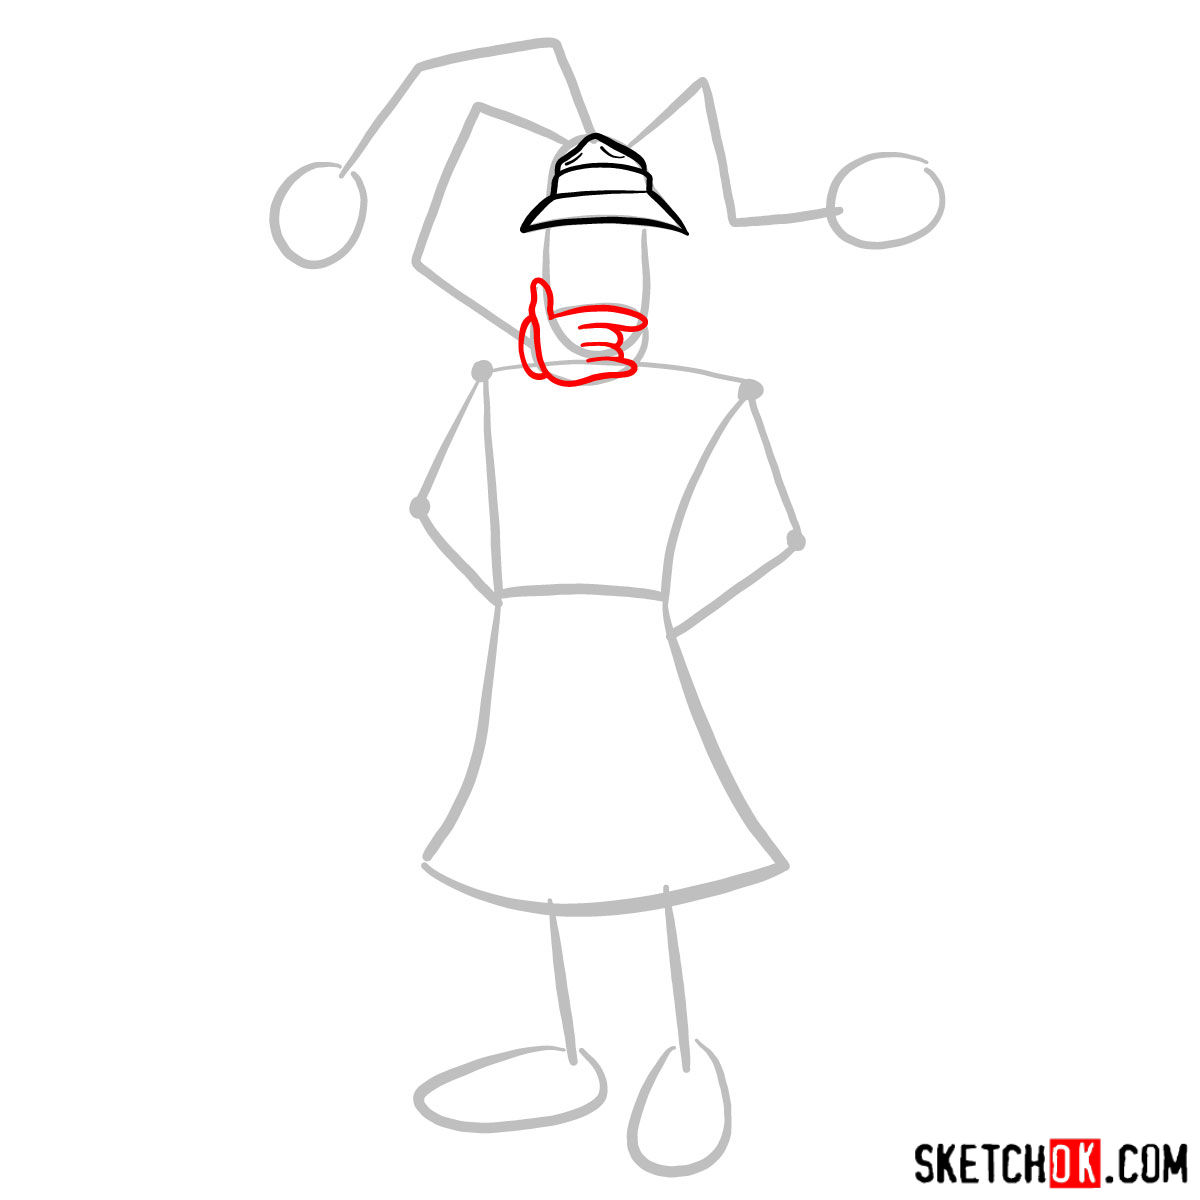
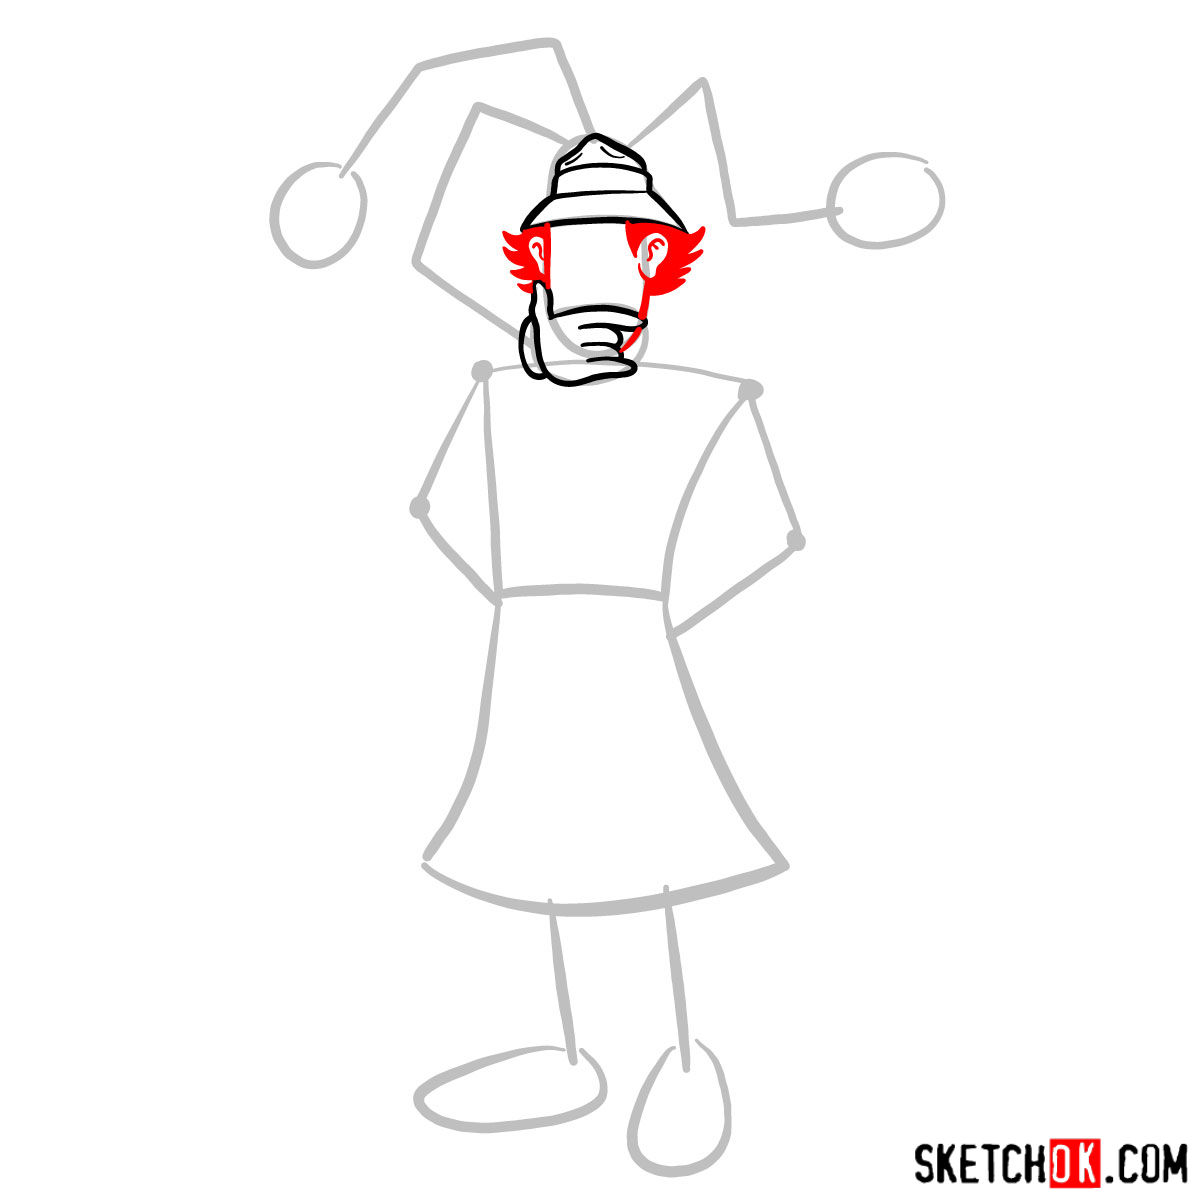
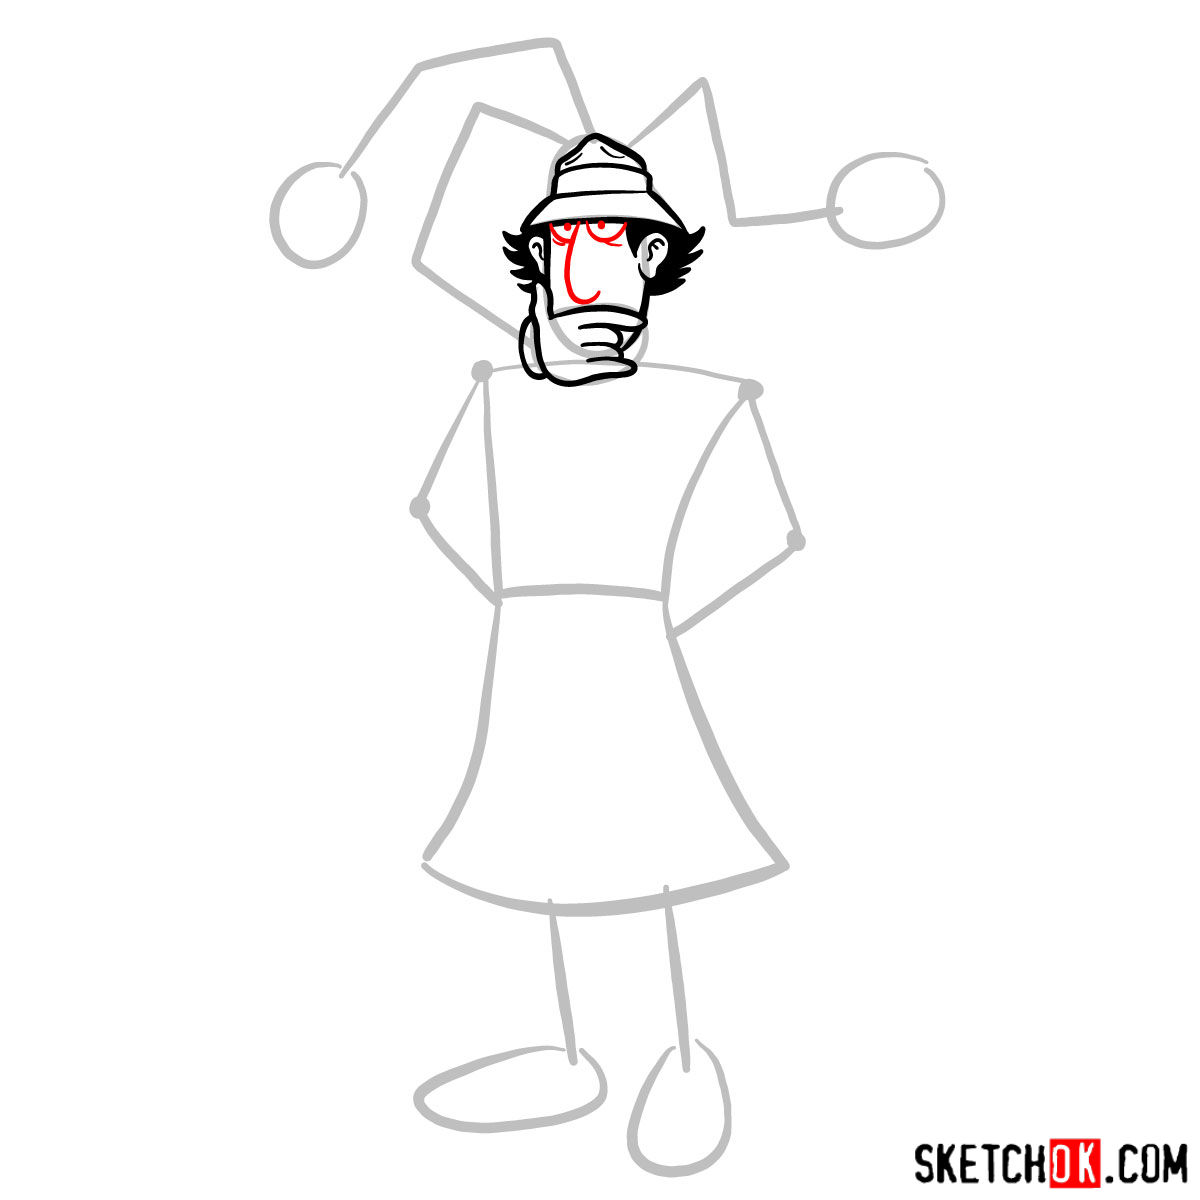
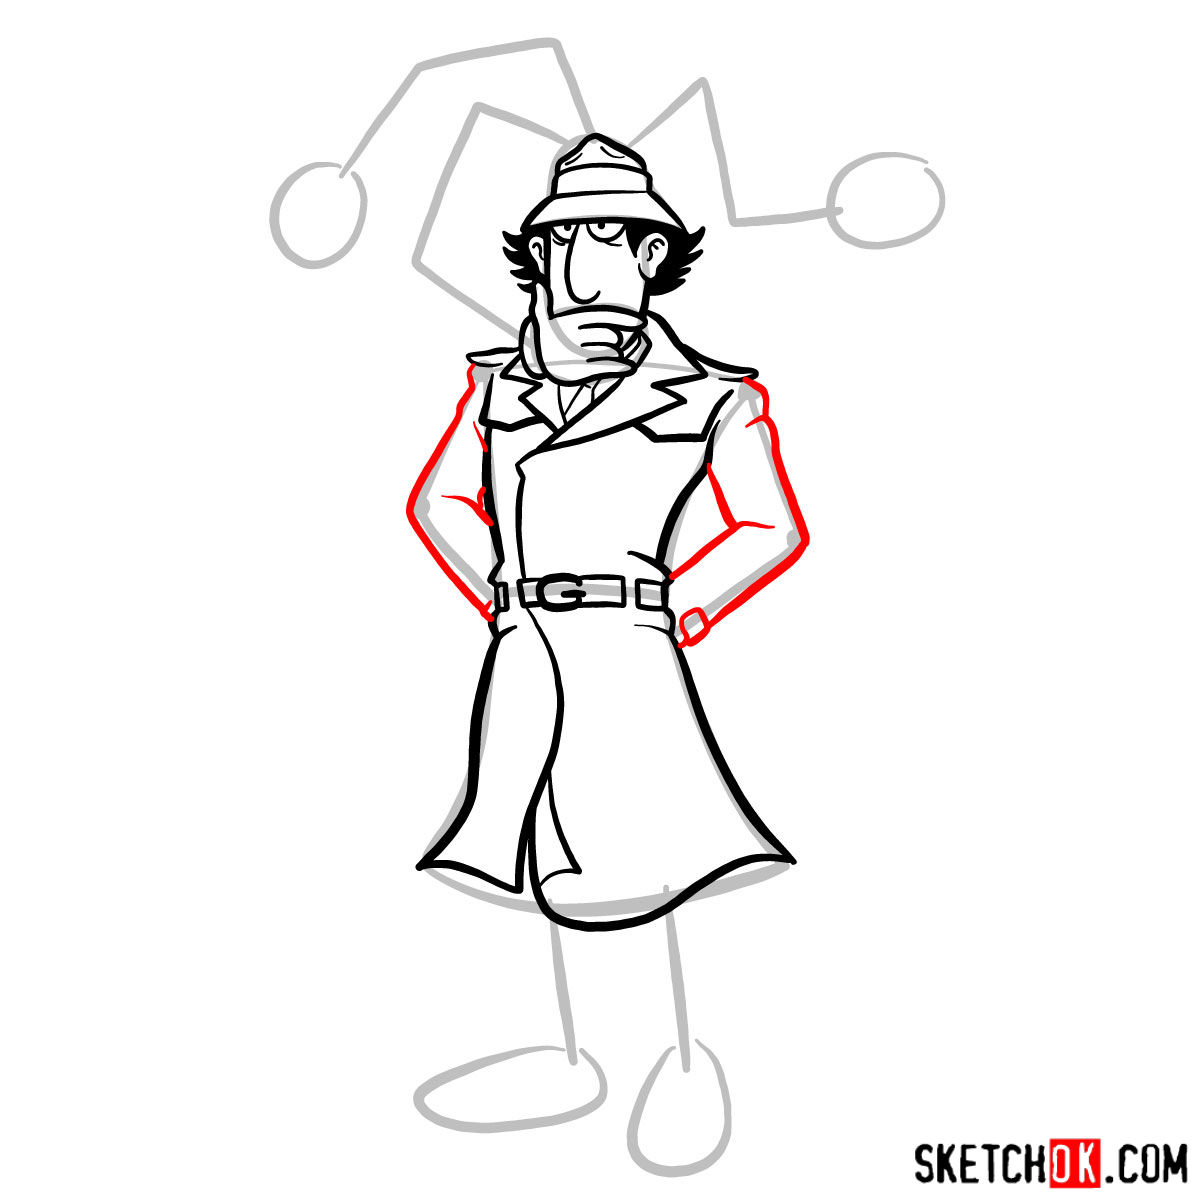
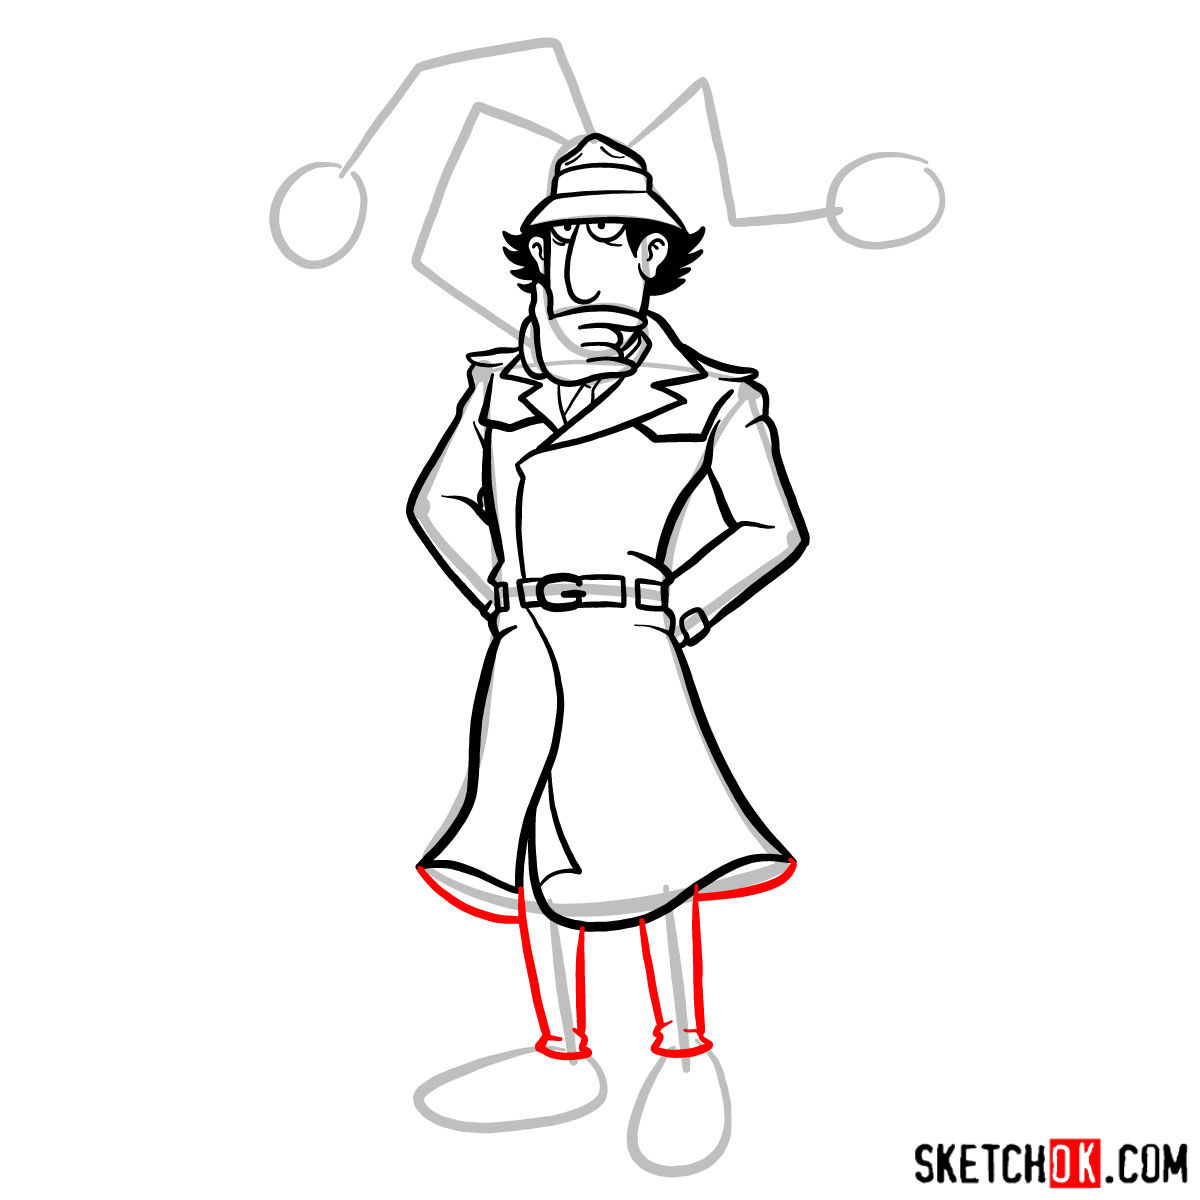
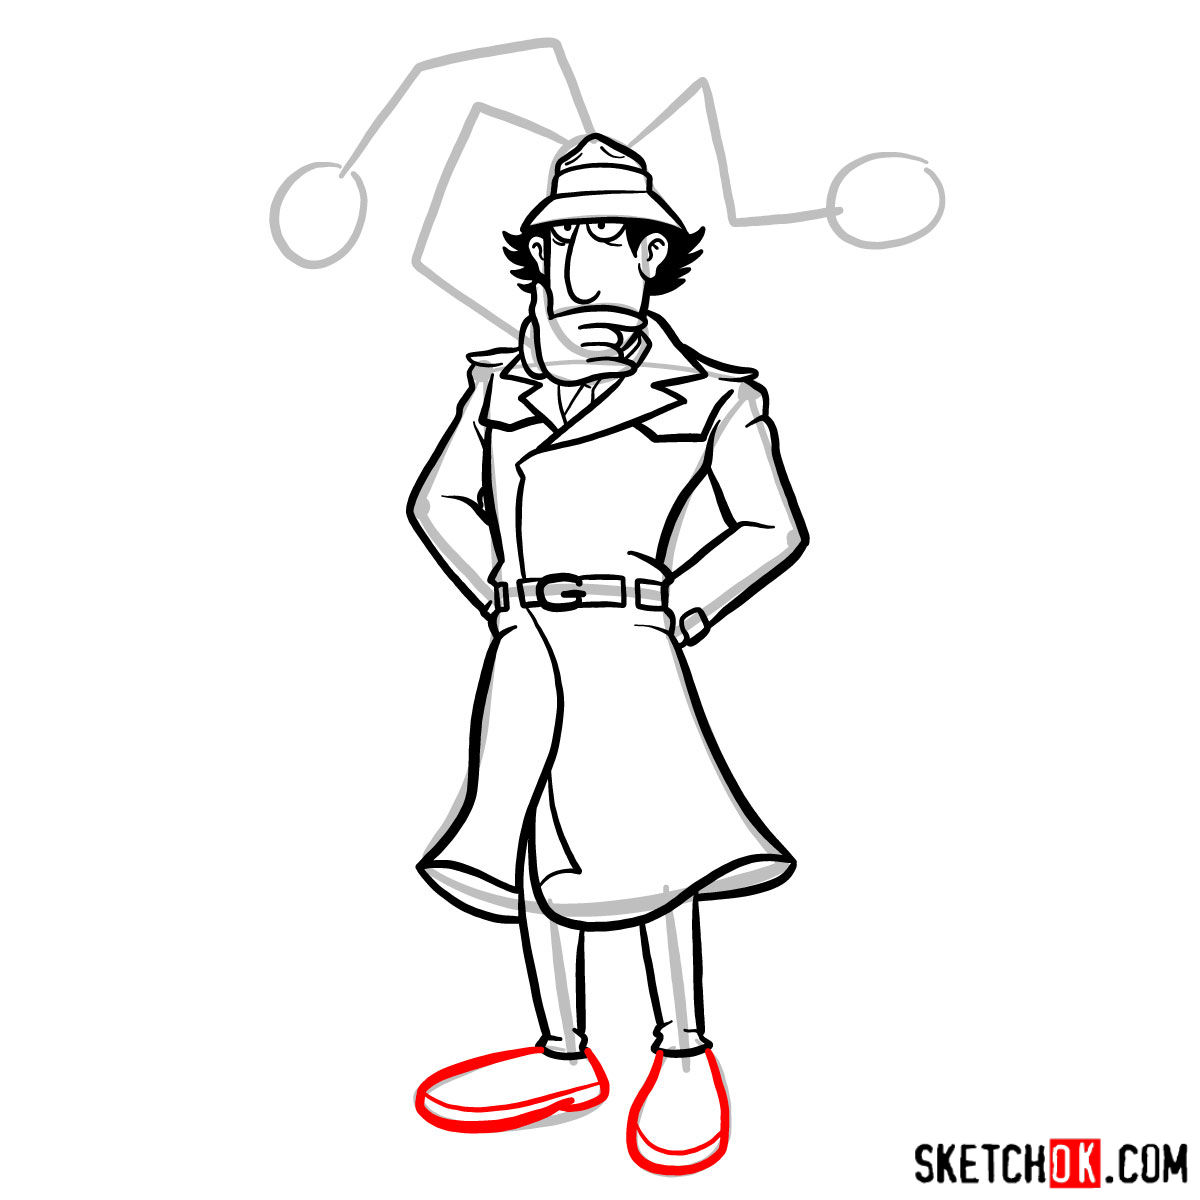
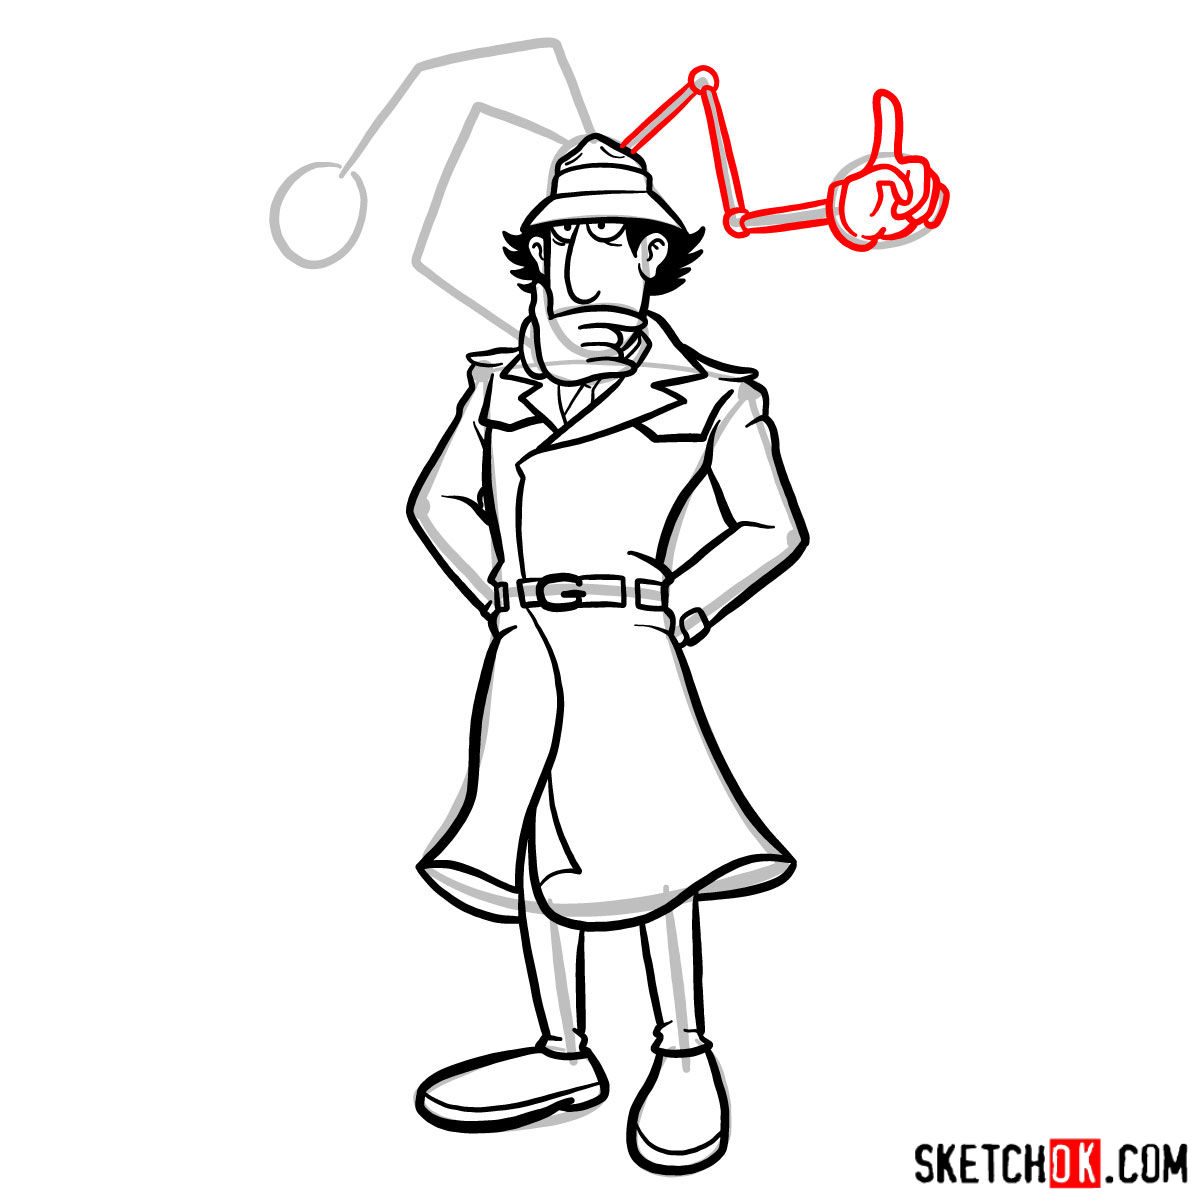
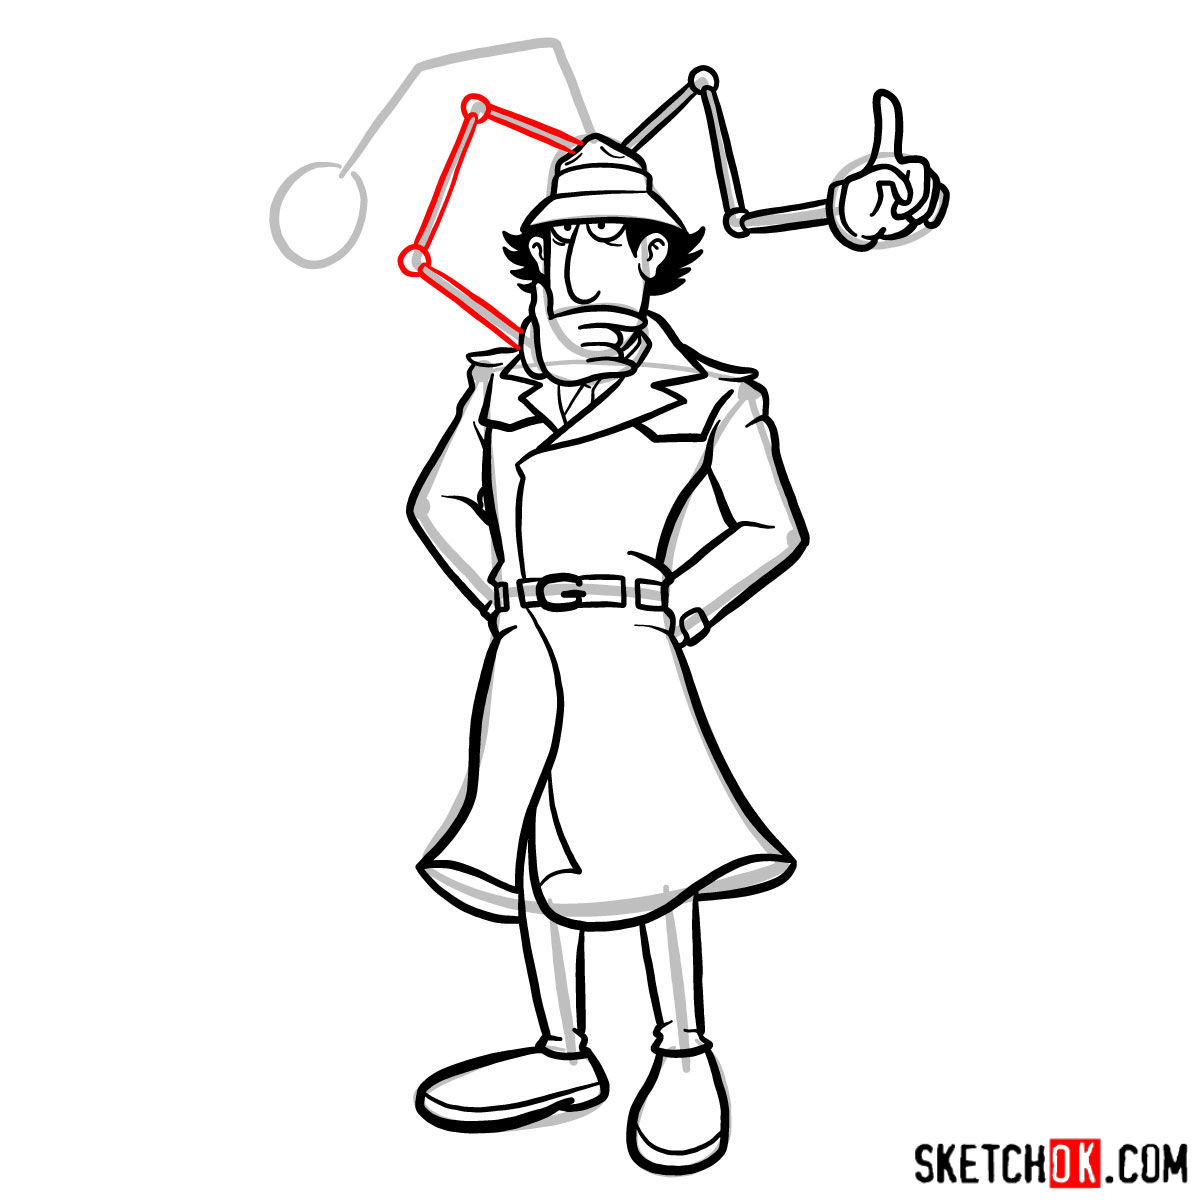
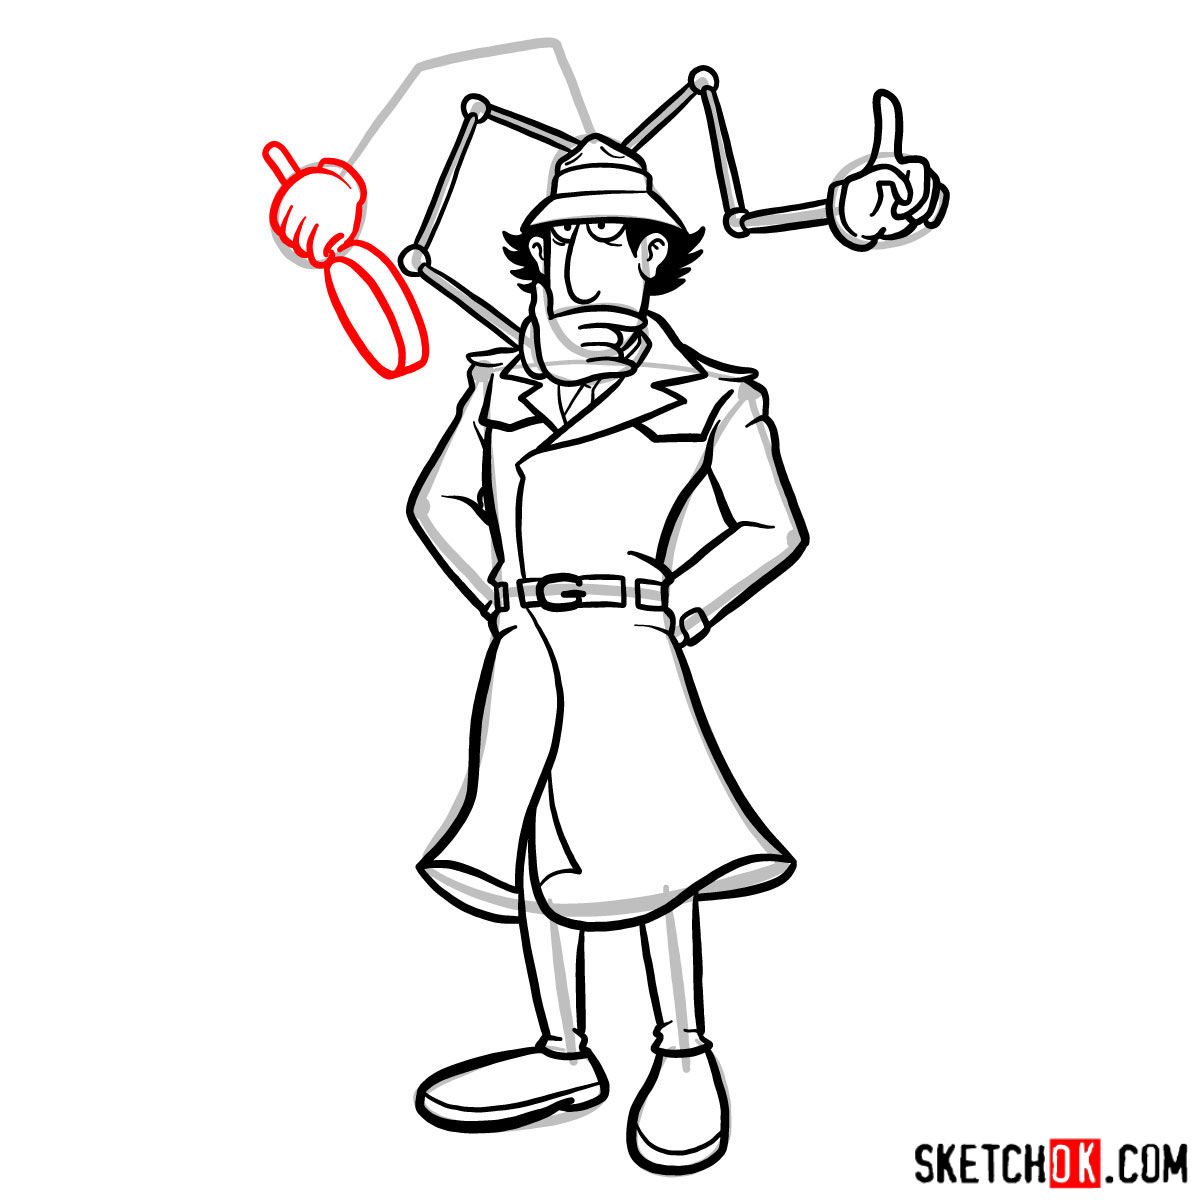
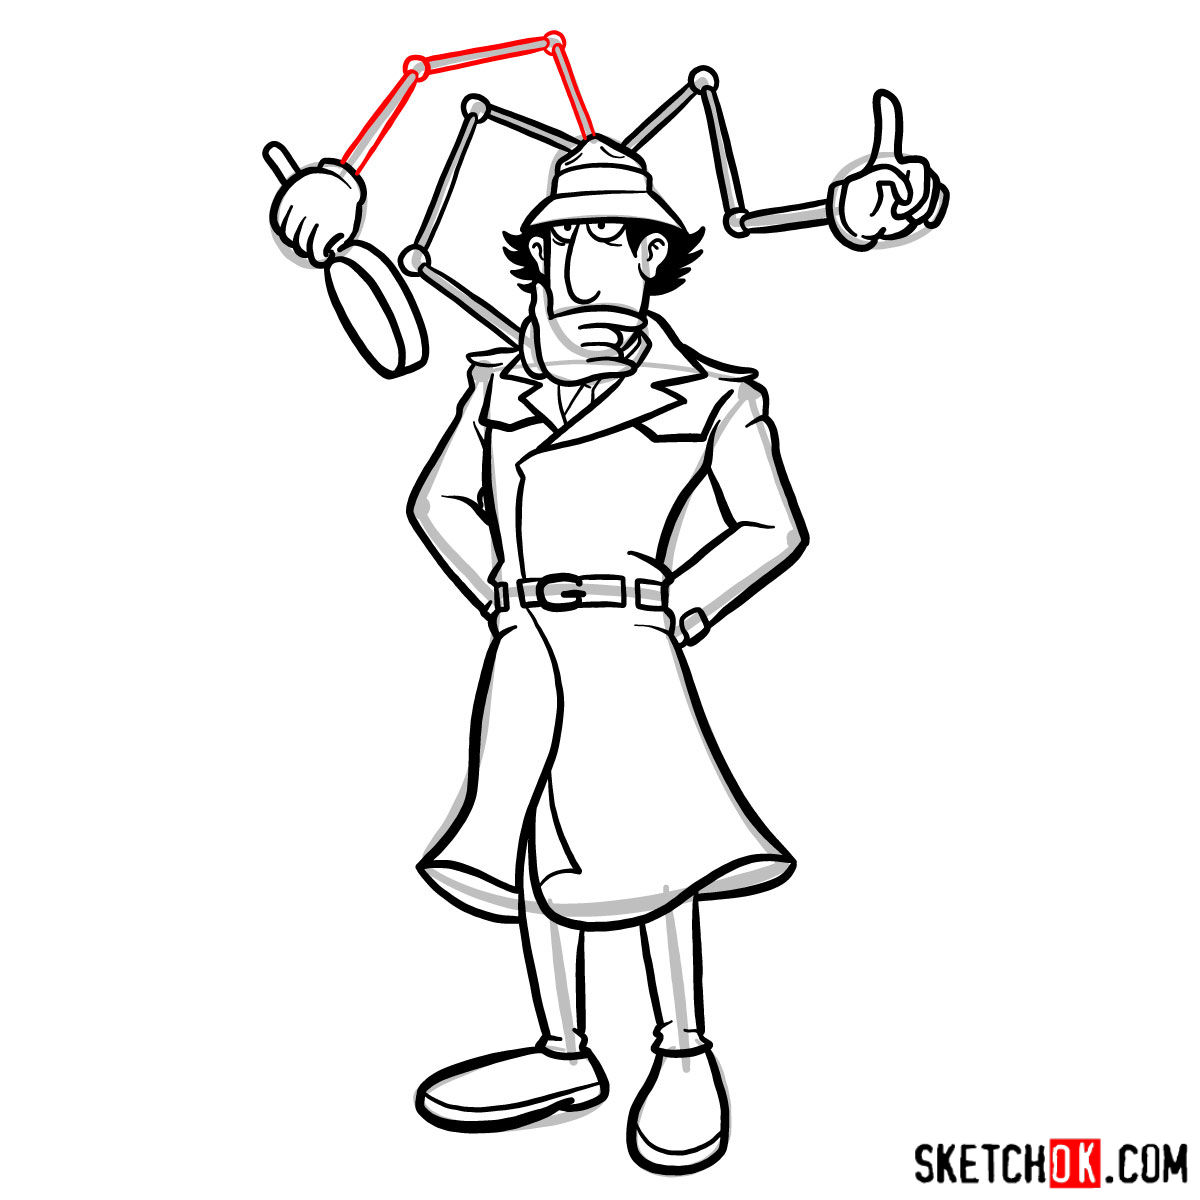
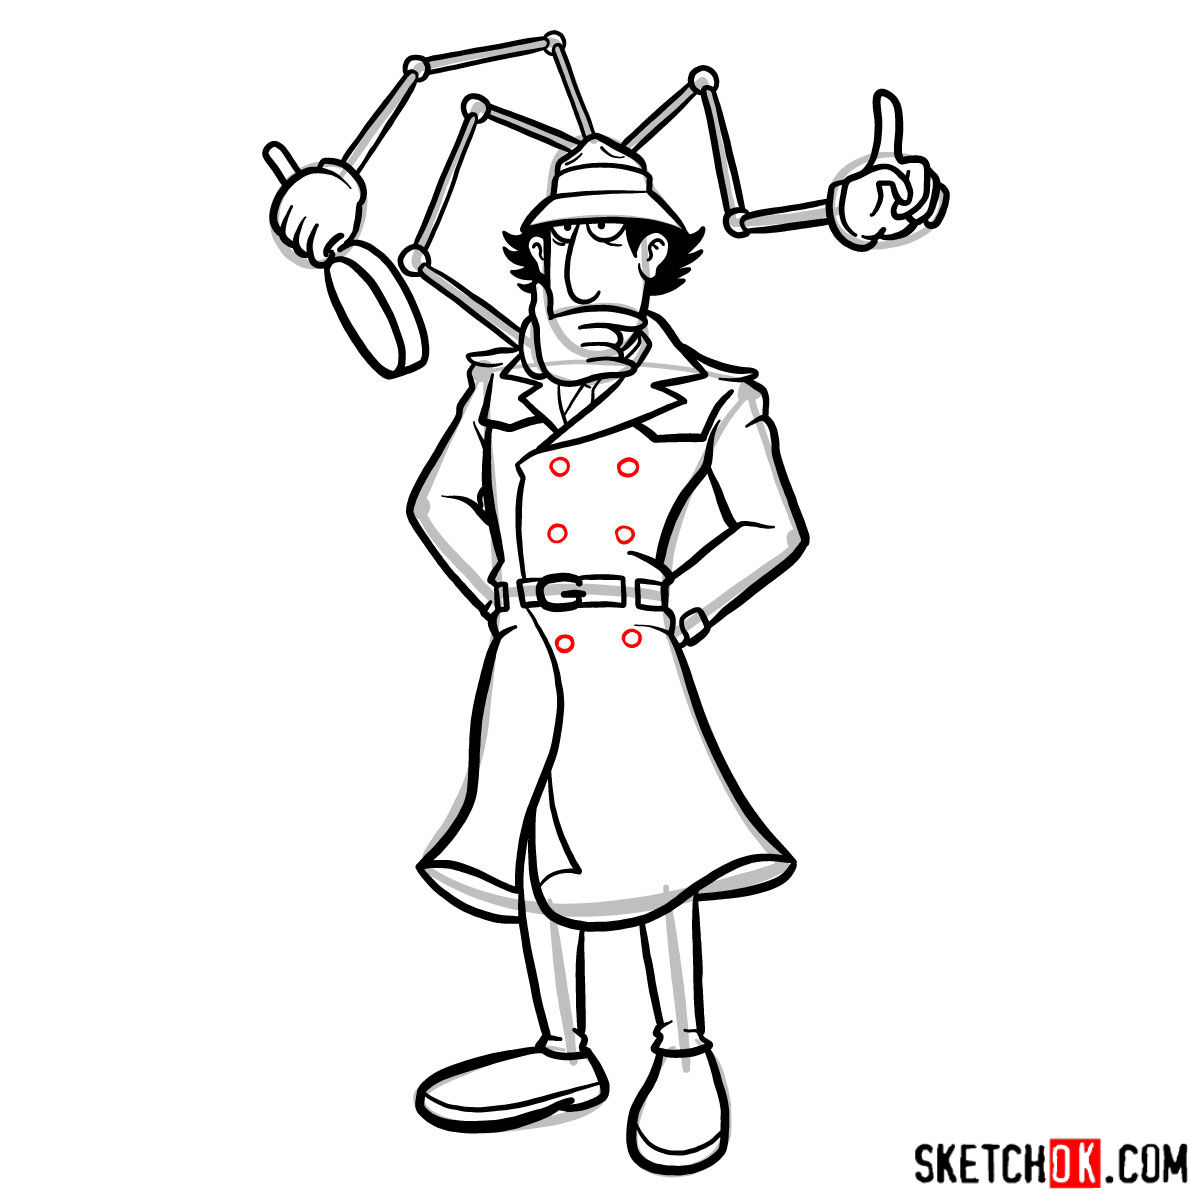
This guide consists of 18 steps to help you sketch Inspector Gadget. Here’s a simple breakdown of our color coding system:
- Red Color: Represents the current step you should be focusing on.
- Black Color: Showcases the lines you have previously drawn.
- Grey Color: Demonstrates the basic proportion sketch you should make in the initial stages.
The first step involves drawing a basic sketch using light strokes for proportional purposes. As you move forward, you can intensify your lines and solidify your sketch. In the last stage, you can choose to ink the sketch and gently erase the pencil sketch after the ink dries. Remember to give the ink enough time to dry to avoid smudging your masterpiece! Once your ink has dried, you may use the last image in the guide as a reference to color your drawing.

FAQs
How to sketch Inspector Gadget’s hat?
Begin with a curved line for the brim, add an oval for the top, and a band across it.
Any tips on how to draw Gadget’s trench coat?
His trench coat is long and flowing, so draw it with smooth, wide curves to show its weight and movement. Add lines for the lapels, pockets, and belt to create a 3D effect.
Wrapping Up
Now that you’ve gained insights on how to draw Inspector Gadget, it’s time to grab your drawing tools and embark on your creative journey! Remember, practice makes perfect, so don’t be discouraged if your first few tries don’t meet your expectations. Persist, and soon you’ll have a captivating rendition of Inspector Gadget!
Did you find this guide helpful? If yes, please consider making a donation on BuyMeACoffee. Your donations help us keep the SketchOk project running, allowing us to create more free drawing guides. You can also suggest ideas for new tutorials that you’d love to see. Remember, every bit counts!
Don’t forget to share your masterpiece and spread the word about our guide! Whether it’s a direct link or a shout-out on social media, your shares help us reach more budding artists. Follow us on Facebook, Instagram, and Pinterest. Let’s keep the art community vibrant and growing!