Dilbert, the comic strip penned by Scott Adams, is a cultural mainstay, a beacon of office humor that captures the essence of white-collar life with wit and charm. First published in 1989, Dilbert has since become a global phenomenon, reaching fans in 65 countries and 25 languages, spawning animated series, video games, and numerous merchandise items. Now, it’s your turn to bring this character to life on your sketchpad. Our step-by-step guide will make learning how to draw Dilbert a rewarding and fun experience.
Framing Dilbert: A Focus on Appearance and Details
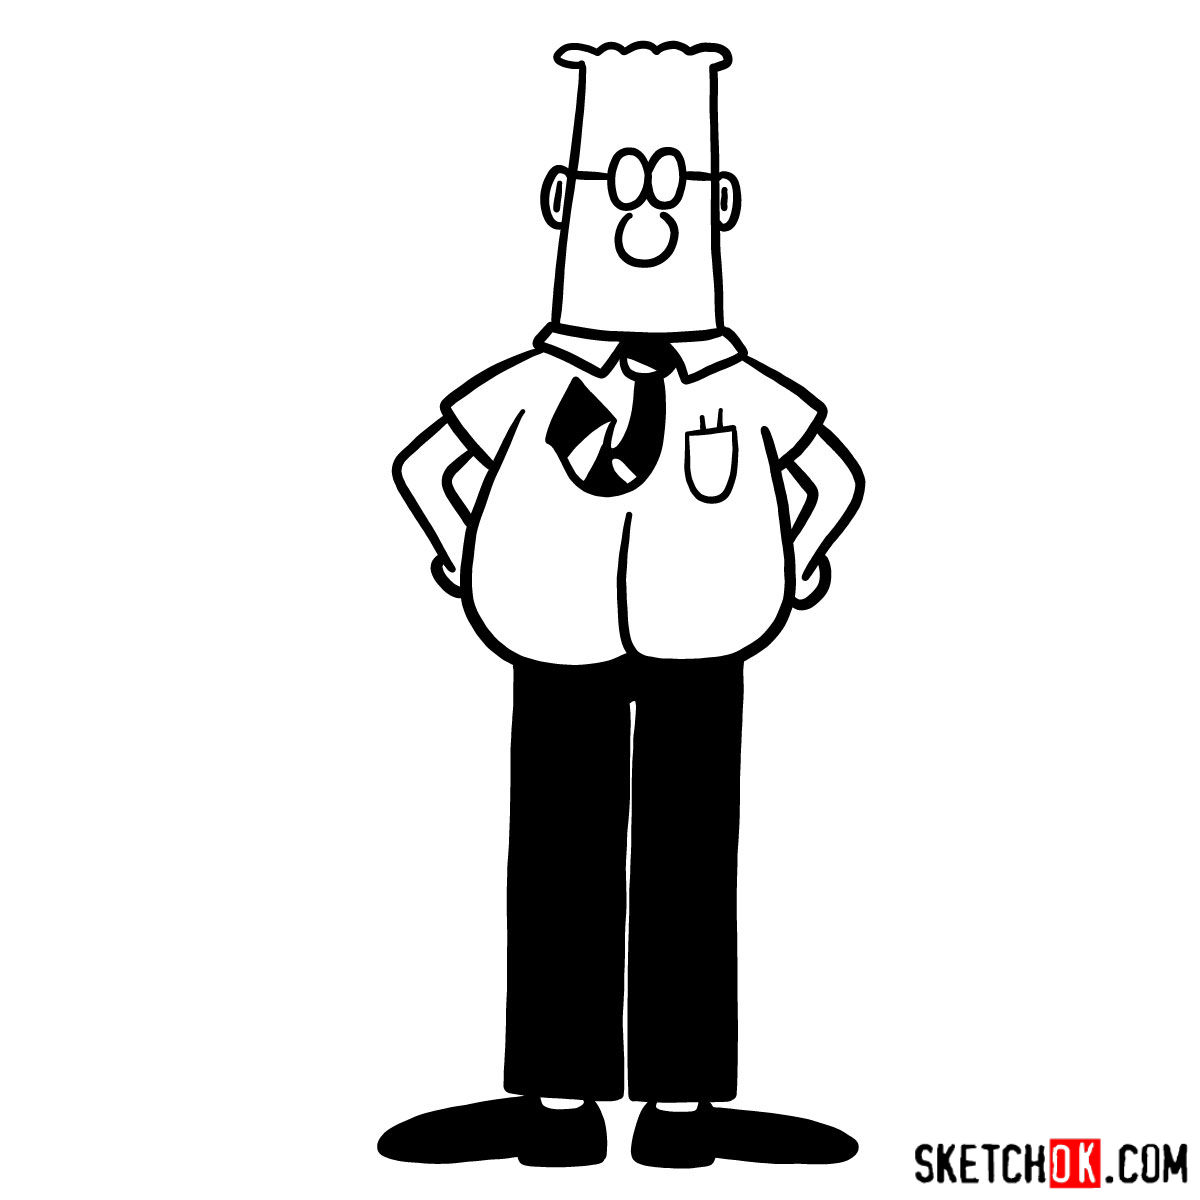
At the heart of the humor and satire in the Dilbert comic strip is the character Dilbert himself. He’s an engineer with distinctive features that immediately set him apart:
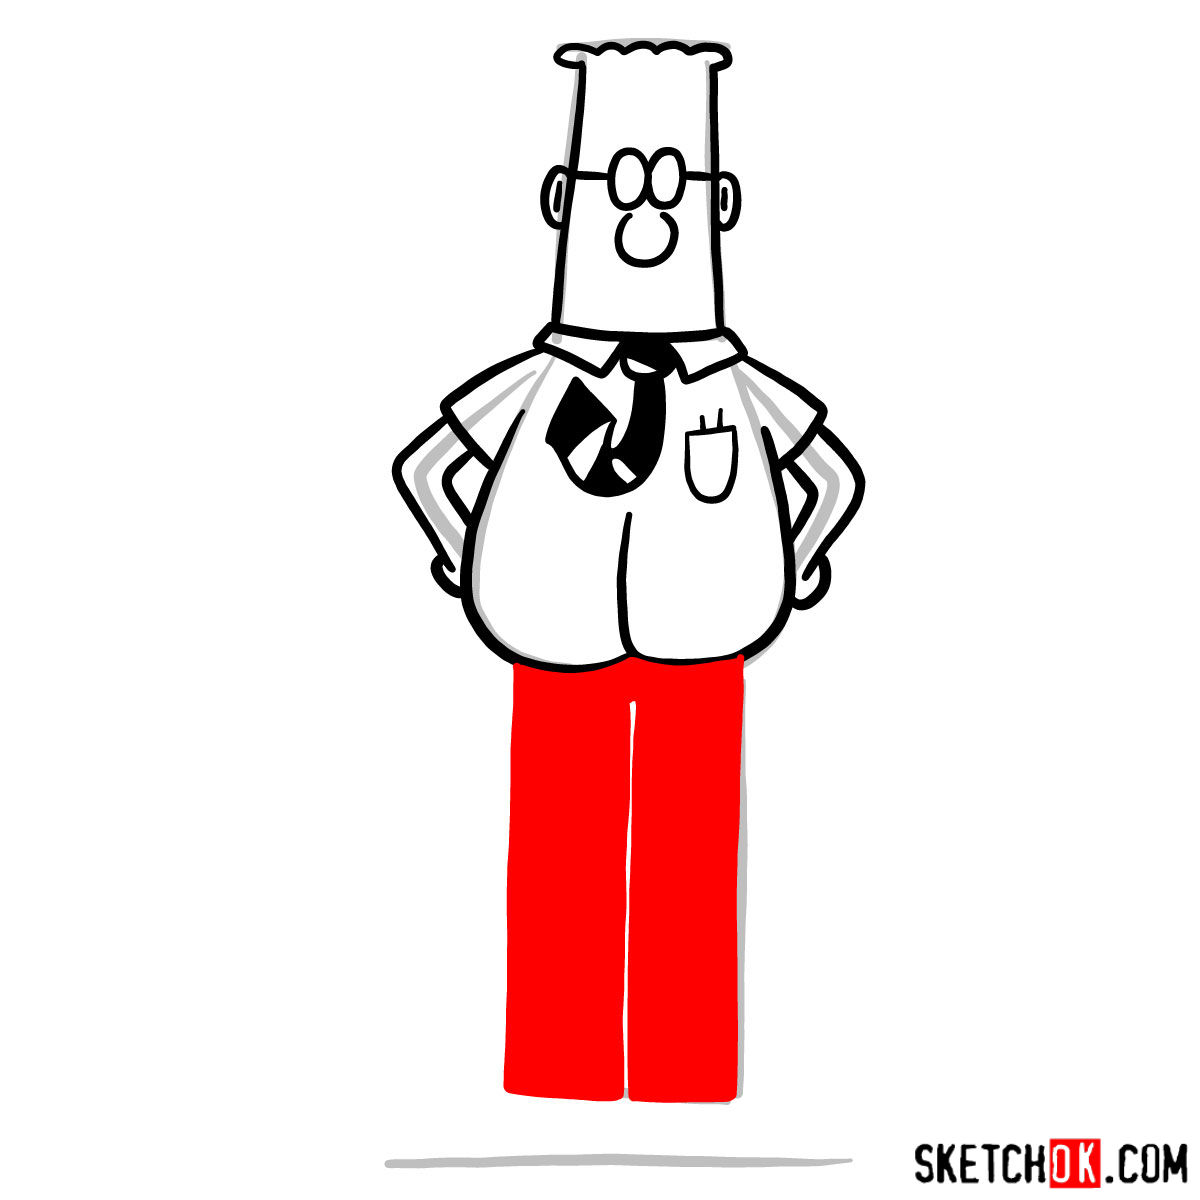
- Body: Known for his white dress shirt and black tie that curiously curls upward.
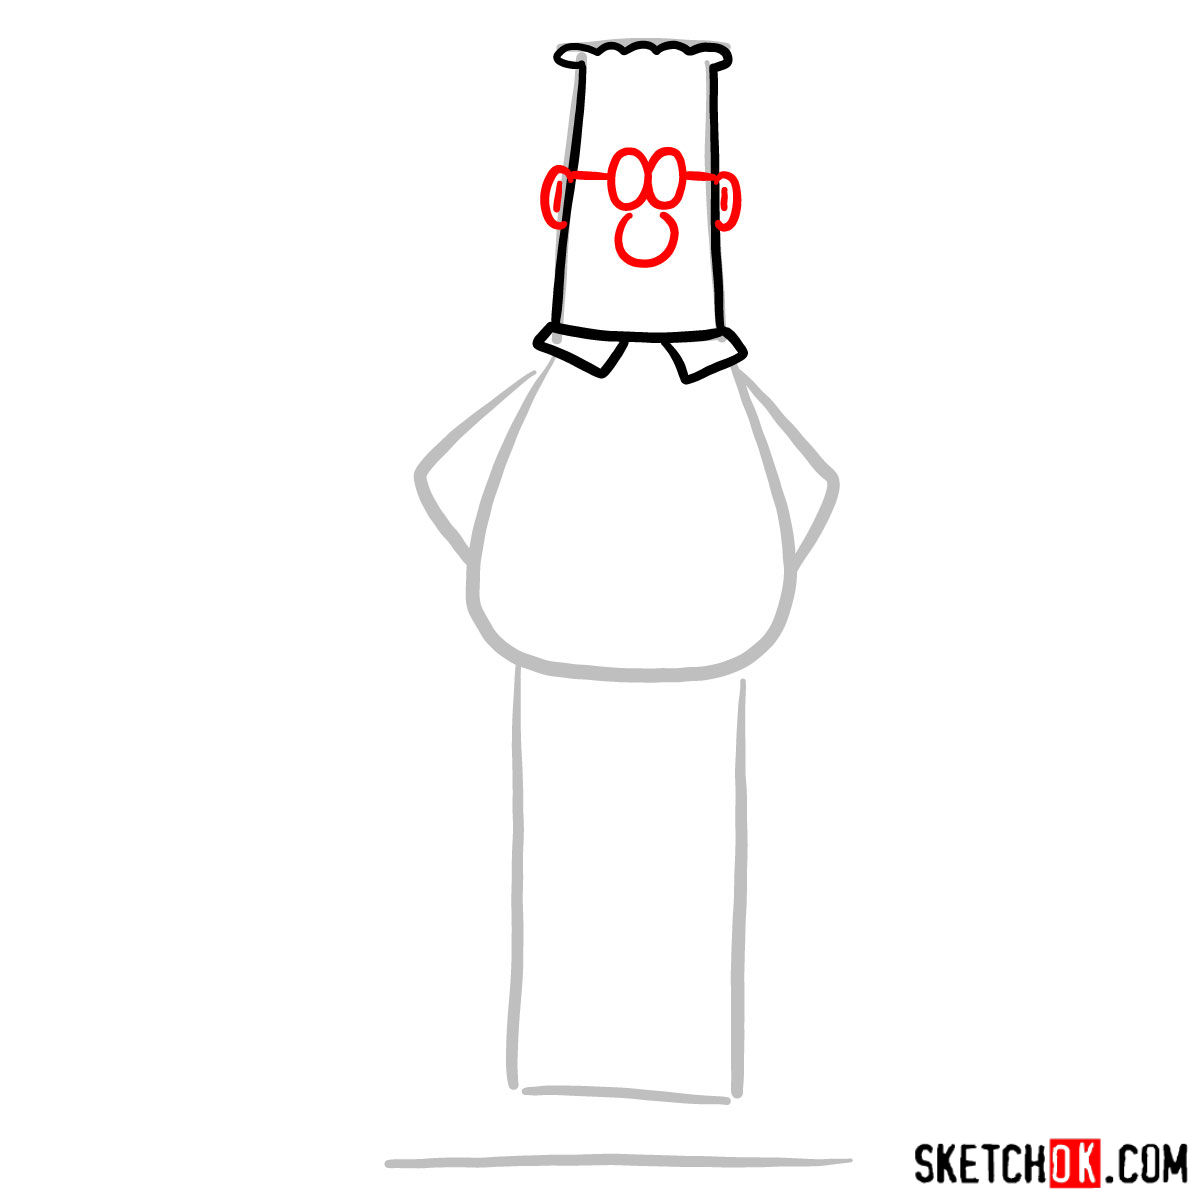
- Face: He’s usually seen with his round glasses and eyes rarely shown. He also has a distinctive, pointed nose.
- Hair: Dilbert has plain, short hair.
Breaking Down the Guide: The Color Codes and Guidelines
Our step-by-step guide to draw Dilbert utilizes an intuitive color-coding system:
- Red Color: This highlights the lines and elements you should draw in the current step.
- Black Color: These are the lines you’ve drawn in the previous steps.
- Grey Color: This shows the basic sketch and proportions which form the underlying structure of the drawing.
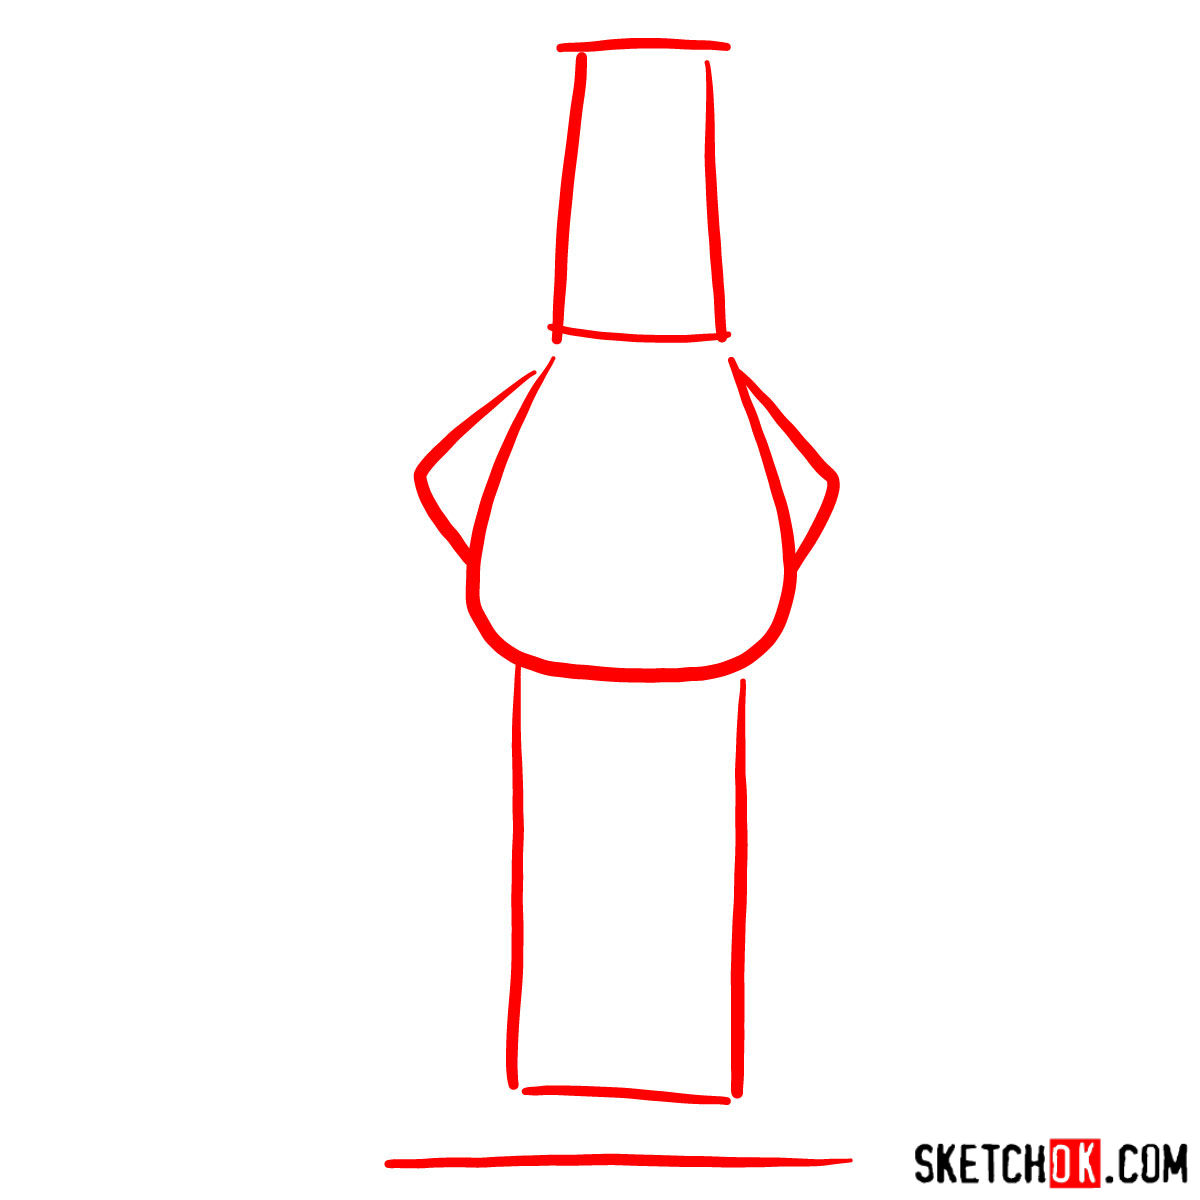
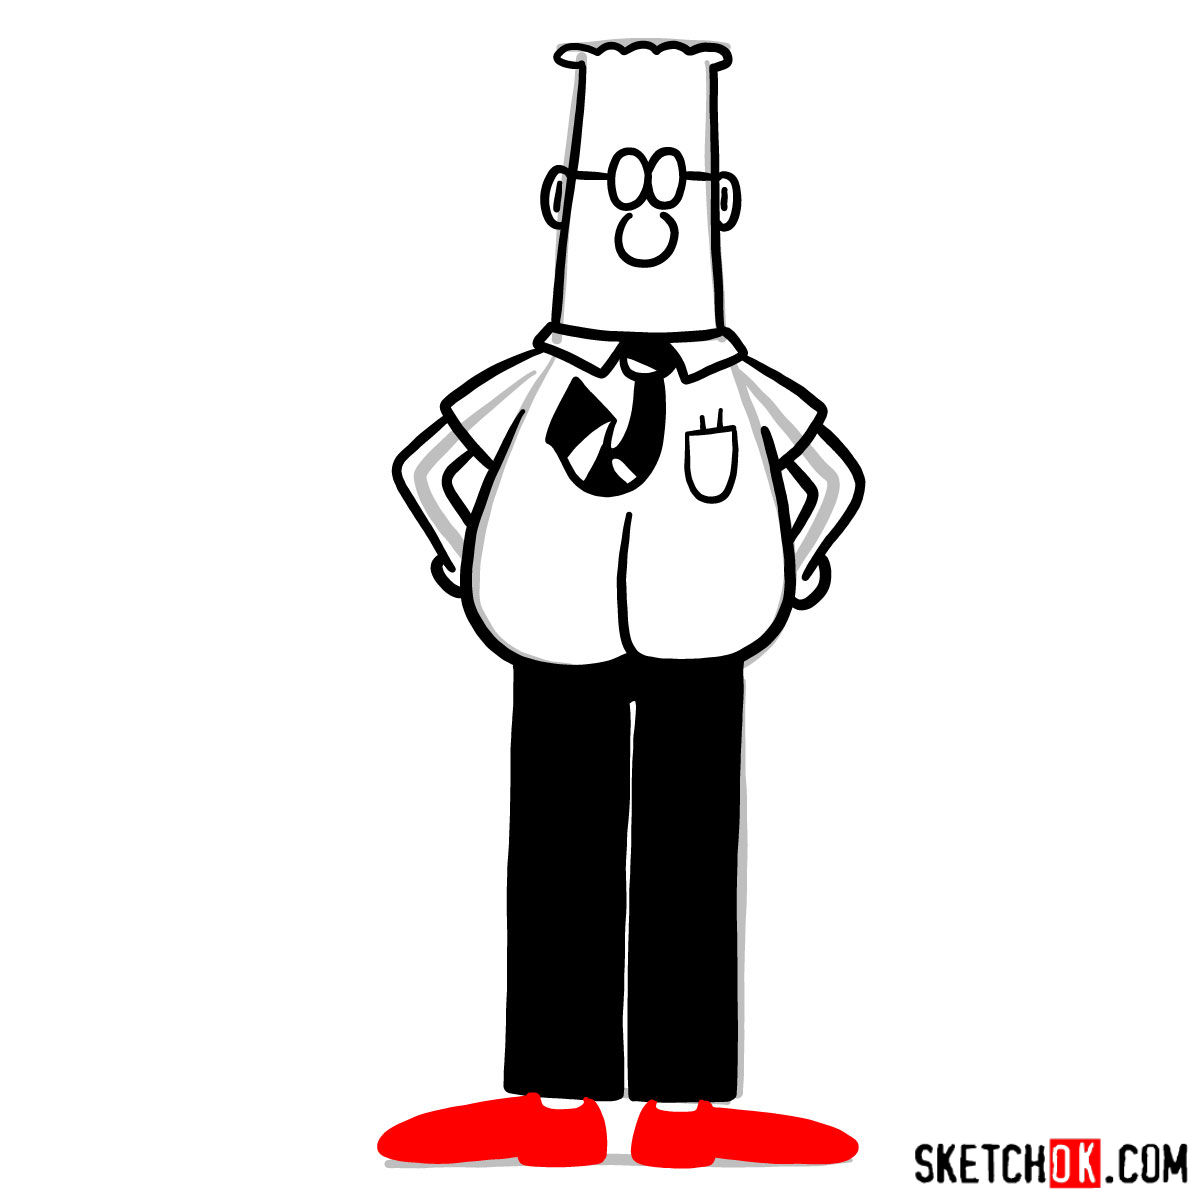
With 10 comprehensive steps, this guide will help you gradually build up your sketch of Dilbert. The first step will involve creating the basic structure using light pencil strokes for the correct proportions. Towards the end, you will have the option to ink your sketch. Remember to wait for the ink to dry before gently erasing the pencil lines to prevent any smudging. The final image in the guide can also serve as a color reference if you decide to bring your sketch to life with color.


Frequently Asked Questions
What is the significance of sketching lightly in the early stages?
Sketching lightly in the early stages is crucial as it allows you to easily adjust and erase lines. It’s a forgiving process that reduces messiness during the refining stage. This is particularly useful when drawing Dilbert’s recognizable attributes, such as his curiously curled tie or his round glasses.
Why should I wait for the ink to dry before erasing the pencil lines?
Allowing the ink to dry fully before erasing the pencil sketch prevents smudging and maintains the neatness and sharpness of your drawing. This is particularly important when you are drawing detailed characters like Dilbert, where precision and neat lines can significantly enhance the final result.
How can I use the final image in the guide as a color reference?
The final image in the guide displays the fully completed and colored version of the character. This can serve as an inspiration for you to understand the color scheme and shading details to bring your Dilbert sketch to life with more vibrancy and depth.