If you’ve seen the animated series ‘Space Ghost’, you’ll undoubtedly be familiar with the character Brak. Known as Voldemar H. Guerta, he’s one of Space Ghost’s greatest villains and later, one of his companions. Voiced by notable actors such as Keye Luke, Andy Merrill, and C. Martin Croker, Brak has earned a memorable place in the hearts of viewers worldwide.
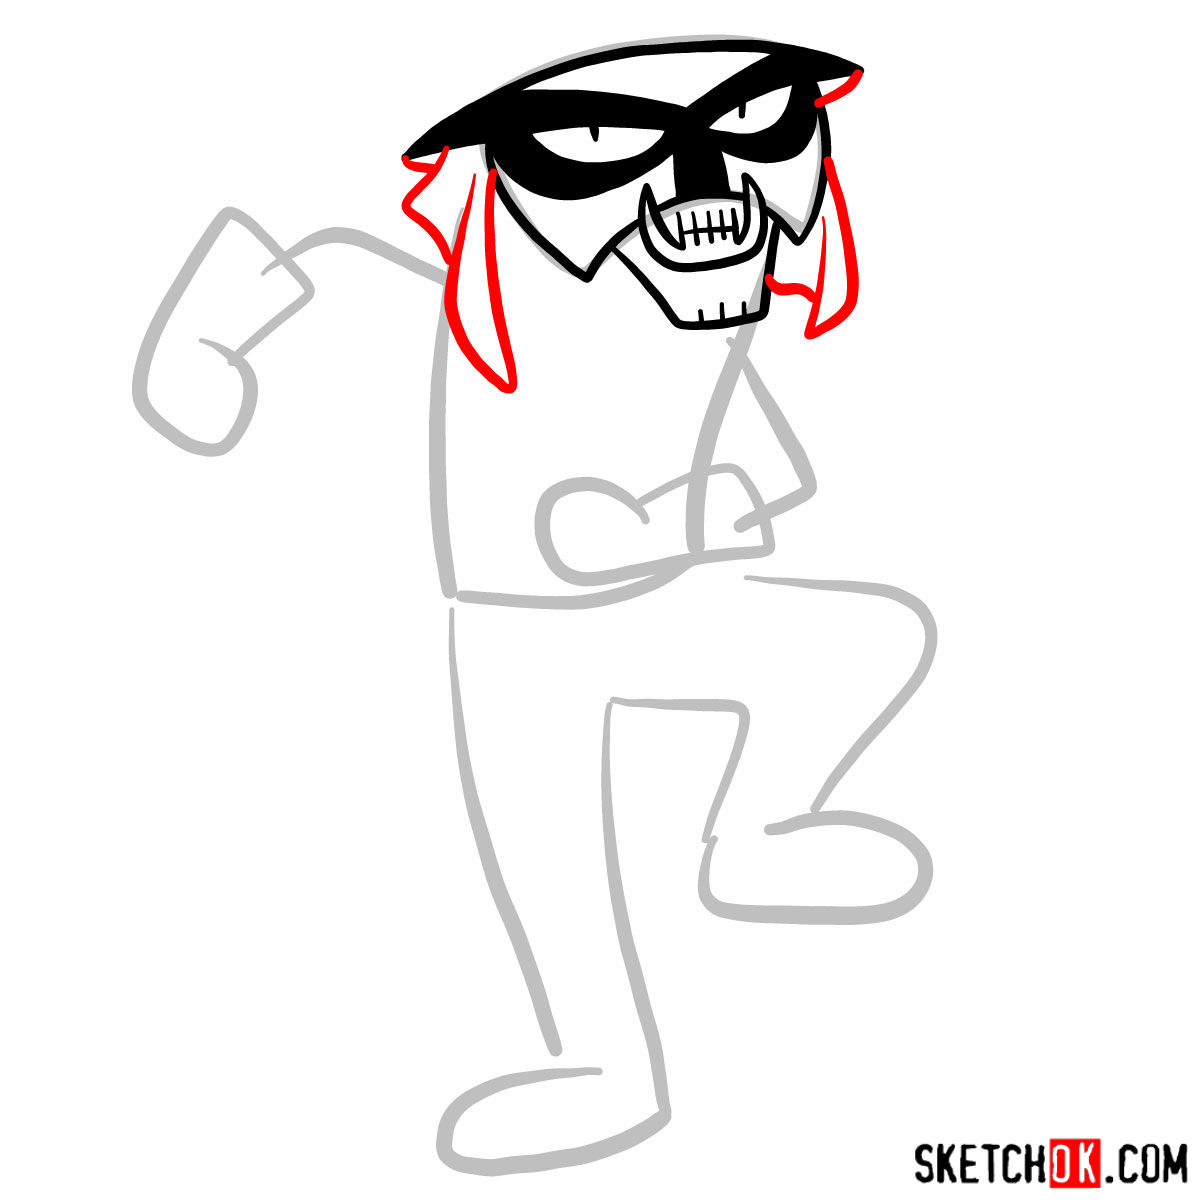
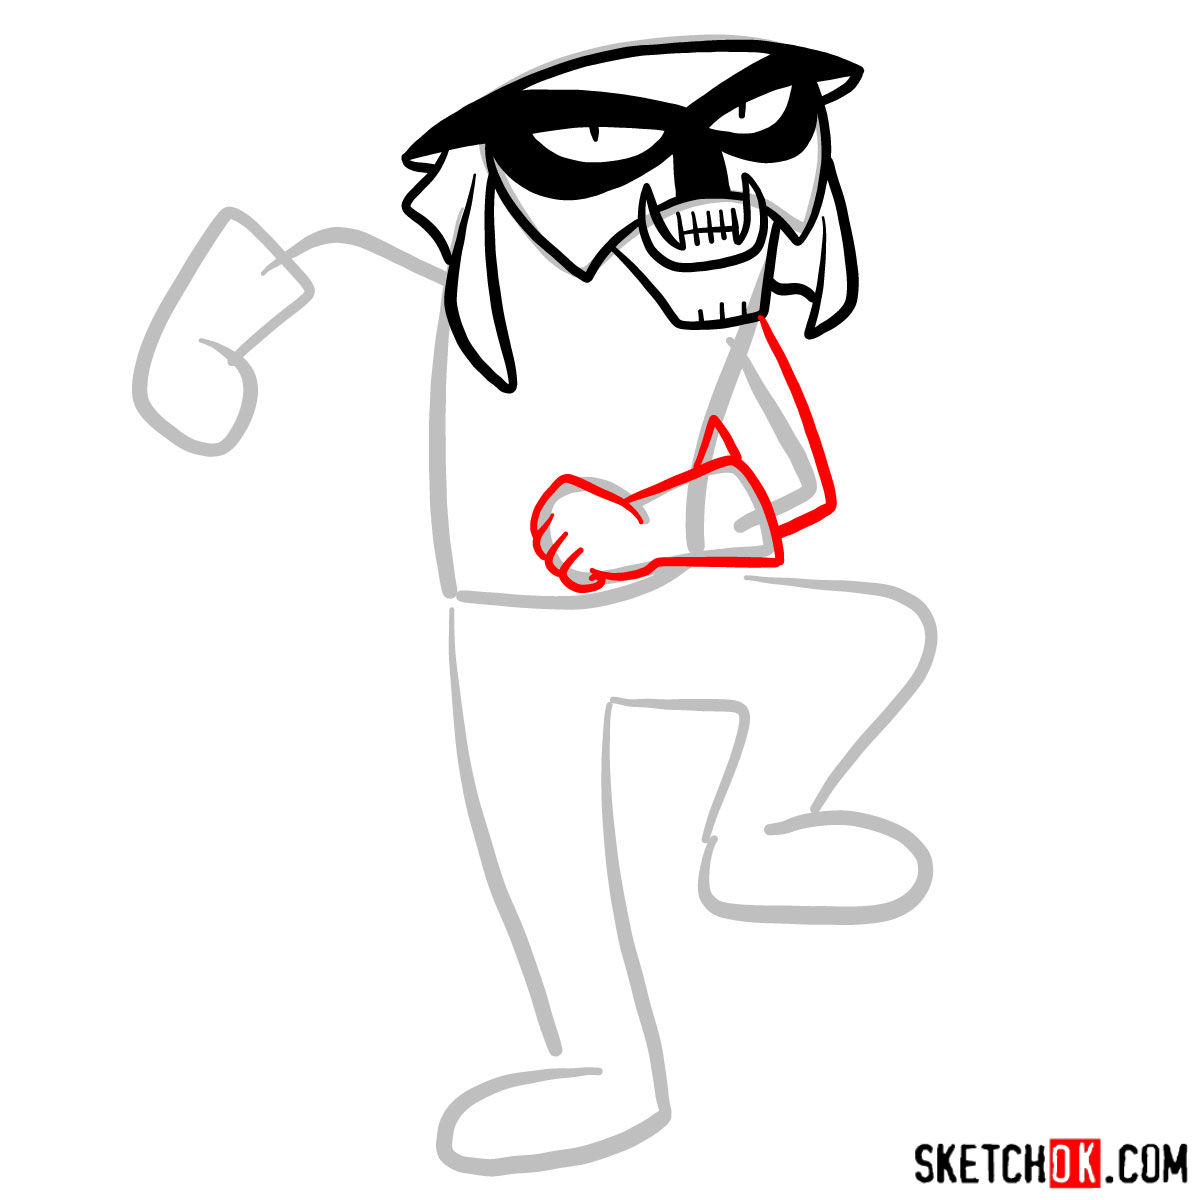
Brak, a member of the Council of Doom, is a cat-like alien with distinctive features. He boasts an intriguing Polynesian-esque red and black mask with a yellow Keffiyeh. The character has bright orange fur contrasted by a unique blue and black outfit, topped off with red gloves and blue-toed shoes. His striking eyes add to his overall appeal and complexity. While you’re at it, why not consider drawing related characters from the series like Space Ghost or other members of the Council of Doom for a comprehensive artwork?
Brace for Brak: About this Guide
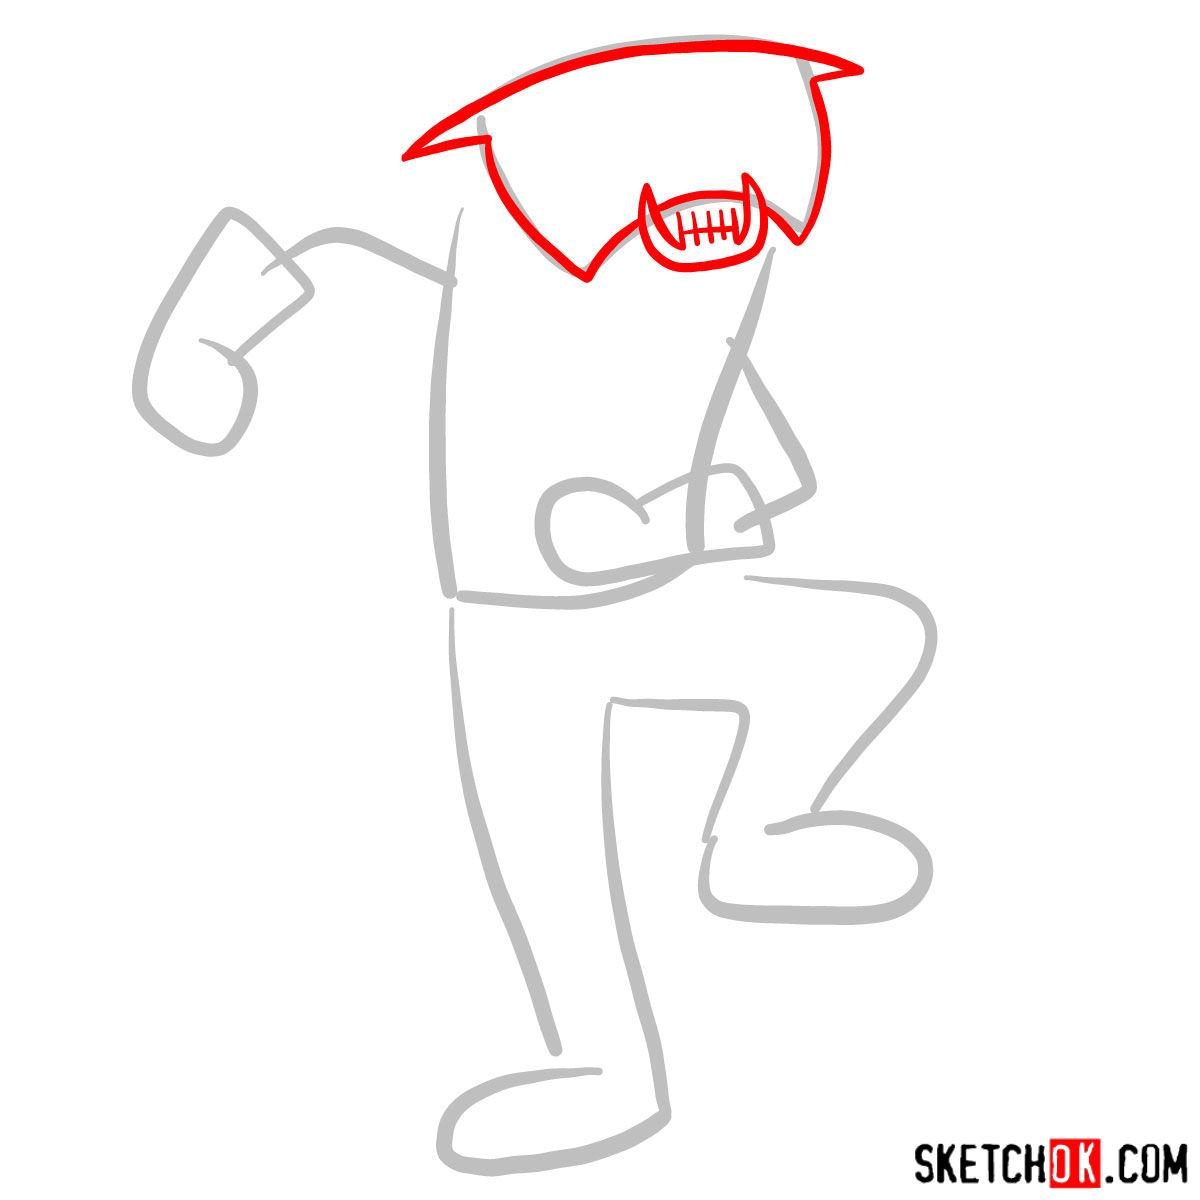
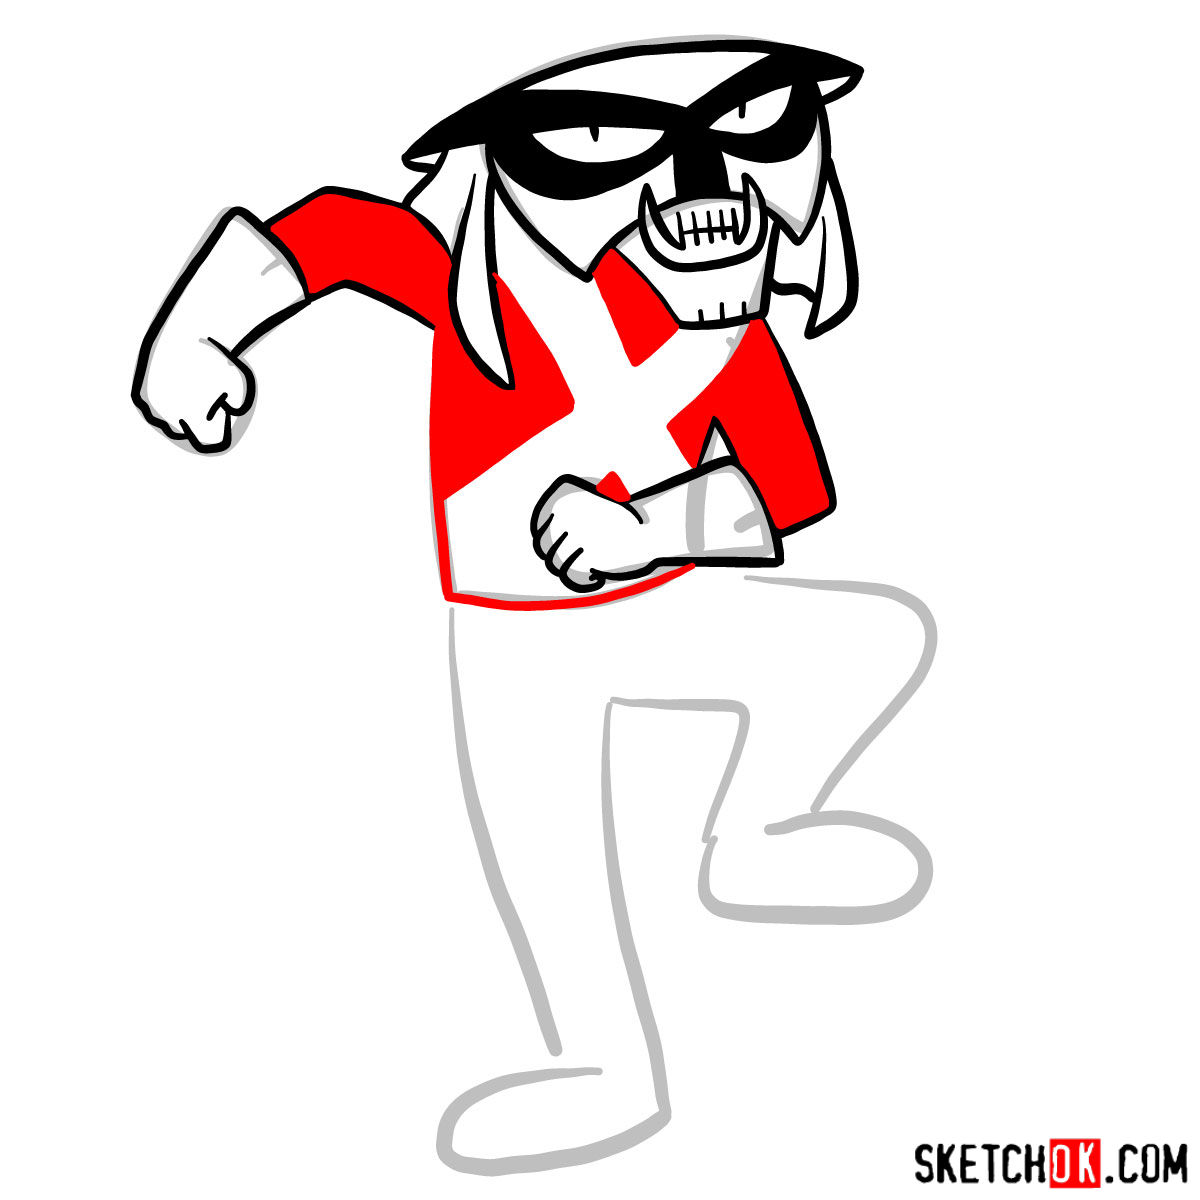
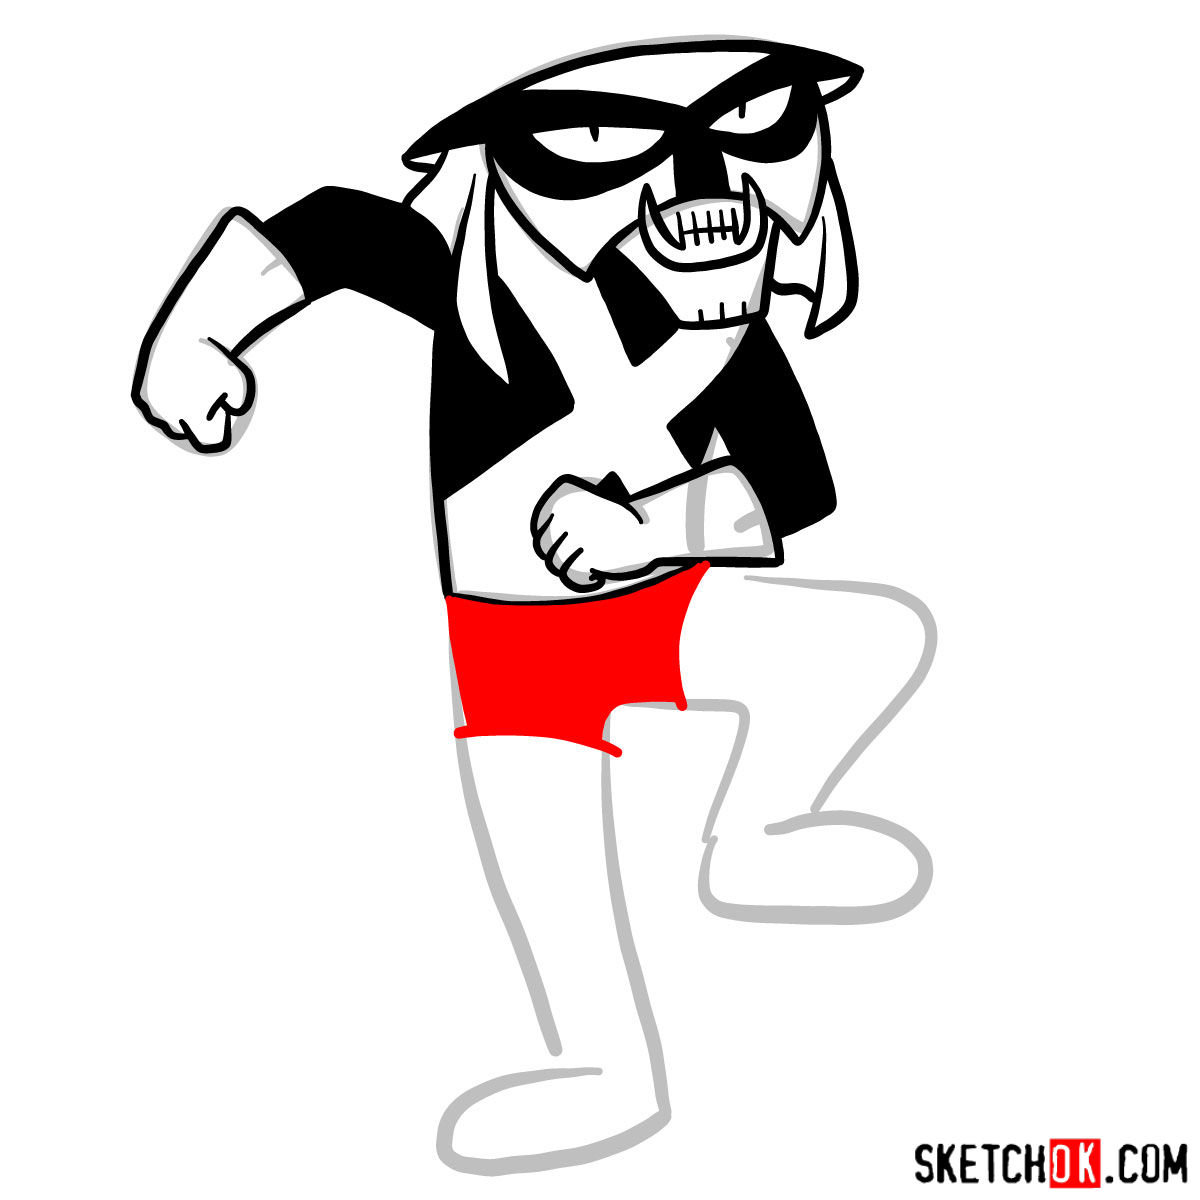
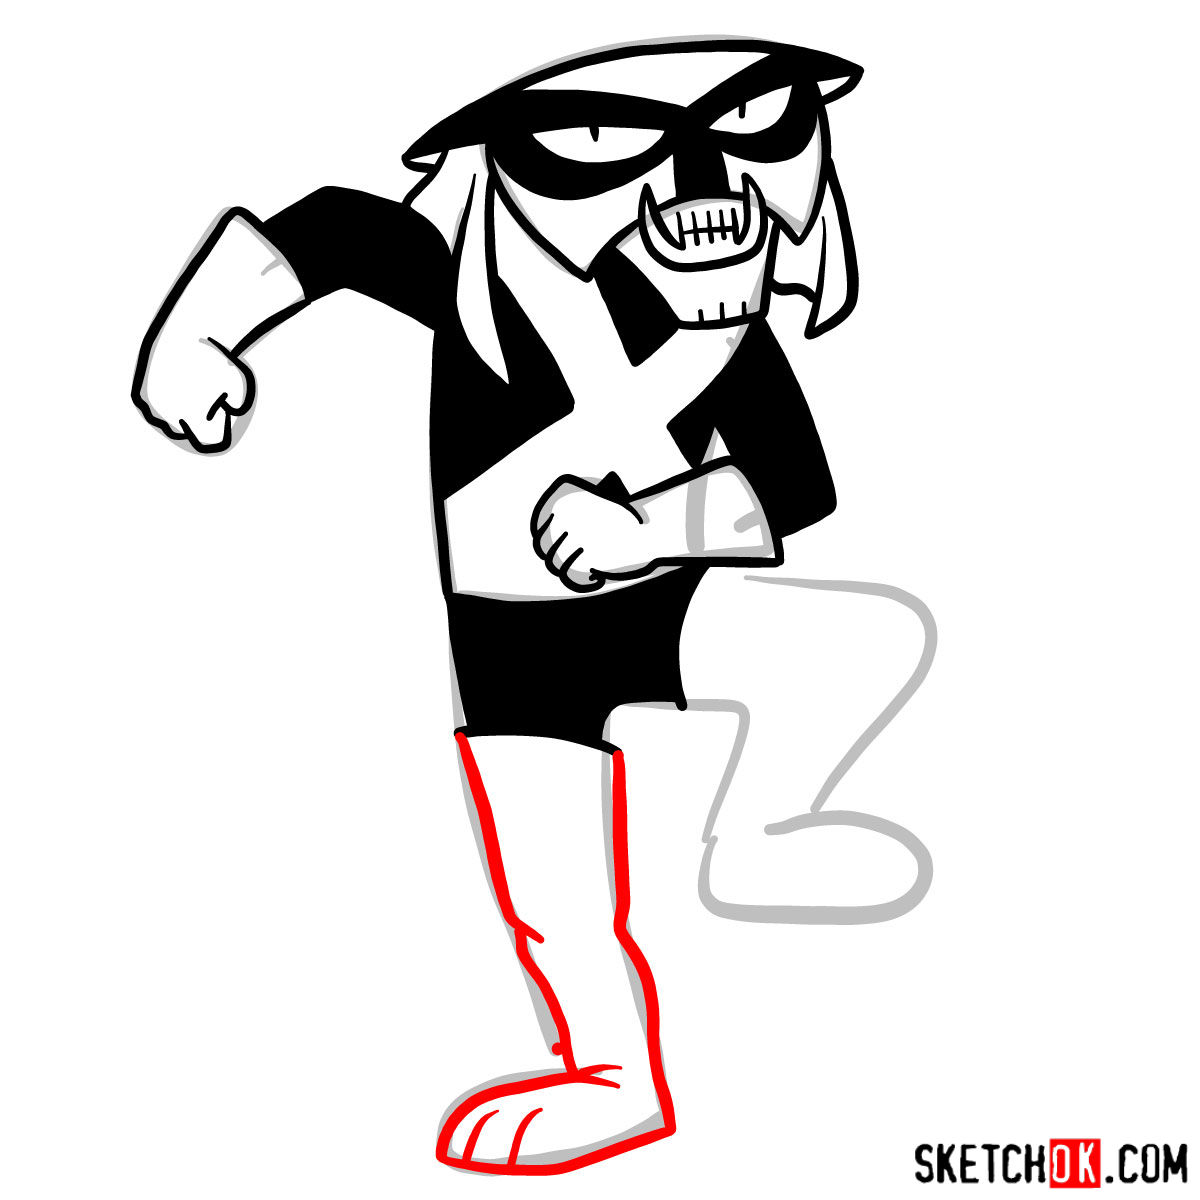
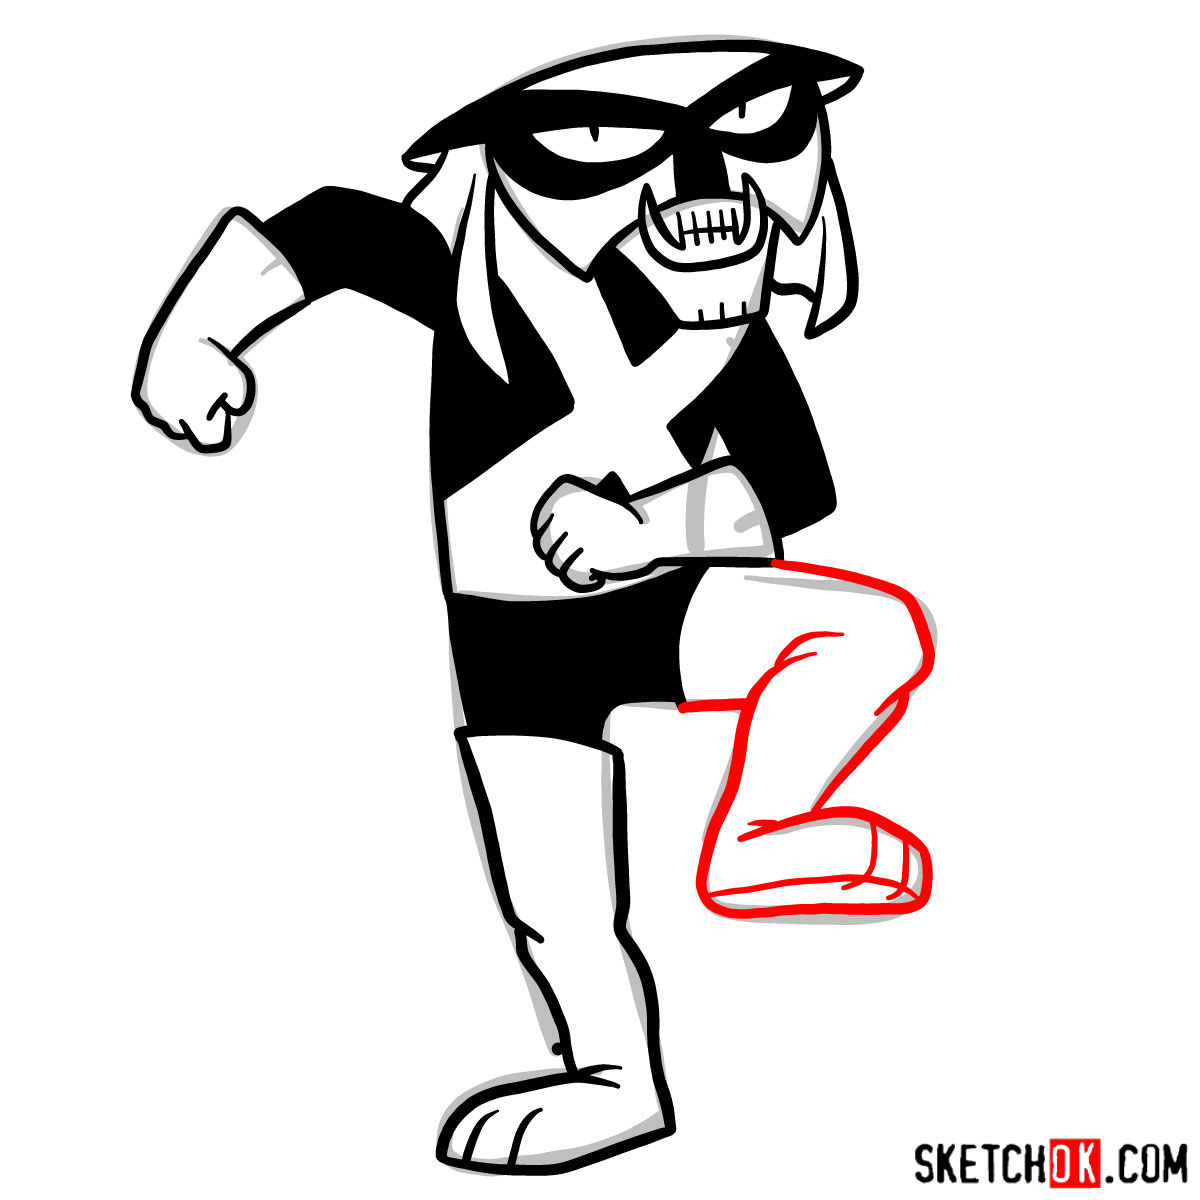
Our guide to drawing Brak breaks down the process into 12 manageable steps. But before we delve into that, let’s talk about the color-coding scheme used in our guide:
- Red Color: Represents the current step. It’s your guide on what to draw next.
- Grey Color: Helps you understand the basic proportions of the sketch. Light pencil strokes are recommended for this.
- Black Color: Highlights the lines you’ve already drawn. It’s like a pat on the back for progress made.
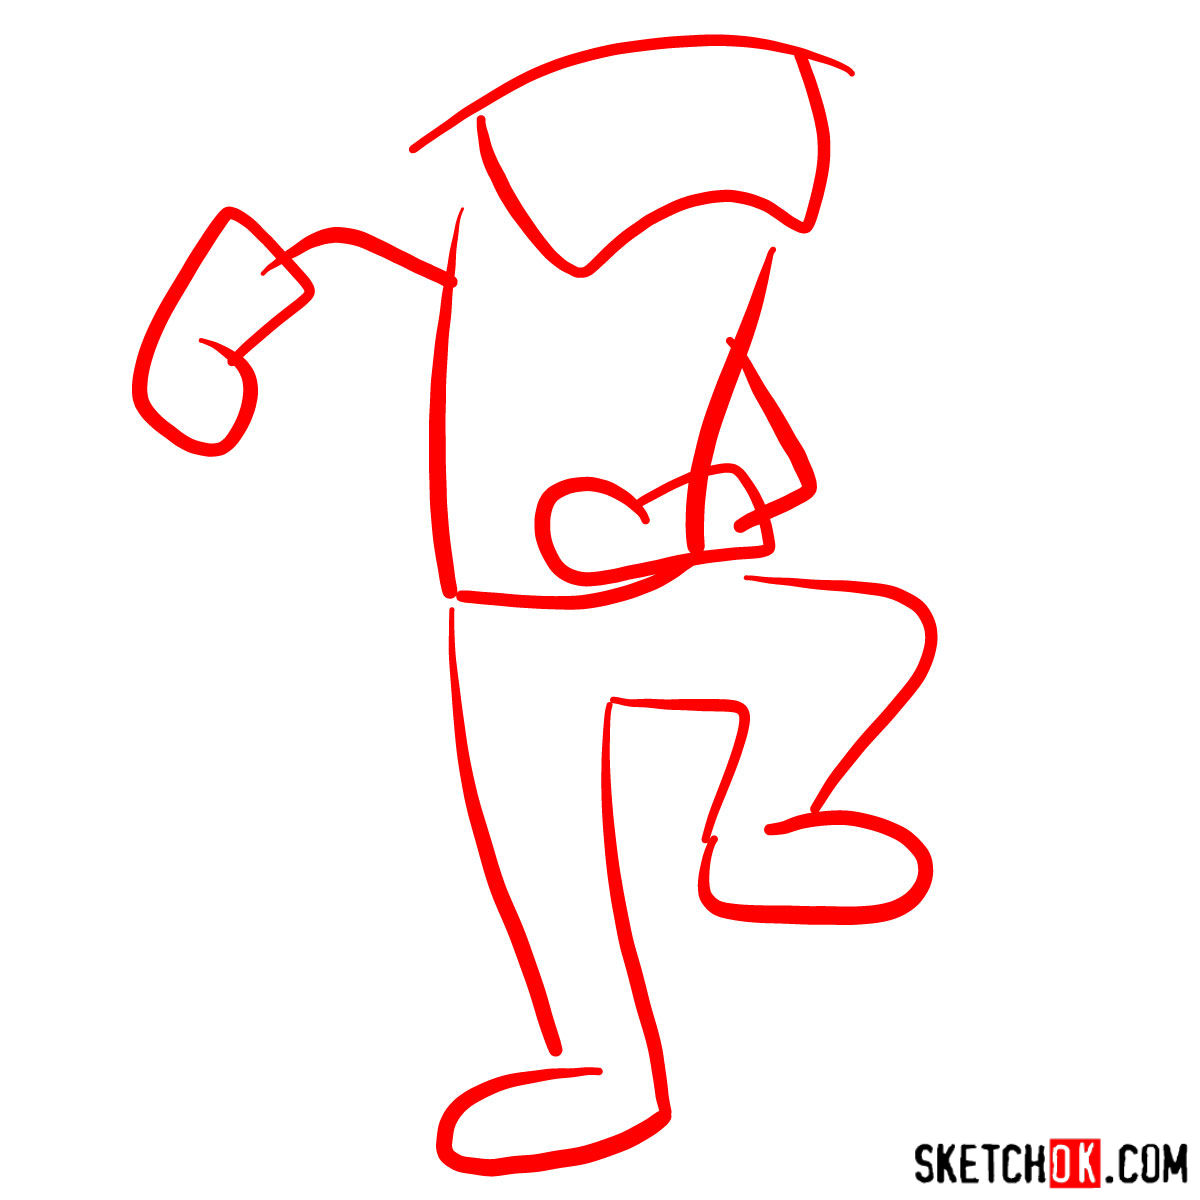
The first step of this guide focuses on setting up the basic proportions of your sketch. After outlining, the artist can choose to ink the sketch. Just remember to wait for the ink to dry completely before gently erasing the pencil lines. This approach prevents smudging and preserves the neatness of your artwork. The final image serves as a reference for colors, should you wish to breathe life into your sketch with some hues.


Frequently Asked Questions
What’s the best technique to draw Brak’s outfit?
Drawing Brak’s outfit requires a keen eye for detail. Start with light pencil lines to outline his unique blue and black ensemble, paying attention to how it fits his body structure. Gradually darken and refine these lines, focusing on folds and crevices for a more realistic depiction. Adding shadows can also give depth to his outfit.
How to sketch Brak’s unique facial mask?
Brak’s Polynesian-esque mask is a key feature of his character design. Start by drawing its basic shape, keeping your strokes light for easy adjustments. Once you’re satisfied with the shape, move on to the mask’s details, like the patterns and colors. Patience and precision are key here.
How can I capture Brak’s pose and expression accurately?
Brak’s pose and expression greatly contribute to his personality. To capture this, start with a basic skeleton to map out his pose. Use reference images to study his expressions and translate them into your drawing. Practice is the key – don’t be disheartened if it doesn’t look perfect the first time around.
Sharing the Art of Drawing Brak
There you have it, an exciting journey of how to draw Brak completed. If you found this guide helpful, consider spreading the word. Sharing the link to this guide can help budding artists hone their skills. Not only that, but you can also join our community on Facebook, Instagram, and Pinterest to stay updated with our latest tutorials.
Your contributions are crucial in keeping the SketchOk project alive. By donating via this link, you can suggest ideas for new tutorials and help us create more free drawing guides. After all, everyone should have the opportunity to learn and grow their artistic talents. Thank you for being a part of our journey!