If you’re a fan of timeless cartoons, you’ve undoubtedly encountered “The Flintstones“. The animated sitcom set in the stone age revolves around the Flintstone family and their close friends, the Rubbles. Today, we’re focusing on drawing Bernard Matthew “Barney” Rubble, the ever-enthusiastic and loyal best friend of Fred Flintstone. By following this guide on how to draw Barney Rubble, you’ll soon have your own sketch of this beloved character.
Character Highlights: Barney Rubble
Before diving into the drawing tutorial, let’s get to know Barney a bit better. His distinctive features and personality traits will guide our artistic journey.
- Personality Traits: His jovial, easy-going nature is his trademark. Always seen laughing and joking around, especially with his buddy Fred, Barney’s character was inspired by Ed Norton from the 1950s show “The Honeymooners”. His unwavering loyalty and love for his family, especially his adopted son Bamm-Bamm, and his wife Betty, shine throughout the series.
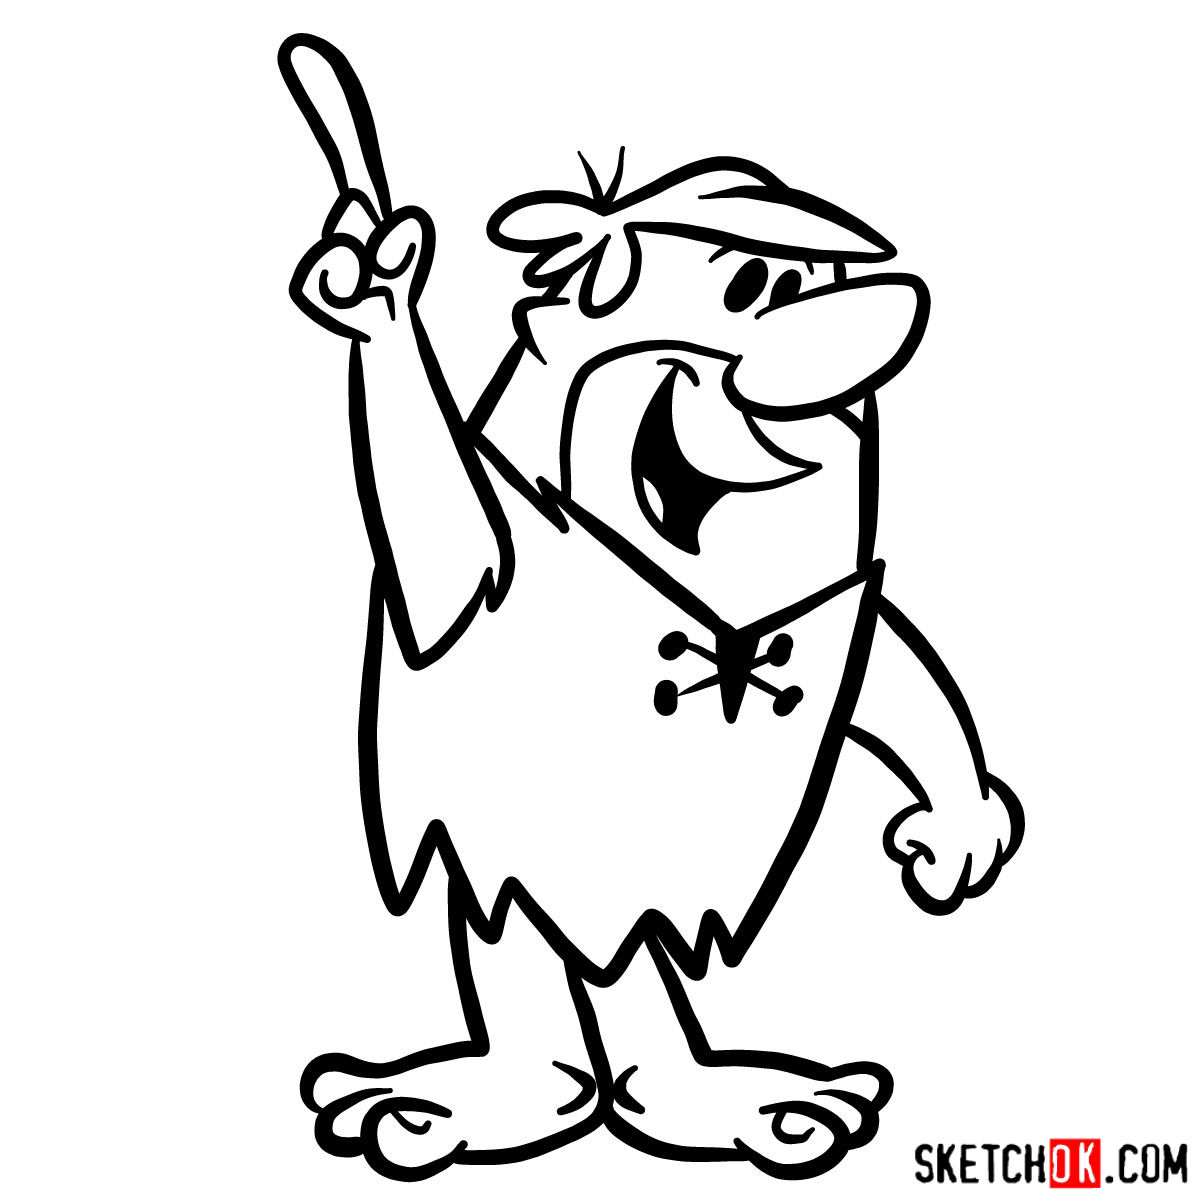
- Physical Appearance: Barney is depicted as a short caveman with fair skin, complemented by tan beard stubbles. His yellow hair is prominent, and his eyes, either shown as ovals or circles, are akin to Wilma’s eyes. He usually sports a brown loincloth, fastened with an X-shaped shoelace.
It might be fun to add some other characters alongside Barney in your drawing. Consider including Fred Flintstone, his lifelong friend, or even Bamm-Bamm, his loving son.
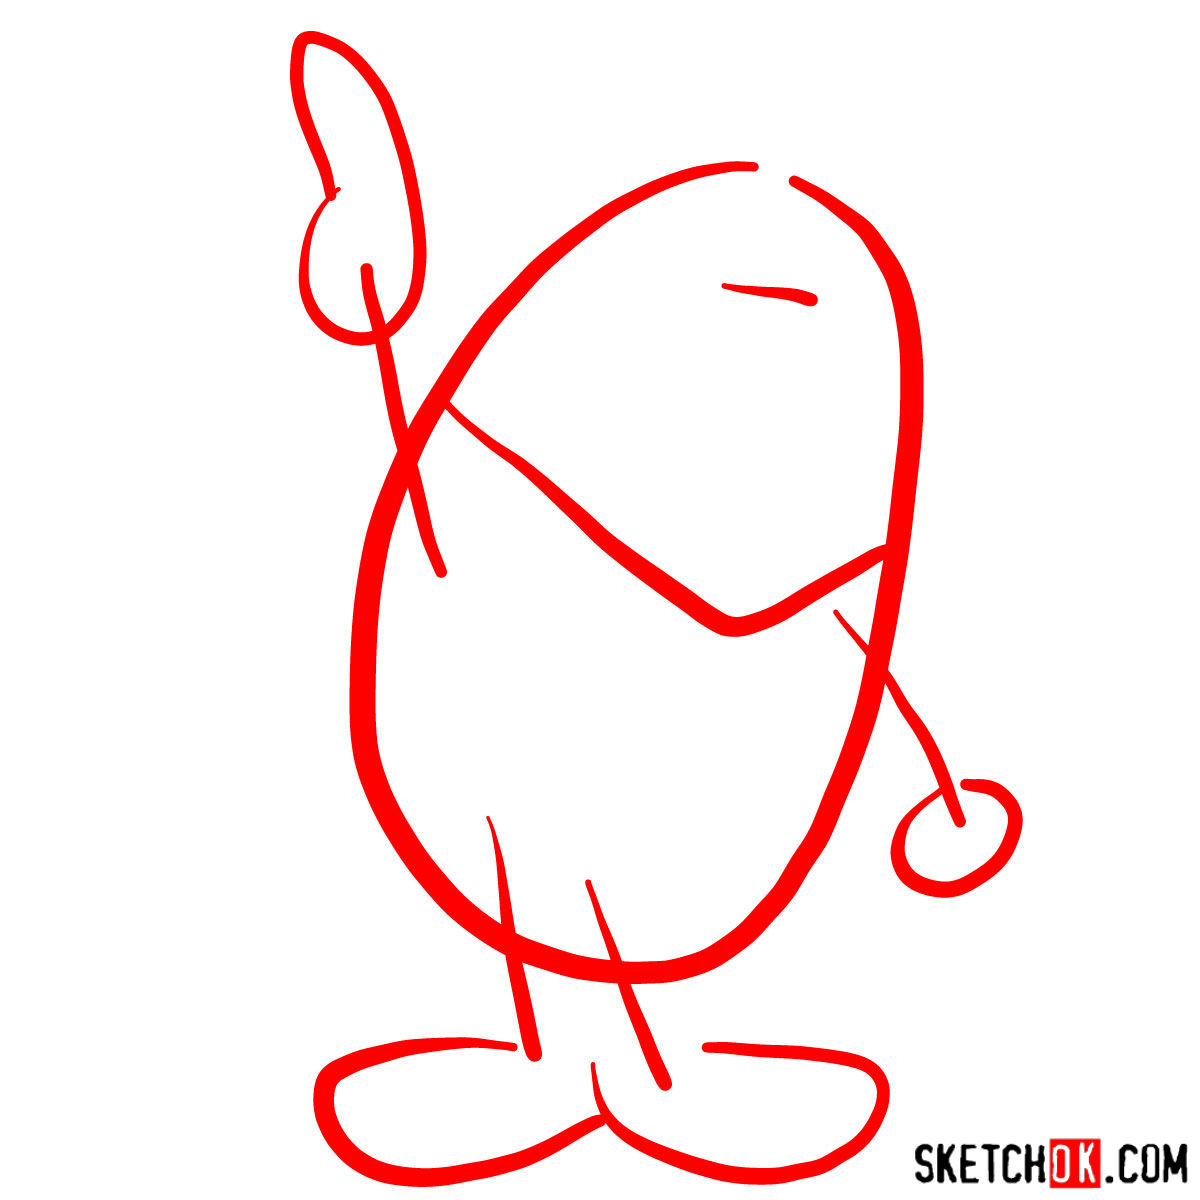
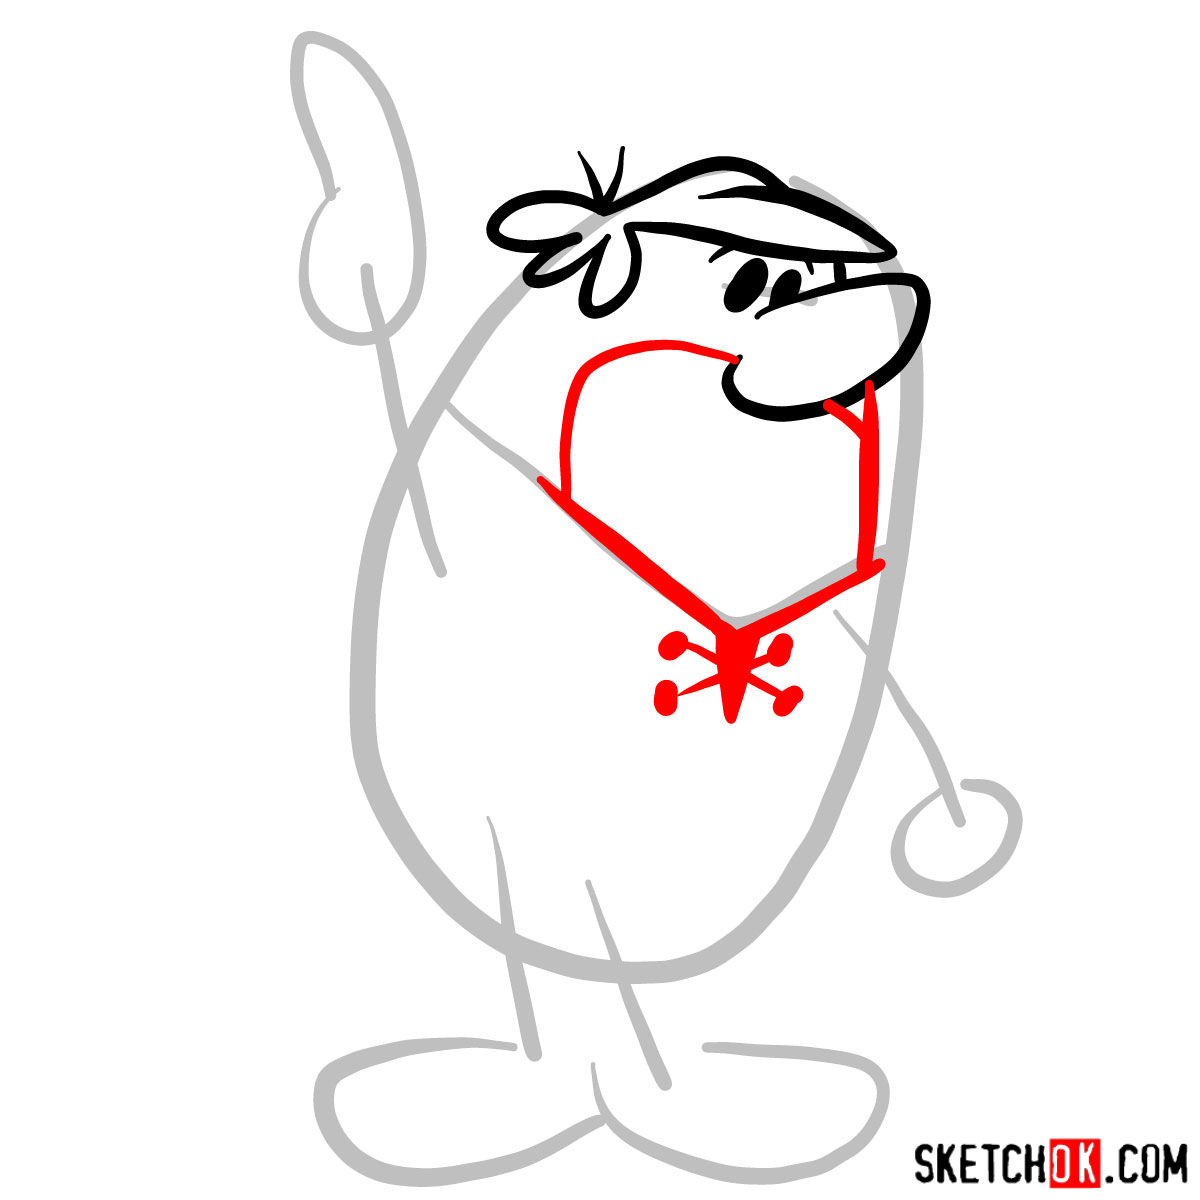
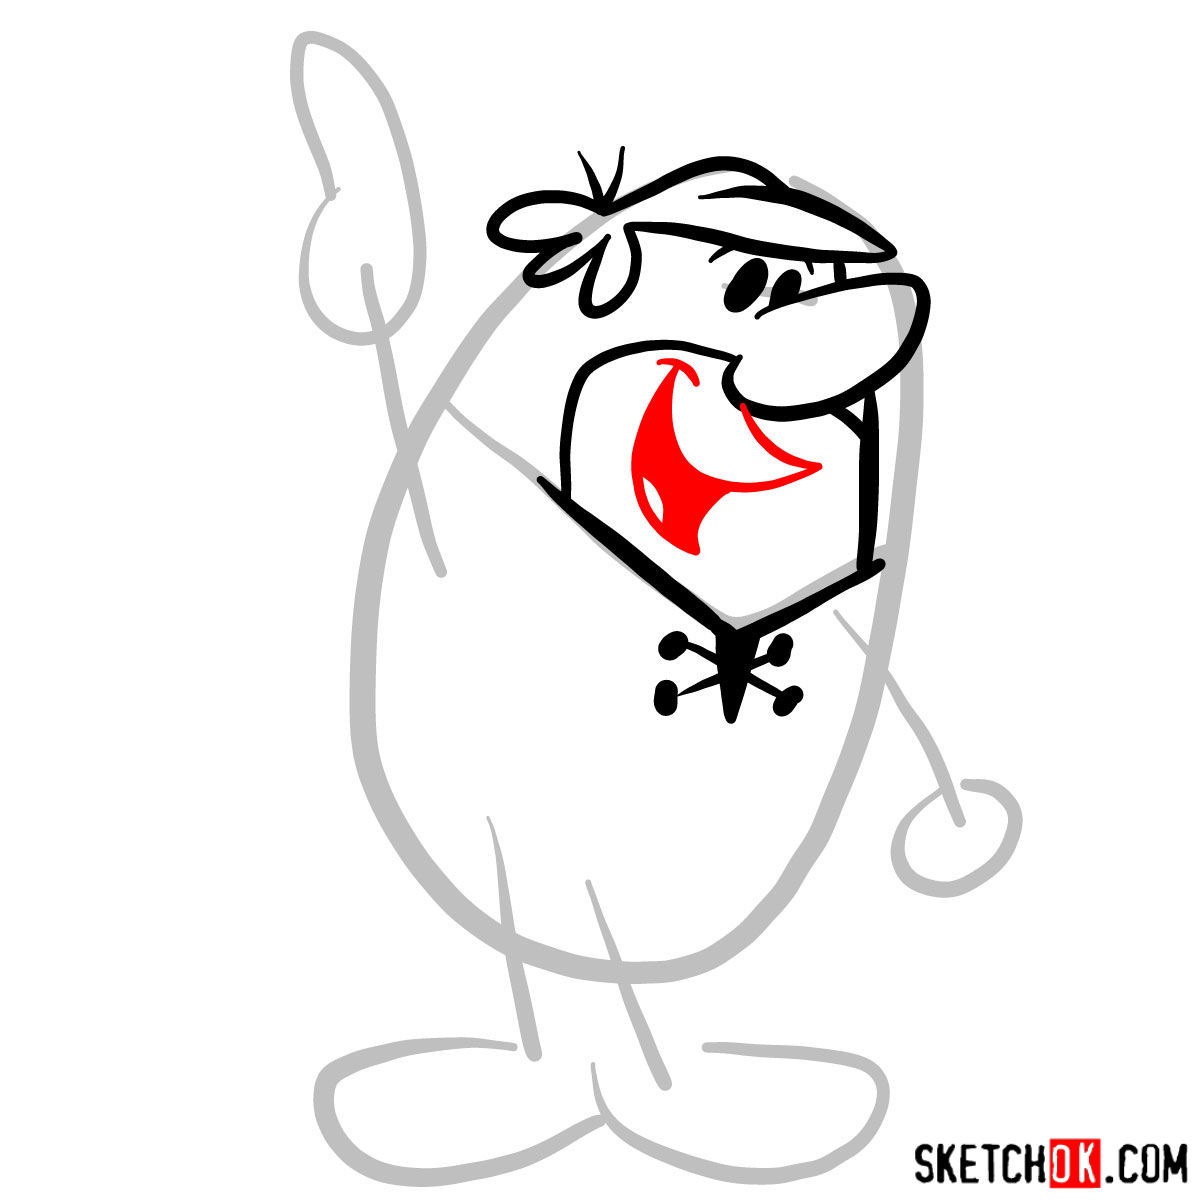
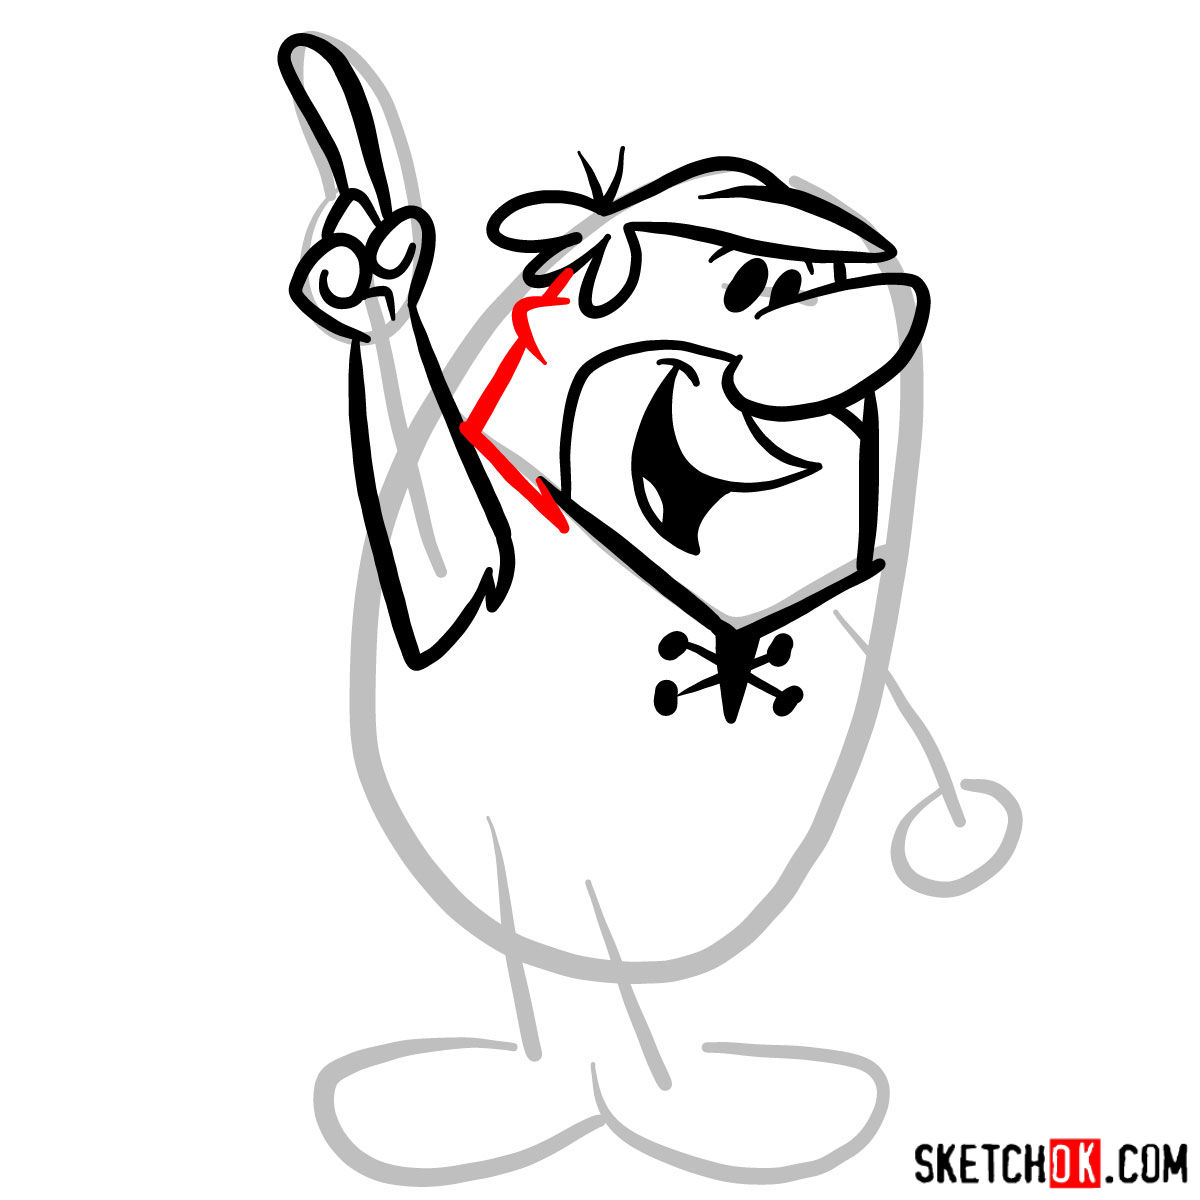
Understanding The Sketch Guide
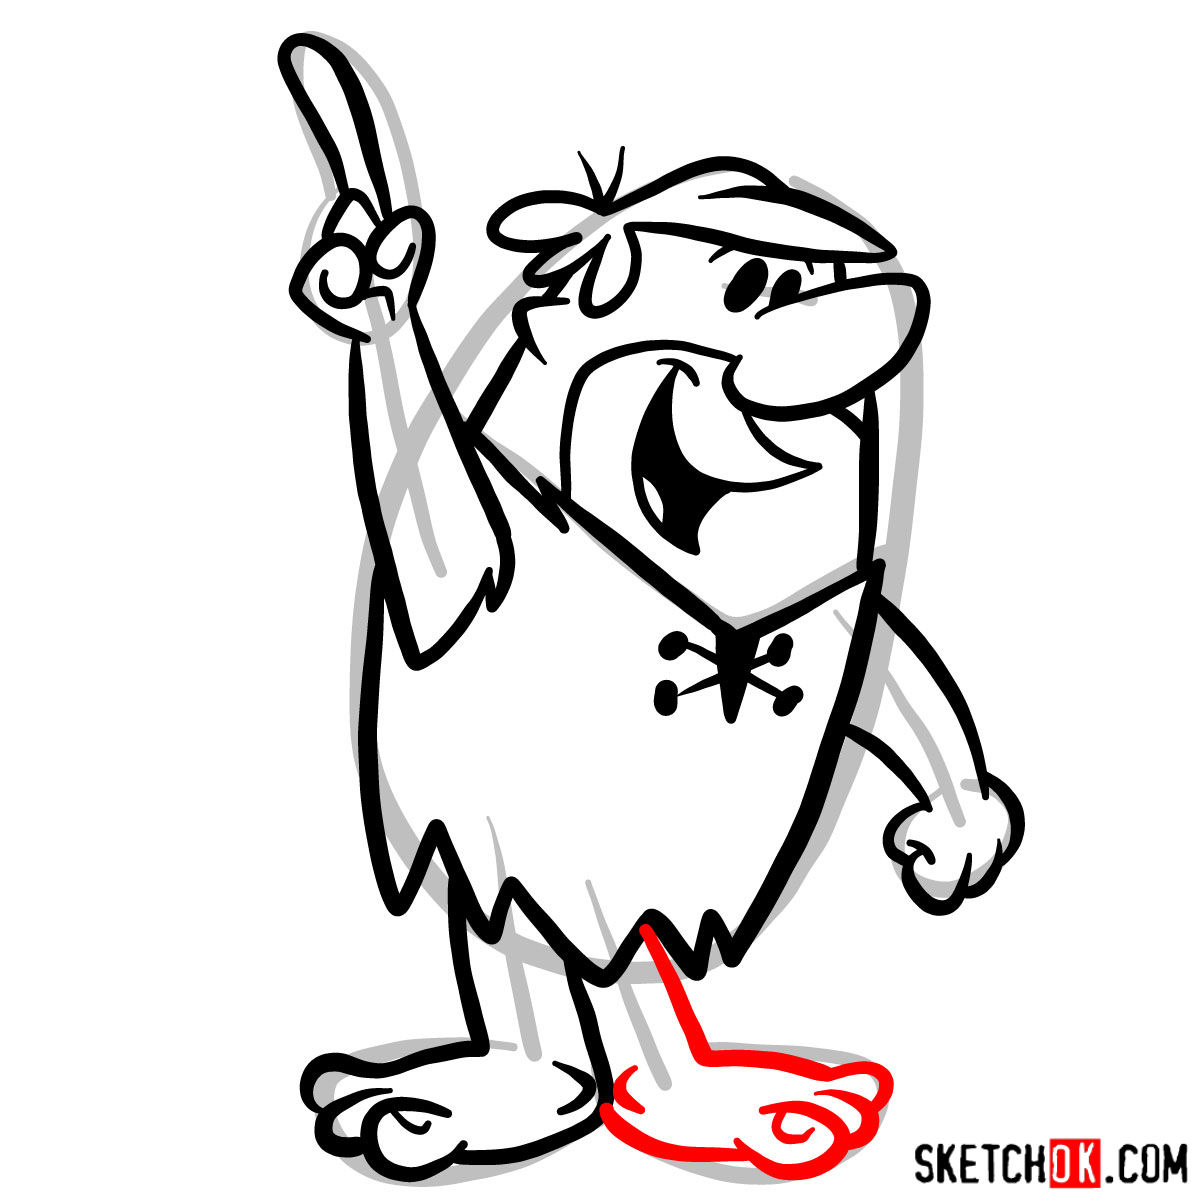
As you navigate through the steps, remember to note the colors used in the images. They play a pivotal role in guiding you through the sketch.
- Red Color: Represents the current step of your sketch.
- Black Color: Shows lines from the previous steps.
- Grey Color: Indicates the foundational sketch, used to maintain proportions. Remember to sketch lightly for easy erasing.
Comprising 13 steps, the tutorial starts with crafting a foundational sketch. By the end, you can decide to ink your drawing. After inking, ensure the ink dries before erasing the pencil lines to avoid smudging.
The final image showcases a colorful depiction of Barney Rubble. This acts as a reference if you wish to add hues to your masterpiece.


Frequently Asked Questions
What is the best technique to sketch Barney’s eyes?
Given their oval or circular shape, it’s essential to maintain symmetry. Start by drawing a horizontal line for alignment and then sketch the eyes ensuring both are of the same size and shape.
How can I capture Barney’s jovial expression?
Barney’s joyous demeanor is often shown with a wide grin. Focus on creating a broad, upward-curved mouth. The eyes play a significant role too; slightly curved eyebrows and cheerful eyes complement his grin.
Wrapping Up
There you have it, a guide on how to draw Barney Rubble. Drawing is a journey, and each sketch hones your skills. If you found this guide valuable, please consider donating. Your donations enable us to bring more tutorials to life and provide free drawing guides. Got suggestions or ideas for new tutorials? Provide them in the message with your donation!
Help us grow and reach more budding artists by sharing this guide on your social media. Follow us on Facebook, Instagram, and Pinterest for more updates and tutorials. Remember, every sketch takes you one step closer to becoming a maestro. Keep drawing and stay inspired!