Every artist, whether amateur or professional, cherishes the process of recreating beloved characters on paper. Applejack, one of the iconic faces of “My Little Pony: Friendship is Magic“, is not only a symbol of hard work and reliability but also a visually appealing character to sketch. By following our guide, you’ll be on your way to mastering how to draw Applejack with ease.
Character Spotlight: Understanding Applejack
- Appearance: Applejack stands out with her light-orange fur, adorned by white freckles on her cheeks, and captivating green eyes. Her ponytailed tail and mane, accompanied by a signature brown cowboy hat, make her instantly recognizable. And, of course, her cutie mark – three red apples – symbolizes her deep connection with Sweet Apple Acres.
- Character Backstory: Known for her unwavering commitment and sometimes stubborn nature, Applejack’s journey from wanting to live a sophisticated city life to returning and valuing her roots at Sweet Apple Acres is heartfelt. It’s not just about drawing a pony, it’s about understanding her essence.
- Relatable Characters: While sketching Applejack, consider adding elements or companions like Twilight Sparkle or Pinkie Pie for an interesting pony scene.
Understanding the Guide: Decoding the Steps
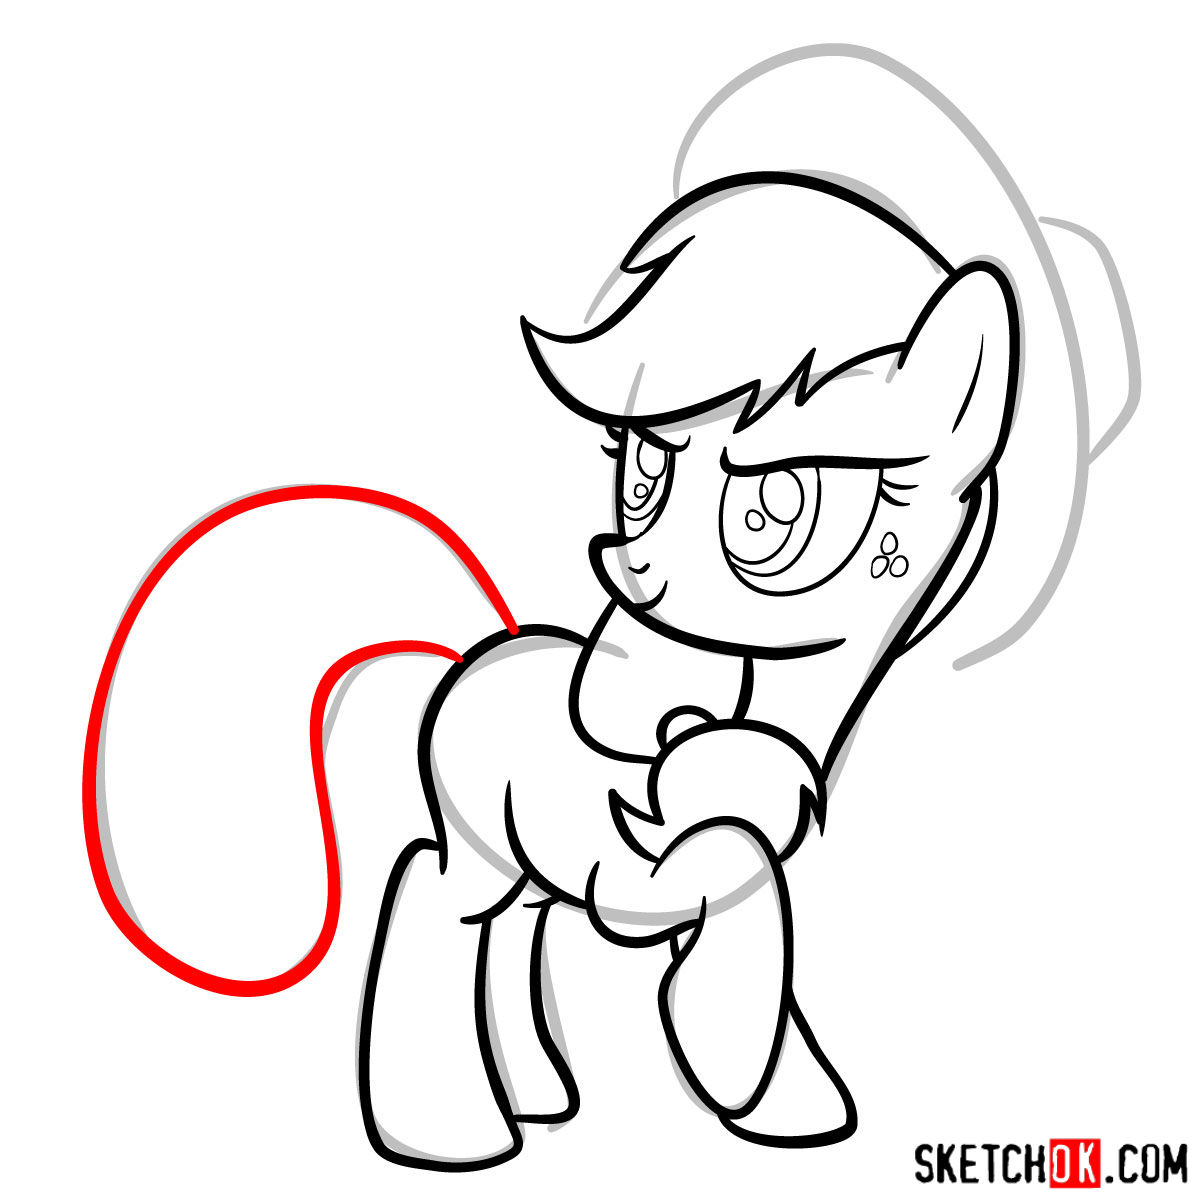
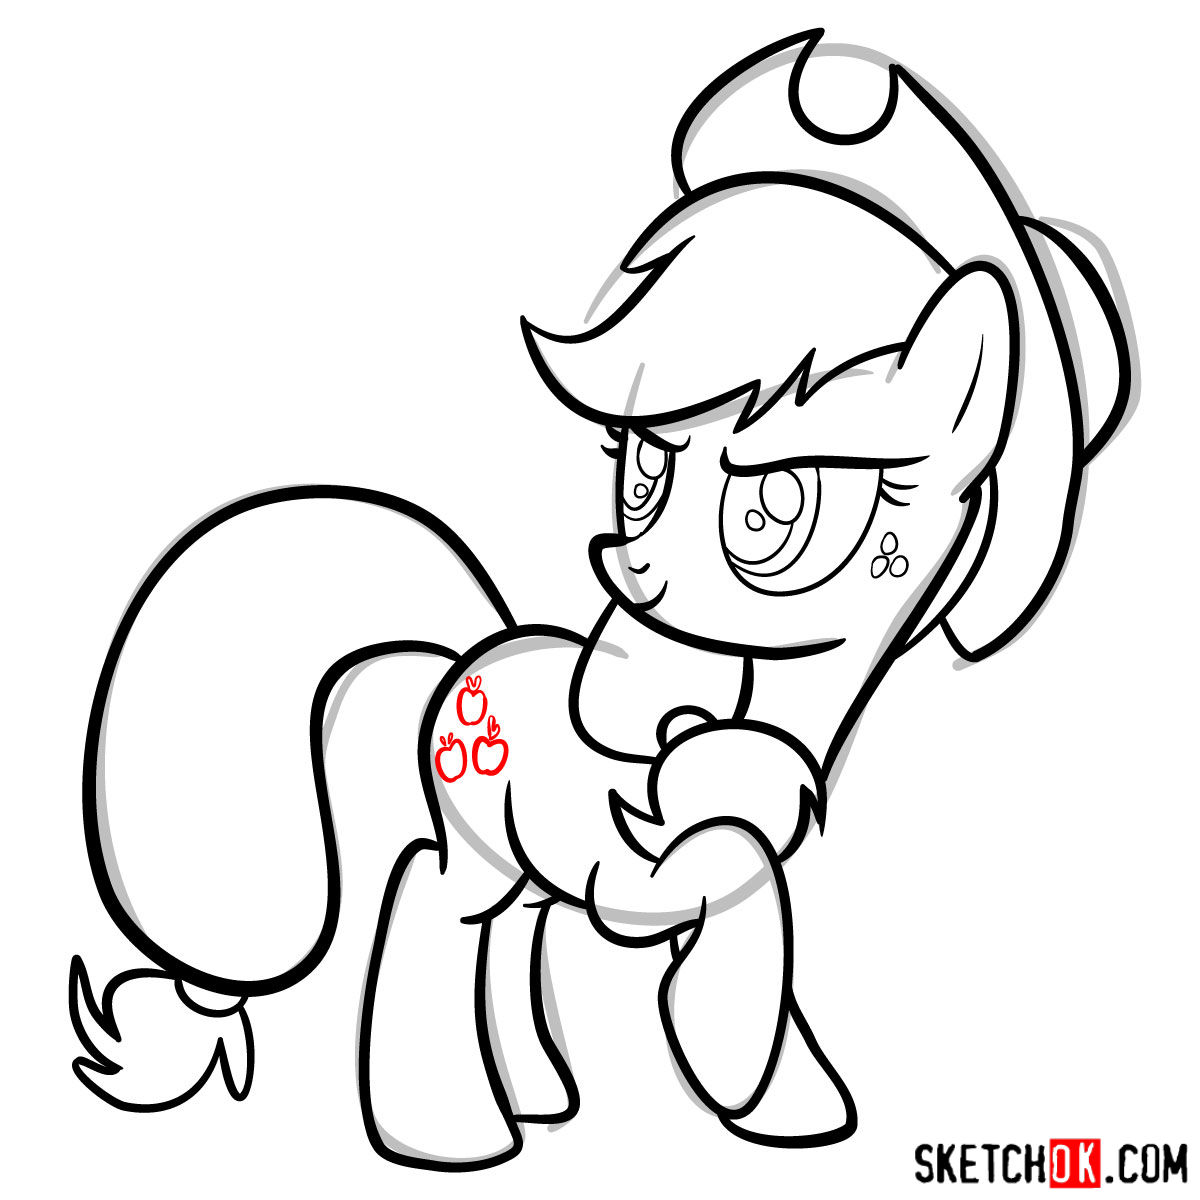
- Red Color: Indicates the current drawing step you should be focusing on.
- Black Color: Showcases the lines you’ve drawn in the previous steps.
- Grey Color: Gives a glimpse of the basic sketch, guiding proportions and alignments.
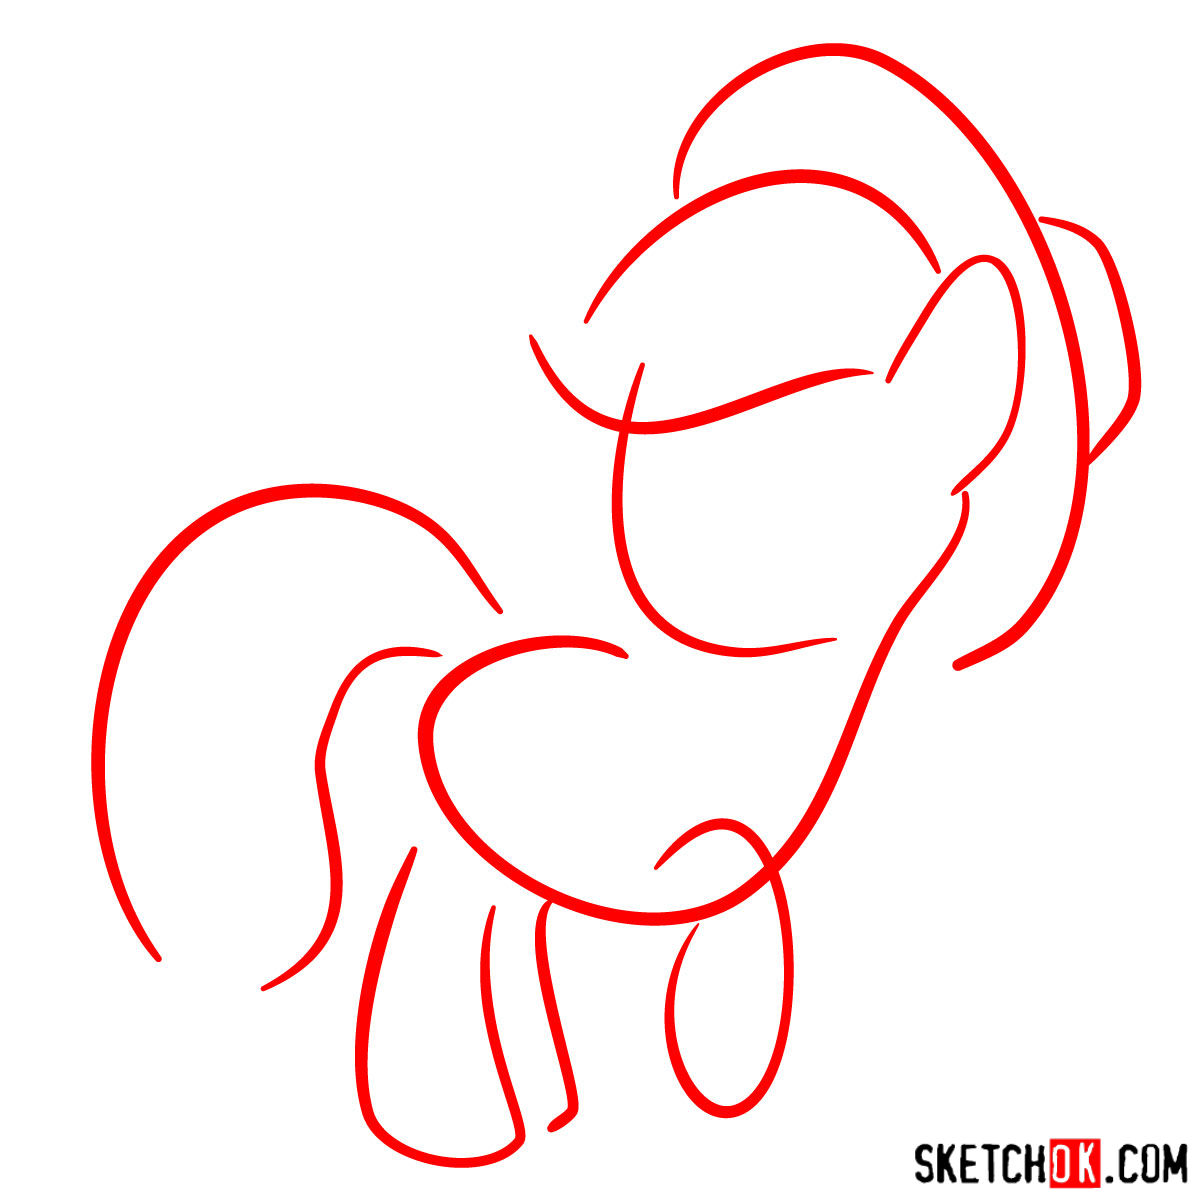
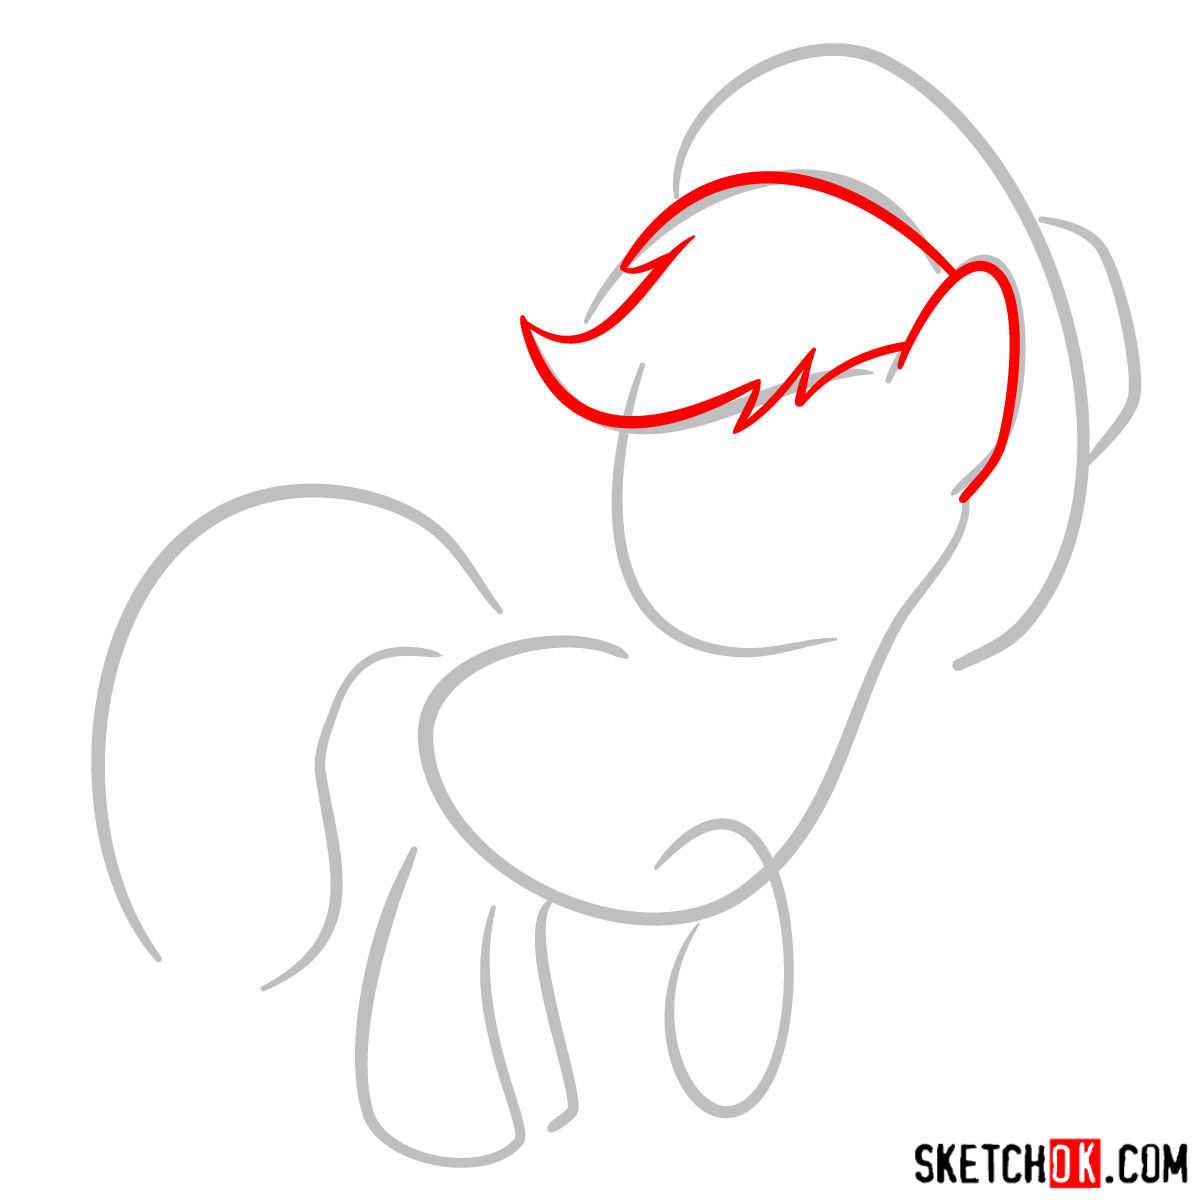
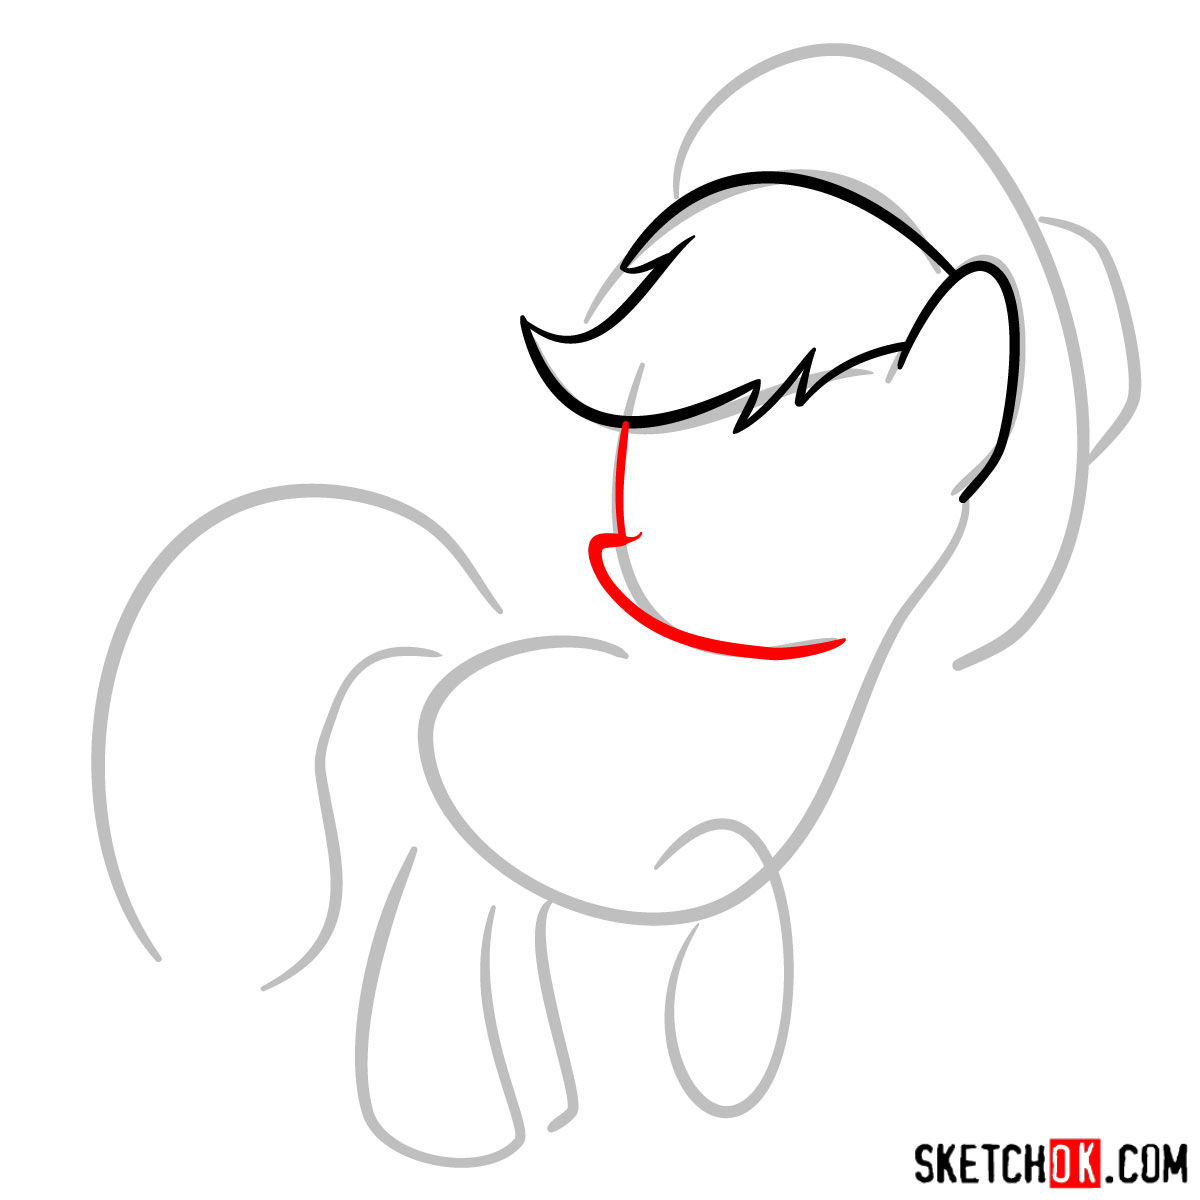
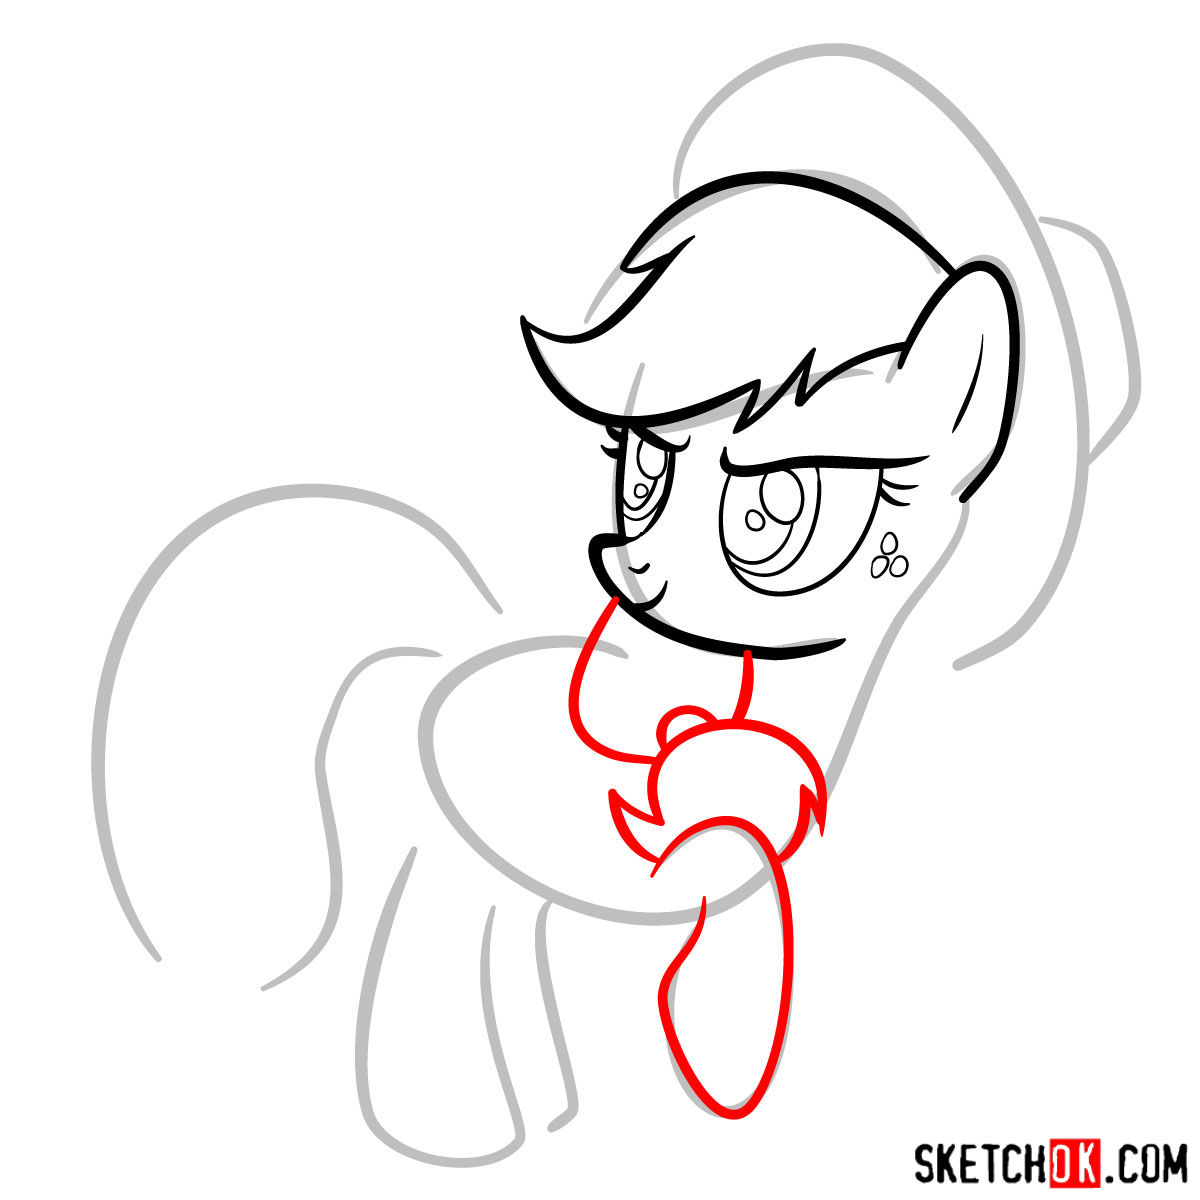
With a total of 16 steps to follow, the journey begins with crafting a basic sketch using light pencil strokes. This foundational layer ensures your proportions are accurate. Towards the end, after meticulously following all steps, you’ll have the option to ink the sketch. Remember, inking demands patience. Allow the ink to dry completely before erasing the pencil marks to prevent smudging. The final image presents a vibrant colored Applejack, serving as an ideal color reference.


FAQs: Perfecting the Art of Drawing Applejack
What’s the best technique to sketch Applejack’s unique cutie mark?
To accurately represent Applejack’s cutie mark, start by drawing three circular bases. Focus on maintaining equal distance between each circle. Next, refine the shapes to resemble apples by adding curves. Lastly, shade them uniformly in a rich red hue.
How do I capture Applejack’s mane and tail with precision?
Applejack’s mane and tail are defined by flowing, wavy lines. Start by drawing a loose outline, then fill in with thicker strands, ensuring the waves flow naturally. The ponytail should exhibit volume and bounce. Don’t forget to leave a portion tied up to represent the ponytail holder.
I hope you found value in this guide on how to draw Applejack from MLP. Drawing is not just about reproducing images but understanding and connecting with the character. If you appreciate the effort behind these tutorials, consider supporting us. Your donations not only fuel the creation of more such free drawing tutorials but also allow you to suggest ideas for new ones. Sharing this guide with fellow enthusiasts or on platforms like Facebook, Instagram, and Pinterest will also mean the world to us. Together, we can ensure the SketchOk project thrives and continues to benefit budding artists.