Welcome, dear artists! Get ready to dive into the fantastical world of Monster High and learn how to draw Manny Taur, the half-bull, half-man character with a tale of transformation. In this step-by-step drawing tutorial, we will guide you through the process of capturing Manny’s unique features and dynamic personality.
Appearance and Story of Manny Taur
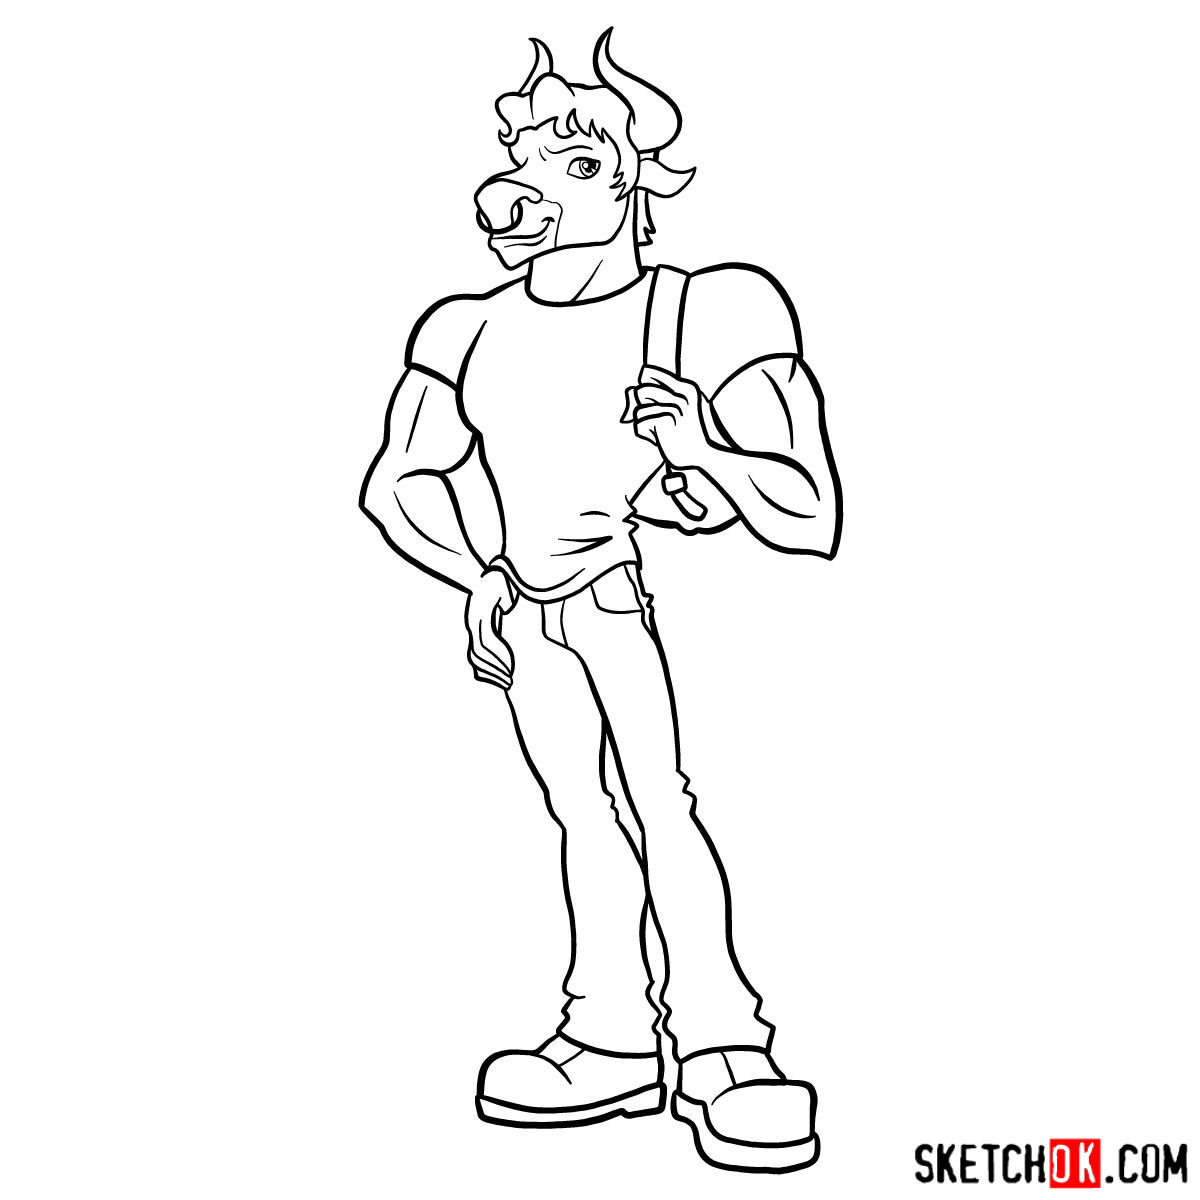
Manny Taur, introduced in 2011, is an all-around character at Monster High. As the son of the Minotaur, he possesses a formidable appearance that reflects his half-bull, half-man heritage. Imagine a powerful, muscular figure with sandy blond hair and tan skin or fur covering his body. Manny’s captivating style includes a nose ring and a red shirt, complemented by blue jeans and brown shoes.
However, Manny’s journey is not just about his appearance. He has faced his fair share of challenges, once being a victim of bullying in middle school. Over time, he grew taller and more muscular, which unfortunately fueled a cycle of inflicting pain on others. Recognizing his mistake, Manny has been actively working to break free from this cycle, with the help of patient and direct friends who have guided him along the way. He has even managed to form a complex relationship with his dream girl, Iris Clops.
Materials and Tools
Before we begin, let’s gather the materials and tools you’ll need to bring Manny Taur to life on your paper:
- Drawing paper or sketchbook
- Pencils (preferably H, HB, or 2B for light sketching)
- Eraser
- Fine liner or black ink pen
- Coloring tools of your choice (colored pencils, markers, etc.)
Remember, these are only recommendations. Feel free to use any other art supplies that you’re comfortable with and suit your preferred drawing style.
Step-by-Step Drawing Guide
Now, let’s dive into the step-by-step process of drawing Manny Taur. The tutorial consists of a series of images, each guiding you through a specific stage of the drawing. The images use red, grey, and black colors to differentiate the current step, the basic proportions sketch, and the previously drawn lines, respectively.
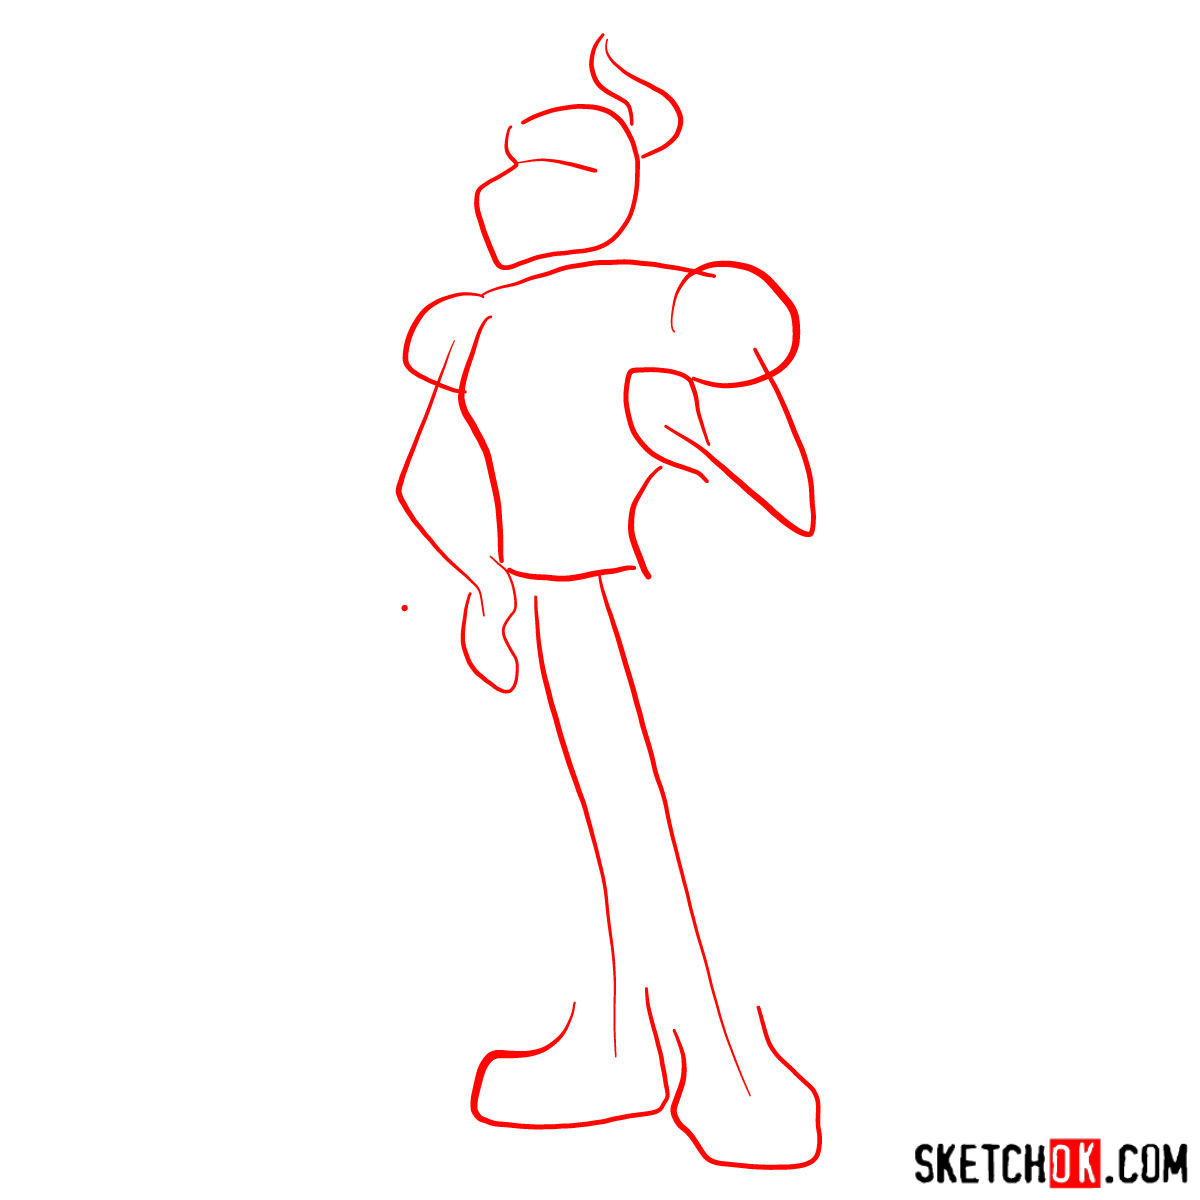
Part 1: Basic Sketch
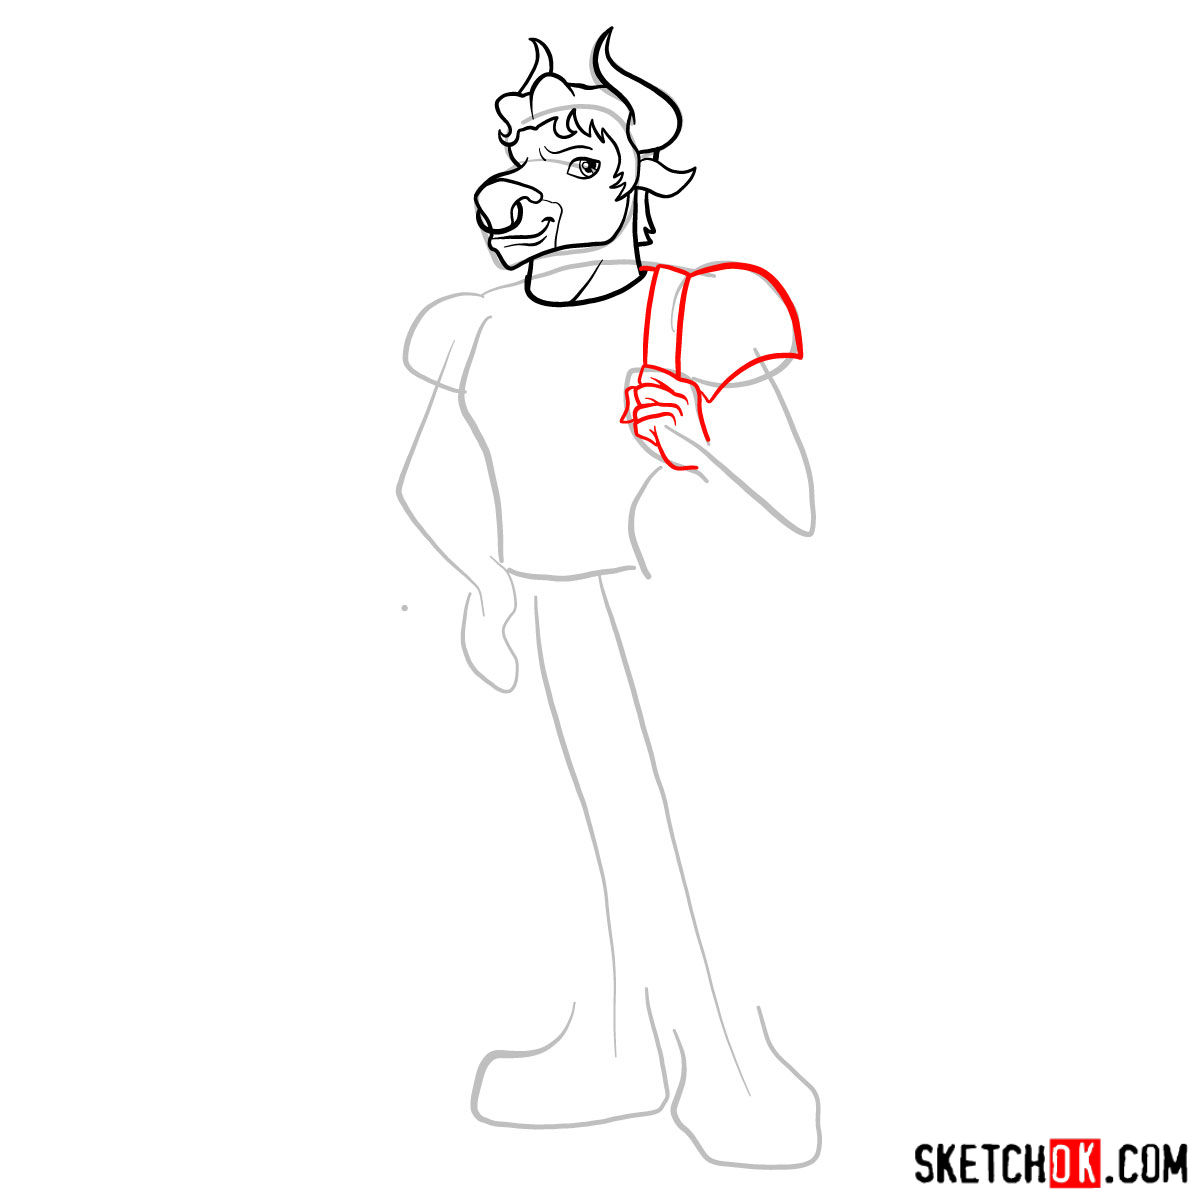
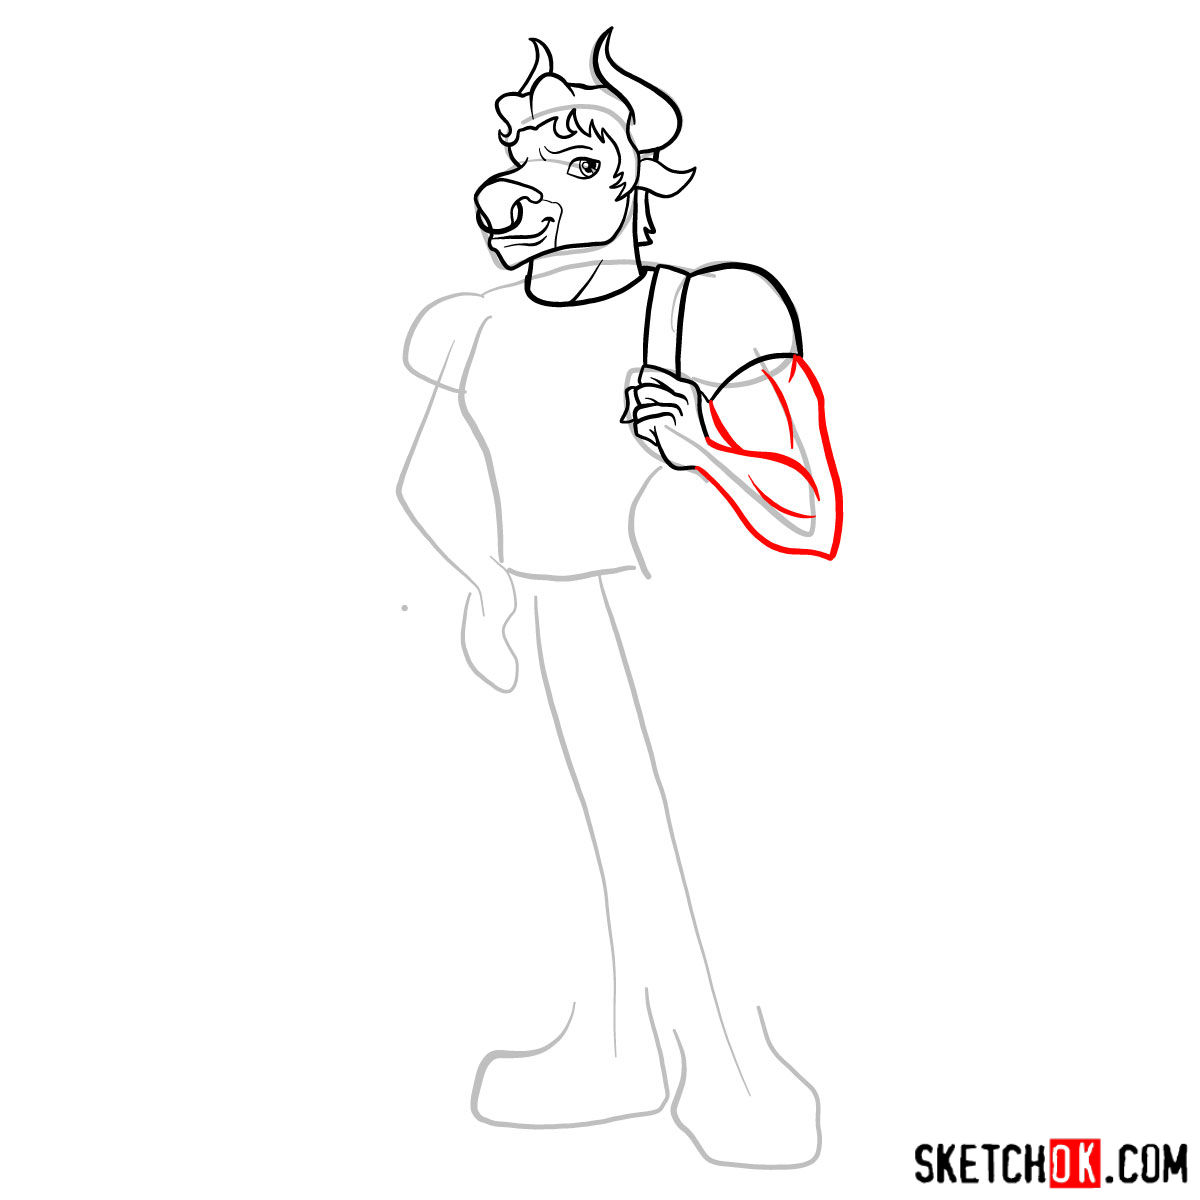
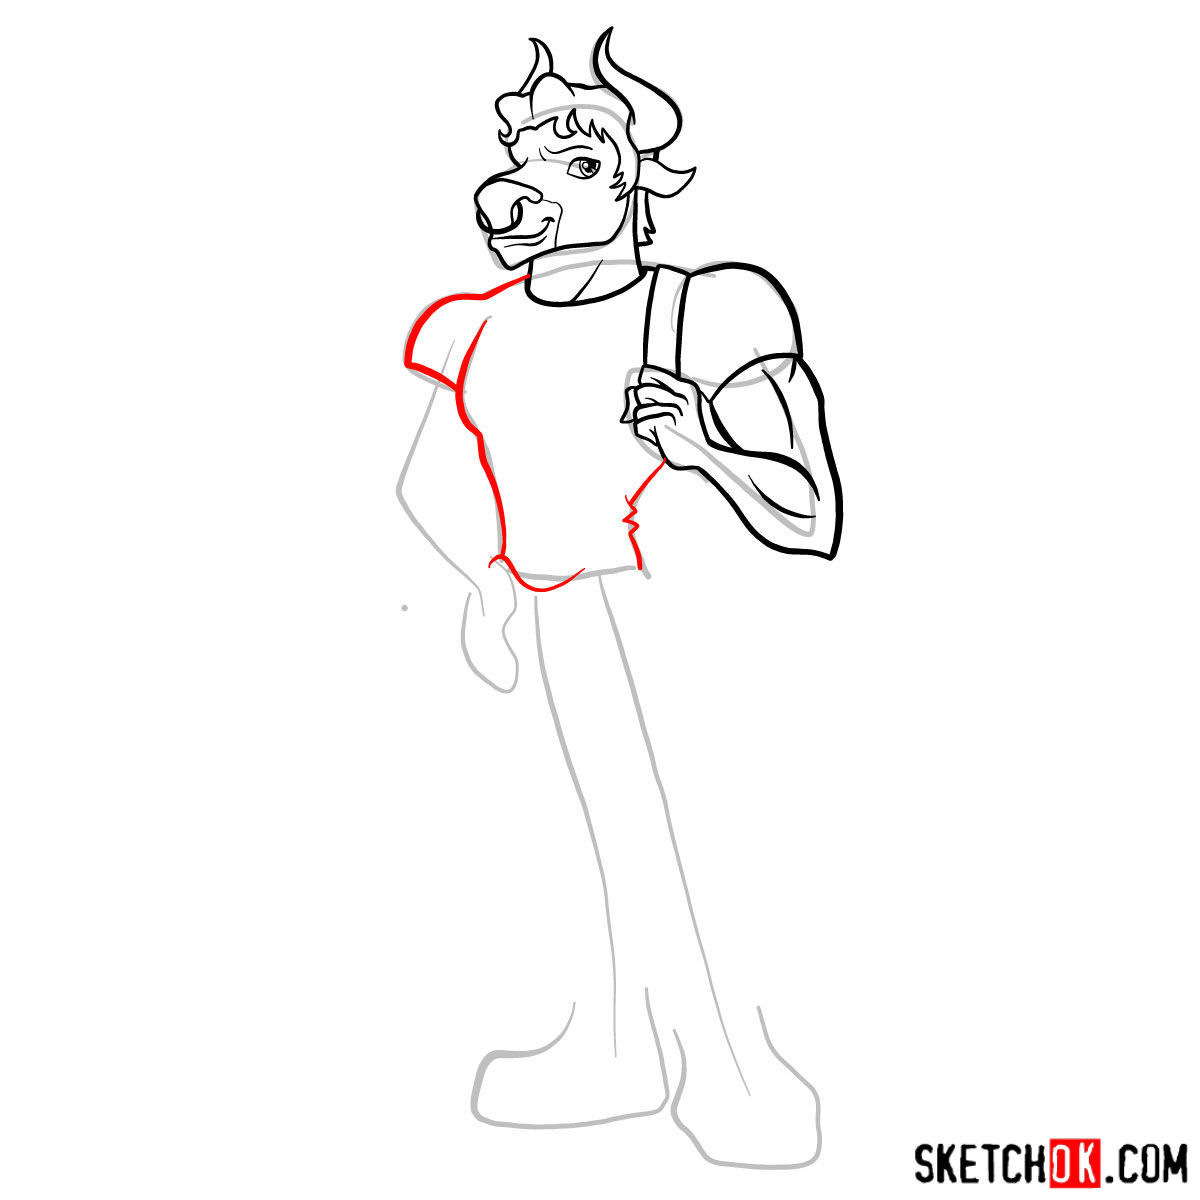
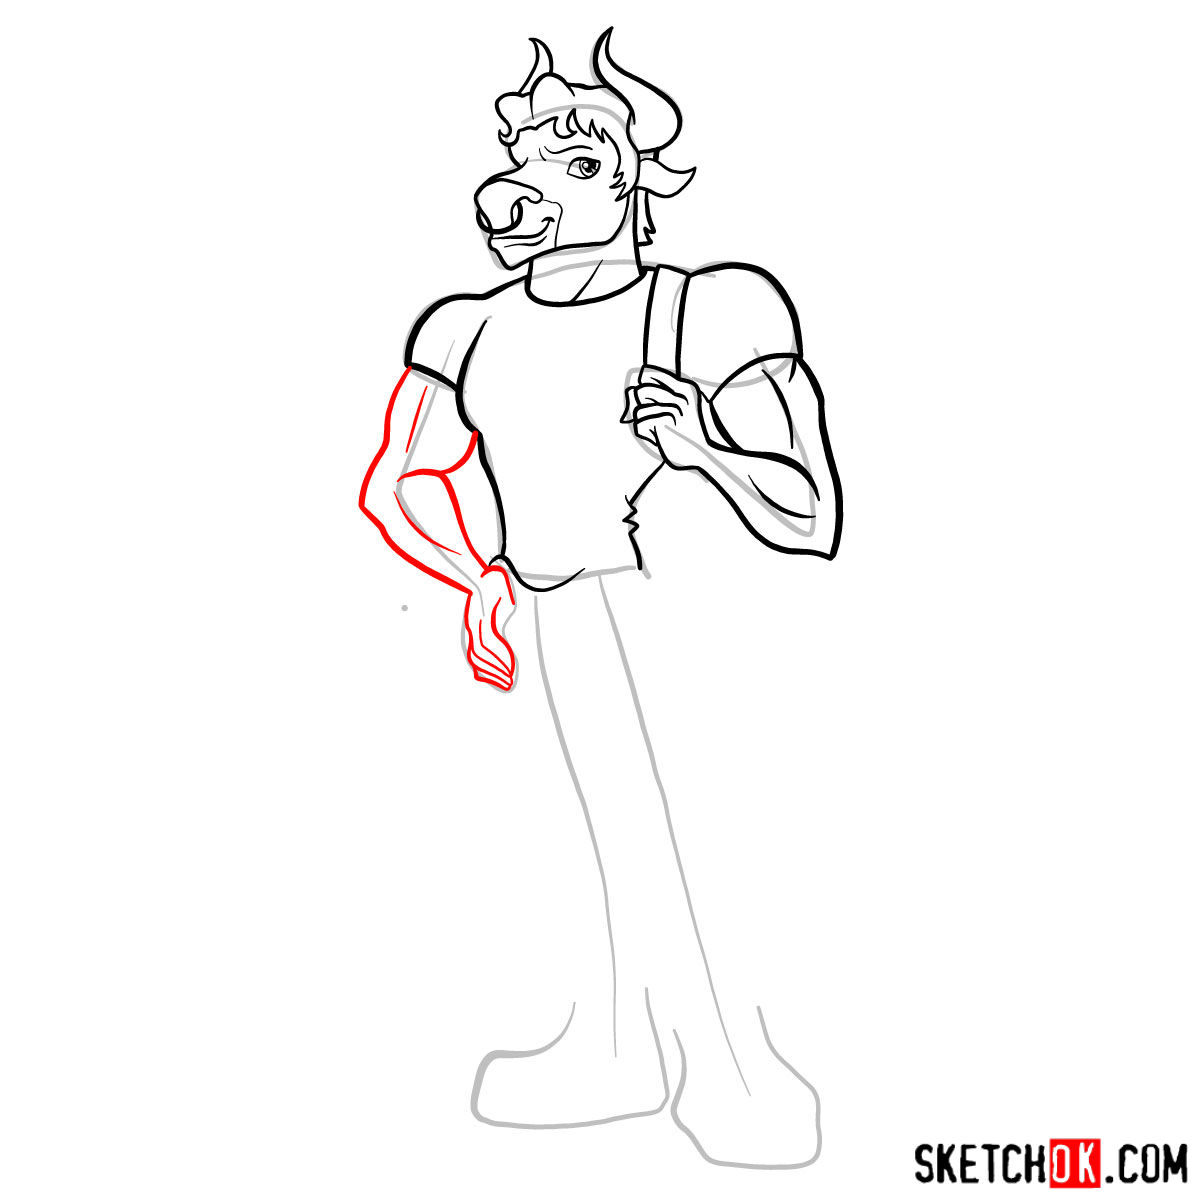
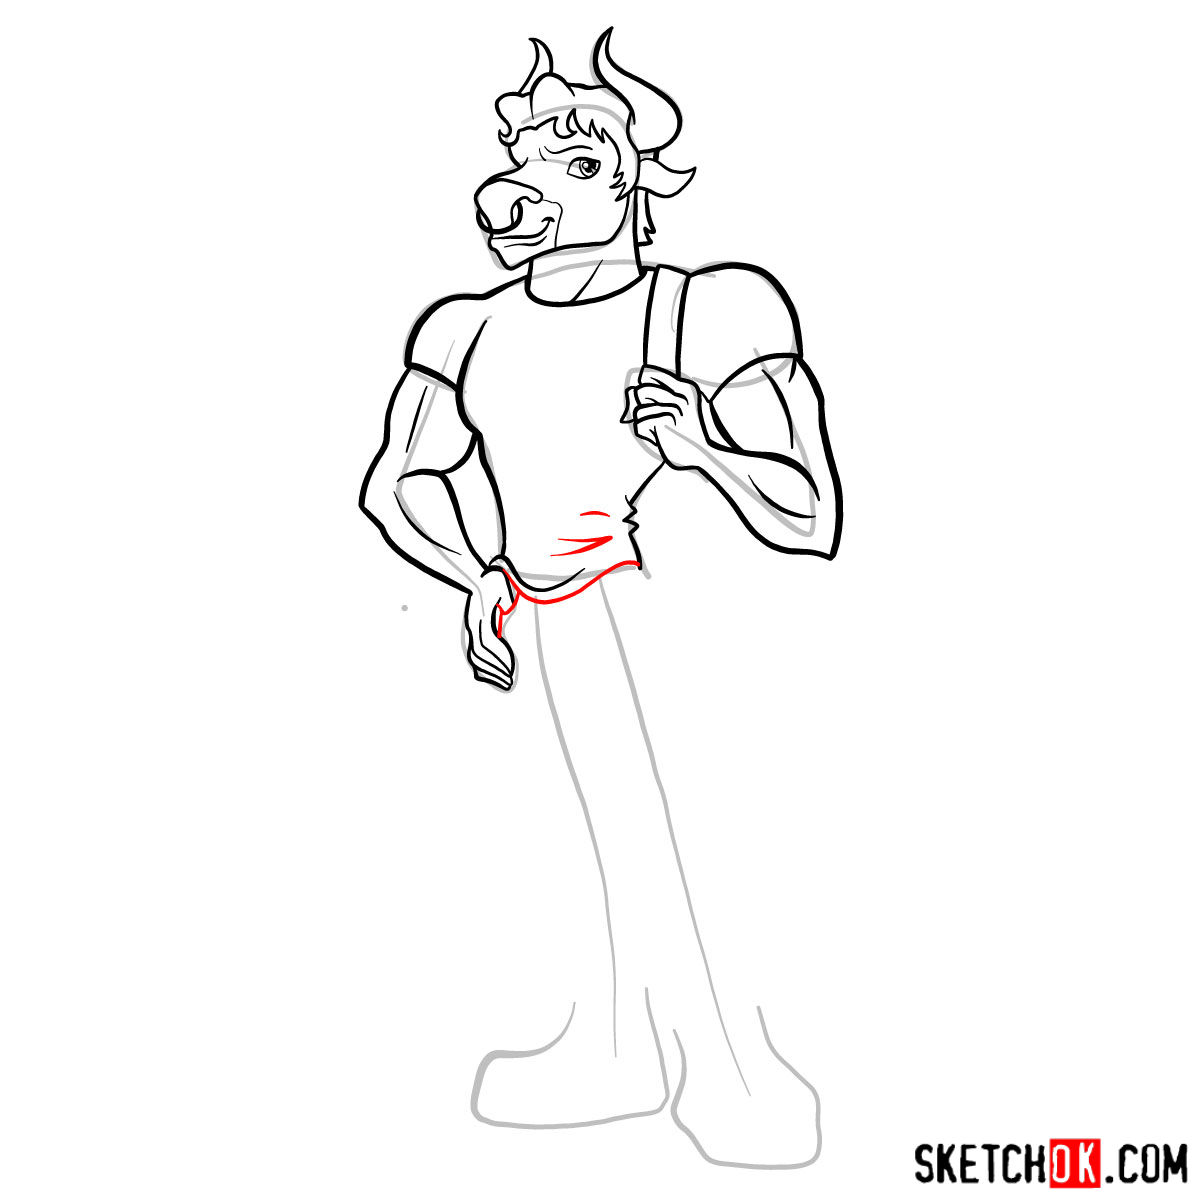
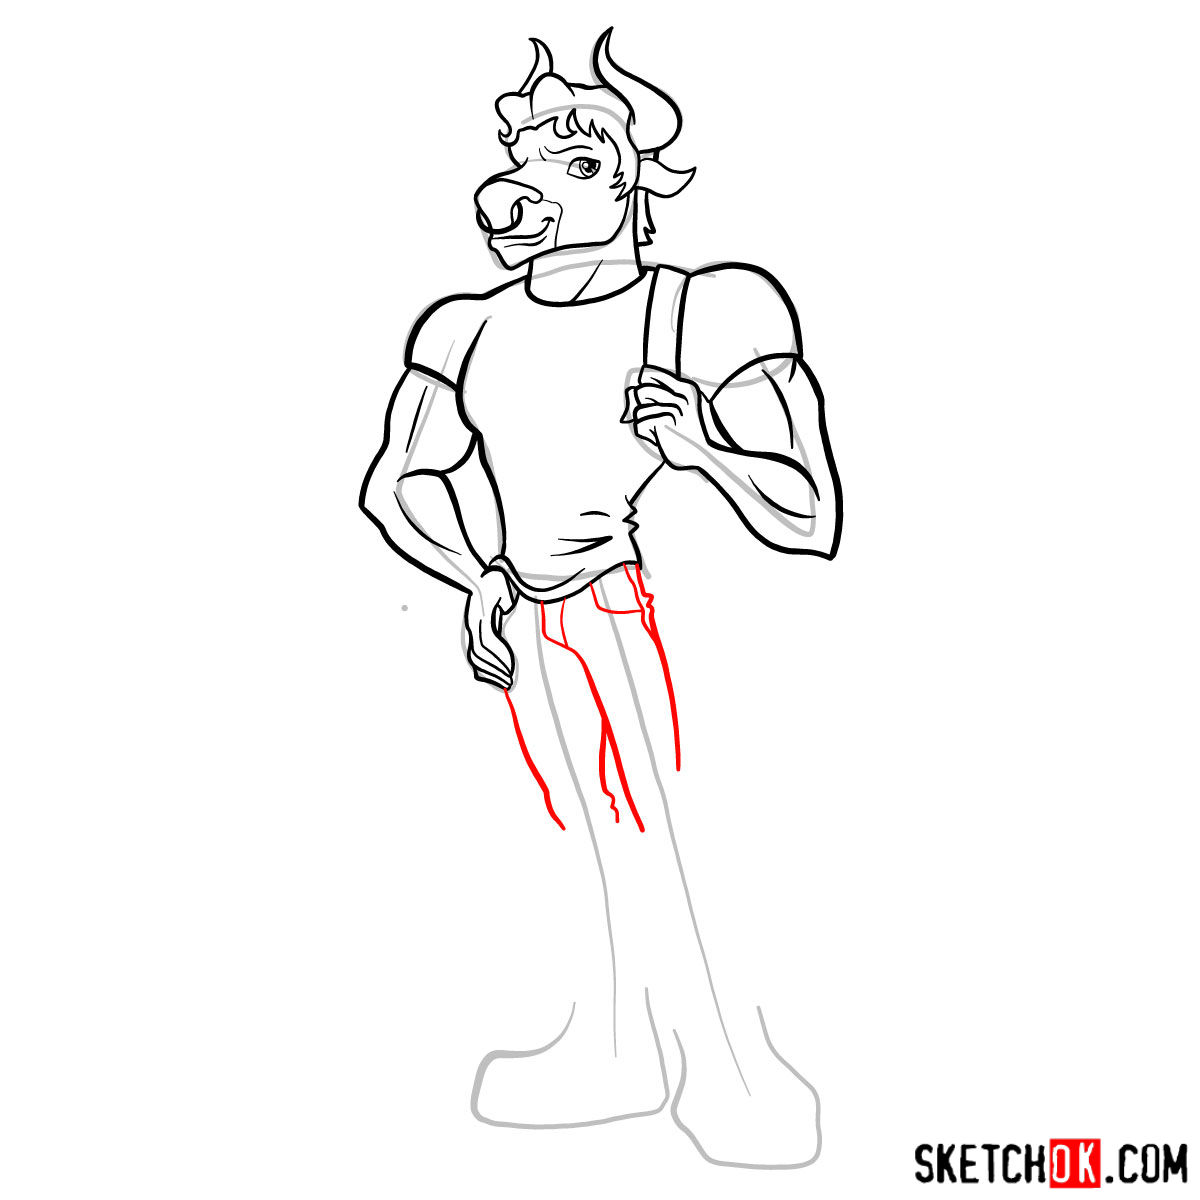
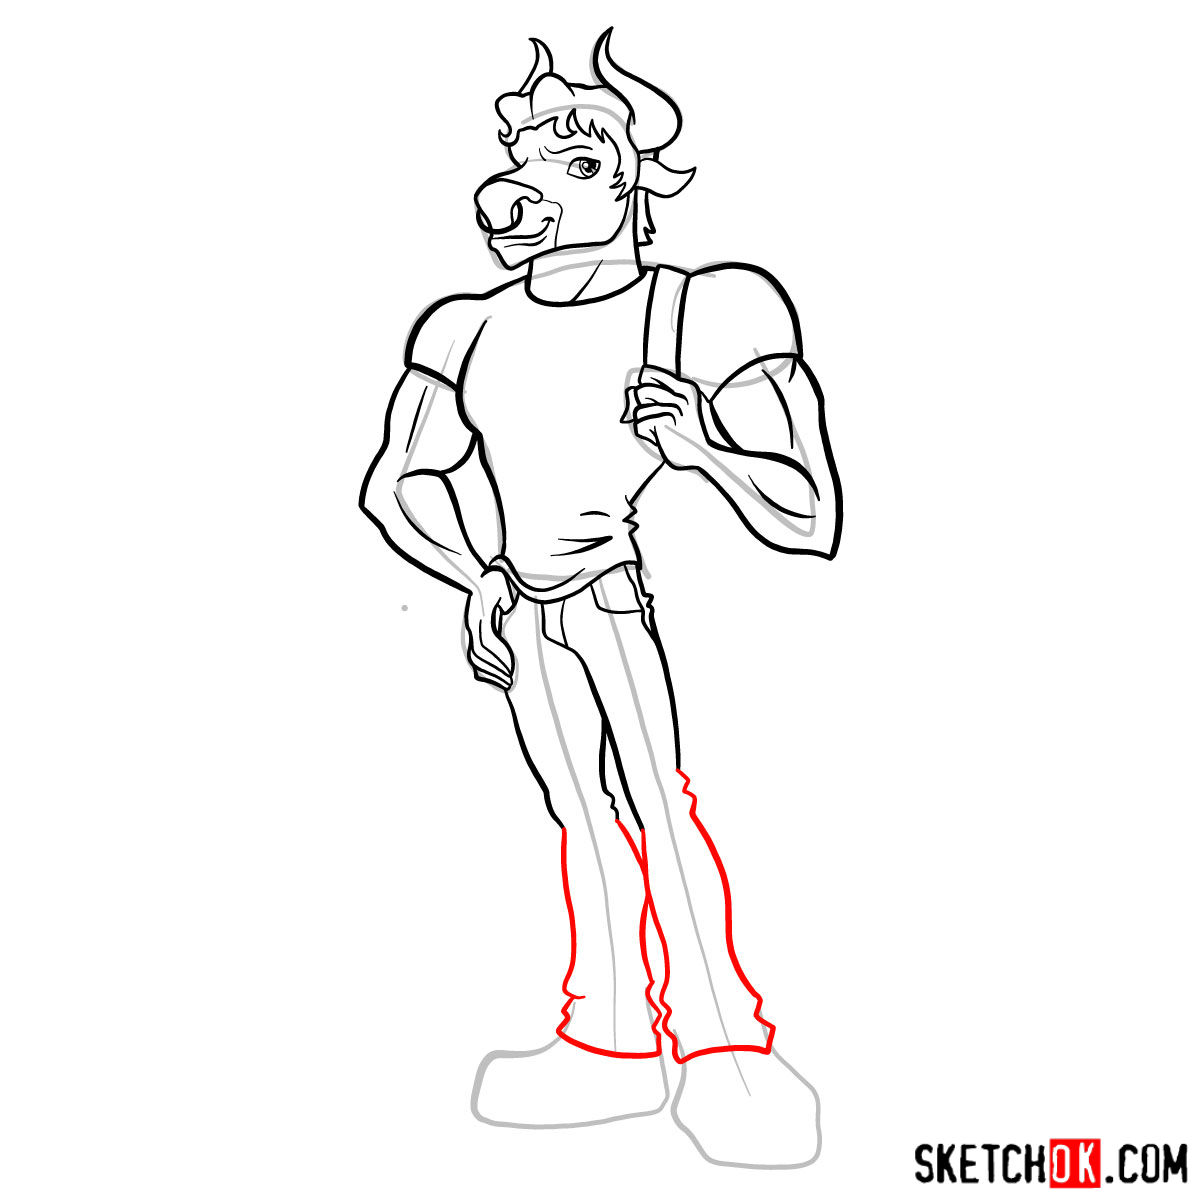
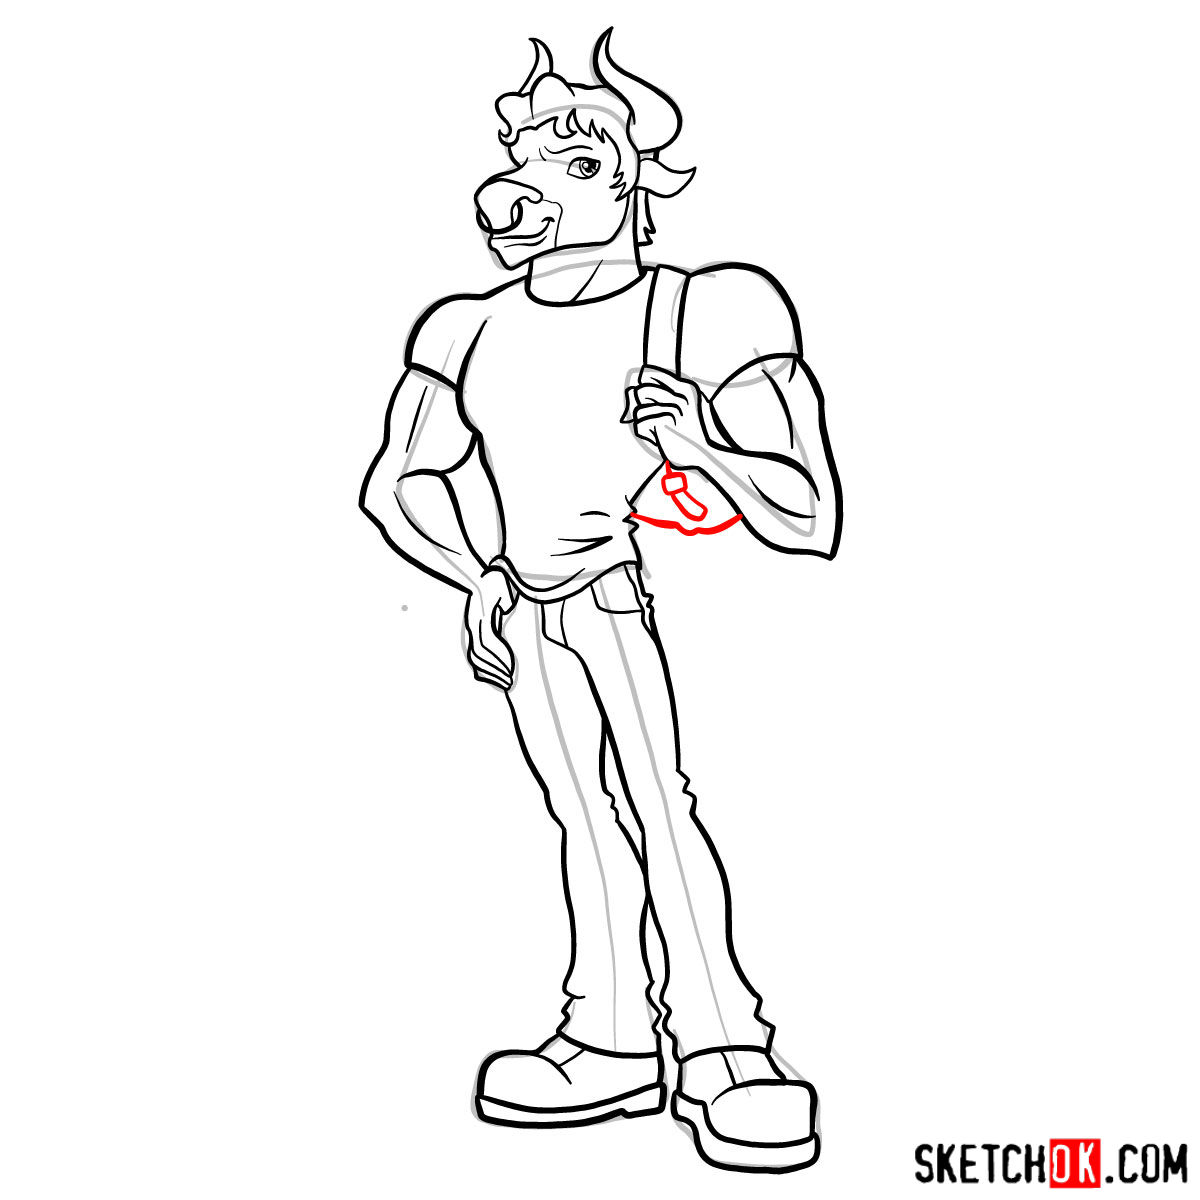
The first part focuses on creating a solid foundation for your drawing. With light pencil strokes, begin sketching the basic proportions of Manny Taur. Pay attention to his muscular build, height, and characteristic features. Use the reference image to guide you. This initial sketch serves as a guideline for the subsequent steps, so take your time to get the proportions just right.
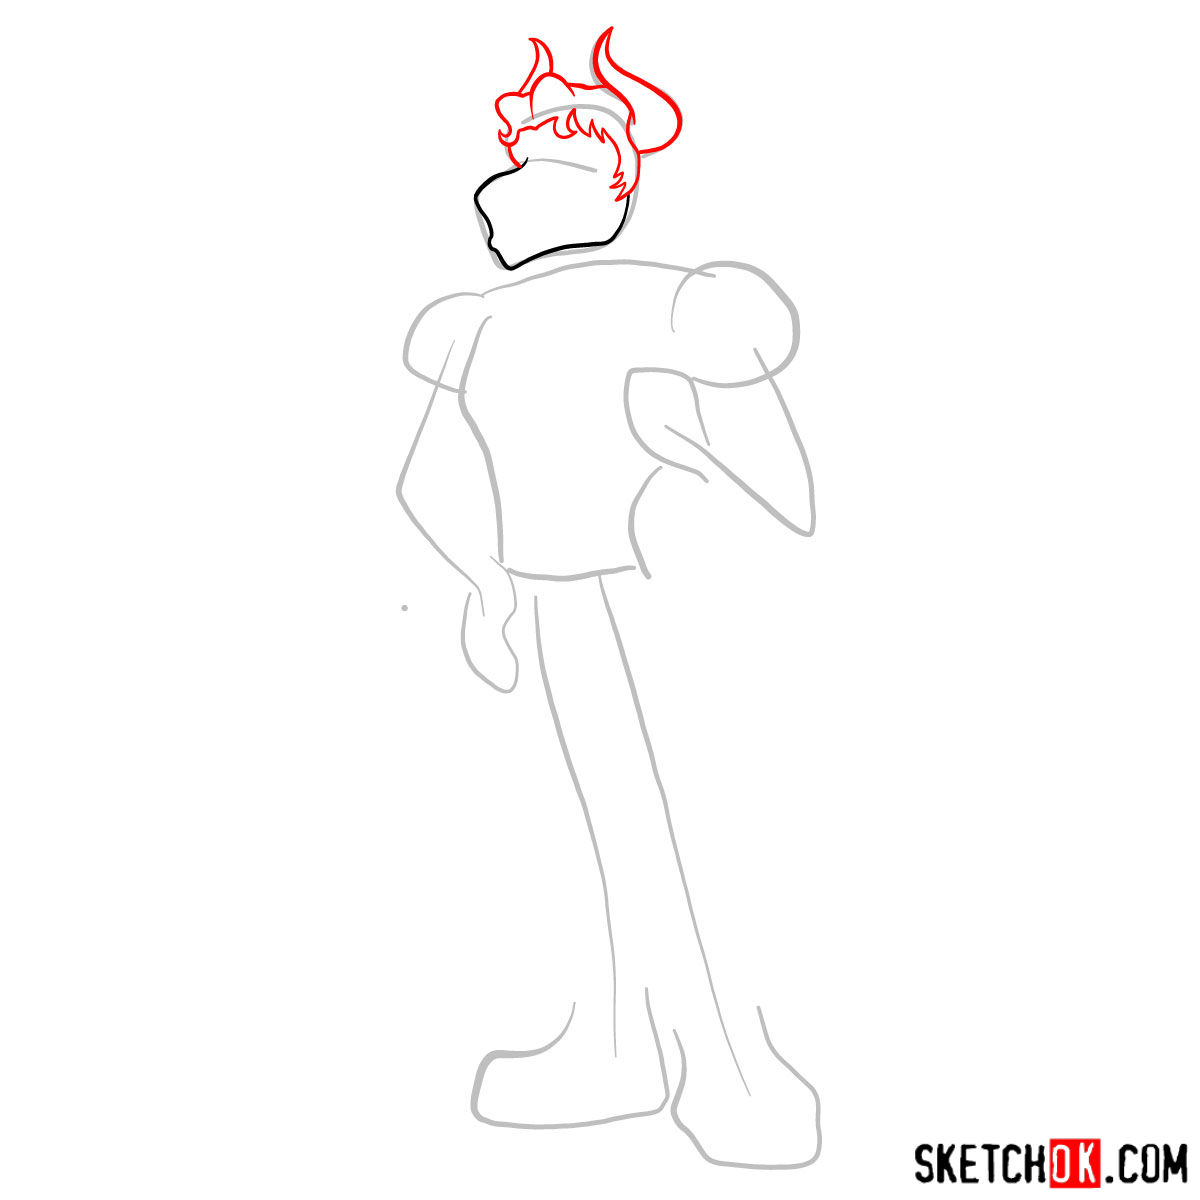
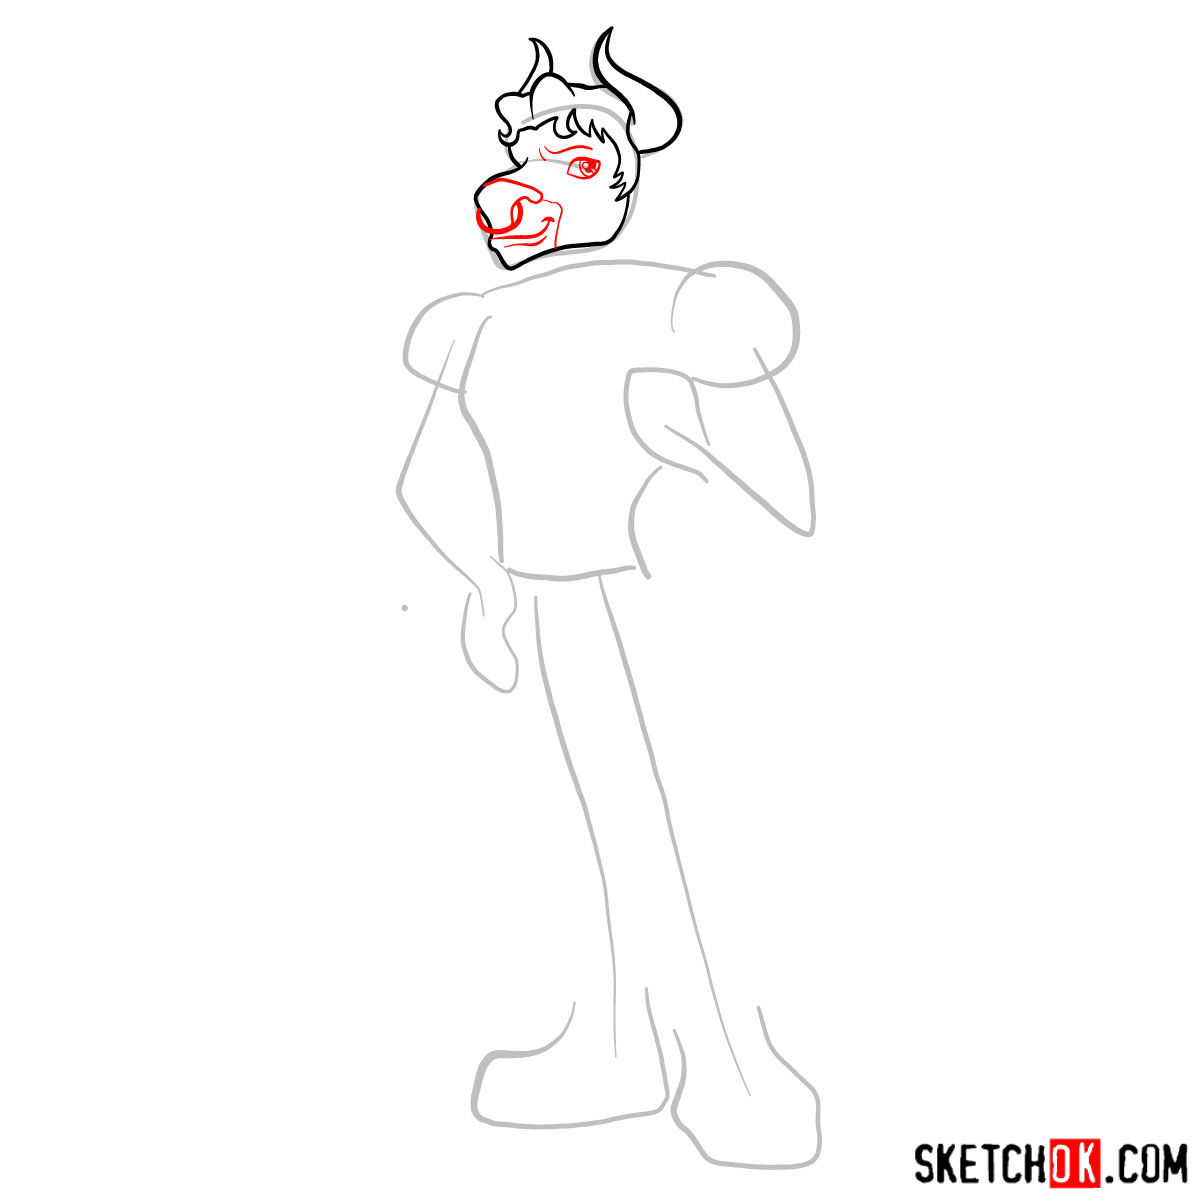
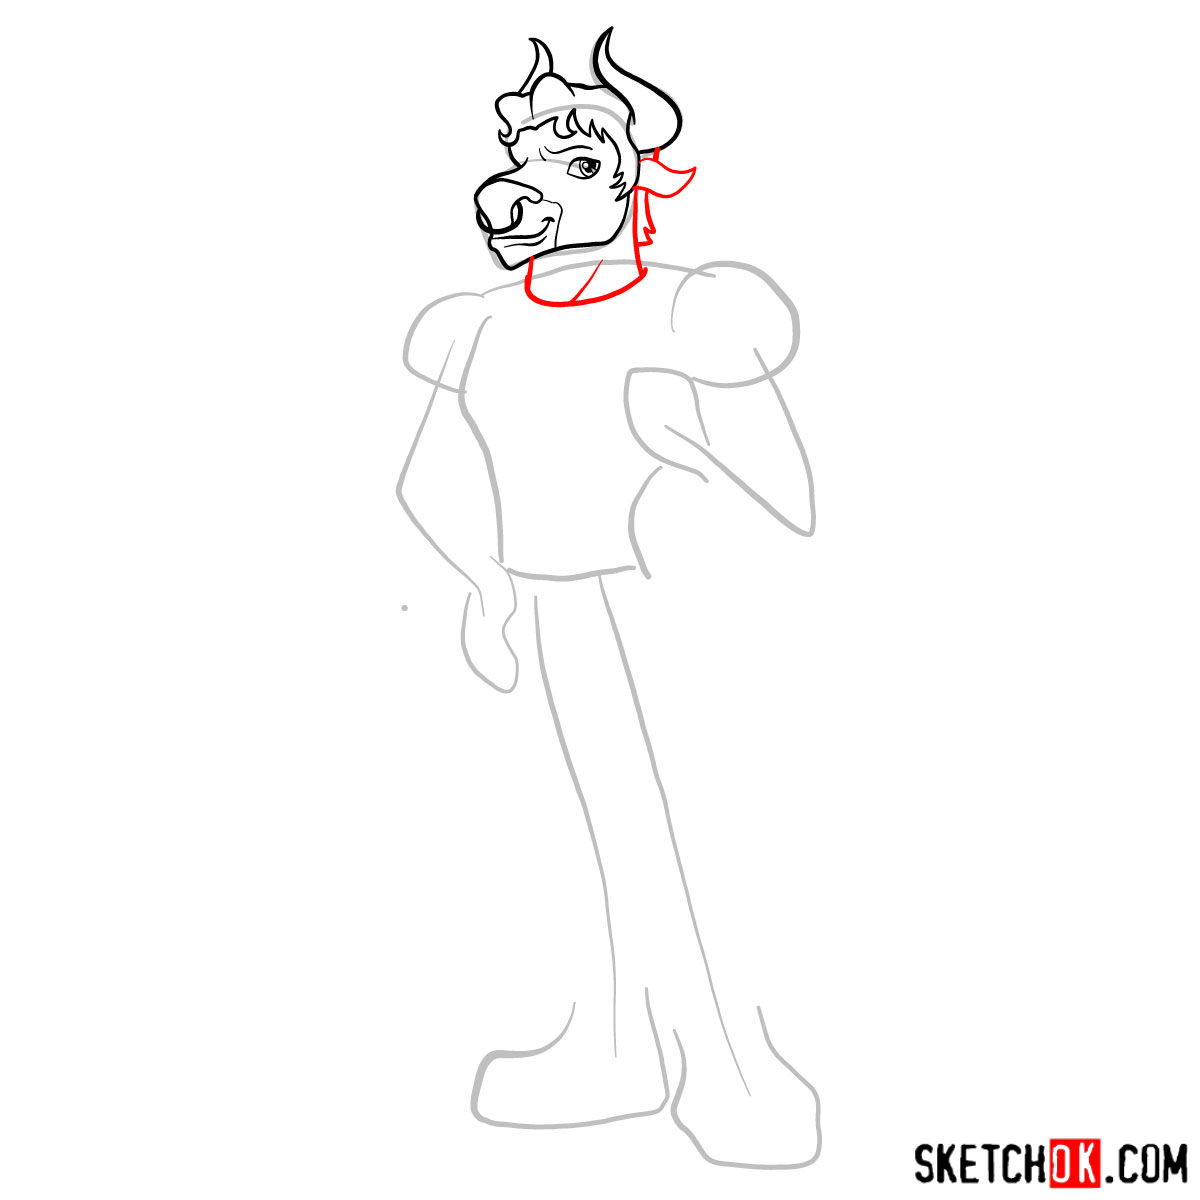
Part 2: Refining the Sketch
In this stage, it’s time to refine your basic sketch and add more details to bring Manny Taur to life. Pay close attention to his facial features, such as his unique nose ring, captivating eyes, and expressive eyebrows. Gradually develop the muscular contours of his body, capturing his strength and presence. Continuously compare your drawing with the reference image to ensure accuracy and make any necessary adjustments along the way.


Part 3: Inking
Now that you have refined the sketch, it’s time to ink your drawing and give it a bold, finished look. Grab a fine liner or black ink pen and carefully outline the final lines of Manny Taur. Emphasize the contours, muscles, and smaller details to add depth and definition. Take your time and work with confidence, tracing over the lines you want to keep while leaving behind the initial sketch marks. Once the ink is dry, erase any remaining pencil lines for a clean and polished appearance.
Part 4: Coloring and Shading
The final part involves adding color, shading, and highlights to your drawing, bringing Manny Taur to life with your personal touch. Use colored pencils, markers, or any other coloring tools you prefer to fill in the vibrant details of his appearance. Experiment with shading techniques to add depth and dimension, accentuating the contours and muscles of his body. Consider the light source and create highlights where appropriate to make your artwork truly shine.

Now that you have learned the step-by-step process of drawing Manny Taur, it’s time to unleash your creativity and bring this formidable character to life on your canvas. Remember to practice, explore different techniques, and most importantly, enjoy the journey of artistic expression.
If you found this tutorial helpful, consider sharing the link with your fellow artists and friends. You can also support the regular release of free guides by donating on Buy Me a Coffee. To stay updated with more drawing tutorials and tips, follow us on social media:
Thank you for joining us in this creative adventure.