With Moana 2 set to release in 2024, her updated design is a fantastic subject for artists. Her new outfit, detailed accessories, and iconic Polynesian features make her both exciting and inspiring to sketch. Let’s learn how to draw Moana and explore her updated look.
Moana’s New Design: Key Details
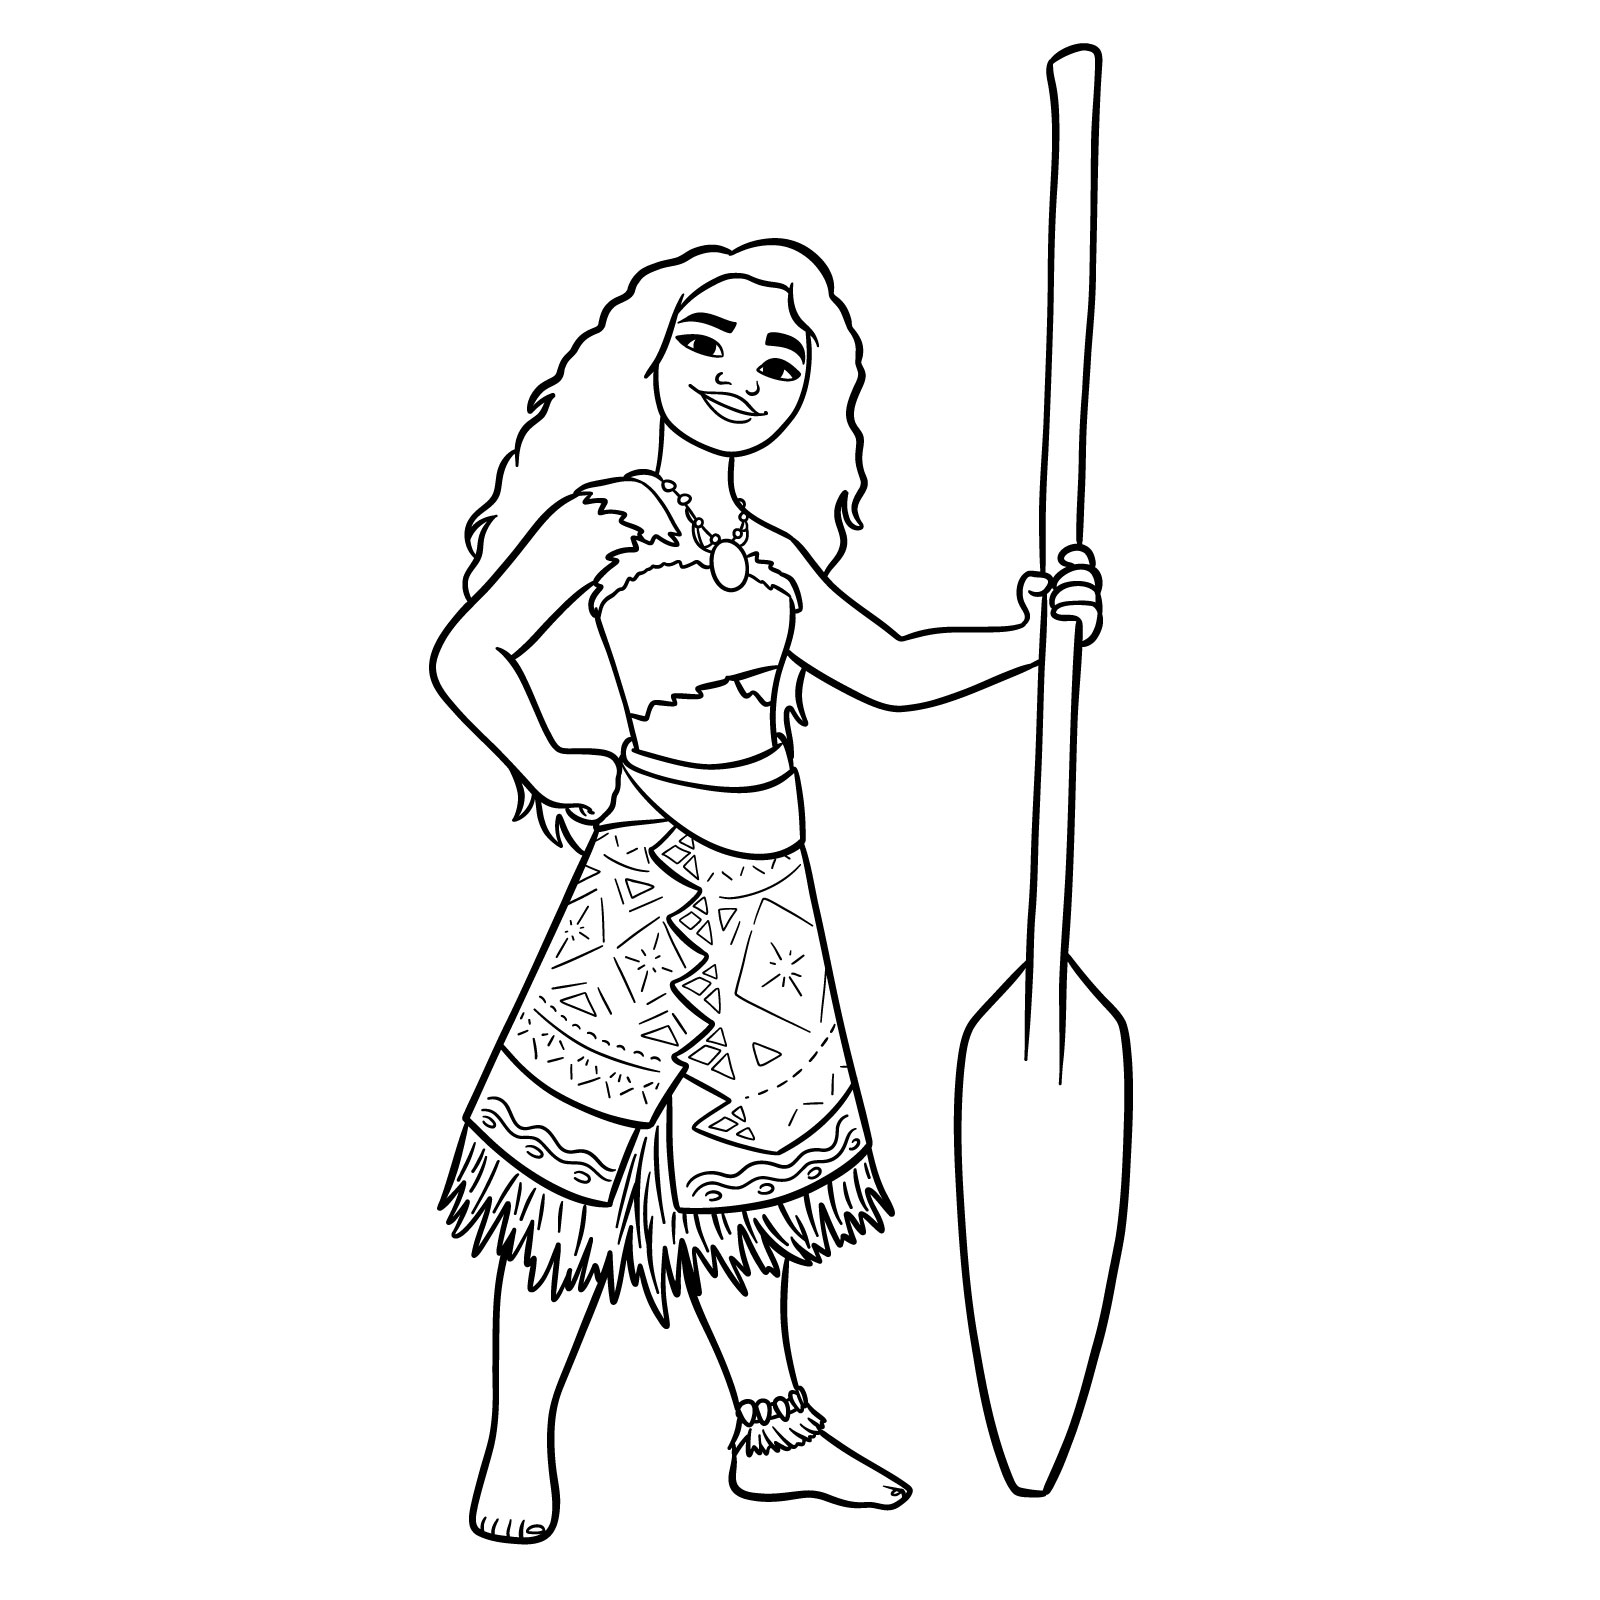
Here are the main features of Moana’s look in the sequel to pay attention to when drawing her:
Hair: Long, voluminous curls with natural texture.
Skin Tone: Warm brown tone reflecting her Polynesian heritage.
Necklace: A turquoise pendant with intricate detailing.
Top: A beige bandeau with red edges and a fitted design.
Skirt: An orange-red wrap-around skirt with tribal patterns, trimmed with a raffia-like fringe.
Feet: Barefoot with an anklet made of natural materials.
Prop: A wooden paddle that she holds confidently.
Other characters like Maui, Simea, and Moana’s companions like Heihei, Pua, Kotu and her younger sister Simea also feature in the sequel and are great additions to your artwork.
Using the Drawing Guide Effectively
The step-by-step guide uses a simple color-coded system to help you build your drawing accurately. Here’s what the colors represent:
Red Color: Highlights the current step in progress.
Black Color: Indicates lines that have already been completed.
Grey Color: Shows the basic sketch or underlying structure.
Following this method makes it easier to focus on each element of Moana’s design, especially the detailed patterns and textures on her clothing.
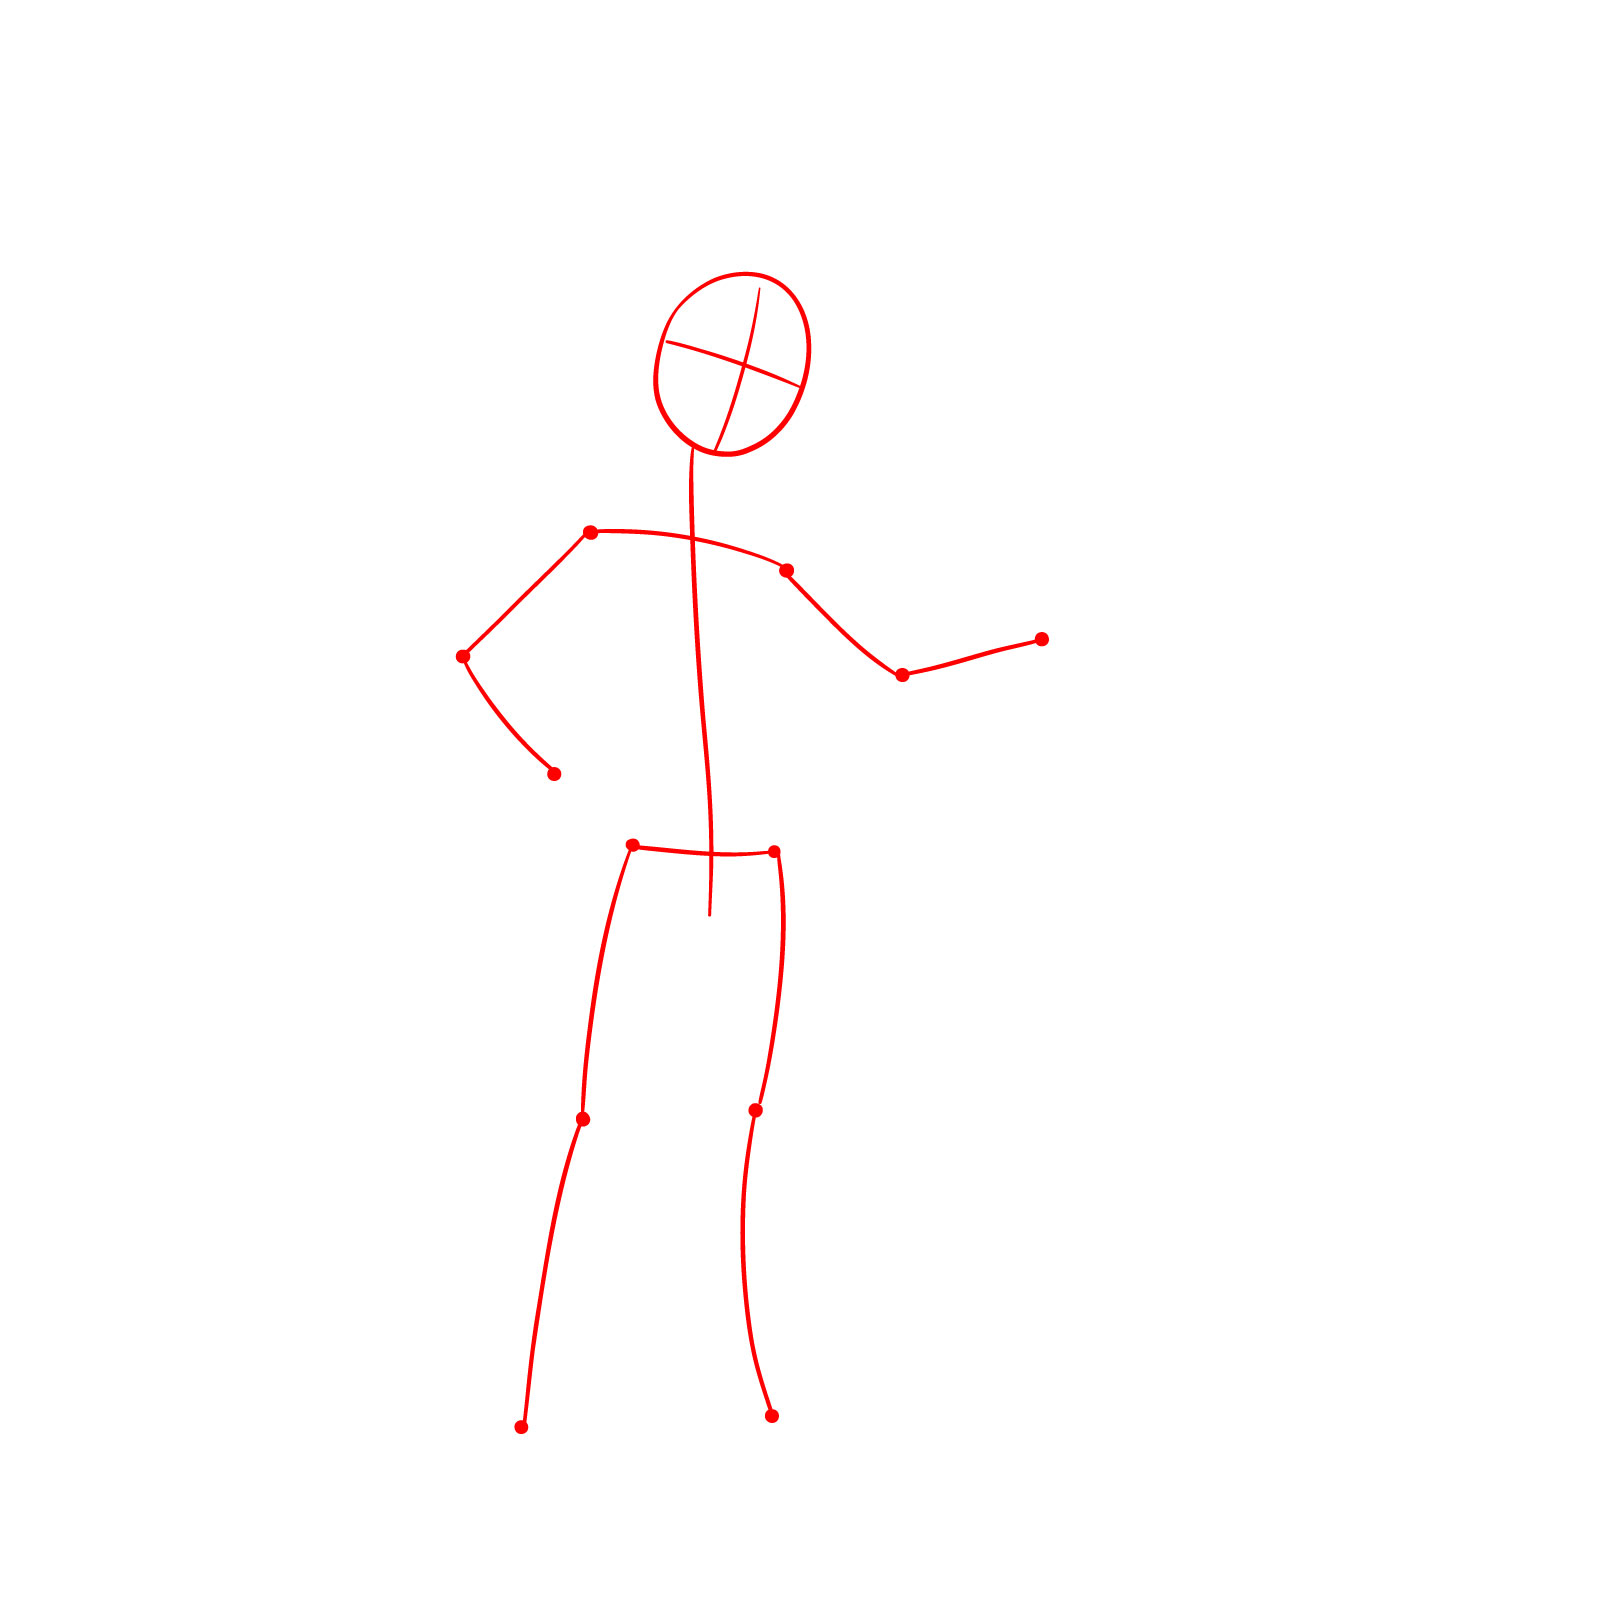
Step 01 – Start by drawing a basic rough sketch. Lightly sketch an oval for the face as the base, and add crossed vertical and horizontal lines within it to center the features. Draw a simple stick figure to outline Moana’s pose. Don’t press too hard with the pencil, as these lines will be erased later.
Step 02 – Add two short lines on the horizontal face line where the eyes will be placed, and mark lines on the vertical line for the nose and mouth. Outline the body and limbs using simple shapes and lines. Also, block in the paddle with a simple shape in her hand.
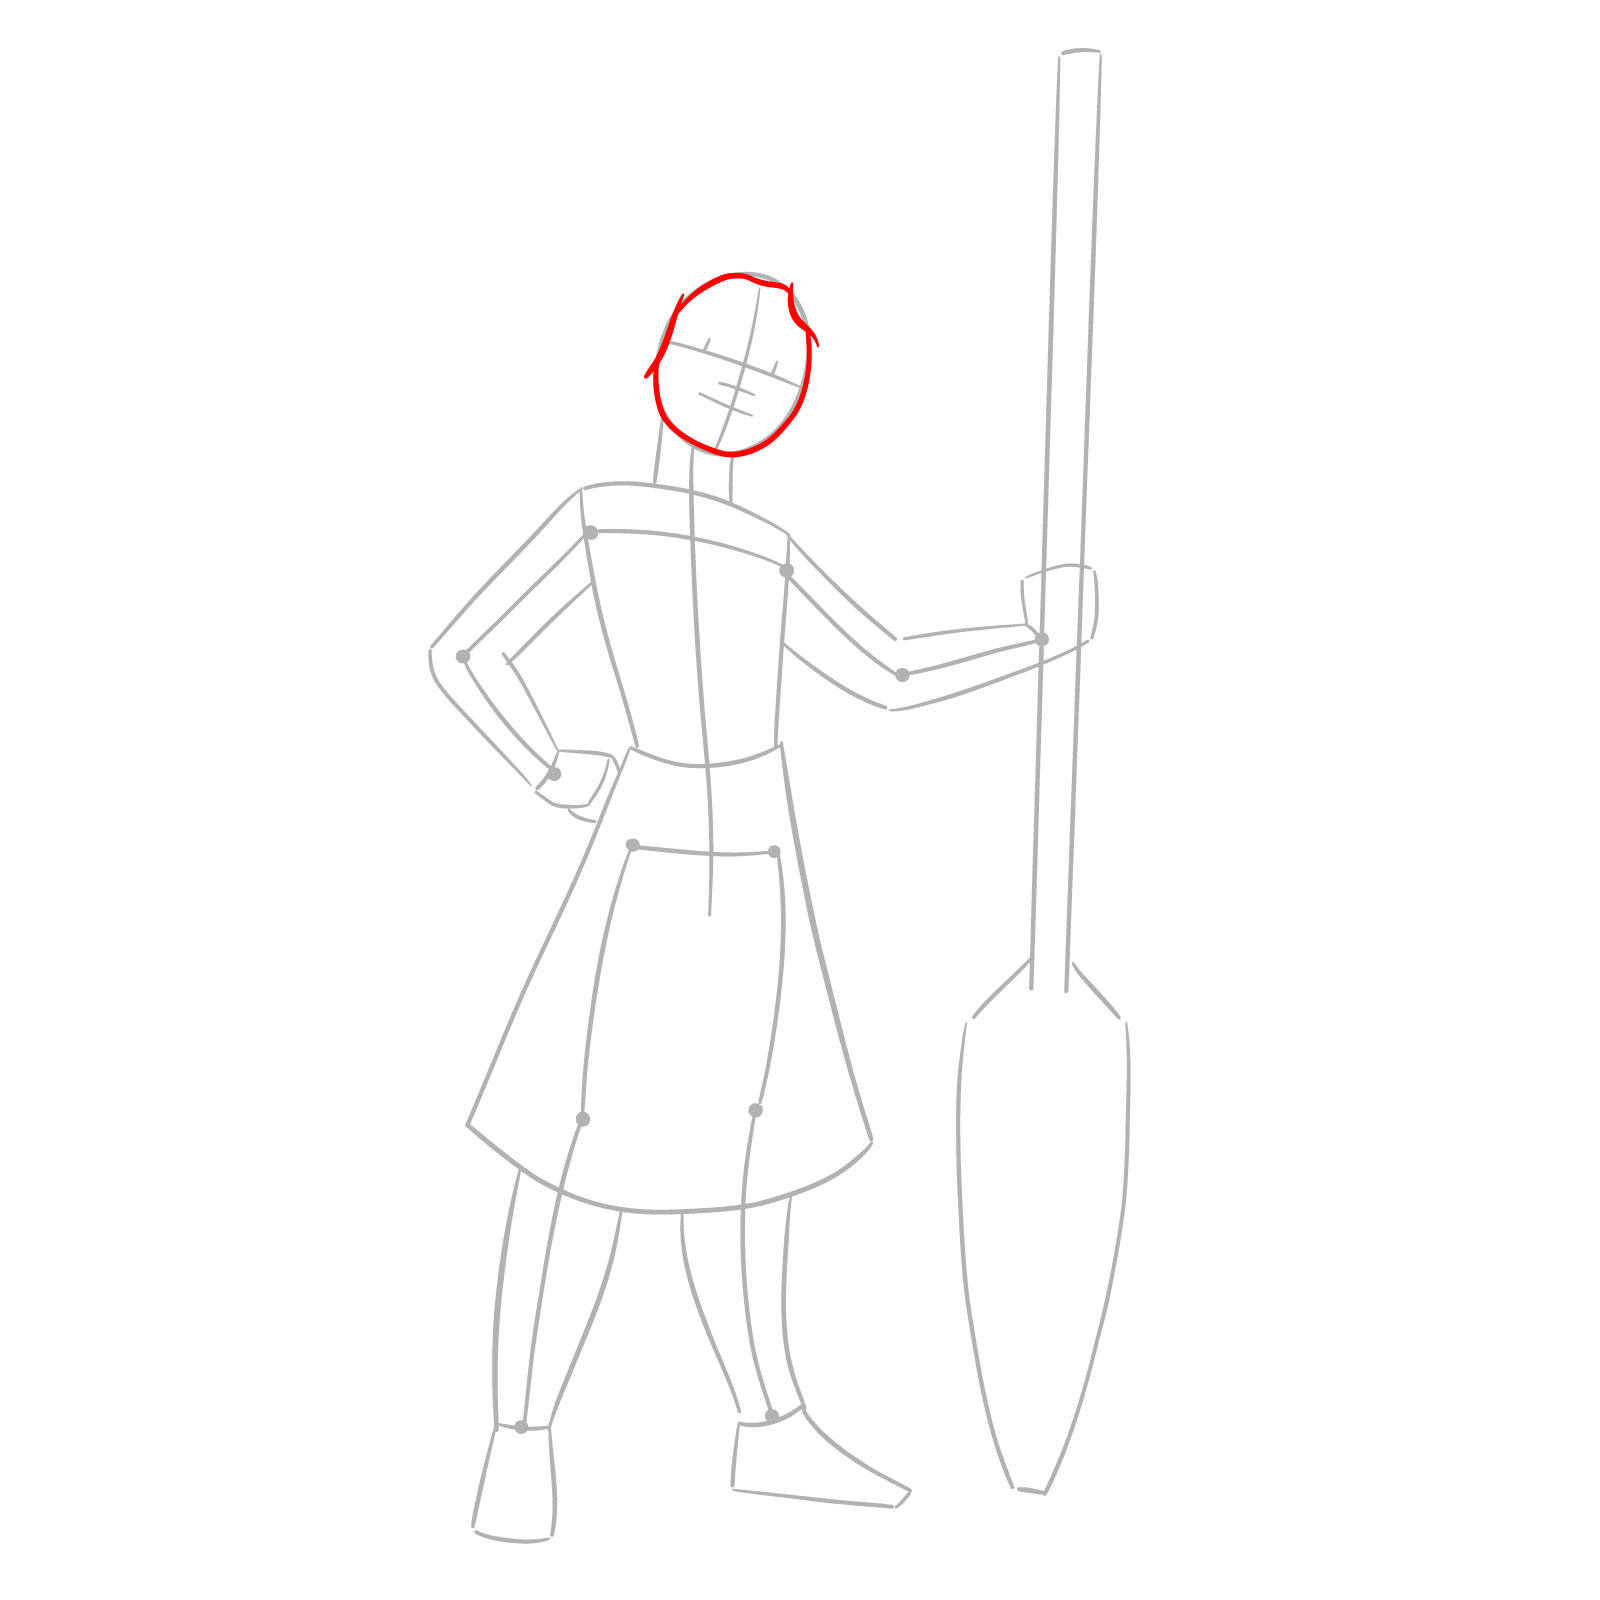
Step 03 – Draw the outline of Moana’s face, including her jawline. Add the framing of her hair around half of her face.
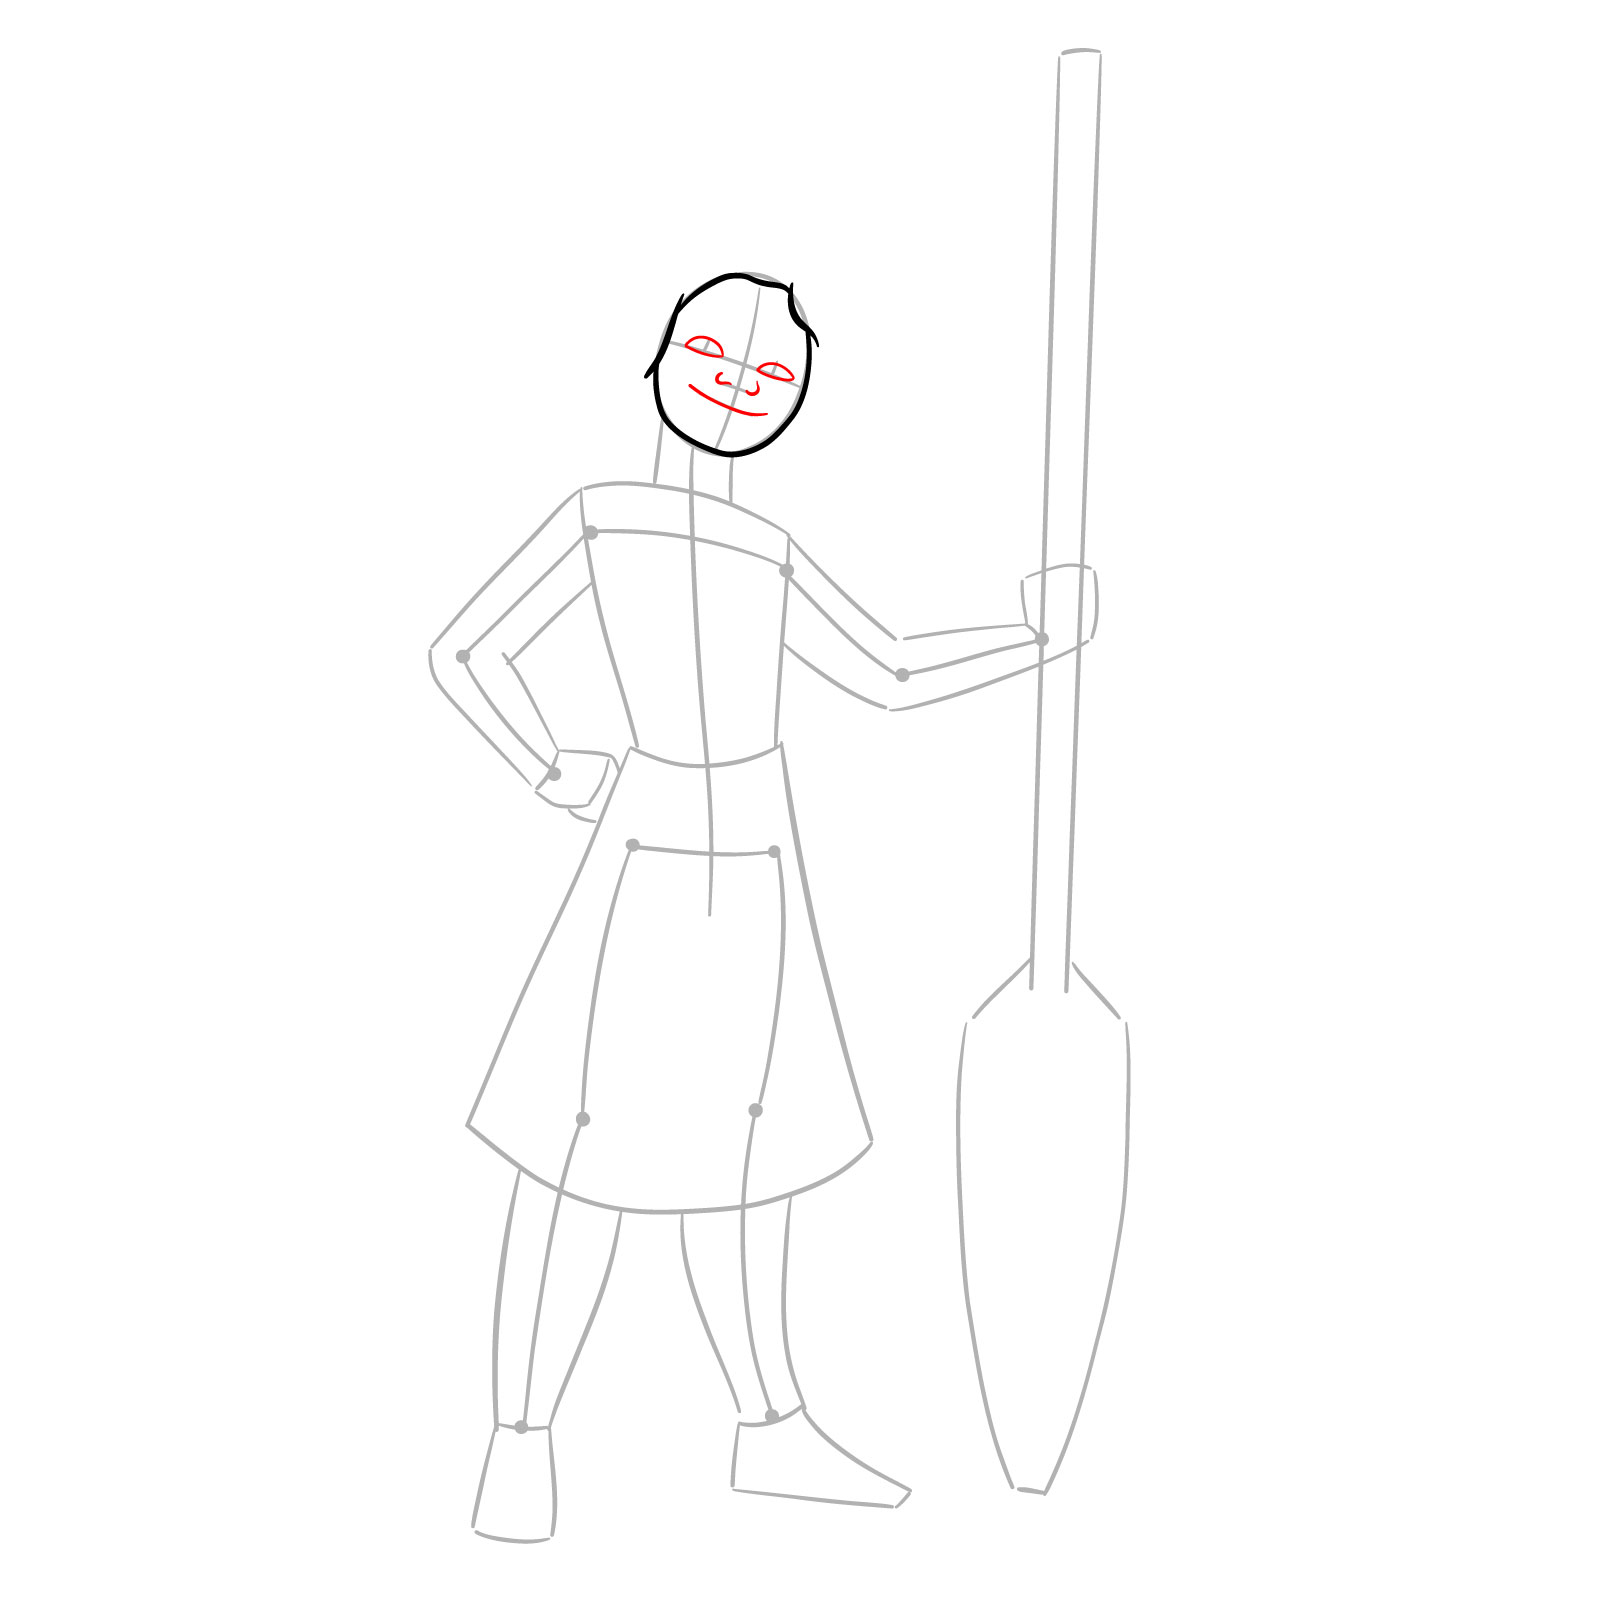
Step 04 – Outline the eyes, nose, and a curved line for her mouth. These details should fit within the guidelines created earlier.
Step 05 – Add the pupils within the eyes and fill them with black. Sketch her lips to complete the basic features of her face.
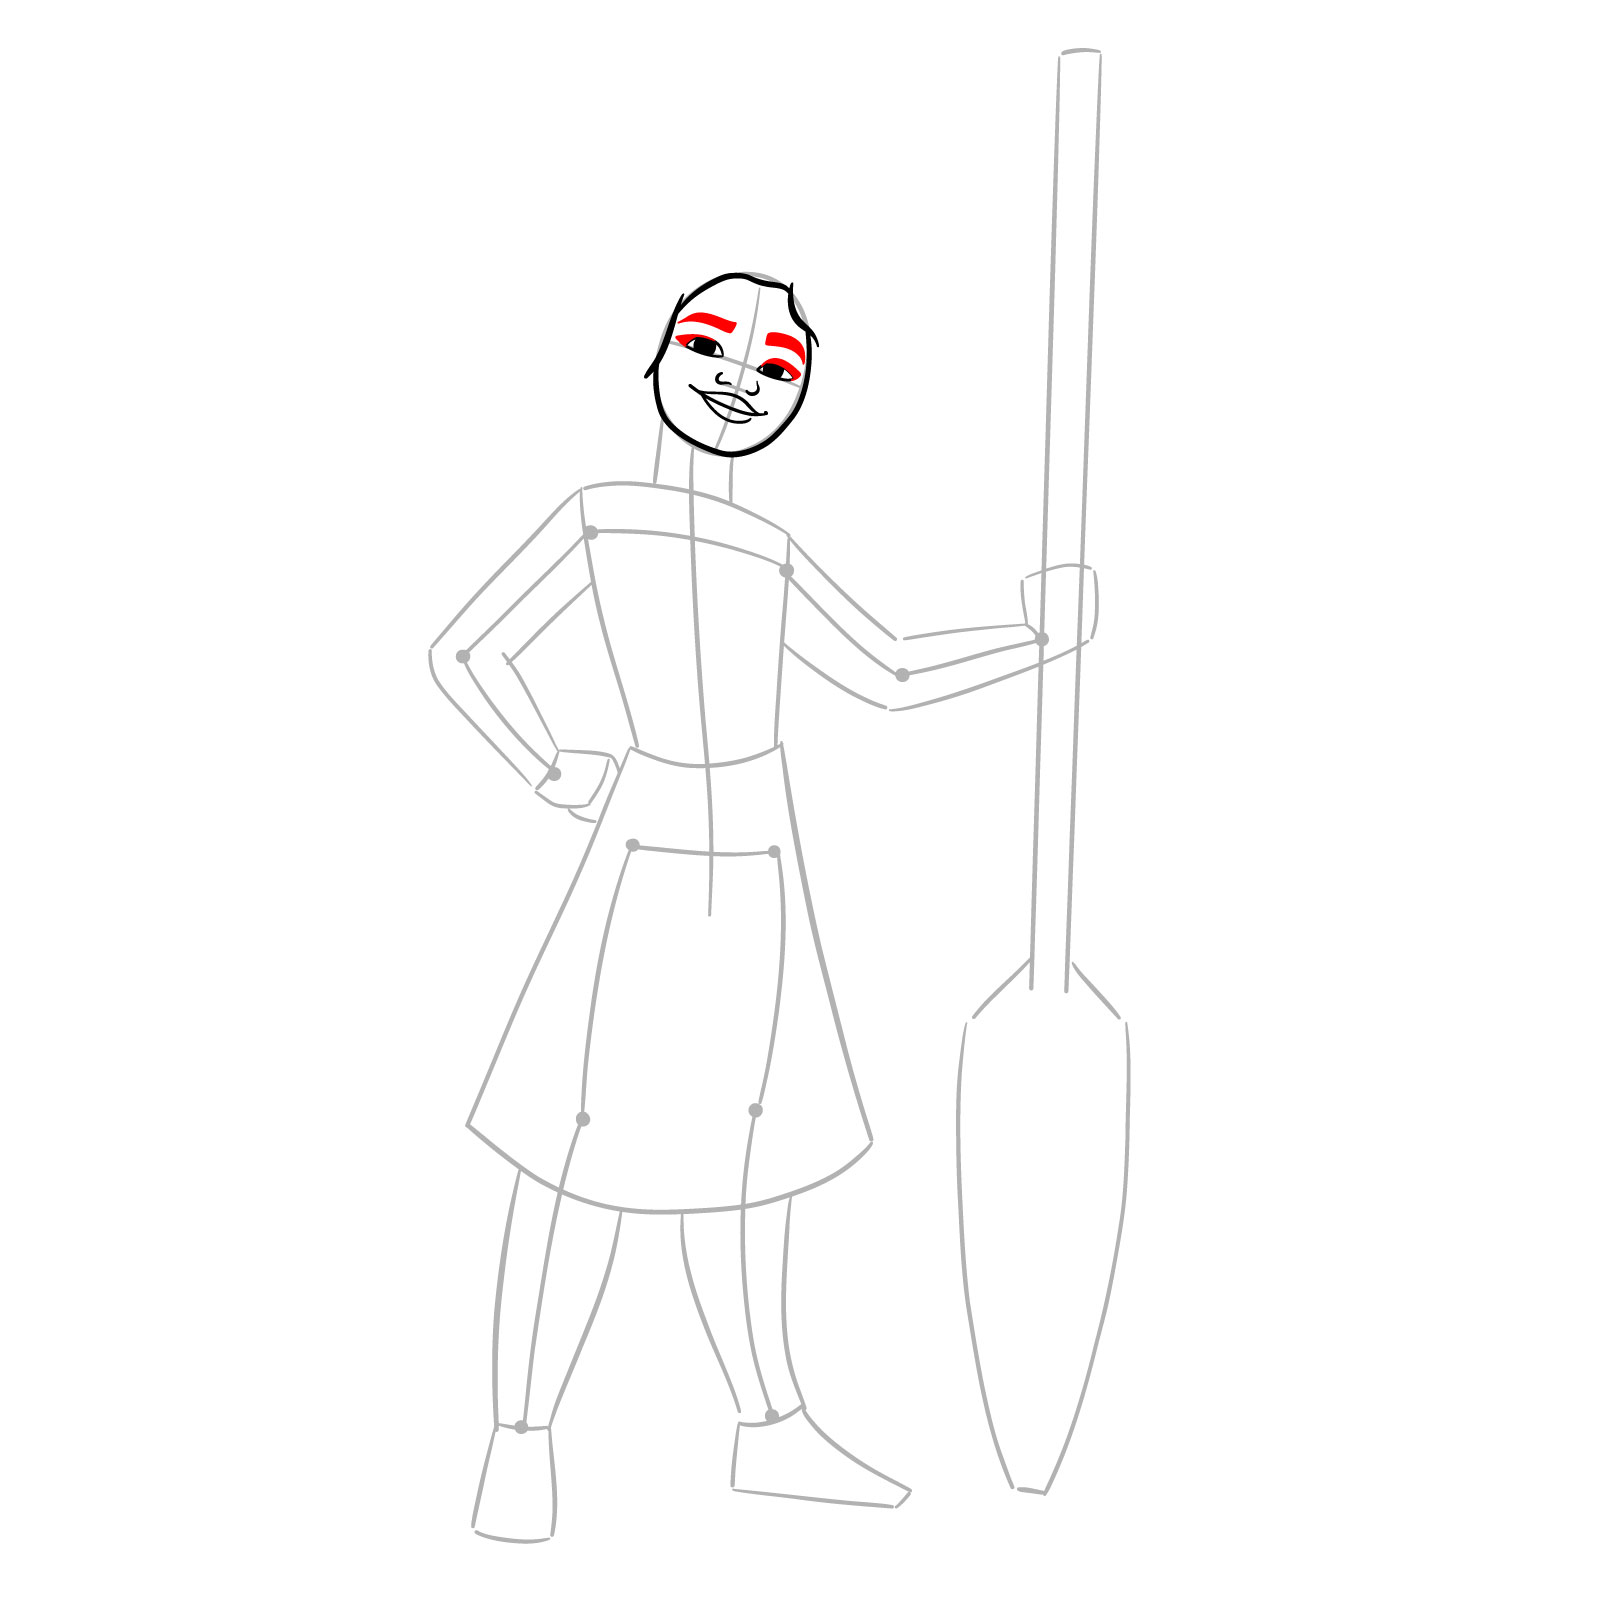
Step 06 – Thicken the upper part of the eyes’ outlines to give the impression of eyelashes. Add her eyebrows above the eyes.
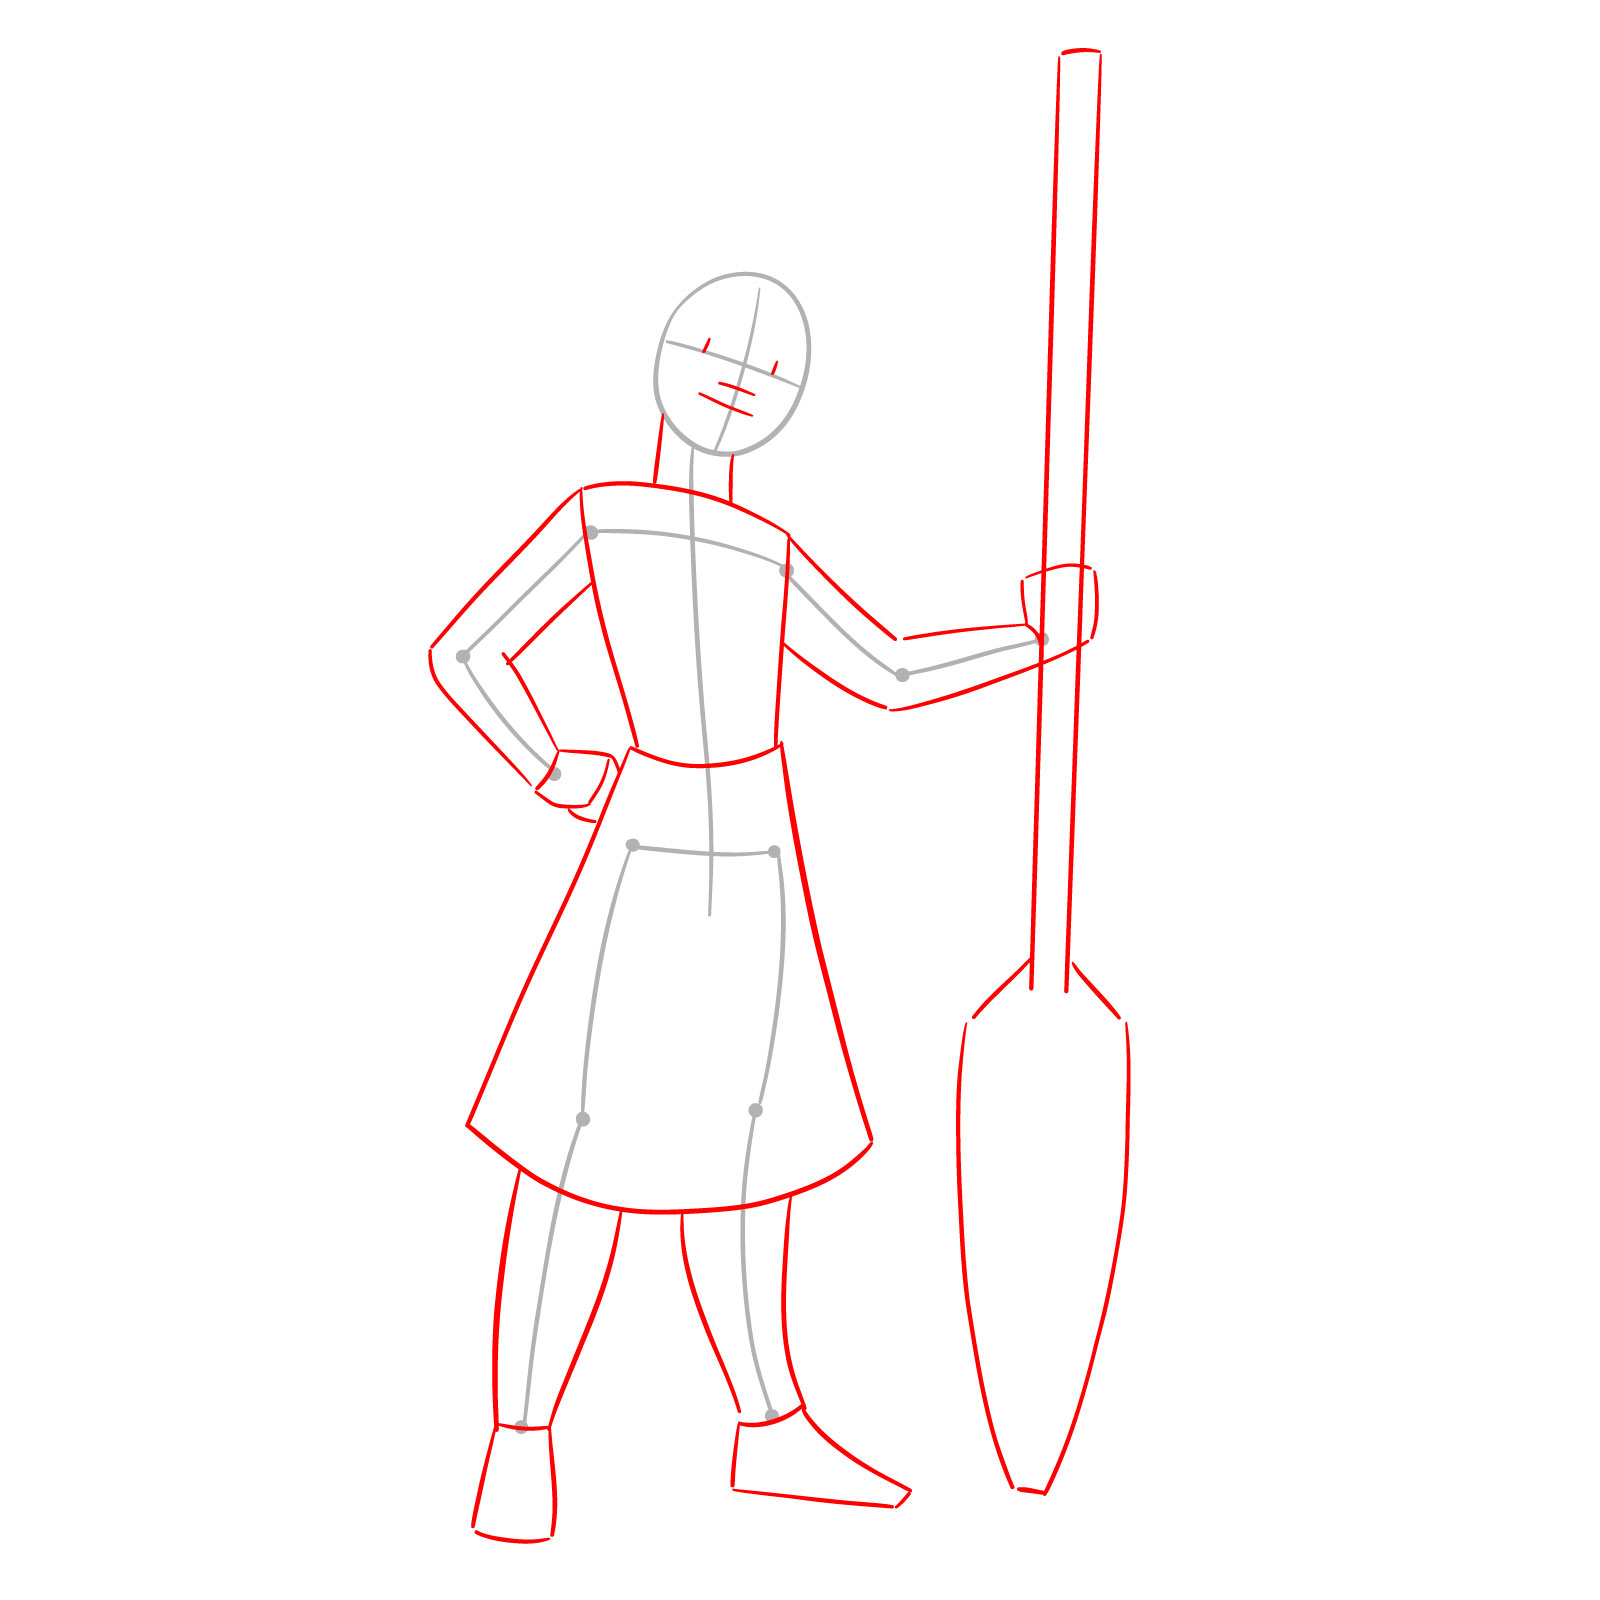
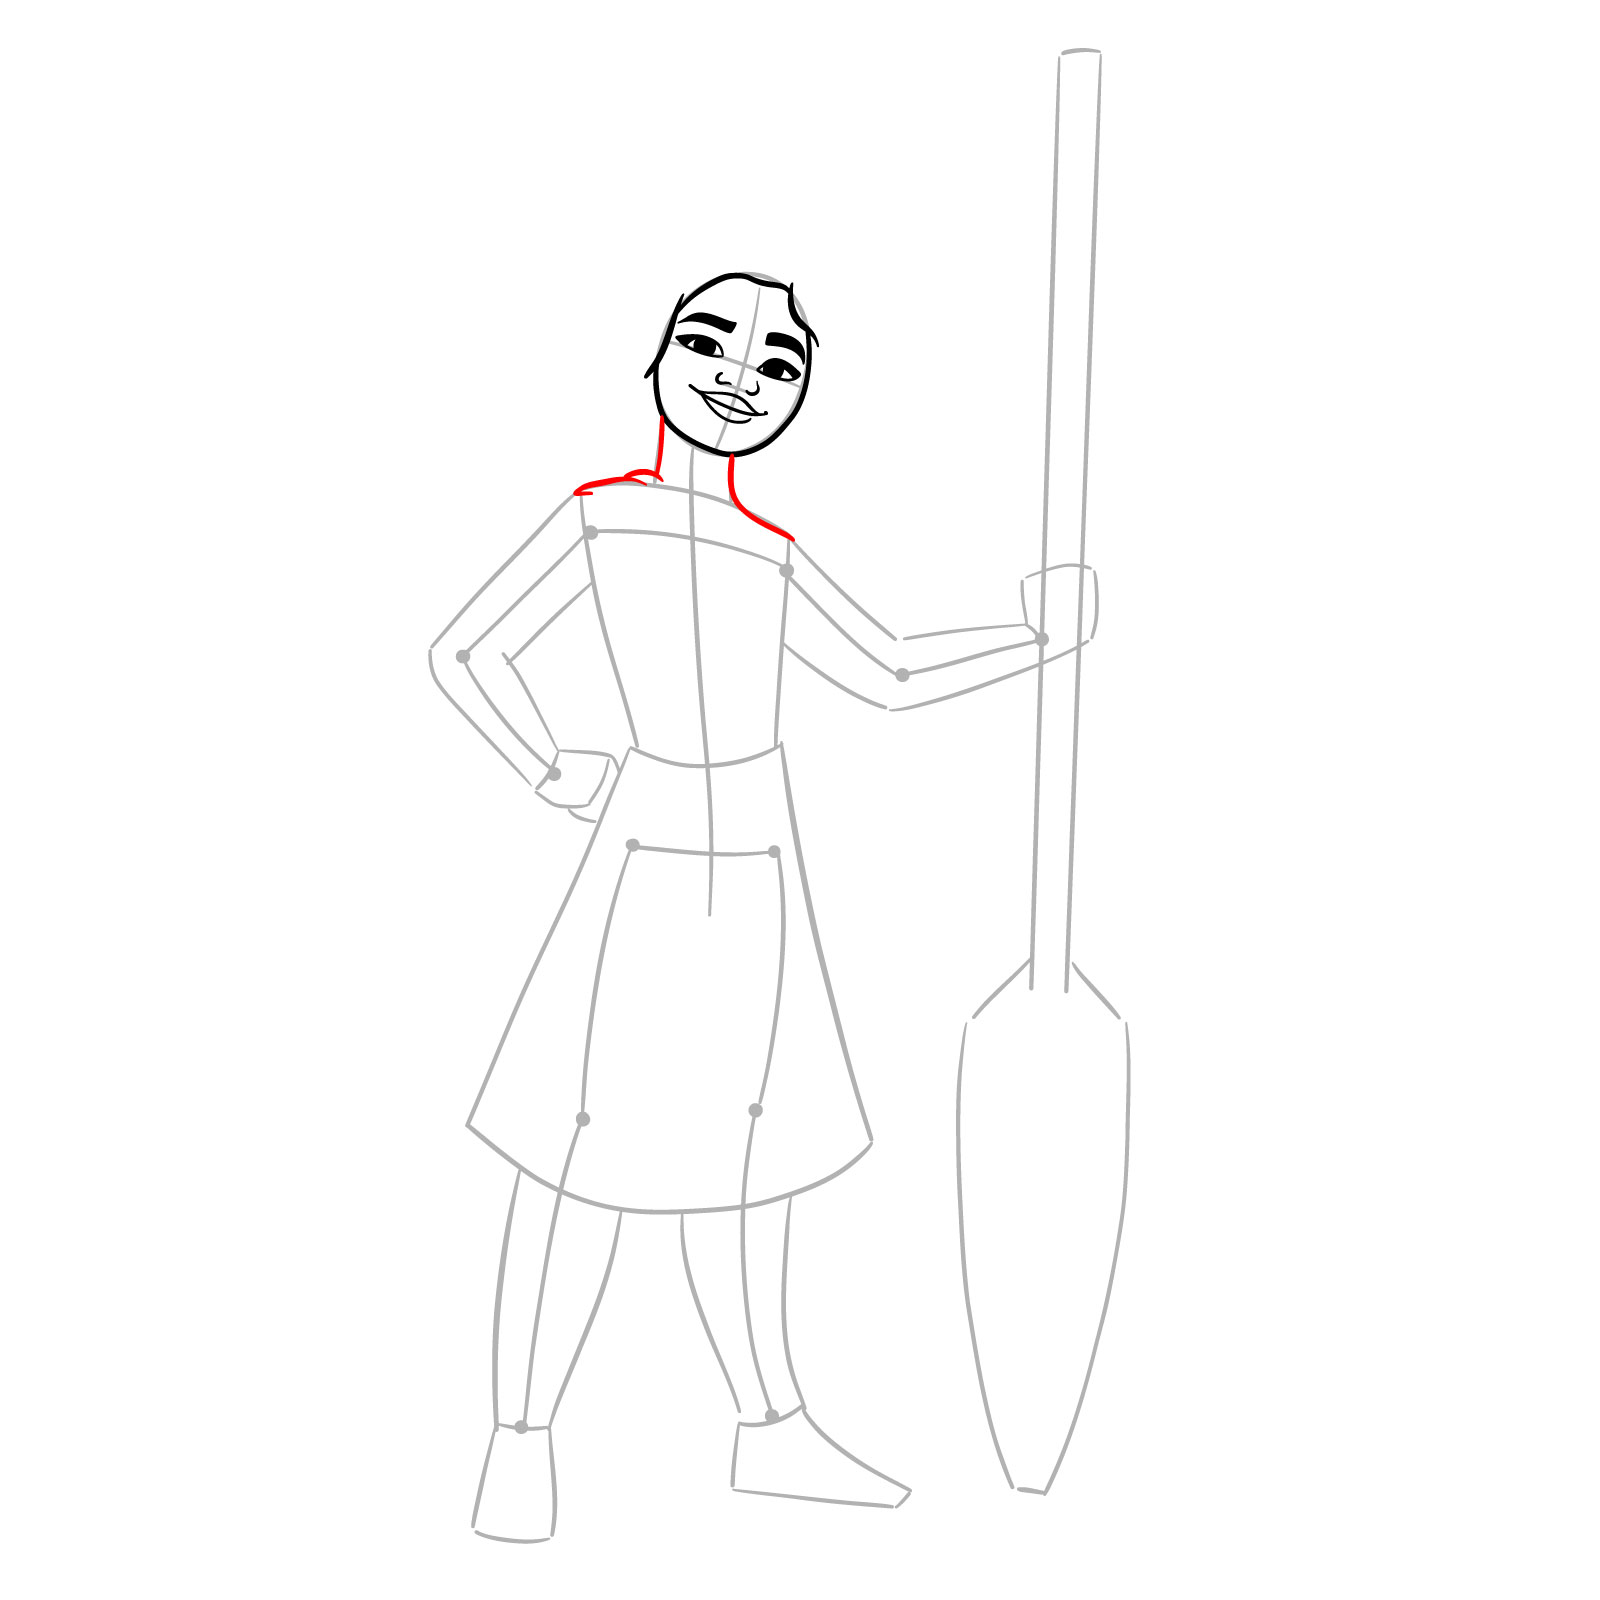
Step 07 – Sketch Moana’s neck and shoulders to connect her head to the upper body.
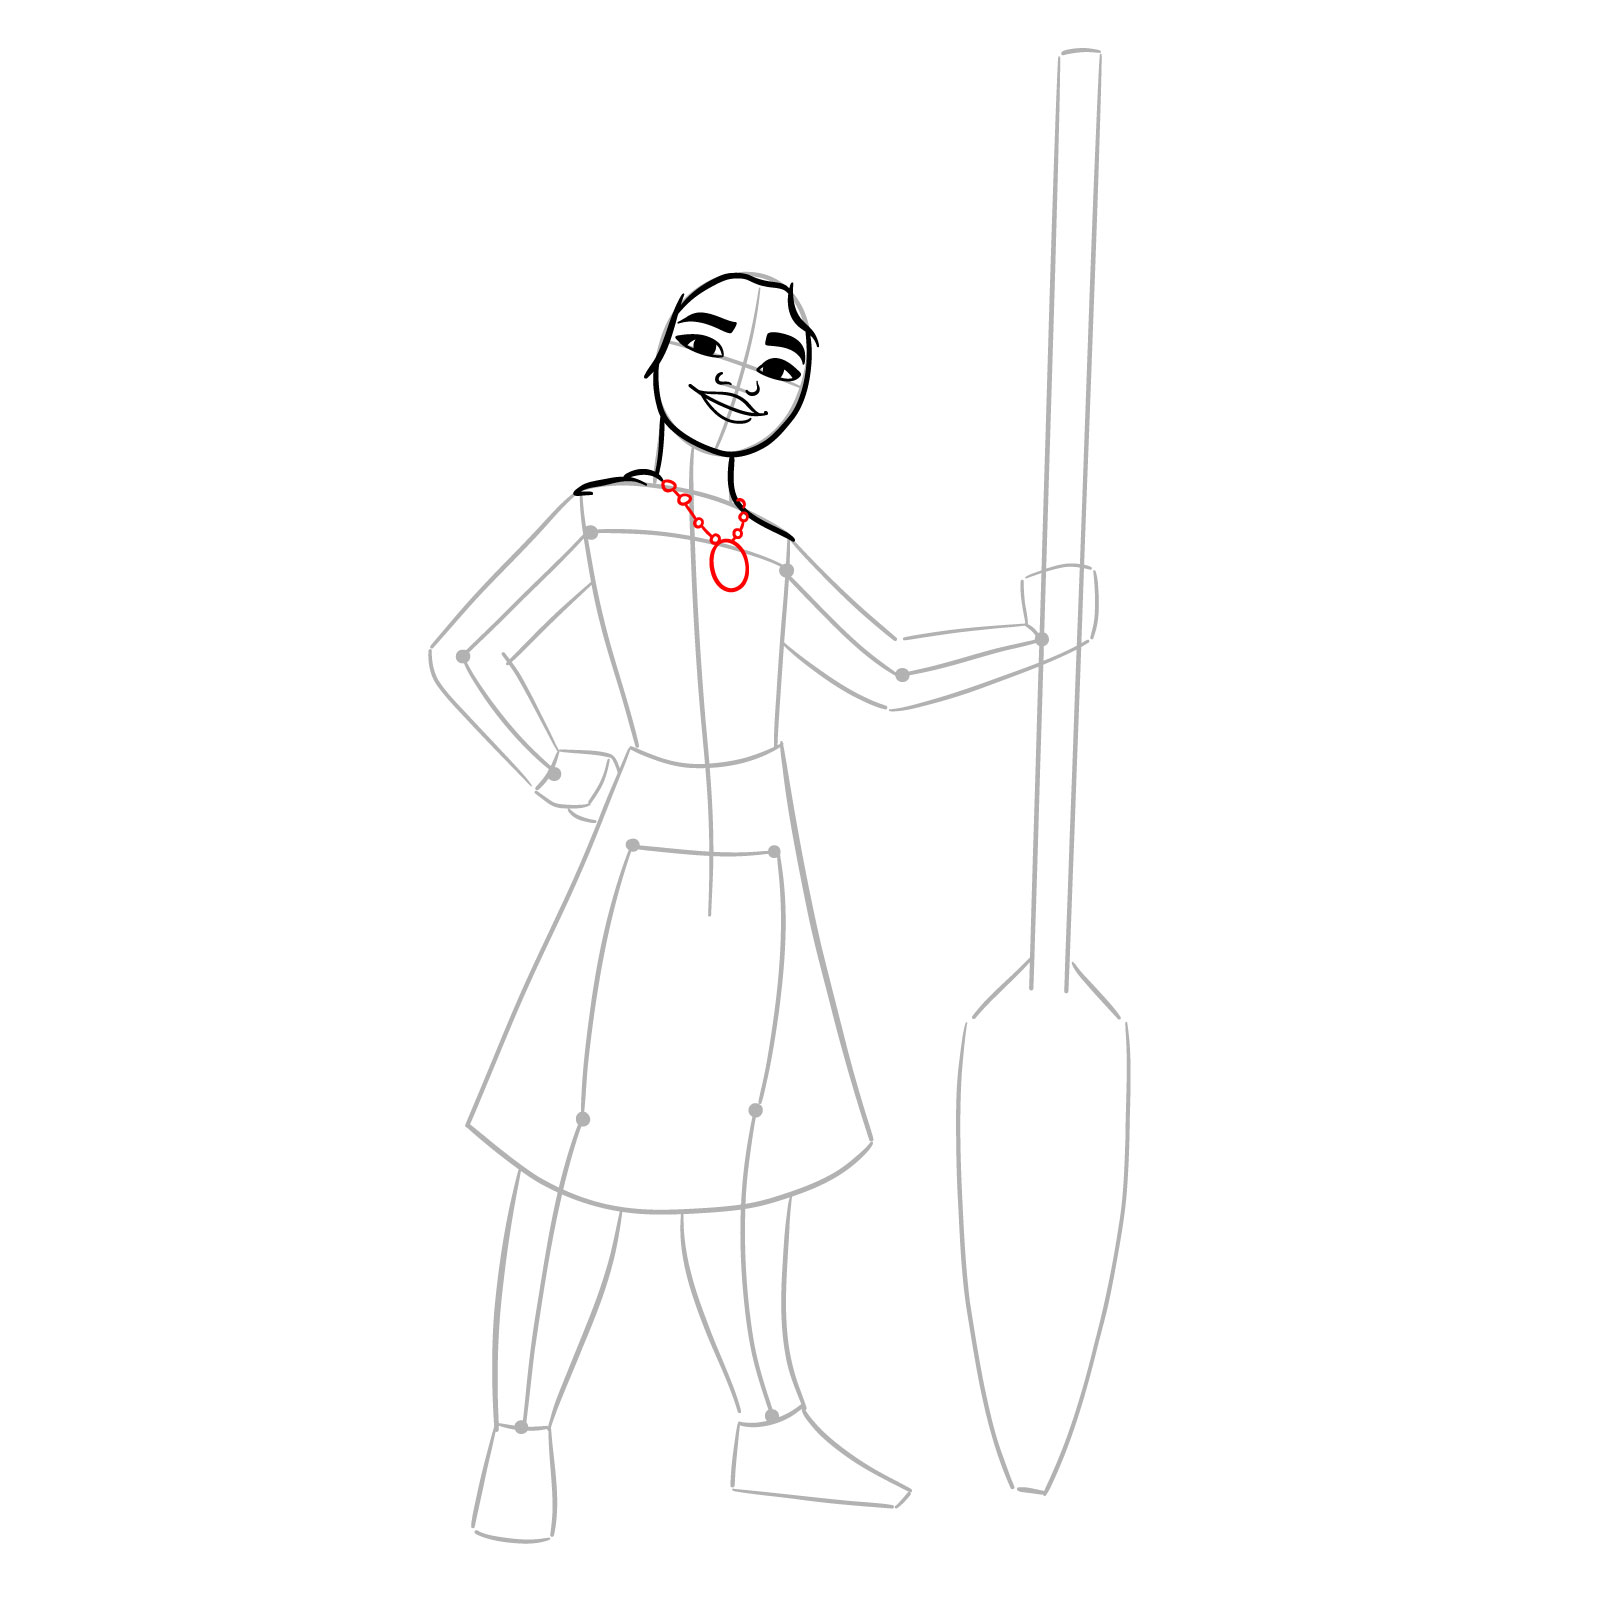
Step 08 – Draw Moana’s necklace, including the pendant at its center.
Step 09 – Sketch the shape of Moana’s top. Follow the contours of her body.
Step 10 – Sketch her right arm and hand, refining the lines to create a natural look.
Step 11 – Draw the sash around Moana’s waist, ensuring it aligns with the pose and body.
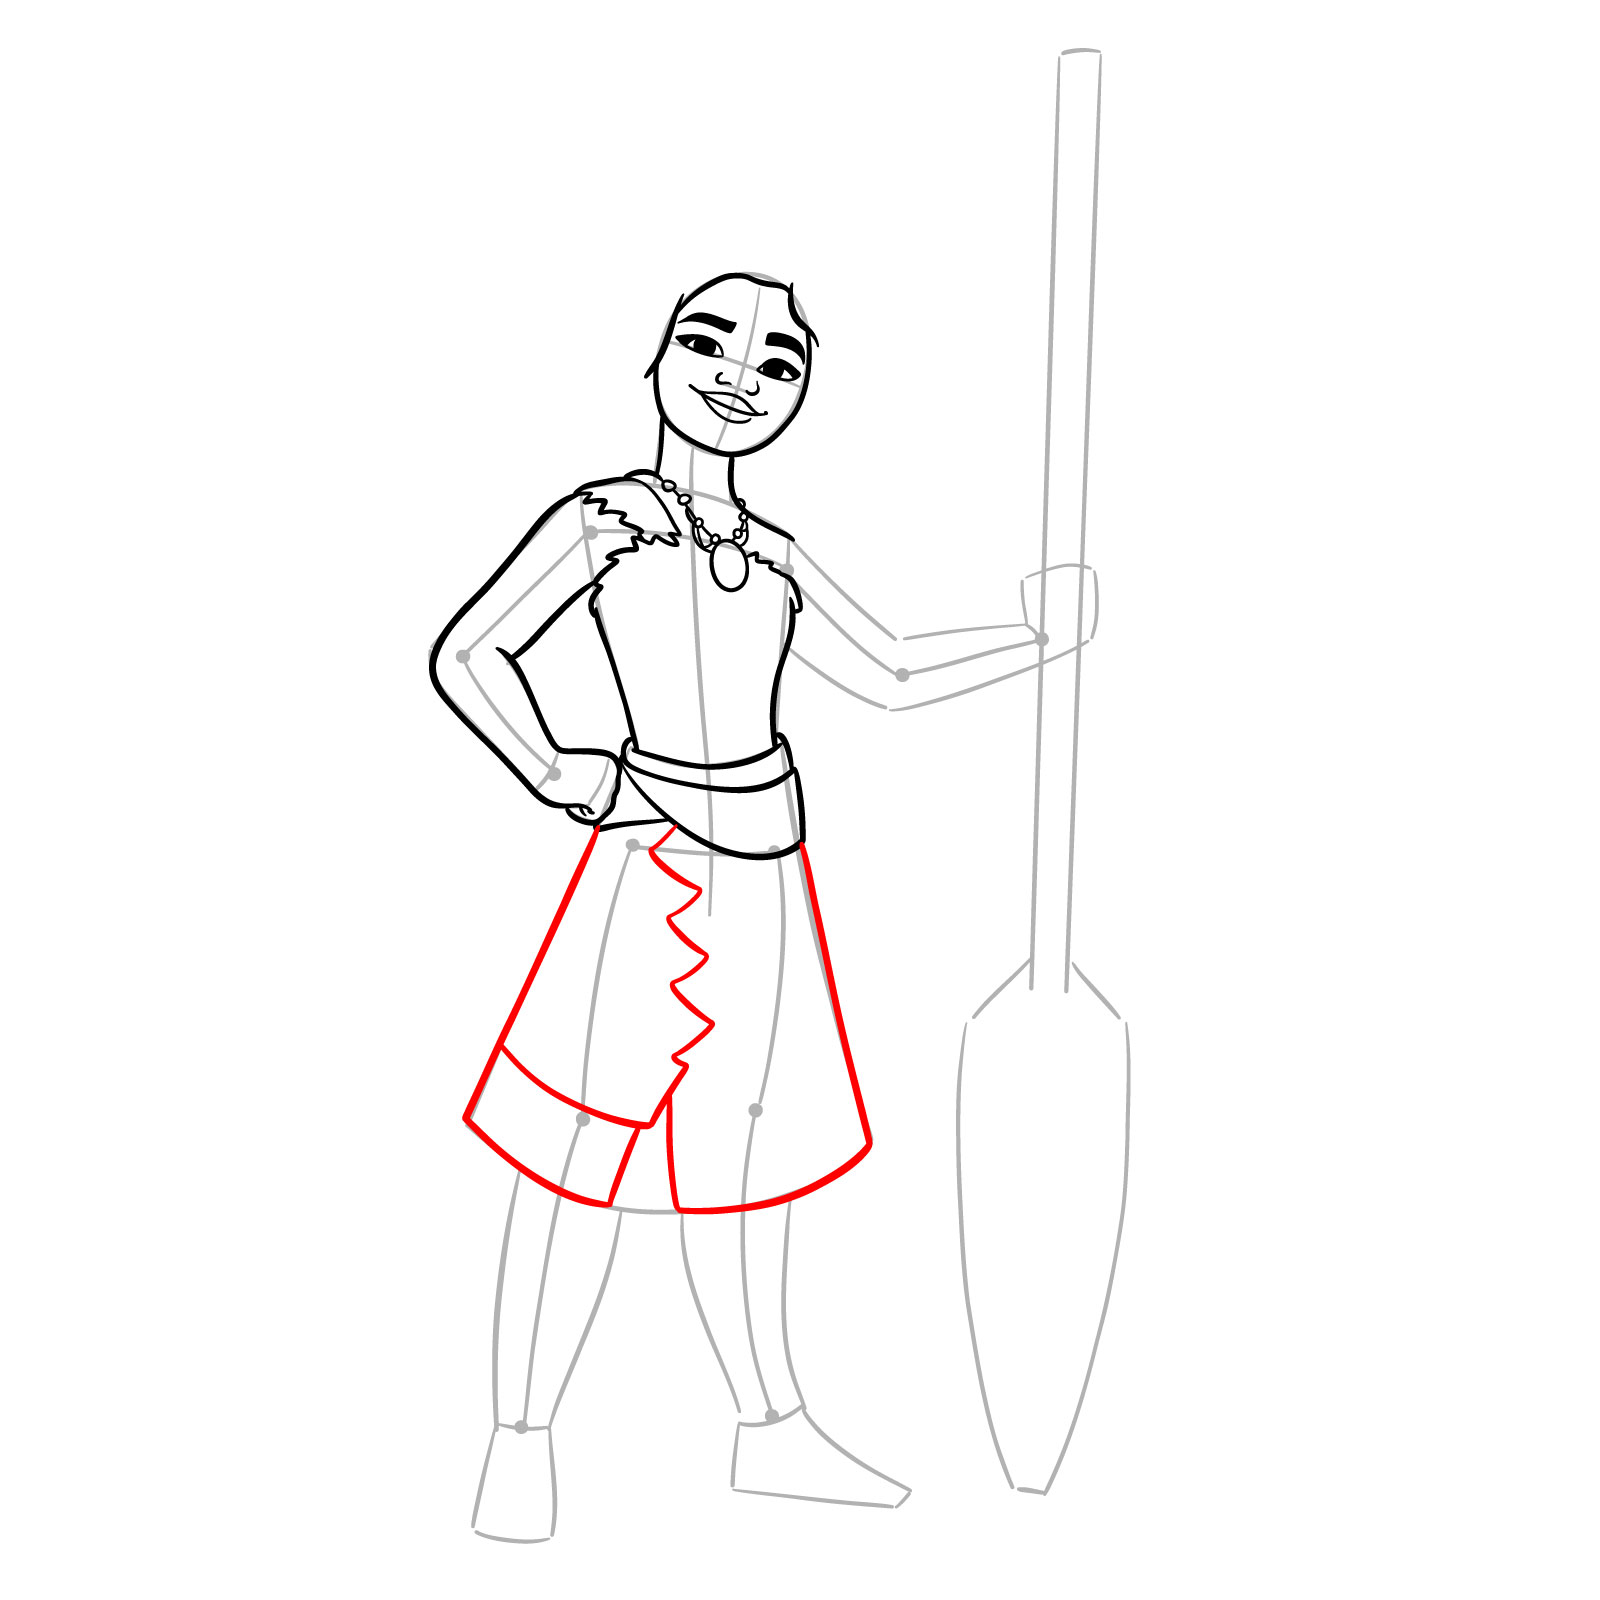
Step 12 – Sketch the main outline of Moana’s skirt.
Step 13 – Add the fringe at the bottom of the skirt by sketching a series of uneven, jagged lines.
Step 14 – Outline the shape of Moana’s right leg. Don’t add toes or details yet.
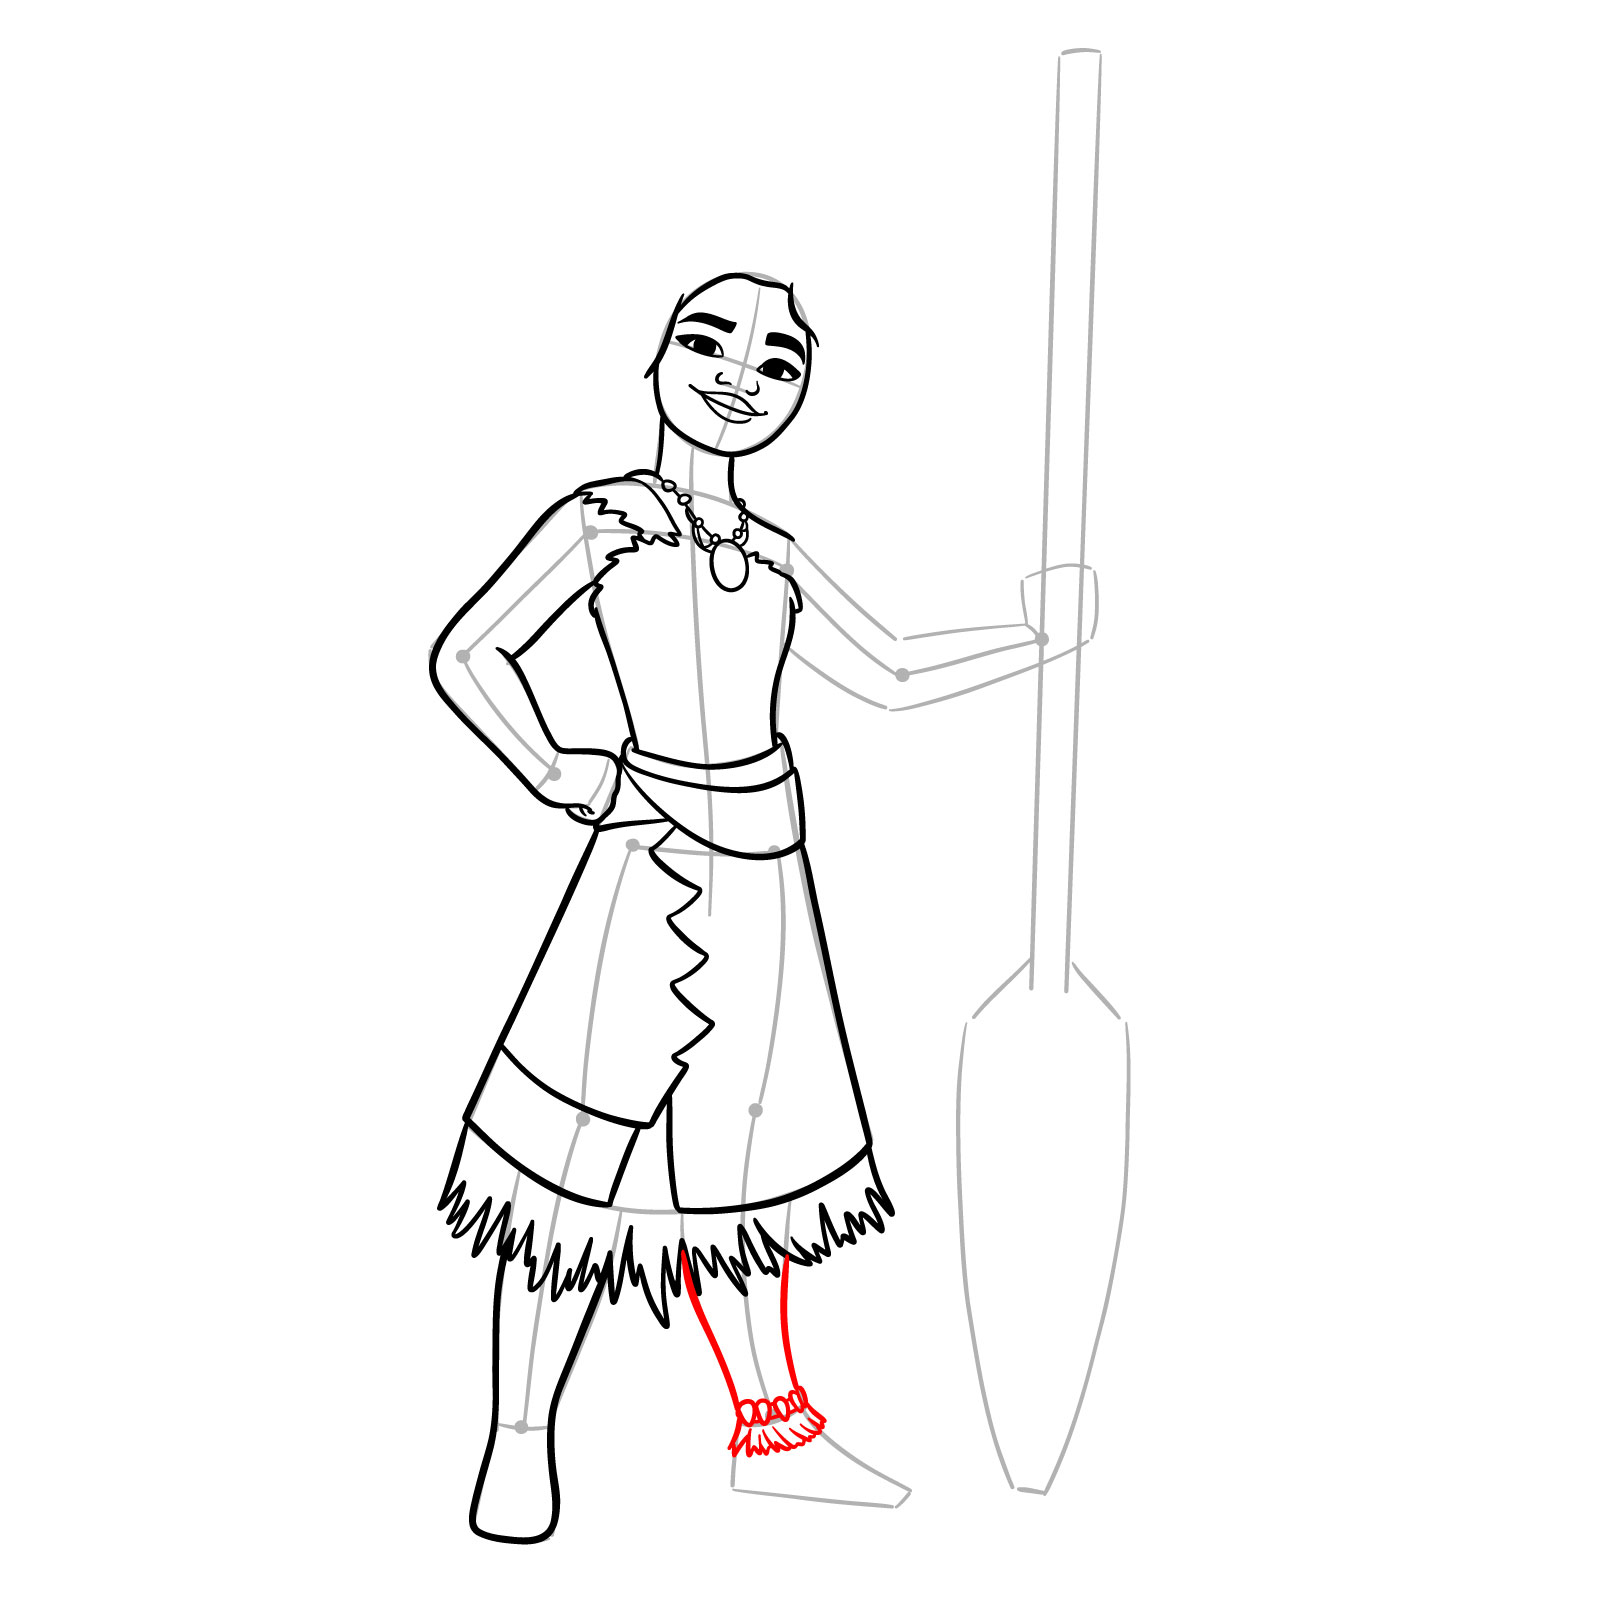
Step 15 – Sketch Moana’s left leg up to the ankle and include the anklet she’s wearing.
Step 16 – Complete the outline of the left foot, focusing on the basic shape.
Step 17 – Add short separating lines for the toes on her right foot and include nail details. Sketch multiple lines into the fringe for texture.
Step 18 – Sketch Moana’s left arm up to the wrist area and include her thumb.
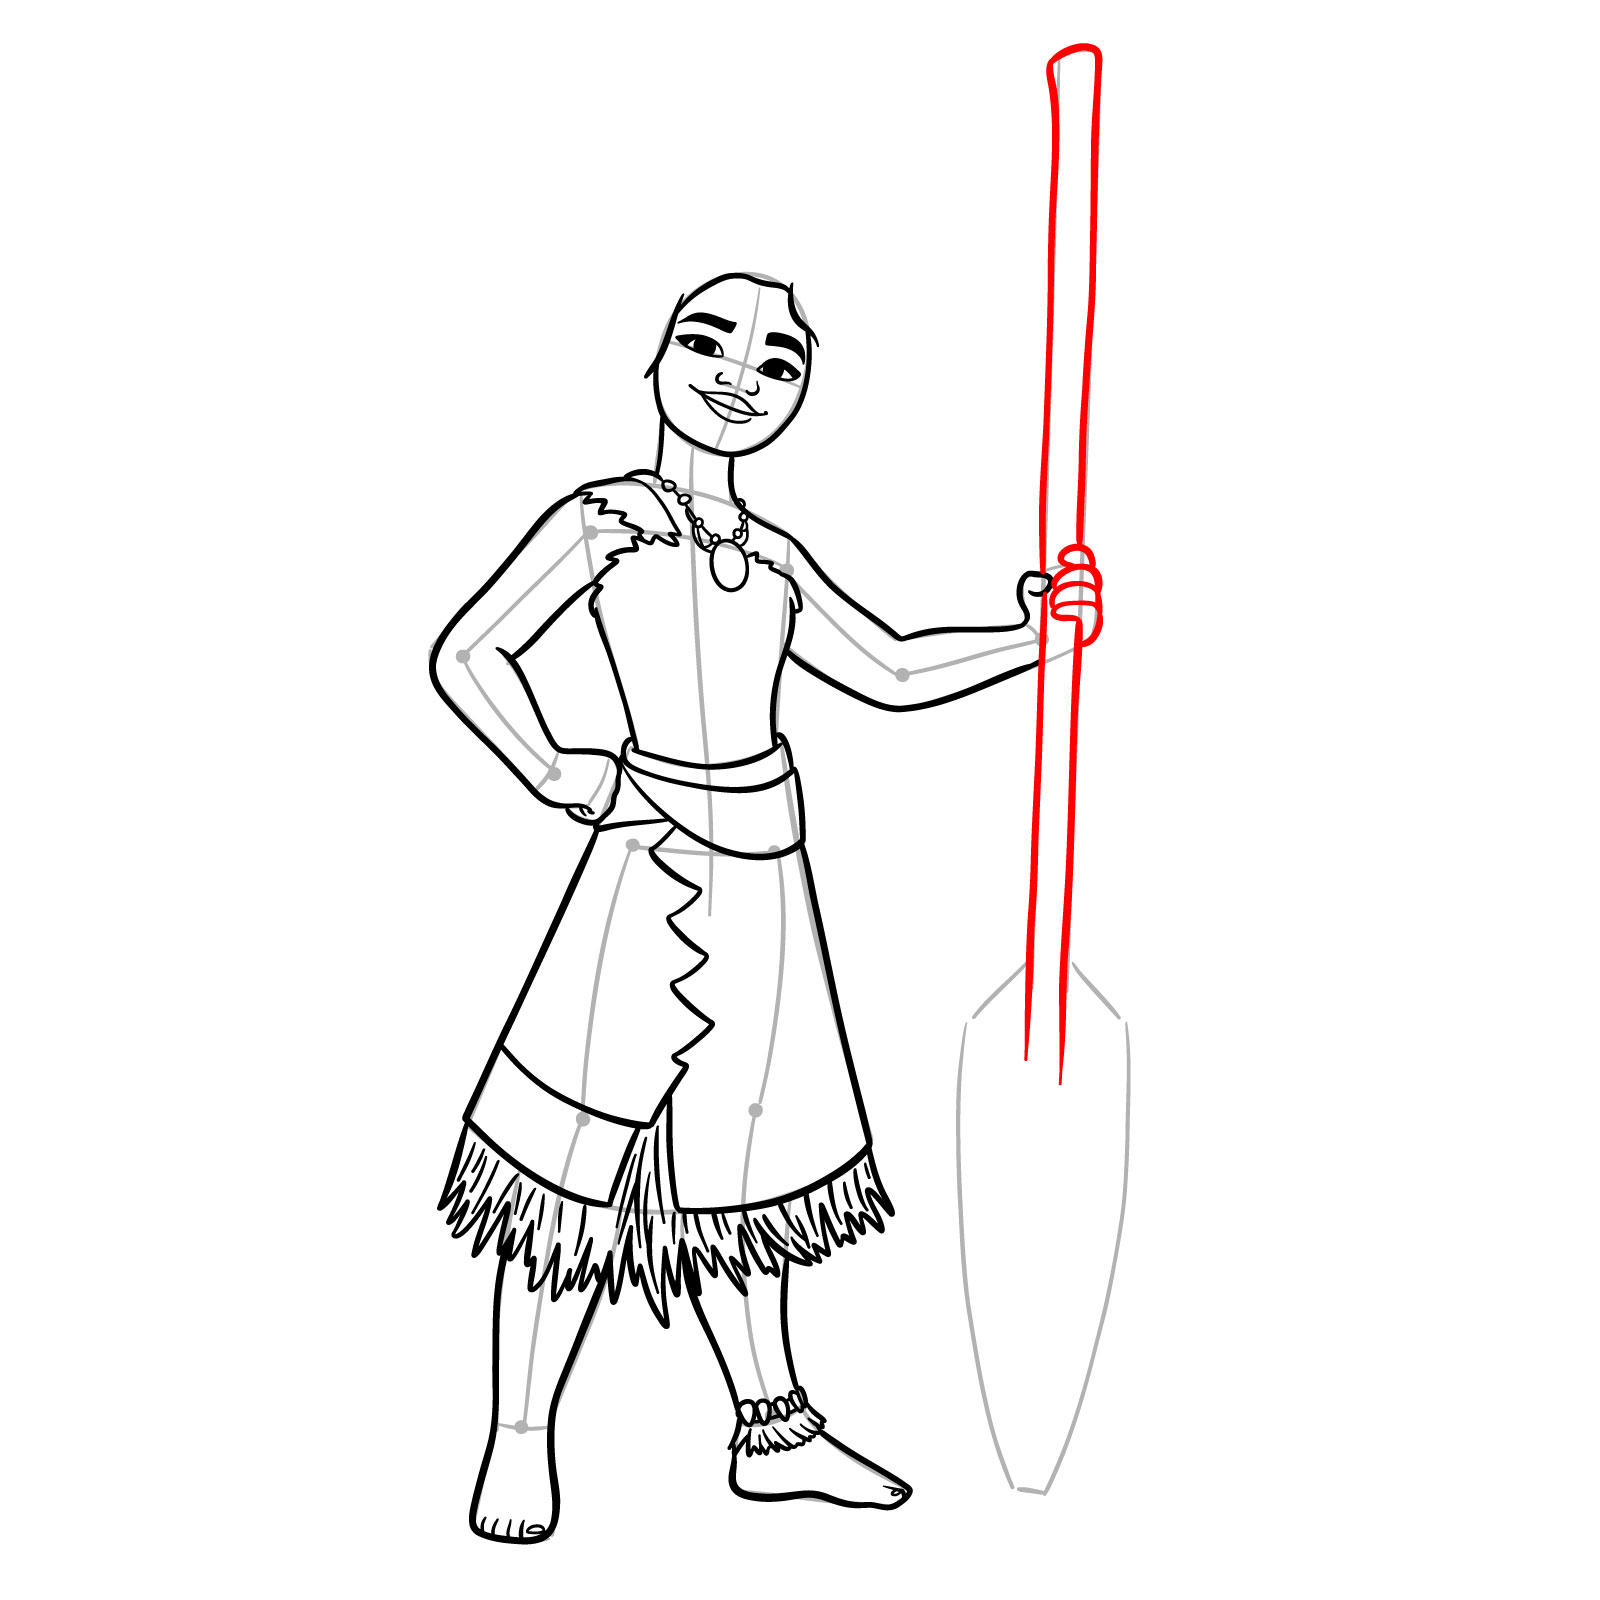
Step 19 – Draw the remaining fingers on her left hand gripping the paddle. Outline the paddle handle.
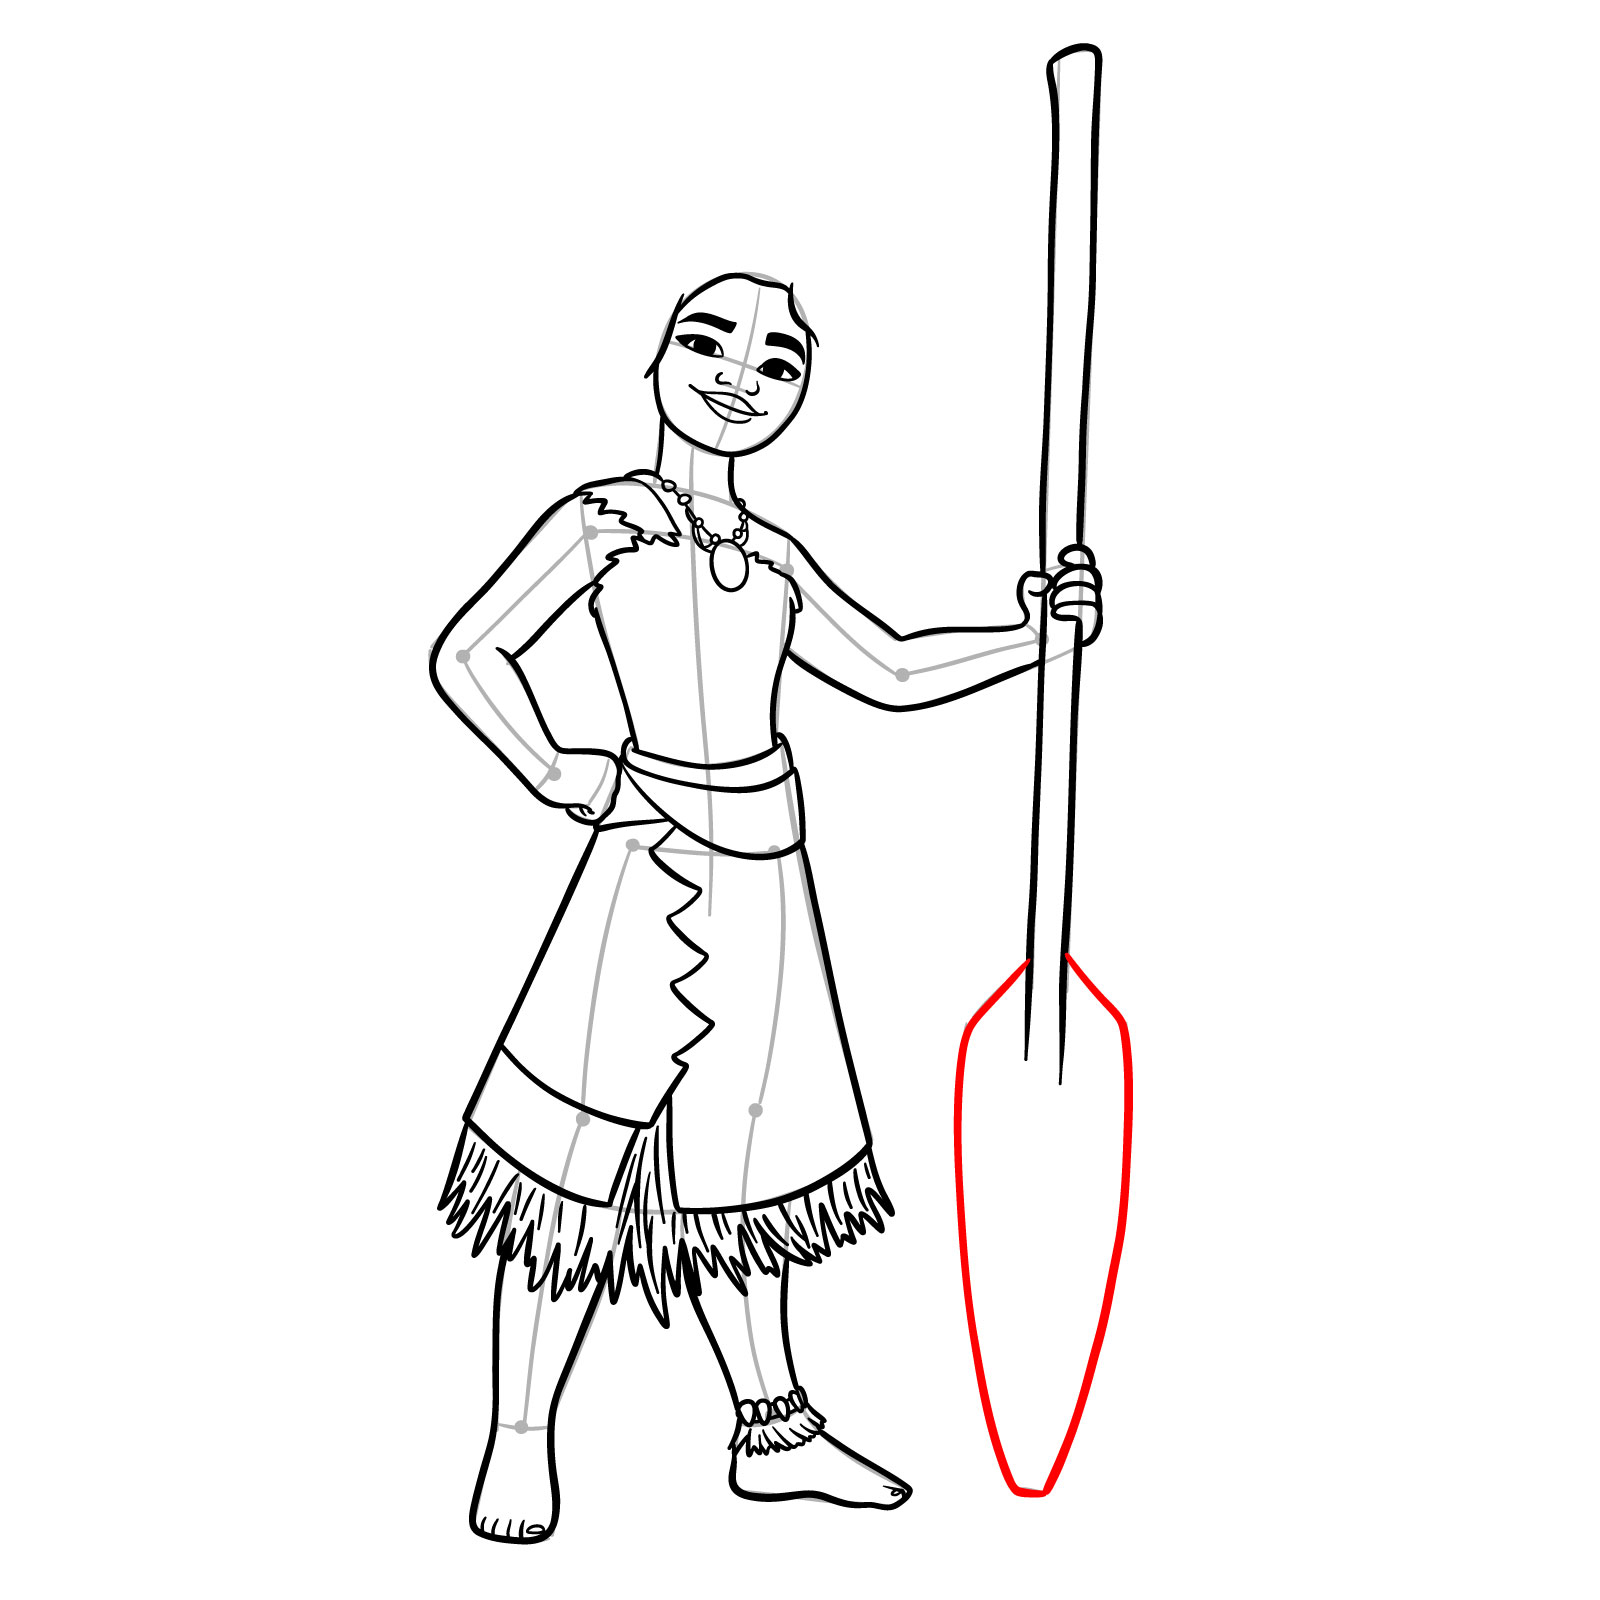
Step 20 – Complete the paddle outline by sketching its main body.
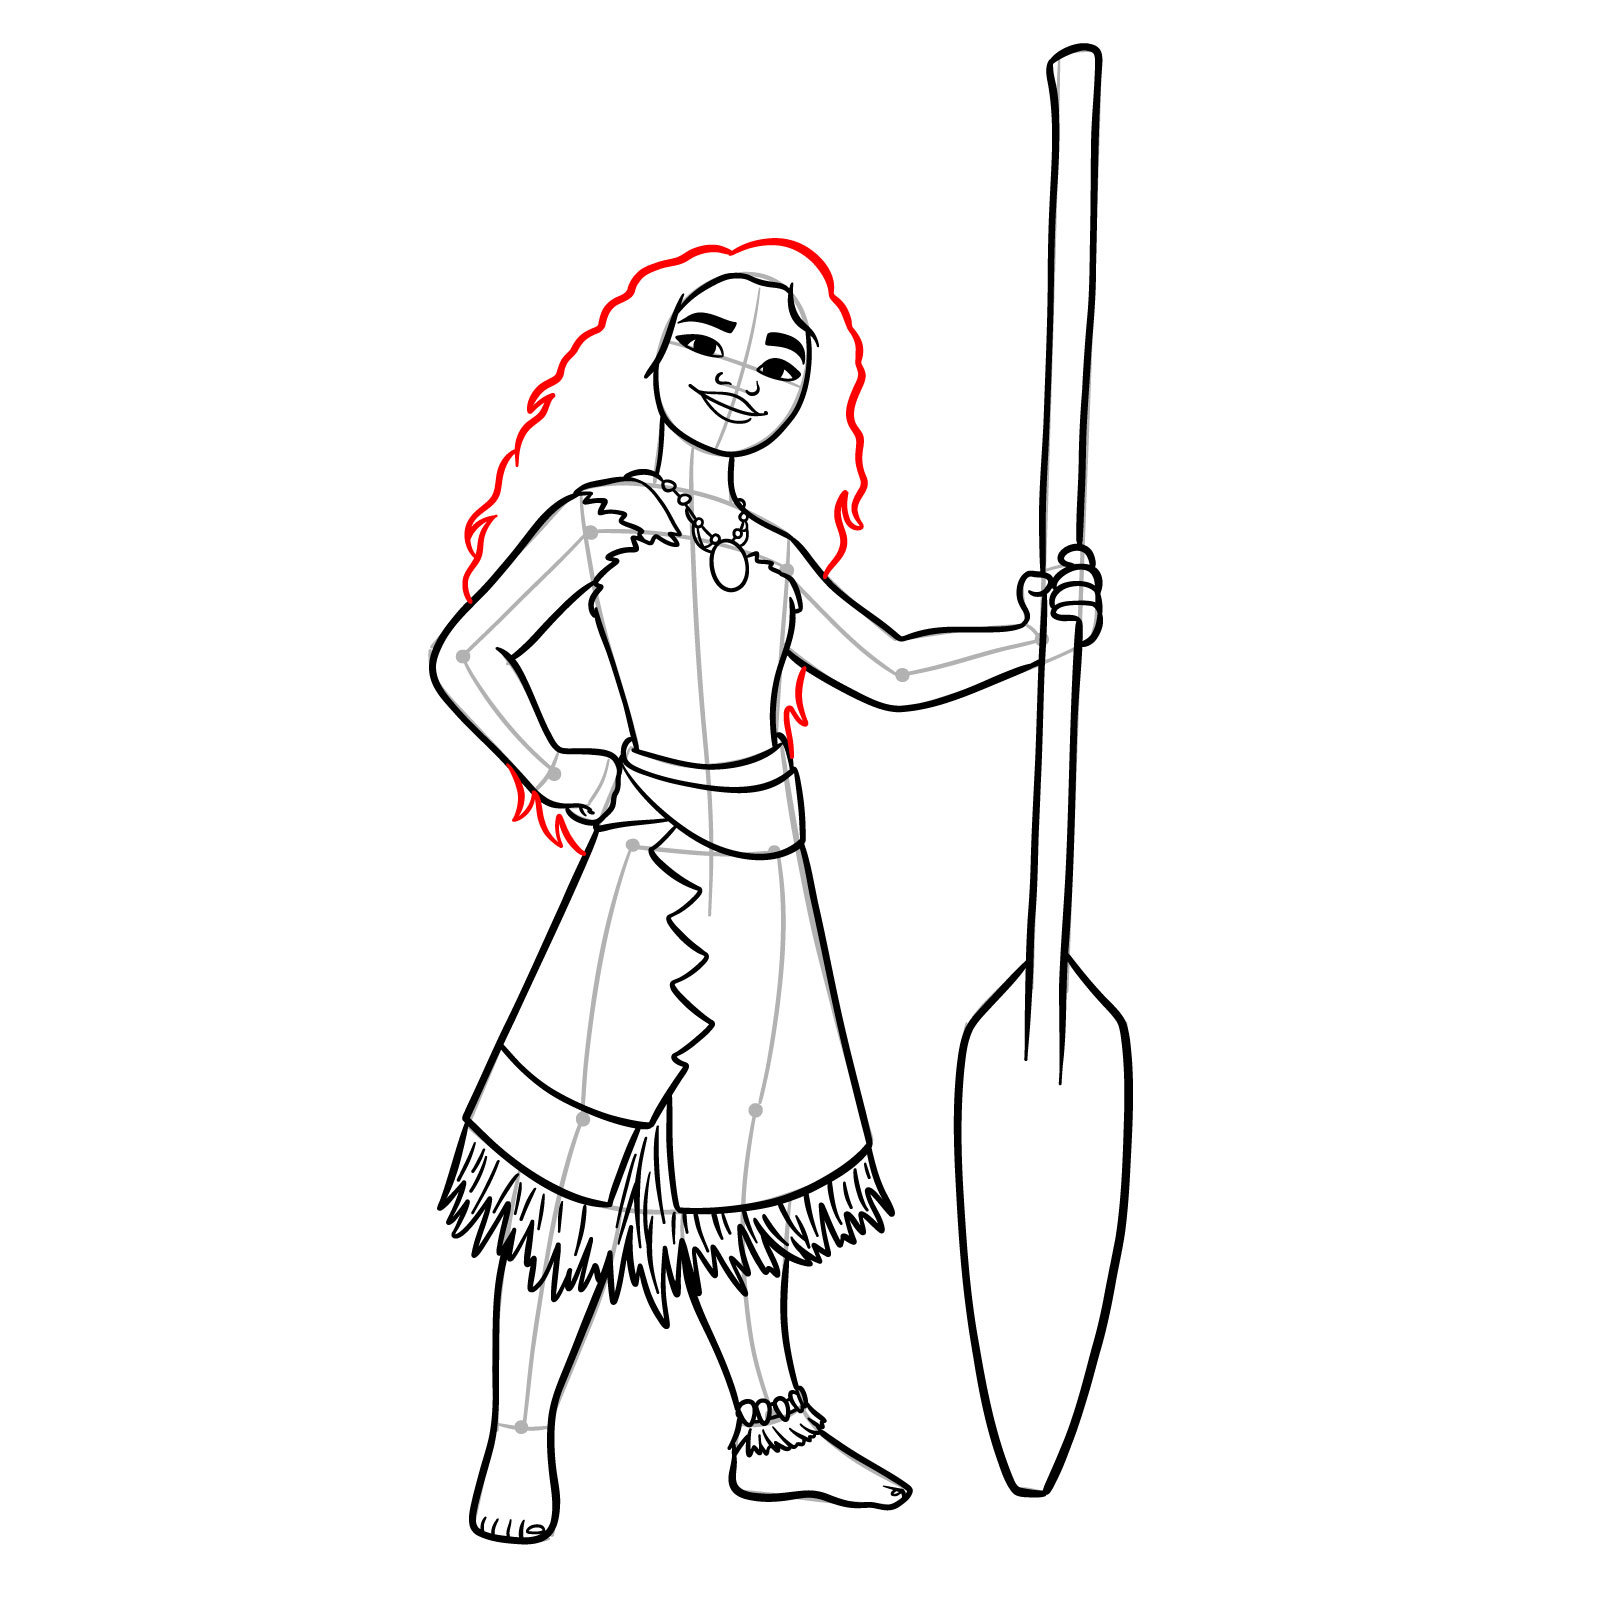
Step 21 – Outline the full shape of Moana’s hair by sketching series of wavy lines.
Step 22 – Add the missing layers and details to Moana’s top and skirt.
Step 23 – Optionally, sketch patterns on Moana’s skirt. Or use other Polynesian-inspired designs or create your own.
Step 24 – Review the drawing and add missing details or corrections. Erase the rough sketch lines. Alternatively, ink the drawing to finalize it. After the ink dries, erase the pencil marks.
Step 25 – Optionally, color your drawing. Use this reference image for accuracy or customize the colors to your liking.
Completing your Moana drawing is a satisfying project, especially with her detailed yet approachable design. Don’t forget to pay attention to her vibrant patterns and unique textures for an authentic result. Adding her paddle or other elements from the film can further enhance your art.
Your support keeps these tutorials free and accessible for everyone. If you enjoyed this guide, consider donating or following us for more art tutorials and updates:
Disclaimer: All original artworks and photos used as references for the creation of these drawing tutorials are the property of their respective owners. If your work has been featured without proper credit, please kindly leave a comment below, and the issue will be promptly addressed. We greatly appreciate your exceptional art. Thank you.
Did you like the tutorial?
You can support the author of this website and also suggest your own ideas for new drawings by making a small donation here: