The enchanting world of Frozen introduced us to a myriad of memorable characters, but none quite as captivating as Olaf, the snowman with a heart of gold. This guide aims to walk you through the steps to capture the essence of his happiness in a drawing. If you’ve ever wondered how to draw happy Olaf, you’re in the right place!
Character’s Appearance and Focus Points When Drawing
Olaf, with his rounded snow-body, twiggy hair, large expressive eyes, and that ever-present carrot nose, radiates joy effortlessly. Here are some key points to emphasize when capturing his jubilant expression:
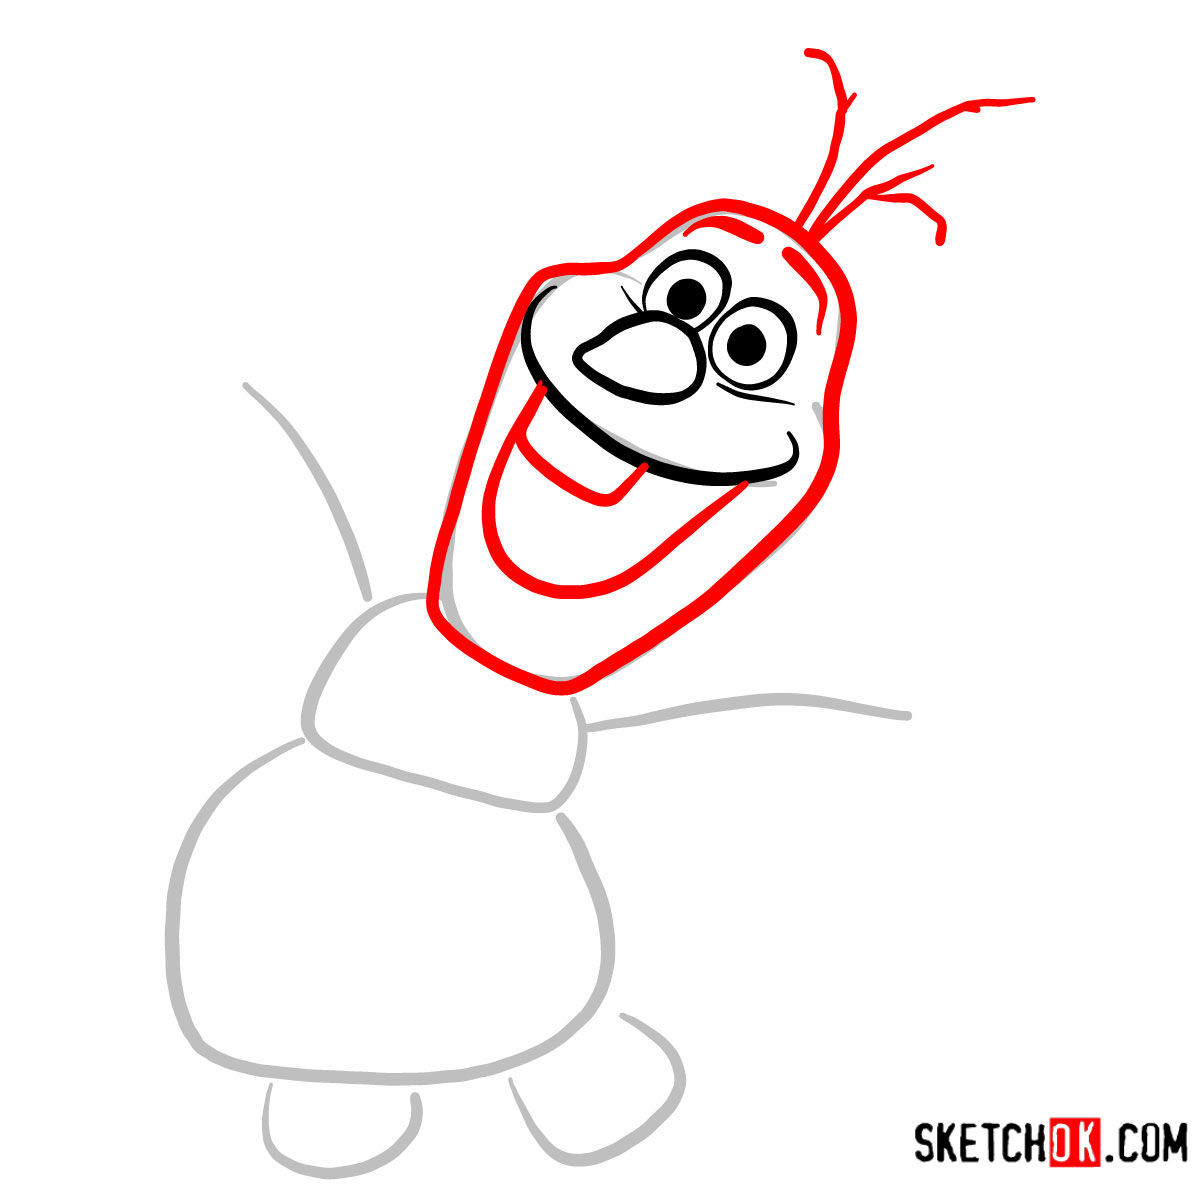
- Carrot Nose: Olaf’s nose is slightly upward pointing, reflecting his optimistic outlook.
- Expressive Eyes: Large and wide, they often sparkle with mischief and wonder.
- Twigs for Hair: These twigs can be drawn sprouting in various playful angles, further emphasizing his cheerful nature.
- Mouth: A wide grin, showcasing his infectious enthusiasm.
- Posture: Often slightly tilted, suggesting his playful and whimsical nature.
Considering adding other characters? Anna and Elsa’s bond with Olaf can amplify the joyous scene. Maybe even Sven, with his lovable antics, could be a great addition.
About the Guide
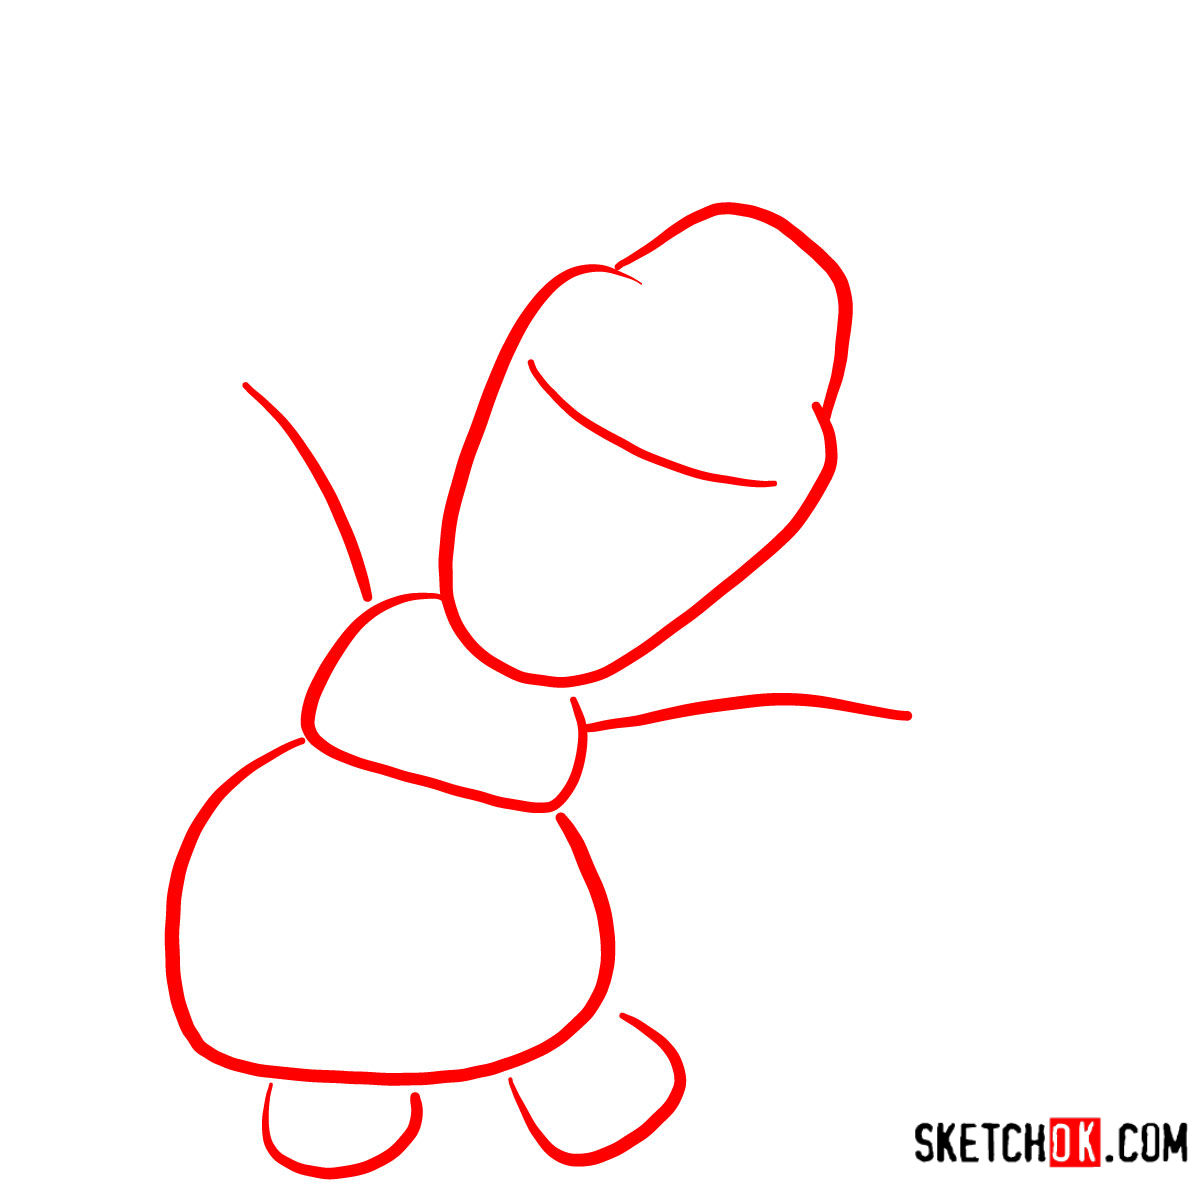
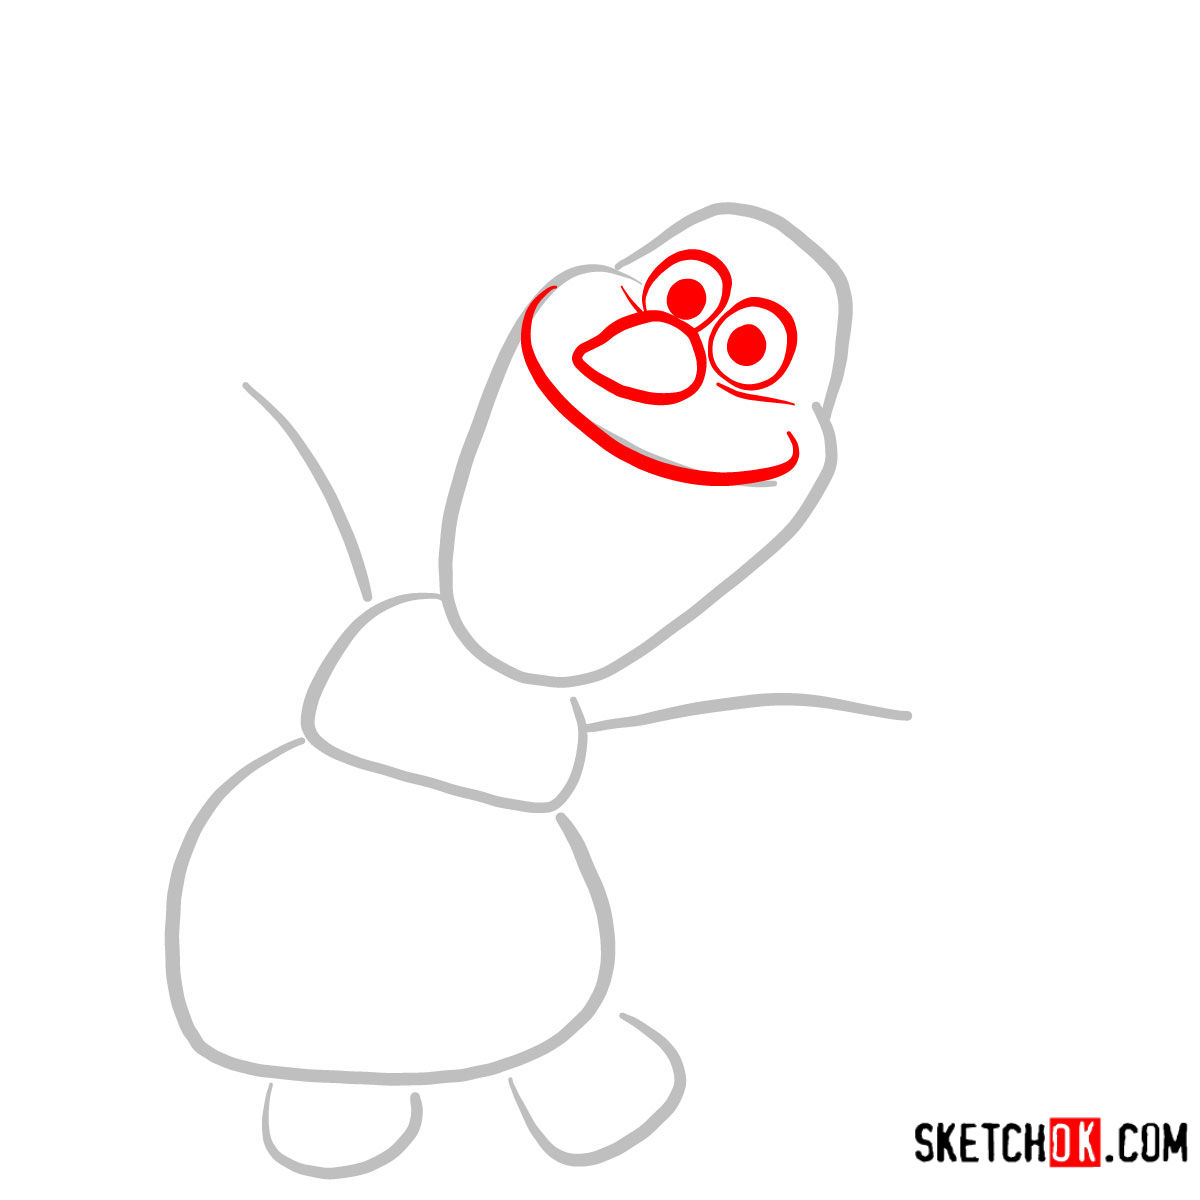
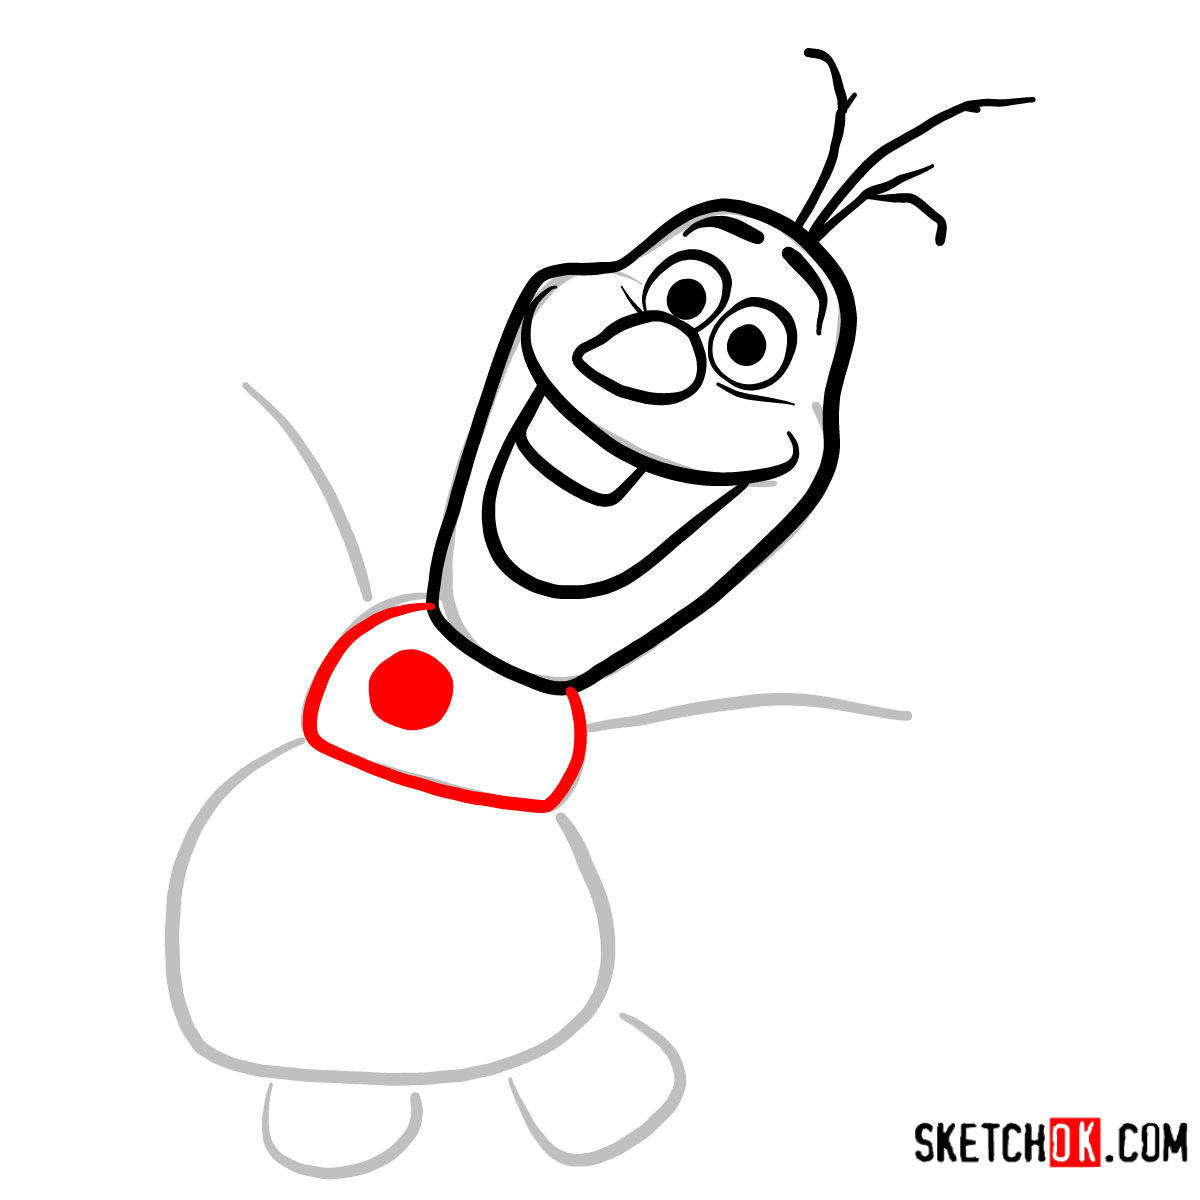
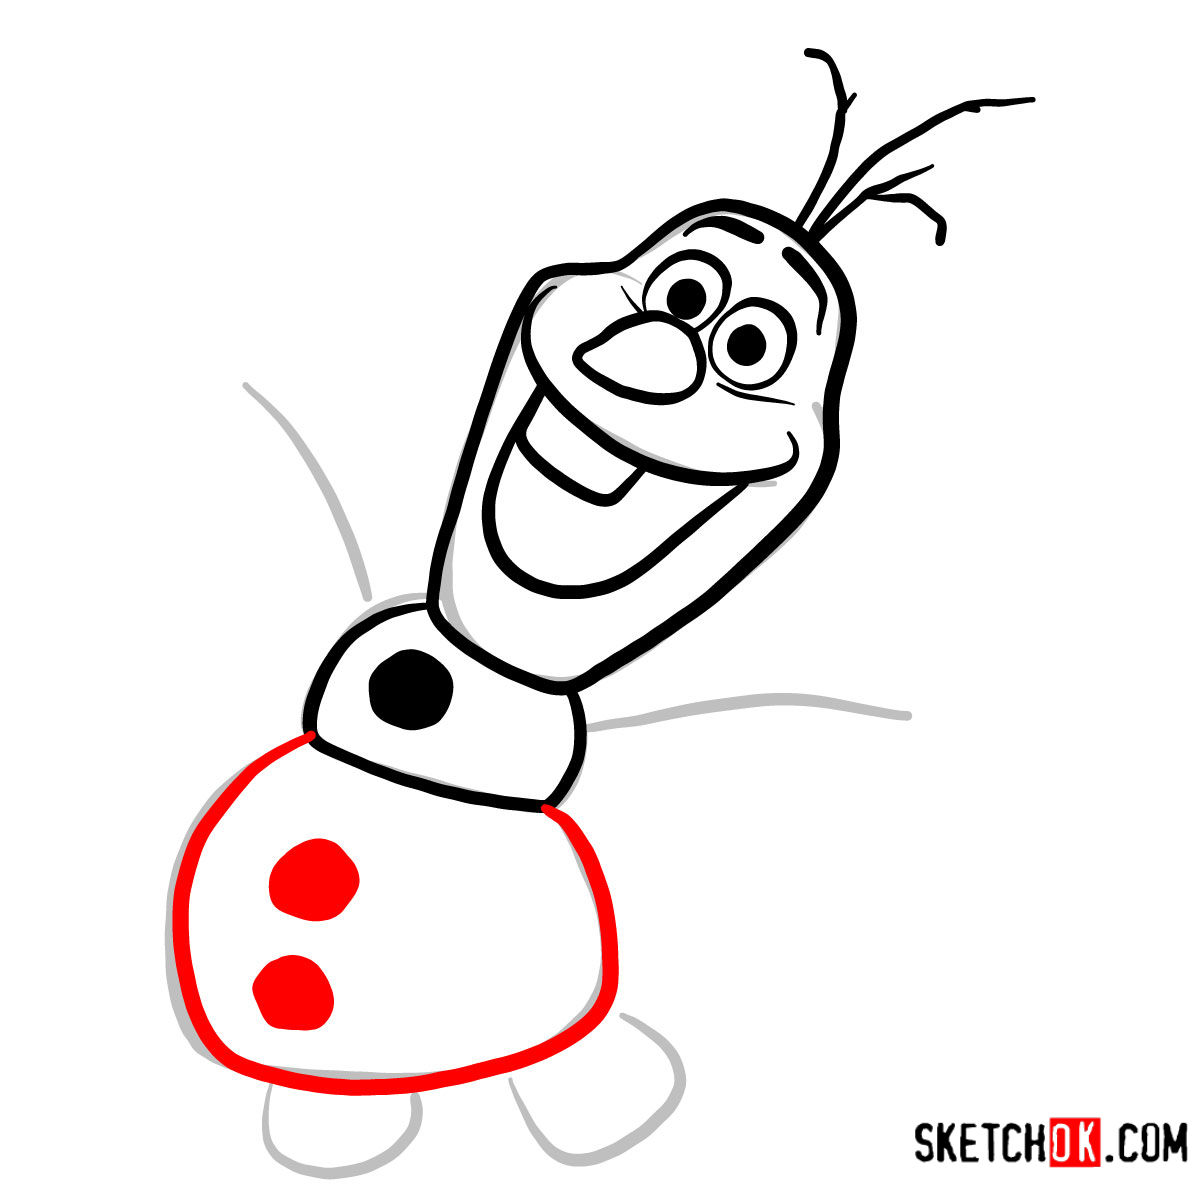
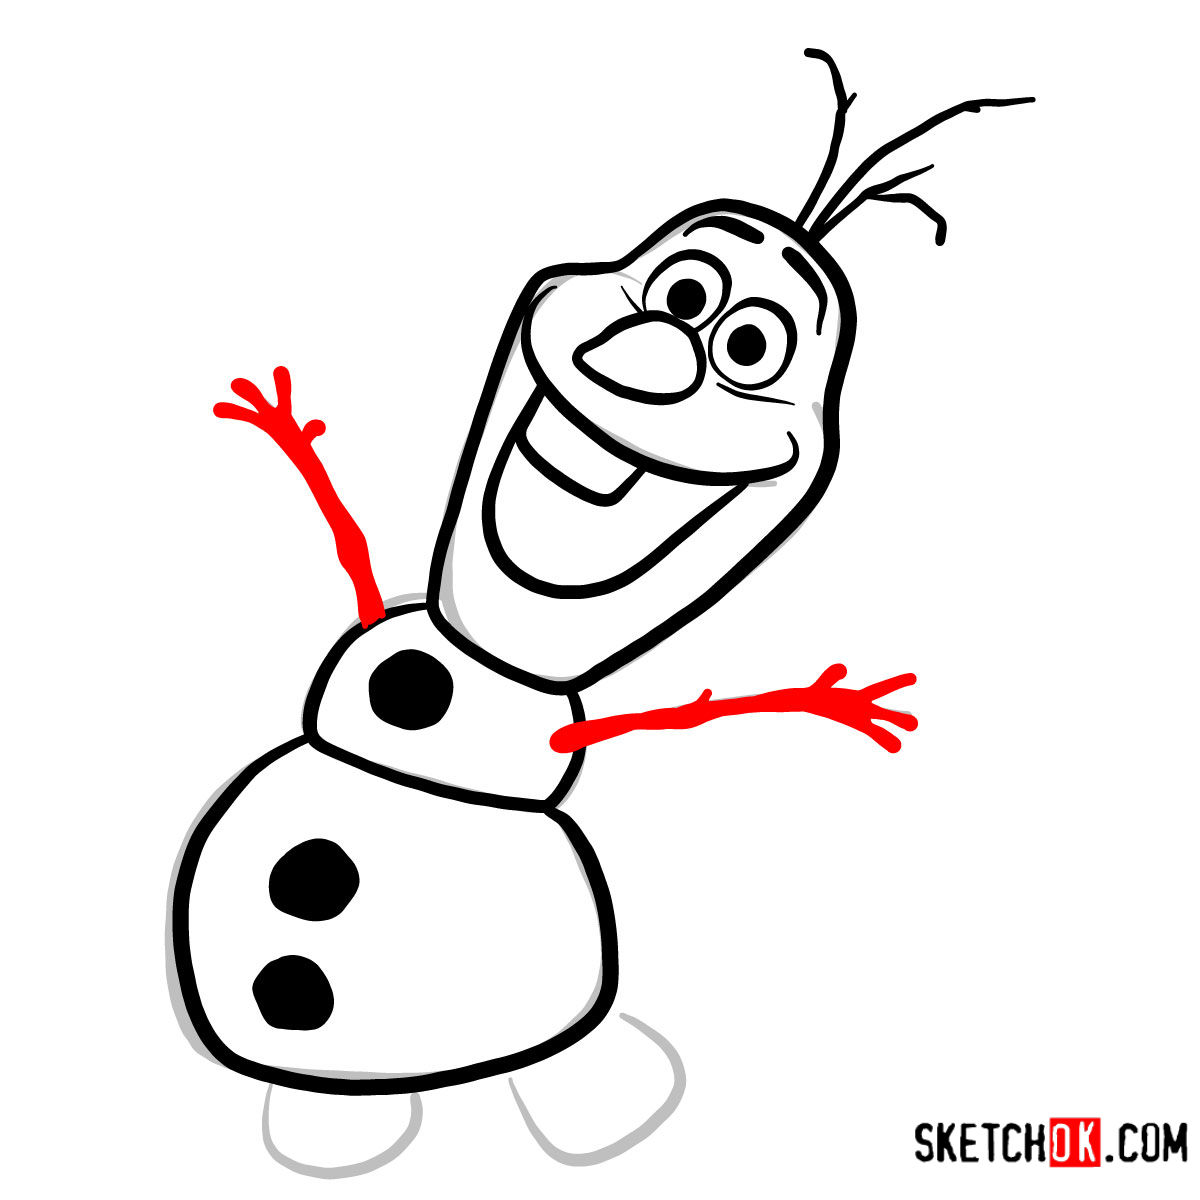
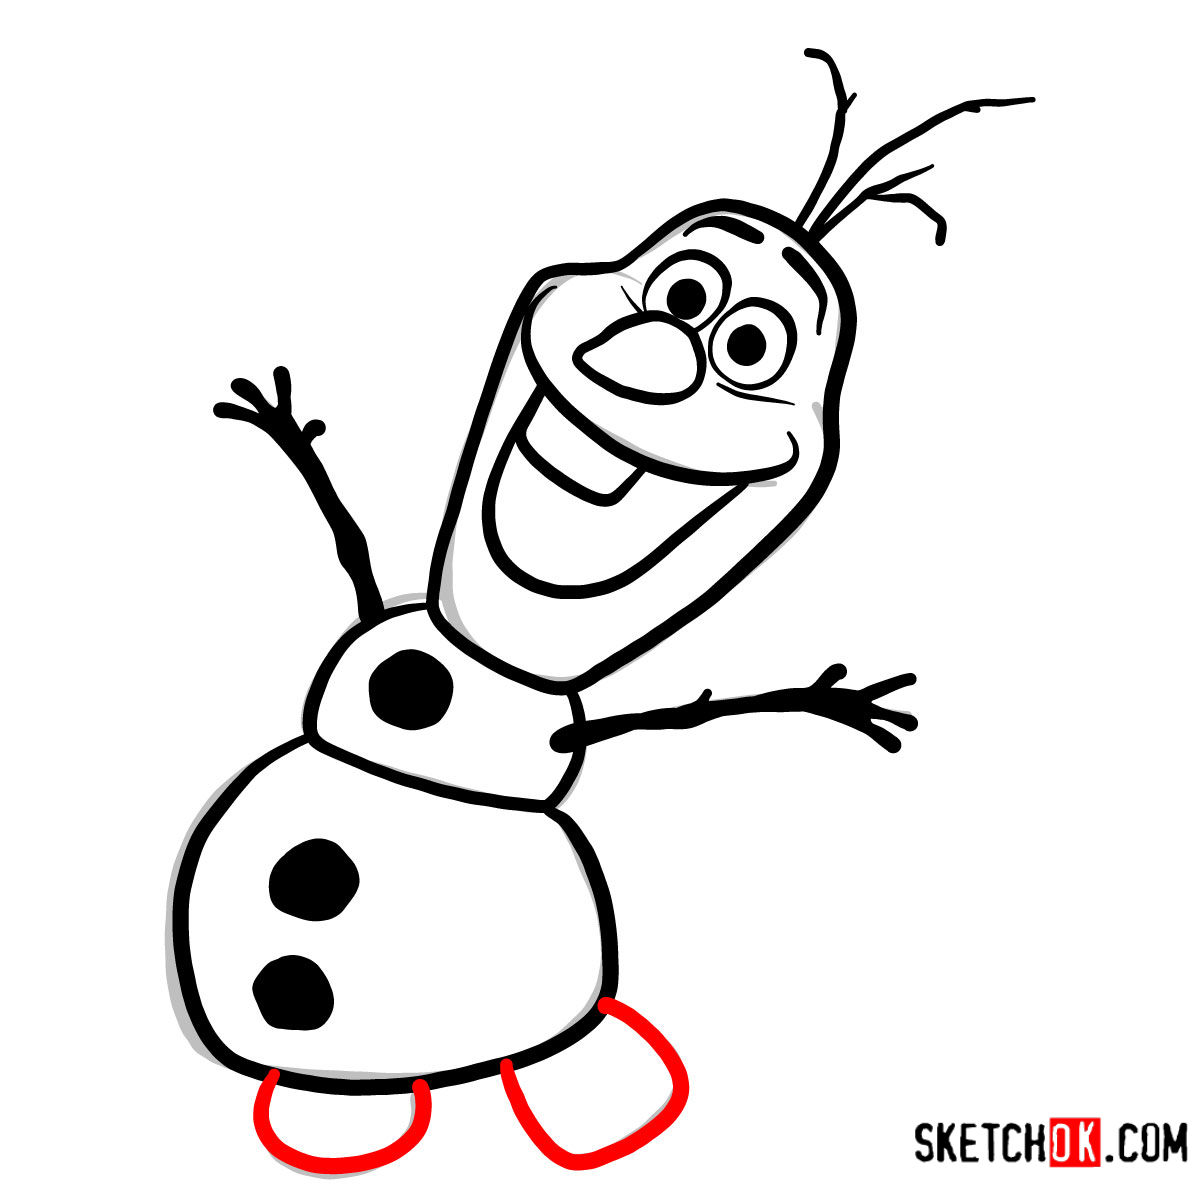
This tutorial consists of 8 progressive steps, guiding you to sketch Olaf’s infectious joy. Let’s understand the guide’s color-coding before diving into the drawing process:
- Red Color: Indicates the current drawing step you should be focusing on.
- Black Color: Showcases the lines you have previously drawn.
- Grey Color: Illustrates the basic proportionate sketch, helping to keep your drawing aligned and proportional.
The first step predominantly involves sketching out the basic structure with light pencil strokes. This establishes the foundation, ensuring proportions are maintained. By the concluding stages, artists may opt to ink their sketch. When using ink, patience is crucial. Allow the ink to dry thoroughly before gently erasing the underlying pencil sketch to prevent smudging.

Drawing is a form of expression, and through this guide on how to draw happy Olaf, I hope you’ve found a delightful way to articulate joy on paper. If you appreciate the tutorials and wish to contribute to SketchOk, consider donating. Your donation not only supports the platform but also allows you to suggest topics for future tutorials. These suggestions will be prioritized, ensuring the content you seek is delivered promptly. Let’s grow this artistic community together. Also, for daily inspiration and updates, follow SketchOk on Facebook, Instagram, and Pinterest. And remember, sharing is caring, so don’t hesitate to share the link to this guide with fellow art enthusiasts!