Welcome, aspiring artists, to our step-by-step drawing tutorial on how to draw Lisbeth from Sword Art Online (SAO). Join me as we dive into the captivating world of SAO and bring the lively character of Lisbeth to life through our artwork. Whether you’re a seasoned artist or just starting your creative journey, this guide will equip you with the skills and techniques to create a stunning representation of this character.
Getting to Know Lisbeth
Lisbeth, also known as Shinozaki Rika, is a supporting character in the Aincrad Arc of SAO. Throughout the series, she plays various roles, such as a blacksmith, a member of Girls Ops, and a loyal friend to the main characters. In SAO, she becomes a skilled blacksmith and opens her own store in Lindarth. After the game is cleared, Lisbeth ventures into ALfheim Online (ALO) as a Leprechaun blacksmith, where she continues her passion.
Lisbeth’s avatar in ALO closely resembles her appearance in SAO. With her distinctive pink hair, red and white dress, and brown boots, she stands out among the virtual world’s diverse characters.
Throughout the SAO series, she develops meaningful relationships with other characters, such as Kirigaya Suguha (Leafa) and Ayano Keiko (Silica). Her kind-hearted nature and determination make her a beloved and memorable character in the SAO universe.
Materials and Tools
Before we embark on our artistic journey, let’s gather the recommended materials and tools:
- Pencils: Have a range of pencils, including 2B, 4B, and 6B for sketching and shading.
- Paper: Choose a drawing paper that can handle various techniques and erasing.
- Eraser: Use a kneaded eraser or a soft vinyl eraser to correct mistakes and lighten pencil marks.
- Fineliner Pen: Use a fine-tipped pen for inking and outlining your final drawing.
- Markers or Colored Pencils (Optional): If you prefer to add color to your artwork, have a set of markers or colored pencils ready.
Step-by-Step Drawing Guide
Follow this step-by-step guide to create a stunning drawing of Lisbeth:
Part 1: Basic Sketch
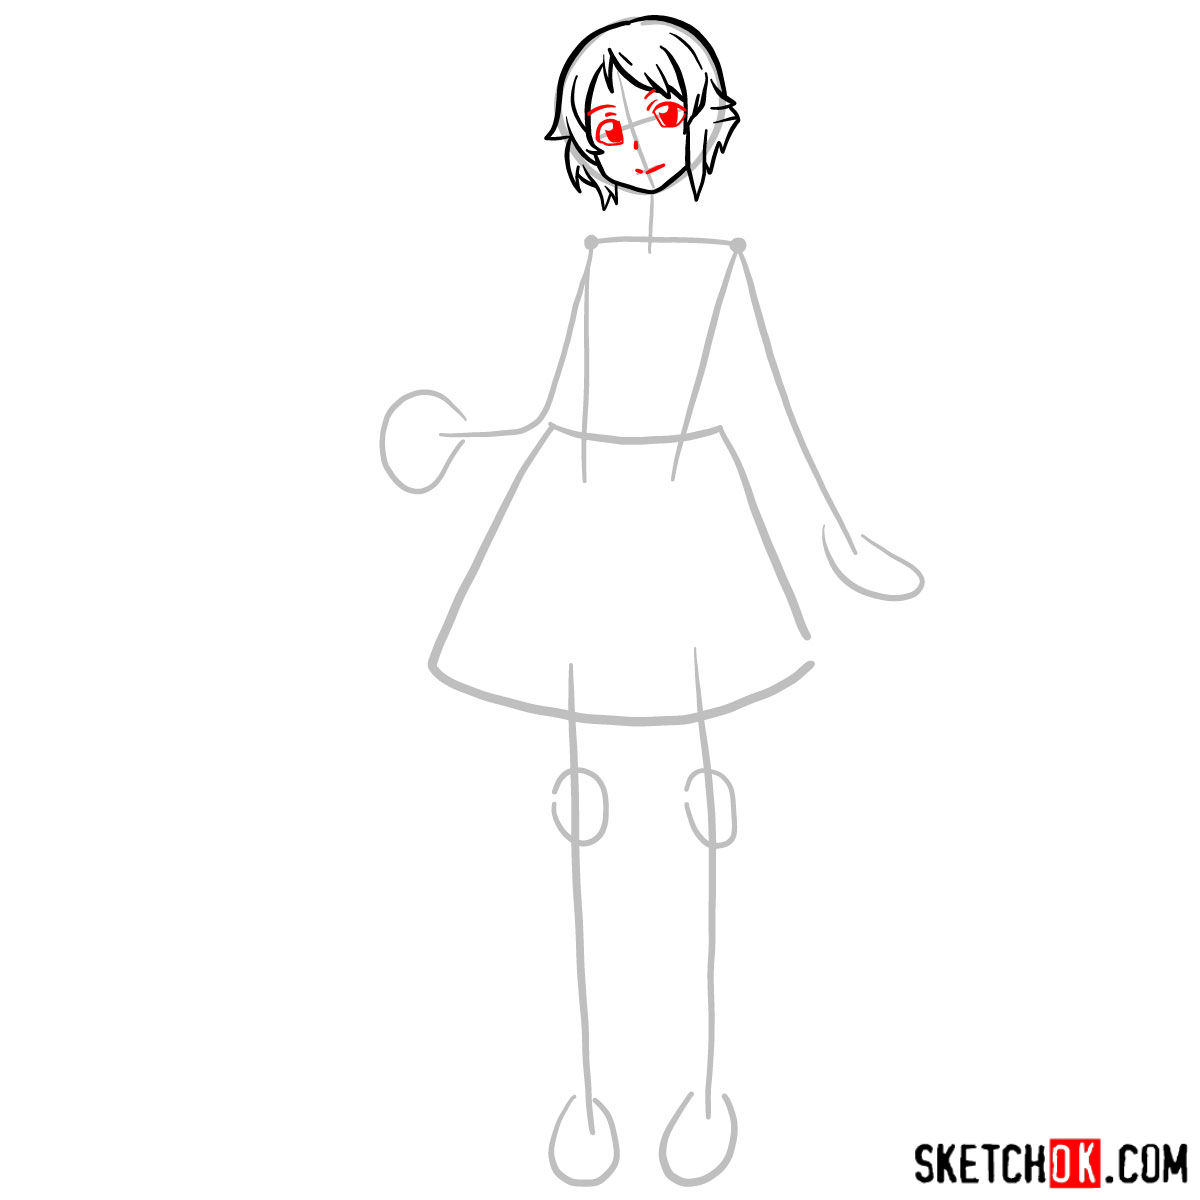
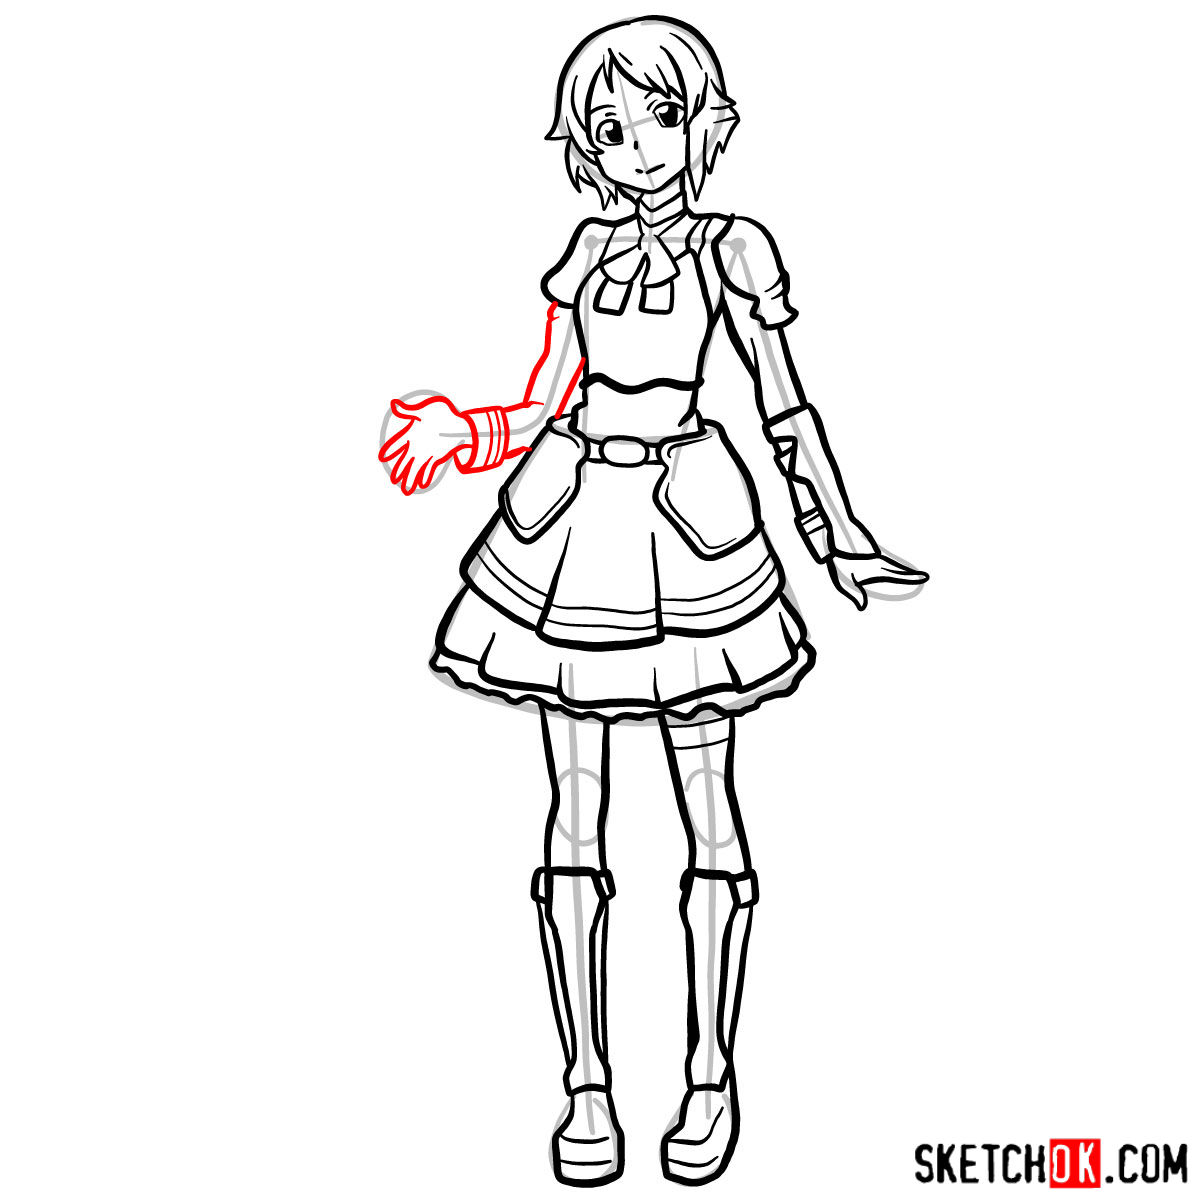
Let’s begin by creating a basic structure for our drawing. Start with light pencil strokes to outline Lisbeth’s proportions. Remember, the red color in the images represents the current drawing step, while the grey color shows the basic proportions sketch, and the black color represents the previously drawn lines. Take your time with this step to ensure accurate proportions and placement of features.

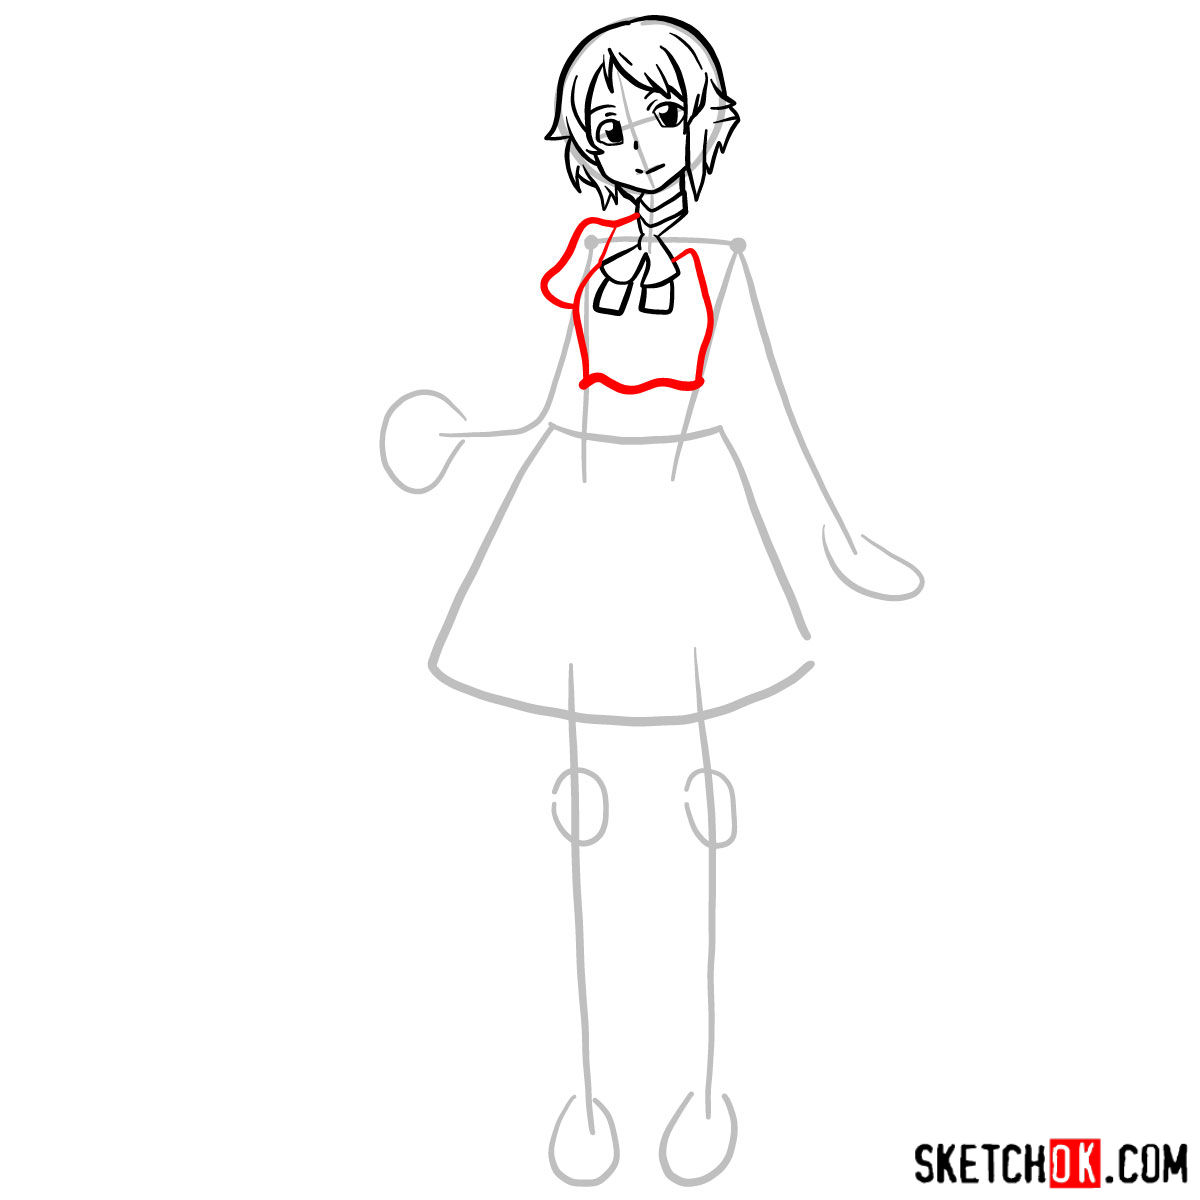
Part 2: Refining the Sketch
Now that we have the basic outline, it’s time to refine our sketch. Pay close attention to the reference image and use light, confident strokes to capture the essence of her character. Gradually build up the details, making adjustments as needed to achieve a likeness.


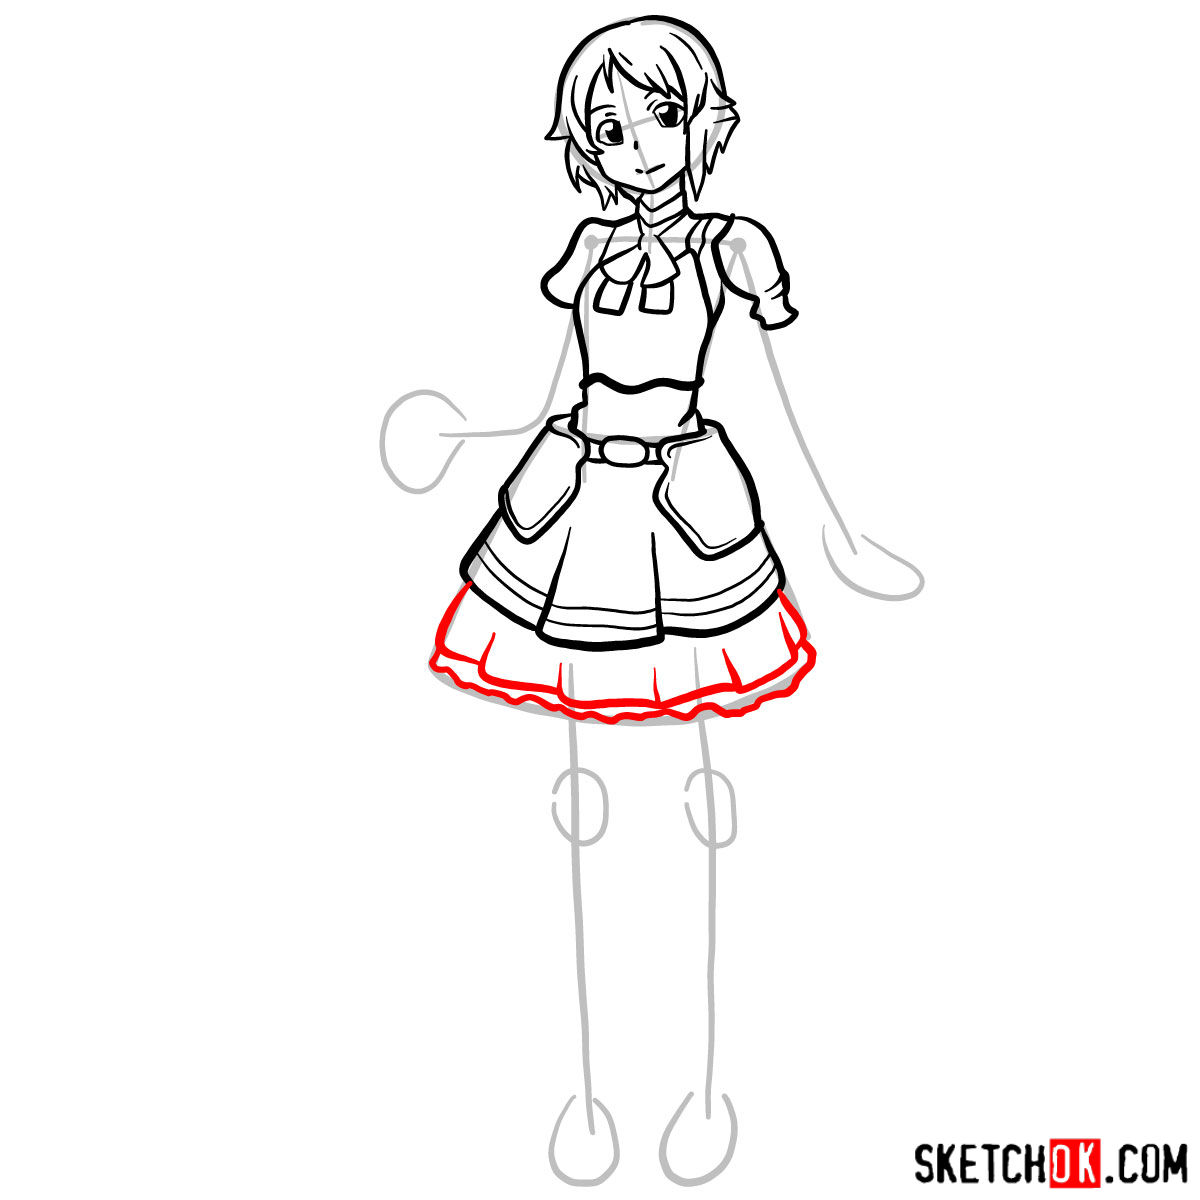


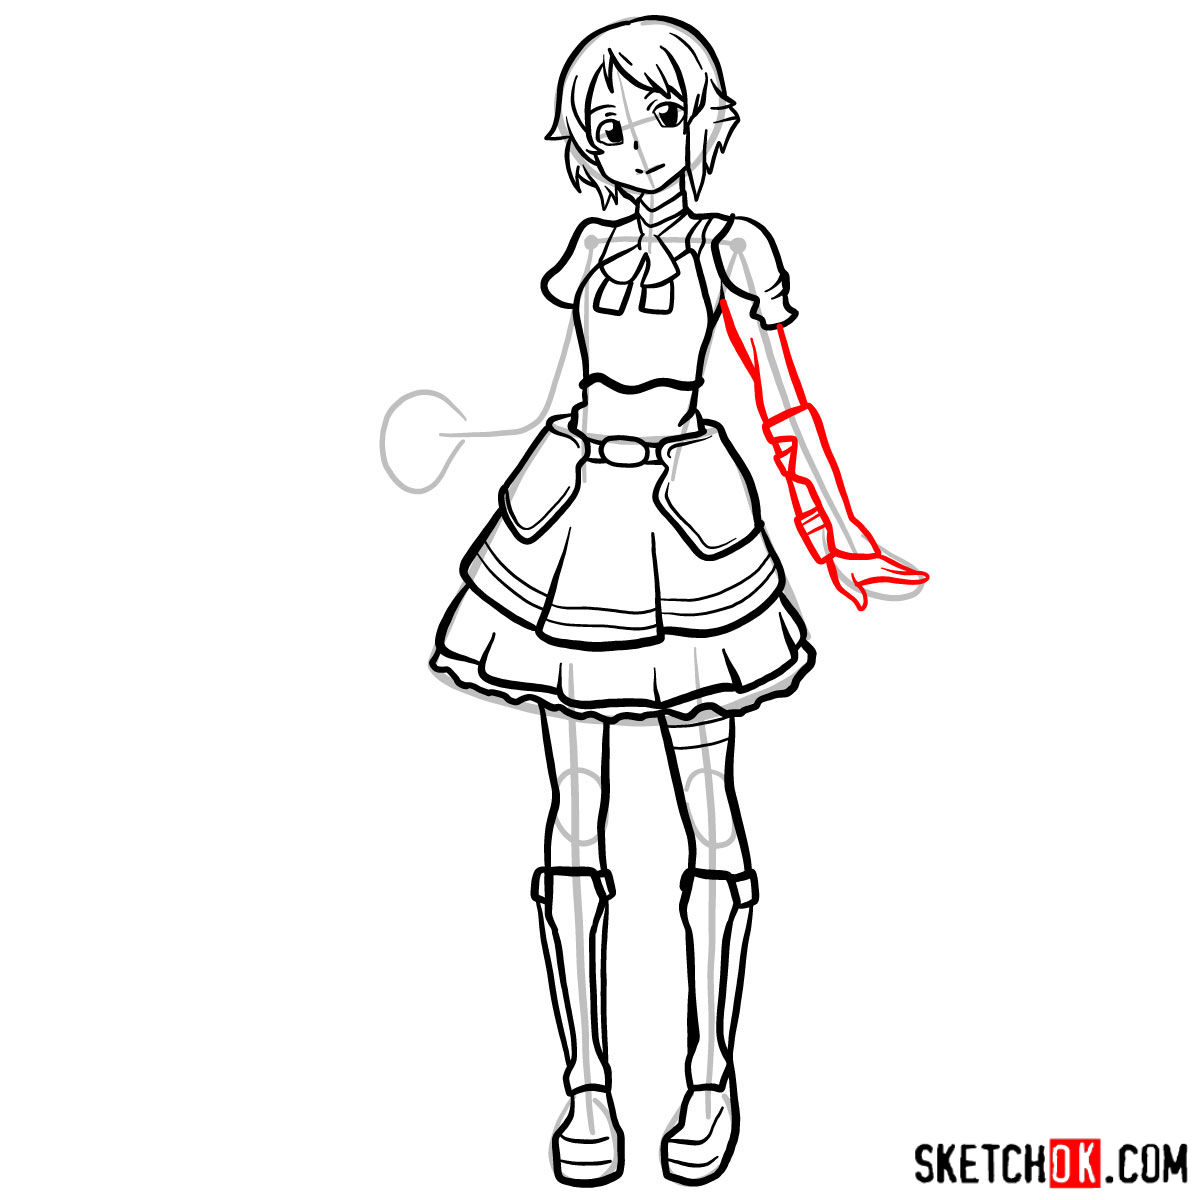

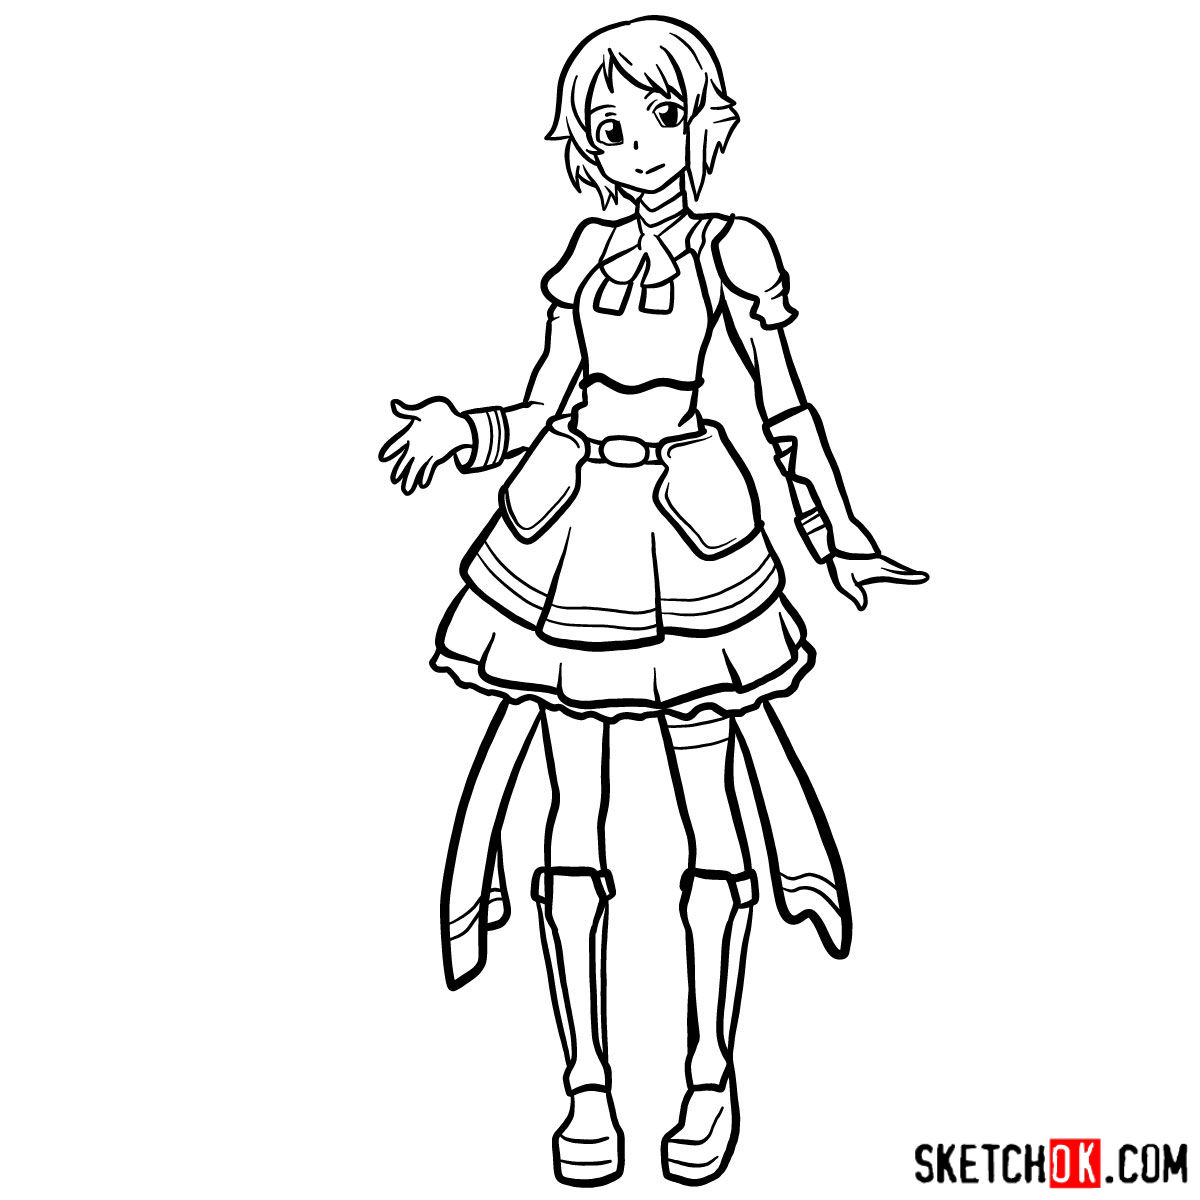
Part 3: Inking
Once you’re satisfied with your refined sketch, it’s time to ink your drawing. Grab your fine-tipped pen and carefully outline the important lines and features of Lisbeth. Use smooth, deliberate strokes to bring out the details and add depth to your artwork. Take your time and be patient during this step, as inking requires precision and attention to detail.
Part 4: Coloring and Shading
Now comes the exciting part—adding color and bringing your drawing to life. Select your preferred coloring tools, whether it’s markers or colored pencils, and begin adding colors to Lisbeth’s appearance. Pay attention to the color scheme of her character design, including her pink hair, red and white dress, and brown boots.
Start by applying base colors, gradually layering and blending to achieve smooth transitions. Add shading to create depth and dimension, focusing on areas with shadows and highlights. Experiment with different techniques, such as hatching, cross-hatching, or blending with a blending stump, to enhance the overall realism of your artwork.

Congratulations on completing the step-by-step guide on how to draw Lisbeth from SAO! I hope this tutorial has helped you gain valuable insights and improve your drawing skills.
Remember, practice makes perfect, so keep drawing and exploring your creativity. Don’t hesitate to try different techniques, experiment with various characters, and continue to challenge yourself. The more you draw, the more you’ll grow as an artist!
If you enjoyed this tutorial and found it helpful, we would greatly appreciate your support. Here’s how you can connect with us and contribute:
Donate on Buy Me a Coffee: If you’d like to show your appreciation and support our content, please consider buying me a coffee. Your contribution will help me create more free tutorials and resources for aspiring artists like you.
Follow Us on Social Media:
– Facebook: Like and follow our Facebook page for regular updates, behind-the-scenes content, and additional drawing tips.
– Instagram: Follow us on Instagram to see our latest artwork, works in progress, and join a vibrant community of fellow artists.
– Pinterest: Discover our boards on Pinterest too.
Thank you for joining us on this artistic adventure. Keep drawing, stay inspired!