Last Updated on May 14, 2026
In the world of enchanting characters, few are as captivating as Chariclo Arganthone “C.A.” Cupid. Embarking on a quest to understand how to draw C.A. Cupid unveils more than just artistic strokes; it offers a glimpse into a character filled with mystery, charm, and a dash of sass. Let’s begin our journey!
Charming Traits: Cupid’s Signature Features
- Skin: Transitioning from a pristine white to an elusive black, mirroring Spectra’s transparency.
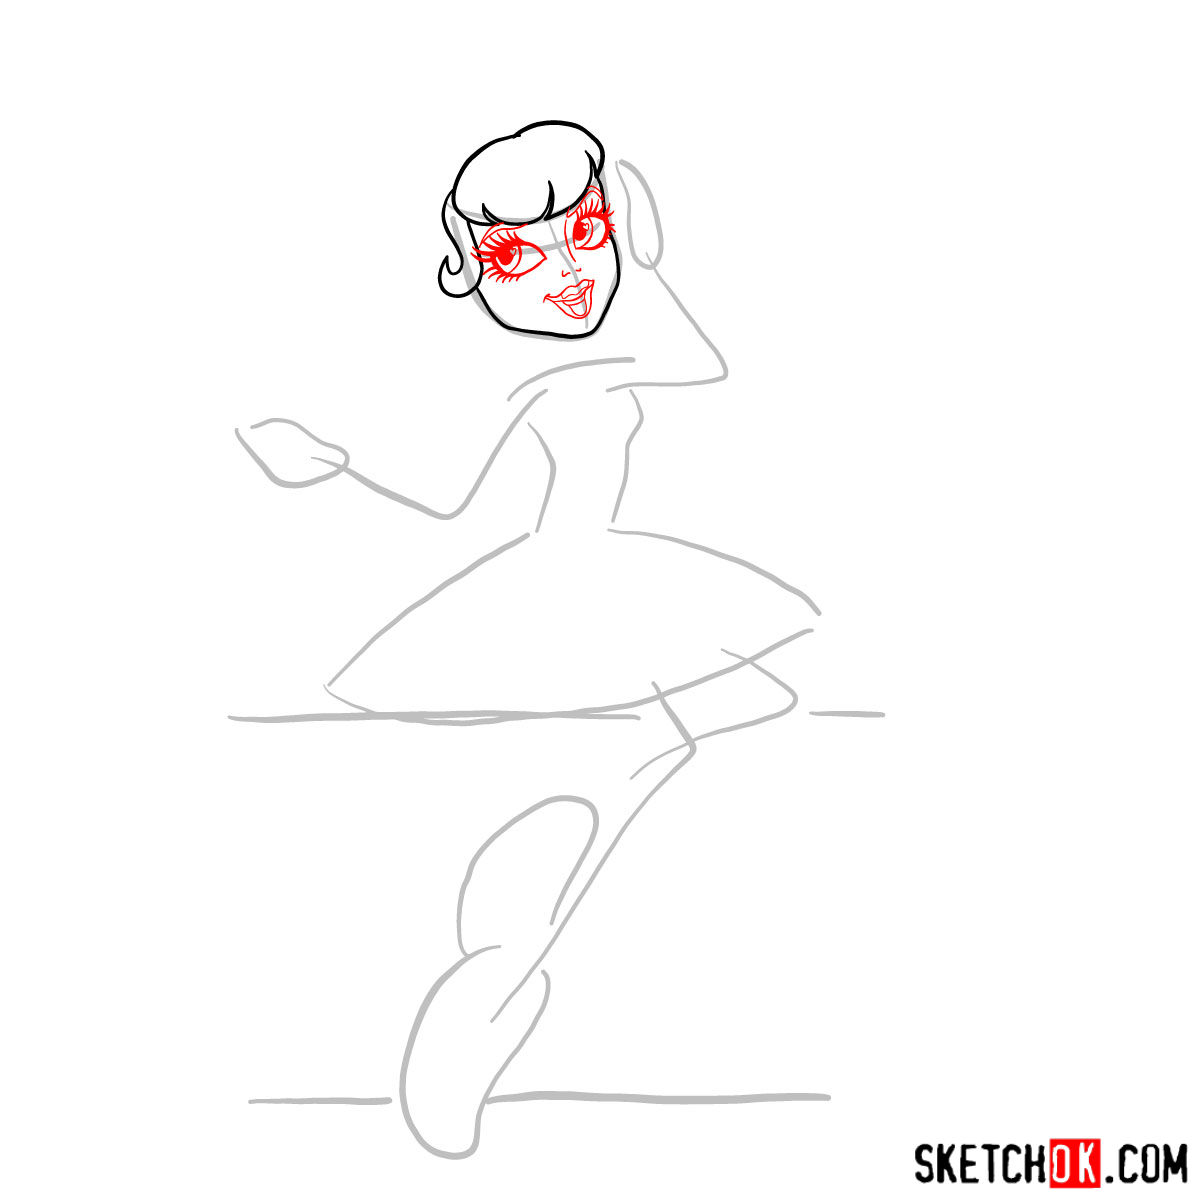
- Hair: Wavy pink locks, styled to give the illusion of a halo.
- Eyes: Mesmerizing aqua blue orbs that captivate anyone who gazes into them.
- Lips: Pink lipstick concentrated at the center, crafting a heart-shaped allure.
- Wings: Unique rib cage design with a spine that doubles as a necklace.
- Eyebrows: Typically pink but can also be portrayed in a brown hue.
Drawing C.A. Cupid isn’t just about capturing her look, but also her essence. Think of integrating characters like those from Monster High or even students from Ever After High to enhance the story in your art.
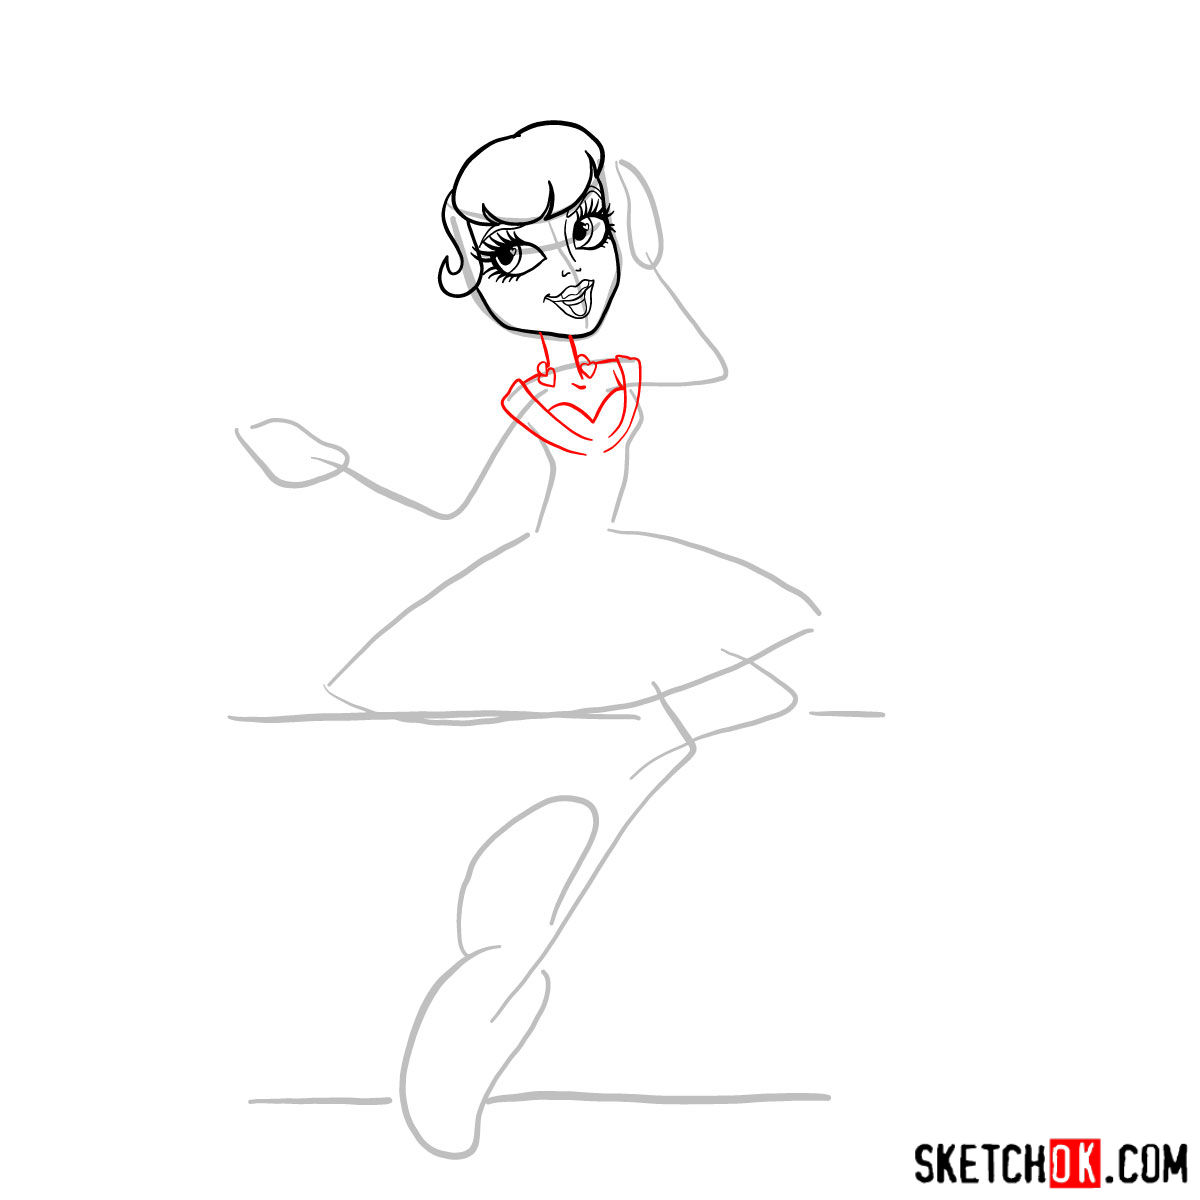
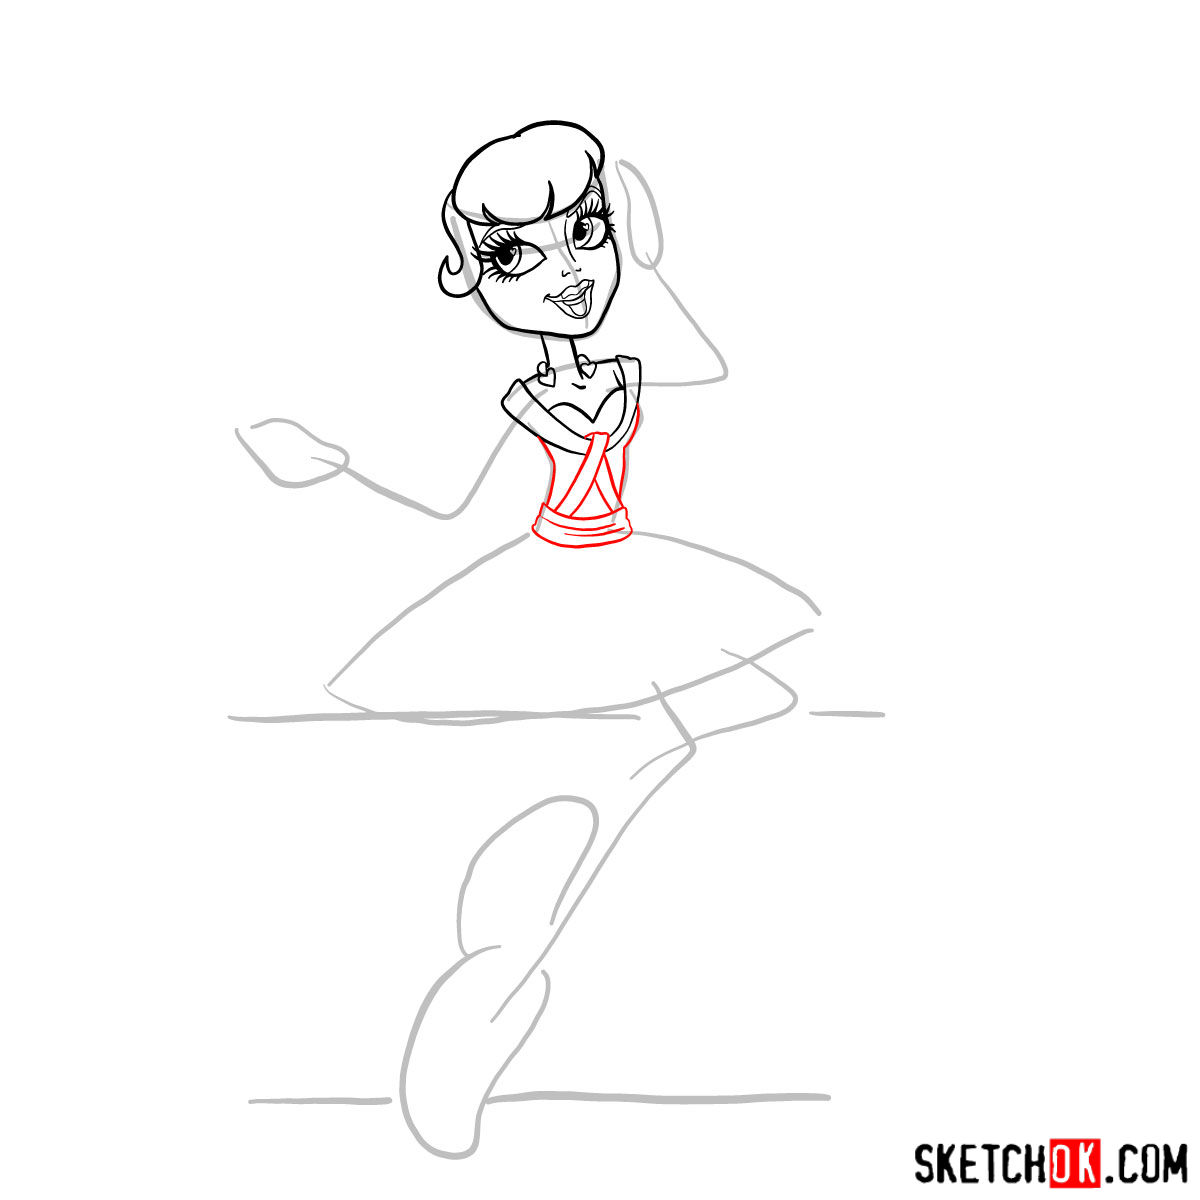
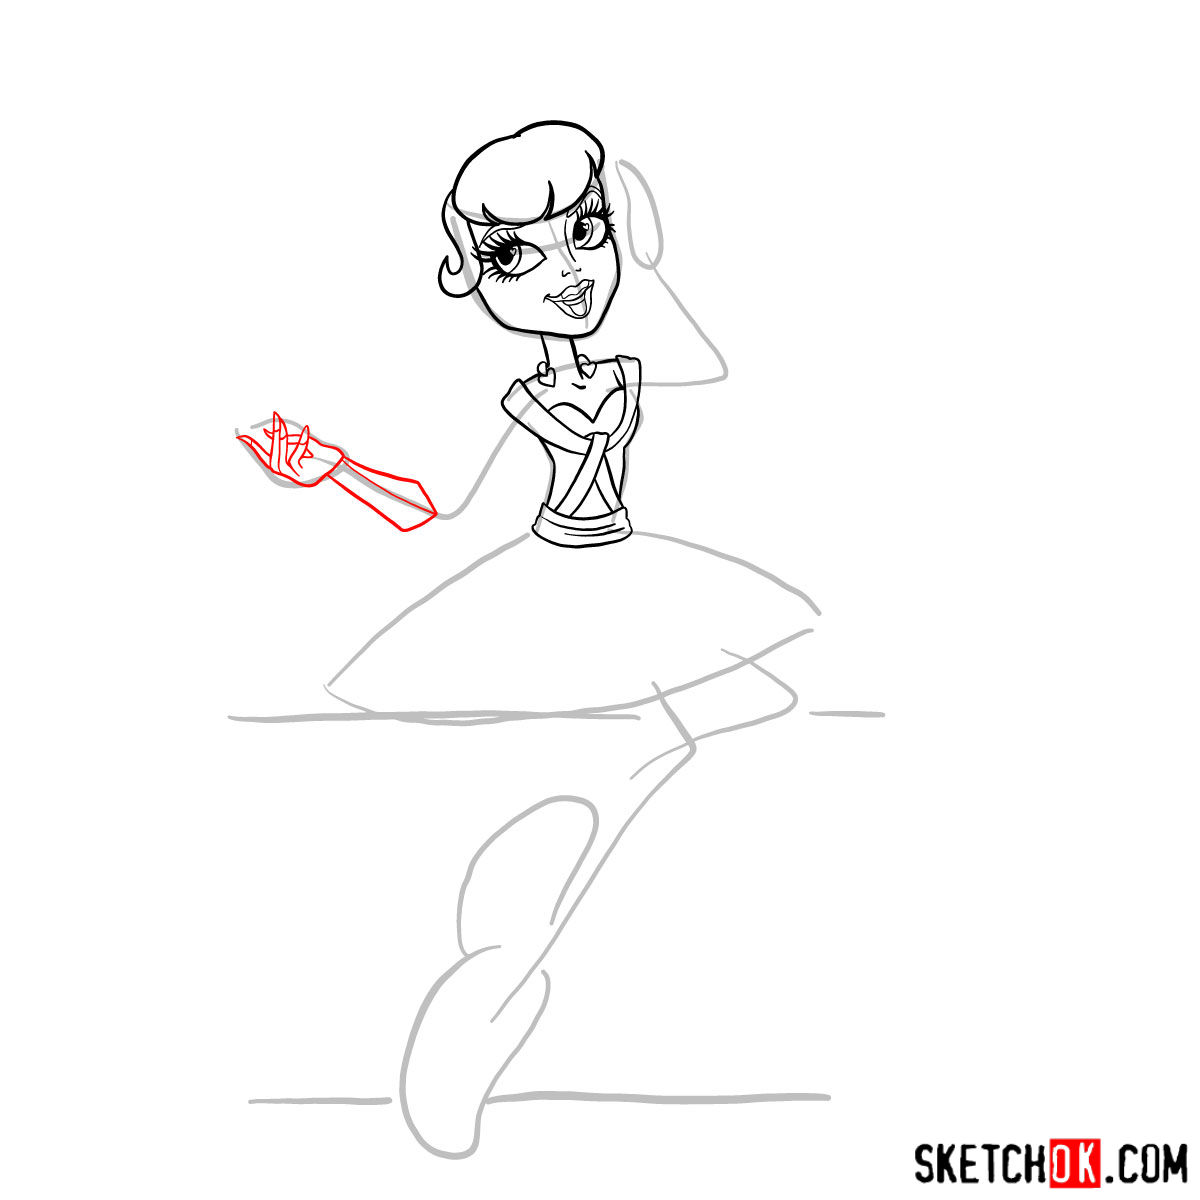
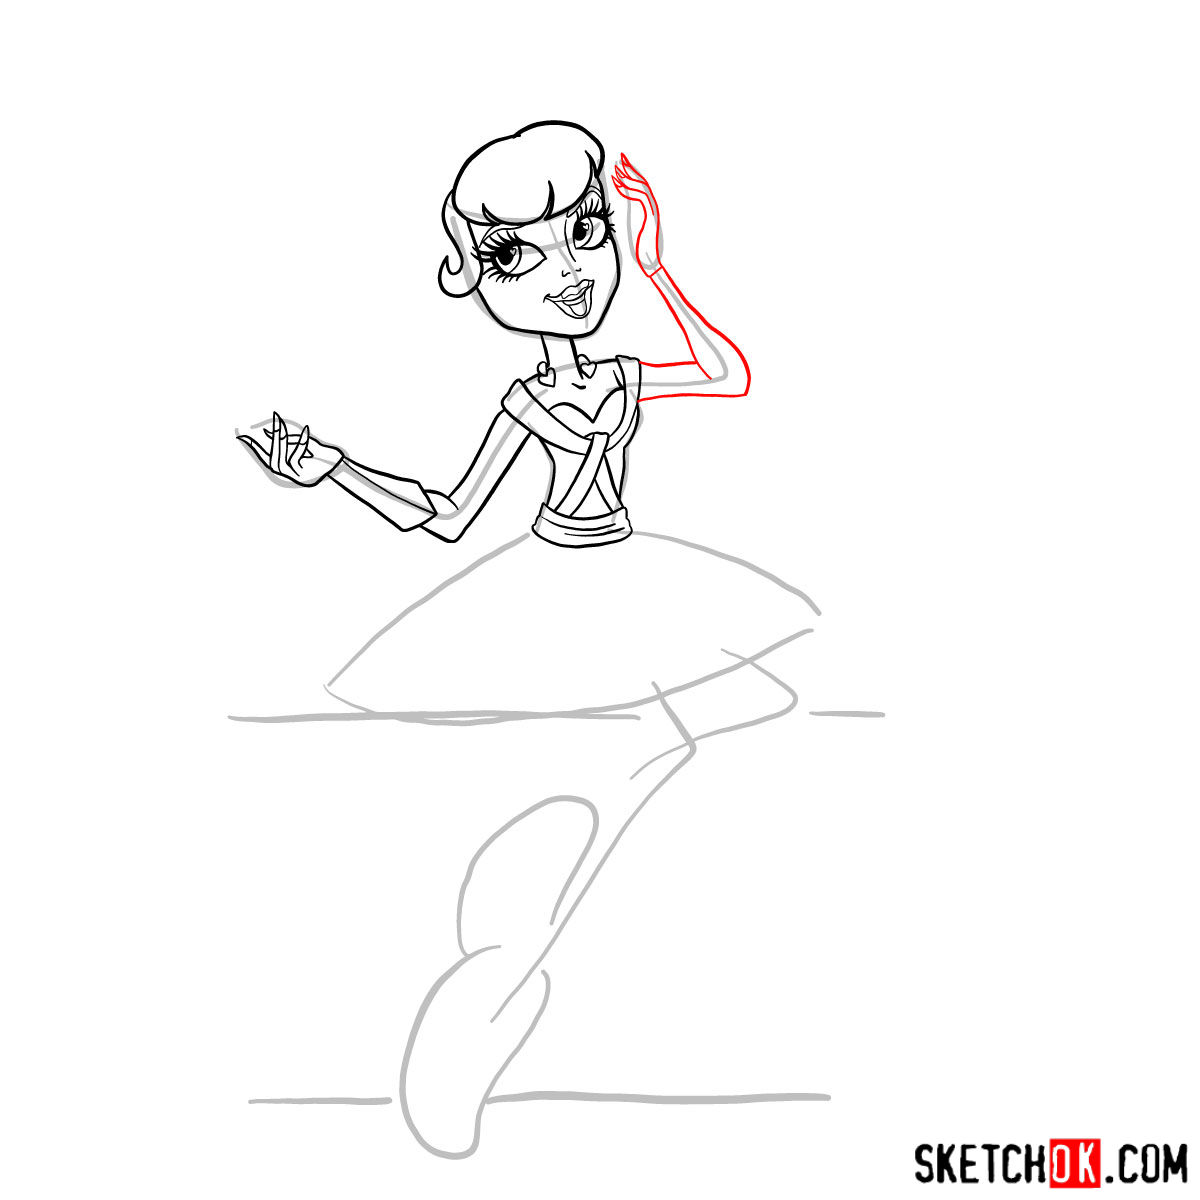
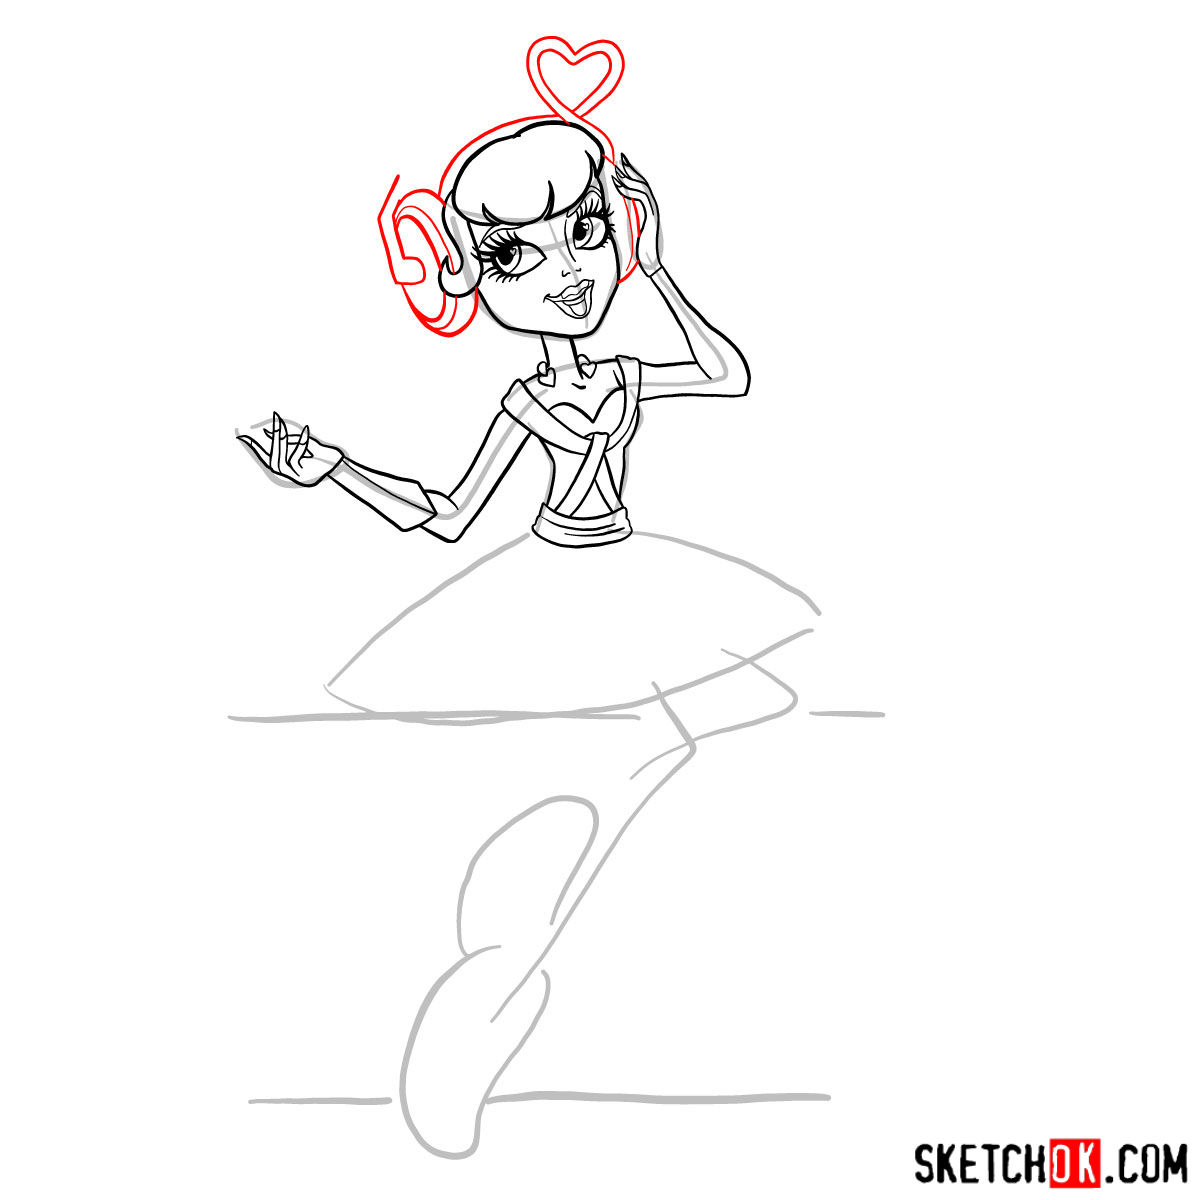
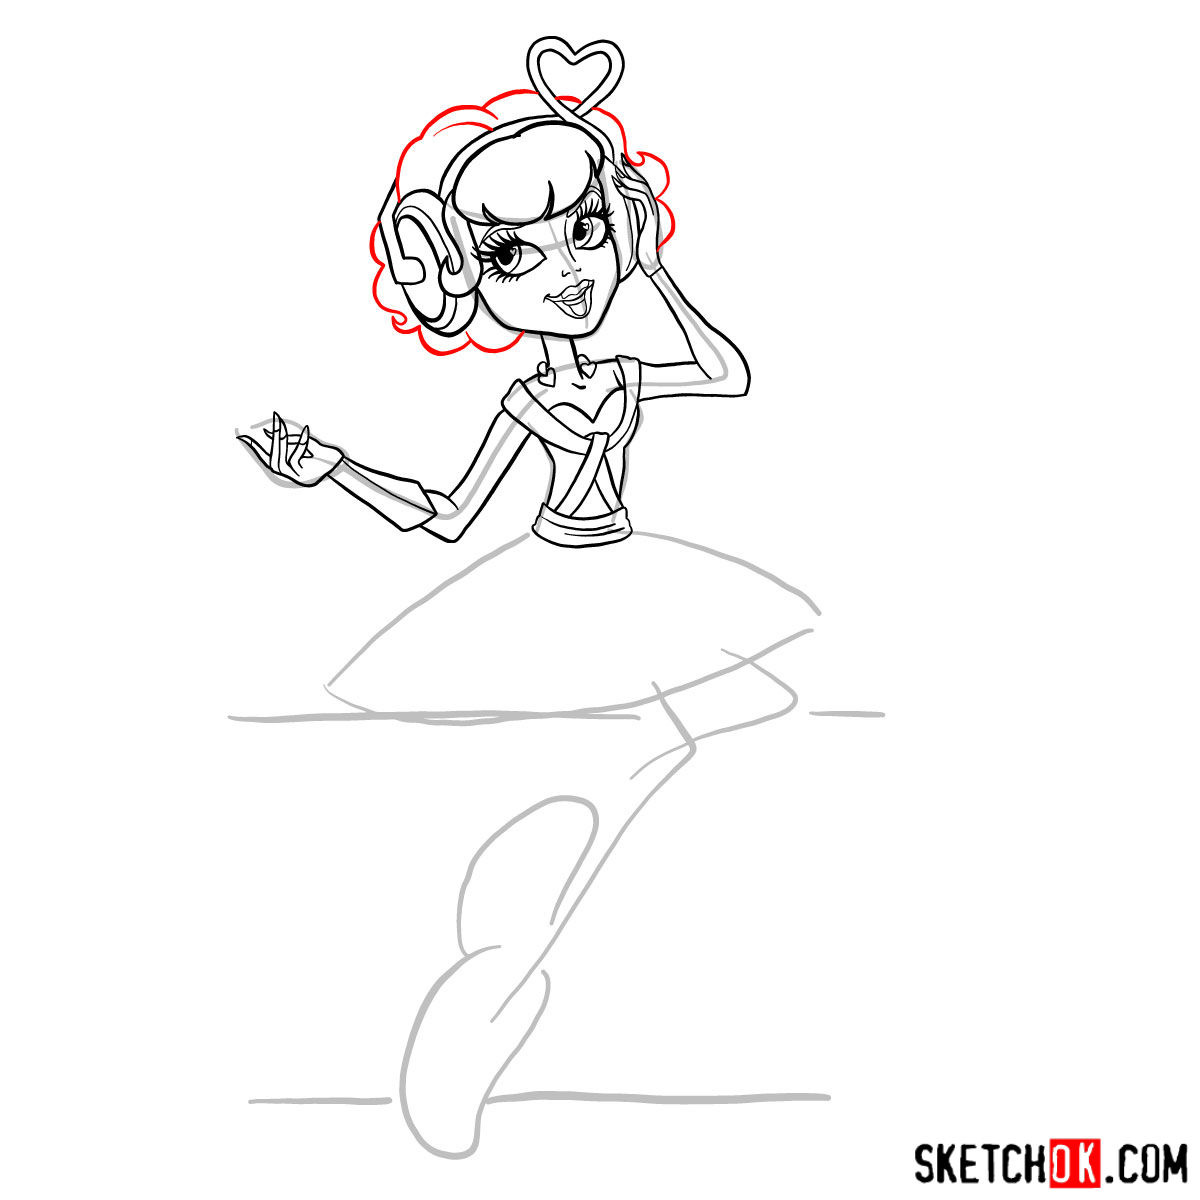
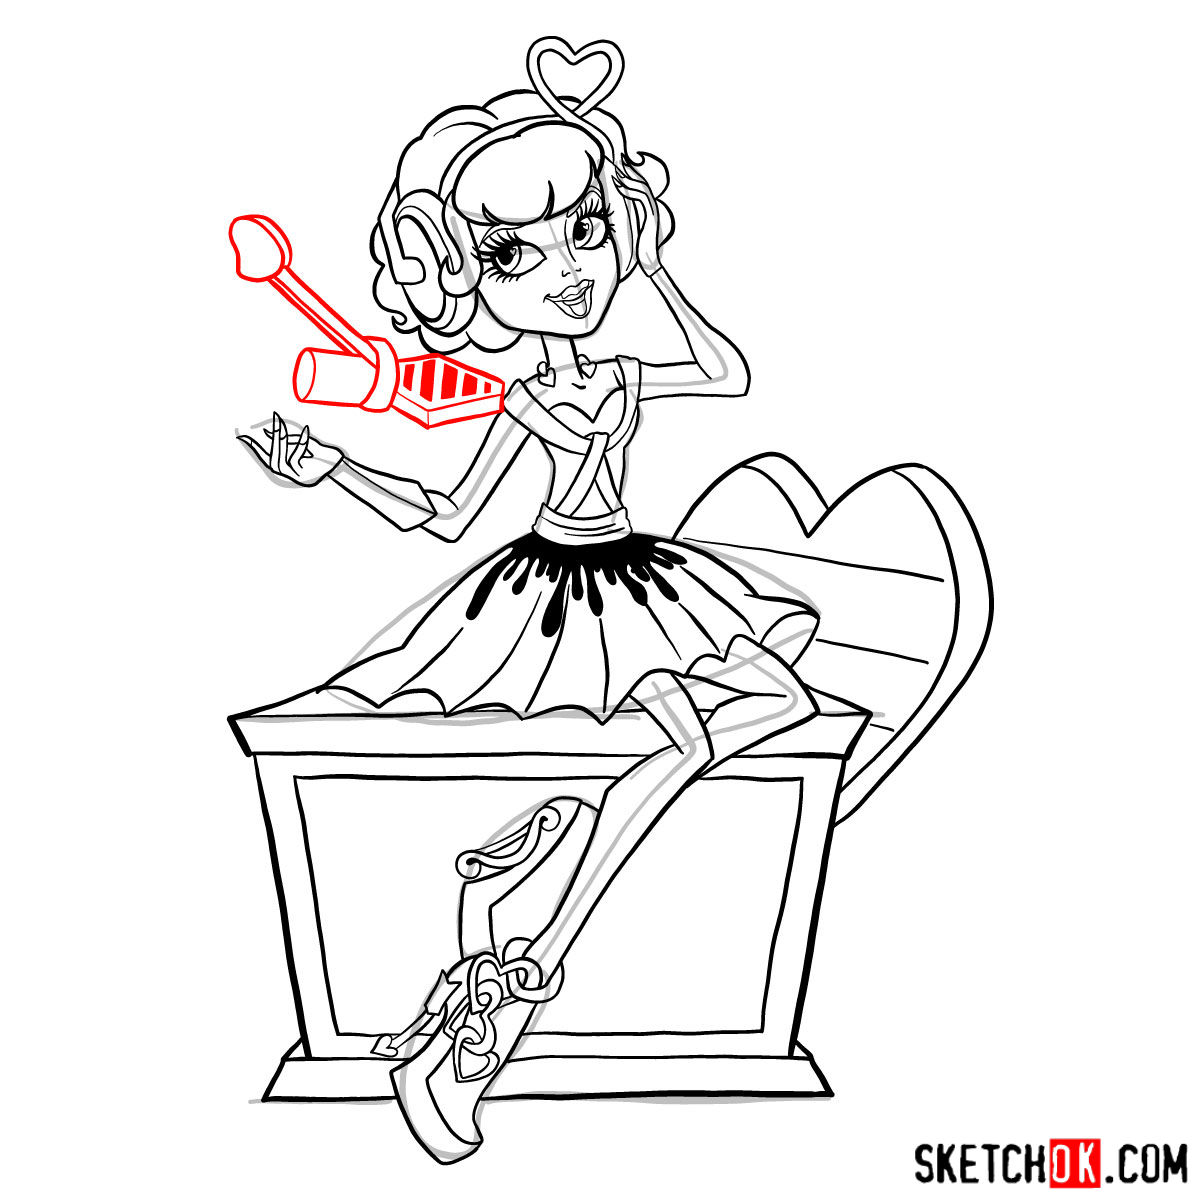
Guiding Strokes: Understanding the Guide
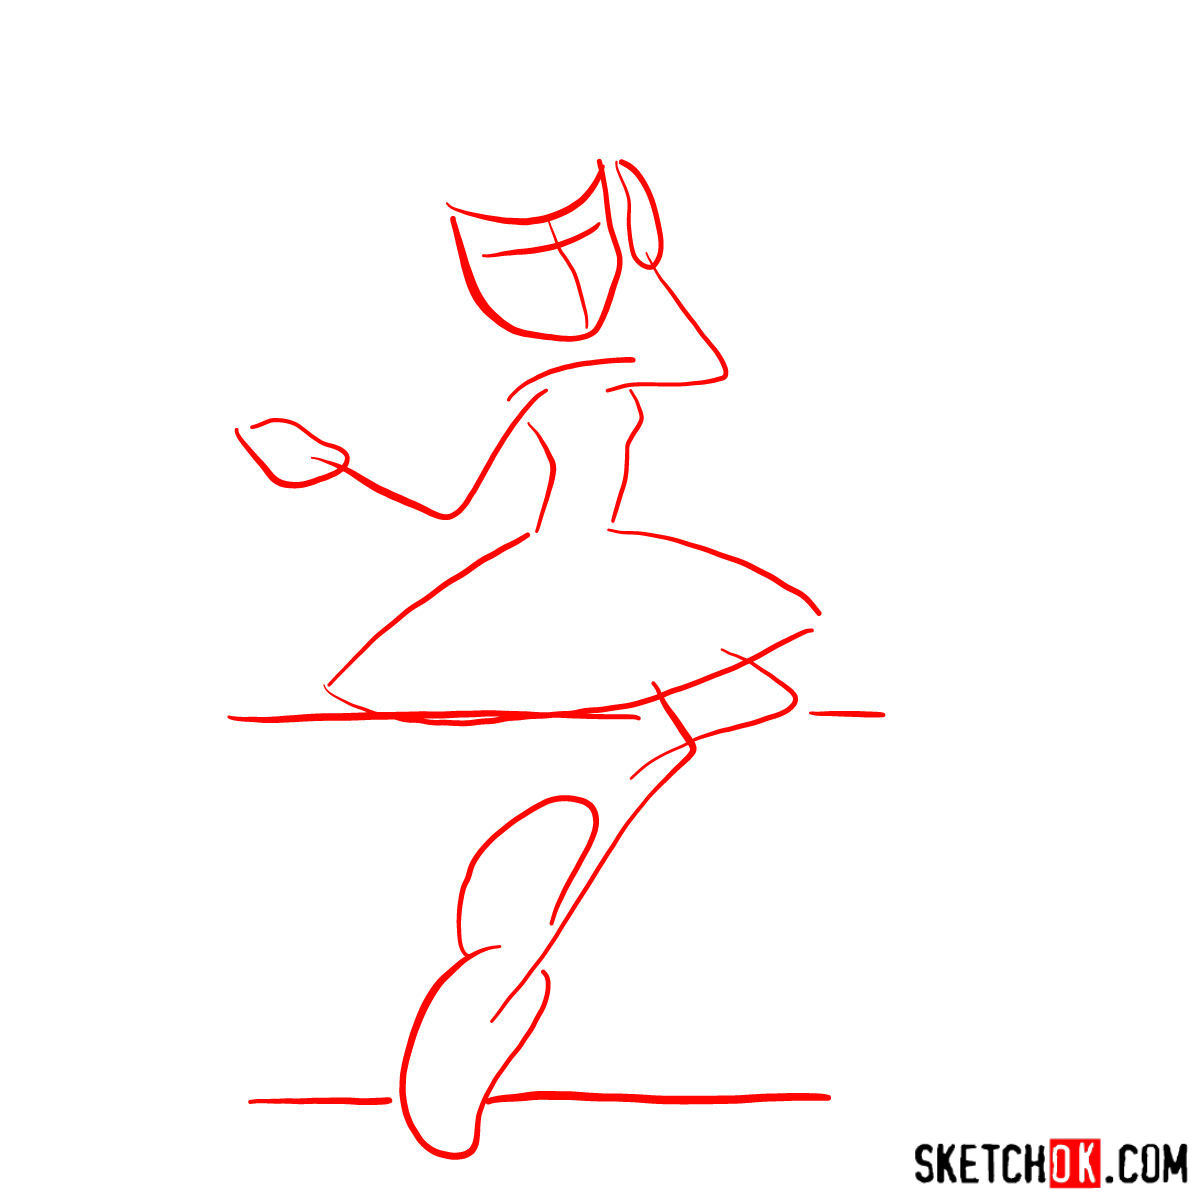
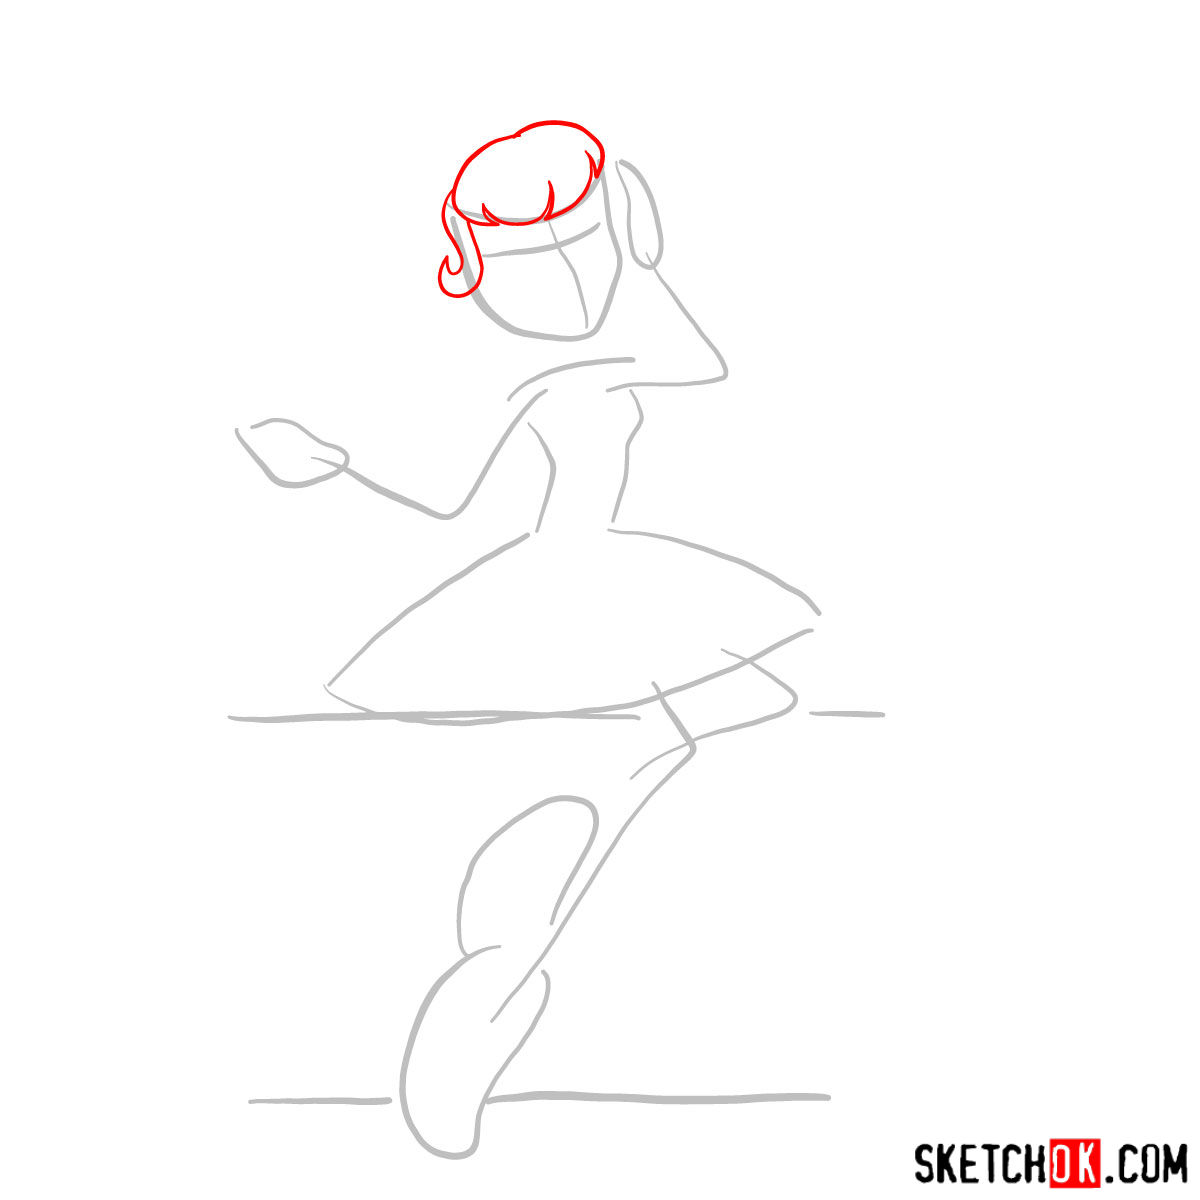
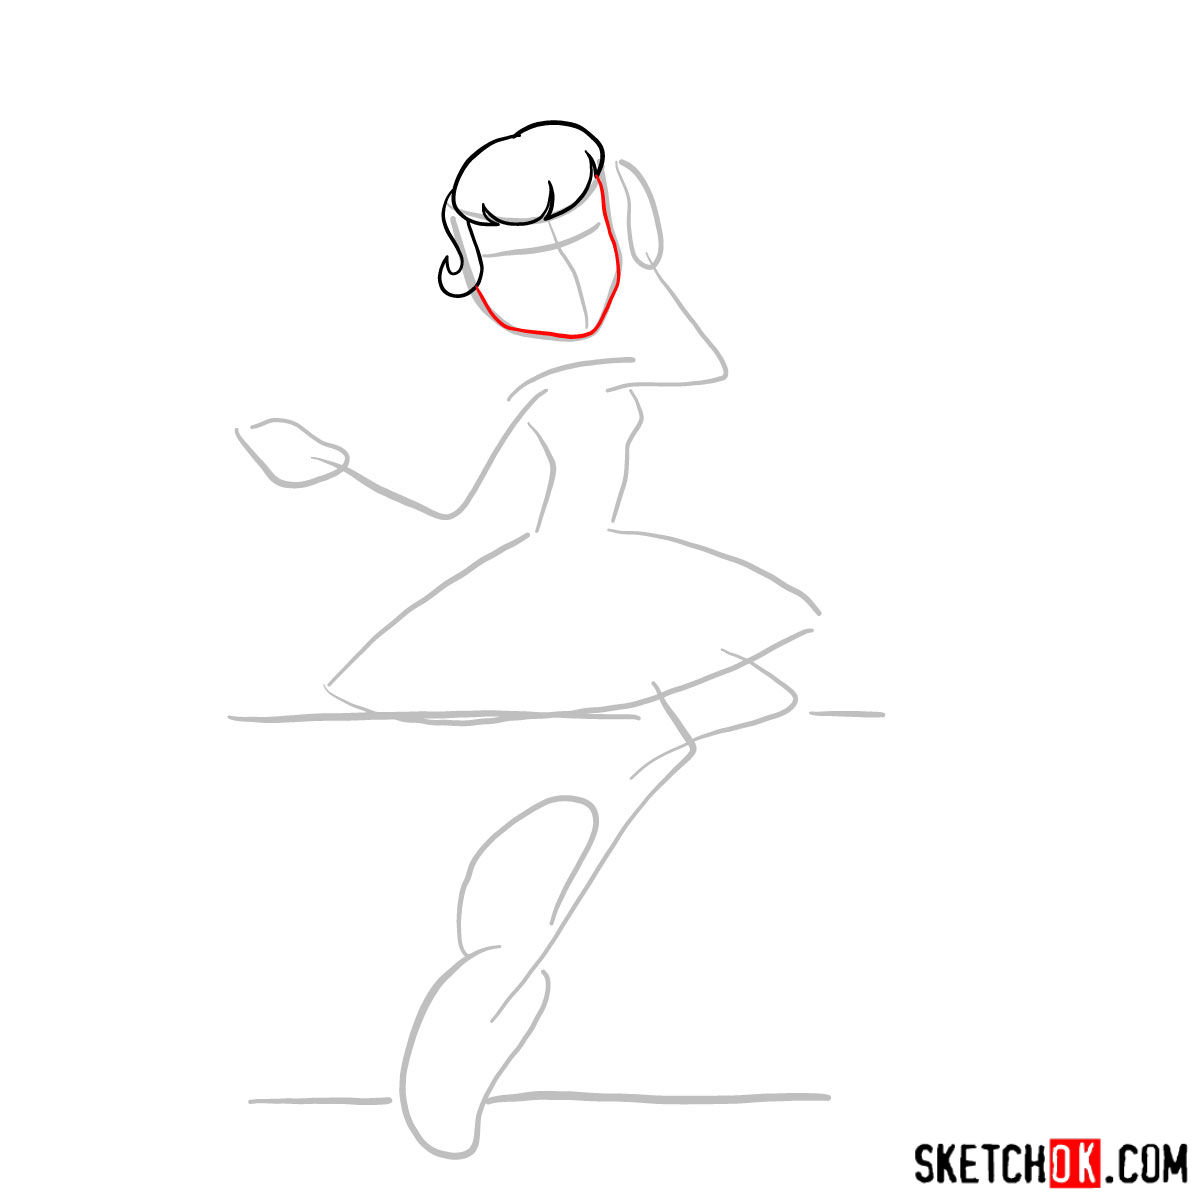
This step-by-step guide consists of 21 meticulously crafted stages. Here’s how to navigate the drawing journey:
- Red Color: Highlights the current step you’re on. This is where your pencil should dance next.
- Black Color: Represents the lines you’ve already sketched. Consider this your foundation.
- Grey Color: Showcases the basic sketch for proportions. These are your guiding lines and are essential, especially in the first stage of the guide.
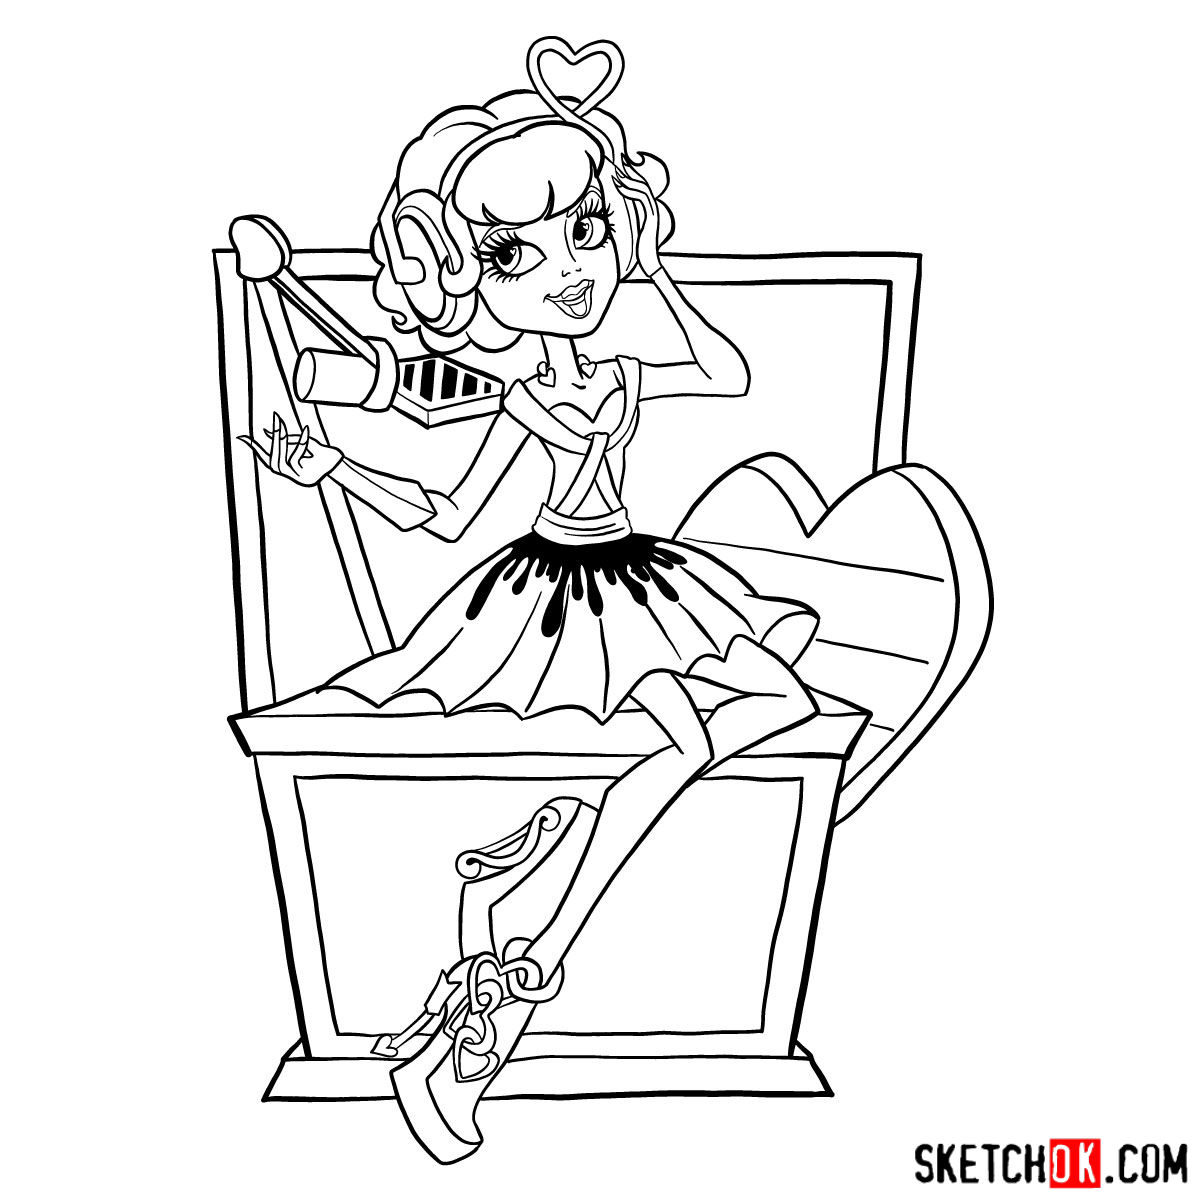
Before moving to color, artists might opt to ink their sketch, bringing sharper definition and clarity to their artwork. It’s crucial to wait for the ink to dry completely before erasing underlying pencil marks to prevent smudges. The final image provides a beautifully colored reference to inspire your masterpiece.


Now that you know how to draw C.A. Cupid step by step, you might want to stick around because more Monster High characters are coming to SketchOk soon. There are a lot of ghouls and freaky-fab faces left to cover, and the lineup keeps growing. Sign up for the weekly digest using the form at the top of this page so you do not miss any new guides, or follow along on Pinterest and Facebook for updates.