Home » Anime » Gurren Lagann » Drawing Post-Timeskip Yoko Littner from Gurren Lagann

Drawing Post-Timeskip Yoko Littner from Gurren Lagann

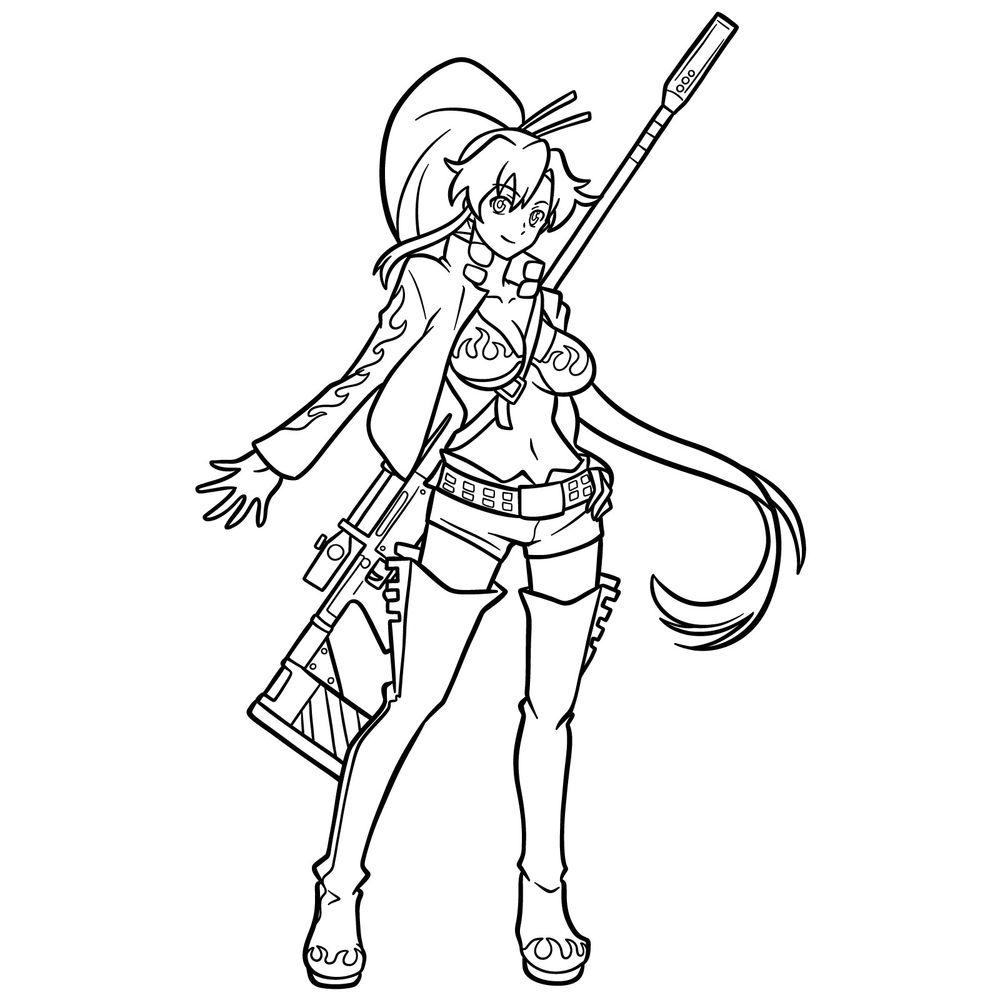
This tutorial covers how to draw Yoko Littner post-timeskip from Tengen Toppa Gurren Lagann. This is the mature version of Yoko that appears in later episodes, and it includes detailed work on proportions, facial structure, and her rifle. It’s a moderately complex drawing with 25 steps, mostly because of the long weapon, flowing hair and small details.

What to Focus on When Drawing This Version of Yoko

  • Defined facial shape with a more mature jawline
  • High ponytail with extra strands
  • Dark maroon open jacket with flame motifs on her bikini top
  • Short shorts with a belt
  • Thigh-high boots
  • Superconducting rifle slung across her shoulder
  • Hair strands and weapon details that stretch across the full body composition

You can also try drawing Simon, Base Gurren Lagann or even Galaxy Gurren Lagann next.

Understanding the Drawing Breakdown

  • Red Color: shows what to draw in the current step
  • Black Color: shows the lines already drawn
  • Grey Color: shows the basic sketch used for building the structure

Step 01

How to Draw Yoko Littner Post-Timeskip - step 01

Step 02

How to Draw Yoko Littner Post-Timeskip - step 02

Step 03

How to Draw Yoko Littner Post-Timeskip - step 03

Step 04

How to Draw Yoko Littner Post-Timeskip - step 04

Step 05

How to Draw Yoko Littner Post-Timeskip - step 05

Step 06

How to Draw Yoko Littner Post-Timeskip - step 06

Step 07

How to Draw Yoko Littner Post-Timeskip - step 07

Step 08

How to Draw Yoko Littner Post-Timeskip - step 08

Step 09

How to Draw Yoko Littner Post-Timeskip - step 09

Step 10

How to Draw Yoko Littner Post-Timeskip - step 10

Step 11

How to Draw Yoko Littner Post-Timeskip - step 11

Step 12

How to Draw Yoko Littner Post-Timeskip - step 12

Step 13

How to Draw Yoko Littner Post-Timeskip - step 13

Step 14

How to Draw Yoko Littner Post-Timeskip - step 14

Step 15

How to Draw Yoko Littner Post-Timeskip - step 15

Step 16

How to Draw Yoko Littner Post-Timeskip - step 16

Step 17

How to Draw Yoko Littner Post-Timeskip - step 17

Step 18

How to Draw Yoko Littner Post-Timeskip - step 18

Step 19

How to Draw Yoko Littner Post-Timeskip - step 19

Step 20

How to Draw Yoko Littner Post-Timeskip - step 20

Step 21

How to Draw Yoko Littner Post-Timeskip - step 21

Step 22

How to Draw Yoko Littner Post-Timeskip - step 22

Step 23

How to Draw Yoko Littner Post-Timeskip - step 23

Step 24

How to Draw Yoko Littner Post-Timeskip - step 24

Step 25

How to Draw Yoko Littner Post-Timeskip - final step

If you enjoy these guides and want to support the project, you can donate using this button:

Once you’ve completed your Yoko Littner drawing, post it in the comments of the pinned Pinterest article. That’s where people usually share their work and attach images directly.

New step-by-step drawing videos are released every other day, so follow the SketchOk YouTube channel to stay updated on upcoming guides.
Disclaimer: All original artworks and photos used as references for the creation of these drawing tutorials are the property of their respective owners. If your work has been featured without proper credit, please kindly leave a comment below, and the issue will be promptly addressed. We greatly appreciate your exceptional art. Thank you.

Did you like the tutorial?

You can support the author of this website and also suggest your own ideas for new drawings by making a small donation here:

Leave a Comment