Home » Anime » Dandadan » How to Draw Seiko Ayase from Dandadan – A Full Body Guide

How to Draw Seiko Ayase from Dandadan – A Full Body Guide

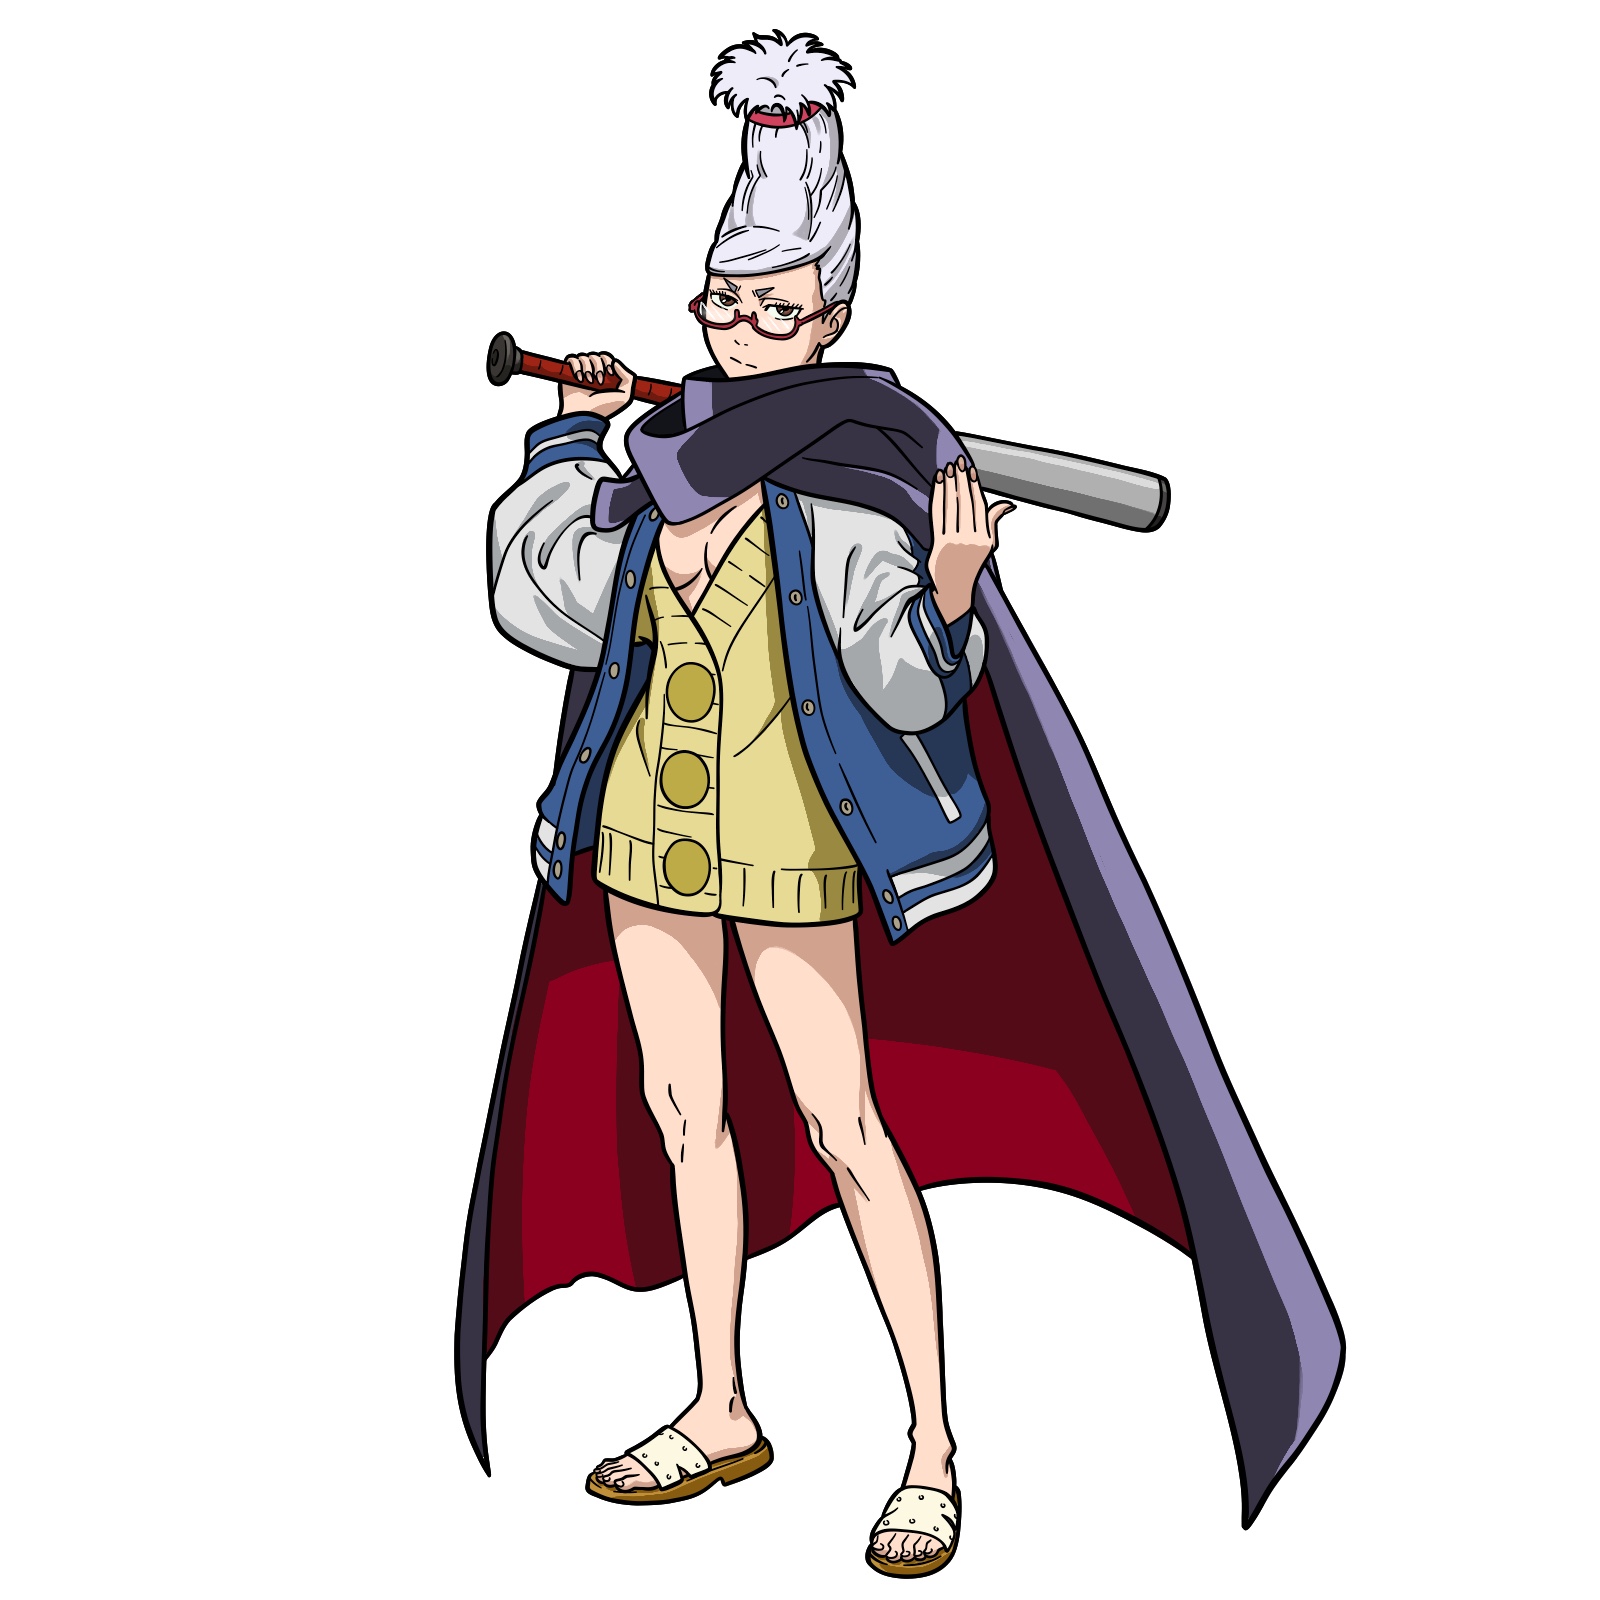
Let me guide you through how to draw Seiko Ayase, one of the coolest characters from Dandadan. She’s got a striking design, with her topknot and confident posture. This guide will help you create a full-body drawing of Seiko step by step. It’s going to be fun, so grab your pencils, and let’s get started!

Seiko Ayase’s Key Features to Keep in Mind

Seiko Ayase stands out in the Dandadan series, and here are the main points to focus on while drawing her:

  • Hair: Seiko’s white hair is styled into a huge topknot, making it one of her defining features
  • Glasses: She wears square-shaped glasses.
  • Outfit: Her layered outfit includes a stylish jacket, cape, and a bat casually slung over her shoulder.

If you enjoy drawing Seiko, I definitely recommend trying out other characters from Dandadan, like Momo, Aira, Jiji or Okarun, to complete the crew!

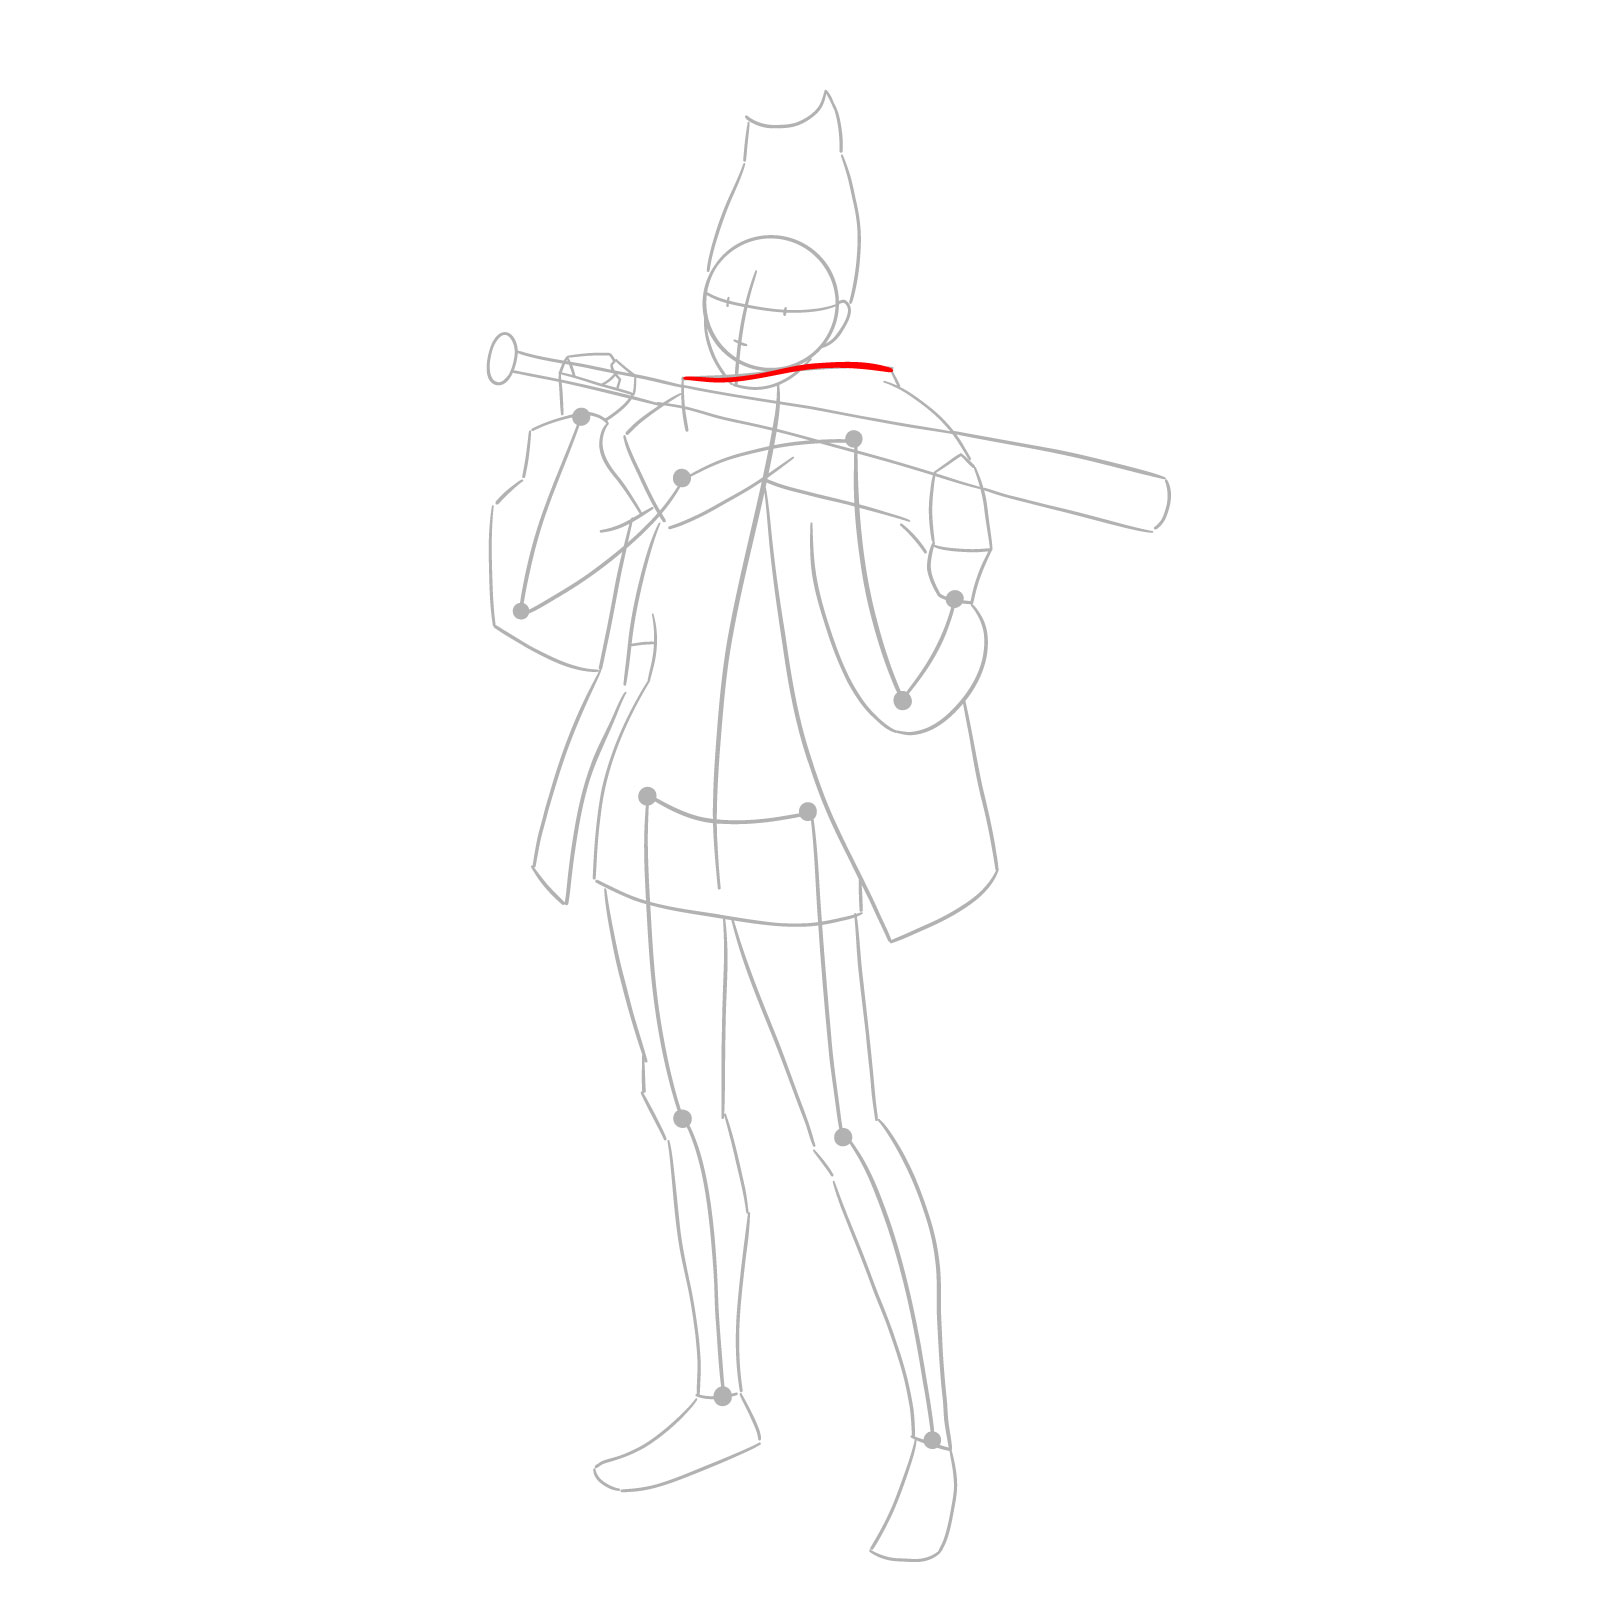
Drawing Guide – How to Use the Colors

This guide includes a color-coded system to help you follow the steps easily:

  • Red Color: Focus on the lines you’re drawing in the current step.
  • Black Color: These are the lines you’ve already drawn in previous steps.
  • Grey Color: These represent your basic sketch lines for positioning and proportions.

By following these color guidelines, you’ll know exactly what to focus on during each stage of the drawing process, making things a lot simpler.

Step 01

How to draw Seiko Ayase full body from Dandadan - step 01

Step 02

How to draw Seiko Ayase full body from Dandadan - step 02

Step 03

How to draw Seiko Ayase full body from Dandadan - step 03

Step 04

How to draw Seiko Ayase full body from Dandadan - step 04

Step 05

How to draw Seiko Ayase full body from Dandadan - step 05

Step 06

How to draw Seiko Ayase full body from Dandadan - step 06

Step 07

How to draw Seiko Ayase full body from Dandadan - step 07

Step 08

How to draw Seiko Ayase full body from Dandadan - step 08

Step 09

How to draw Seiko Ayase full body from Dandadan - step 09

Step 10

How to draw Seiko Ayase full body from Dandadan - step 10

Step 11

How to draw Seiko Ayase full body from Dandadan - step 11

Step 12

How to draw Seiko Ayase full body from Dandadan - step 12

Step 13

How to draw Seiko Ayase full body from Dandadan - step 13

Step 14

How to draw Seiko Ayase full body from Dandadan - step 14

Step 15

How to draw Seiko Ayase full body from Dandadan - step 15

Step 16

How to draw Seiko Ayase full body from Dandadan - step 16

Step 17

How to draw Seiko Ayase full body from Dandadan - step 17

Step 18

How to draw Seiko Ayase full body from Dandadan - step 18

Step 19

How to draw Seiko Ayase full body from Dandadan - step 19

Step 20

How to draw Seiko Ayase full body from Dandadan - step 20

Step 21

How to draw Seiko Ayase full body from Dandadan - step 21

Step 22

How to draw Seiko Ayase full body from Dandadan - step 22

Step 23

How to draw Seiko Ayase full body from Dandadan - step 23

Step 24

How to draw Seiko Ayase full body from Dandadan - step 24

Step 25

How to draw Seiko Ayase full body from Dandadan - step 25

Step 26

How to draw Seiko Ayase full body from Dandadan - step 26

Step 27

How to draw Seiko Ayase full body from Dandadan - step 27

Step 28

How to draw Seiko Ayase full body from Dandadan - step 28

Step 29

How to draw Seiko Ayase full body from Dandadan - final step

I hope this guide helps you with your Seiko Ayase drawing! Don’t worry if things aren’t perfect right away — just have fun with it and see where your creativity takes you.

Before you go, if you liked this tutorial and want to support me in creating more, consider buying me a coffee. Your support keeps these guides going, and every bit helps!

And don’t forget to share your finished drawing in the comments section on Pinterest! Artists often post their drawings there, and I’d love to see what you come up with.

Disclaimer: All original artworks and photos used as references for the creation of these drawing tutorials are the property of their respective owners. If your work has been featured without proper credit, please kindly leave a comment below, and the issue will be promptly addressed. We greatly appreciate your exceptional art. Thank you.

Did you like the tutorial?

You can support the author of this website and also suggest your own ideas for new drawings by making a small donation here:

Leave a Comment