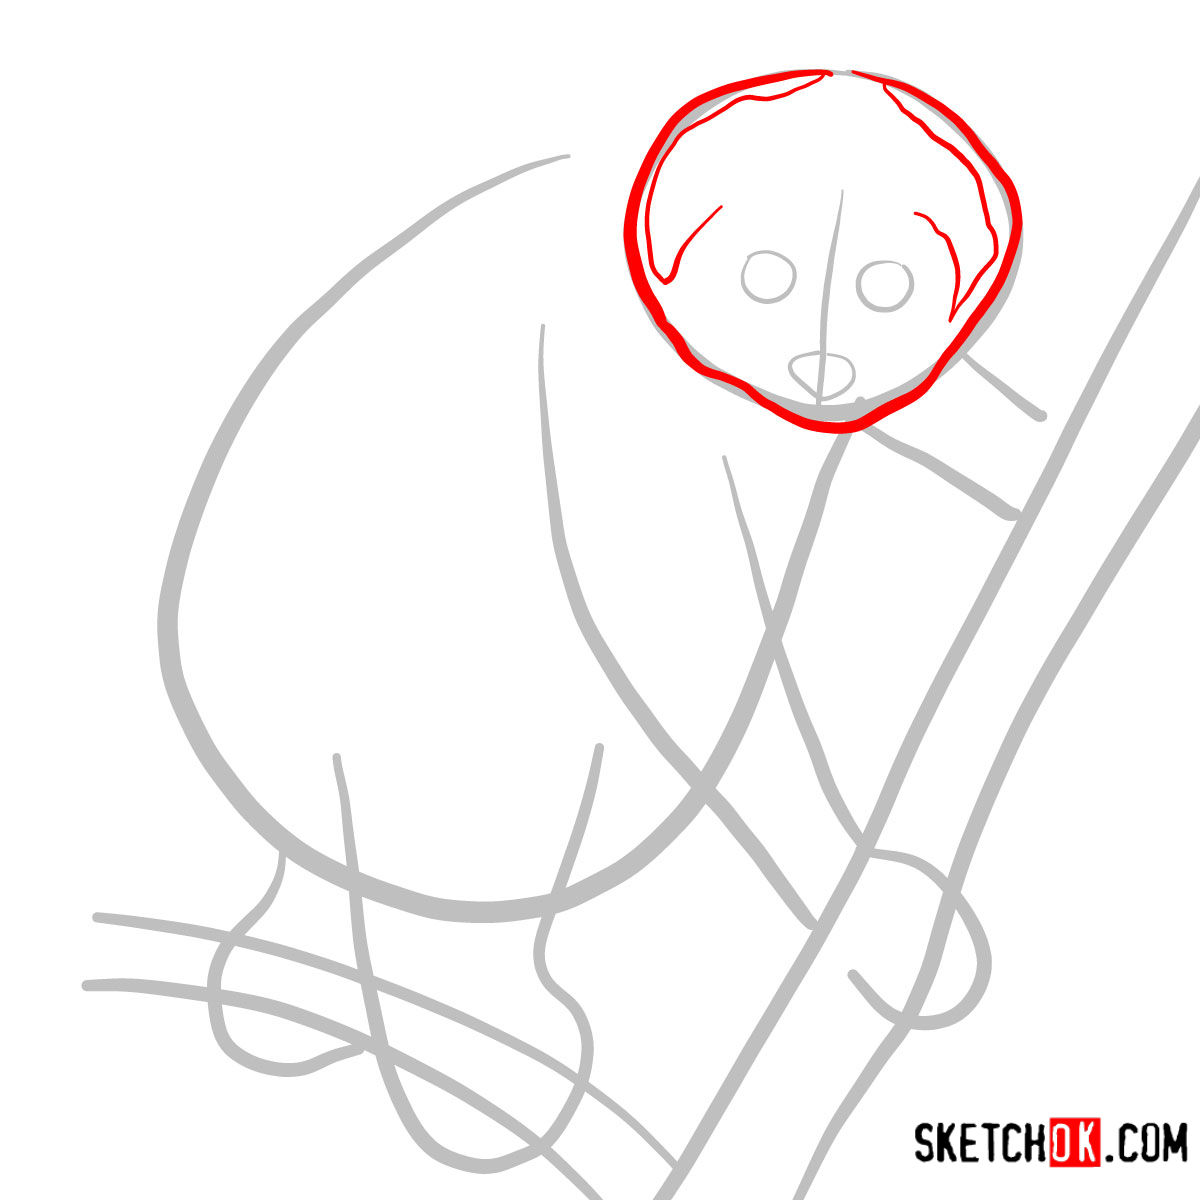
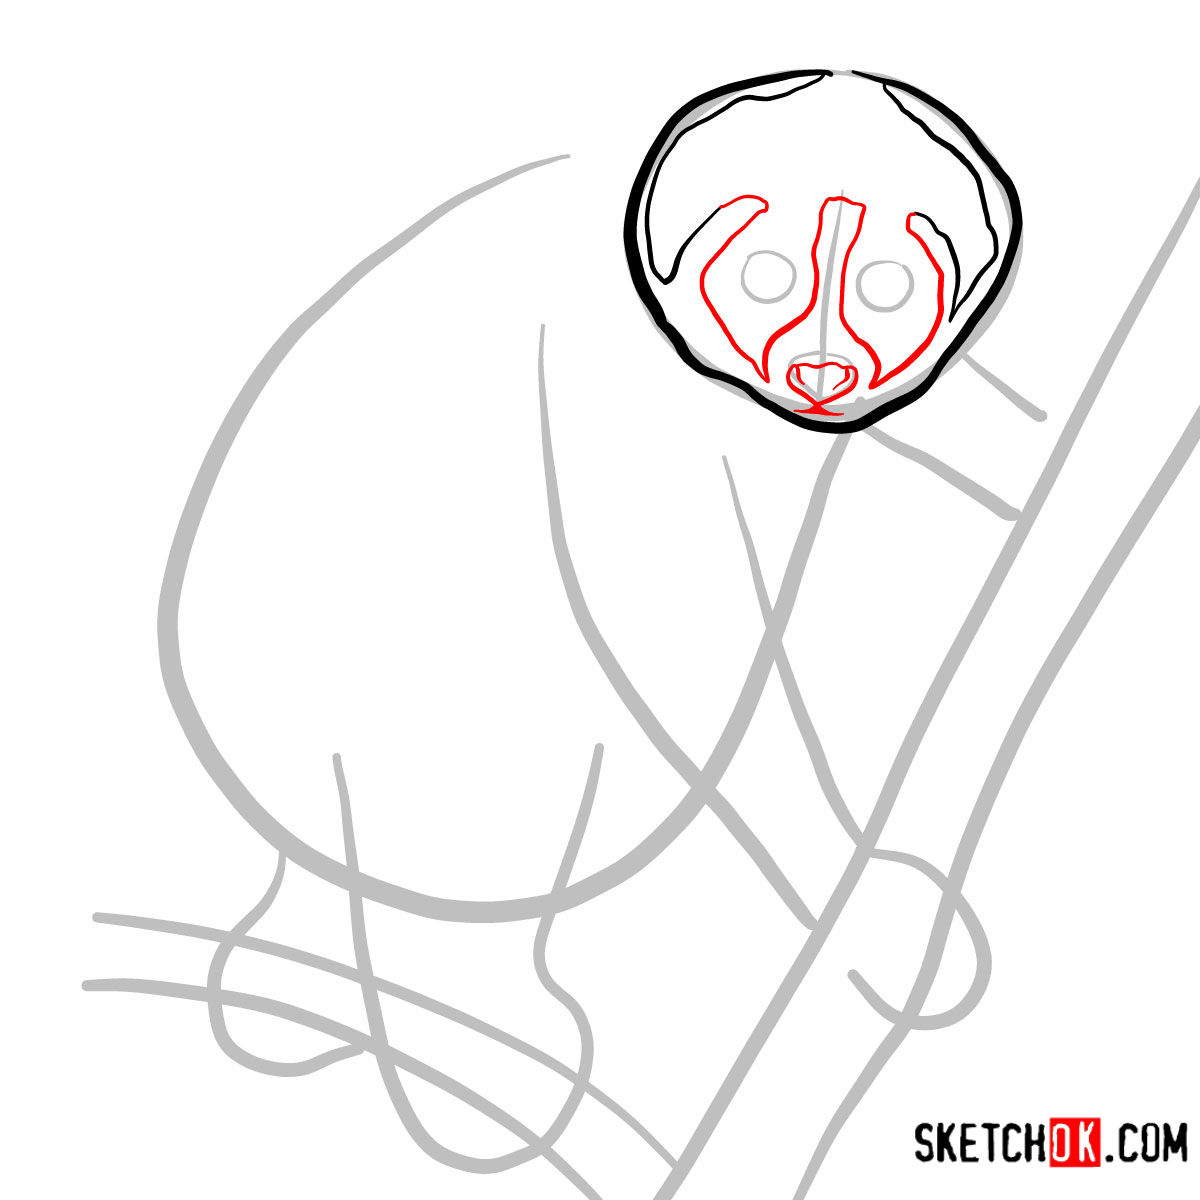
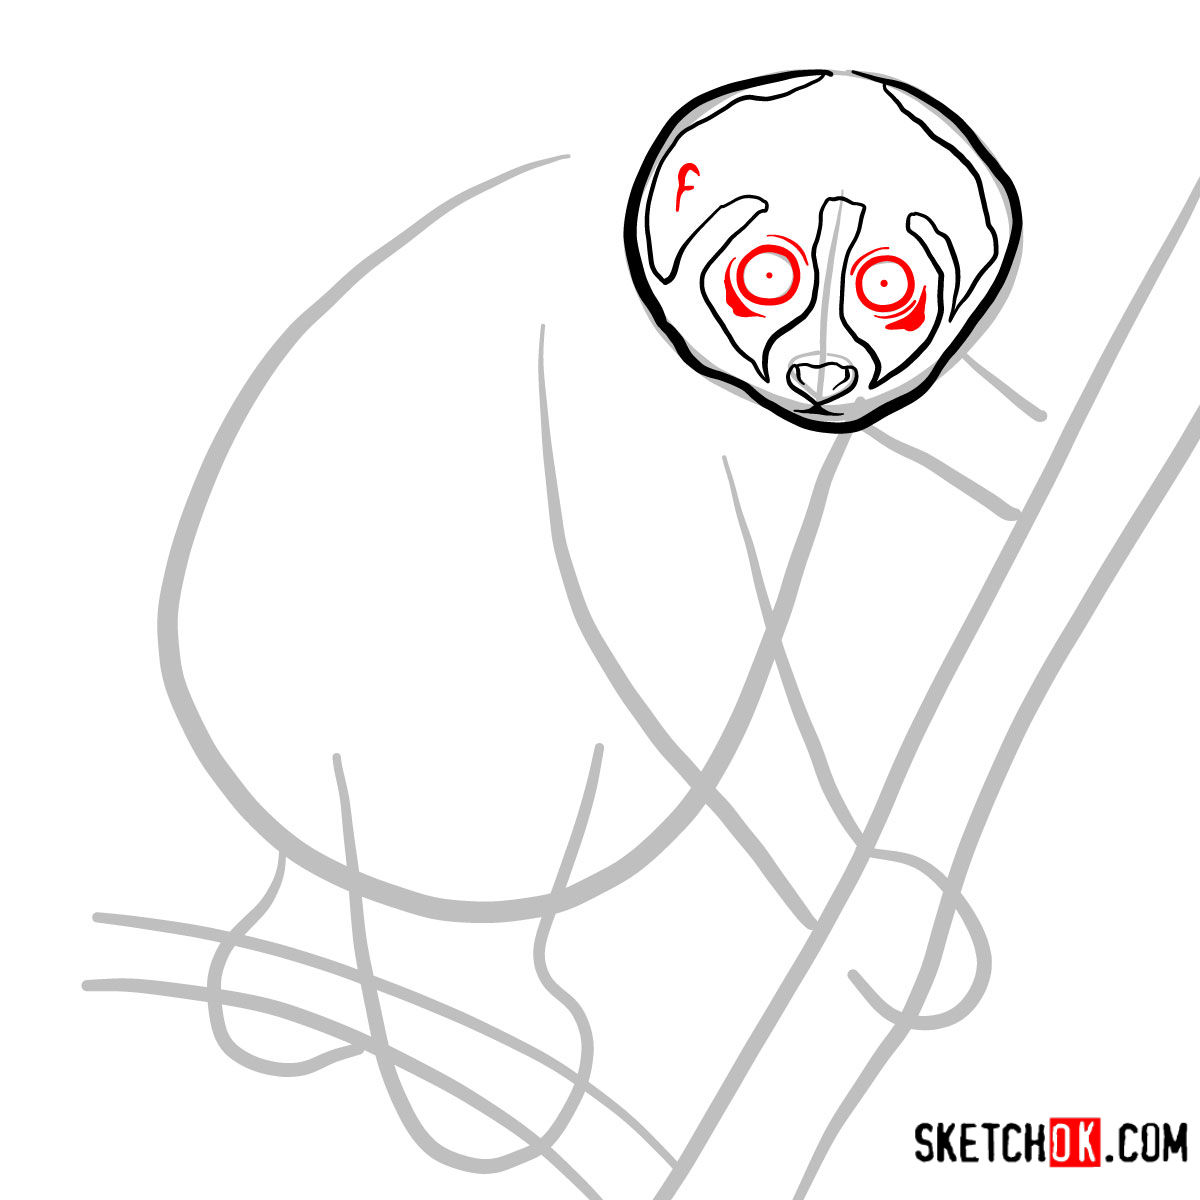
Those oversized eyes are the hardest part of drawing a slow loris well. Get the circular shape and the dark mask markings off by even a little and the whole face loses what makes it recognizable, which is why this guide in the Wild Animals section focuses on building those features carefully before moving to the body.
What the Slow Loris Tutorial Covers
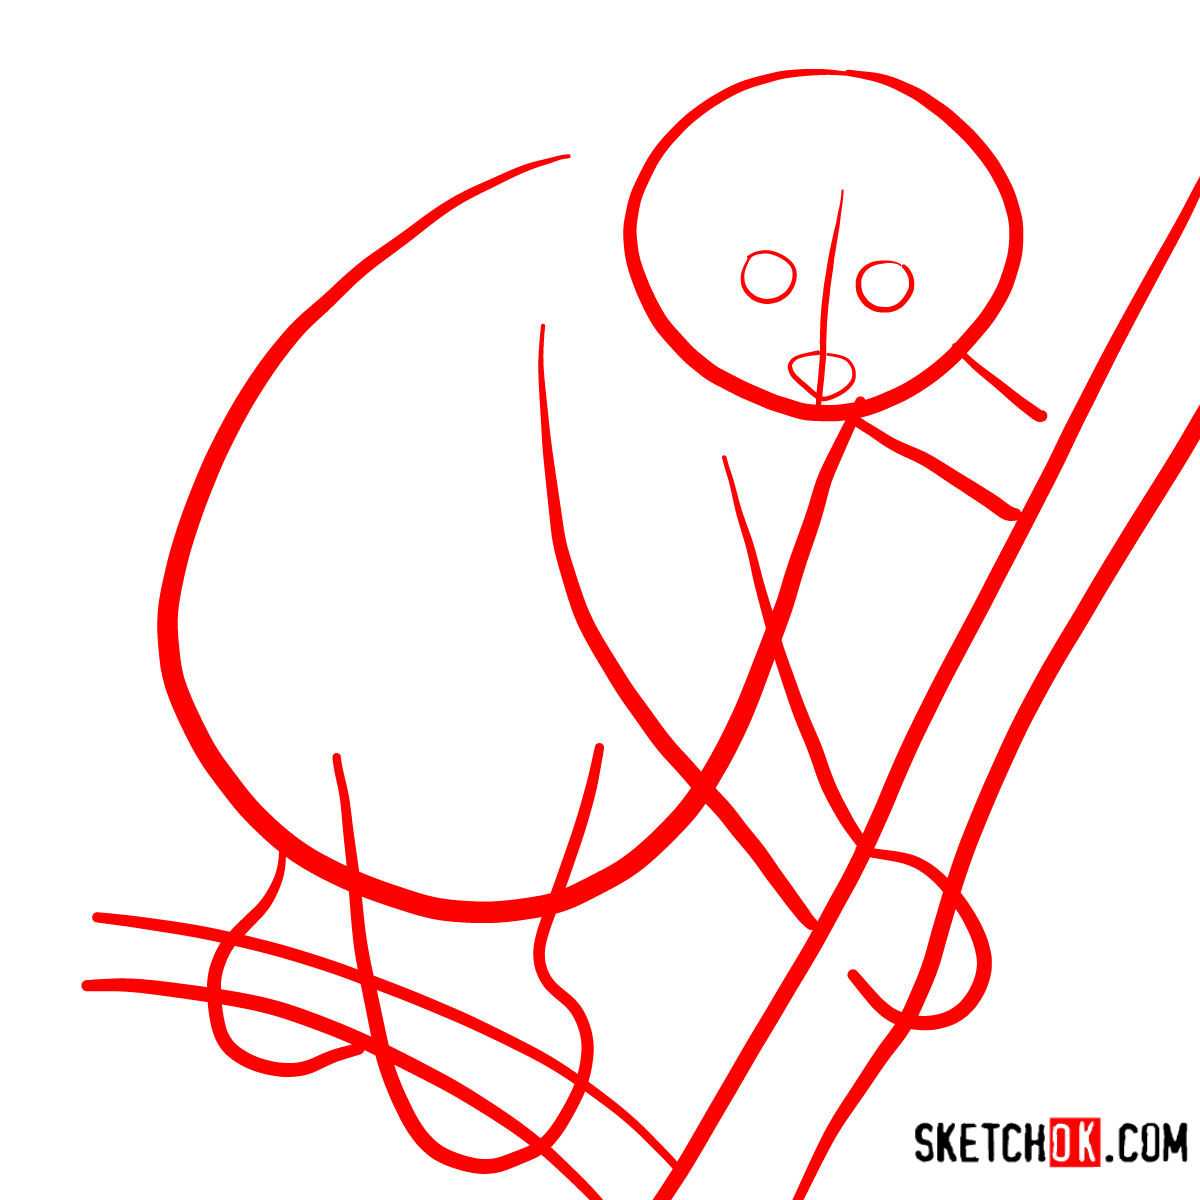
The tutorial runs 10 steps and ends on clean black and white line art with no color fill. The pose itself adds some complexity because the animal is gripping two branches at once, with the body angled forward rather than sitting upright. That diagonal branch setup means you are managing asymmetry from step one, and the grip posture shapes how the whole body weight distributes across the composition.
Key Features to Watch While You Sketch
- Round head, large circular eyes
- Dark mask-like markings around eyes
- Compact stocky body, no visible tail
- Clinging grip on two diagonal branches
- Small rounded ears, tiny nose and mouth
If you want more animal drawing practice after this one, the How to Draw a Cheetah Full Body Side View guide is a good next step for working on full-body animal proportions. For something with more variety, the collection covering wolves in different poses and styles gives you 14 guides in one place. There is also a similarly structured collection for lions in different poses worth bookmarking.
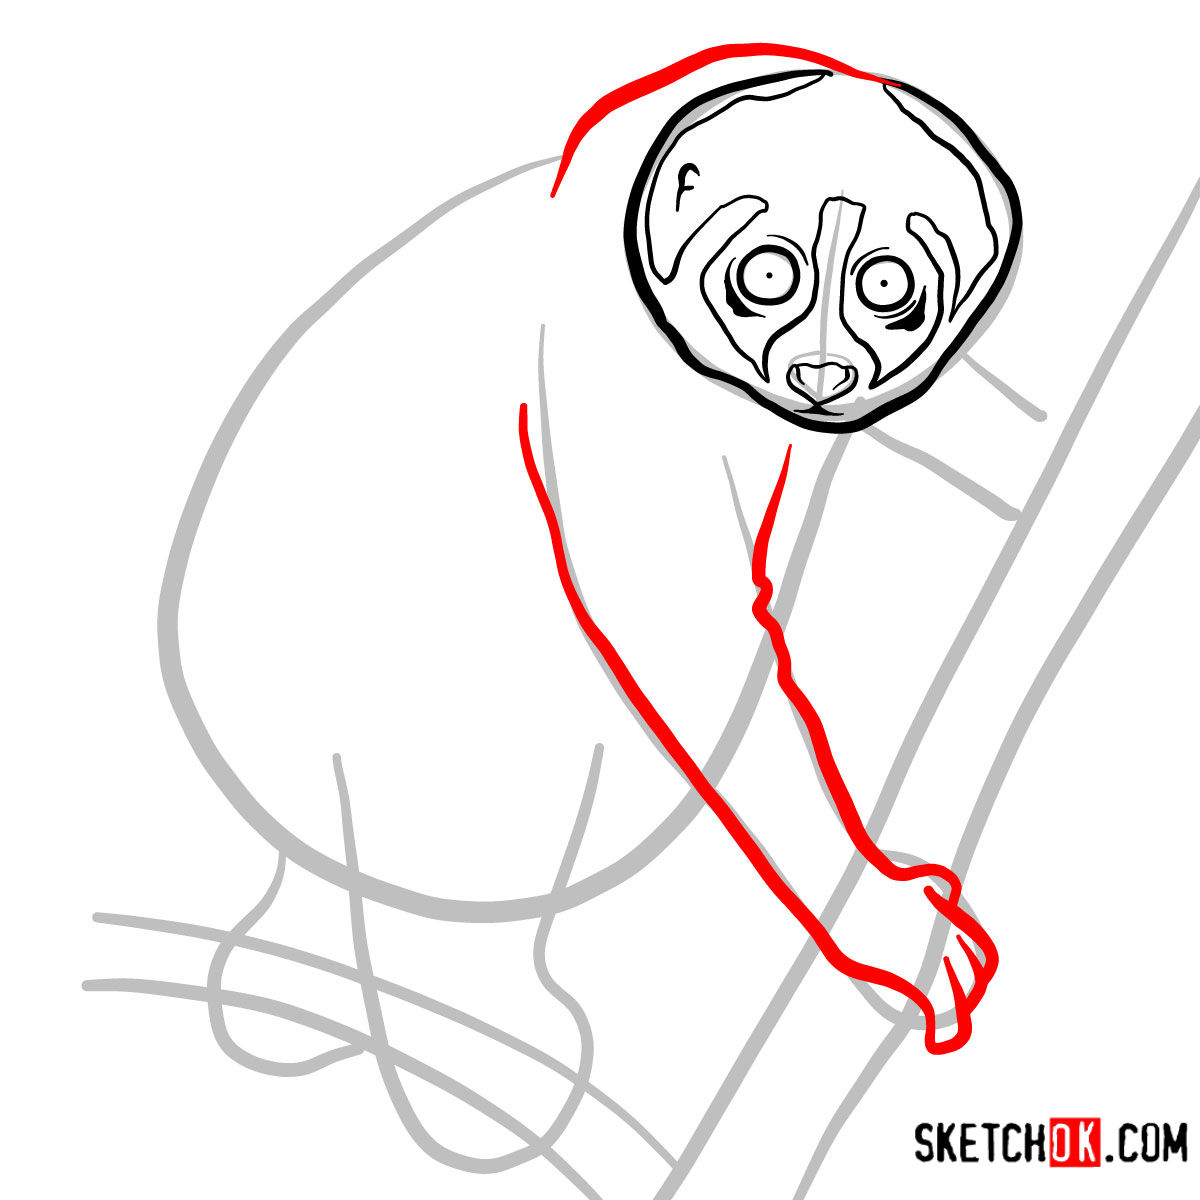
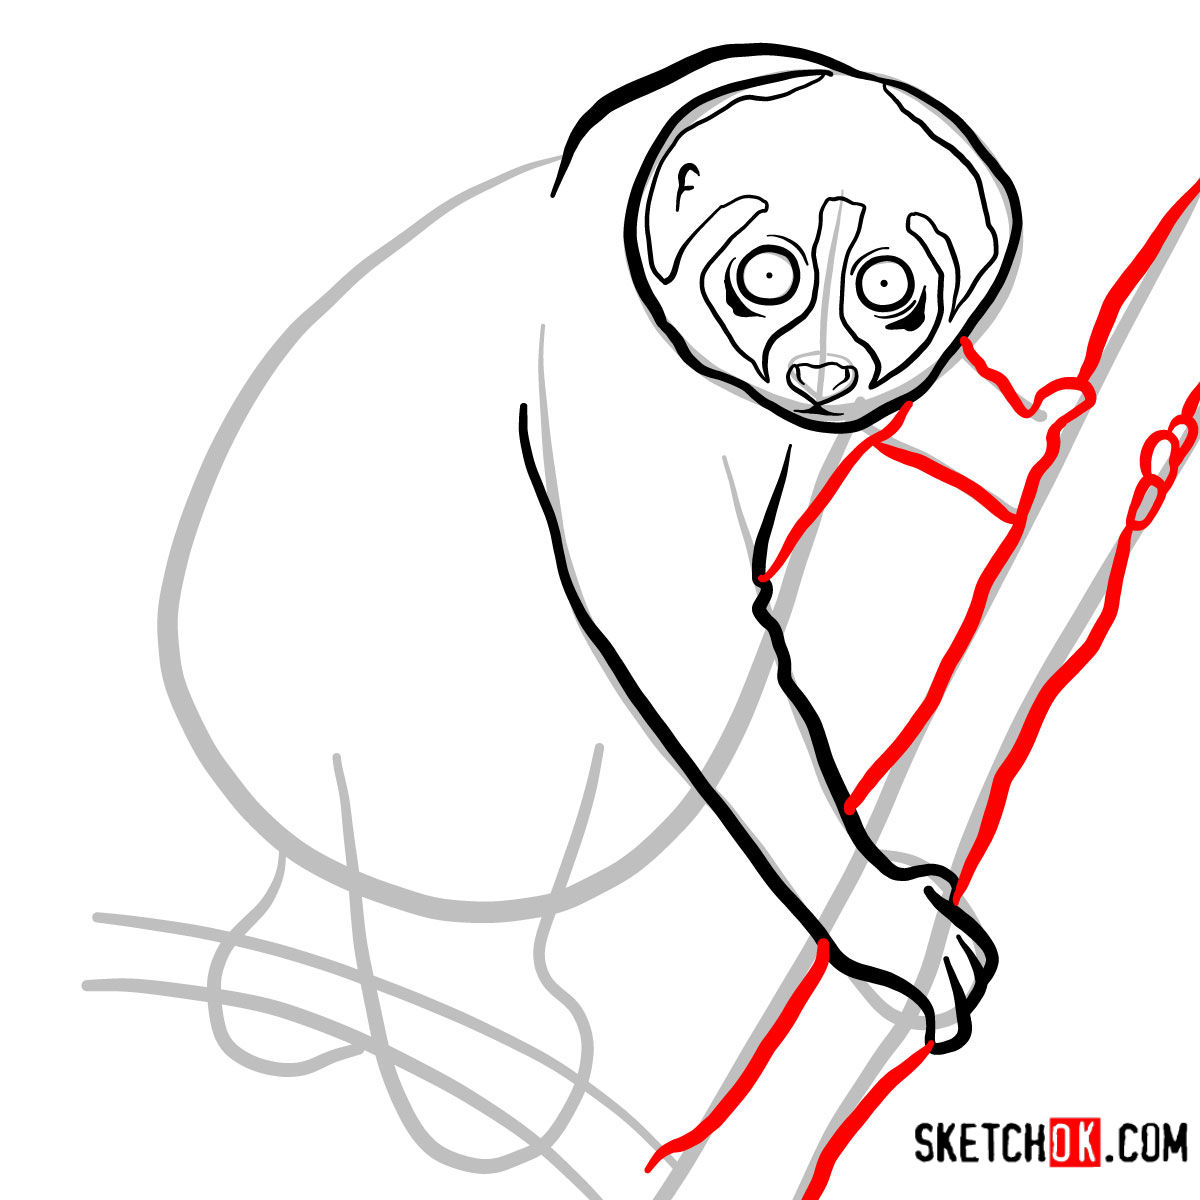
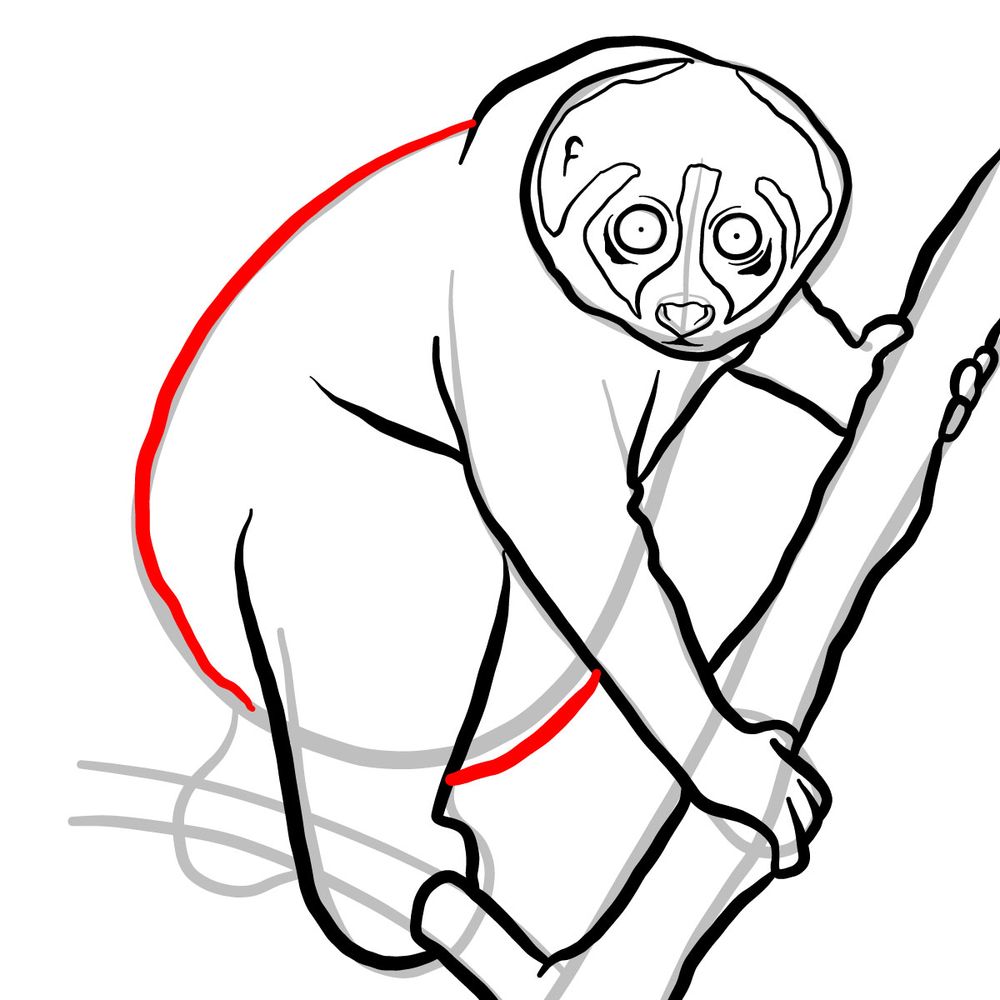
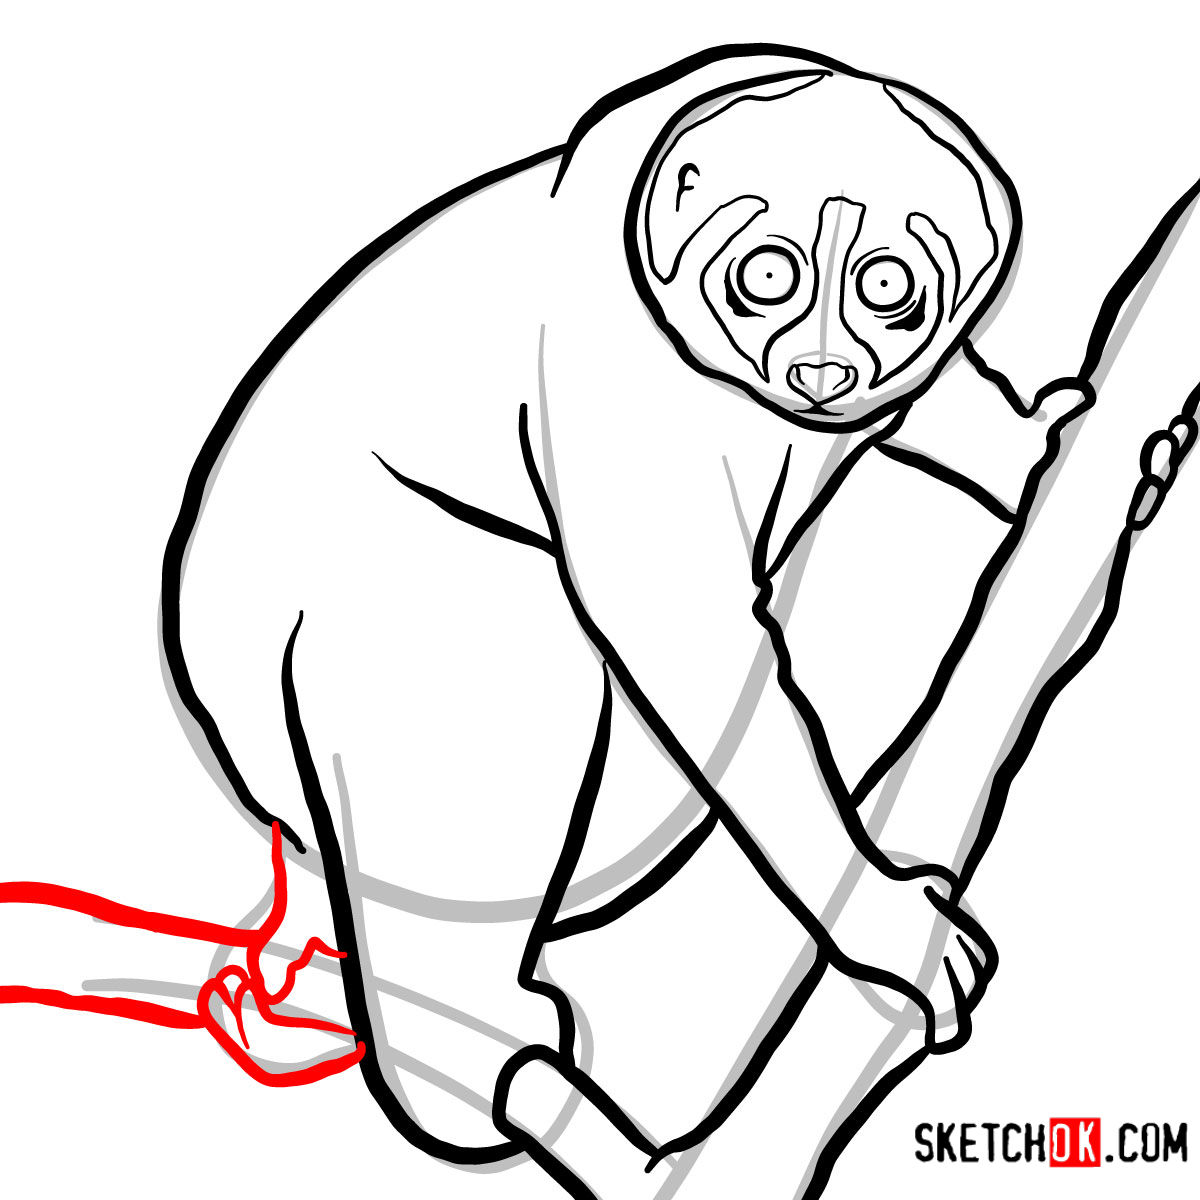
Understanding the Step Color System
Each step in this tutorial uses a simple three-color system to show progress clearly:
- Red Color: lines added in the current step.
- Black Color: lines completed earlier.
- Gray Color: base sketch for structure.
How to Draw a Slow Loris: Step-by-Step Tutorial


Finished Your Slow Loris? Share It
Once the line art is done, drop your drawing in the comments. Seeing how different people handle the eye markings and the branch grip is genuinely useful for everyone working through how to draw a slow loris. New tutorials go up on Facebook and Telegram as soon as they are published, a new YouTube video based on existing guides posts every single day, and Pinterest stays updated regularly too. If you are looking for what to sketch next, the elephant head from the front view is a solid challenge for practicing facial symmetry, or check out the full body elephant from the front if you want the complete figure. Supporting the project on Patreon helps keep new guides coming, and patrons get access to unique hand-drawn coloring pages as well.