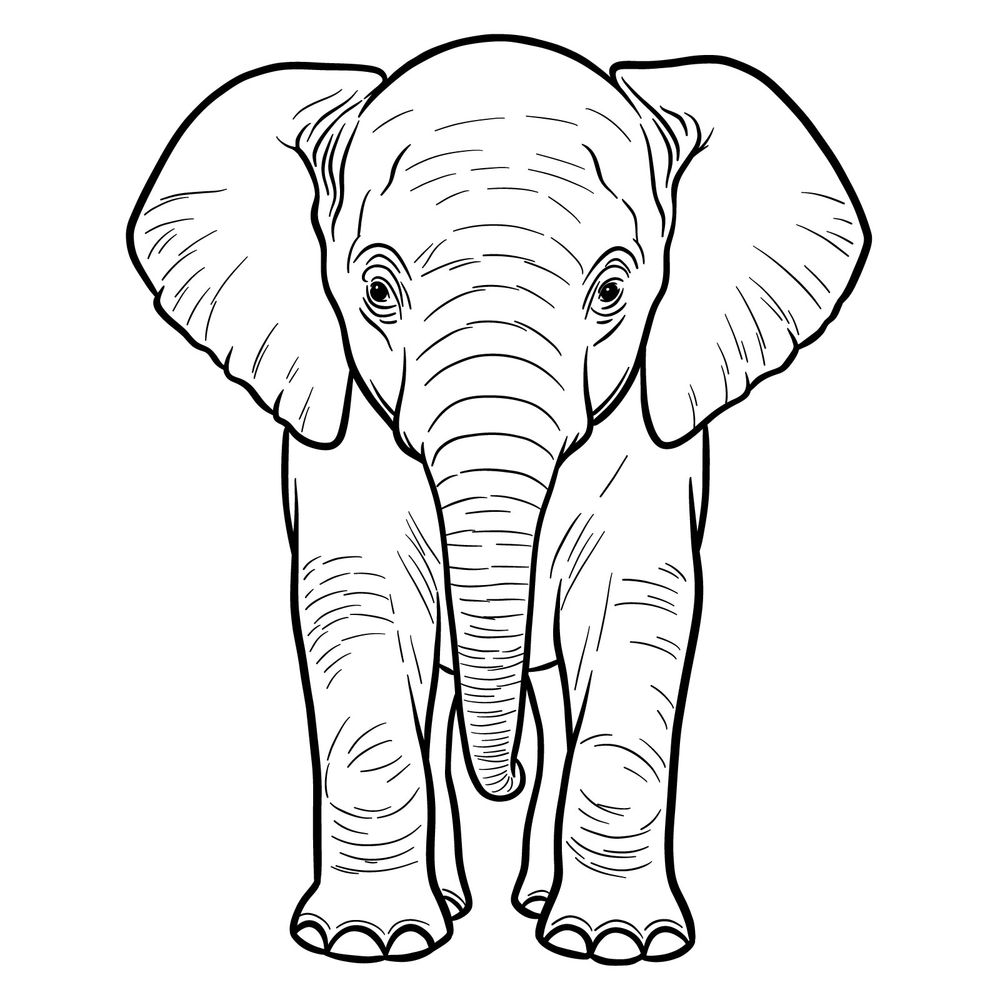
In this tutorial, I’ll show how to draw a baby elephant front view in 15 steps. The front-facing pose highlights the large ears, trunk, and rounded body, which makes it slightly more detailed compared to a side view. With careful attention to proportions, the steps are manageable even for beginners.
Key Features of a Baby Elephant Front View
- Head: large and rounded, wider at the top with folds along the forehead.
- Ears: oversized and broad, extending outward on both sides.
- Eyes: small, set just below the middle line and close to the trunk.
- Trunk: long and centered, with folds running down its length.
- Tusks: often not visible in young elephants.
- Legs: thick and column-like, evenly spread for balance.
- Feet: rounded with visible toenails.
- Skin texture: wrinkled, especially around the trunk, ears, and joints.
If you’d like to expand your animal drawing set, you could try sketching this baby elephant from the side, or adult elephants from the front and side.
Step Color Guide
- Red Color: indicates the new lines for the current step.
- Black Color: shows lines already completed in previous steps.
- Grey Color: shows the base sketch for proportions and positioning.
When working on the drawing, keep the trunk centered and the ears symmetrical. The legs should be evenly spaced, with the two front legs slightly apart to show balance. The wrinkles add realism, so use clean curved lines without overcrowding the details. By the final step, you’ll have a complete baby elephant drawing that looks balanced and ready to shade or color.


If you like the guide, you can support through this button.
Follow SketchOk on social media for more step-by-step animal drawing tutorials, and subscribe on YouTube where new videos are released every other day.
Once your baby elephant drawing is complete, share it in the comments on the pinned Pinterest article so others can see your version and compare styles.

