Ever wondered how to draw a blue whale in a way that captures its grand size and smooth contours? This ocean giant can be represented with sweeping body lines, focusing on the broad head and tapering tail. Let’s explore an easy approach that emphasizes proportion and subtle details.
About the Blue Whale
The blue whale is characterized by its elongated body, a wide head, and distinct ventral pleats near the throat.
Streamlined Body
Broad Flippers
Fluked Tail
To expand your marine art collection, check the other available guides here.
Guide & Color References for Whale Illustration
For this whale drawing, the process is supported by color guidelines to keep each stage clear.
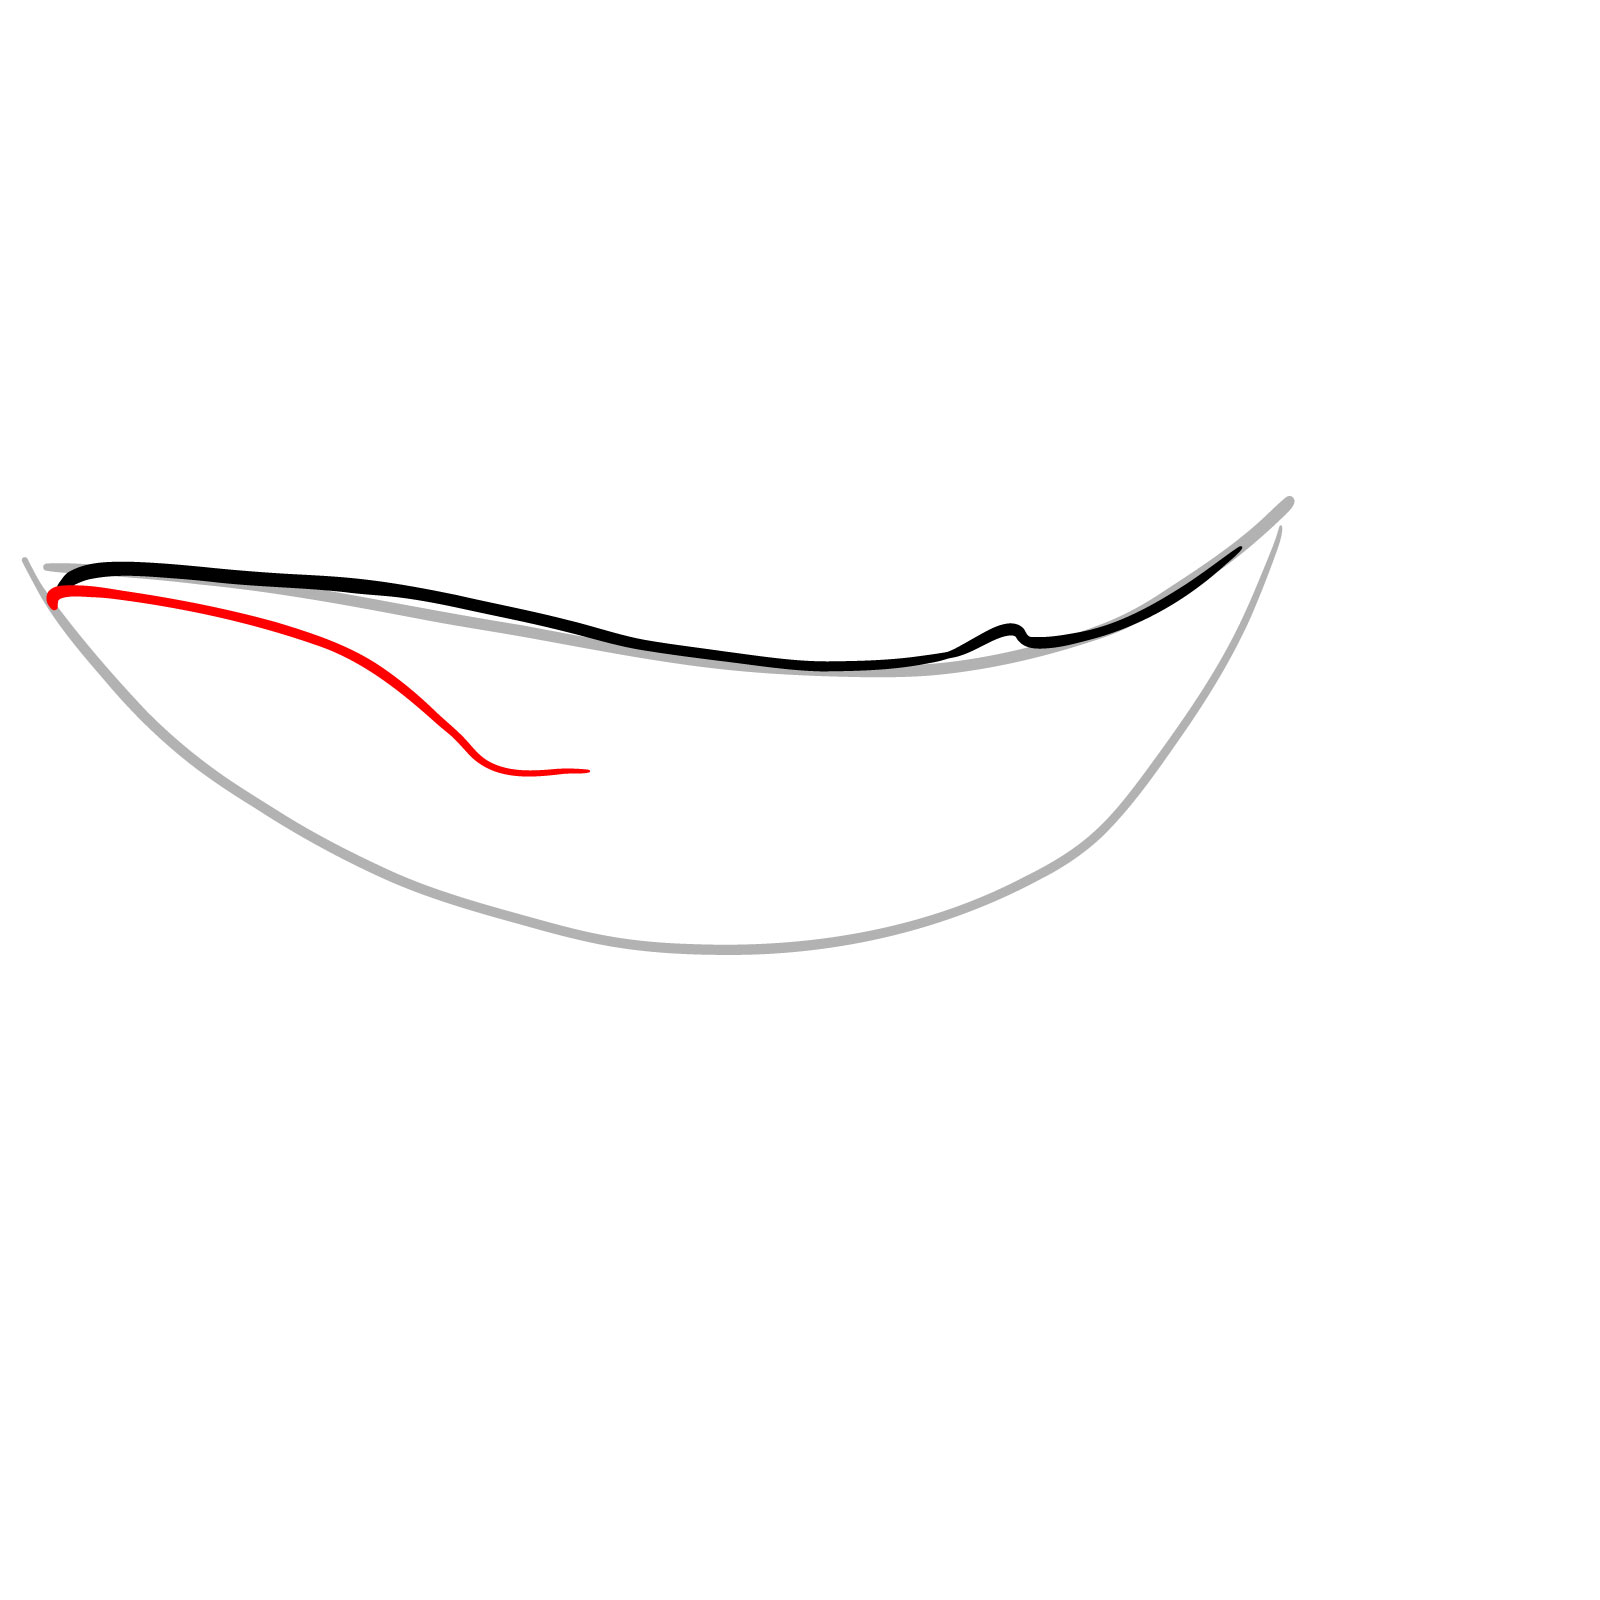
Red Color: The current step you should focus on
Black Color: Shows previously drawn lines
Grey Color: Indicates the basic sketch
Step 1: Draw the whale’s body outline by creating a smooth shape that forms the upper and lower edges of the body. This will serve as the basic shape.
Step 2: Add a refined contour to the upper edge, adding a dorsal fin and a curve near the mouth to define the whale’s head shape.
Step 3: Draw the whale’s mouth line by adding a soft curve that starts at the head and integrates into the lower body.
Step 4: Refine the lower contour by adding a smooth line that starts from the mouth and connects to the flipper area.
Step 5: Sketch one pectoral fin extending from the body as a narrow, curved shape.
Step 6: Draw the remaining part of the lower body and add tail flukes at the end of the body with two almost symmetrical curves forming a spread-out shape.
Step 7: Add the second pectoral fin.
Step 8: Sketch the whale’s eye and other facial details, such as the eye ridge.
Step 9: Draw vertical lines along the lower jaw to create the baleen grooves typical of a blue whale. Add some additional lines to the fins and tail to add some texture and detail.
Step 10: Finalize the whale by erasing the basic sketch, cleaning up overlapping lines, refining curves, and ensuring a smooth finish for a realistic look.
Step 11 – A colored reference for your blue whale drawing.
Support this tutorial and connect on social media for more drawing ideas:
Disclaimer: All original artworks and photos used as references for the creation of these drawing tutorials are the property of their respective owners. If your work has been featured without proper credit, please kindly leave a comment below, and the issue will be promptly addressed. We greatly appreciate your exceptional art. Thank you.
Did you like the tutorial?
You can support the author of this website and also suggest your own ideas for new drawings by making a small donation here:
1 thought on “How to Draw a Blue Whale: Easy Marine Art Tutorial”


Goood boy