Hummingbirds are fascinating creatures, known for their delicate size and rapid wing movements. In this guide, I’ll show you how to draw a hummingbird step by step, capturing its elegant form, long beak, and spread wings in flight.
Understanding the Features of a Hummingbird
Small, compact body with a slightly rounded chest
Long, needle-like beak designed for sipping nectar
Large, expressive eyes
Thin and delicate legs tucked beneath the body
Wings spread wide, with feather layers adding depth
To help with each step, I use a color-coded system:
Red Color: Highlights the current step
Black Color: Represents previously drawn lines
Grey Color: Shows the basic sketch foundation
These colors will guide you through the process and ensure clarity as you build up the details.
Step 1: In this guide, there are 17 steps. We’ll start by creating a basic sketch of the hummingbird in flight. Draw a circle for the head and a simple shape using a straight and curved line to form the body.
Step 2: Here we complete the basic sketch. Use simple lines to outline the beak and draw a circle where the eye will be. Similar to how we shaped the body, sketch the wings, and use slightly curved lines to define the tail’s shape and size.
Step 3: From this step, we start adding details based on the basic sketch. Here, create the defined outline of the hummingbird’s beak.
Step 4: In this step, draw the outline of the upper part of the head using a series of slightly curved short lines to show the feather texture. Start from the top of the beak, drawn in the previous step, and extend these lines to form the upper head and the start of the back, up to the wing closest to us.
Step 5: Add details to the beak by drawing a line to separate the upper and lower parts, and include details at the base. At the spot marked for the eye, draw a black circle with a small unshaded area for the highlight.
Step 6: In this step, add small details around the eye and along the direction towards the beak, as well as at the lower part of the beak where it connects to the bird’s head.
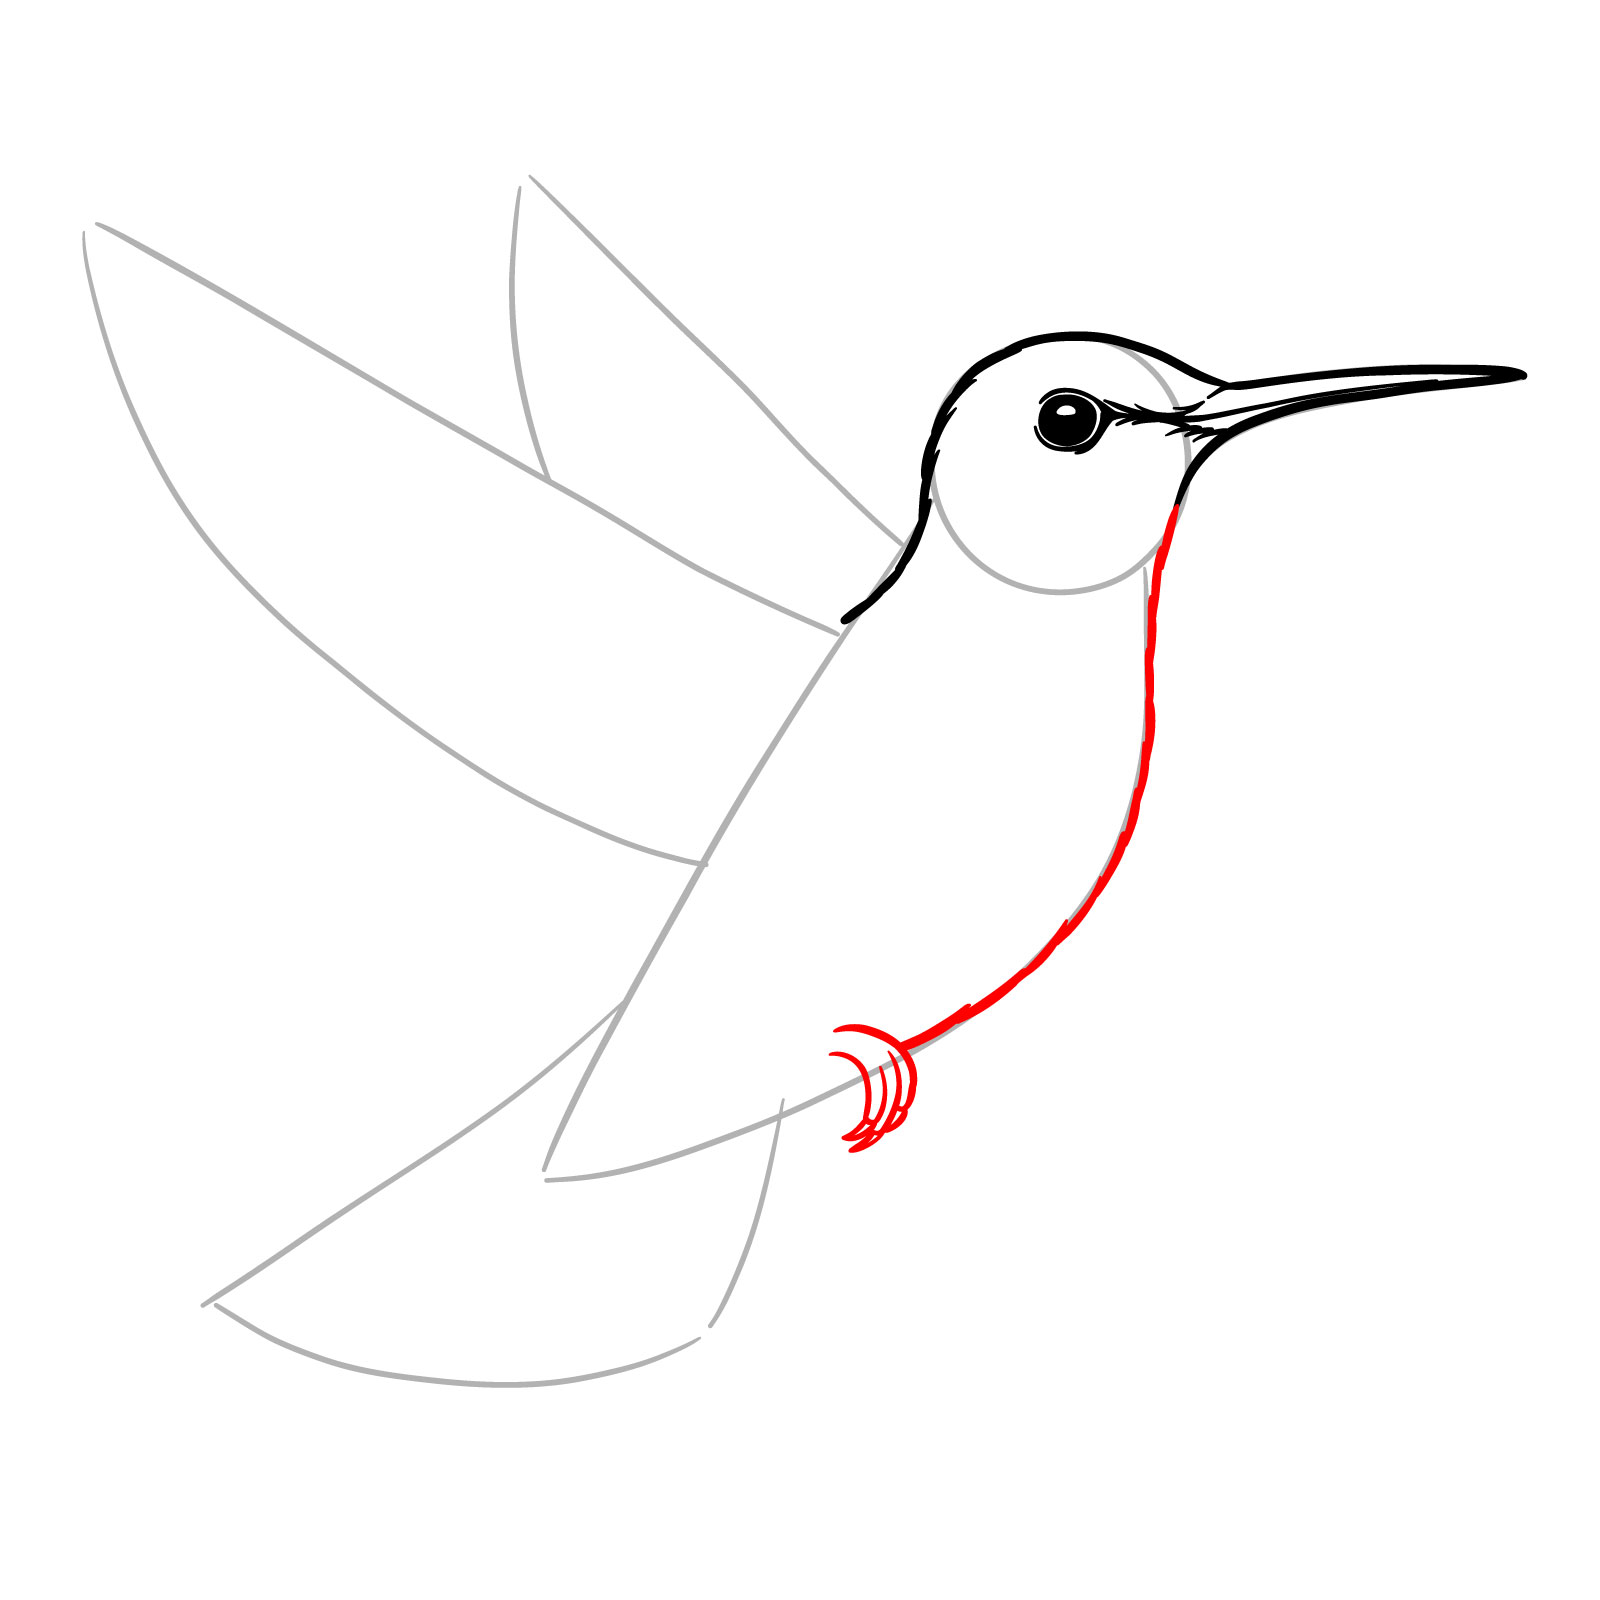
Step 7: Starting from the lower right side of the head circle, draw the front part of the neck and body down to the leg, which is curled in flight. This is the leg closest to us, and we’ll draw its three front toes with claws in this step.
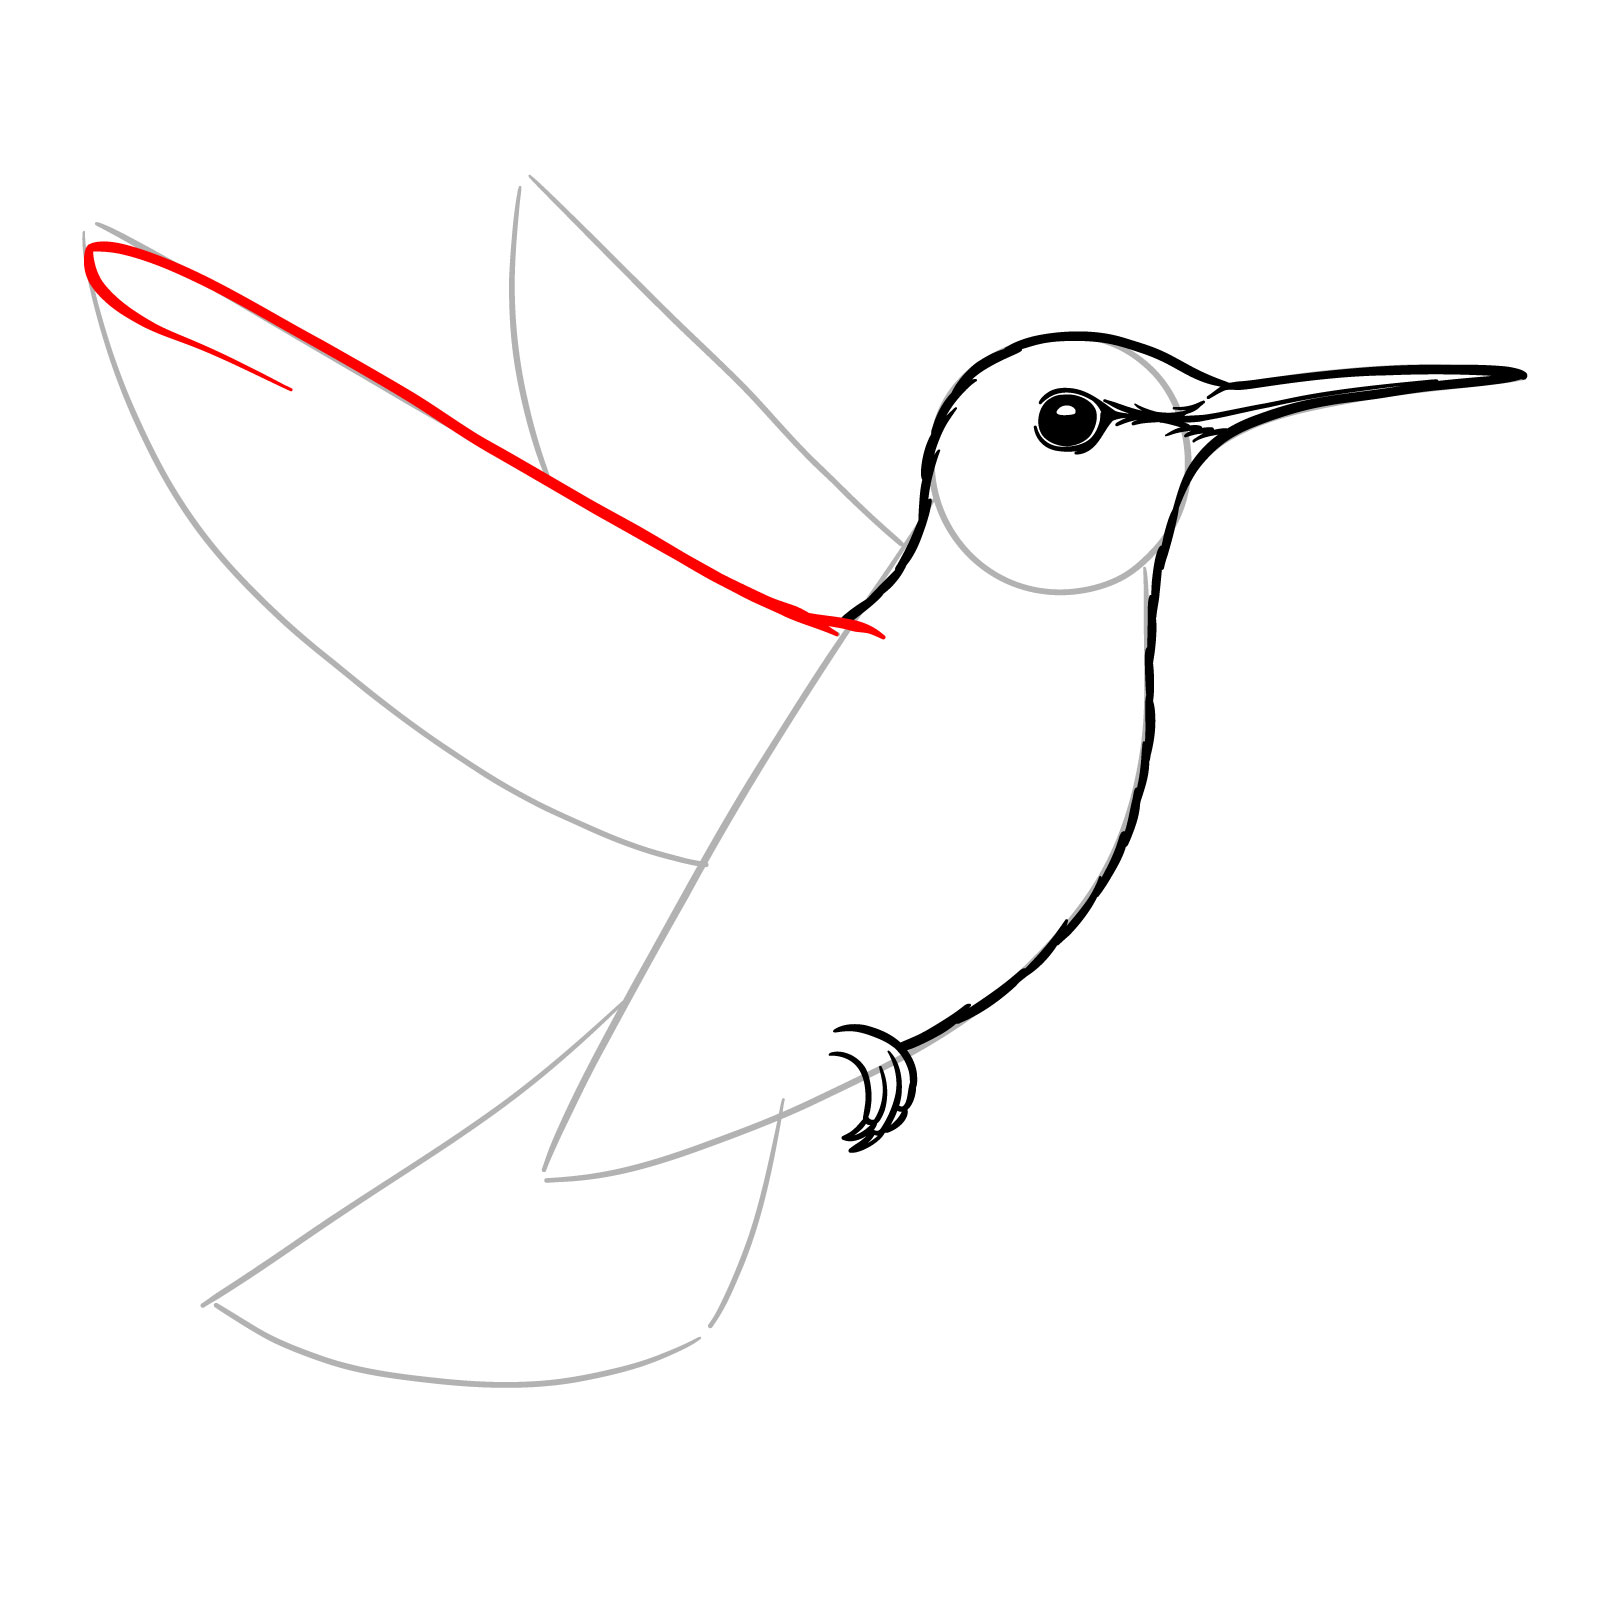
Step 8: In this step, we’ll start drawing the wing closest to us, based on the basic sketch. Draw the front part of the wing and the first visible feather at the tip, using a single curved line to outline its shape.
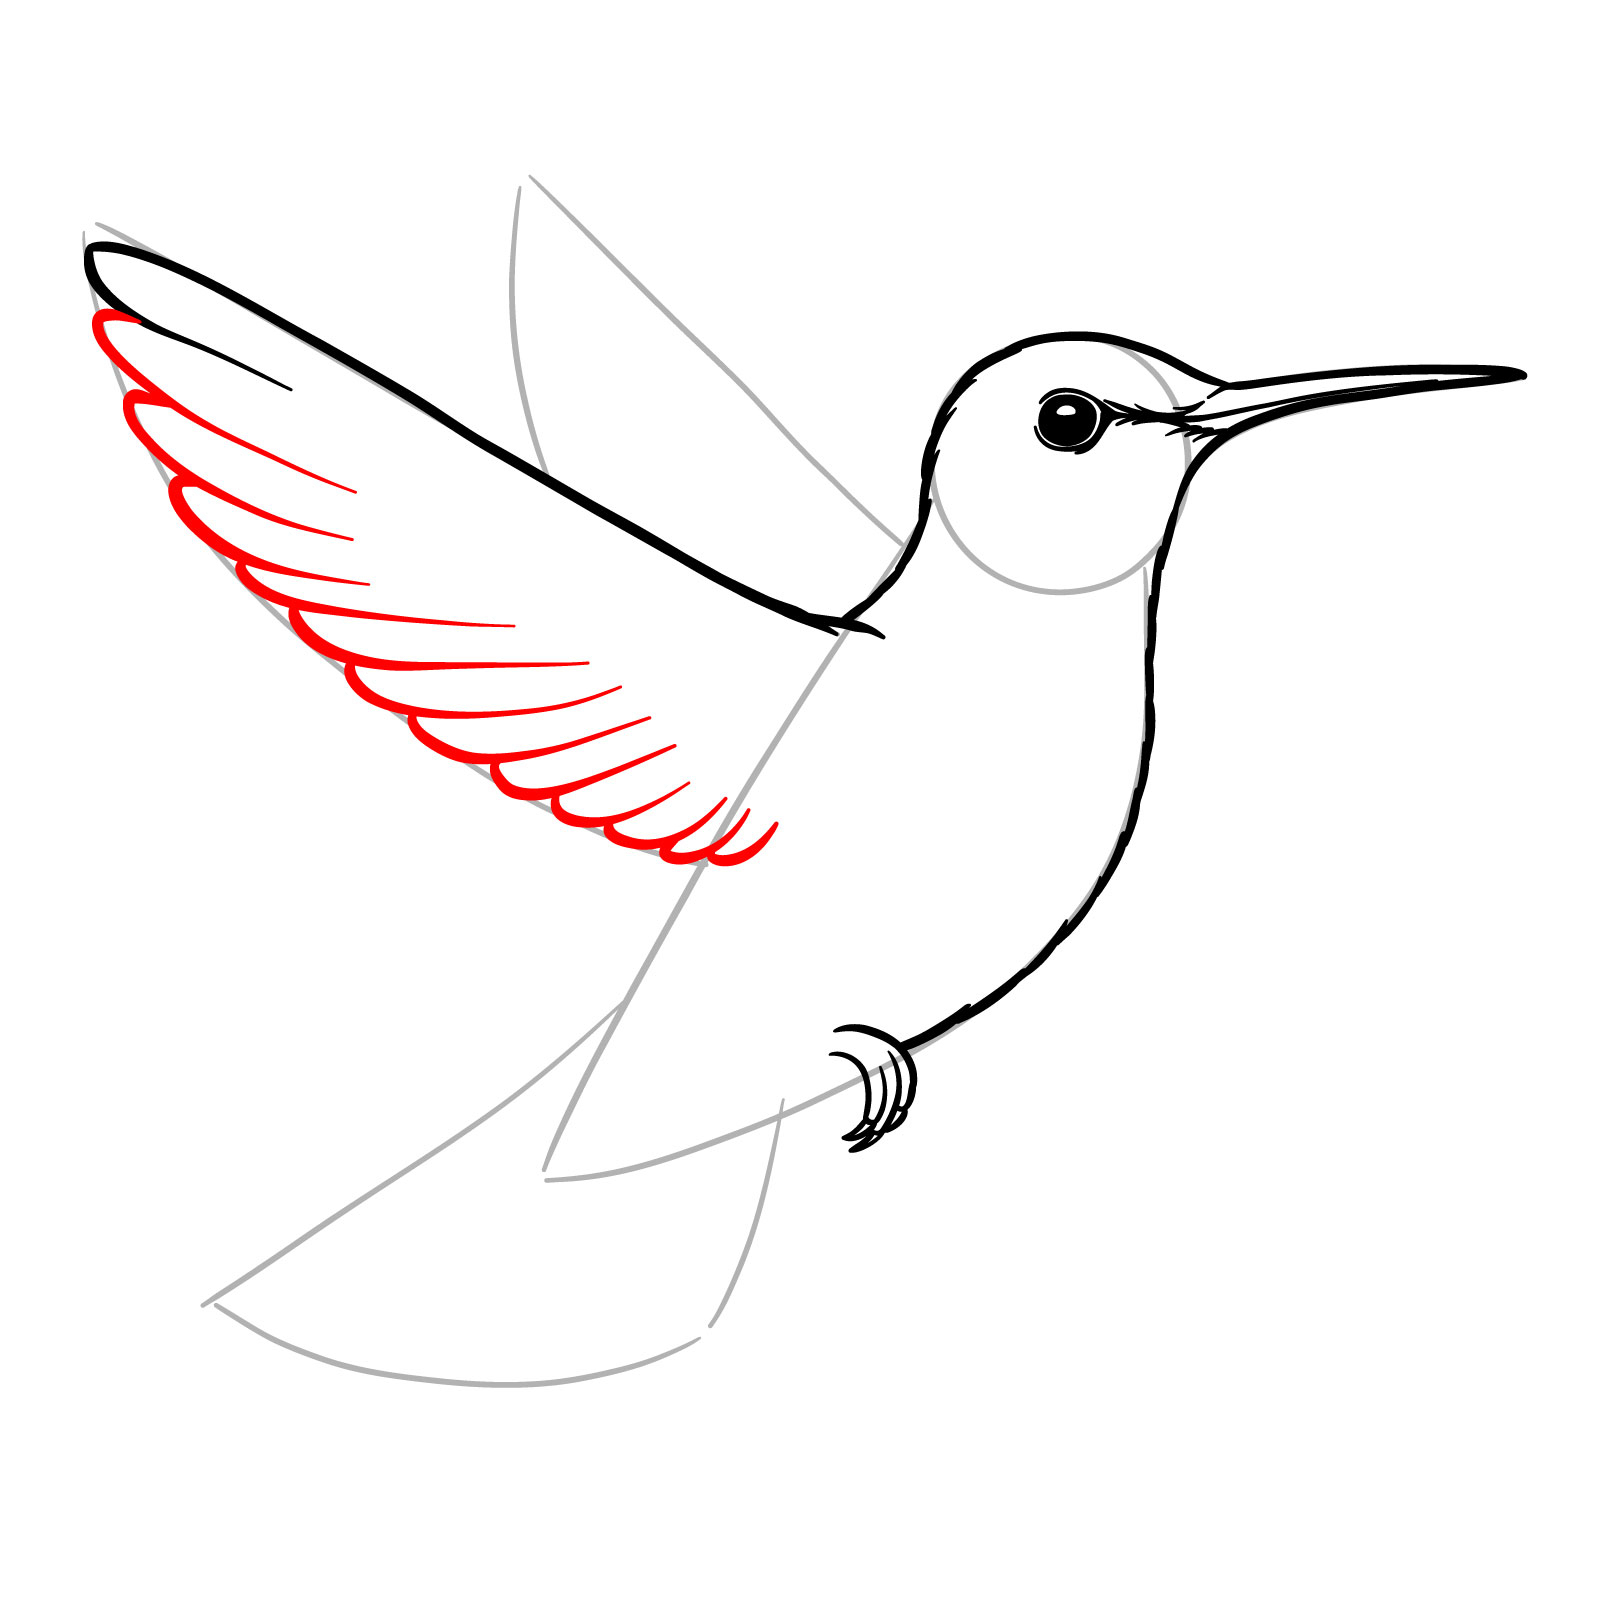
Step 9: Now draw the back part of the wing, which is the lower outline from this perspective. Use a series of curved lines resembling hooks, varying in length, as shown in the reference, continuing up to the bird’s body.
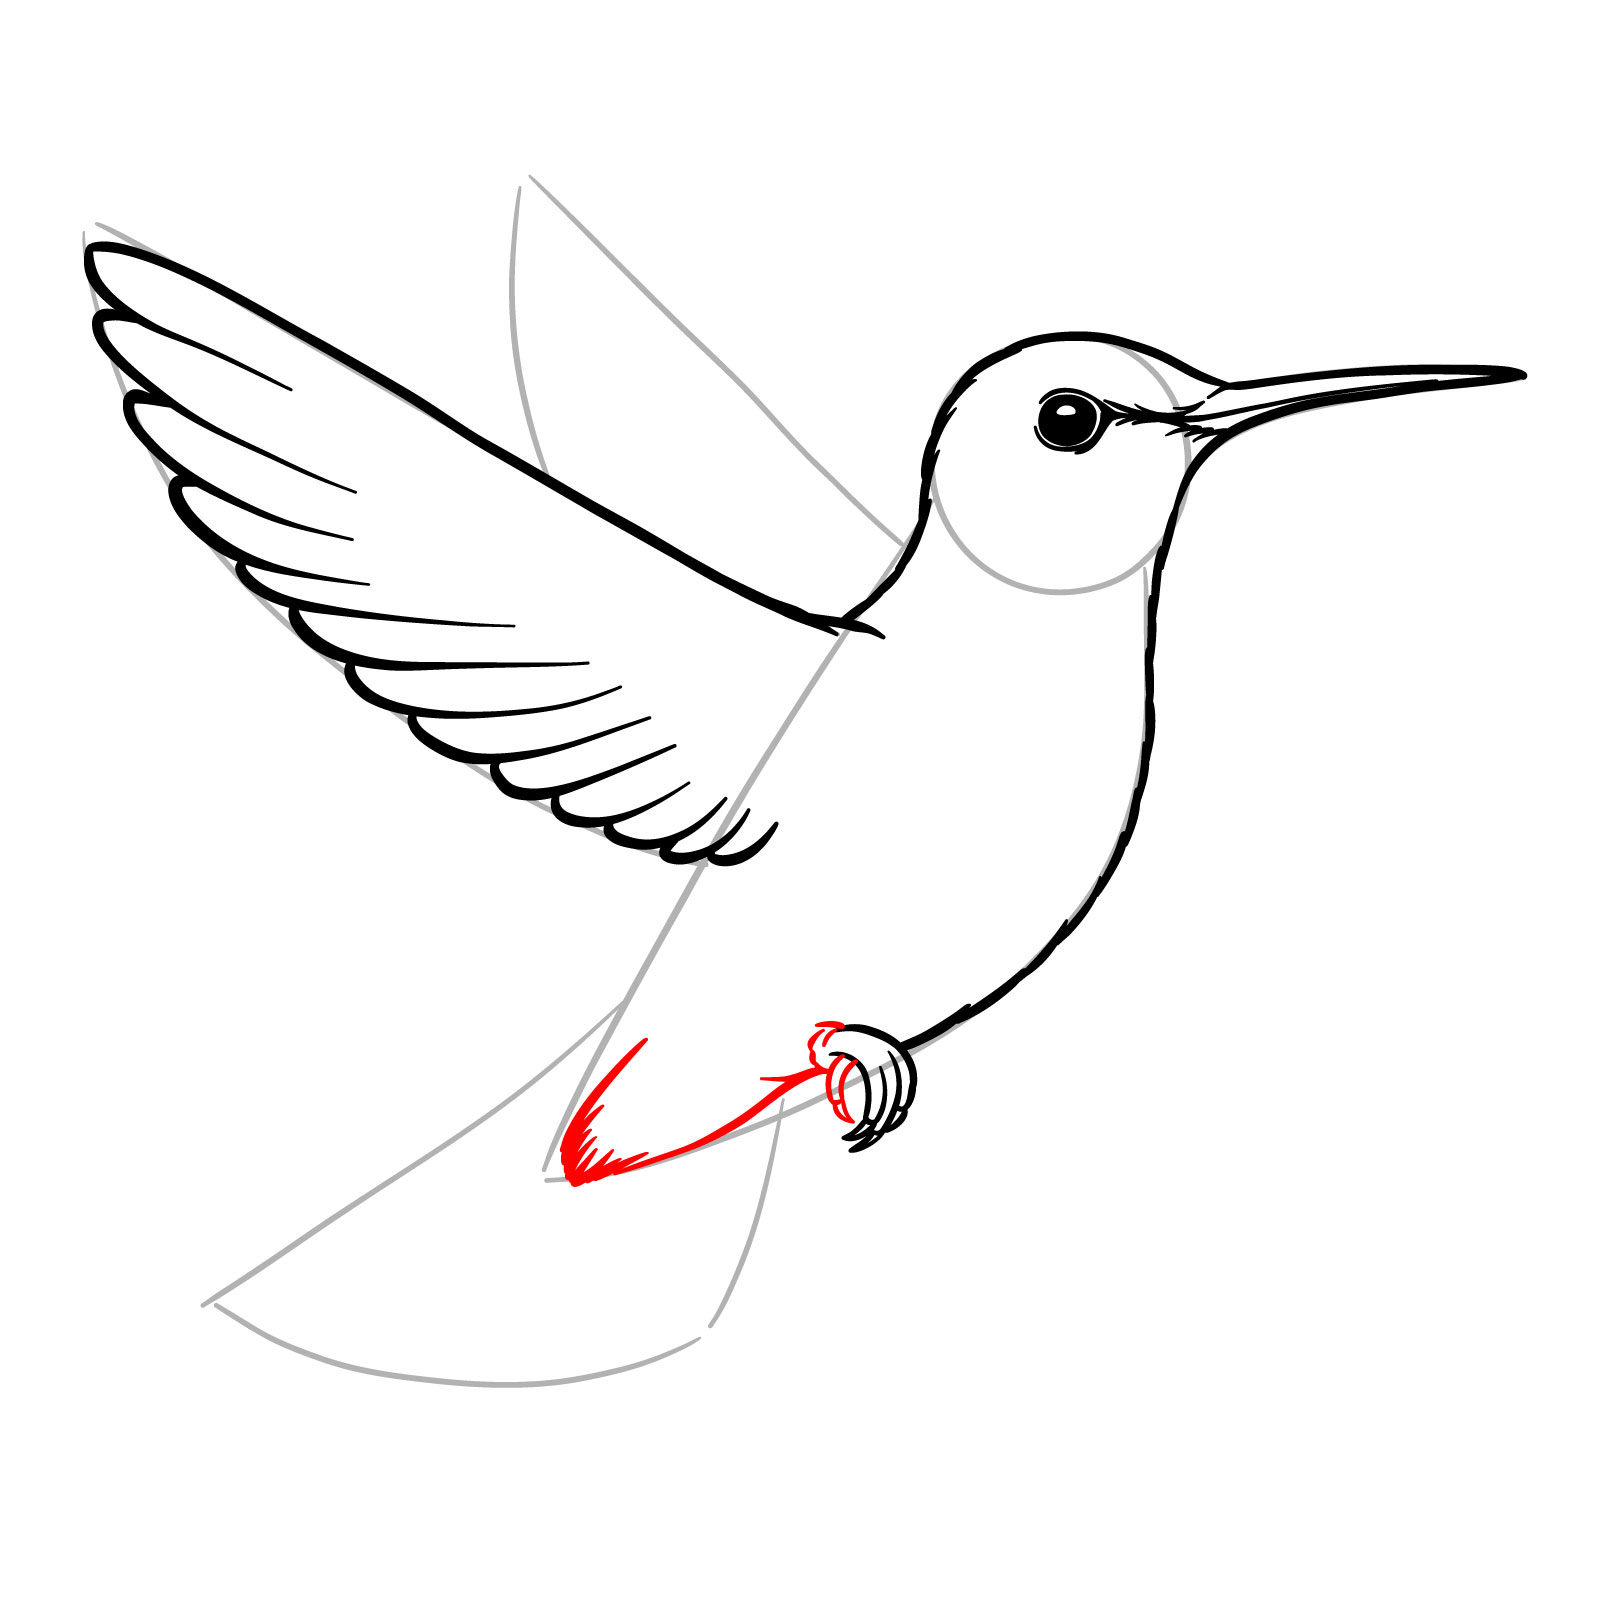
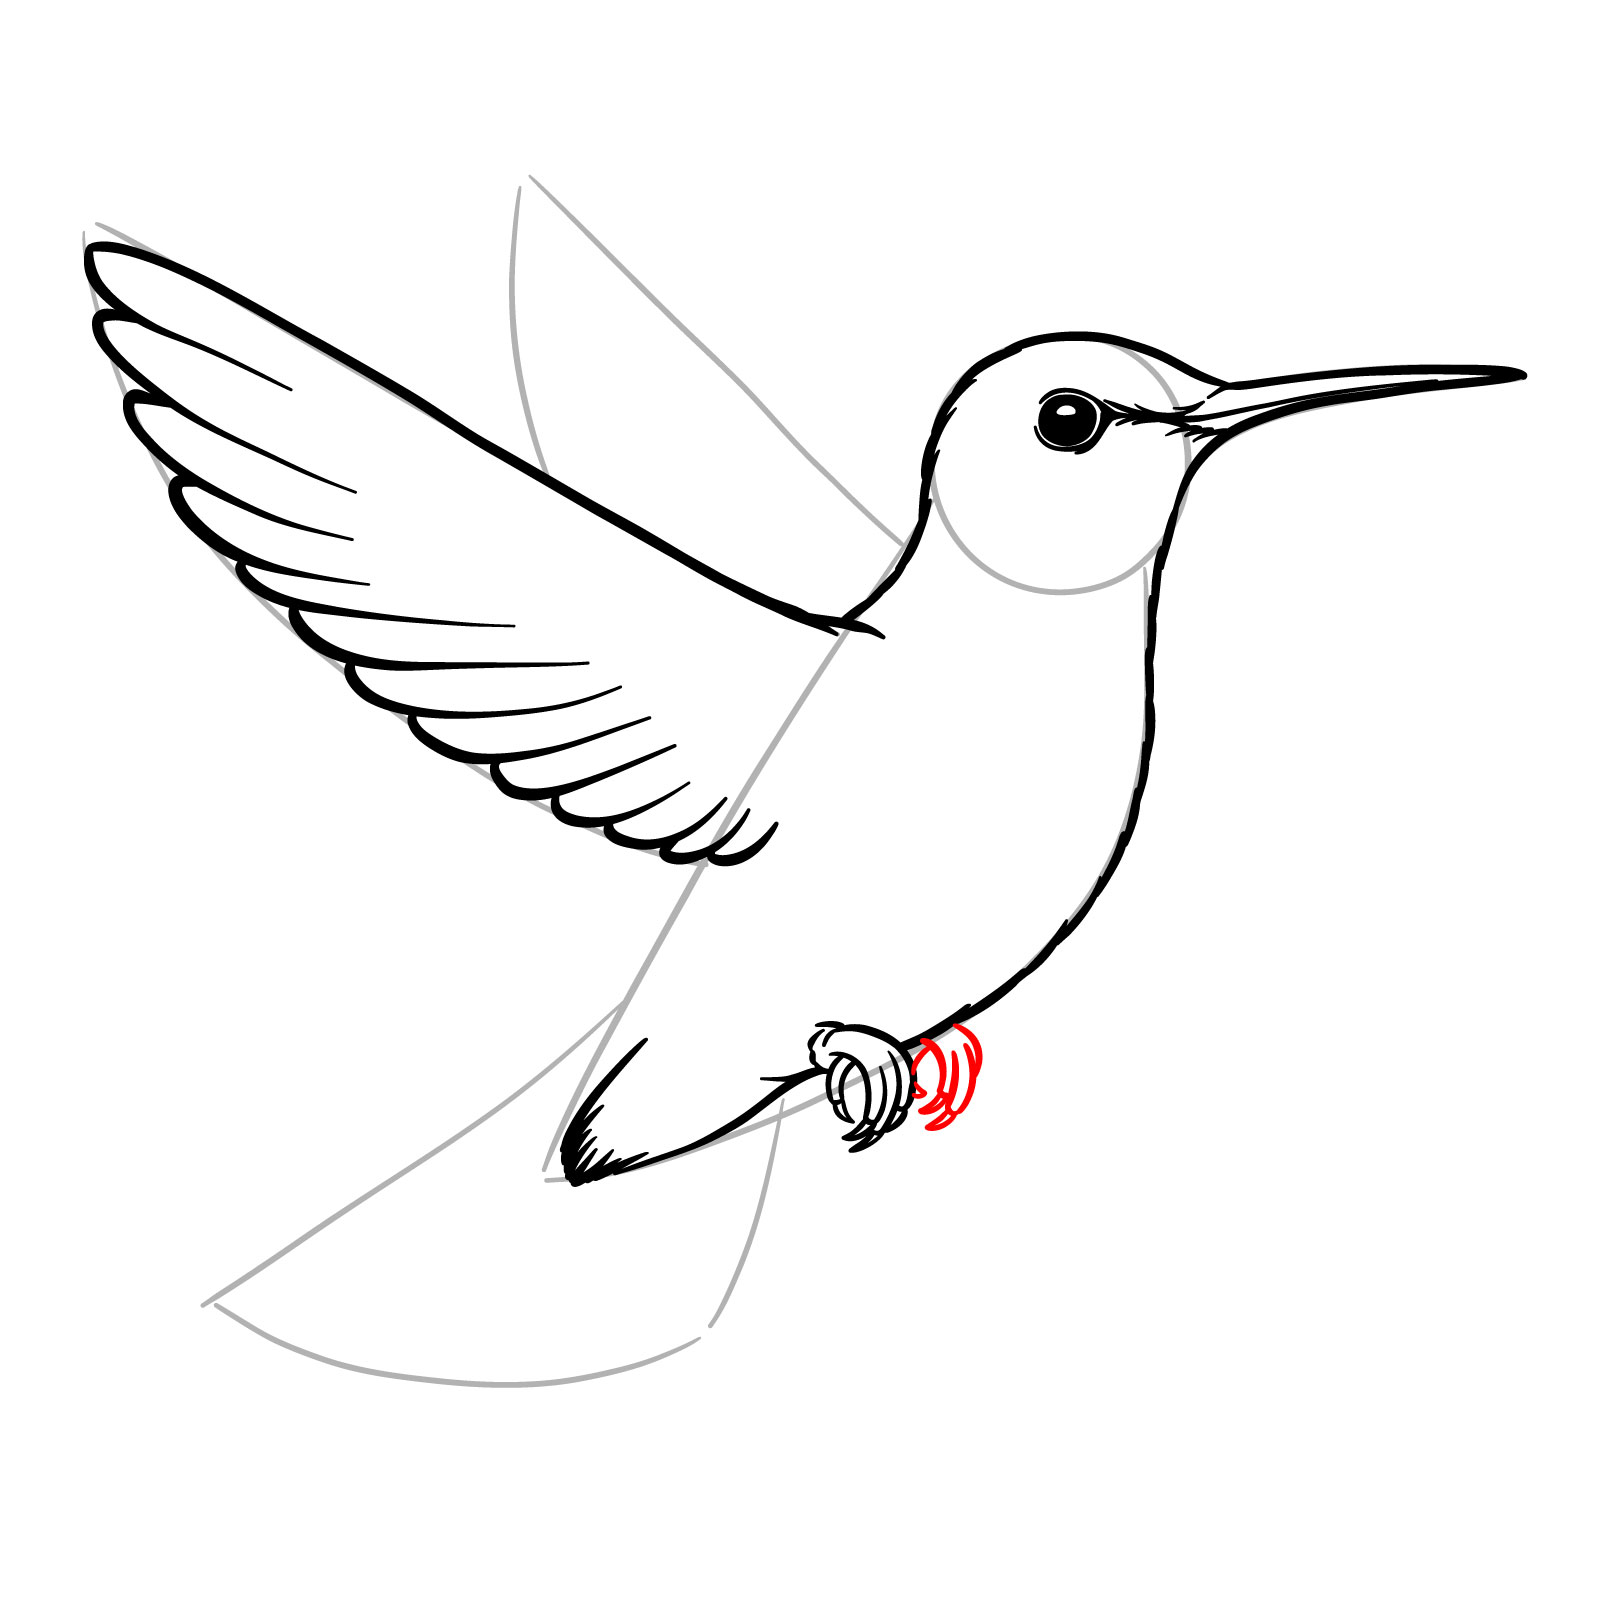
Step 10: Complete the drawing of the leg by adding the missing toe at the back. Also, draw the lower part of the body, focusing on the feathered area under the tail, as shown in the reference image.
Step 11: Draw the second leg in a similarly curled position, typical for these birds in flight.
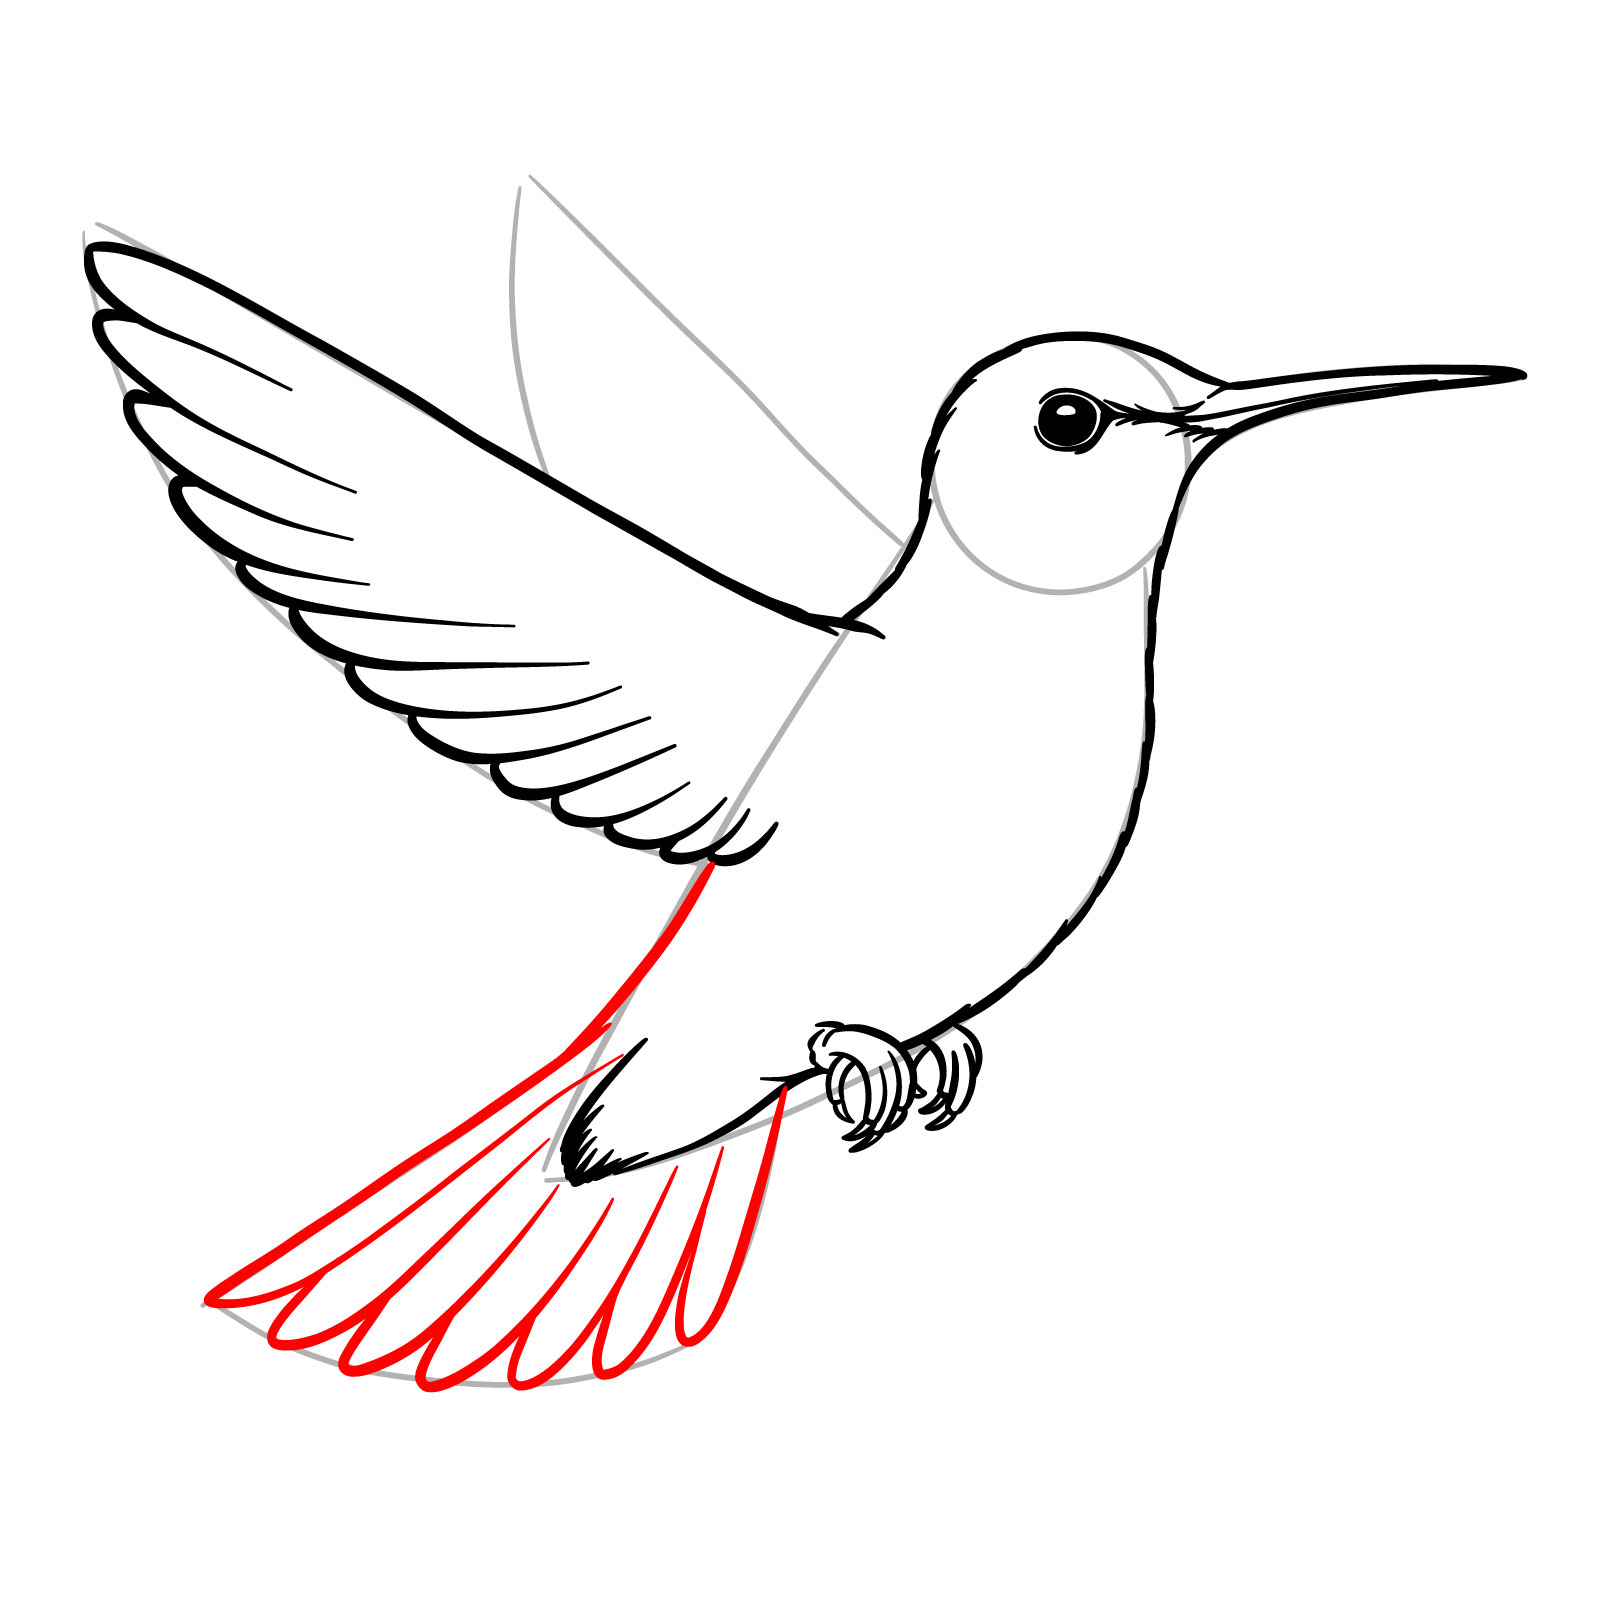
Step 12: Draw a line below the wing we previously sketched to outline the back. From this line, add a series of simple curved lines, as shown, to depict the feathers and form the tail.
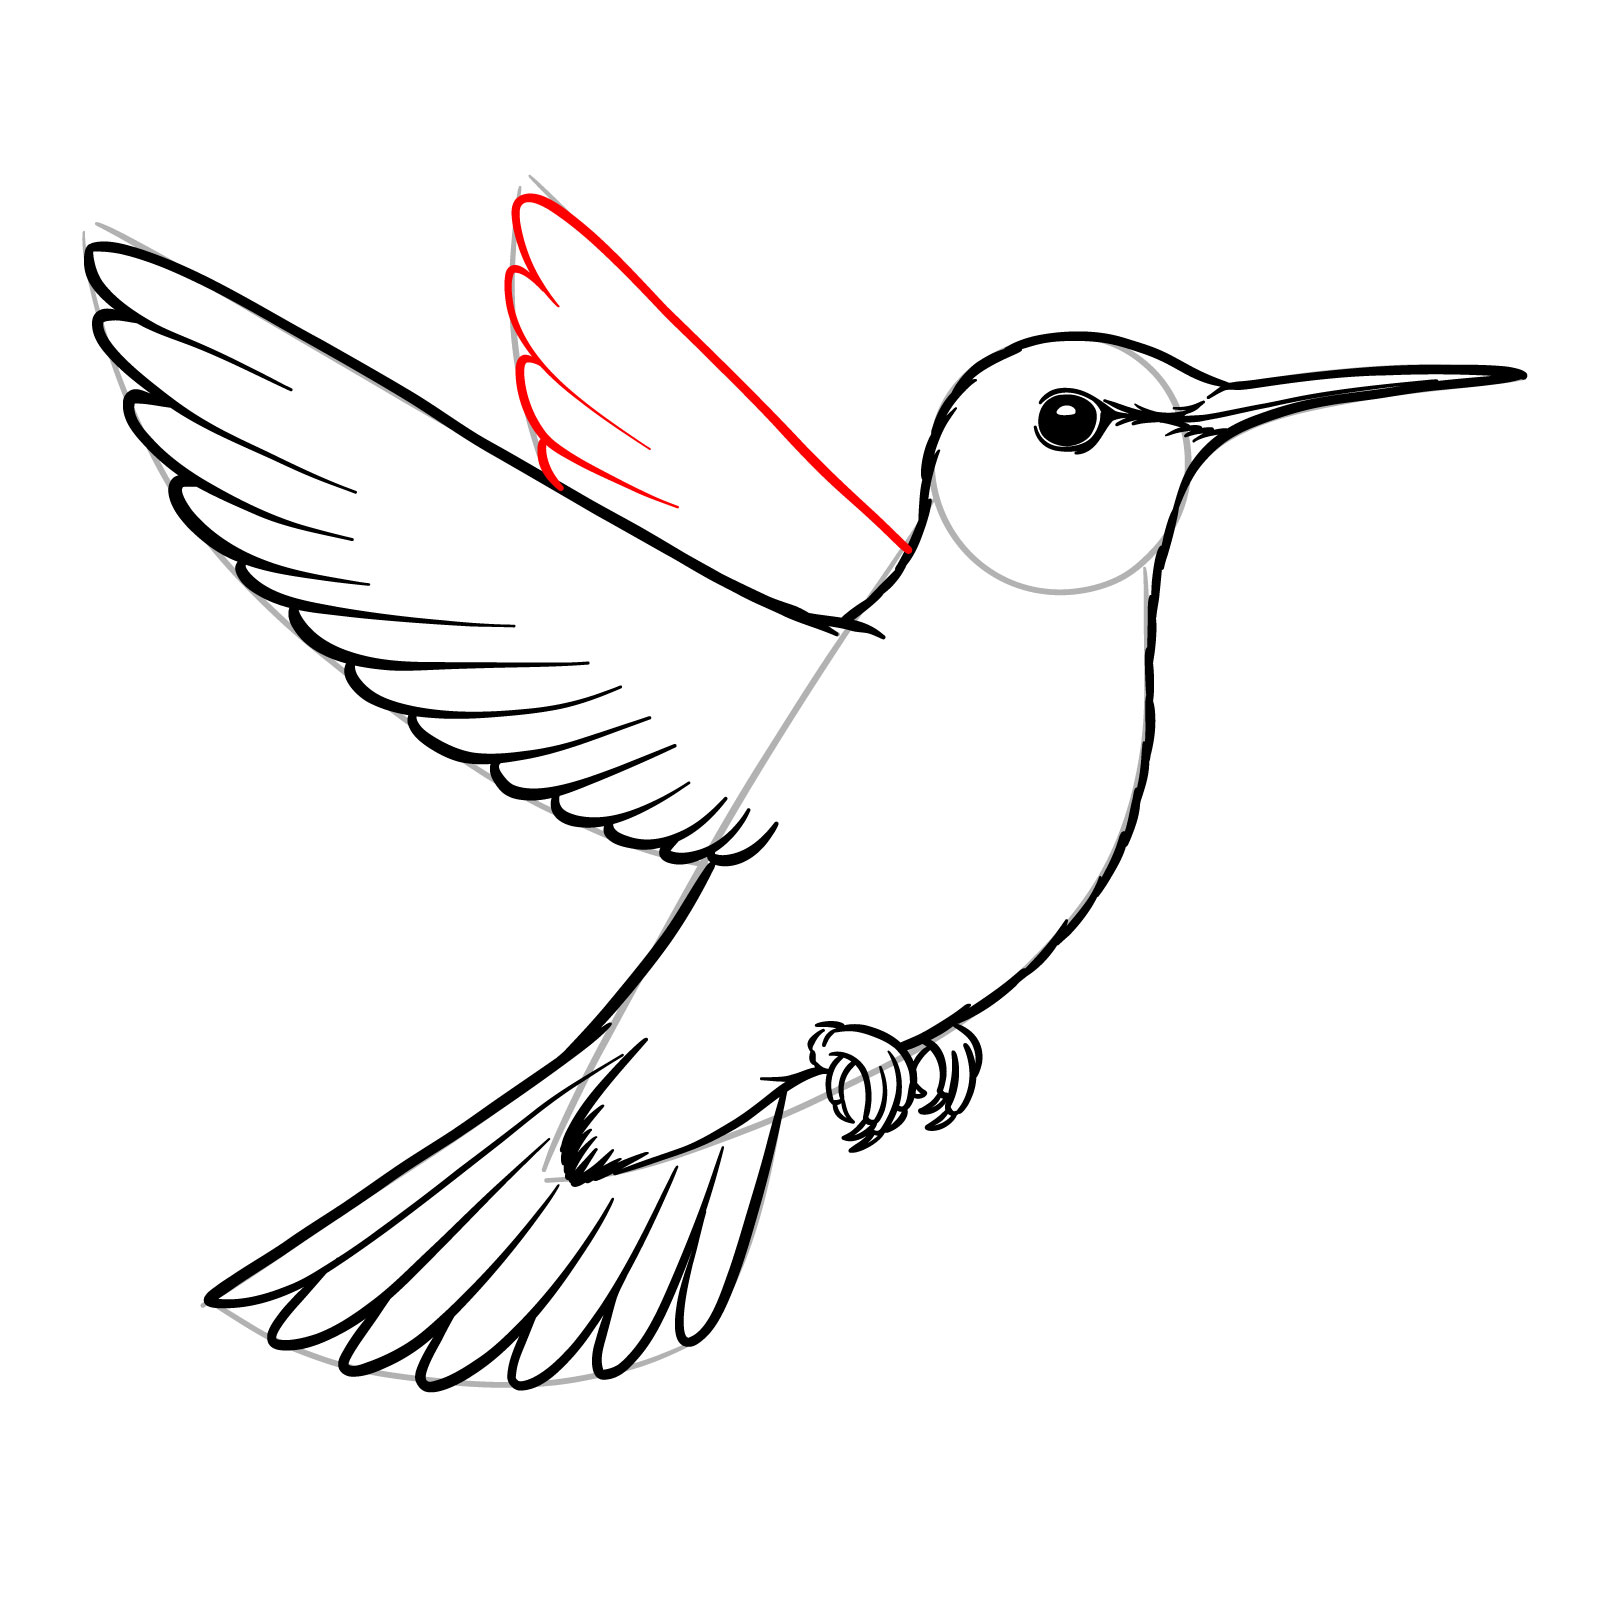
Step 13: In this step of our guide on how to draw a hummingbird in flight, we’ll complete the overall outline by adding the second wing, which is partially visible from this perspective. Base its shape on the basic sketch and outline it accordingly.
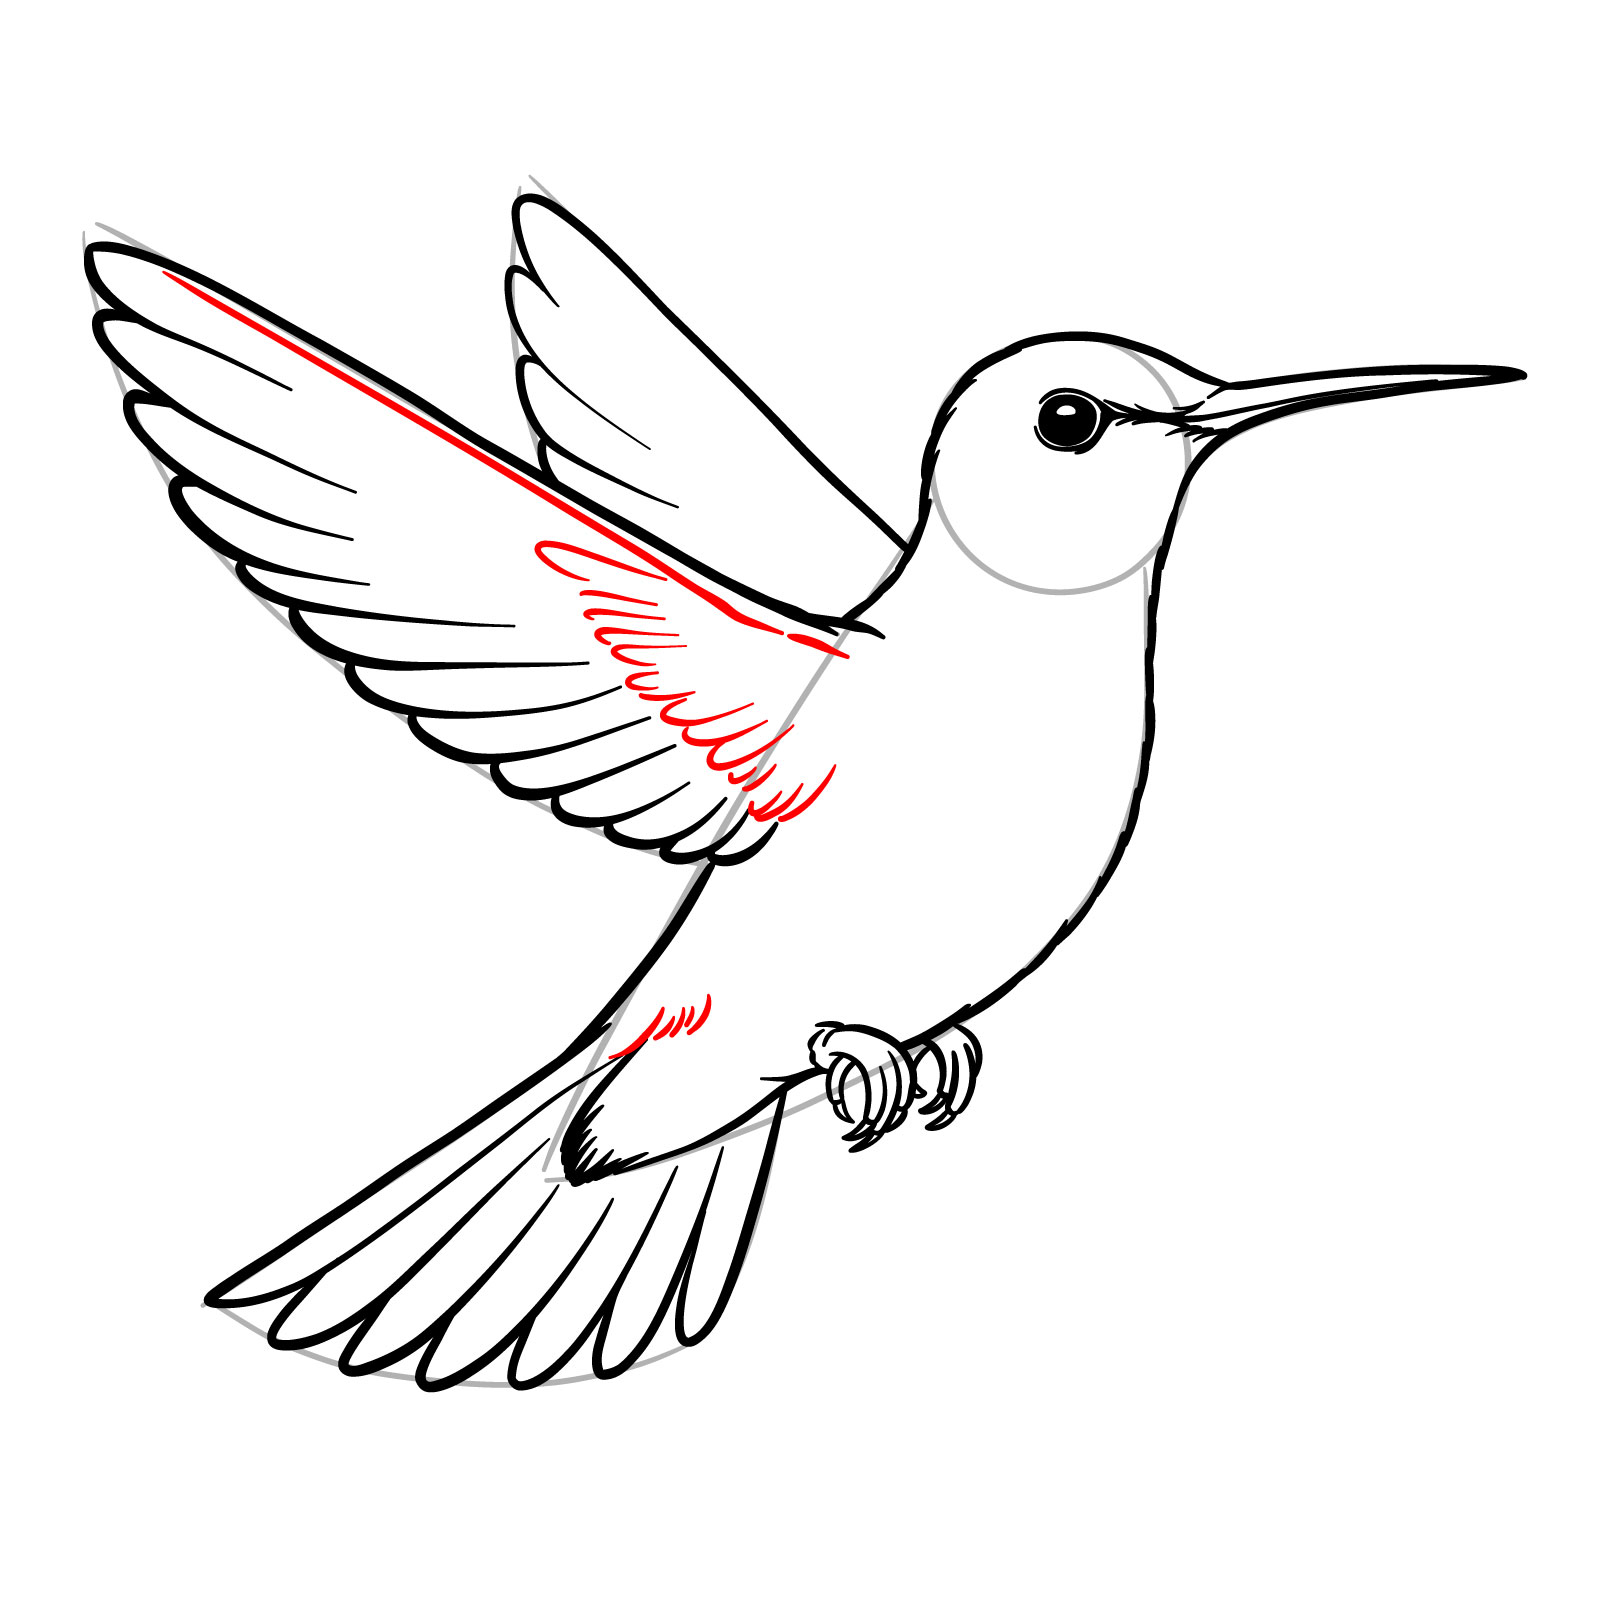
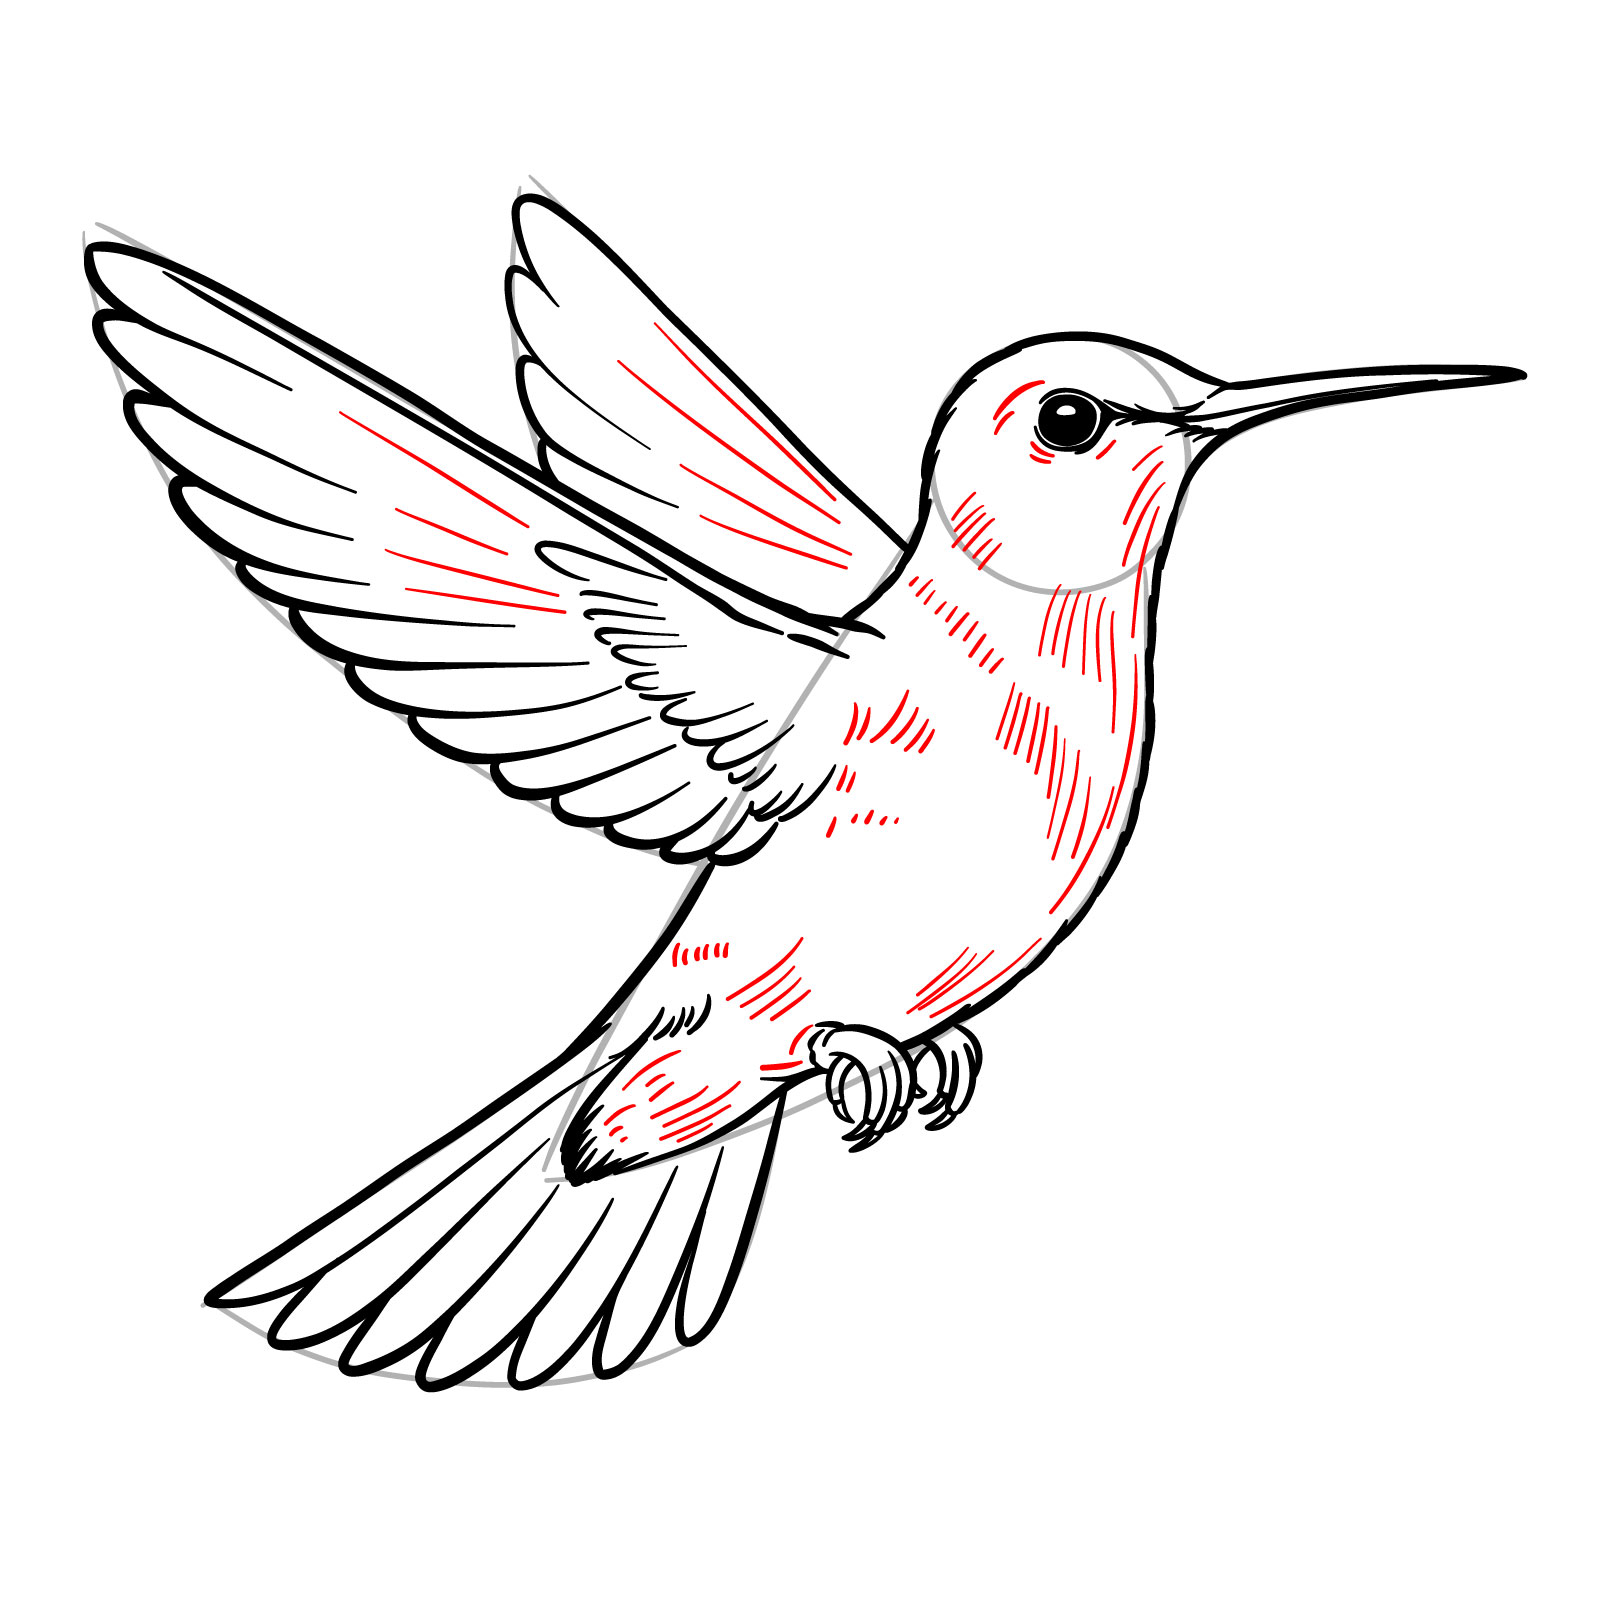
Step 14: We’ll start adding small details inside the outlines created in the previous steps. Now, let’s add feather texture details to the inner part of the wing closest to us and include a few simple lines at the wing’s base to highlight the texture in that area.
Step 15: Add the final small details by drawing a series of short and long lines along the body, and longer lines on the wings for feather texture. This enhances the lifelike appearance of the hummingbird.
Step 16: Erase the basic sketch for a cleaner drawing, adding any missing details and removing unnecessary lines. Optionally, you can outline the final sketch with a pen or ink, then erase all pencil lines once the ink dries for a sharper result.
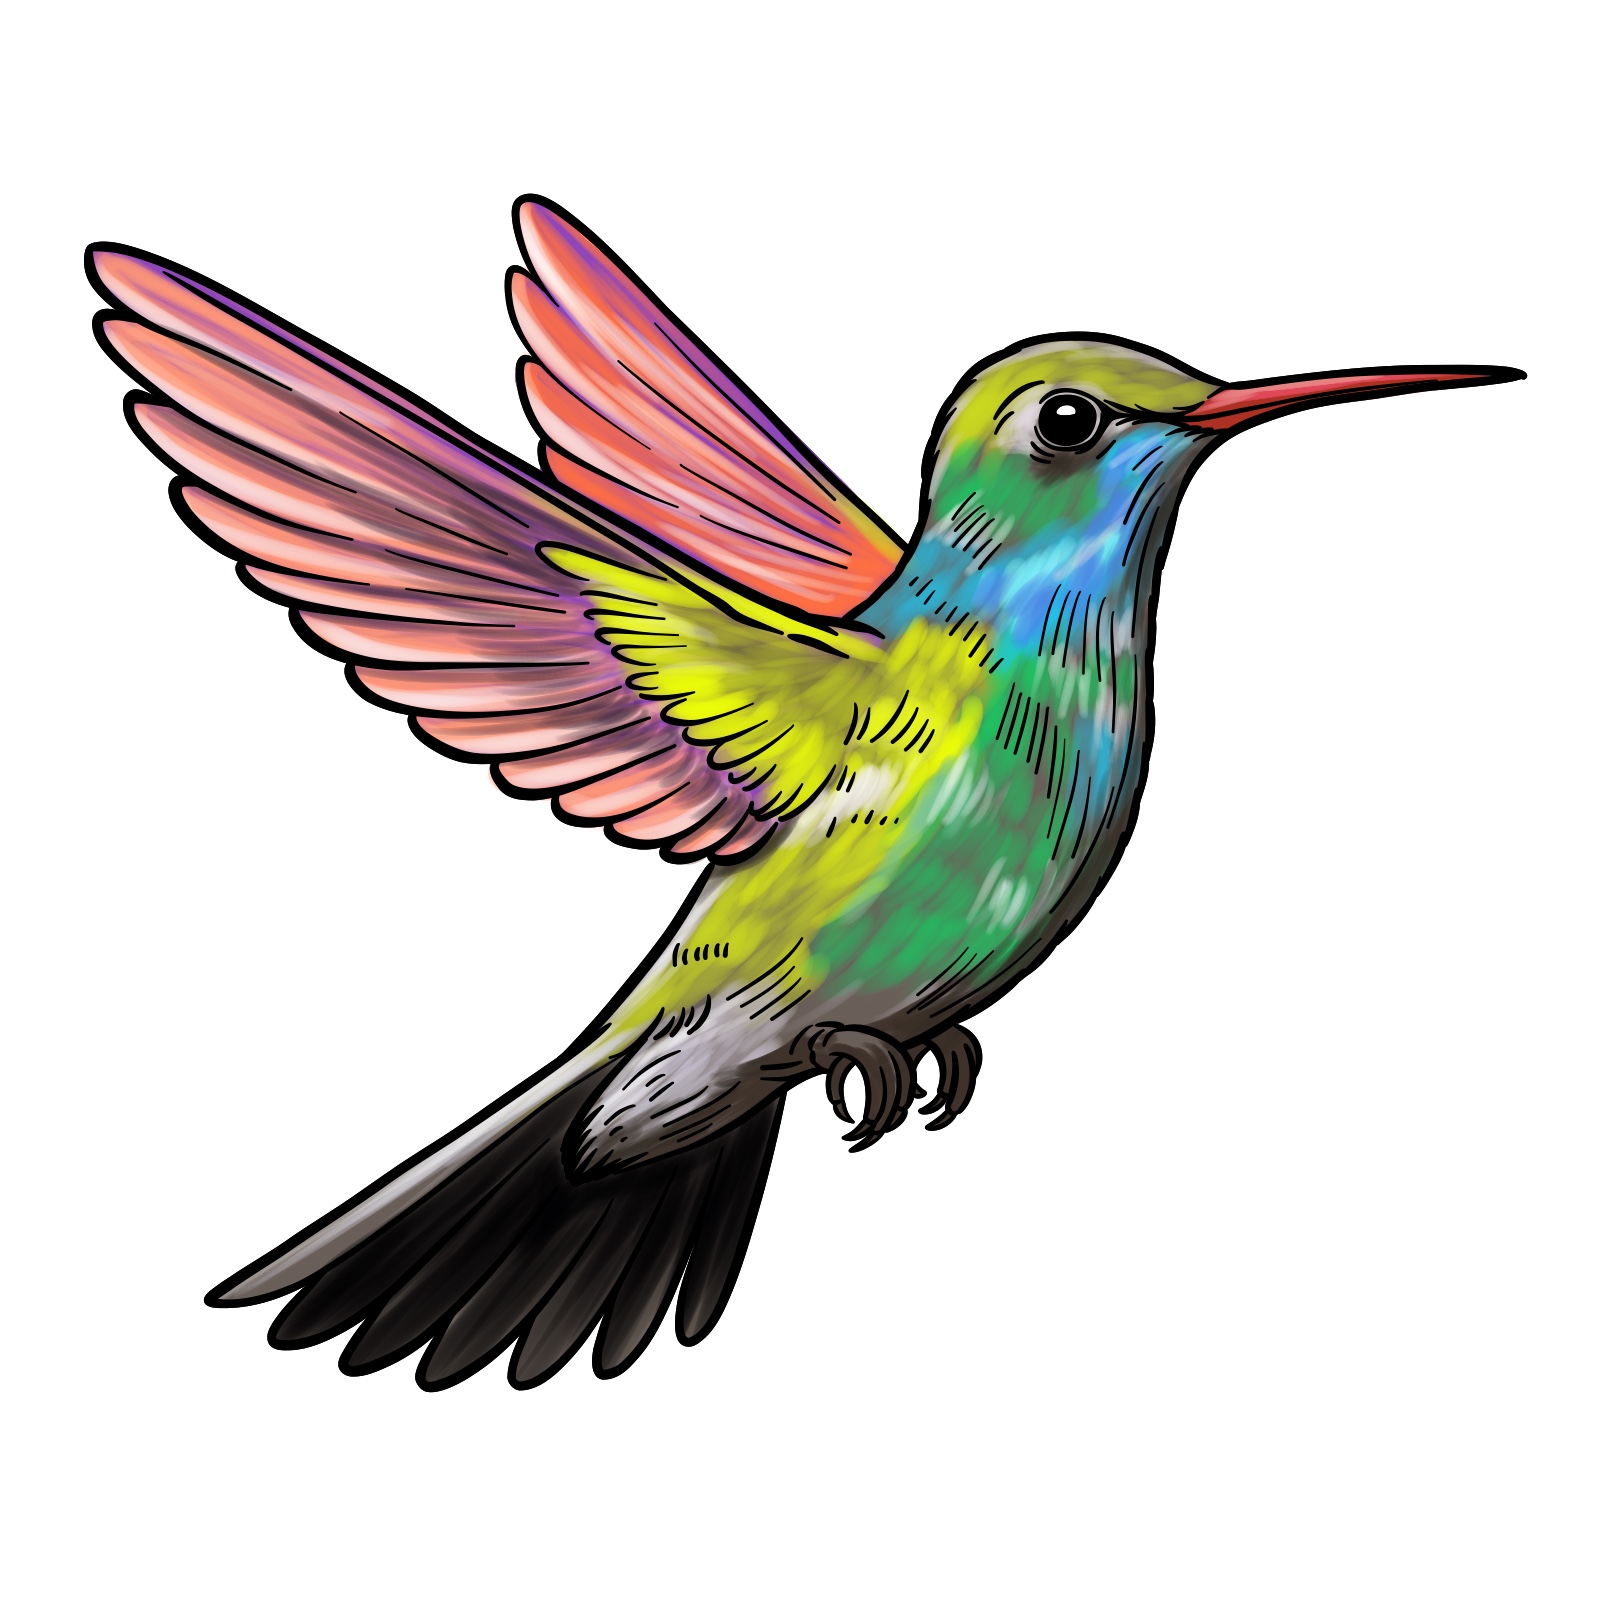
Step 17: Now that we’ve completed the sketch, you can bring your hummingbird to life by coloring it. Use vibrant colors and shades to give it a recognizable look. Feel free to use the reference provided or choose your own palette to match your style.
Once the structure is in place, refine the shape, add feather details, and make sure the wings are symmetrical. You can also include shading and light strokes to create the appearance of soft, iridescent feathers.
Finished your drawing? I’d love to see your work! Share your completed sketch in the comments of the pinned post on Pinterest and check out what other artists have created.
For more tutorials and updates, follow SketchOk on social media:
Disclaimer: All original artworks and photos used as references for the creation of these drawing tutorials are the property of their respective owners. If your work has been featured without proper credit, please kindly leave a comment below, and the issue will be promptly addressed. We greatly appreciate your exceptional art. Thank you.
Did you like the tutorial?
You can support the author of this website and also suggest your own ideas for new drawings by making a small donation here: