Learning how to draw a Blue Jay is a great way to practice capturing feather patterns and natural textures. This bird stands out with its bright blue and white feathers, distinctive crest, and bold black markings. In this guide, I’ll walk you through the process step by step so you can sketch a detailed Blue Jay with ease.
This guide follows a simple color-coded system to make the process easier:
Red Color: Highlights the current step you should focus on.
Black Color: Represents lines you’ve already drawn.
Gray Color: Indicates the basic sketch for structure.
By following these steps, you’ll be able to construct the Blue Jay’s form accurately while keeping proportions and feather details in check.
Step 1: Begin by creating a basic sketch. Draw an oval for the Blue Jay’s head and a significantly larger oval beneath it to outline the body shape and proportions.
Step 2: Continue with the basic sketch. Use simple lines to outline the beak, neck, back of the head, wing, and tail. Add a circle to indicate the eye placement. Add lines for the legs and two parallel lines below them to indicate the branch where the Blue Jay is perched.
Step 3: Begin adding details based on the basic sketch. Start by outlining the upper part of the Blue Jay’s beak.
Step 4: Add the lower part of the beak. Then, outline the top of the Blue Jay’s head, starting from where the upper beak meets the head oval.
Step 5: Add texture and feather details to the head. Starting from the lower part of the beak, draw lines along the basic sketch and add short lines diagonally across the head oval to indicate feather placement.
Step 6: Based on the circle indicating the eye’s position, draw a circle filled with black, leaving a small oval at the top unshaded for the highlight. This will be the Blue Jay’s eye.
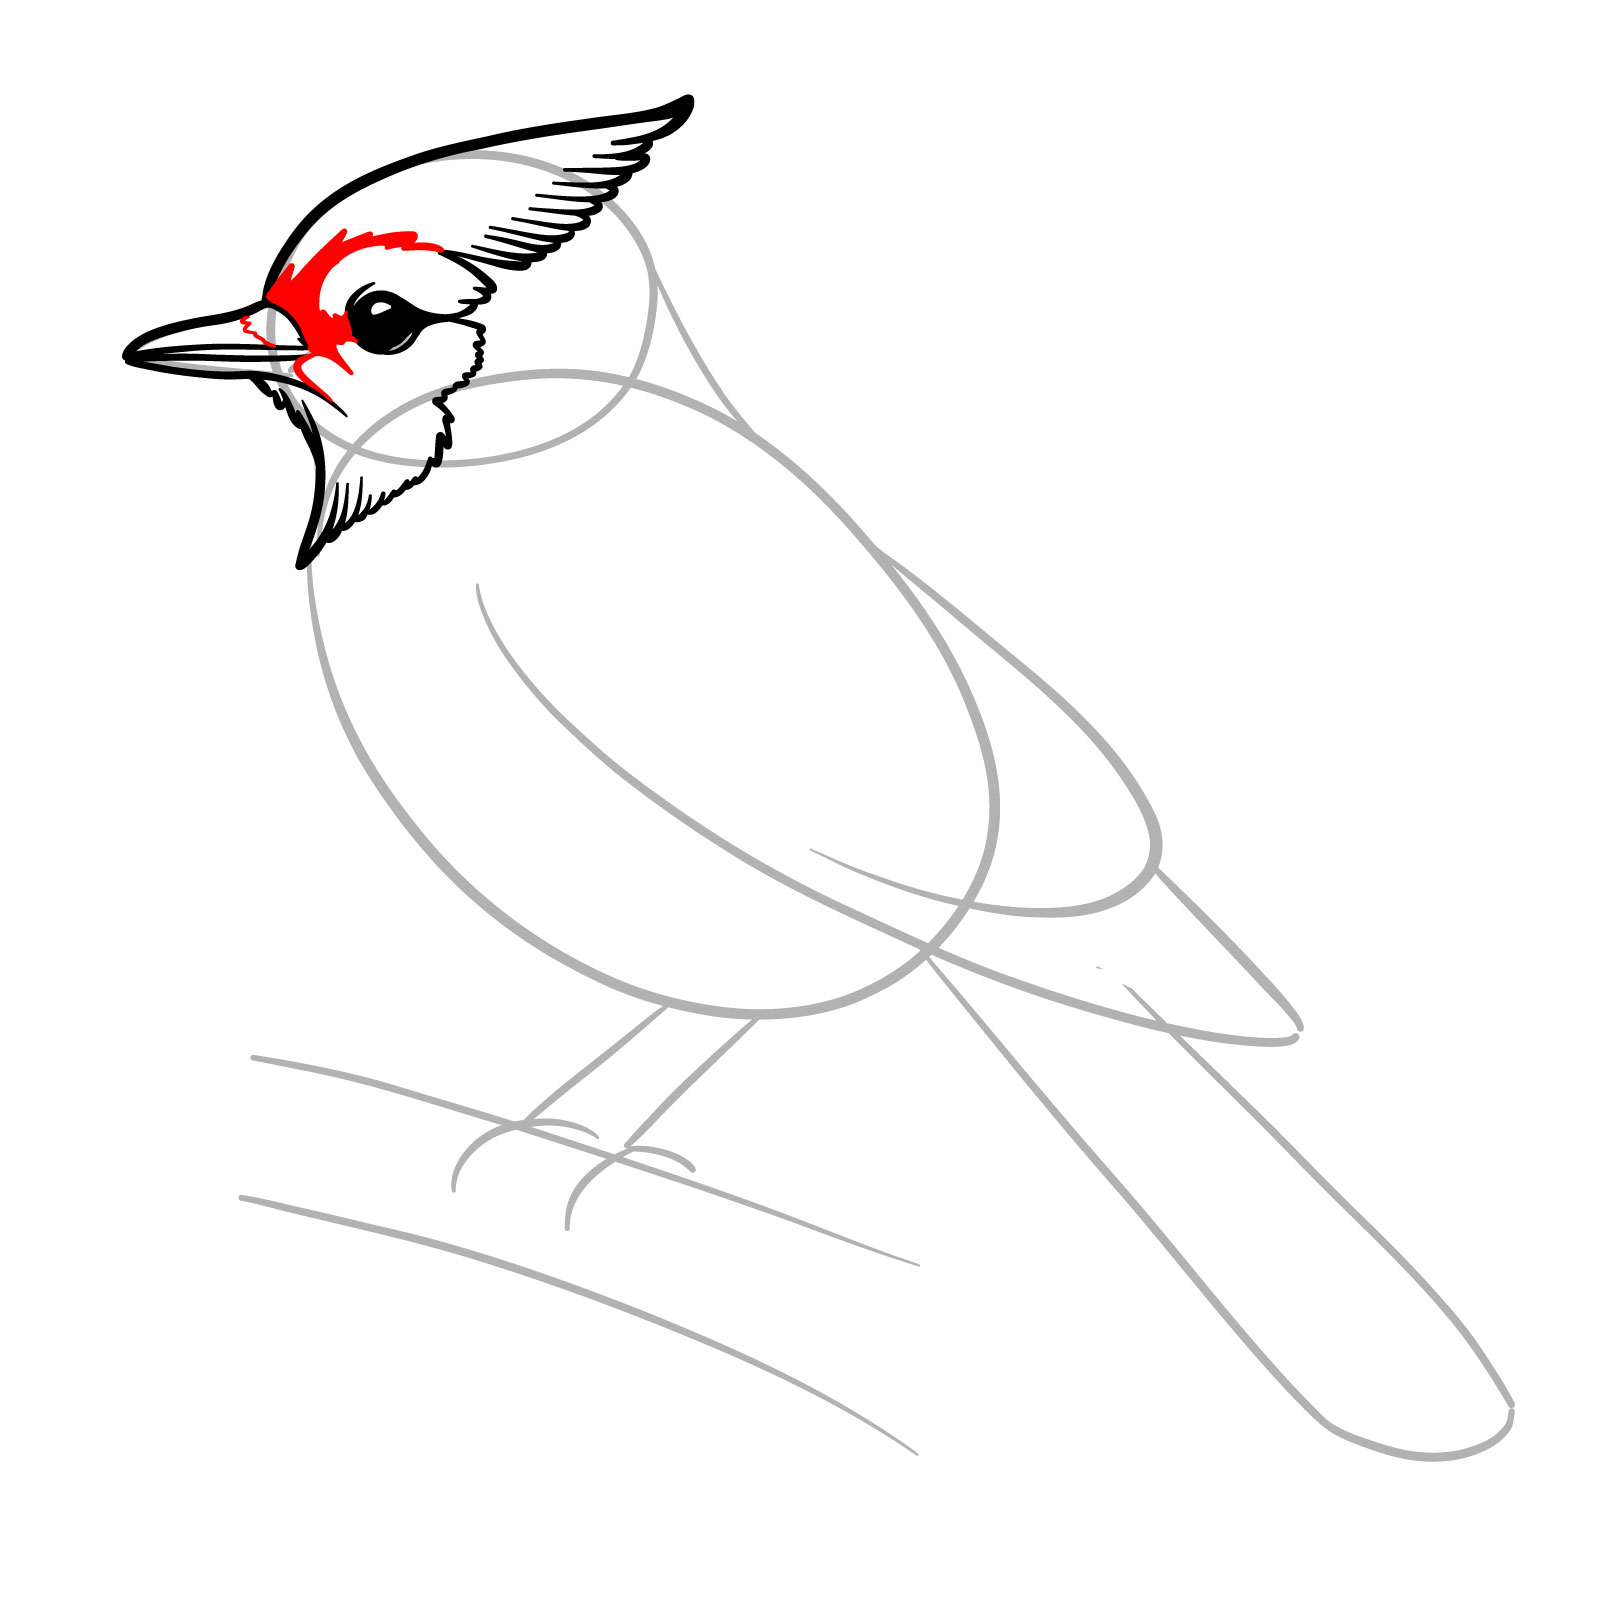
Step 7: Add details around the eye using short strokes to create texture and depth.
Step 8: Continue adding details on the upper part of the beak to show texture. Also, add shading and details between the eye and beak, filling areas as shown in the reference to highlight the pattern.
Step 9: Consider the texture and feather details from step 5 as the first layer. Below and to the right, add another layer of feathers using short, diagonal lines to show texture, as indicated in the reference.
Step 10: Draw a line from the back of the head oval to form the nape and upper neck, smoothly transitioning into the upper wing. Add a series of curved lines to represent feathers. In the front part of the wing, draw one long line that curves at the end, indicating the second layer of feathers where they get longer.
Step 11: Finish the outline of the wing and add patterns to the upper part of it as shown in the image.
Step 12: Draw the front part of the body down to where the tail will begin. Starting from the area where the legs will be, add short lines to give texture to the feathers in this region.
Step 13: Outline the first leg which is closer to us.
Step 14: Draw the outline of the second leg, closely mirroring the shape and position of the first leg.
Step 15: Following the parallel lines, outline the branch.
Step 16: Now we’ve reached the point in the guide on how to draw a Blue Jay where we finalize the overall outline. Draw a series of long lines that represent the shape of the tail feathers, giving the tail its form.
Step 17: Add details and texture to the tail. Draw a series of curved lines along the feather closest to us, widening and darkening towards the tip for texture. Also, add short lines, some curved and some straight, on the front part of the upper wing.
Step 18: Continue adding texture to give our Blue Jay drawing a recognizable appearance. Add small details, like dots or markings, on the front part of the upper wing. Also, add short lines on the chest and small curved lines at the top of the wing to further define its shape and texture.
Step 19: Congratulations on reaching this step! You’re almost done with the guide on how to draw a Blue Jay. At this point, you can either trace the final lines with a pen or ink. Once the ink dries, erase all pencil lines for a clean, bold sketch. Alternatively, if you’d like to keep it in pencil, carefully erase the basic sketch lines from steps 1 and 2 to reveal your finished drawing.
Step 20: At this stage, you can color your Blue Jay drawing. Use the reference image below for guidance, or feel free to color it as you prefer. This is a simple option with slight shading in certain areas to help with highlights and shadows. It’s just a suggestion, so you can use your own colors and style to bring your bird to life.
If you enjoy these tutorials, consider supporting SketchOk to keep them coming! Your support helps bring more free drawing guides.
After completing your Blue Jay drawing, don’t forget to share it in the comments on the pinned Pinterest post. I’d love to see your work!
For more tutorials and updates, follow SketchOk on social media:
Disclaimer: All original artworks and photos used as references for the creation of these drawing tutorials are the property of their respective owners. If your work has been featured without proper credit, please kindly leave a comment below, and the issue will be promptly addressed. We greatly appreciate your exceptional art. Thank you.
Did you like the tutorial?
You can support the author of this website and also suggest your own ideas for new drawings by making a small donation here: