Last Updated on May 13, 2026
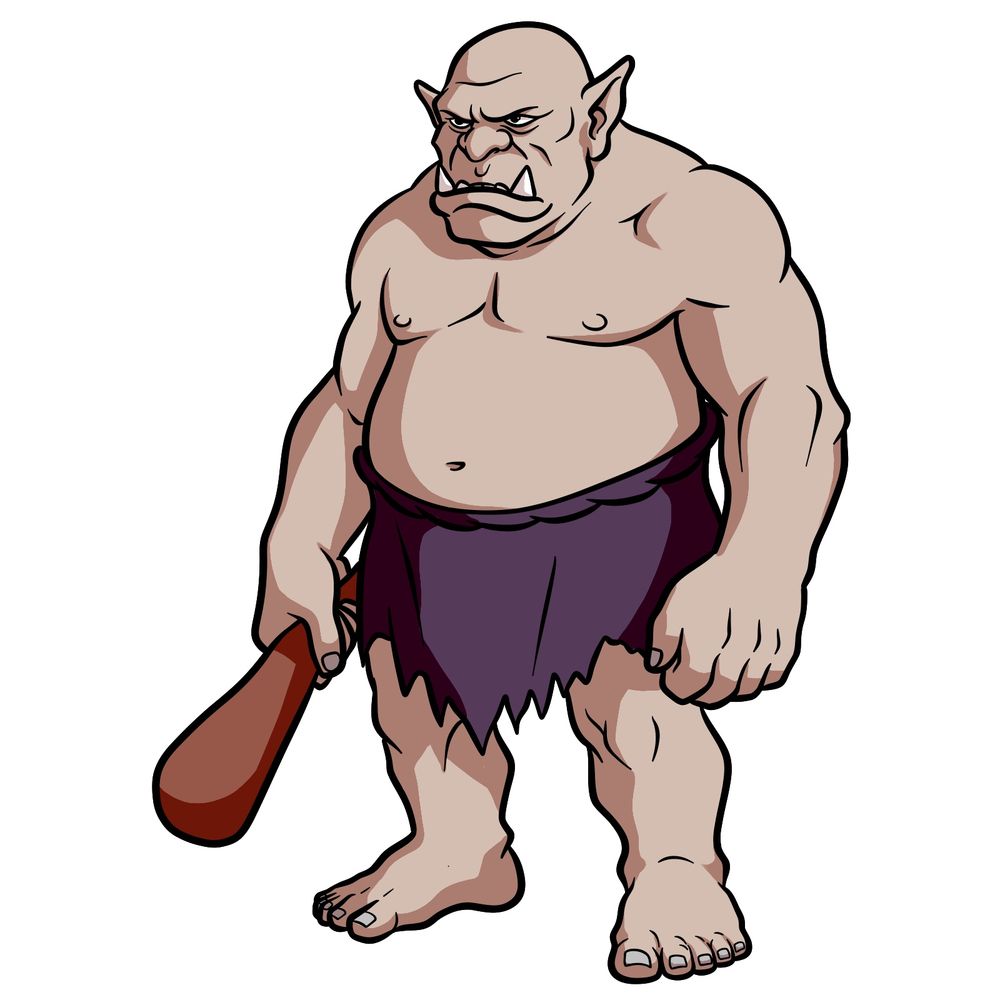
Here’s a breakdown of how to draw an ogre in 22 steps, keeping the forms heavy and grounded. The design relies on large shapes, thick limbs, and a rough silhouette, so the process stays straightforward once the basic proportions are in place.
Key Parts of the Ogre’s Look
- Head: Bald, round skull with a wide jaw.
- Face: Strong brow, thick nose, heavy lower lip.
- Tusks: Two large curved tusks rising from the lower jaw.
- Ears: Pointed ears angled outward.
- Torso: Massive upper body, pronounced belly.
- Arms: Long and muscular with visible folds.
- Hands: Broad fingers with a strong grip.
- Clothing: Simple torn loincloth.
- Legs: Thick with heavy joints.
- Feet: Large bare feet with short, rounded toes.
- Weapon: Wooden club held loosely in one hand.
Once this creature is done, other folklore subjects like trolls, ettins or bugbears work well as follow-ups for a themed group.
Approach to the Ogre Drawing Steps
The tutorial uses a three-color system to keep every stage clear:
- Red Color: the lines for the current step.
- Black Color: the lines already placed.
- Grey Color: the base sketch that holds the proportions.


That covers how to draw a Folklore Ogre with Club and Rugged Build, from the heavy frame down to that signature weapon. Curious what you used to pull this one off, whether it was pencil and paper, a drawing tablet, or some app on your phone. Drop your version in the comments on the pinned Pinterest post, it’s always interesting to see how different tools shape the same Folklore Ogre.
