Halloween is all about spooky and playful characters, and what’s better than drawing a running skeleton to add some motion to your artwork? This cartoonish skeleton, caught mid-stride, is a simple but energetic character that’s perfect for Halloween projects. In this guide, you’ll learn step by step how to draw a cartoon skeleton in a running pose that looks both cute and spooky. Let’s get started!
About the Running Skeleton
Cartoonish style: The skeleton has exaggerated features in the skull, hands, and feet.
Dynamic pose: It’s frozen in a running motion, with one leg raised and the arms pumped.
Simple bone shapes: Each bone is simplified, making it easier to draw while still capturing the essence of a skeleton.
This guide will break down the steps to draw the running skeleton, starting from basic shapes and building up to the full character. The process is fun and simple. If you’re looking for a quick fun sketch, this running skeleton is the perfect choice for a Halloween art session.
Throughout this drawing guide, you’ll notice the use of different colors to help guide you through the process:
Red Color: The red color in the images represents the current step you should be focusing on.
Black Color: The black color showcases the lines you have previously drawn.
Grey Color: The grey color shows the basic sketch and guidelines for the drawing.
These color cues will make it super easy to follow each step and understand what comes next in building your running skeleton drawing.
Step 01: Begin your skeleton drawing with a basic stick figure to establish the pose. Use circles to mark the joints, an oval for the skull, and a wide ‘U’ shape for the lower jaw to create a simple sketch framework.
Step 02: Refine the outline of the skull, adding definition around the oval to shape the head of the skeleton.
Step 03: Draw the outline of the lower jaw, following the initial ‘U’ shape to give a clear jawline to your skeleton.
Step 04: Sketch the eye sockets, nose, and teeth within the skull.
Step 05: Add simple lines for the collarbones and the rib cage to form the upper torso of the skeleton.
Step 06: Draw seven sections of the backbone below the rib cage and a curved line to represent the front part of the pelvis.
Step 07: Sketch the overall shape of the pelvis, adding to the earlier curve to form a more anatomically inspired pelvis shape.
Step 08: Draw the bones from the shoulders to the elbows
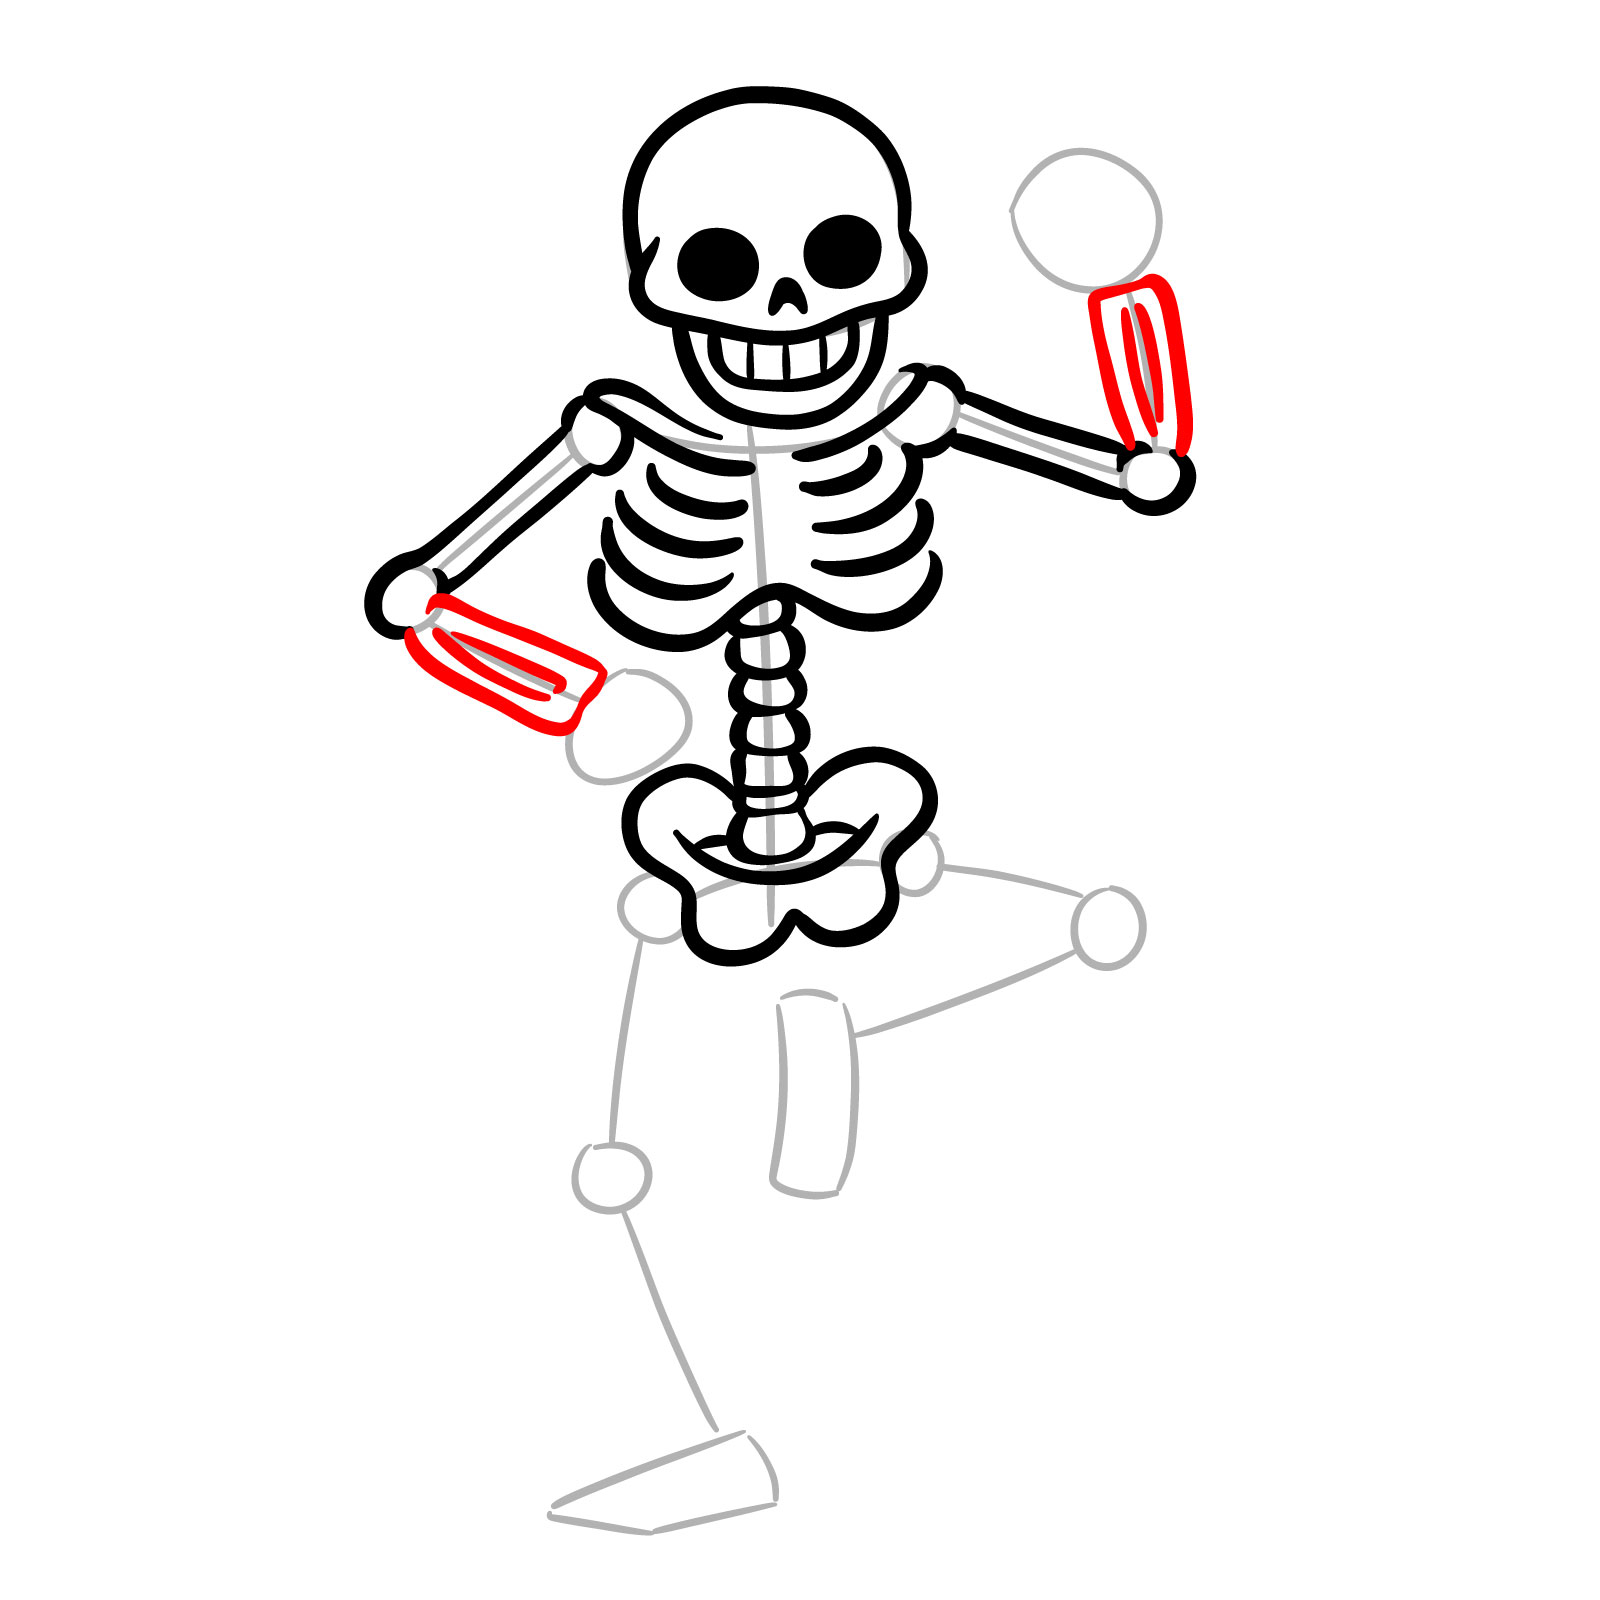
Step 09: Continue the arm structure by drawing the bones from the elbows to the wrists.
Step 10: Sketch the hands with fingers, completing the arms of the skeleton with simple, cartoonish detailing for each finger.
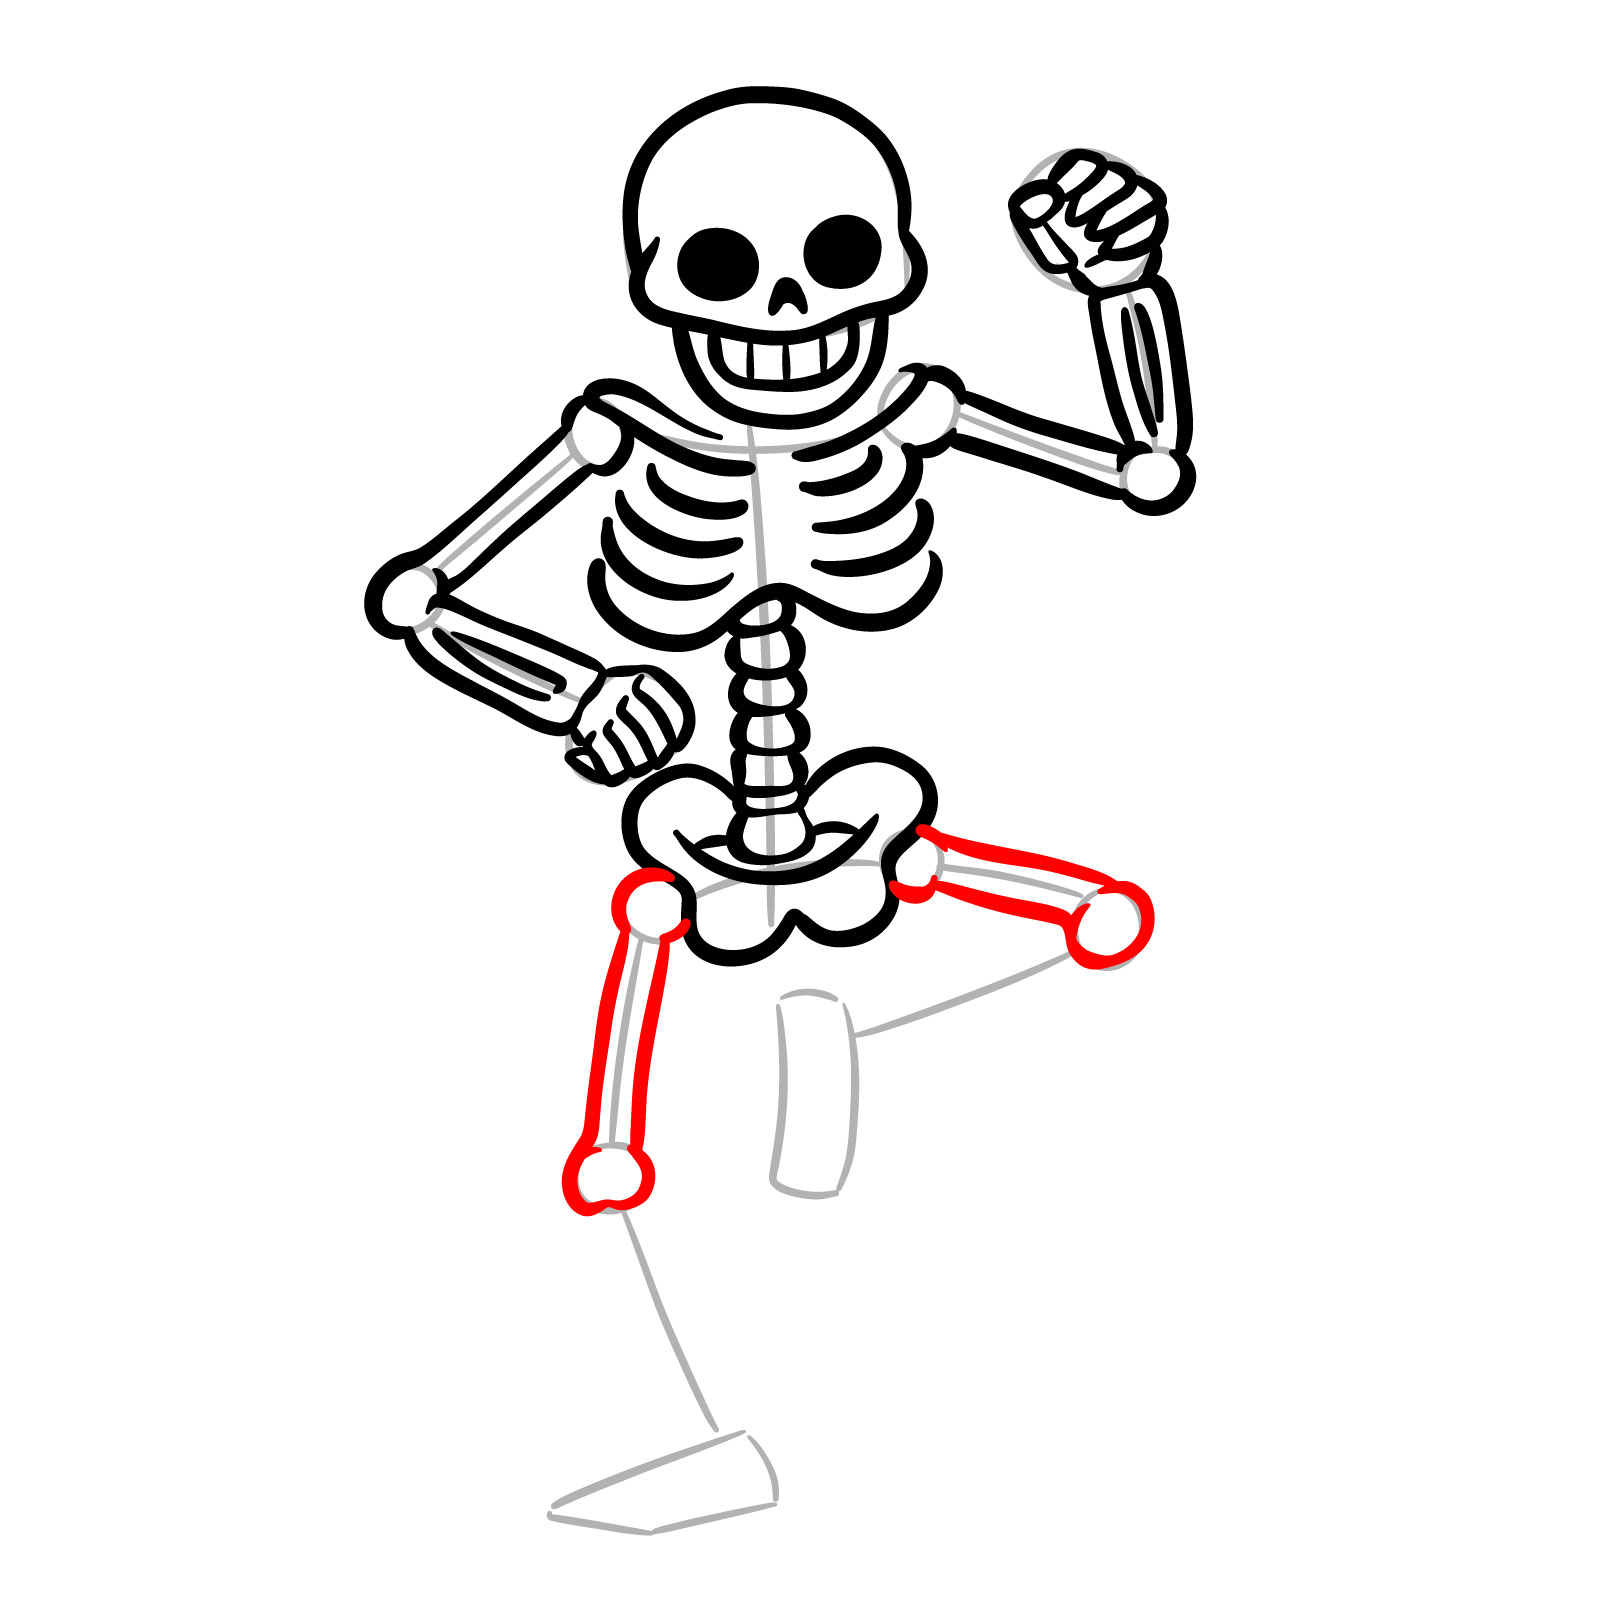
Step 11: Draw the leg bones from the pelvis to the knees.
Step 12: Continue the leg detailing by drawing the bones from the knees to the ankles.
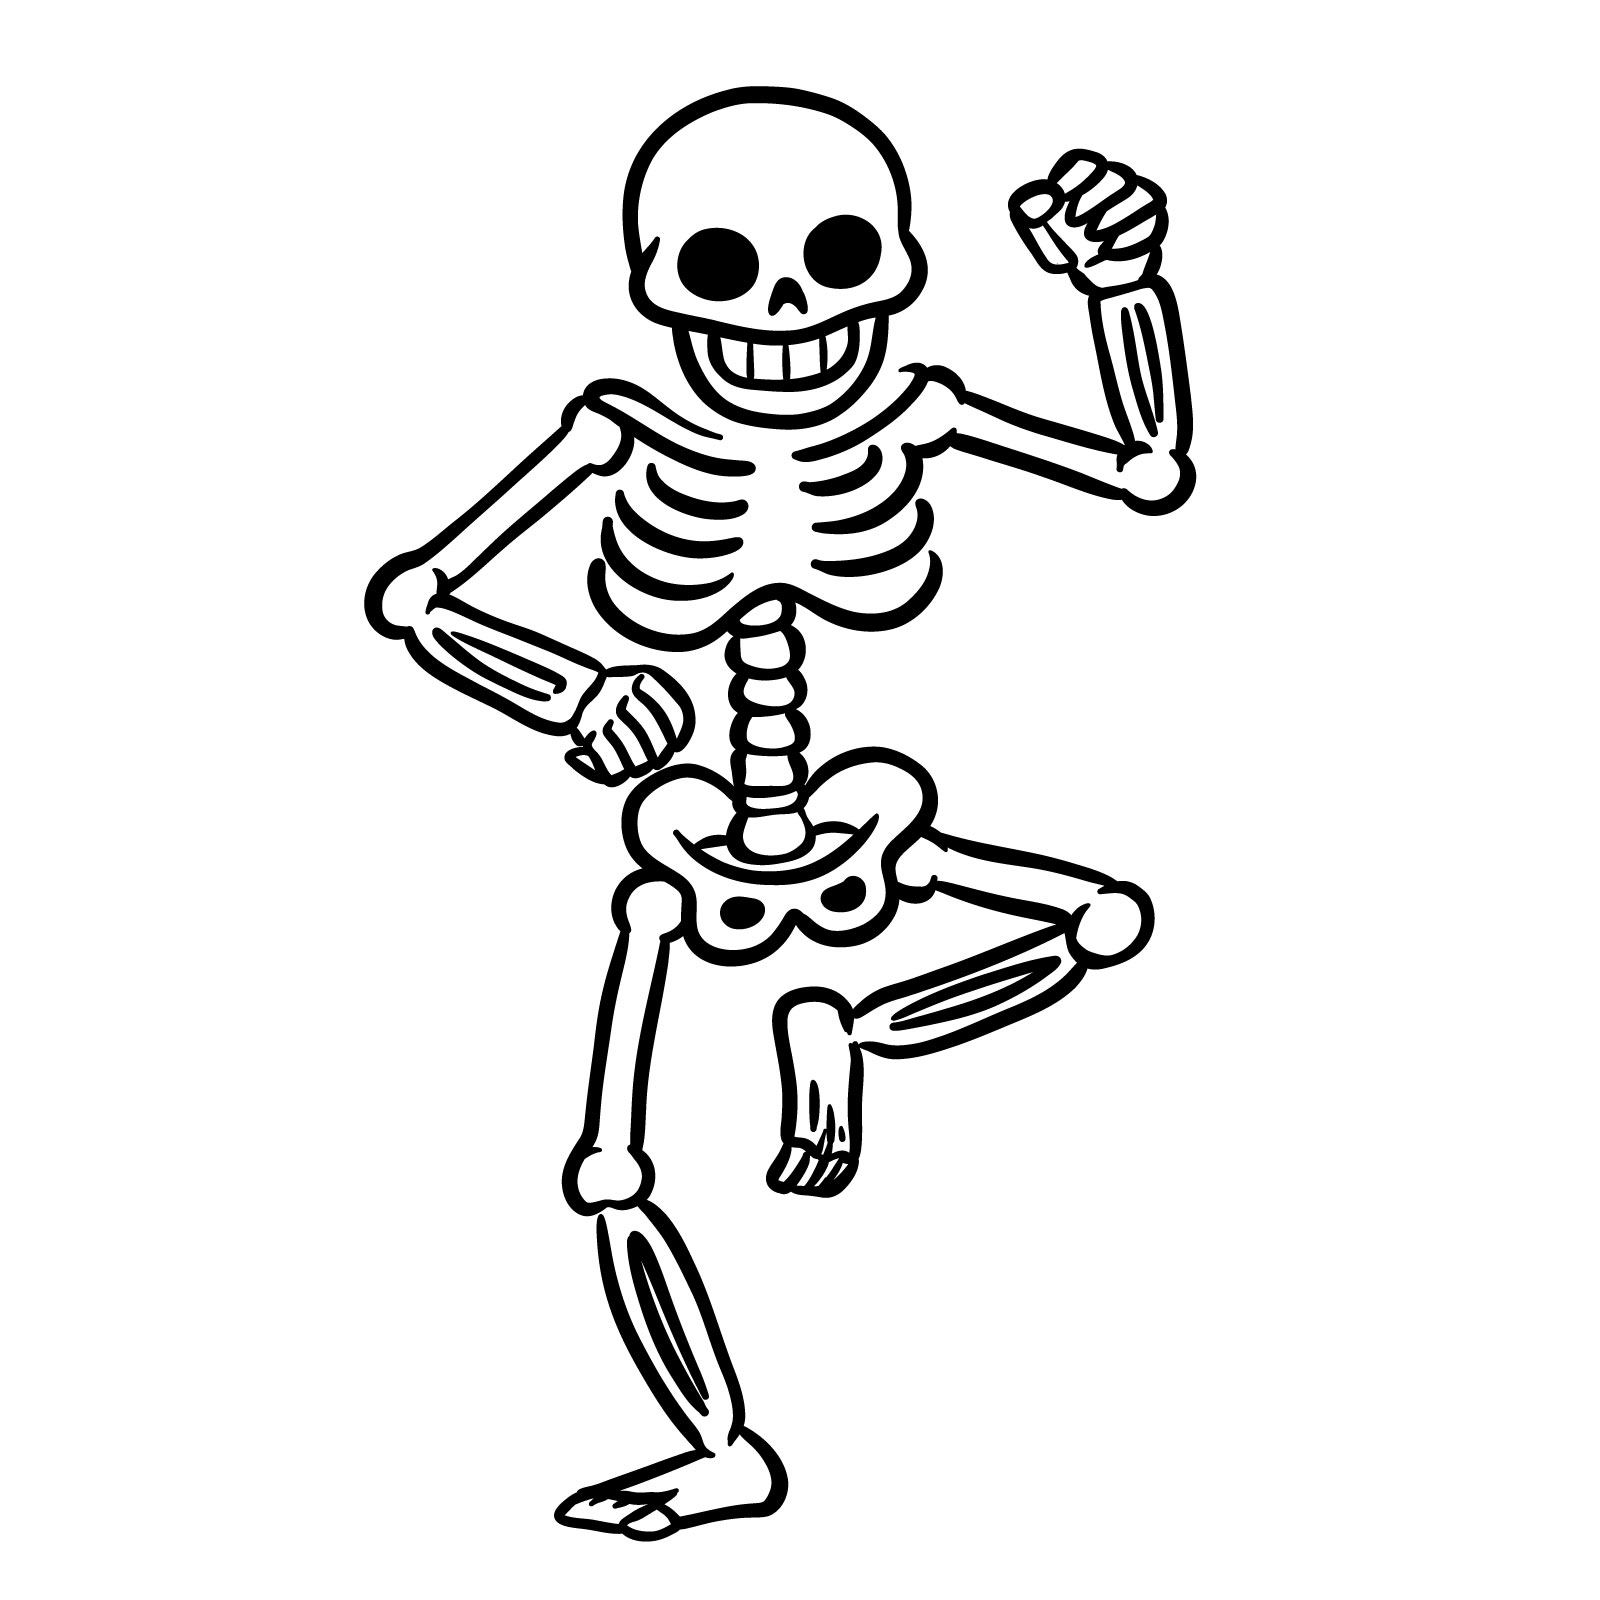
Step 13: Sketch the feet and add holes on the front of the pelvis, providing final details to the lower part of the skeleton.
Step 14: Clean up the sketch to prepare for final touches. Ink the drawing if desired, and once the ink dries, erase any pencil lines for a neat presentation.
Step 15: Add simple shading to the skeleton, or add colors of your own choice.
Don't Miss New Tutorials! Follow SketchOk
I publish new step-by-step drawing guides every single day. Follow on your favorite platform so you never miss a tutorial. Thousands of artists are already drawing along and I can't wait you to join in!
On my Patreon you can grab unique hand-made coloring pages: each one drawn by me personally. Every purchase directly supports the creation of new drawing tutorials. It's the best way to practice your skills, keep the site going, and get something truly original at the same time.
If you want fresh drawing guides like this one landing in your inbox each week, there’s an email signup form right at the top of this page worth filling out. That way you won’t have to remember to check back whenever a new tutorial goes up. And once you’ve finished your take on how to draw a Cartoon Skeleton on the Run for Halloween, drop it in the comments over on the Pinterest post for this guide, where other readers share their versions too.
Disclaimer: This is a non-commercial, fan-made educational site. All characters belong to their respective owners. We are not affiliated with any rights holders.
Read full Disclaimer