Unleash your creativity as we dive into an exciting drawing tutorial on how to draw The Impossibles. This beloved trio of teenage superheroes turned rock musicians promise a fun and engaging drawing experience. So pick up your pencils and let’s get started!
Decoding The Impossibles’ Looks
When drawing The Impossibles, understanding their appearance and key features is crucial. Here are some characteristics to pay attention to:
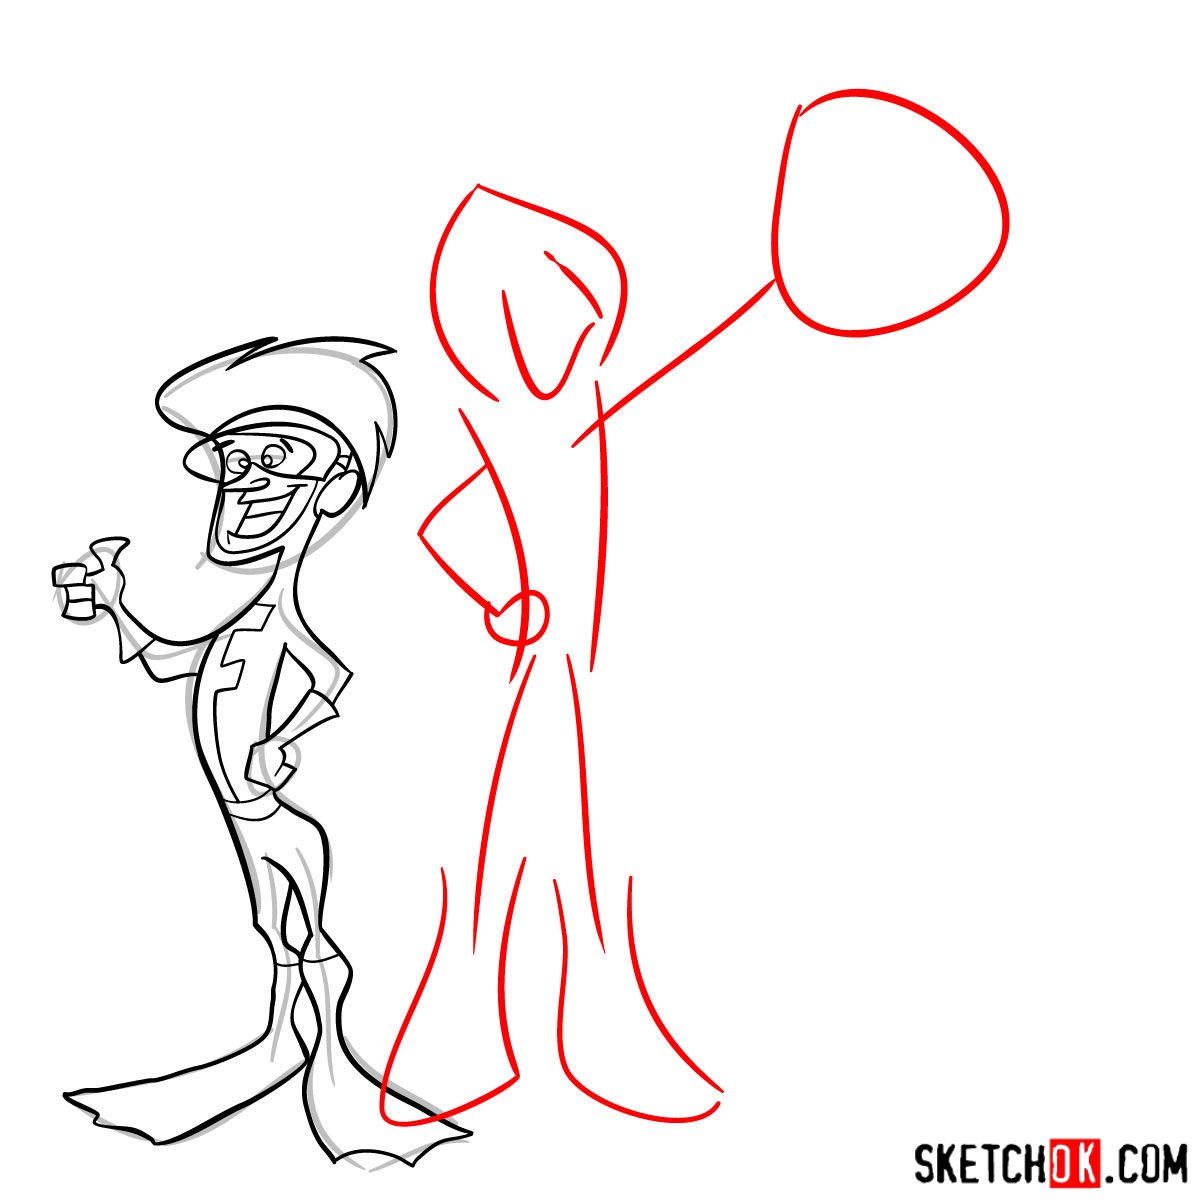
- Multi Man: Shaggy orange hair, red and black costume. Known for his ability to duplicate himself.
- Fluid Man: Black hair, lime green costume. He can transform into water and vaporize himself into a raincloud.
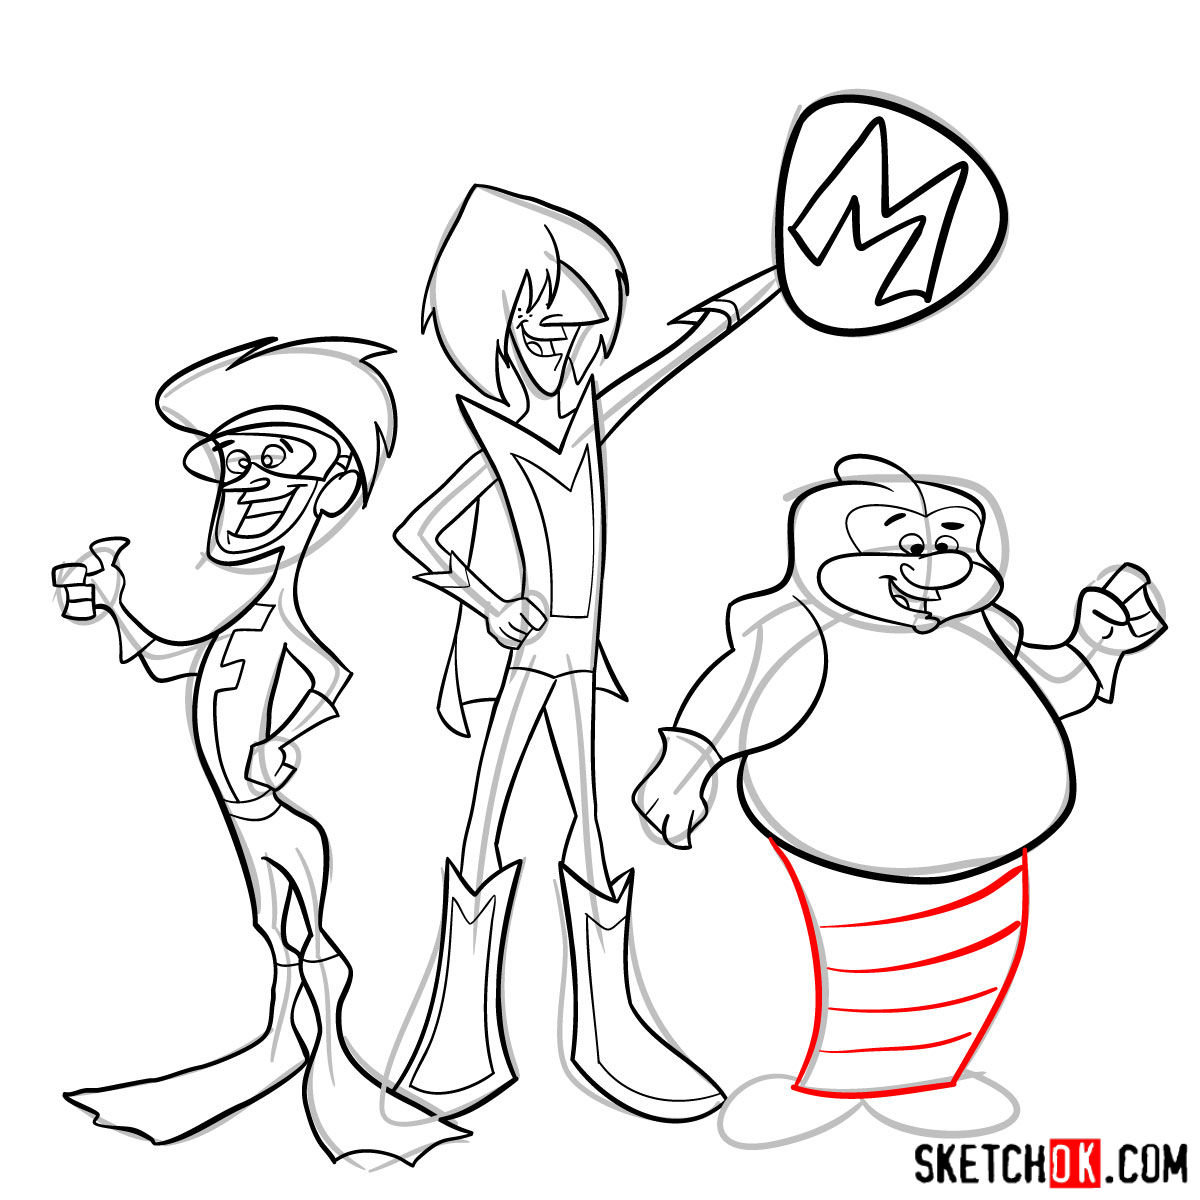
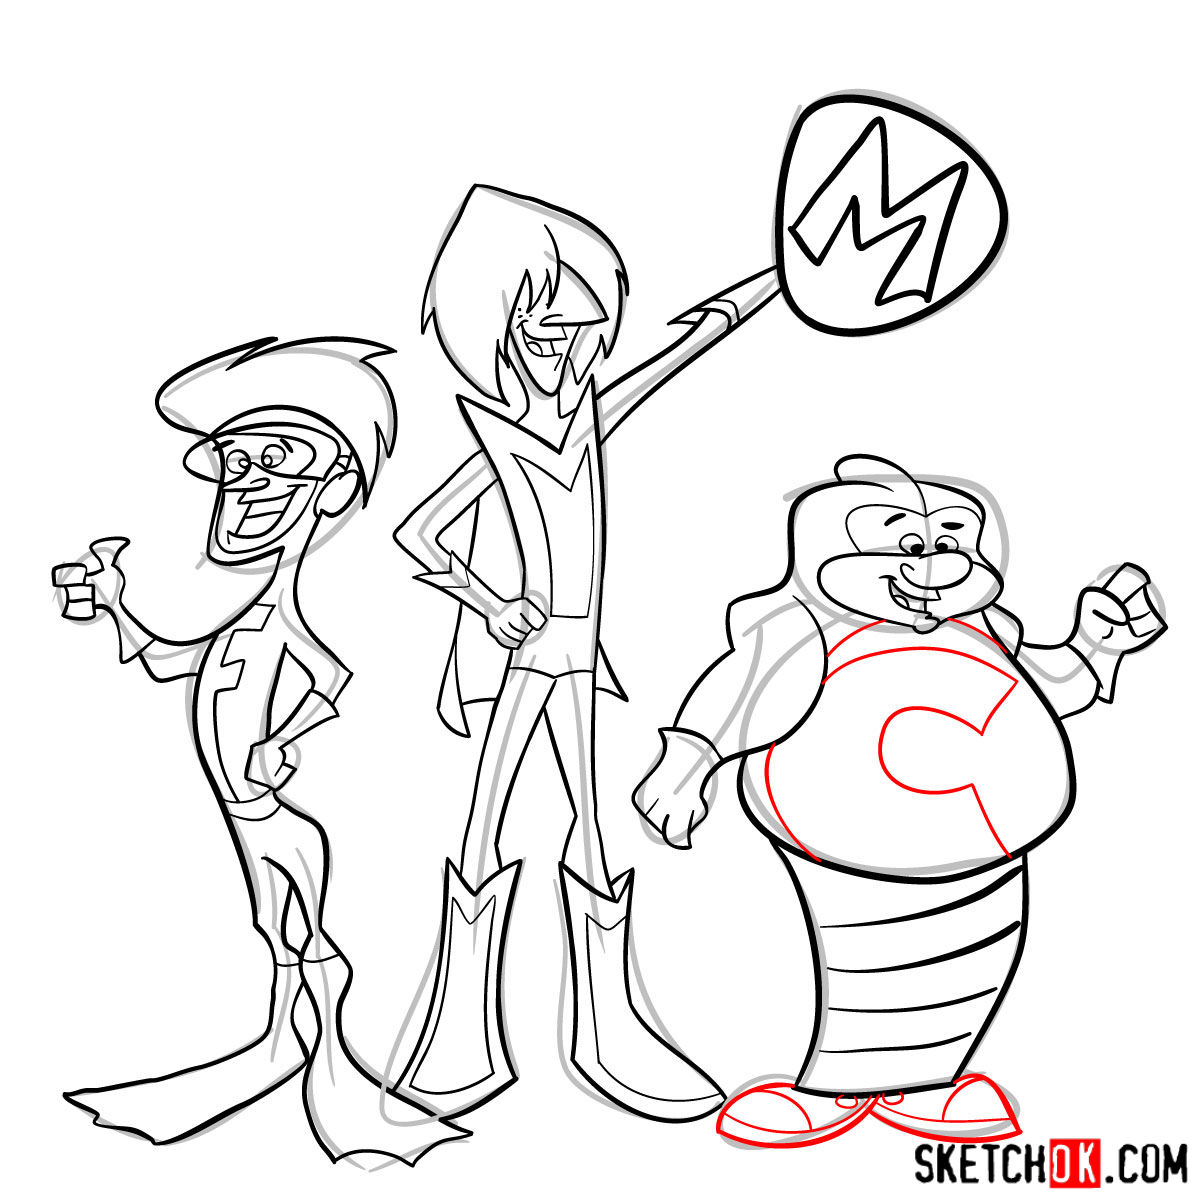
- Coil Man: Short blonde hair, purple costume. He can turn himself into coils to stretch and jump to incredible heights.
Similar characters you might want to add for an expanded drawing could include other superheroes like Space Ghost, Mighty Mouse or even the legendary Astro Boy. These additions will bring more dynamism and complexity to your artwork.
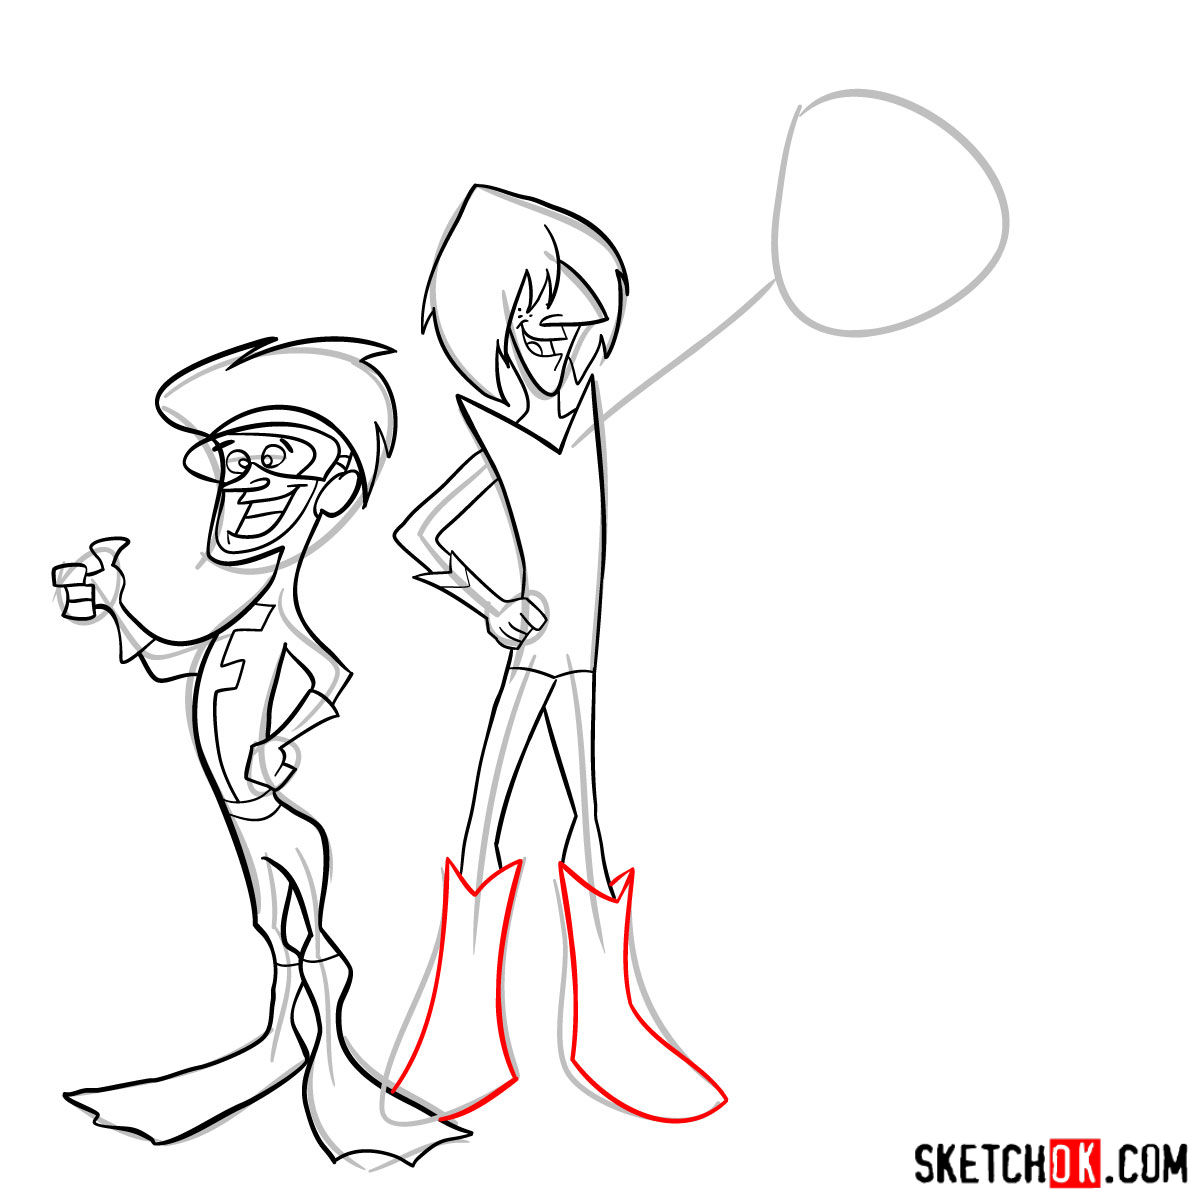
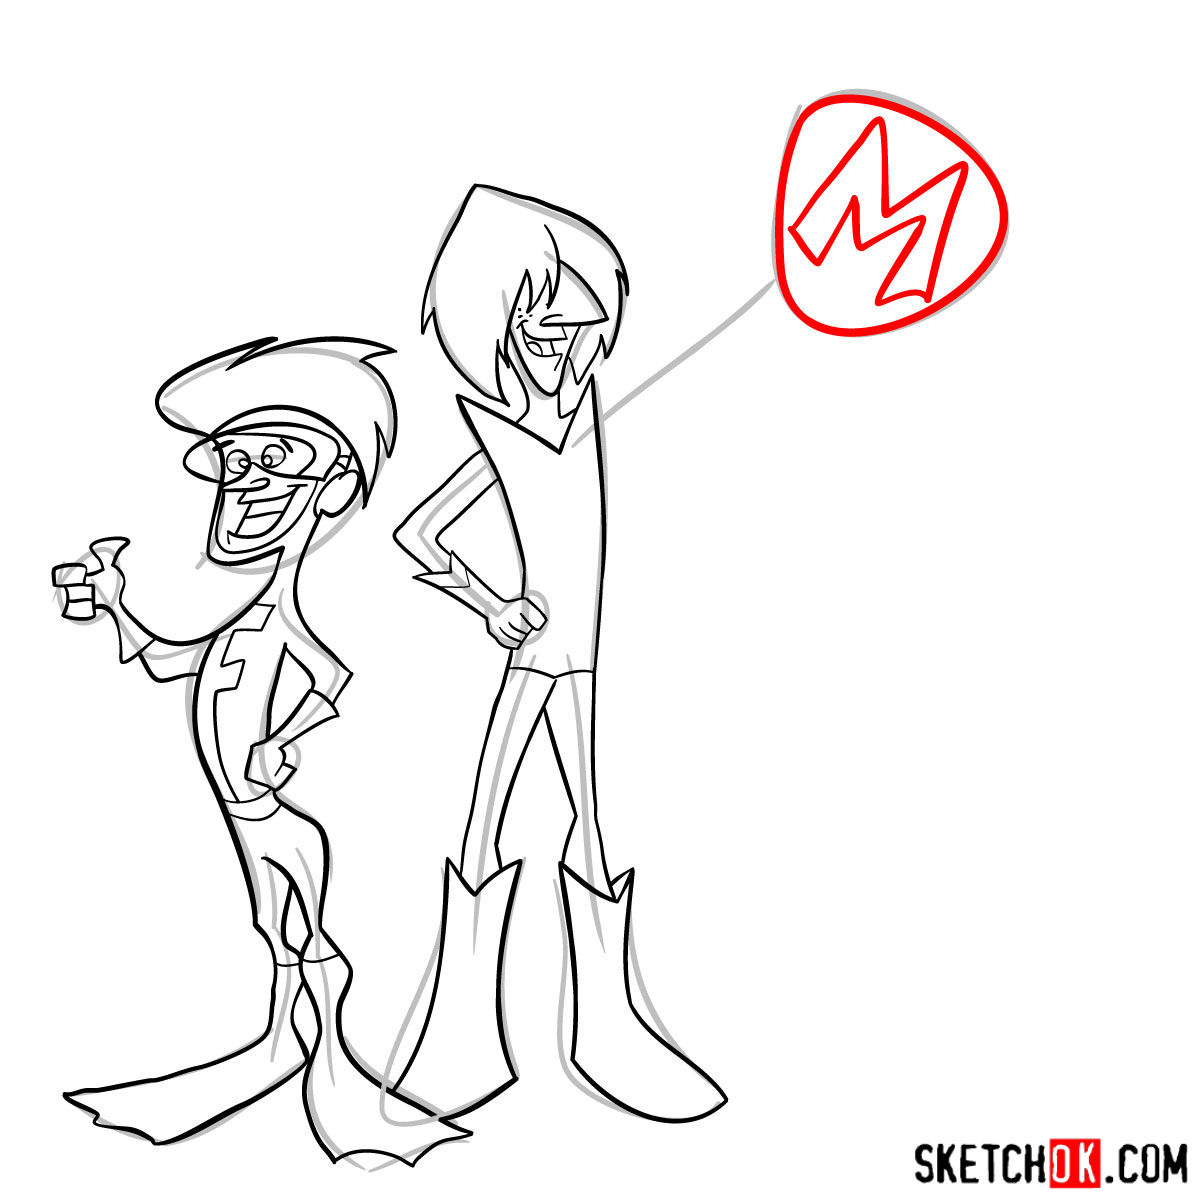
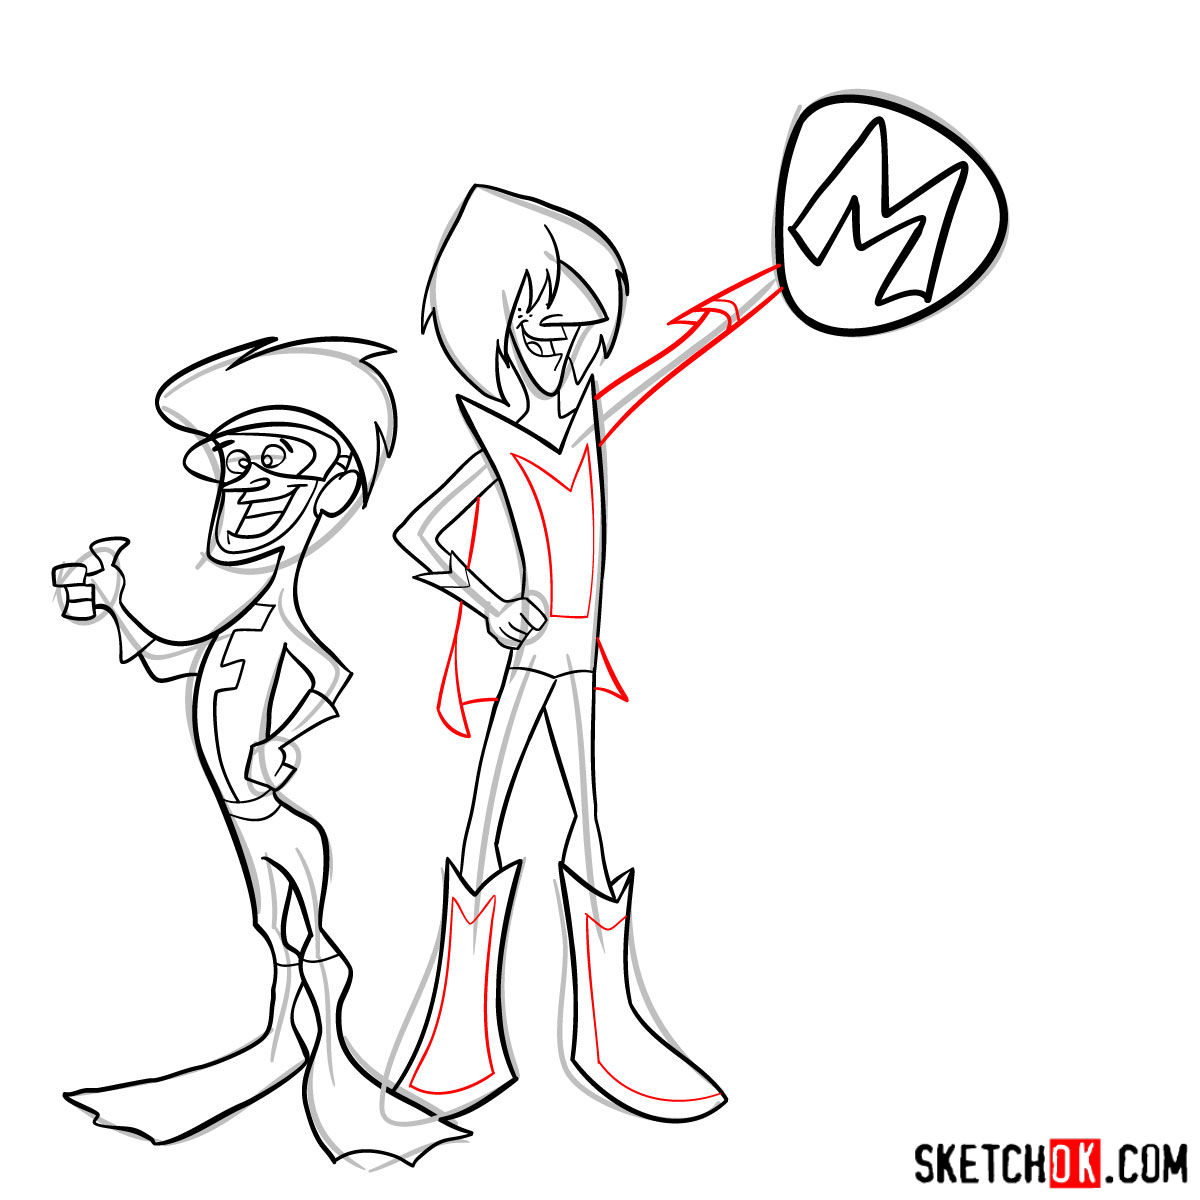
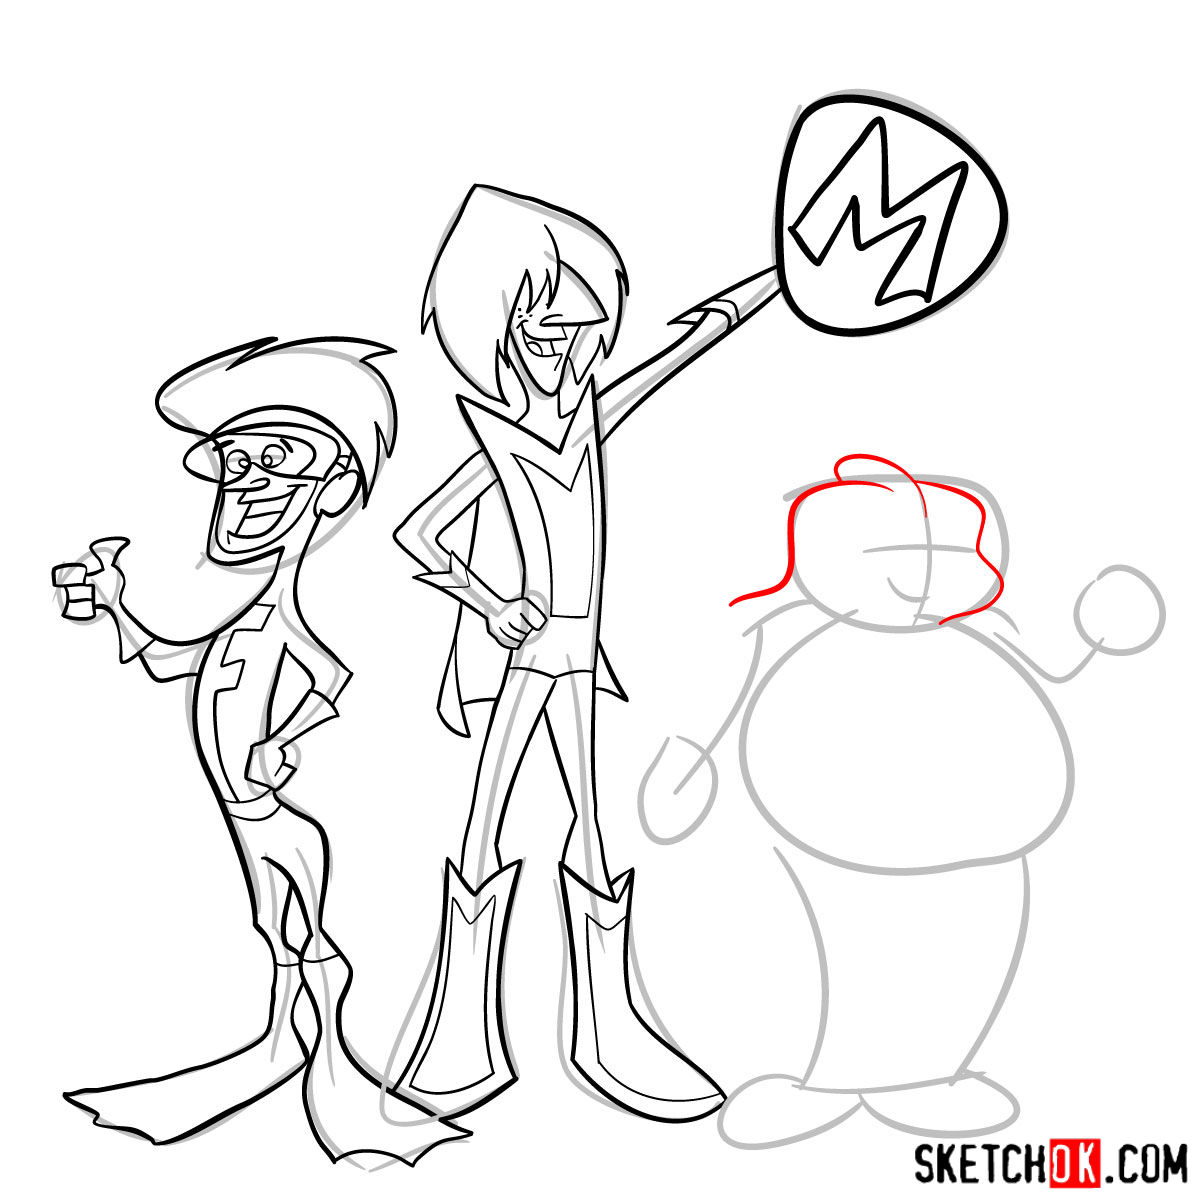
Unpacking the Guide
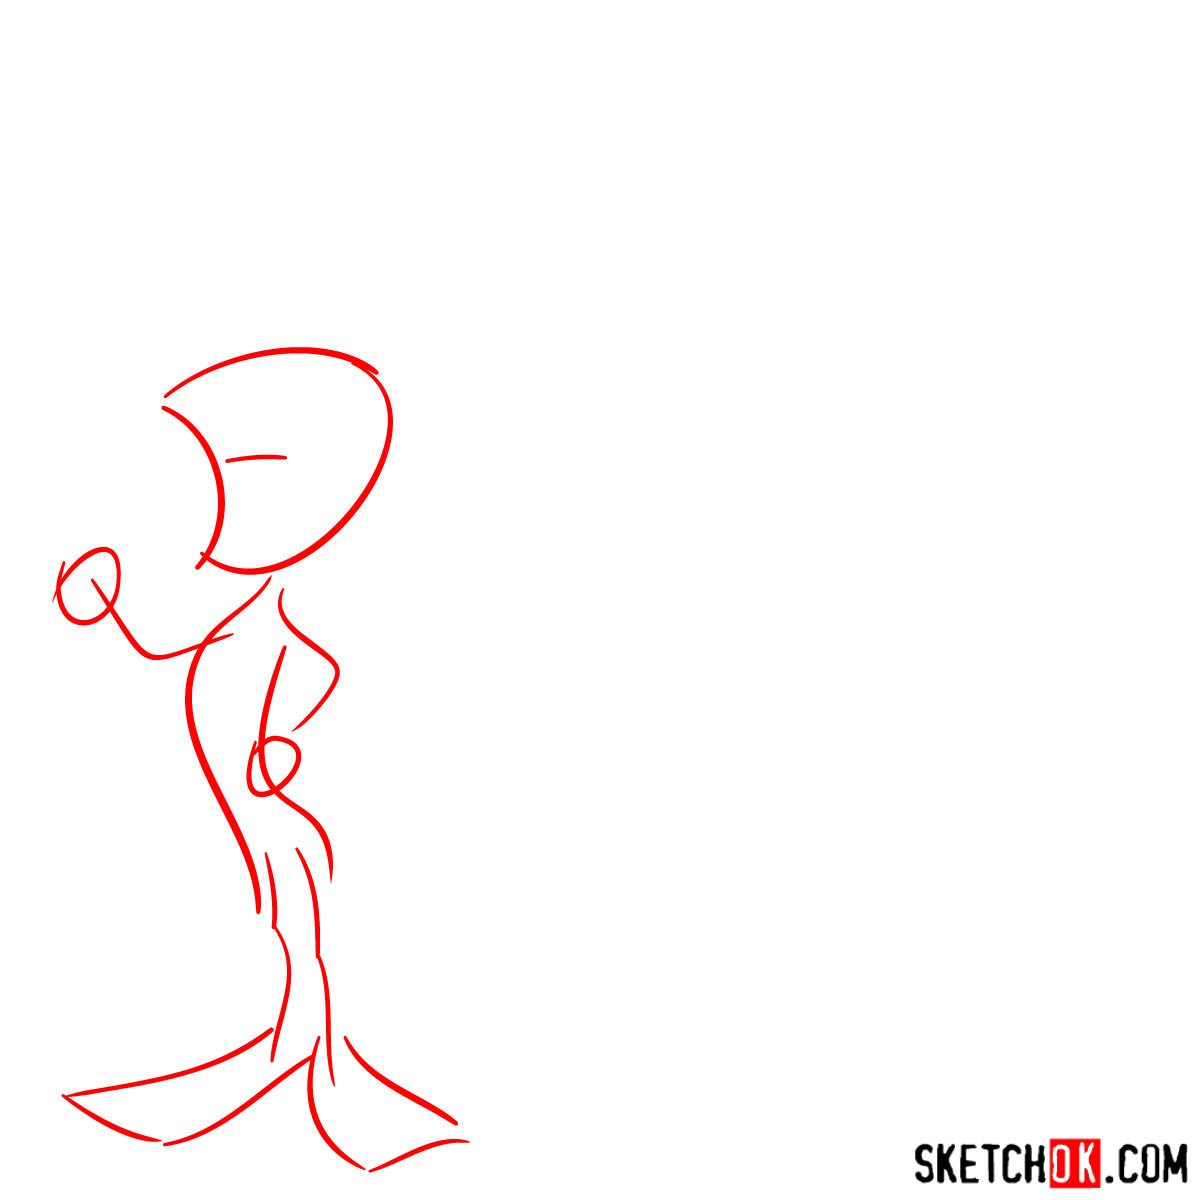
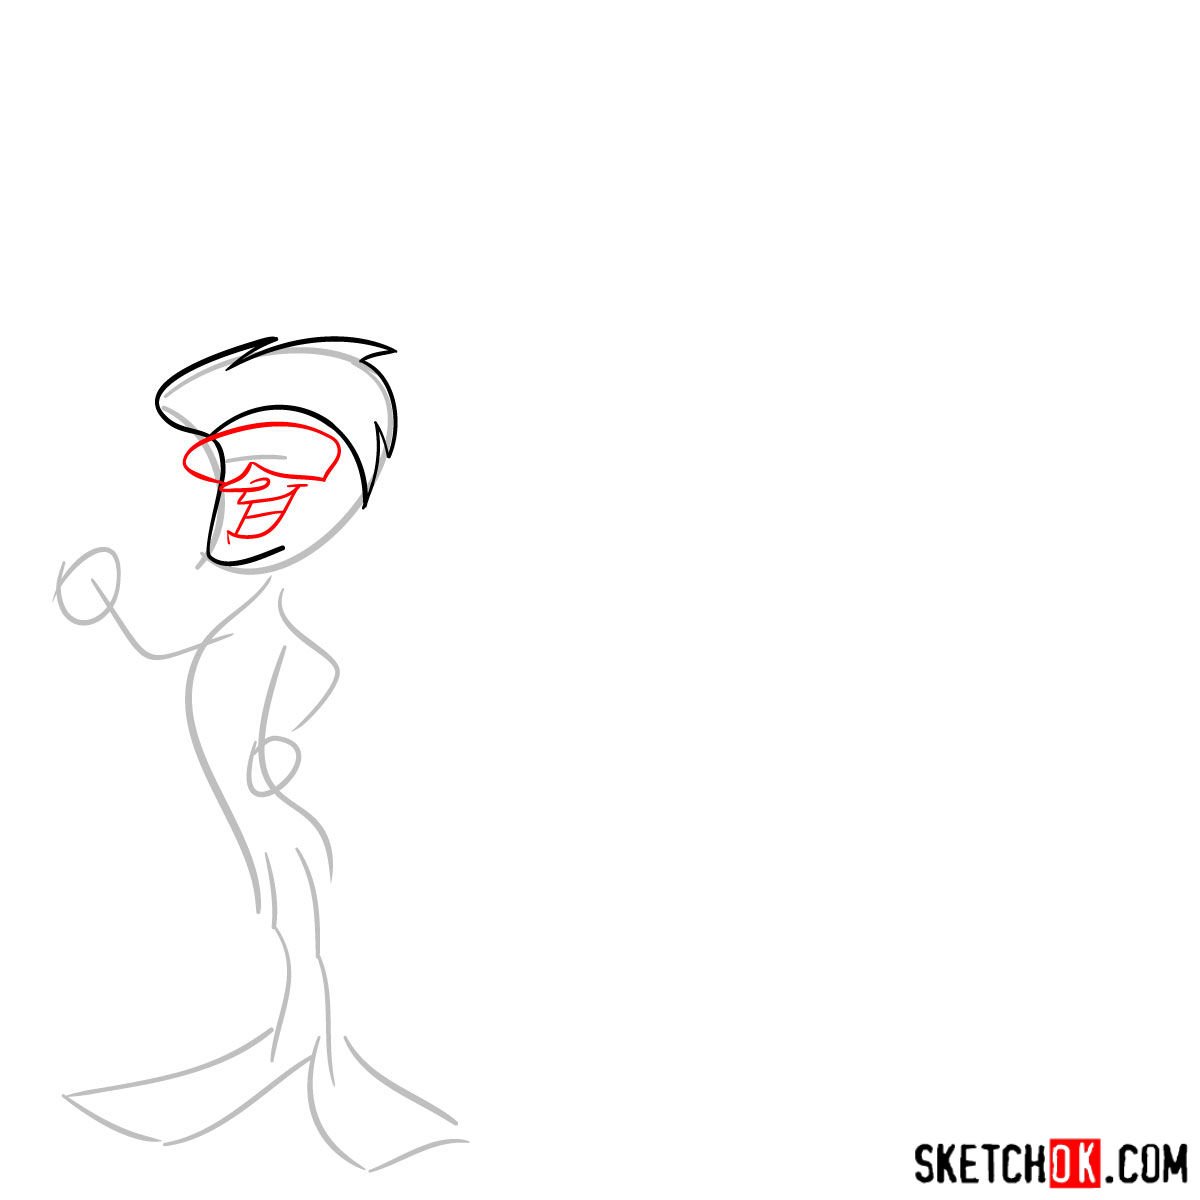
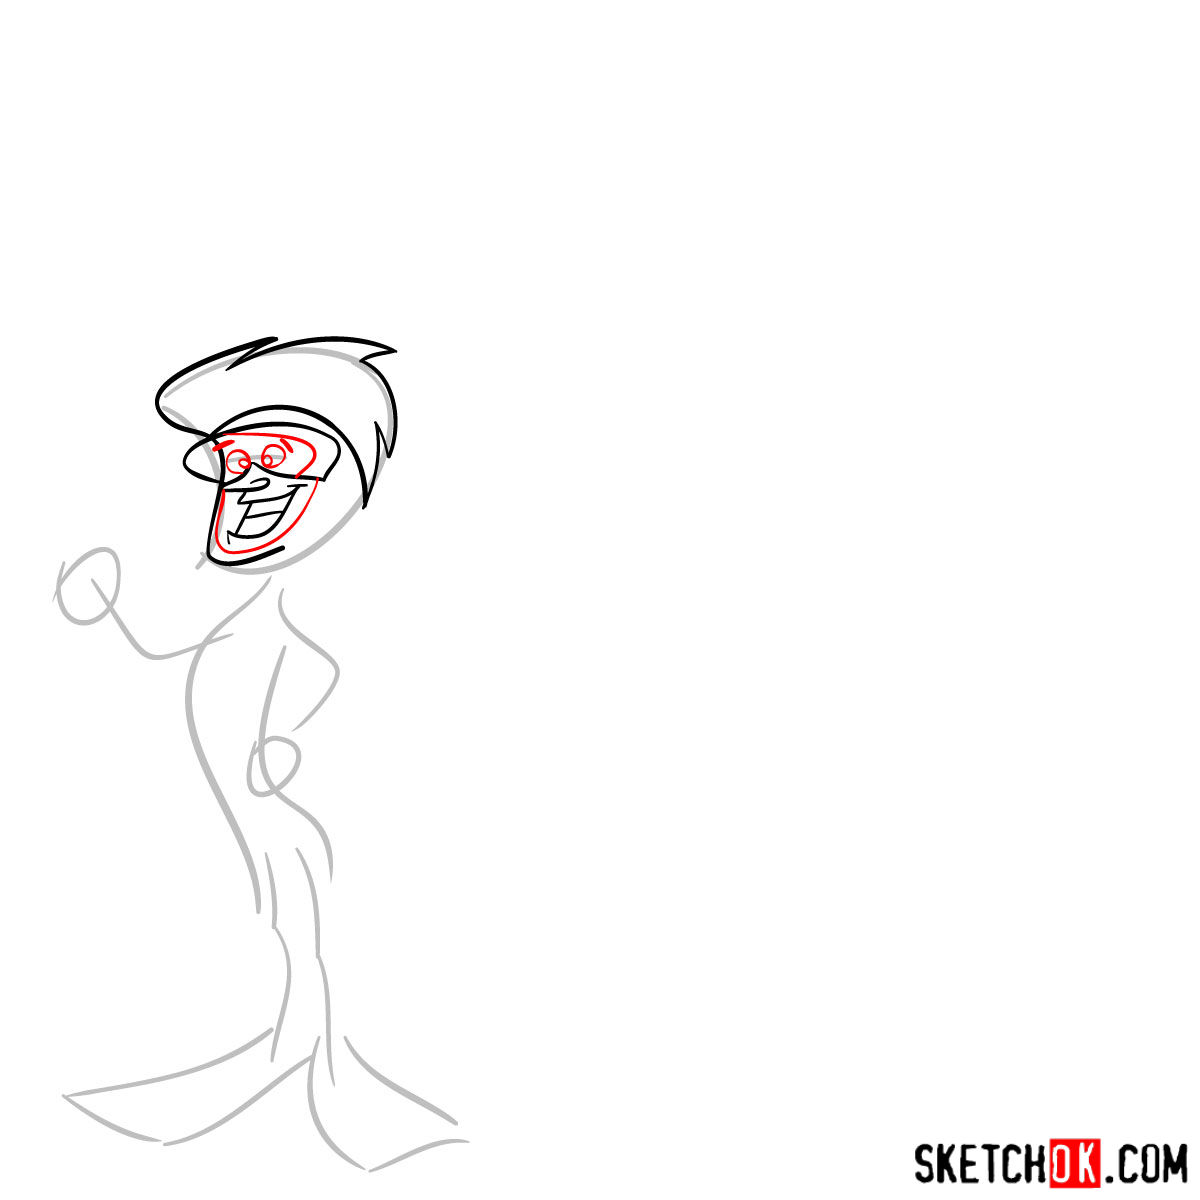
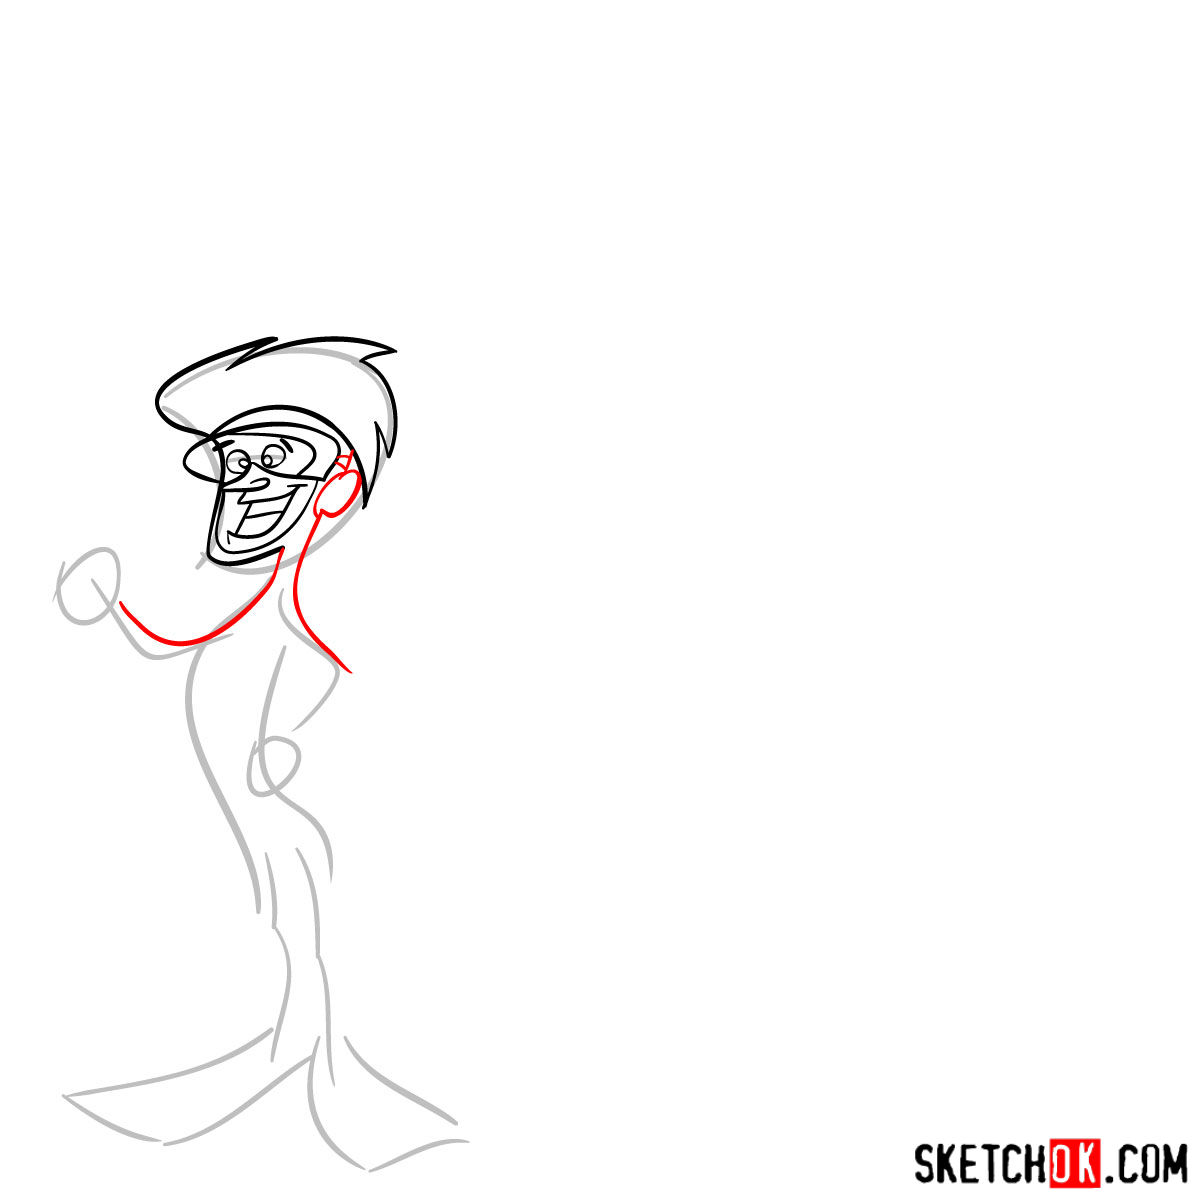
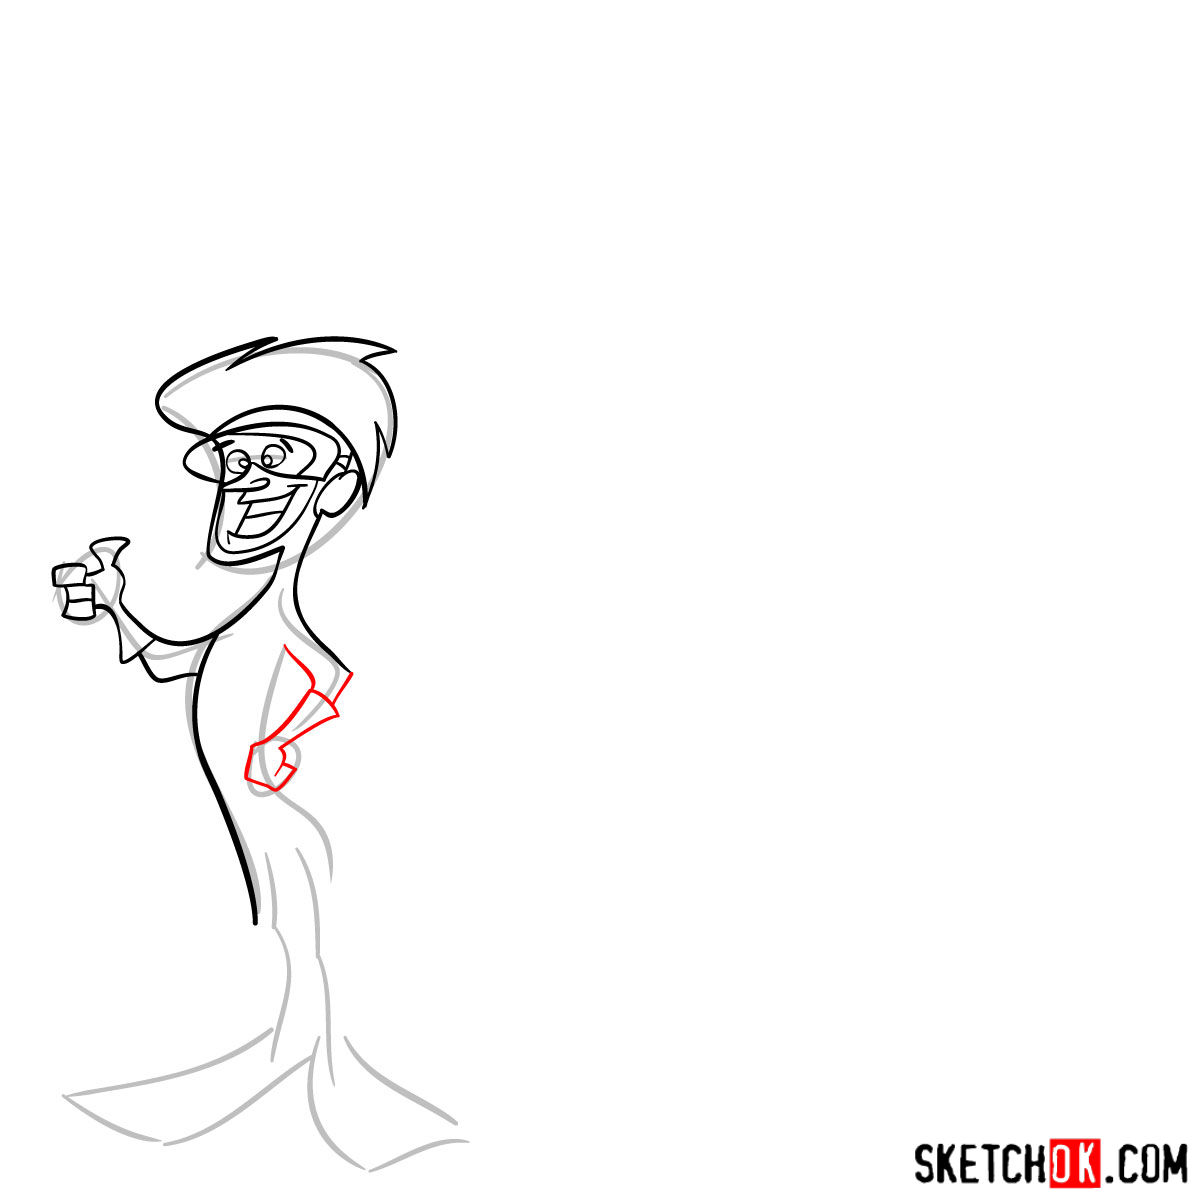
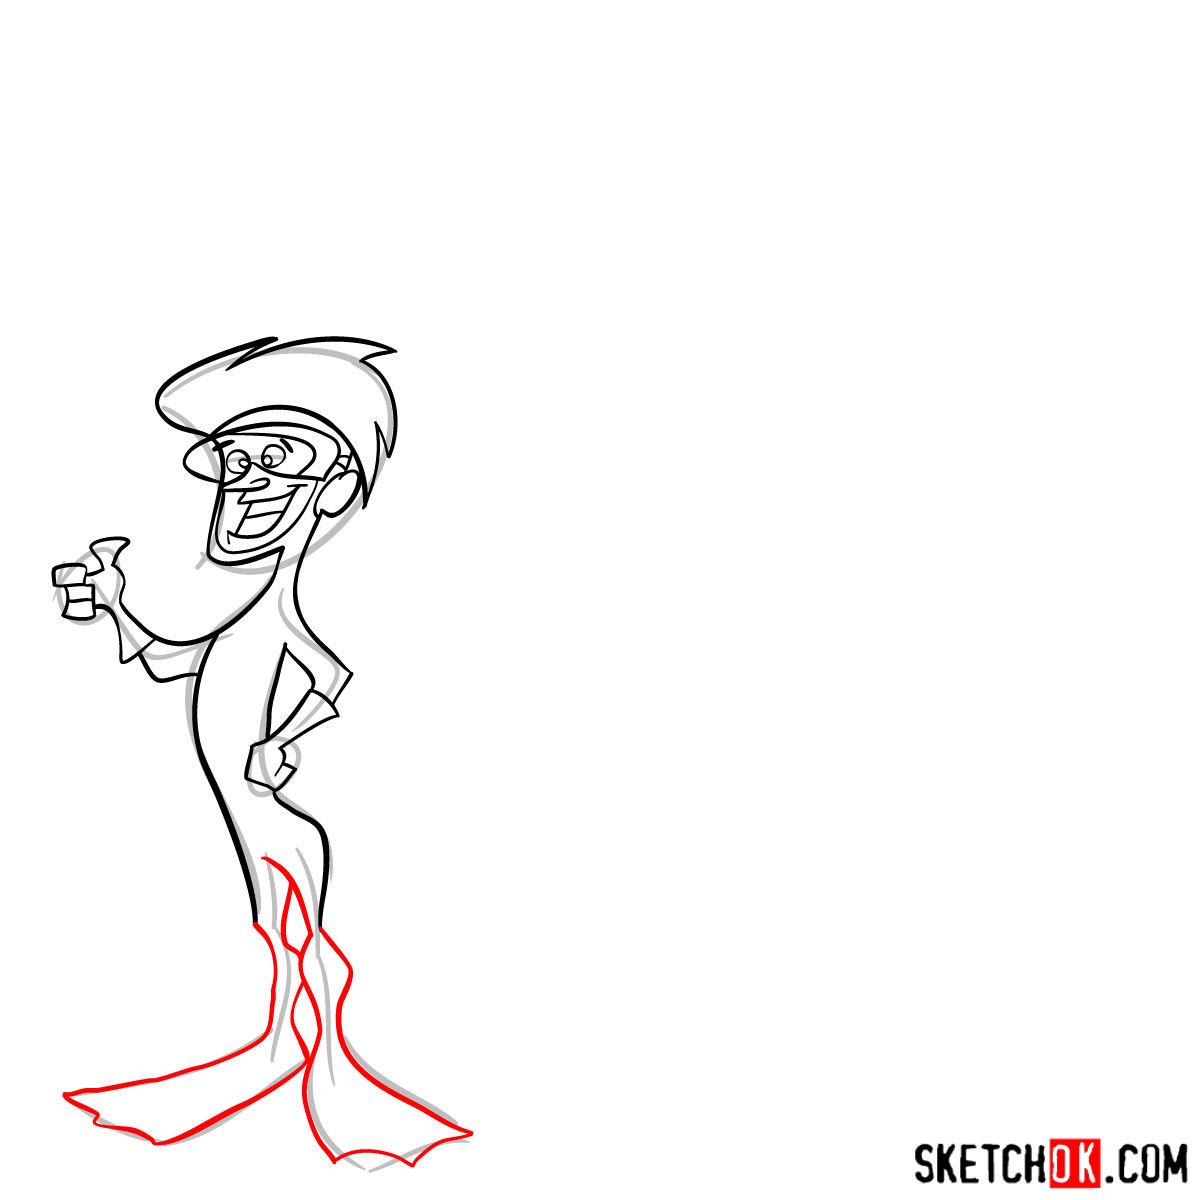
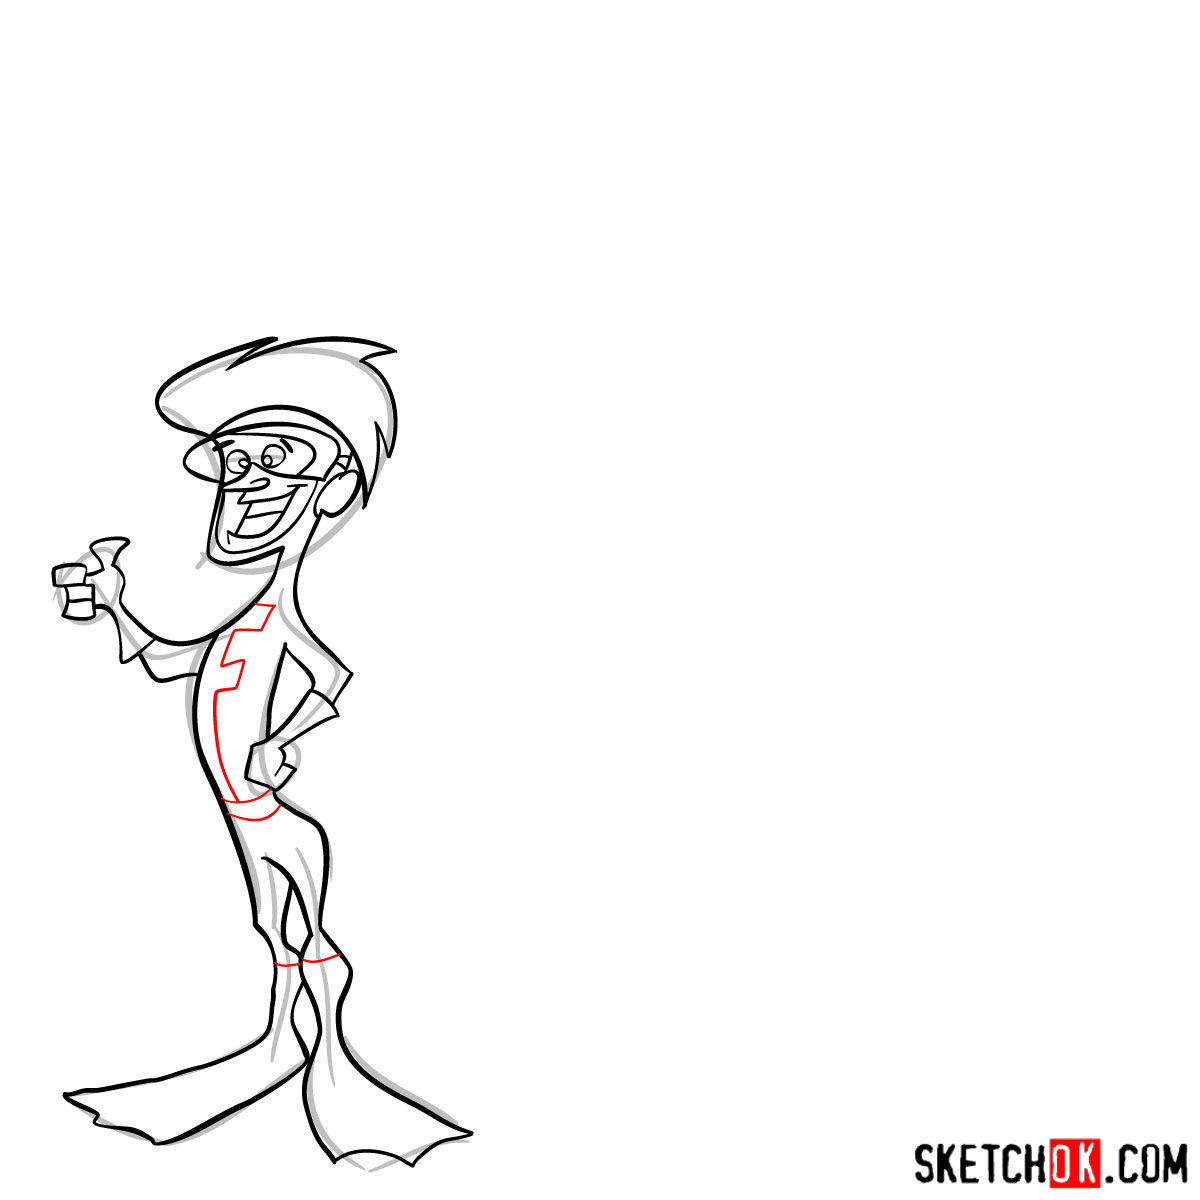
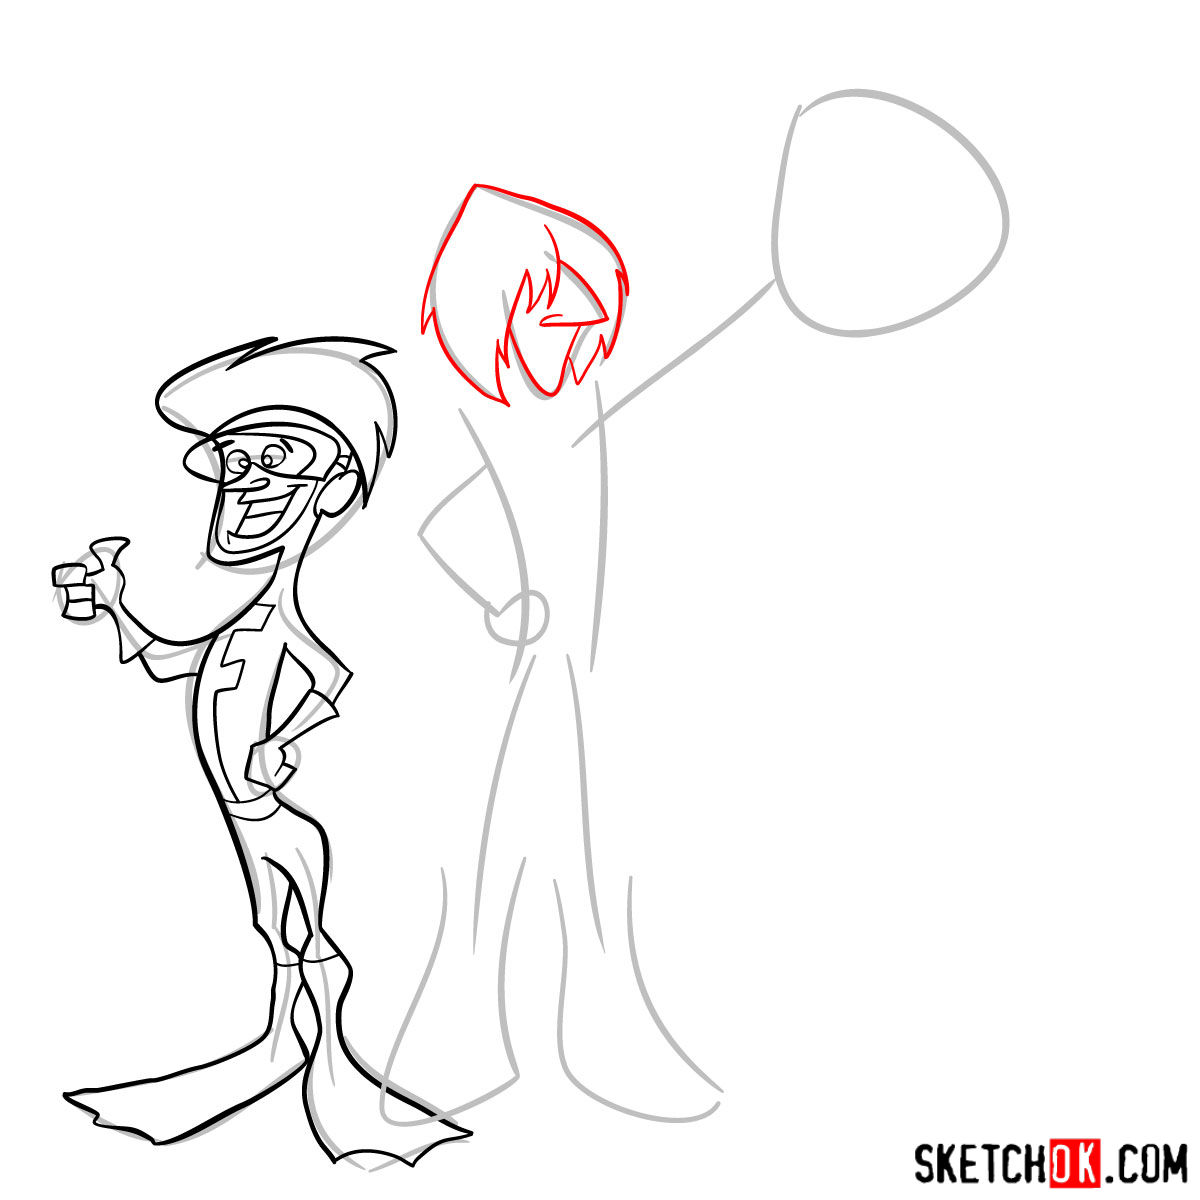
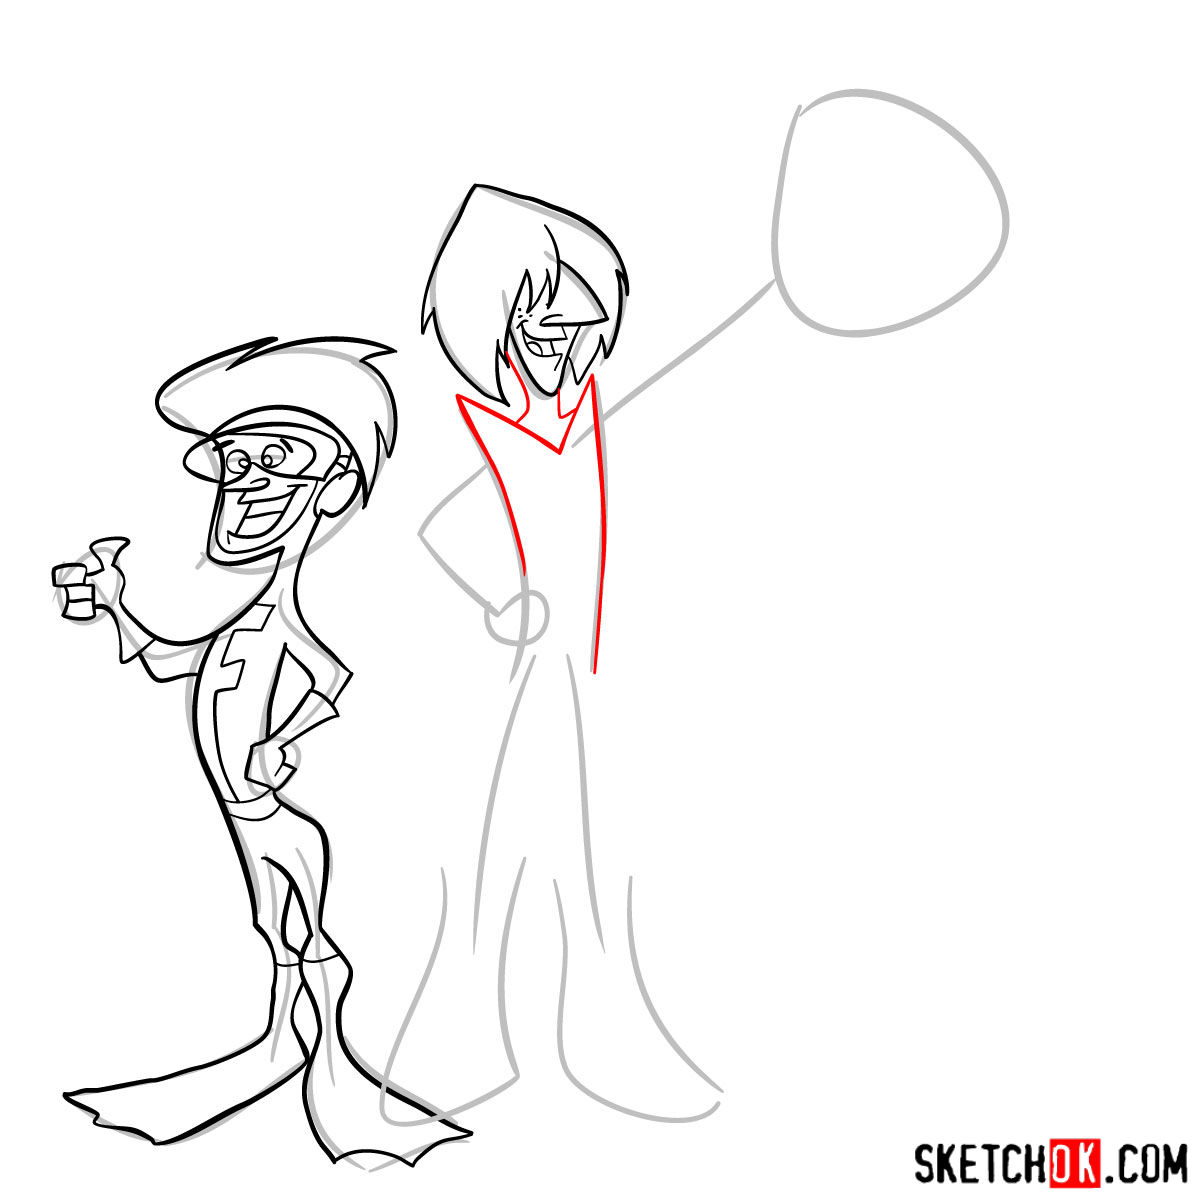
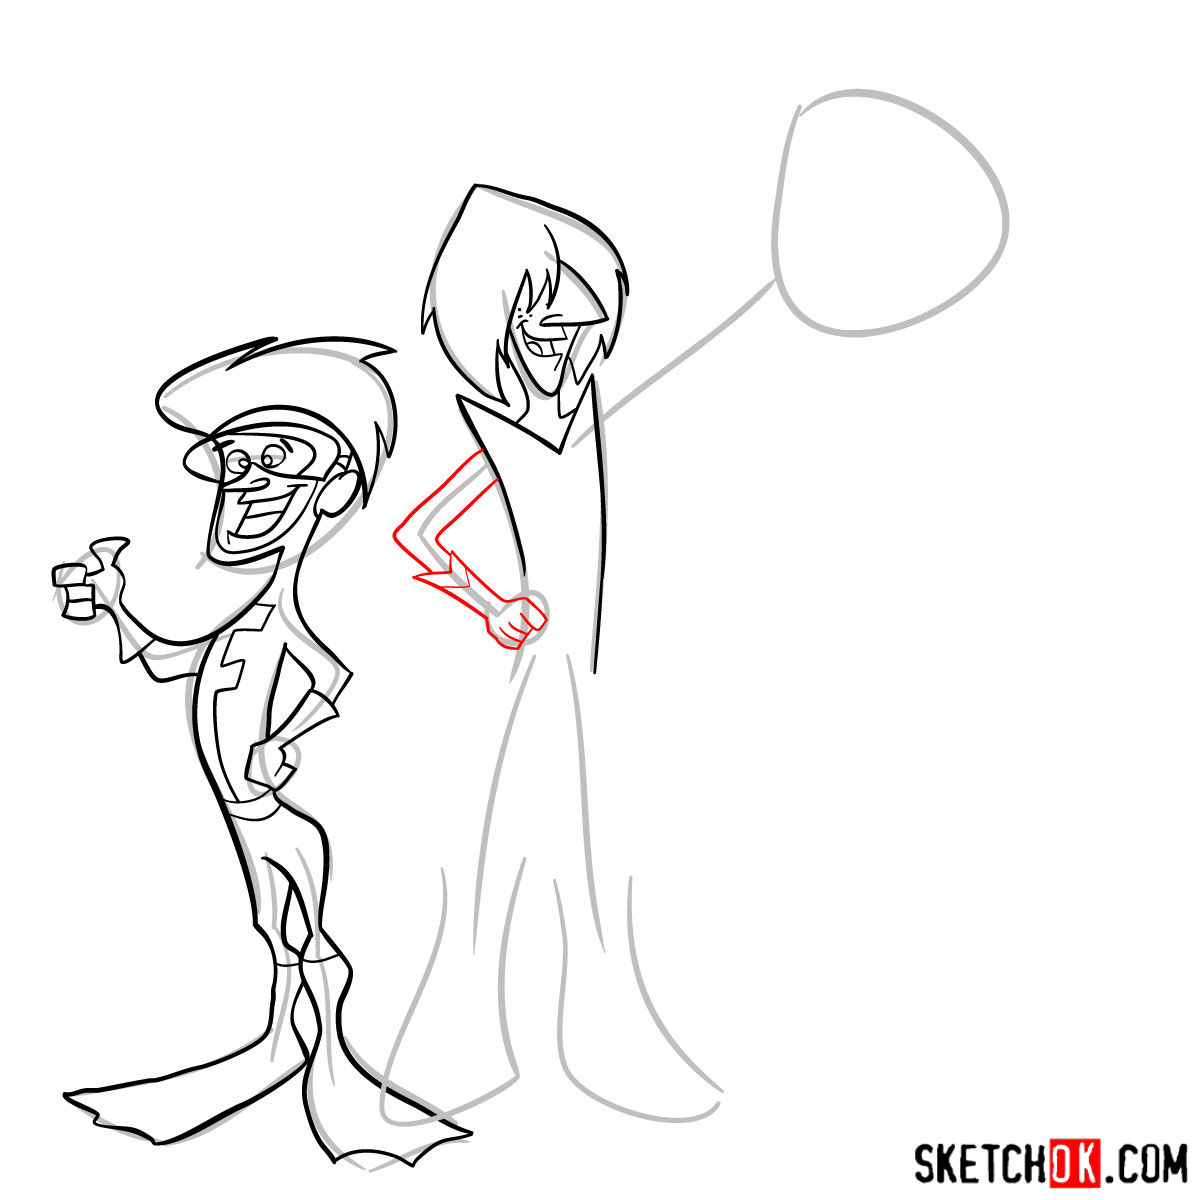
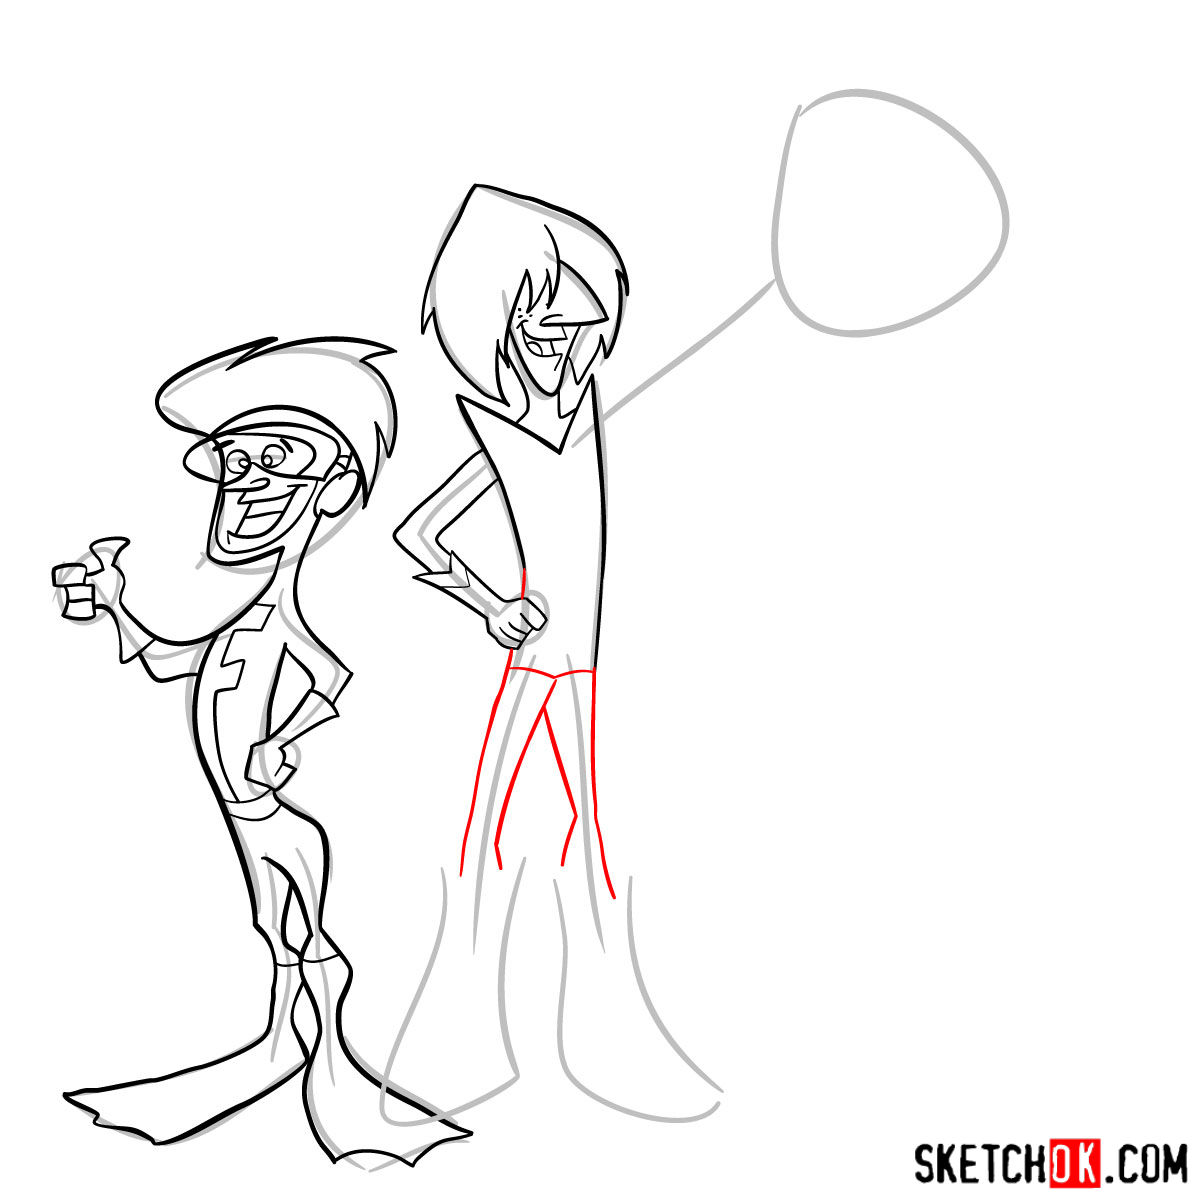
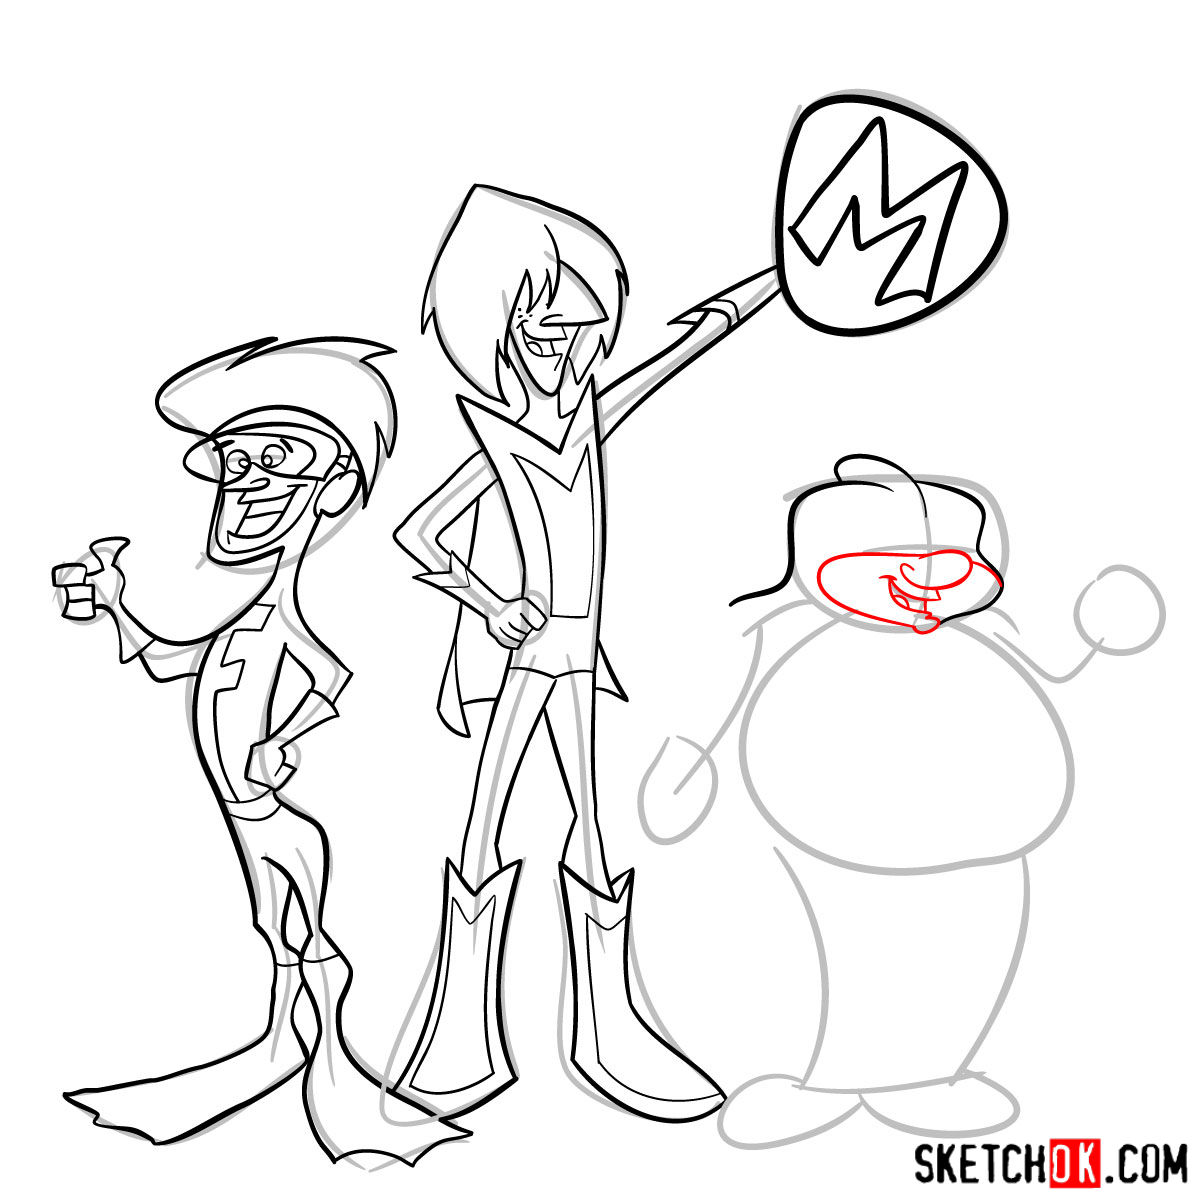
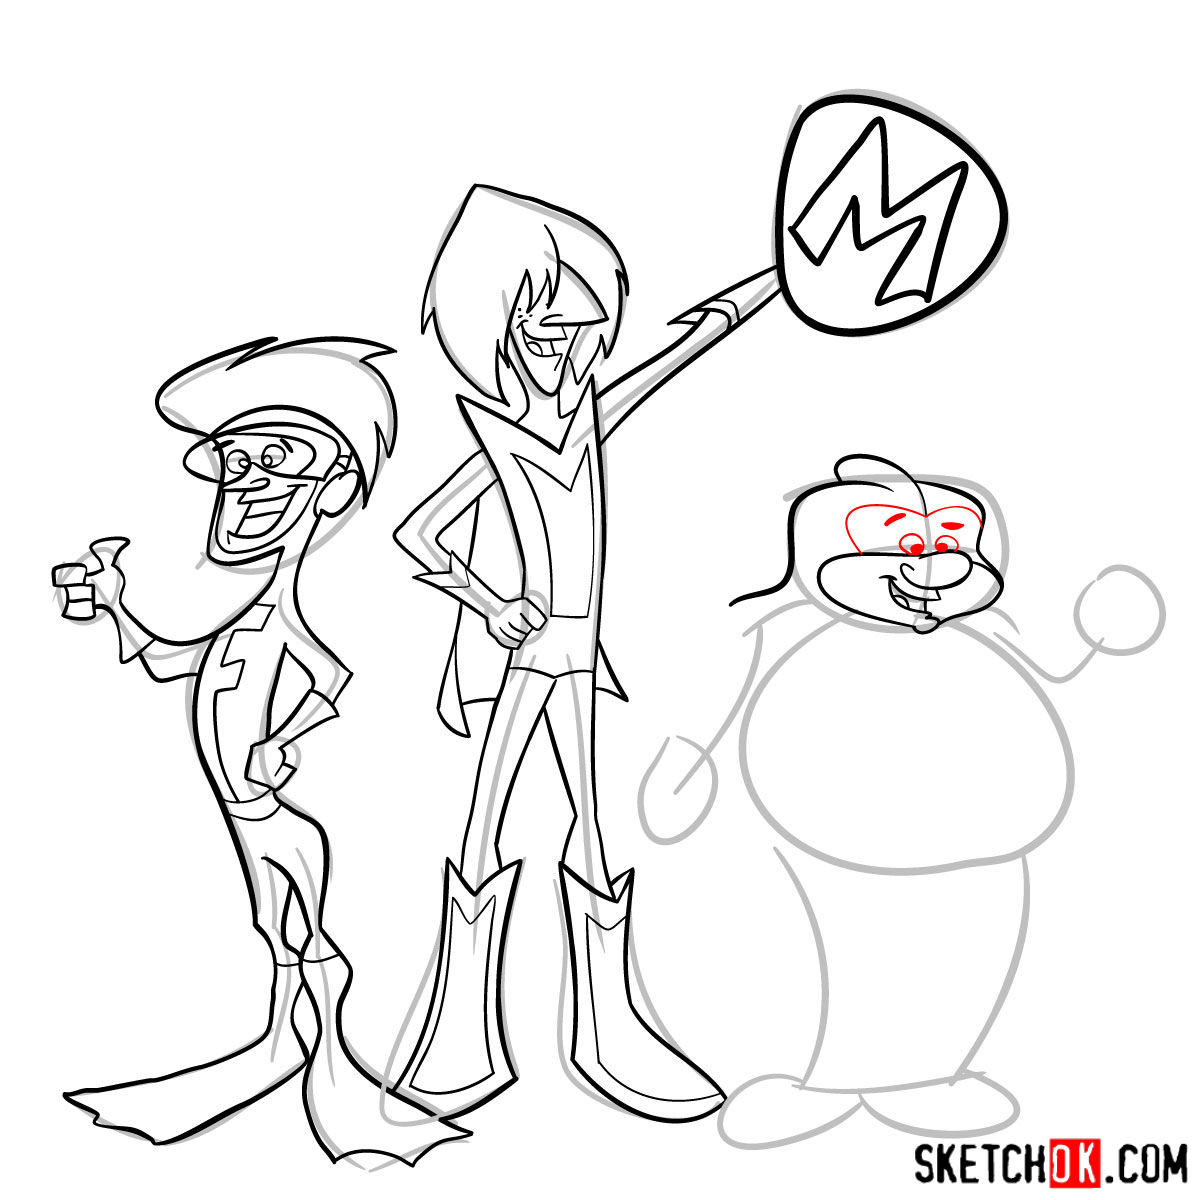
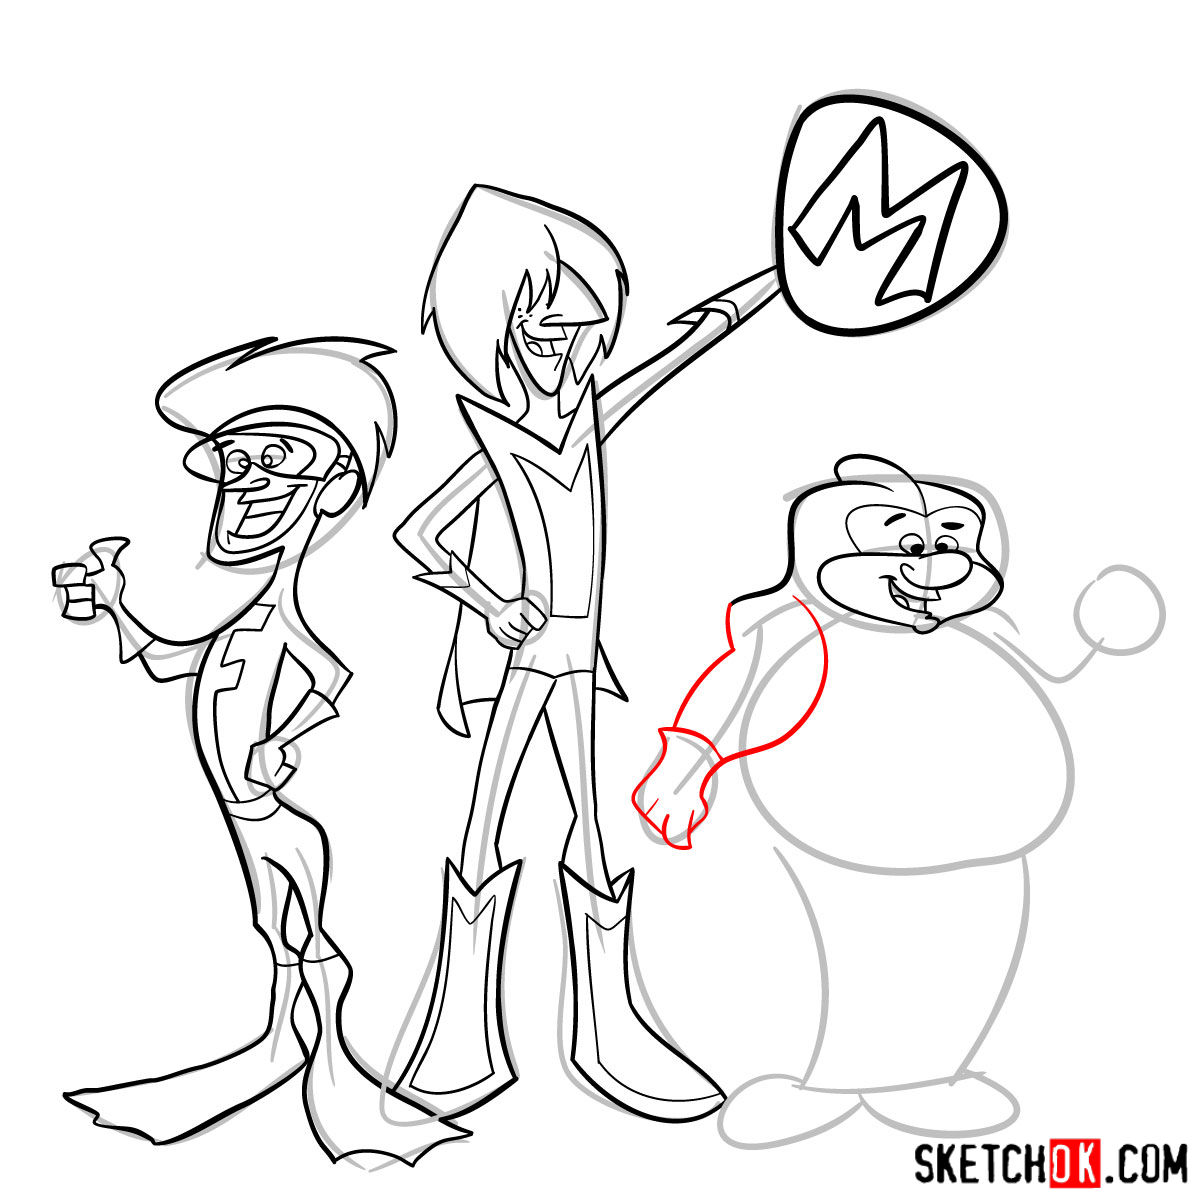
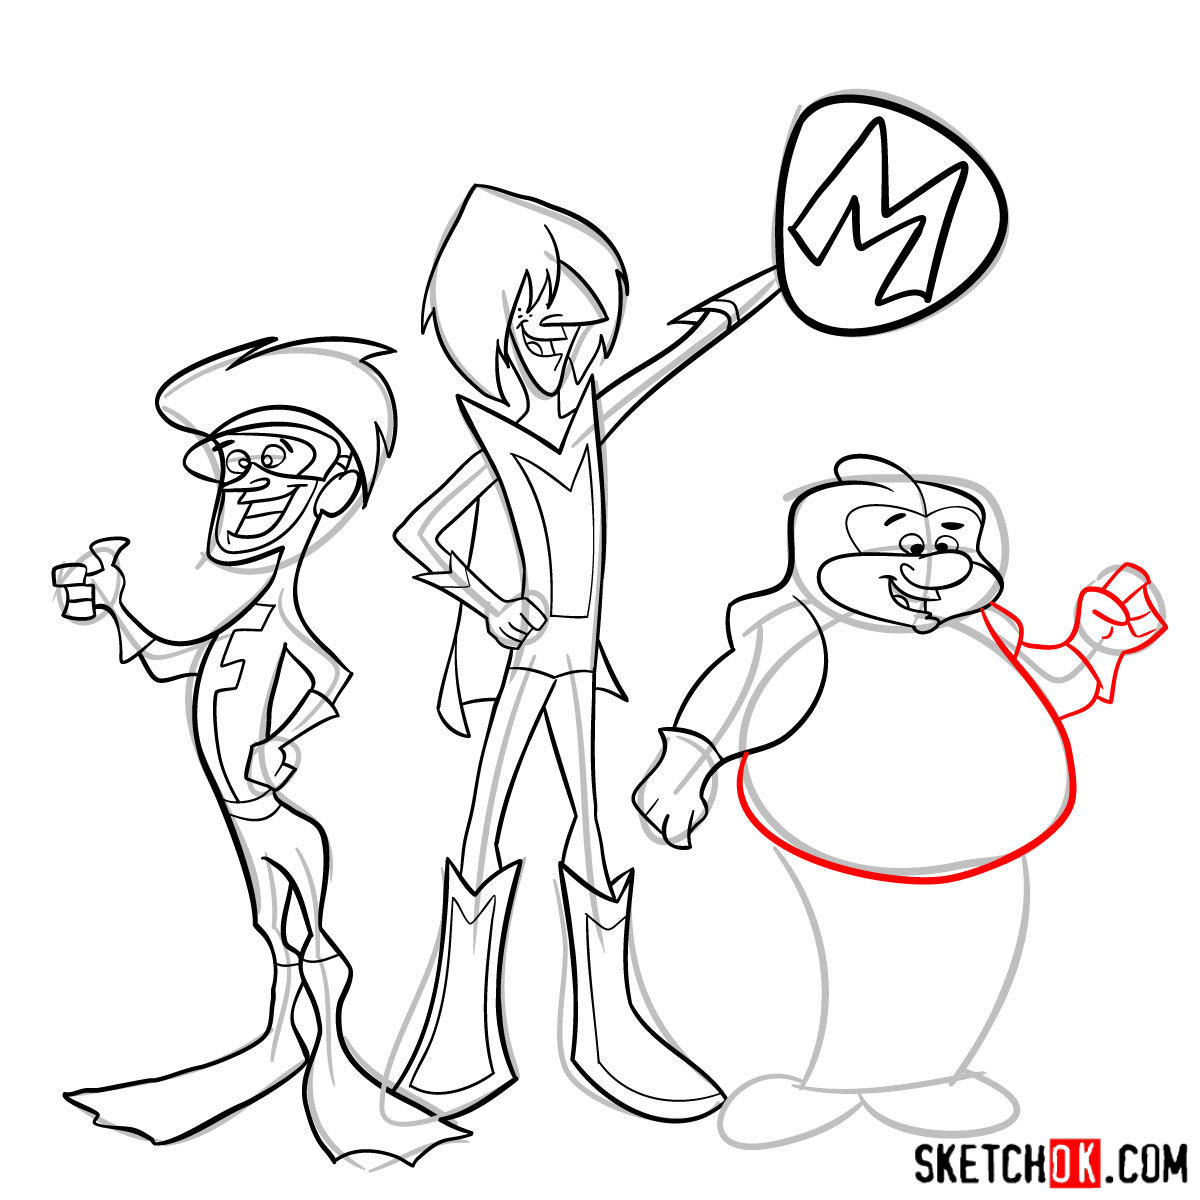
Our step-by-step guide is designed to make your drawing experience smooth and straightforward. Here are some key pointers to understand:
- Red Color: Highlights the current drawing step.
- Black Color: Represents the lines you have previously drawn.
- Grey Color: Shows the basic sketch or proportions.
The guide involves a total of 29 steps. Start drawing each character with a basic sketch in light pencil strokes. In the step 28, you can choose to ink your sketch. Remember to let the ink dry before gently erasing the underlying pencil sketch to prevent smudging. This process brings a cleaner and more professional look to your final artwork. And use the last image as color reference if needed.


Frequently Asked Questions
Why should I start with a basic sketch in light pencil strokes?
Starting with a basic sketch in light pencil strokes allows you to easily make adjustments in the early stages of drawing. It prevents making irreversible dark marks and helps you build a more accurate final drawing.
Why do I need to wait for the ink to dry before erasing the pencil sketch?
It’s crucial to let the ink dry first before erasing the pencil sketch. Doing so prevents the ink from smudging, which could potentially ruin your final artwork. Patience is key to maintaining the integrity of your sketch.
How do I add depth and dimension to my drawing?
To add depth and dimension to your drawing, consider learning and applying techniques such as shading, perspective, and foreshortening. These methods can help your drawing appear more three-dimensional and realistic.
Drawing to a Close
And there you have it, folks! You’ve ventured into the creative world of The Impossibles and hopefully emerged with a fantastic sketch. If you’ve enjoyed this guide, consider sharing it with your friends or on your social media platforms. Remember, art grows when shared!
If you wish to support the creation of more free drawing guides, please consider donating here. Your contributions help keep the SketchOk project alive and thriving, fueling our passion for bringing art to everyone.
You can also follow us on our social media channels for more fun and creativity:
Facebook,
Instagram,
Pinterest.
Remember, every drawing journey begins with a single pencil stroke. So keep practicing, keep sketching, and most importantly, keep having fun with “How to draw The Impossibles”! Till next time, happy sketching!