Home » Cartoon Characters » Various » How to draw the Grinch’s face

How to draw the Grinch’s face

Delving into the world of Dr. Seuss, few characters stand out as distinctly as the Grinch. This green, furry creature, with his peculiarly pot-bellied shape and cat-like face, is not just a symbol of mischief, but also an emblem of redemption and the true essence of Christmas. From books to the big screen, the Grinch has captured the hearts of many, as he evolves from a Christmas-loathing creature to one that embraces its joy.

The Unique Appearance of Our Christmas Critic

  • Color: Predominantly green with a touch of yellow.
  • Physique: Pear-shaped, pot-bellied stature with a snub-nose.
  • Expression: Often cynical, reflecting his misanthropic personality.
  • Special feature: His Christmas hat, adding a dash of irony to his character.

His appearance is not just unique, but also mirrors other notable characters in the world of fiction. Think of Ebenezer Scrooge from Charles Dickens’ “A Christmas Carol”, and you’ll notice the intriguing parallels between these two. Drawing the Grinch not only challenges your skills but also offers an opportunity to add complementary characters, perhaps a Gingerbread Man or even Homer Simpson as Santa, to make your sketch even more captivating.

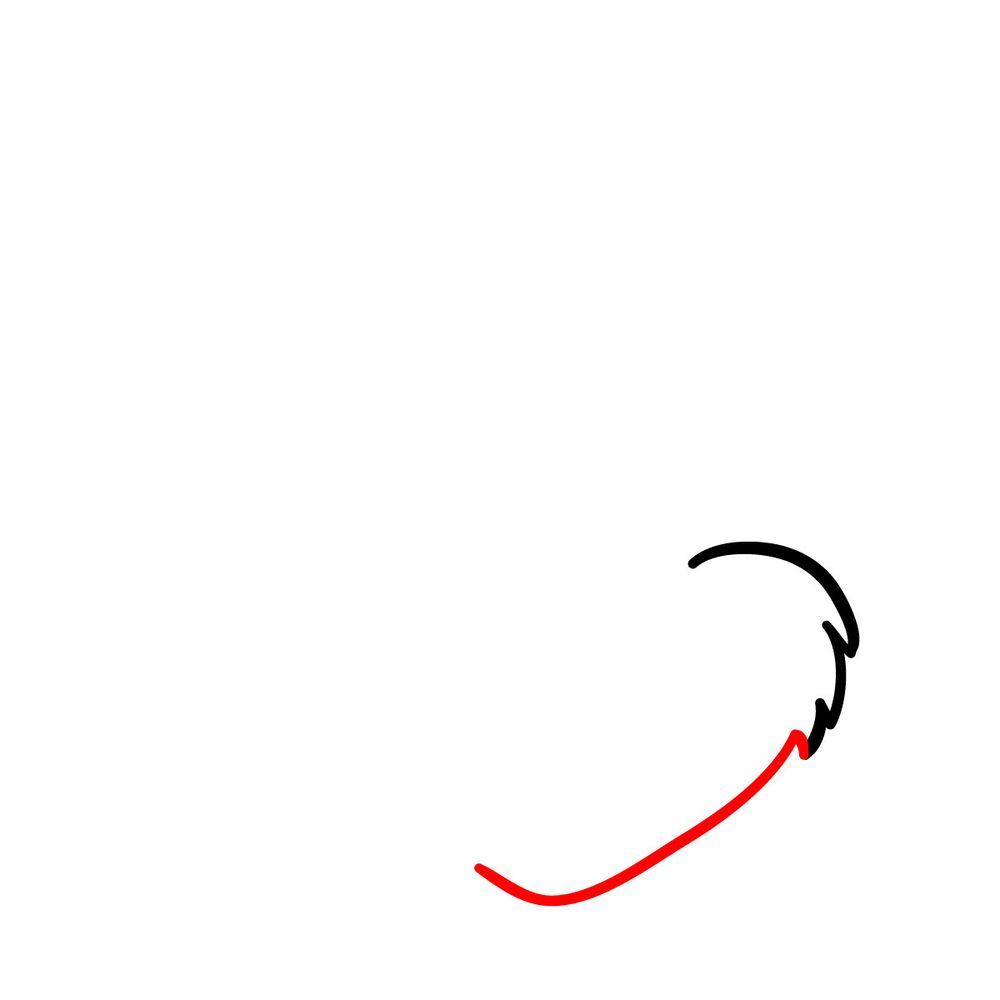
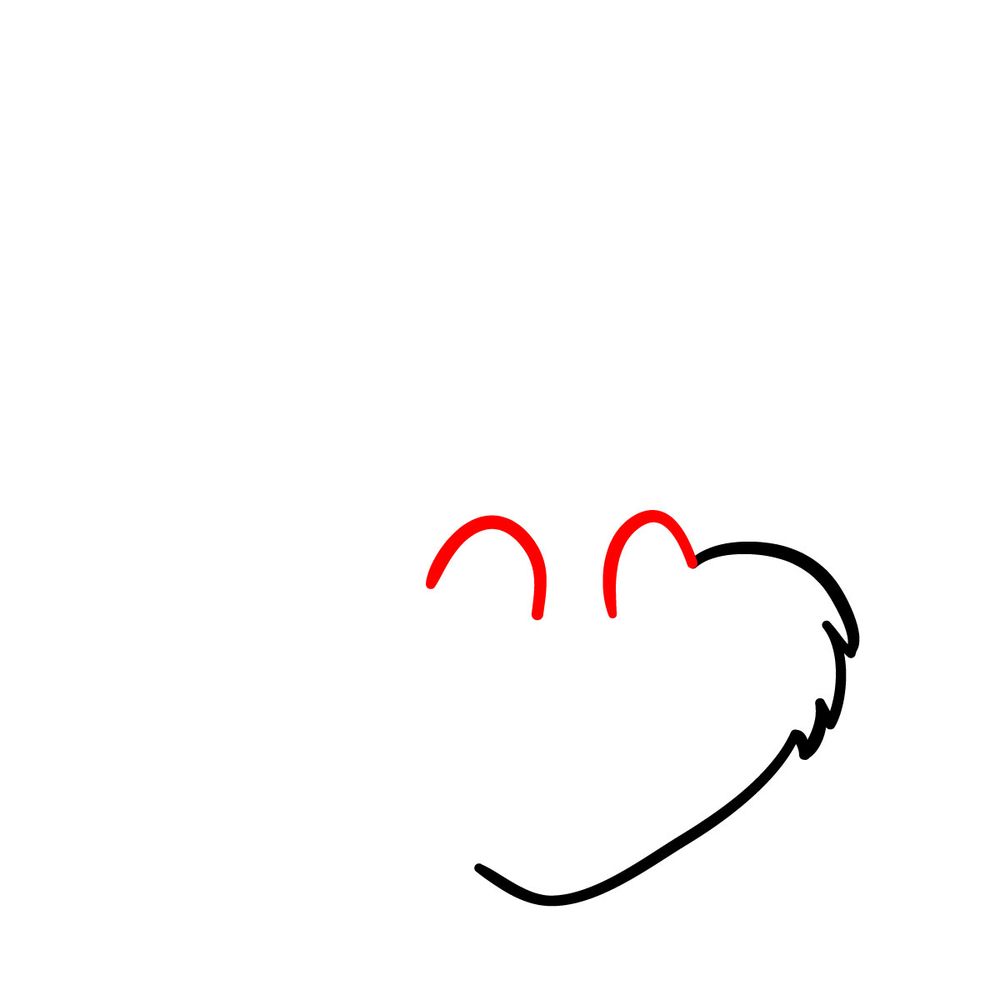
About This Drawing Guide

Our guide is crafted to explain both beginners and seasoned artists how to draw the Grinch in all his glory. With a series of 22 images, you’ll trace the journey to the final detailed drawing.

  • Red Color: Represents the current step you should be focusing on.
  • Black Color: Showcases the lines you’ve previously drawn.

Once you reach the final stages, you have the liberty to ink your sketch. But remember, patience is key! Allow the ink to dry before erasing the pencil marks to avoid smudging.

Step 01

How to draw the Grinch's face - step 01

Step 02

How to draw the Grinch's face - step 02

Step 03

How to draw the Grinch's face - step 03

Step 04

How to draw the Grinch's face - step 04

Step 05

How to draw the Grinch's face - step 05

Step 06

How to draw the Grinch's face - step 06

Step 07

How to draw the Grinch's face - step 07

Step 08

How to draw the Grinch's face - step 08

Step 09

How to draw the Grinch's face - step 09

Step 10

How to draw the Grinch's face - step 10

Step 11

How to draw the Grinch's face - step 11

Step 12

How to draw the Grinch's face - step 12

Step 13

How to draw the Grinch's face - step 13

Step 14

How to draw the Grinch's face - step 14

Step 15

How to draw the Grinch's face - step 15

Step 16

How to draw the Grinch's face - step 16

Step 17

How to draw the Grinch's face - step 17

Step 18

How to draw the Grinch's face - step 18

Step 19

How to draw the Grinch's face - step 19

Step 20

How to draw the Grinch's face - step 20

Step 21

How to draw the Grinch's face - step 21

Step 22

How to draw the Grinch’s face

Frequently Asked Questions

How can I capture the Grinch’s unique facial expression?

The Grinch’s face is a blend of mischief and cynicism. Focus on the curve of his eyebrows and the tilt of his smirk. These details play a pivotal role in reflecting his persona. Observe different renditions of the character to get a comprehensive understanding.

Which part of the Grinch’s face should I start with?

Starting with outlining a part of his head and his eyes can set the tone for the entire face. His eyes are the window to his character, displaying his constant internal struggle between disdain for Christmas and the yearning for acceptance.

How can I depict his Christmas hat with precision?

The Christmas hat is symbolic of the Grinch’s character arc. Start with the base and move upwards, ensuring you capture its fluffy texture. The hat’s droopiness adds a touch of whimsy, making it essential to get it right.

Wrapping Up With Whimsy

Drawing the Grinch is more than just an artistic endeavor; it’s a dive into the world of Whoville and the nuances of its most iconic character. By supporting SketchOk, you help us churn out more such detailed guides. Your donations not only fuel our passion but also allow you to suggest ideas for upcoming tutorials.

The magic doesn’t end here! Share this guide with budding artists or anyone with a flair for drawing. Spreading the word amplifies the joy of creating. Don’t forget to stay connected with us on Facebook, Instagram, and Pinterest. Together, let’s make art that resonates and stories that inspire!

Did you like the tutorial?

You can support the author of this website and also suggest your own ideas for new drawings by making a small donation here:

Leave a Comment