Home » Cartoon Characters » Various » How to draw Nigel | The Wild Thornberrys

How to draw Nigel | The Wild Thornberrys

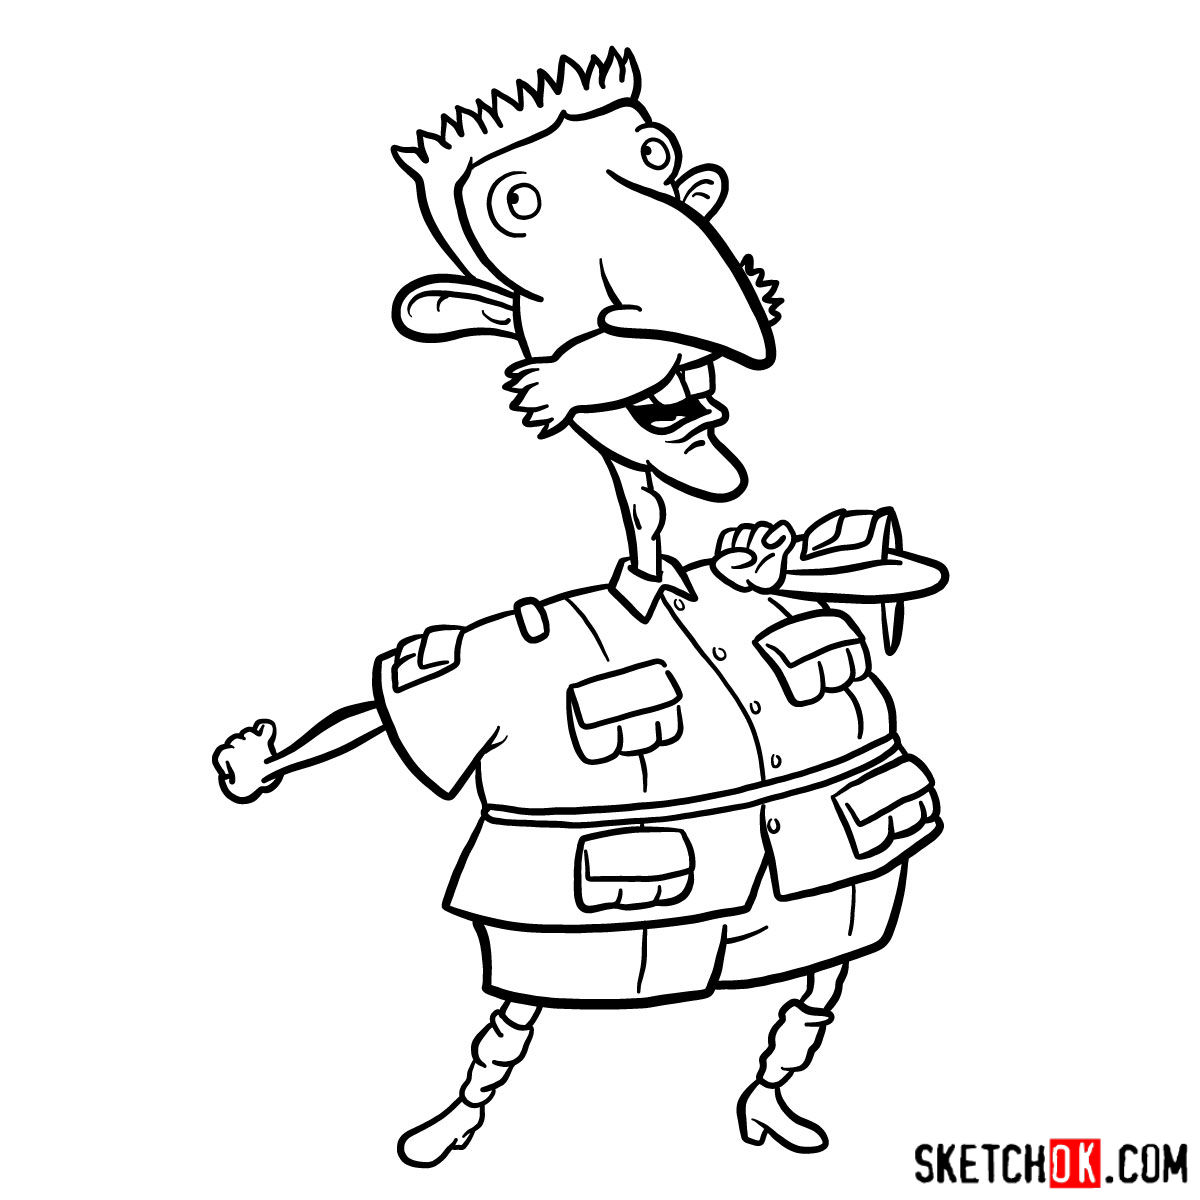
Welcome to our sketching tutorial that aims to guide you on how to draw one of the most well-known characters in the world of animated television, Sir Nigel Archibald Thornberry. He’s the adventurous host of “Nigel Thornberry’s Wild World,” a character that has charmed audiences with his distinctive appearance, quick wit, and fervor for studying wild animals in their natural habitats.

Key Features of Nigel Thornberry

Nigel Thornberry, as many of you may recall, is distinguished by his bright red hair and voluminous mustache that frames his wide, jovial smile. He dresses in a khaki shirt paired with green shorts, reflecting his adventurous spirit and love for the outdoors. Here are the key features to focus on:

  • Face: Nigel has a distinctive, elongated face shape with a large, prominent nose.
  • Hair and Mustache: His red hair and bushy mustache are defining features. Pay extra attention to capturing their volume and unique shapes.
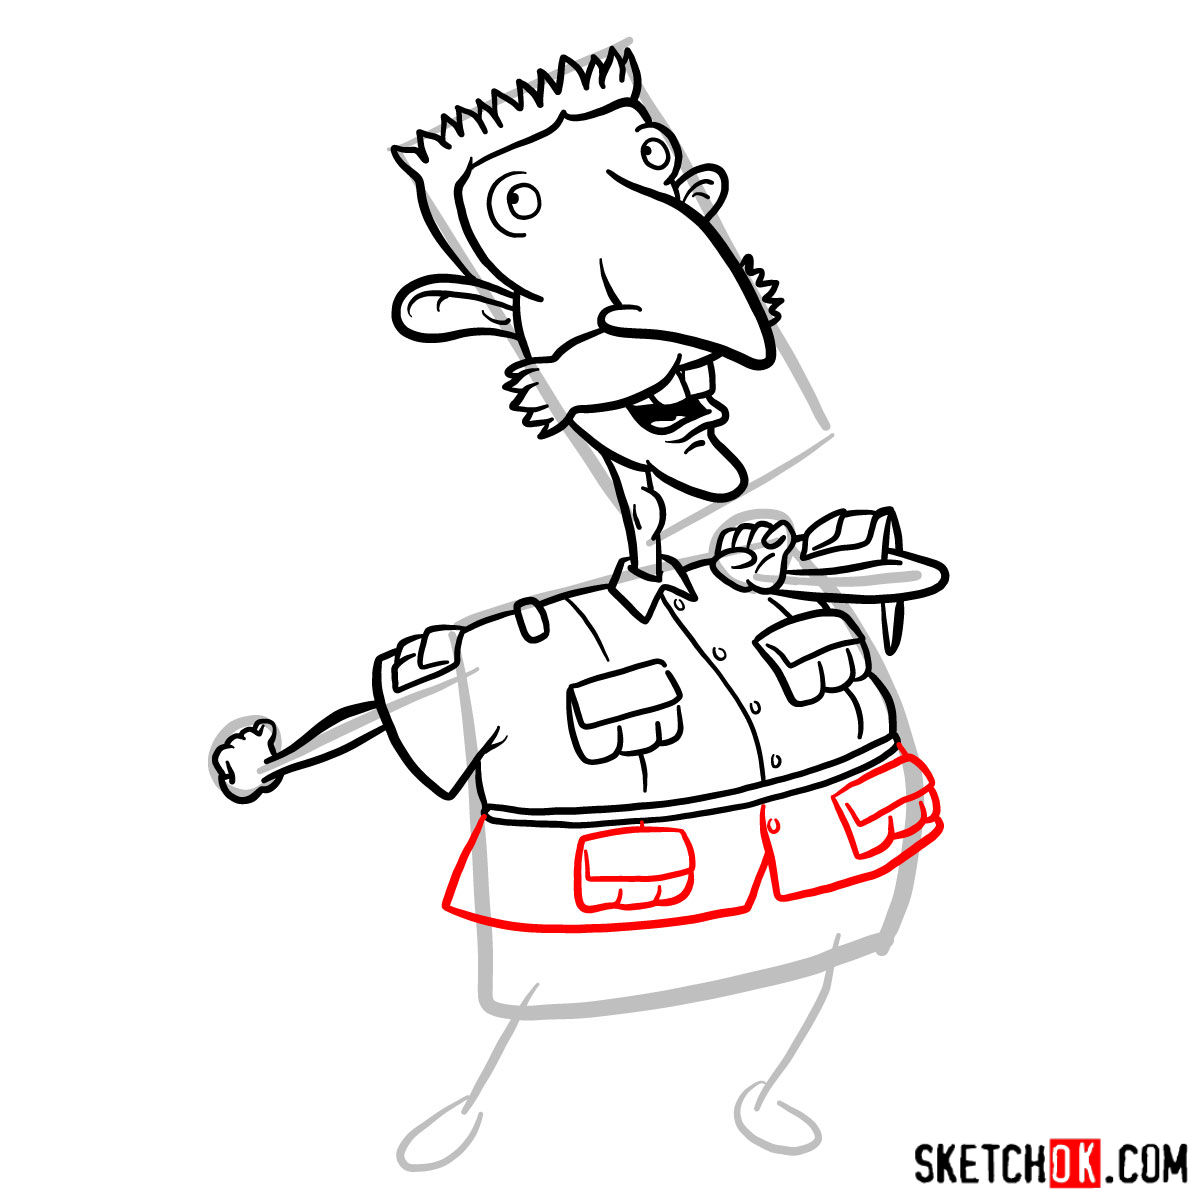
  • Outfit: Nigel’s simple outfit of a khaki shirt and green shorts represents his adventurous nature and casual style.

Decoding the Guide

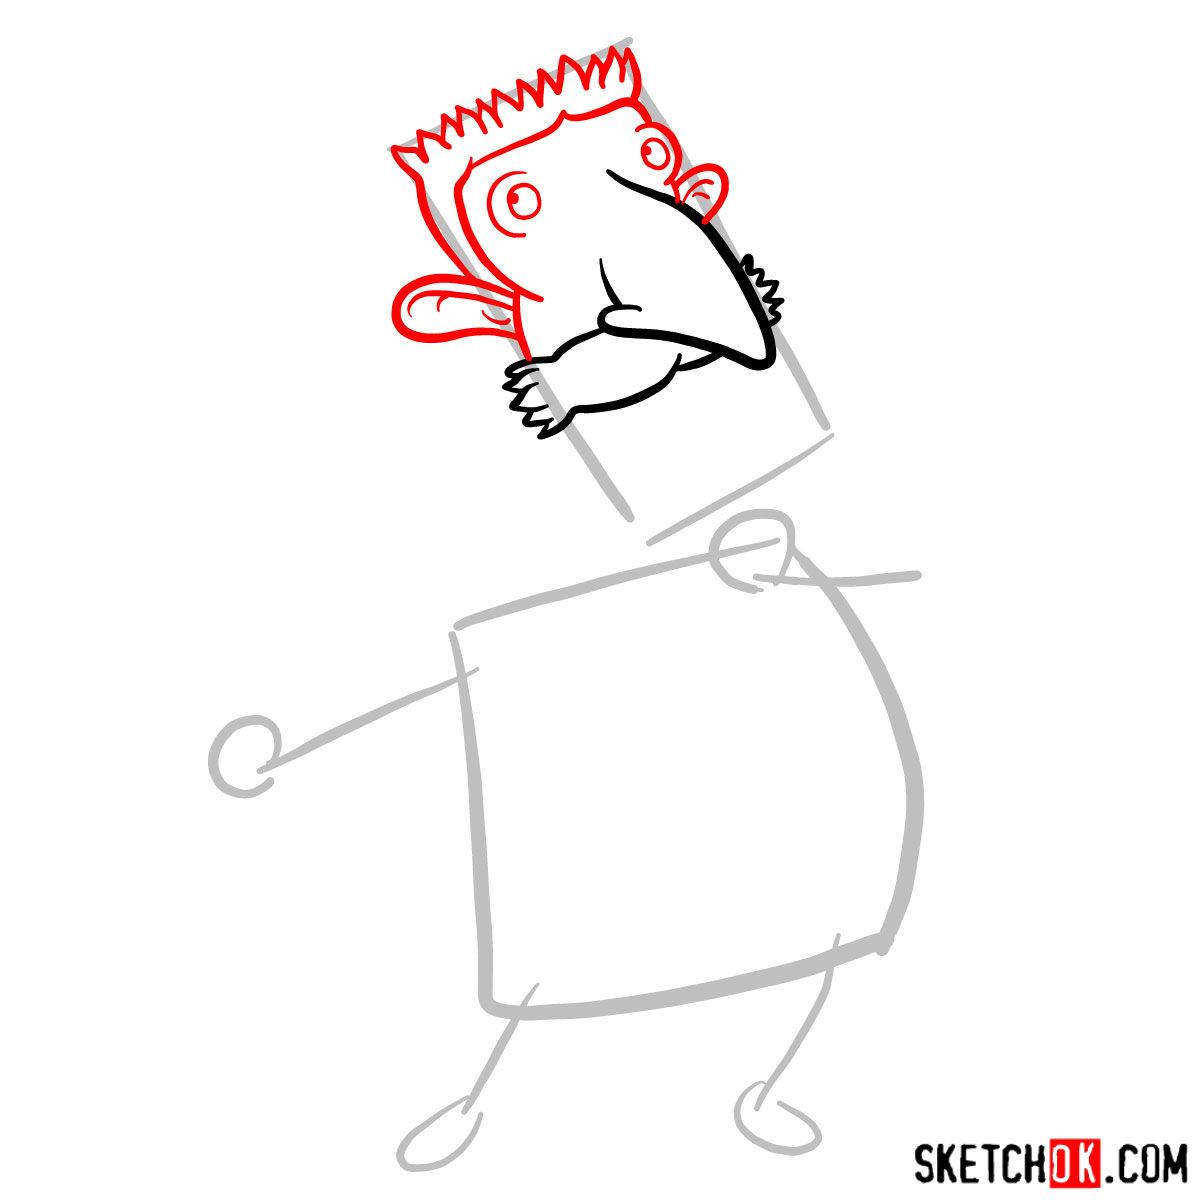
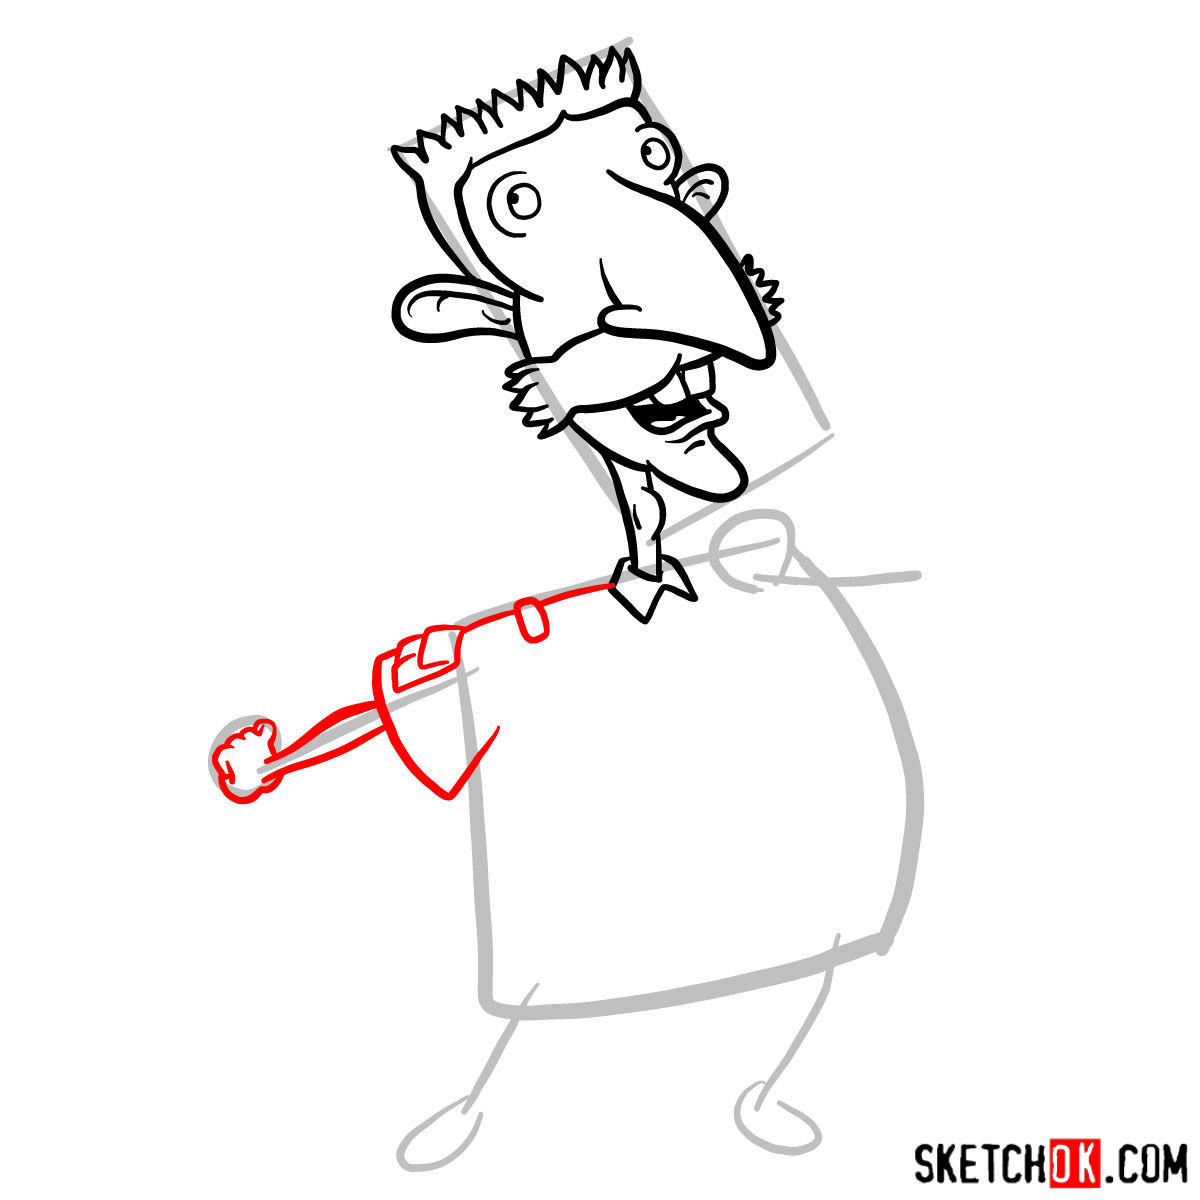
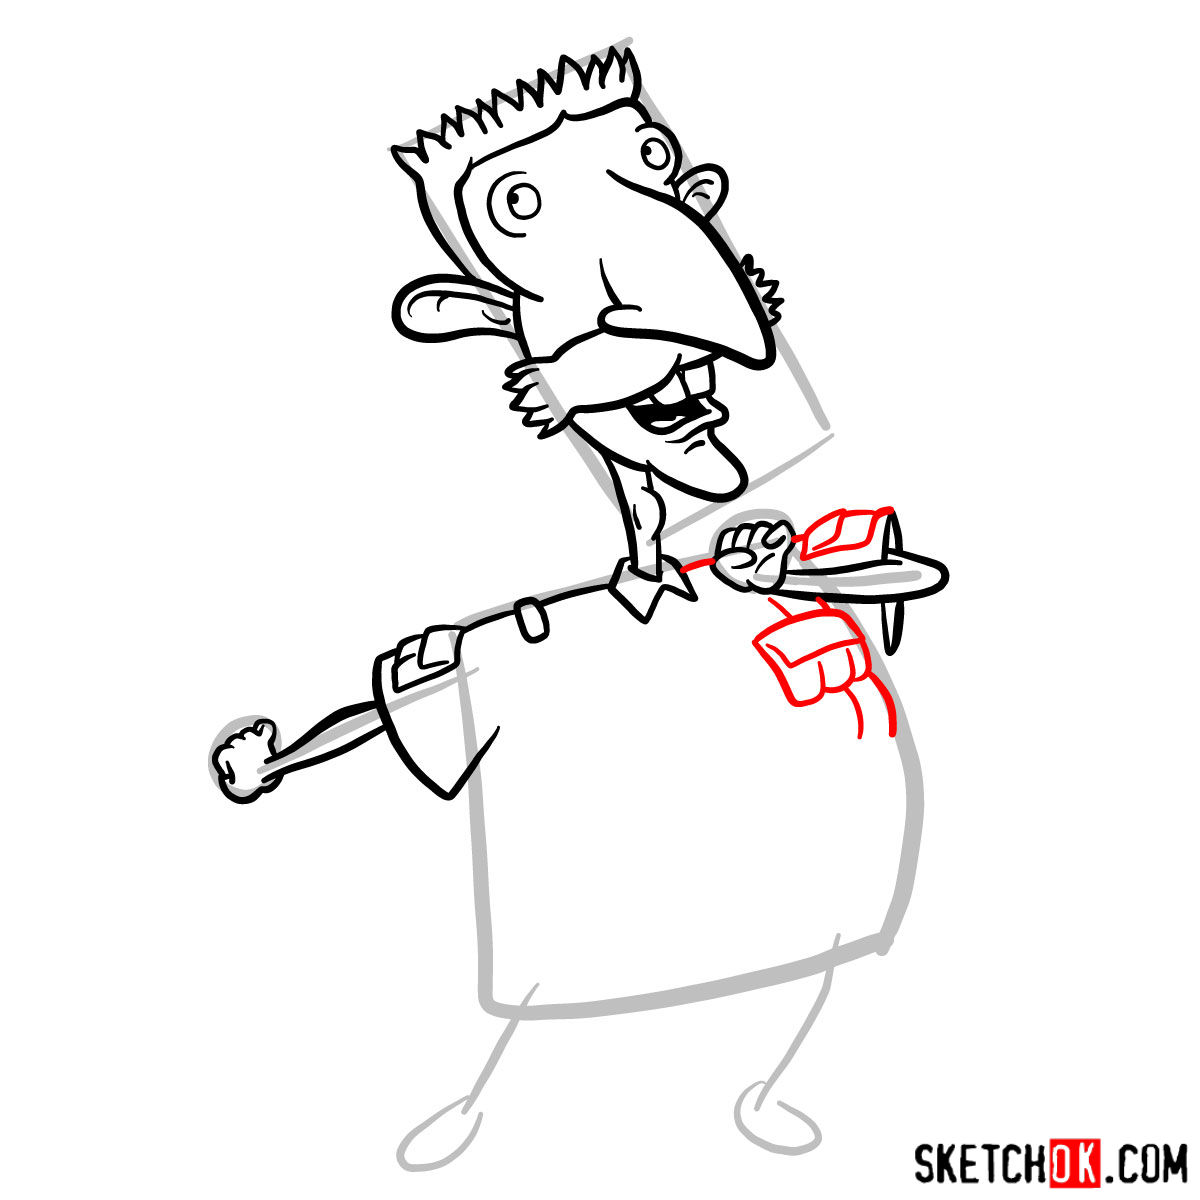
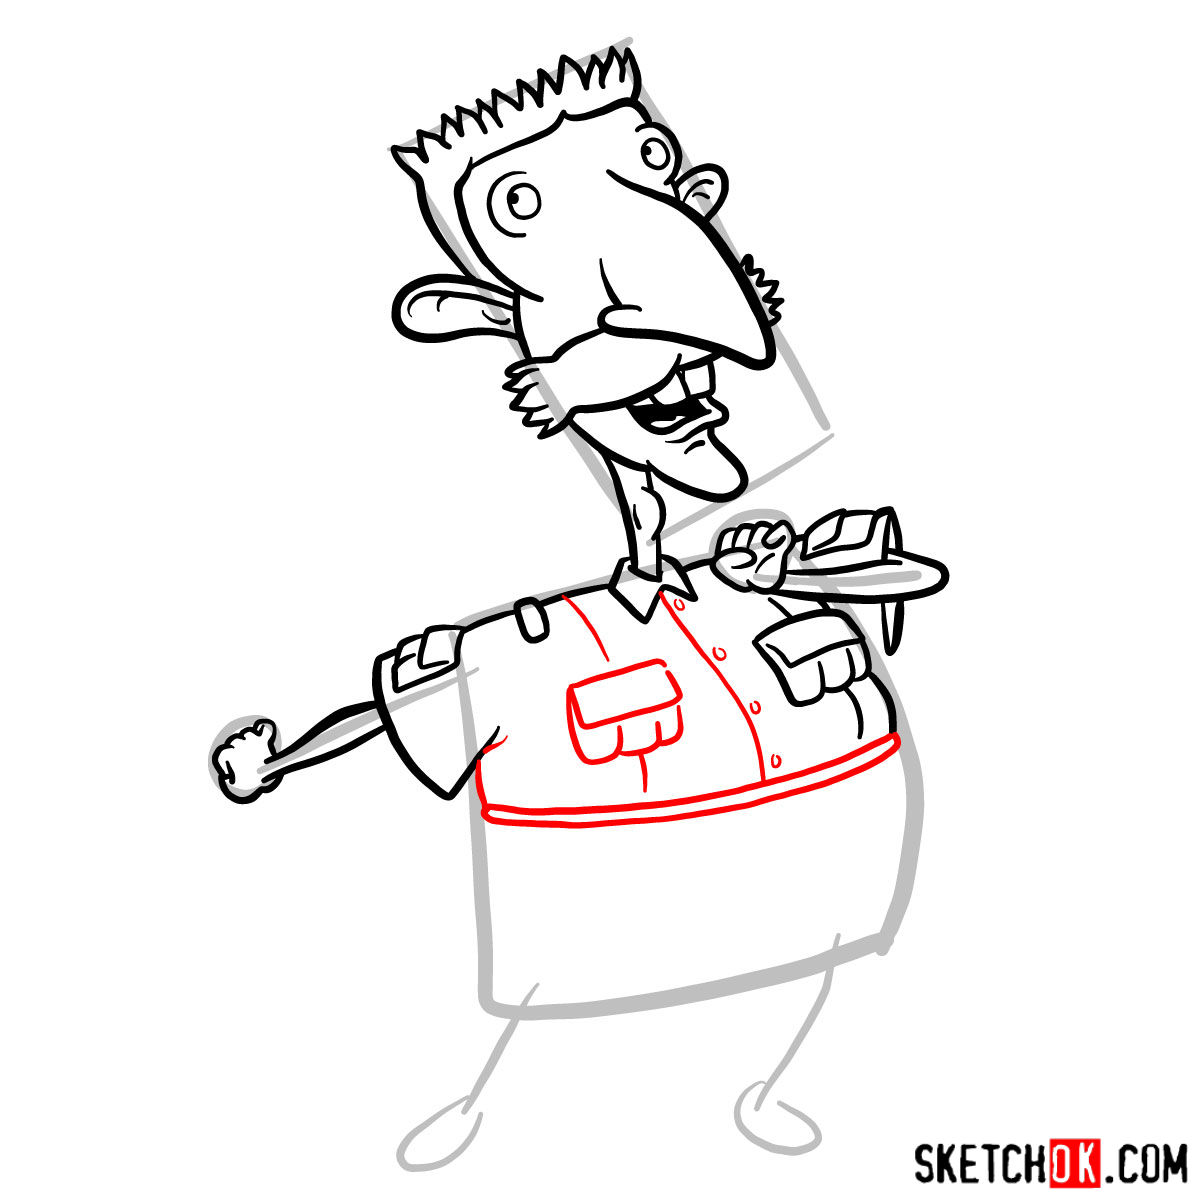
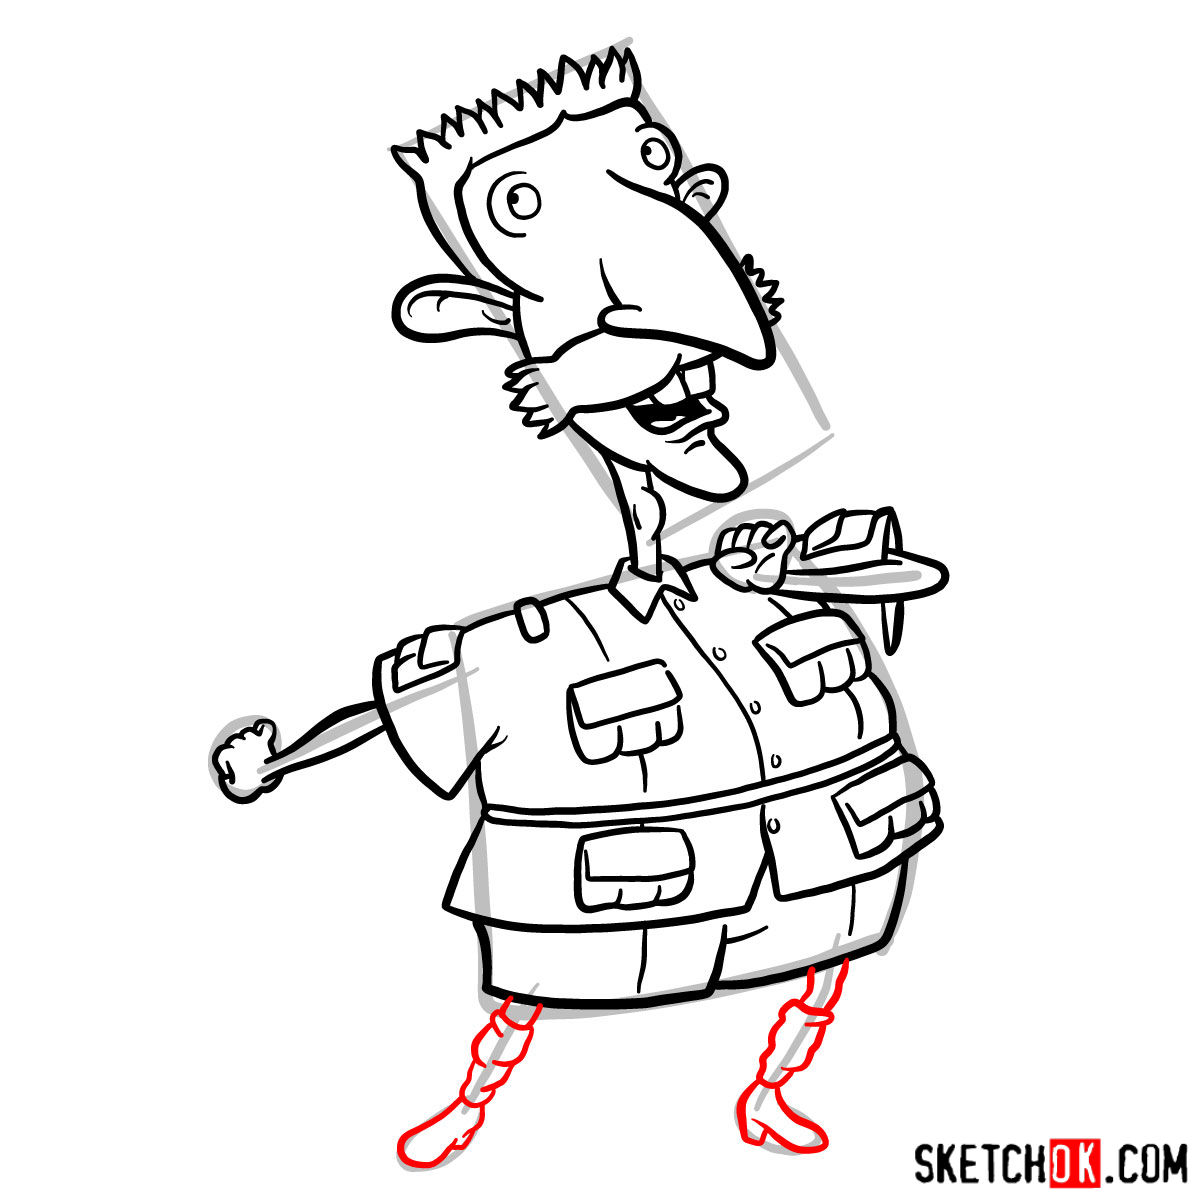
Our guide is designed to make your drawing journey as straightforward as possible. It utilizes a color-coded system as follows:

  • Red Color: Represents the current step that you should focus on.
  • Black Color: Showcases the lines you have drawn in the previous steps.
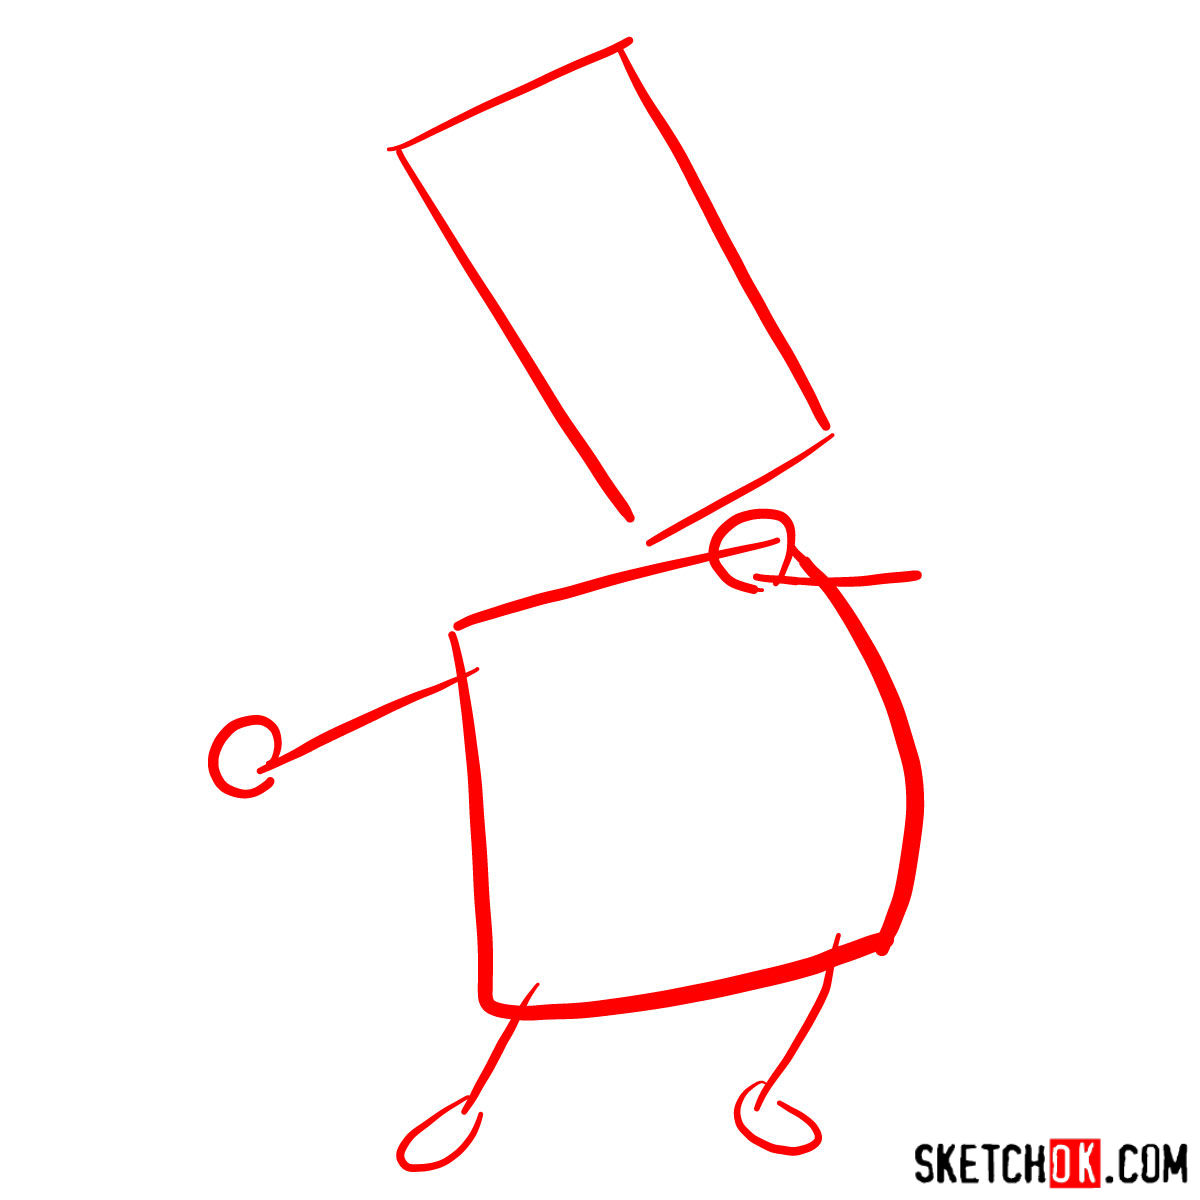
  • Grey Color: Indicates the basic sketch, which forms the skeleton of your drawing.

The guide comprises 14 steps, starting with the basic sketch, created with light pencil strokes. The final step involves inking the sketch to make the lines more defined. It’s crucial to wait for the ink to dry before gently erasing the pencil lines, preventing any smudging or blotting.

Step 1

Looking for More Creative Fun?

Before you start this drawing guide, why not explore our exclusive coloring bundles? Choose from the delightful 20 Hand-Drawn Cat Adventures or the intricately detailed Big Dog Coloring Bundle—the first 50 are at a special lower price before it goes up!


Cats and Dogs Coloring Pages
How to draw Nigel - step 01

Step 2

How to draw Nigel - step 02

Step 3

How to draw Nigel - step 03

Step 4

How to draw Nigel - step 04

Step 5

How to draw Nigel - step 05

Step 6

How to draw Nigel - step 06

Step 7

How to draw Nigel - step 07

Step 8

How to draw Nigel - step 08

Step 9

How to draw Nigel - step 09

Step 10

How to draw Nigel - step 10

Step 11

How to draw Nigel - step 11

Step 12

How to draw Nigel - step 12

Step 13

How to draw Nigel - step 13

Step 14

How to draw Nigel

Bravo on Completing the Steps!

Now that you’ve completed this guide, why not relax with our exclusive coloring bundles? Discover the whimsical 20 Hand-Drawn Cat Adventures or the intricately detailed Big Dog Coloring Bundle—the first 50 copies are at a special lower price!

Visit our shop and keep the creativity flowing. You’ve earned it!


Cats and Dogs Coloring Pages

Frequently Asked Questions

Why is it important to sketch lightly at first?

Sketching lightly helps you to easily erase and adjust lines in the early stages. It makes the refining process more forgiving and less messy.

What’s the best way to capture Nigel’s distinctive hair and mustache?

Pay attention to the shape and volume of his hair and mustache. Practice drawing these elements separately before incorporating them into your final sketch. Remember, it’s the details that will bring Nigel Thornberry to life on your canvas.

Why do I need to wait for the ink to dry before erasing the pencil lines?

Allowing the ink to dry before erasing the pencil lines helps avoid any smudging or blotting that can ruin the clean, defined look of the final sketch.

A Final Note

As we conclude our guide on how to draw Nigel Thornberry, I would like to invite you to support our project. Creating these free drawing guides takes considerable effort and resources. Your donations at BuyMeACoffee can help us keep the SketchOk project alive and continue providing you with more step-by-step tutorials.

Also, if you found this guide helpful, please do share the link with others and help spread the word. You can also connect with us on Facebook, Instagram, and Pinterest.

Thank you for your support, and happy sketching!

Disclaimer: All original artworks and photos used as references for the creation of these drawing tutorials are the property of their respective owners. If your work has been featured without proper credit, please kindly leave a comment below, and the issue will be promptly addressed. We greatly appreciate your exceptional art. Thank you.

Did you like the tutorial?

You can support the author of this website and also suggest your own ideas for new drawings by making a small donation here:

Leave a Comment

I Noticed You're Using Adblock 😊

Hi there! I pour my heart into creating free drawing guides and tutorials for everyone.

Ads are what help me keep the site running and bring you content without any cost.

Could you please disable Adblock or add sketchok.com to your whitelist? Your support means the world to me and helps to create more content for you!

You can still use the site, but supporting the project by enabling ads helps keep SketchOk alive and thriving.

Thank you for being awesome and supporting SketchOk!

×