Welcome to another fun and creative drawing tutorial. Today, we are tackling an iconic figure from the world of animation, Cosmo G. Spacely from The Jetsons. Known for his fiery temper and extravagant lifestyle, Mr. Spacely is an exciting character to bring to life on paper. Let’s dive into the world of Spacely Sprockets and uncover the process of sketching this unforgettable character.
Character Details and Focal Points for Drawing
Before we start sketching, let’s dissect the features of Cosmo G. Spacely that make him recognizable and unique:
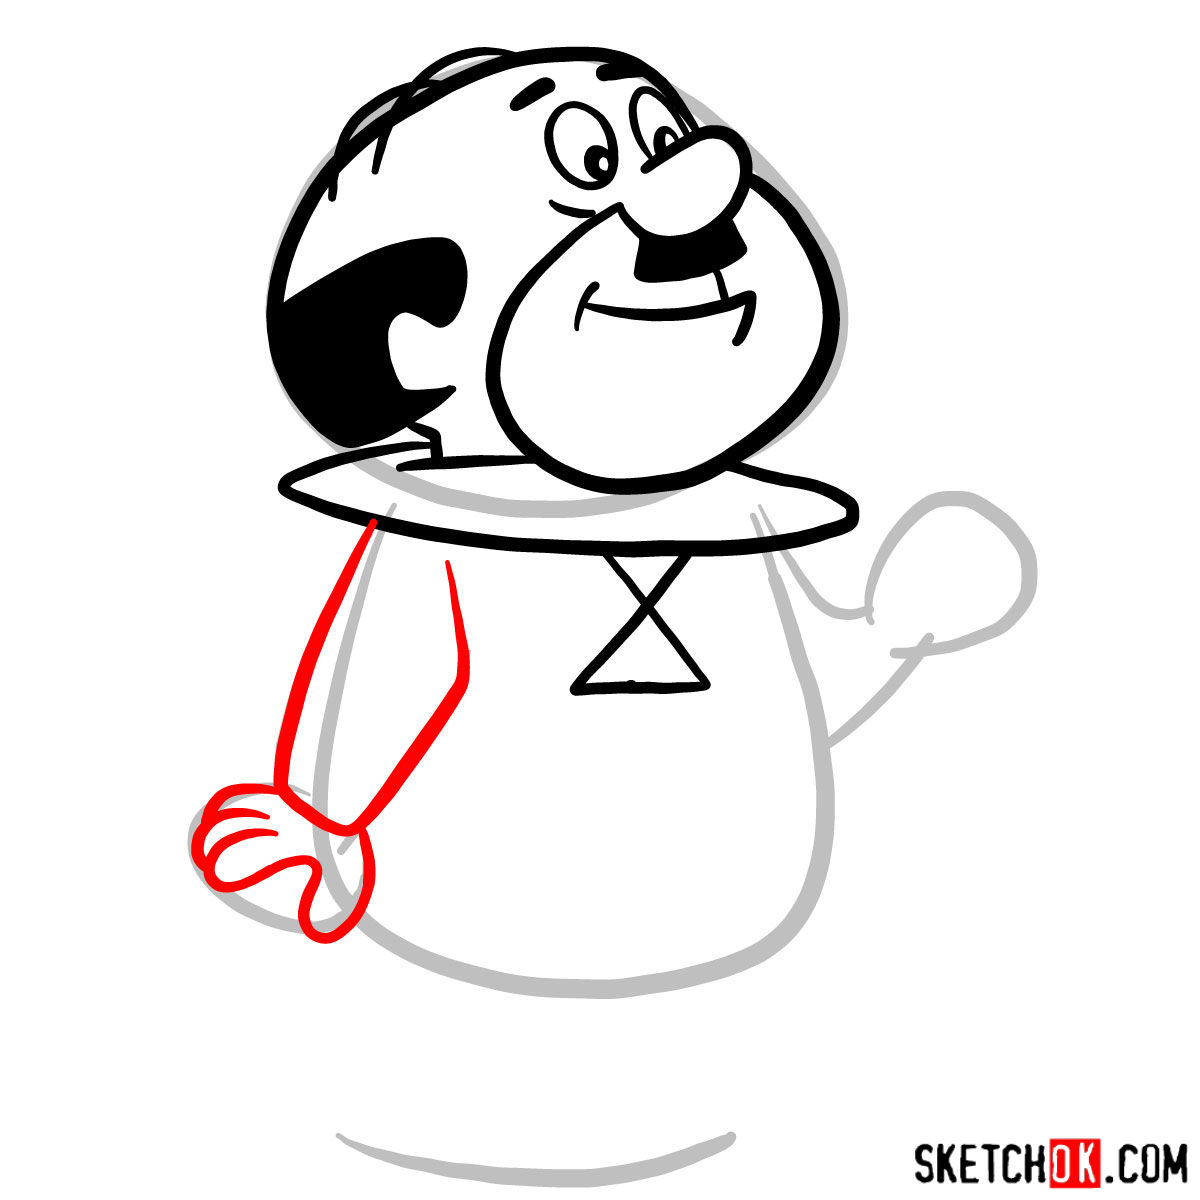
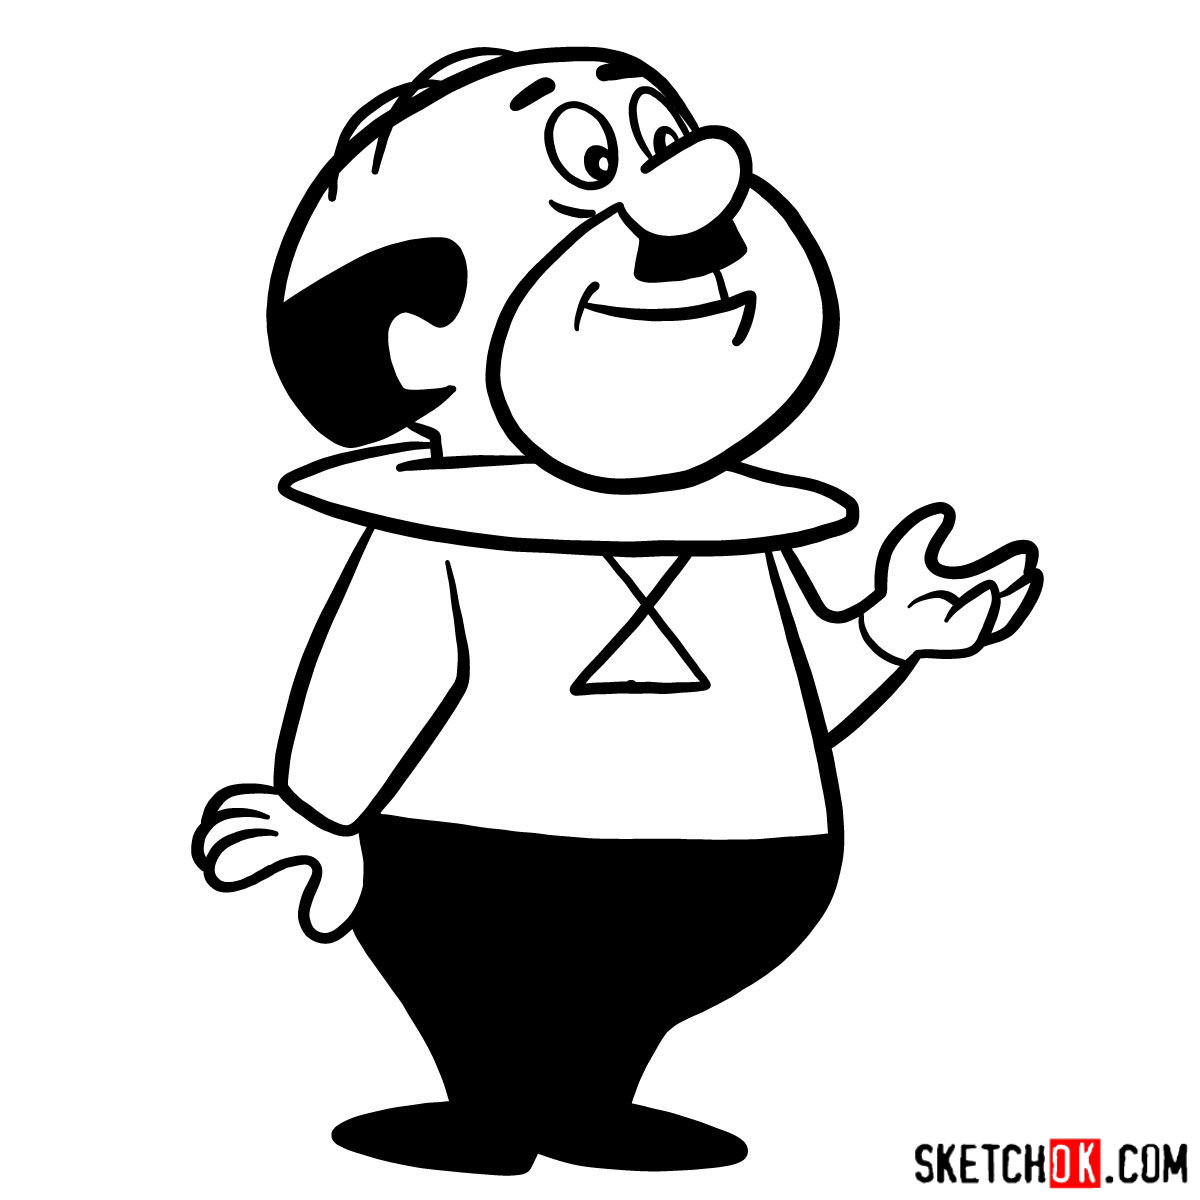
- Physical appearance: Mr. Spacely is known for his short and rotund stature, contrasting with his large personality.
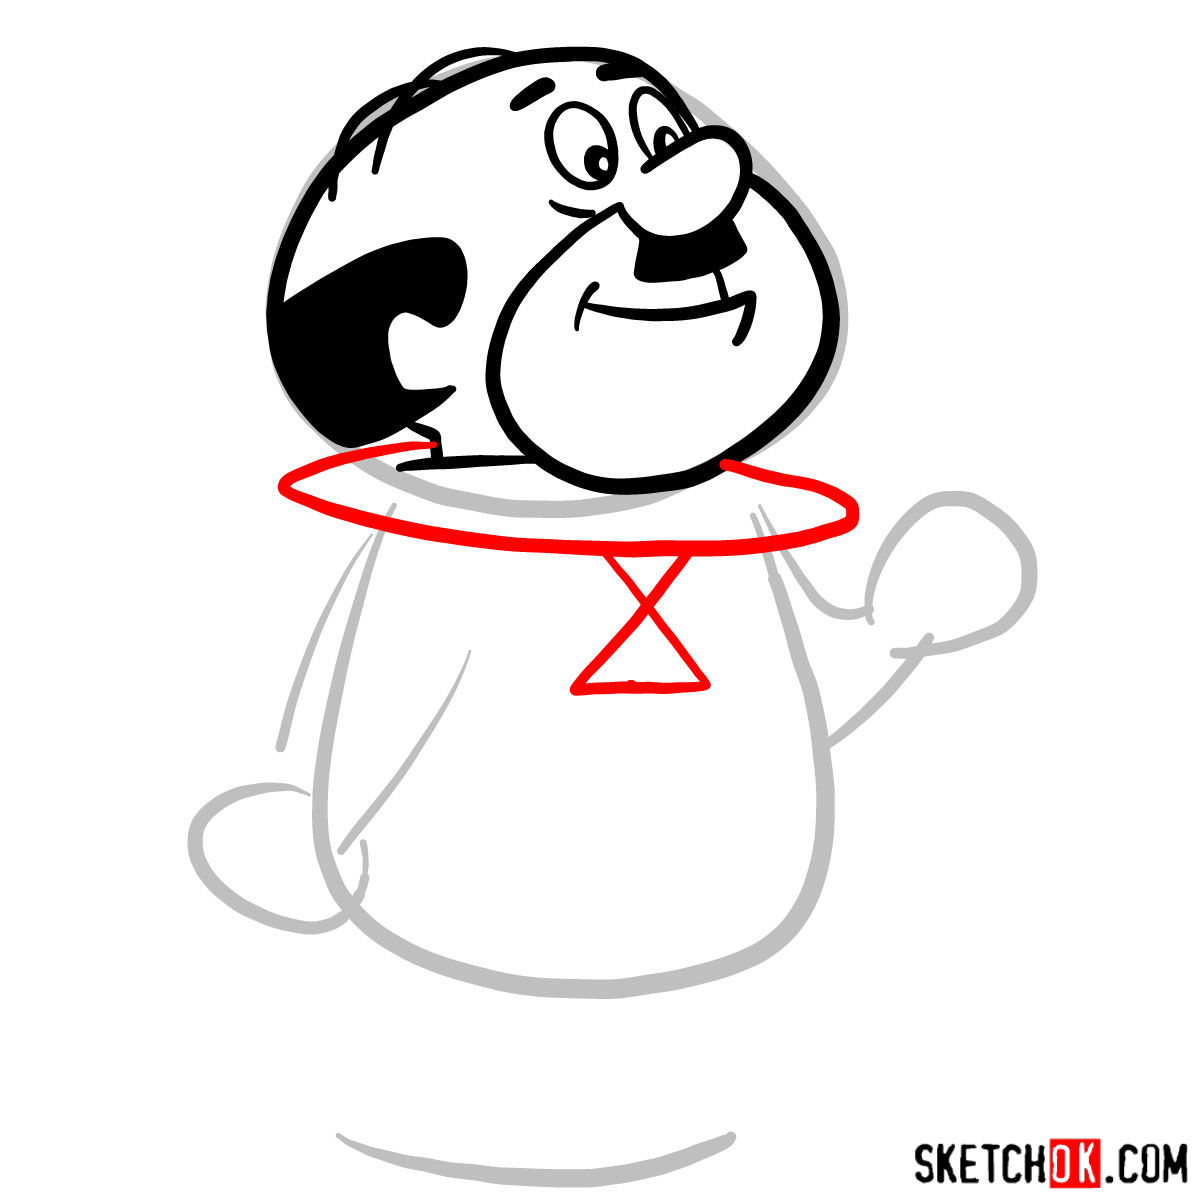
- Hair: He has only three hairs combed over his bald head, a significant detail to note.
- Facial expressions: His fiery temper often translates into loud, expressive facial expressions, which make for dynamic sketches.
Remember, if you enjoy drawing characters from The Jetsons, you might also want to explore drawing other characters like George Jetson or other famous family members: Judy, Jane, Elroy . The universe of The Jetsons is filled with colorful personalities, each more fun to draw than the last.
About the Drawing Guide
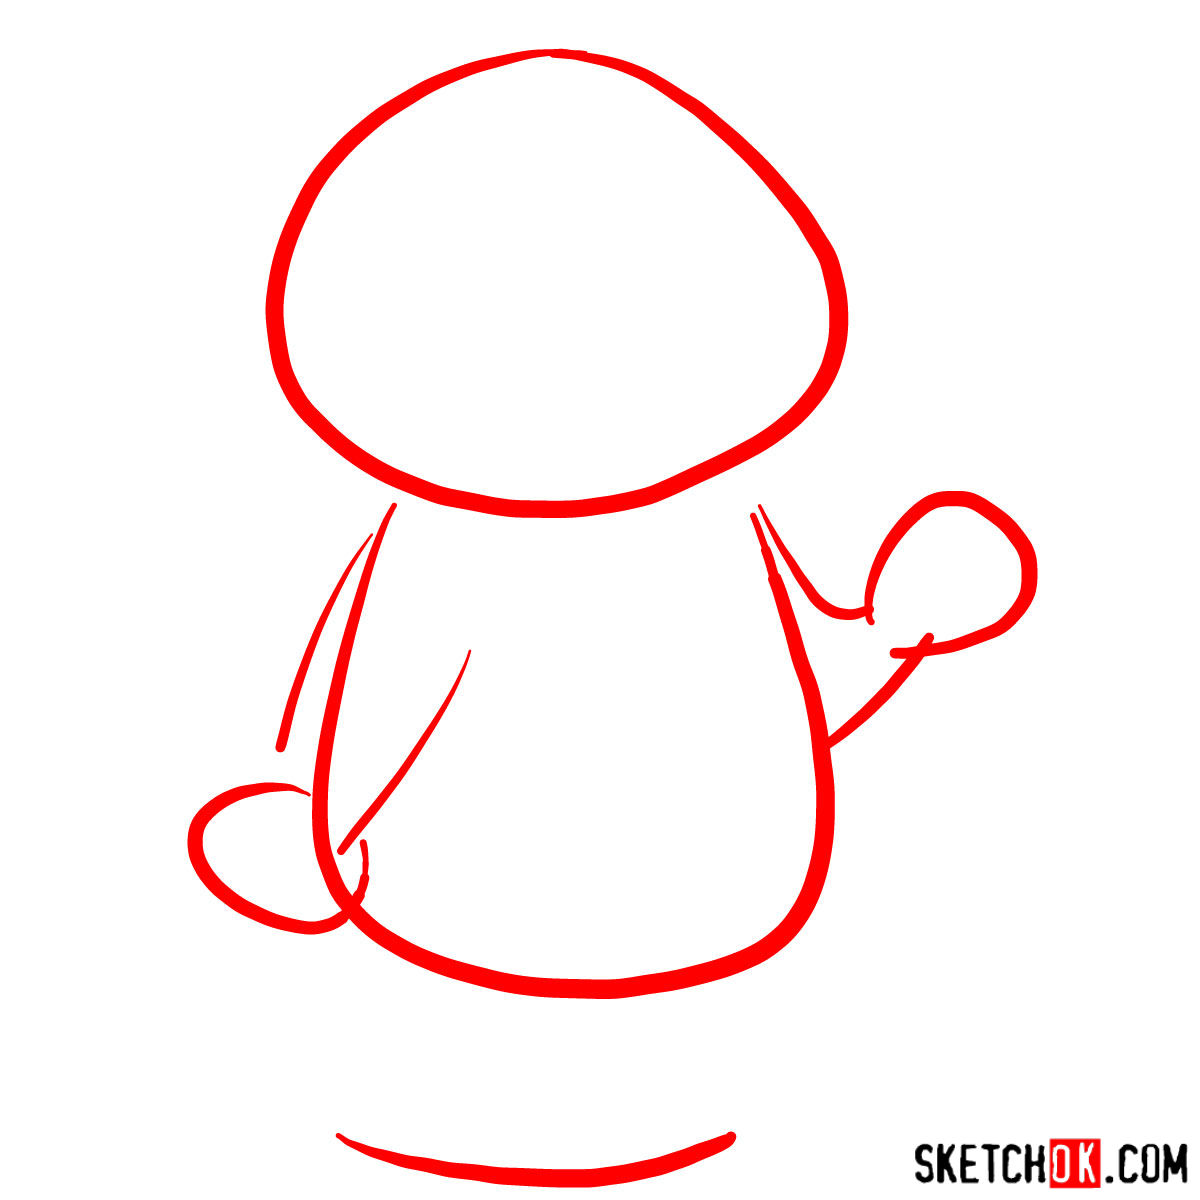
In our step-by-step guide, we have utilized a specific color coding system to simplify your drawing process. Here’s what each color indicates:
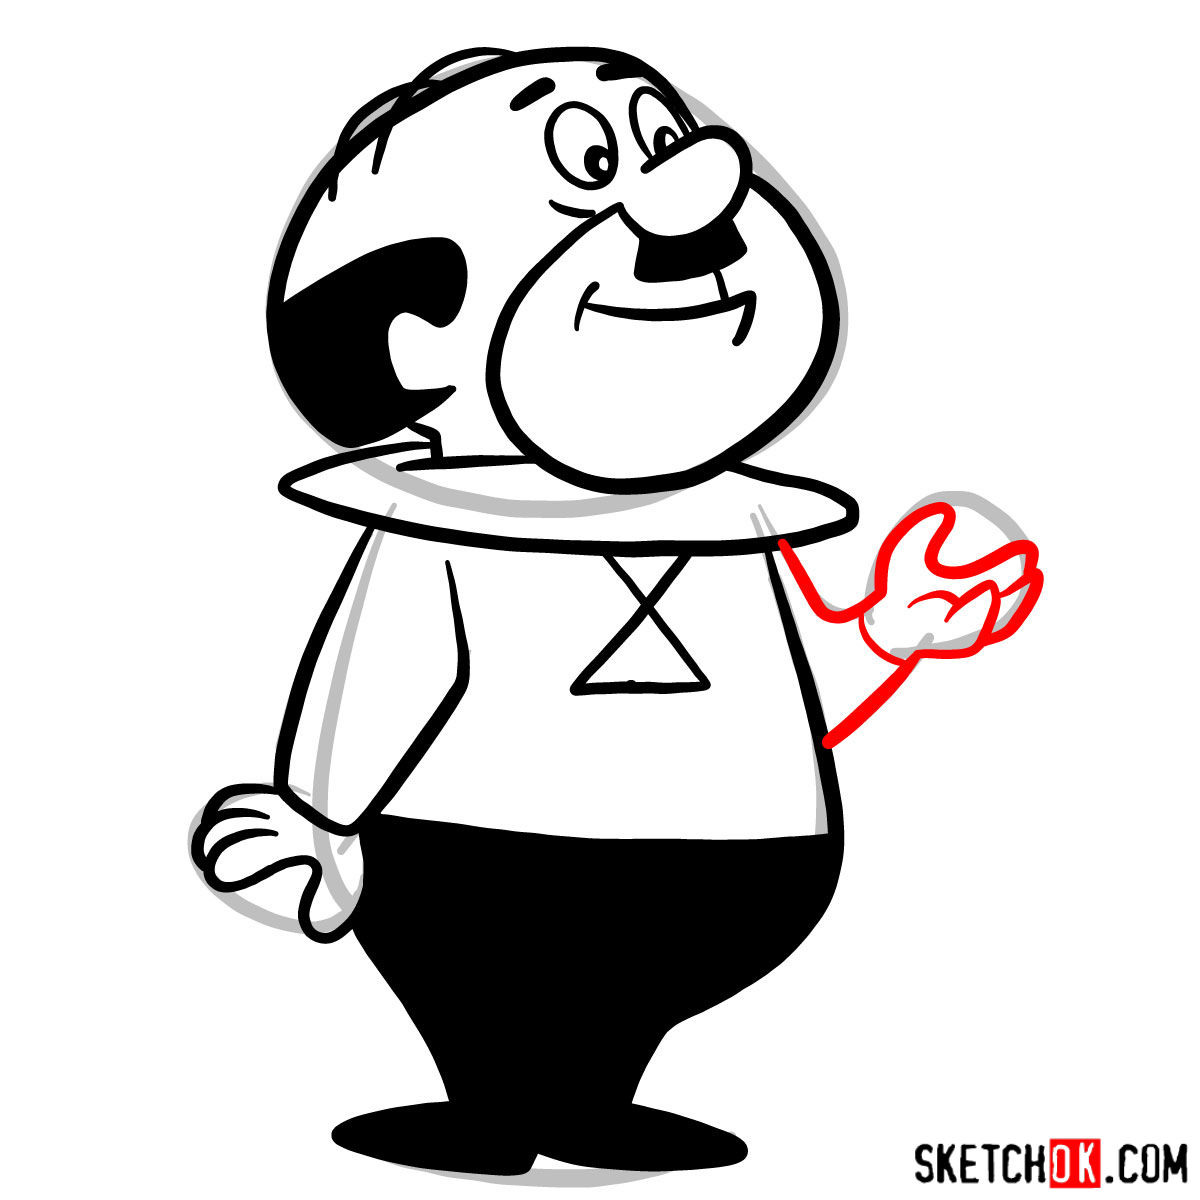
- Red Color: Represents the current step you should be focusing on.
- Black Color: Showcases the lines you have previously drawn.
- Grey Color: Highlights the basic sketch and proportion guide.
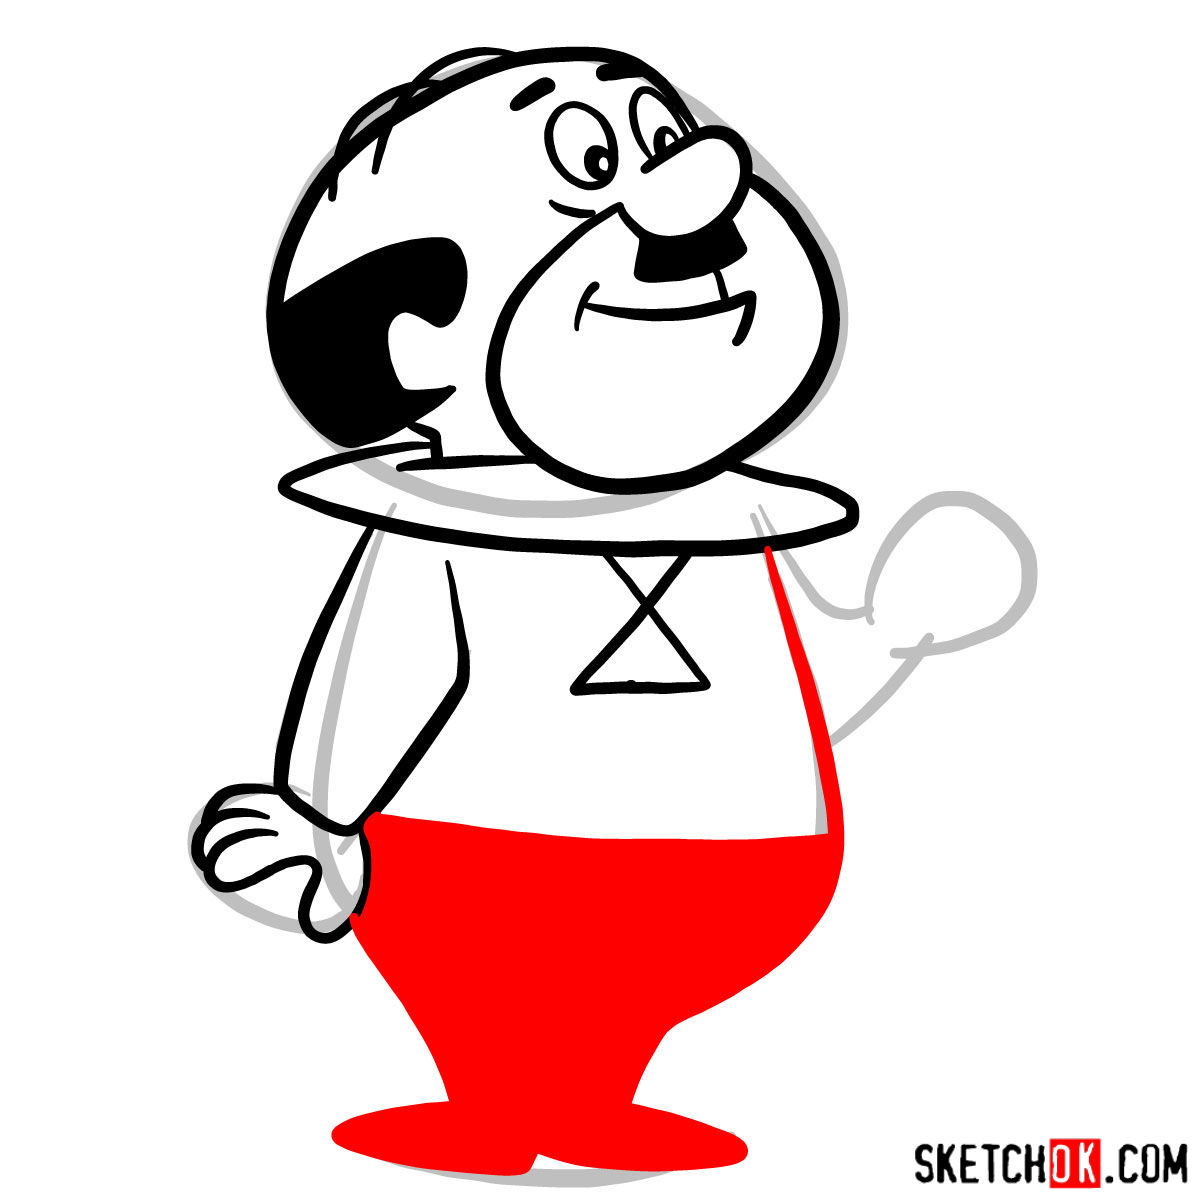
The guide consists of 9 steps, starting with creating a basic sketch using light pencil strokes. The final steps involve inking the sketch. To ink the sketch, use a fine liner or a black marker, tracing over your pencil lines carefully. Remember to wait for the ink to dry before erasing your pencil sketch to avoid smudges. The last image in the guide serves as a color reference for coloring your drawing.


That covers how to draw Cosmo G. Spacely, the short-tempered boss everyone loves to laugh at. If you want more guides like this delivered to you, the email signup at the top of the page sends out a weekly digest of new tutorials.