Home » Cartoon Characters » Jellystone!

How to draw Snorky (Jellystone!)

Jellystone! fills its roster with reimagined Hanna-Barbera faces, and among the Jellystone! cast, Snorky gets one of the more unusual redesigns, trading his original elephant look for a compact furry character with steampunk goggles and a feathered cap. This guide walks through how to draw Snorky across 23 steps, building the figure from basic shapes up to finished line art.

What Makes This Snorky Sketch Worth Studying

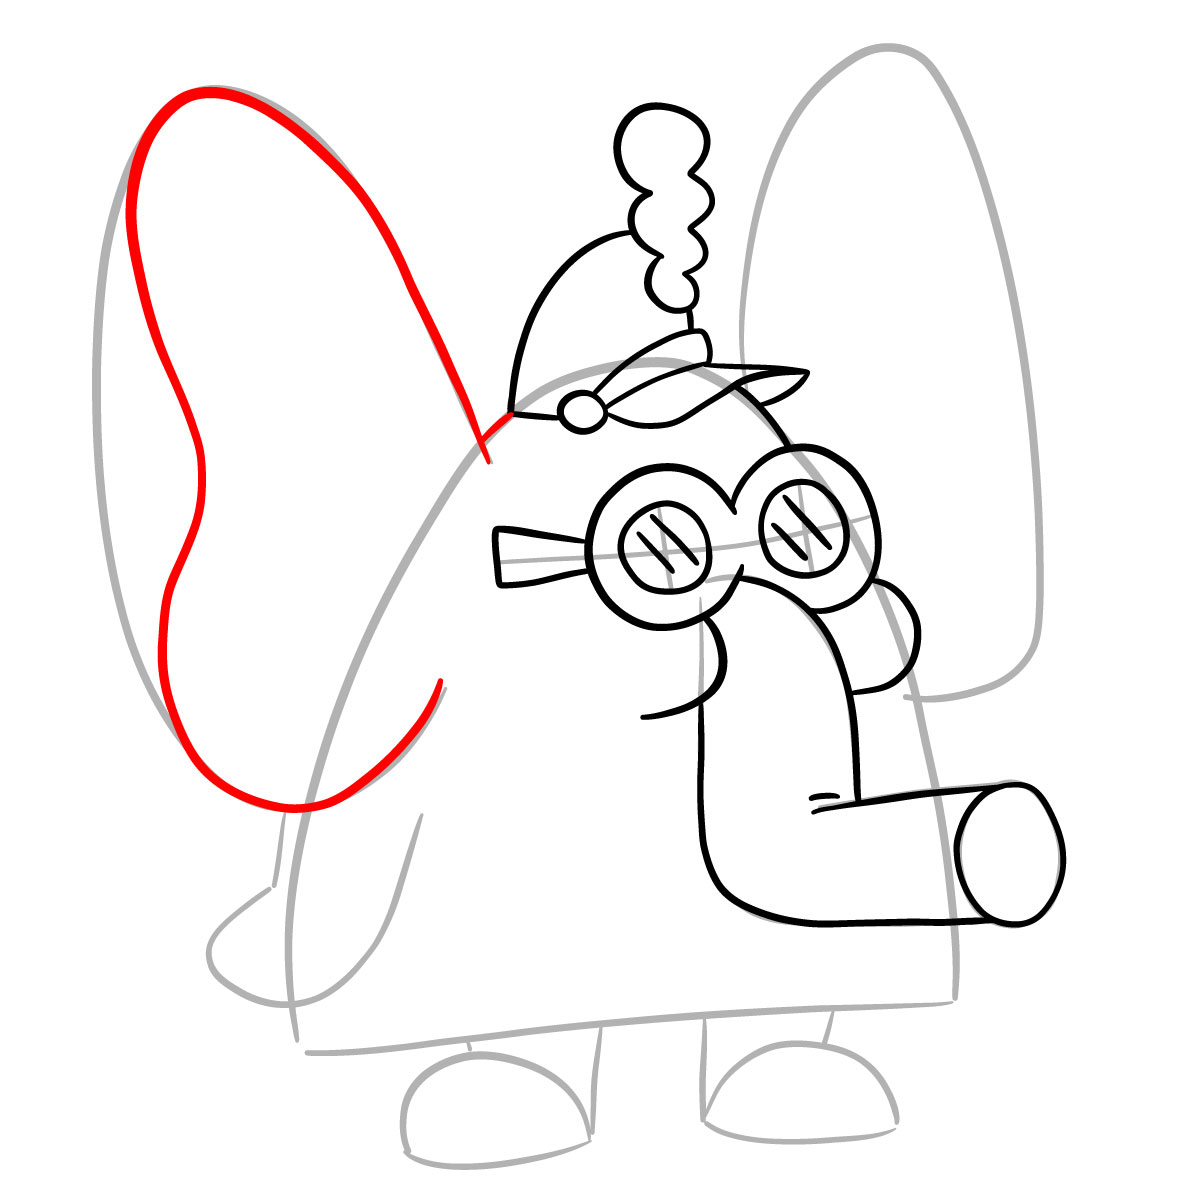
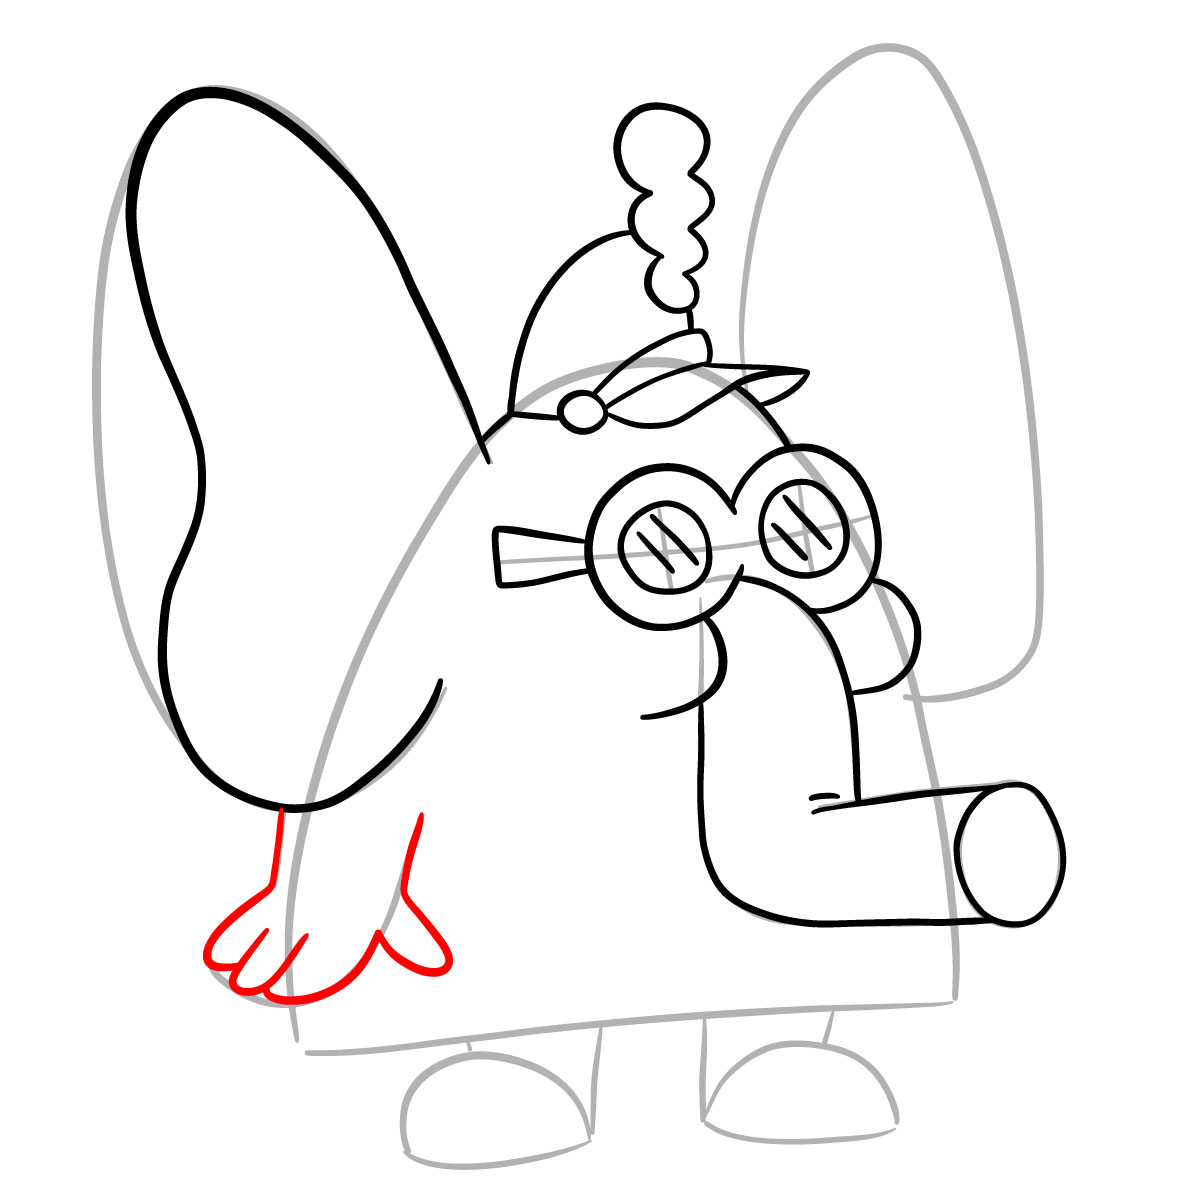
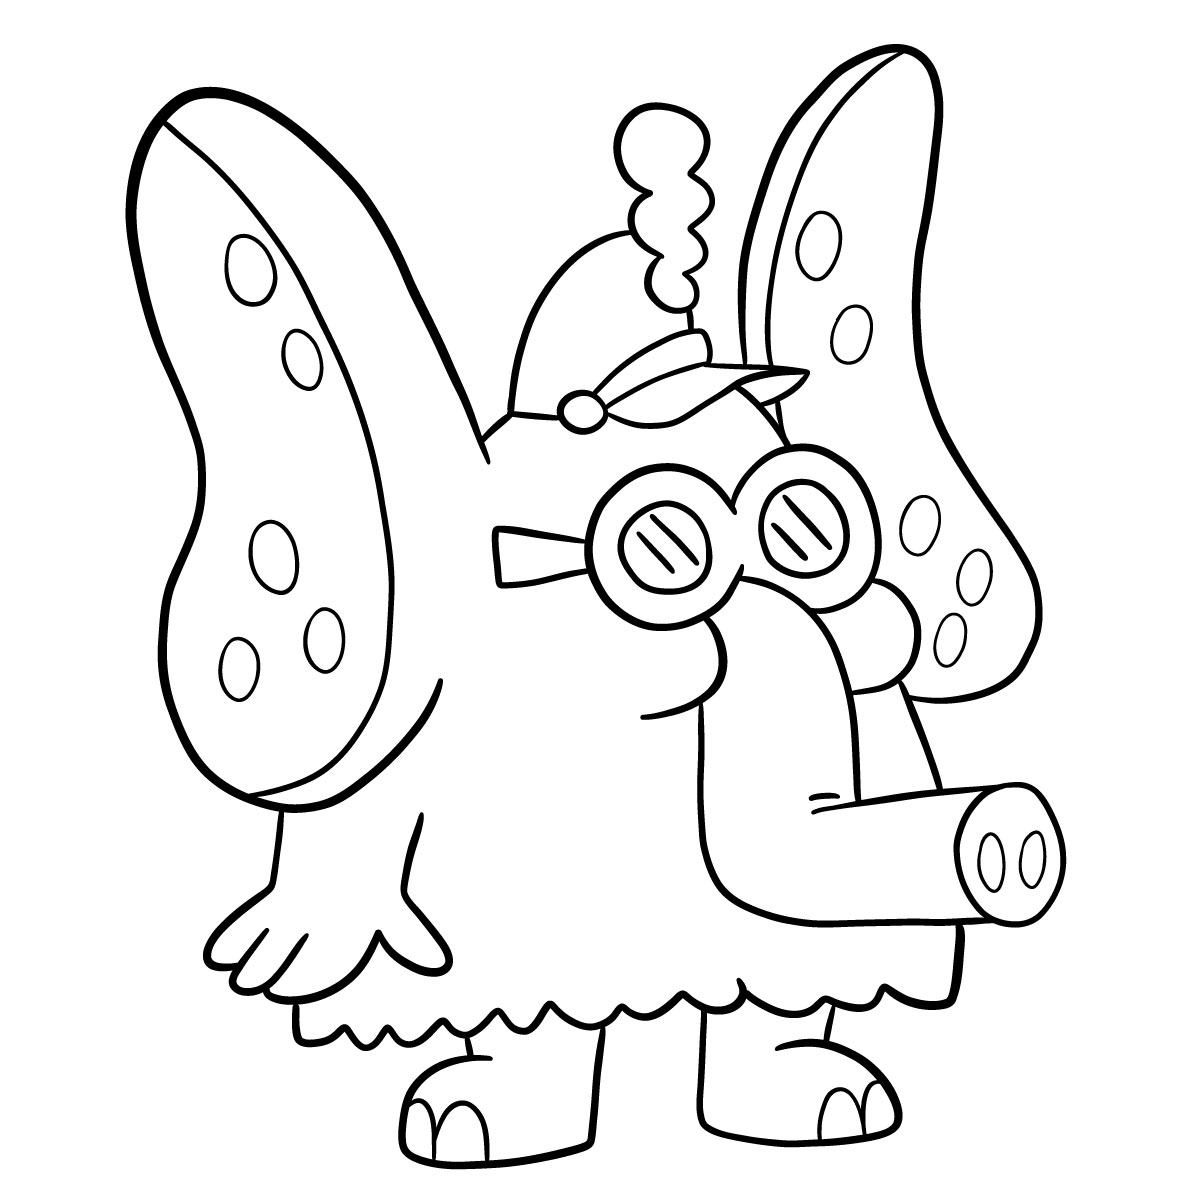
The tutorial runs 23 steps and ends on clean line art with no color applied, so all the focus stays on linework and proportion. The trickiest sections are the mushroom-like wings with their oval spot patterns and getting the round goggle lenses to sit symmetrically on the face. This is a full-body build, and the clawed feet and trunk snout both require some patience with curved lines.

Snorky’s Key Design Features

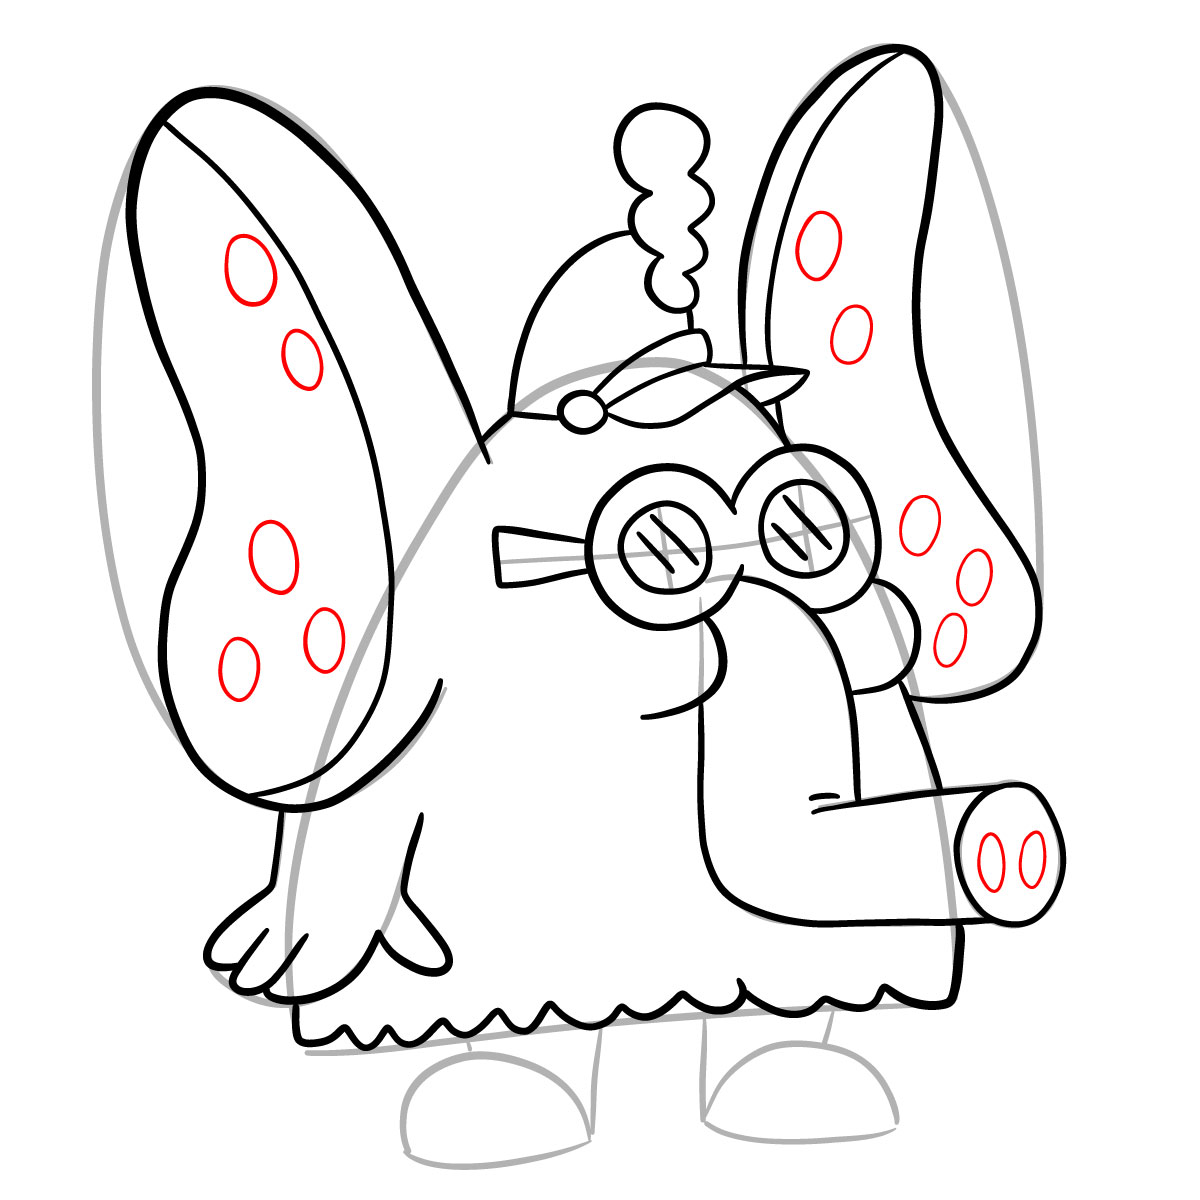
  • Large mushroom-like wings with oval spots
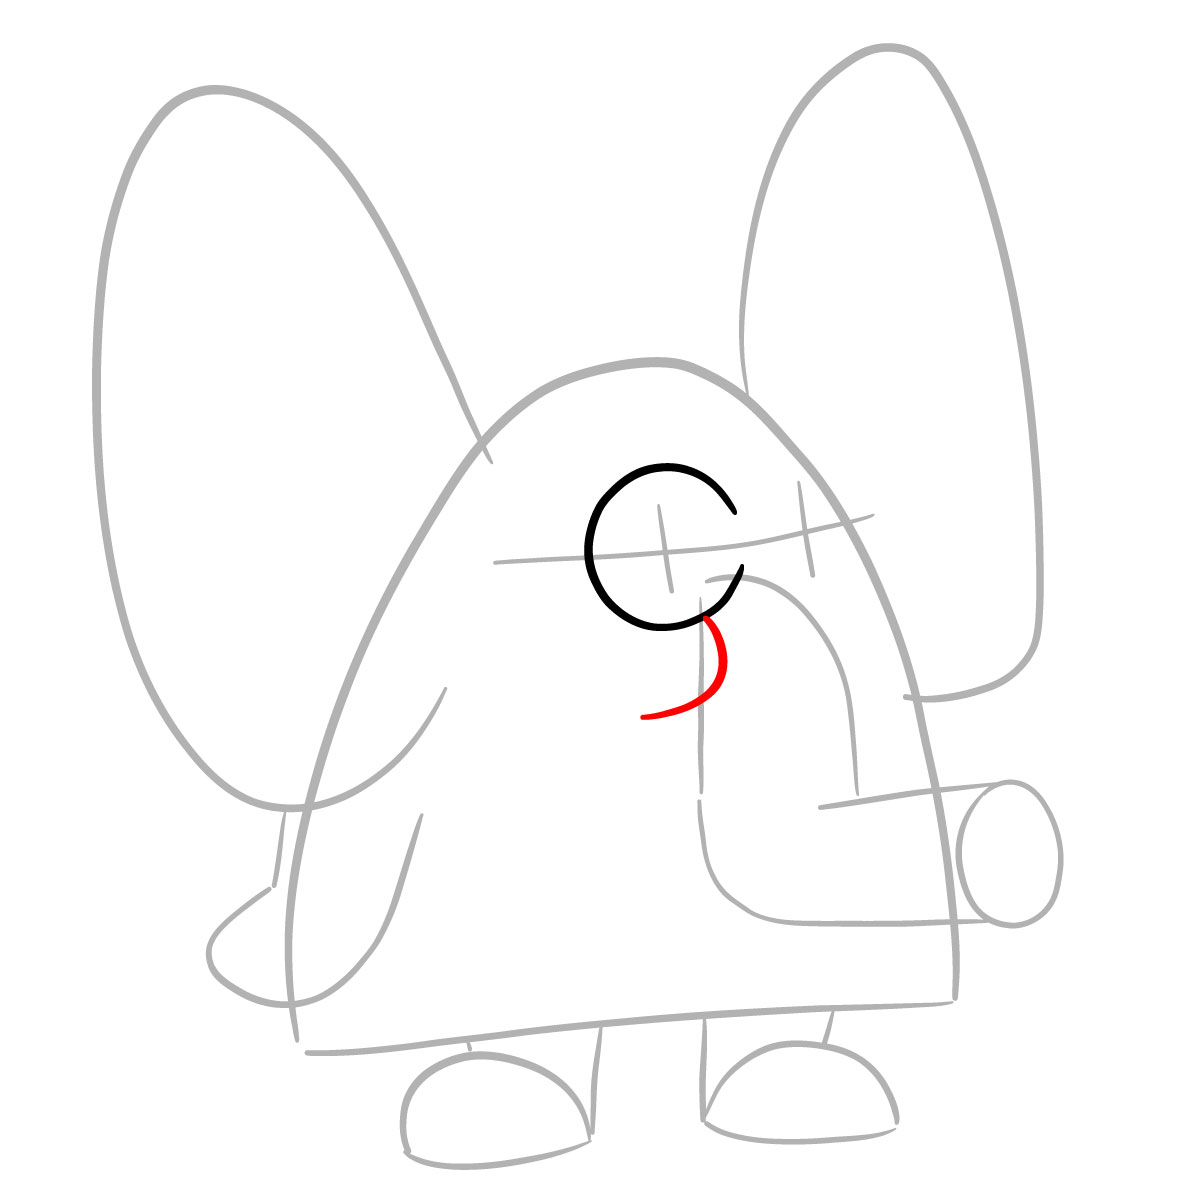
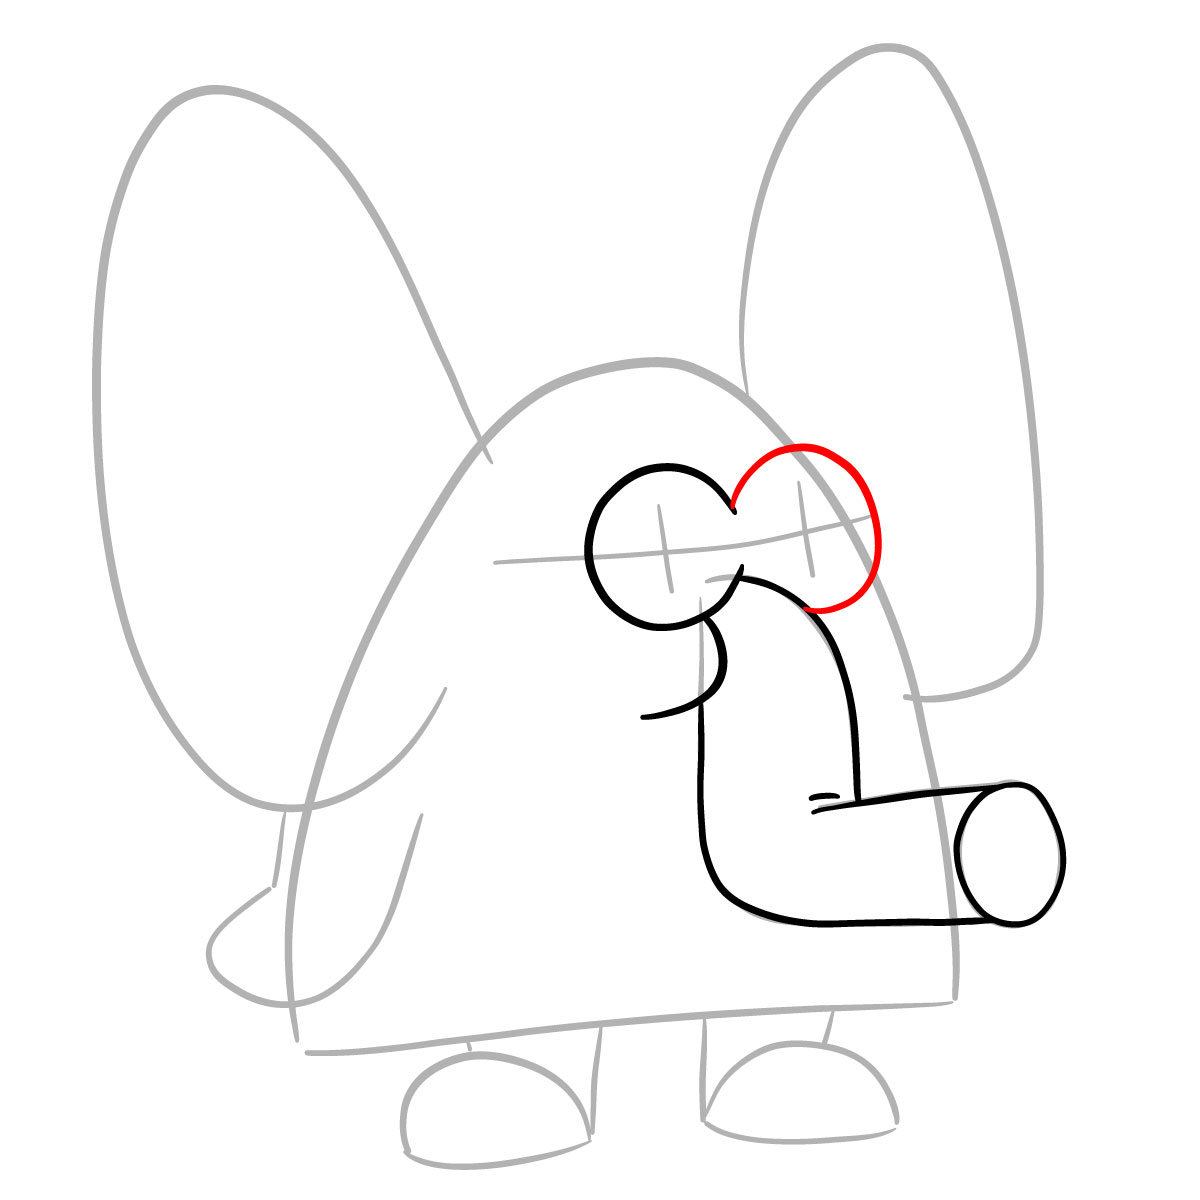
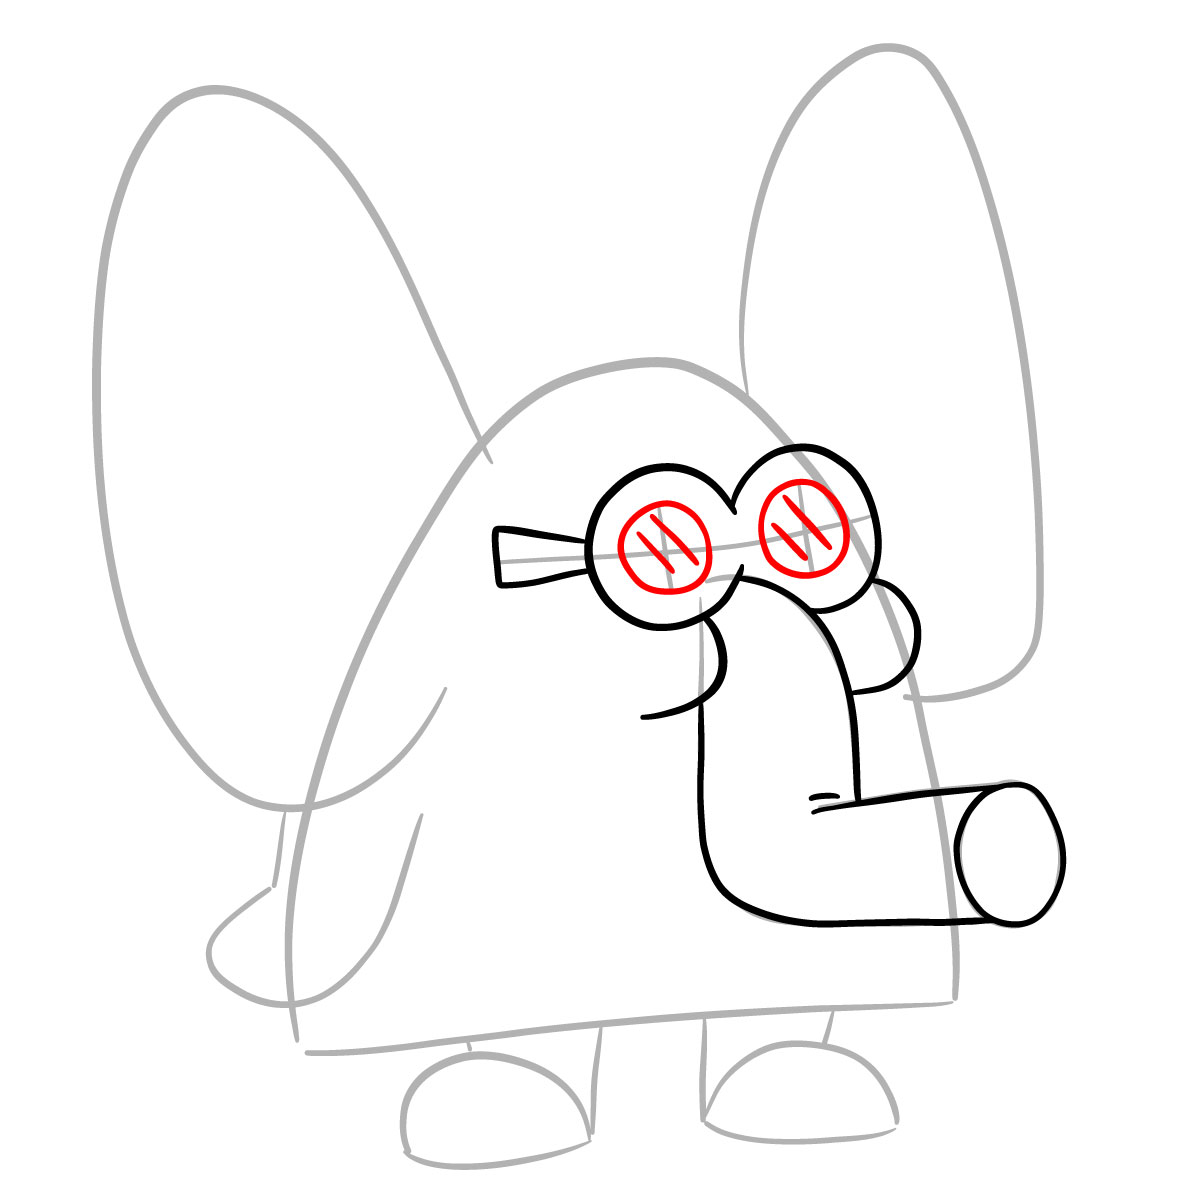
  • Round goggles with two circular lenses
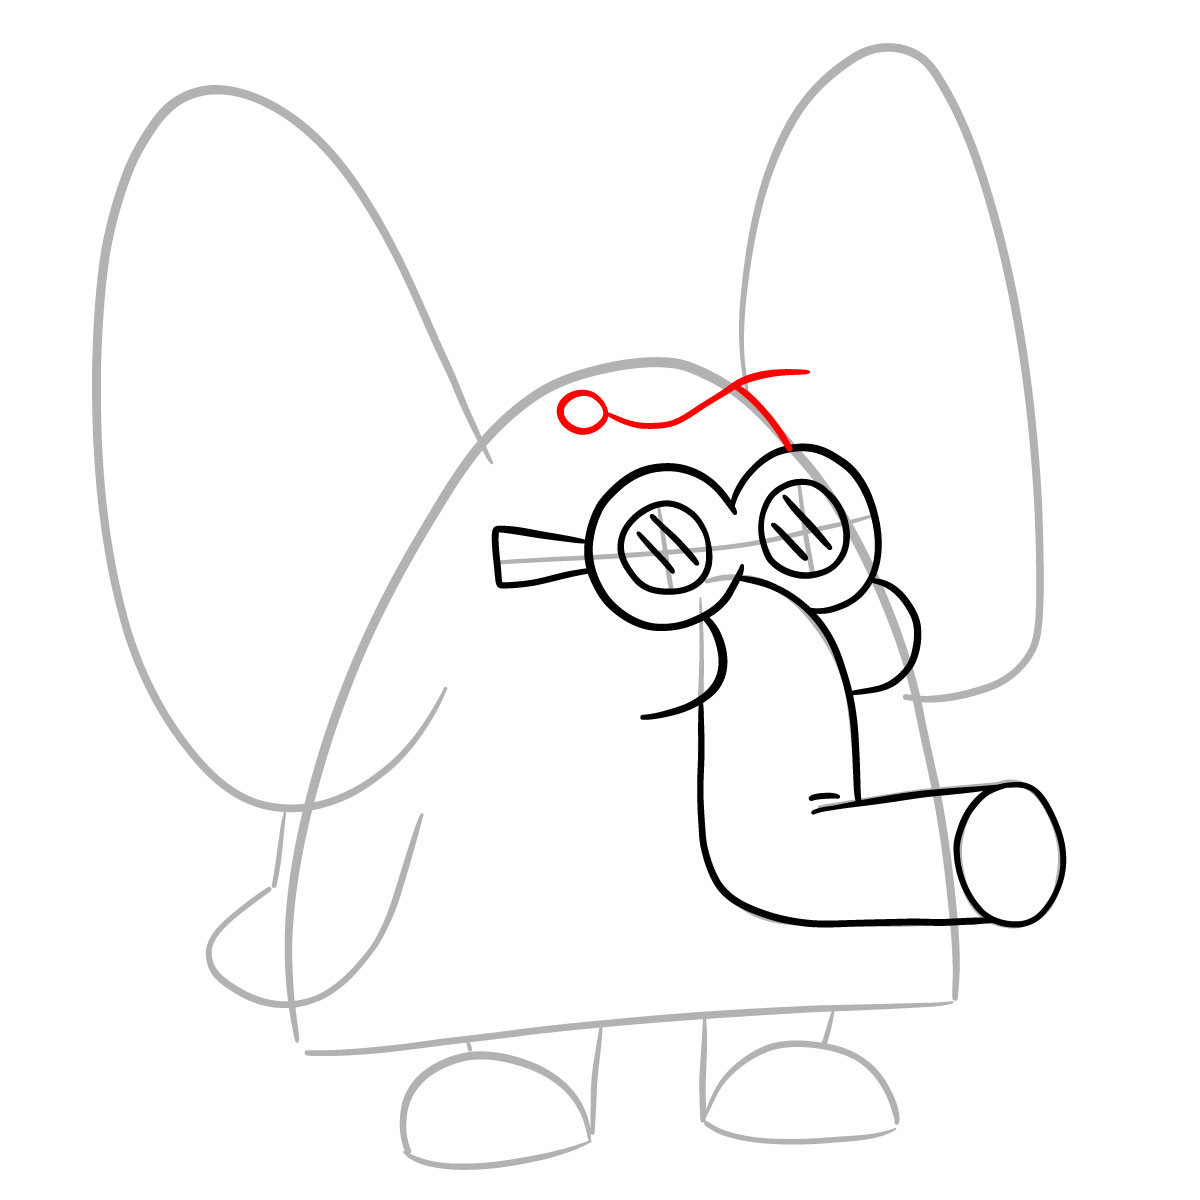
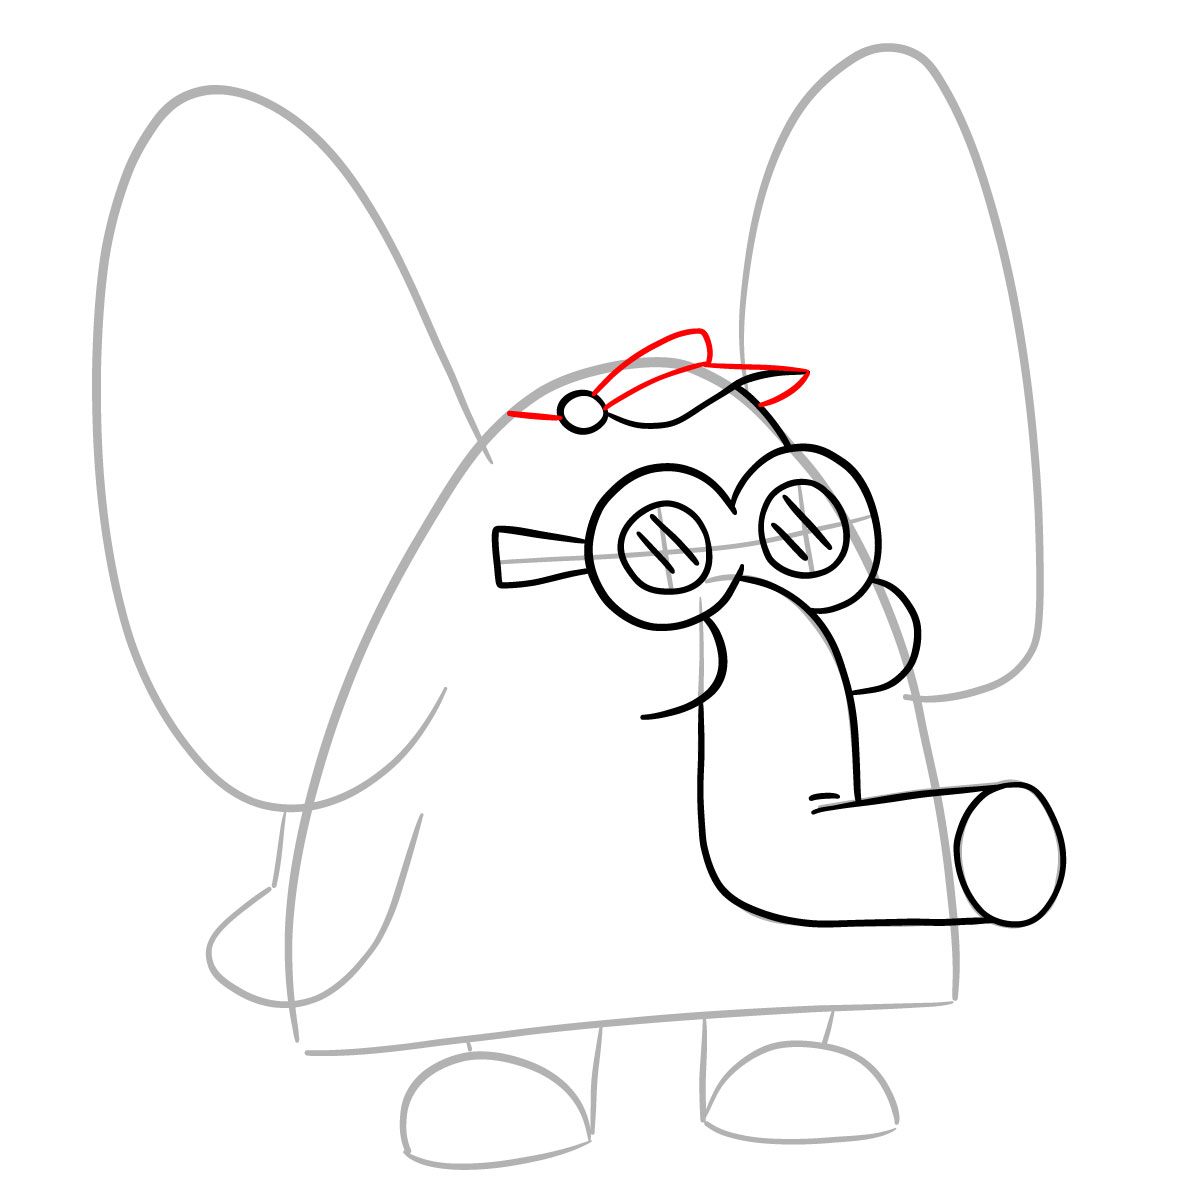
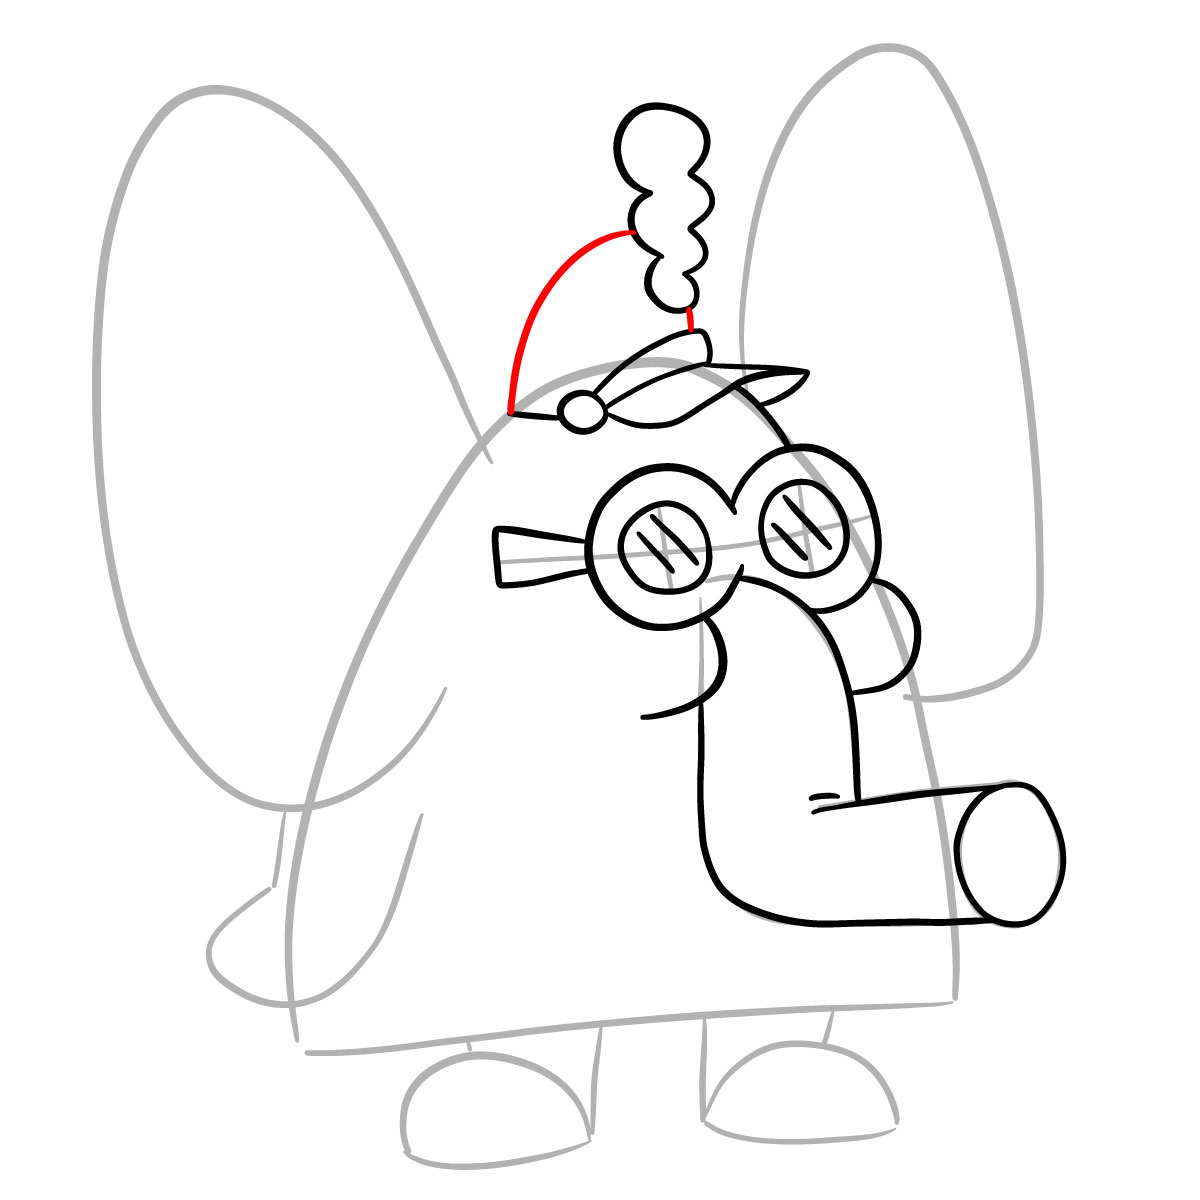
  • Small hat with feather on head
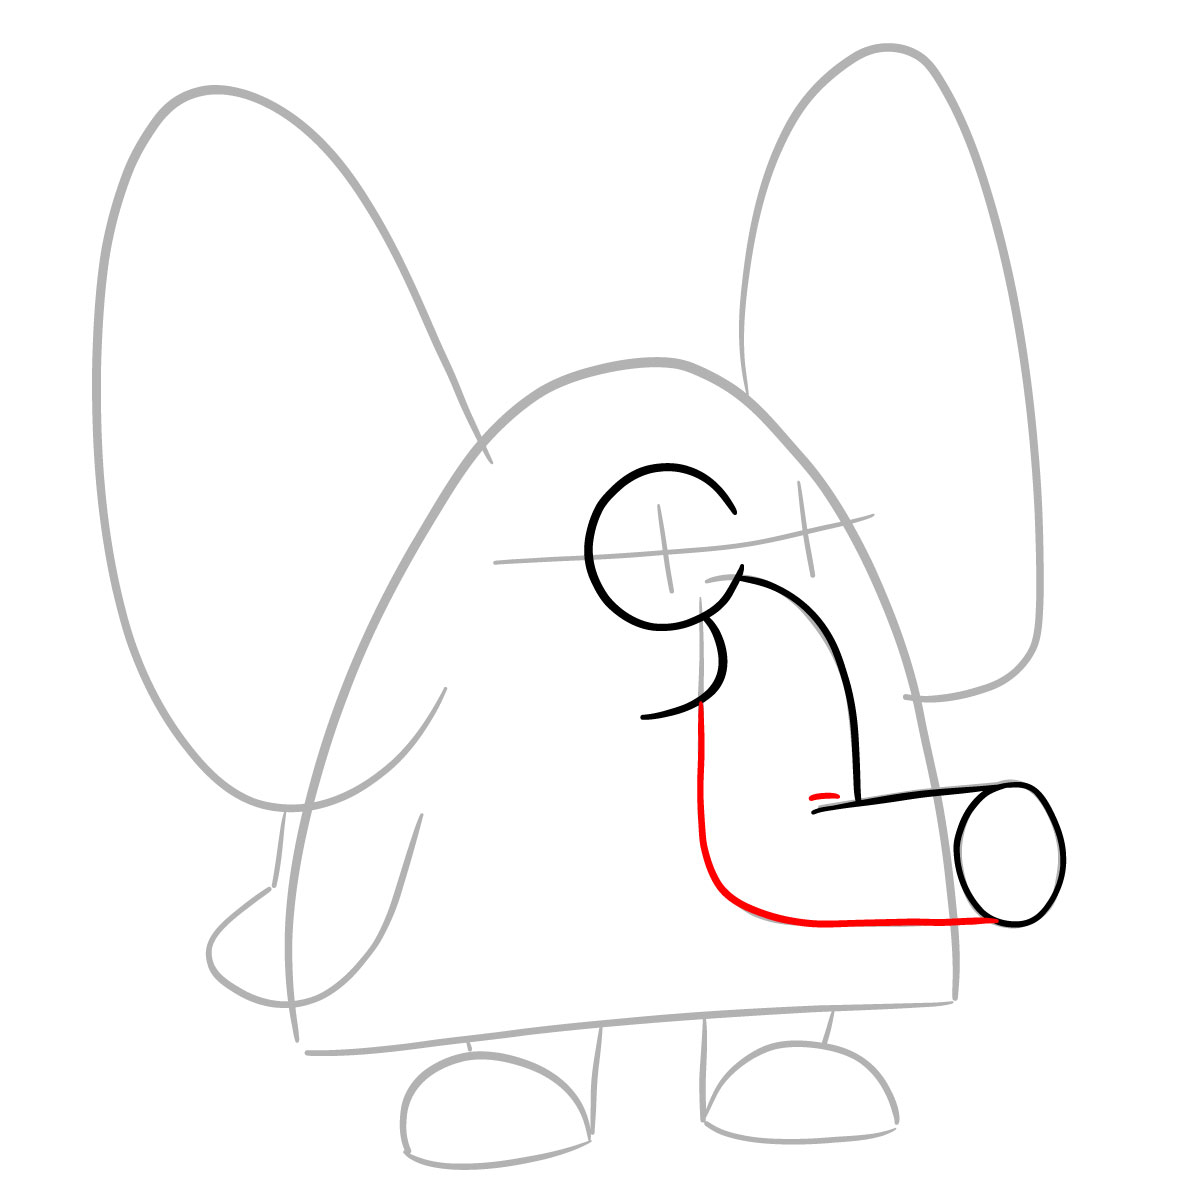
  • Trunk-like snout with two nostrils
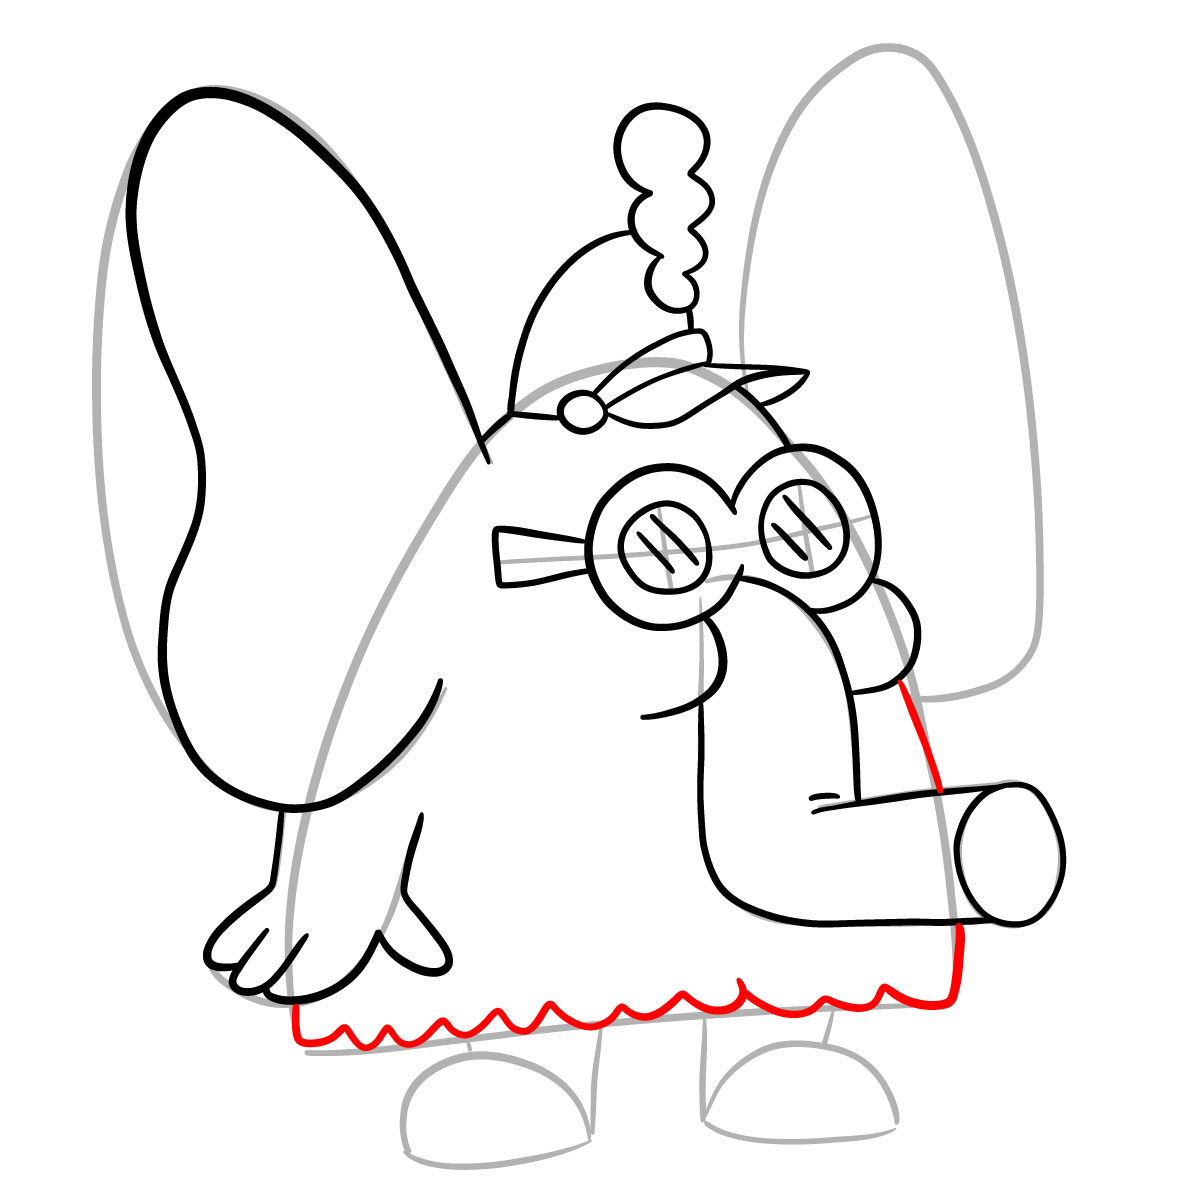
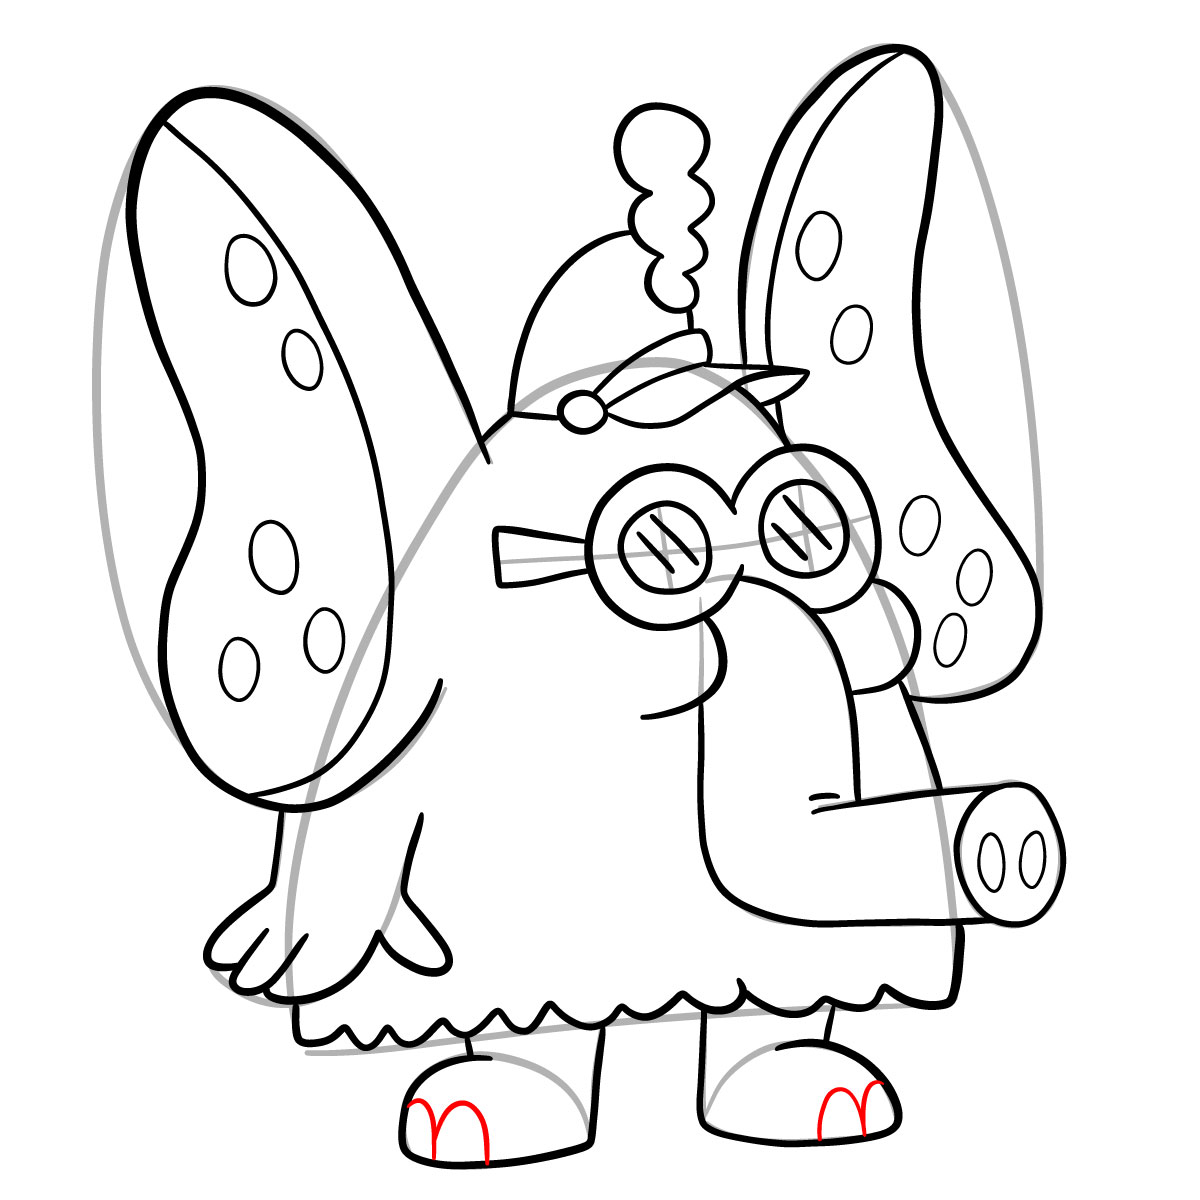
  • Furry body with clawed feet

If you enjoy drawing characters from the show, Captain Caveman and the wild Yogi Bear version are solid next steps, and Top Cat is another good one if you want to practice a different body type from the same series.

Reading the Step Colors in This Tutorial

Each step image uses a three-color system to show exactly what is new versus what is already done:

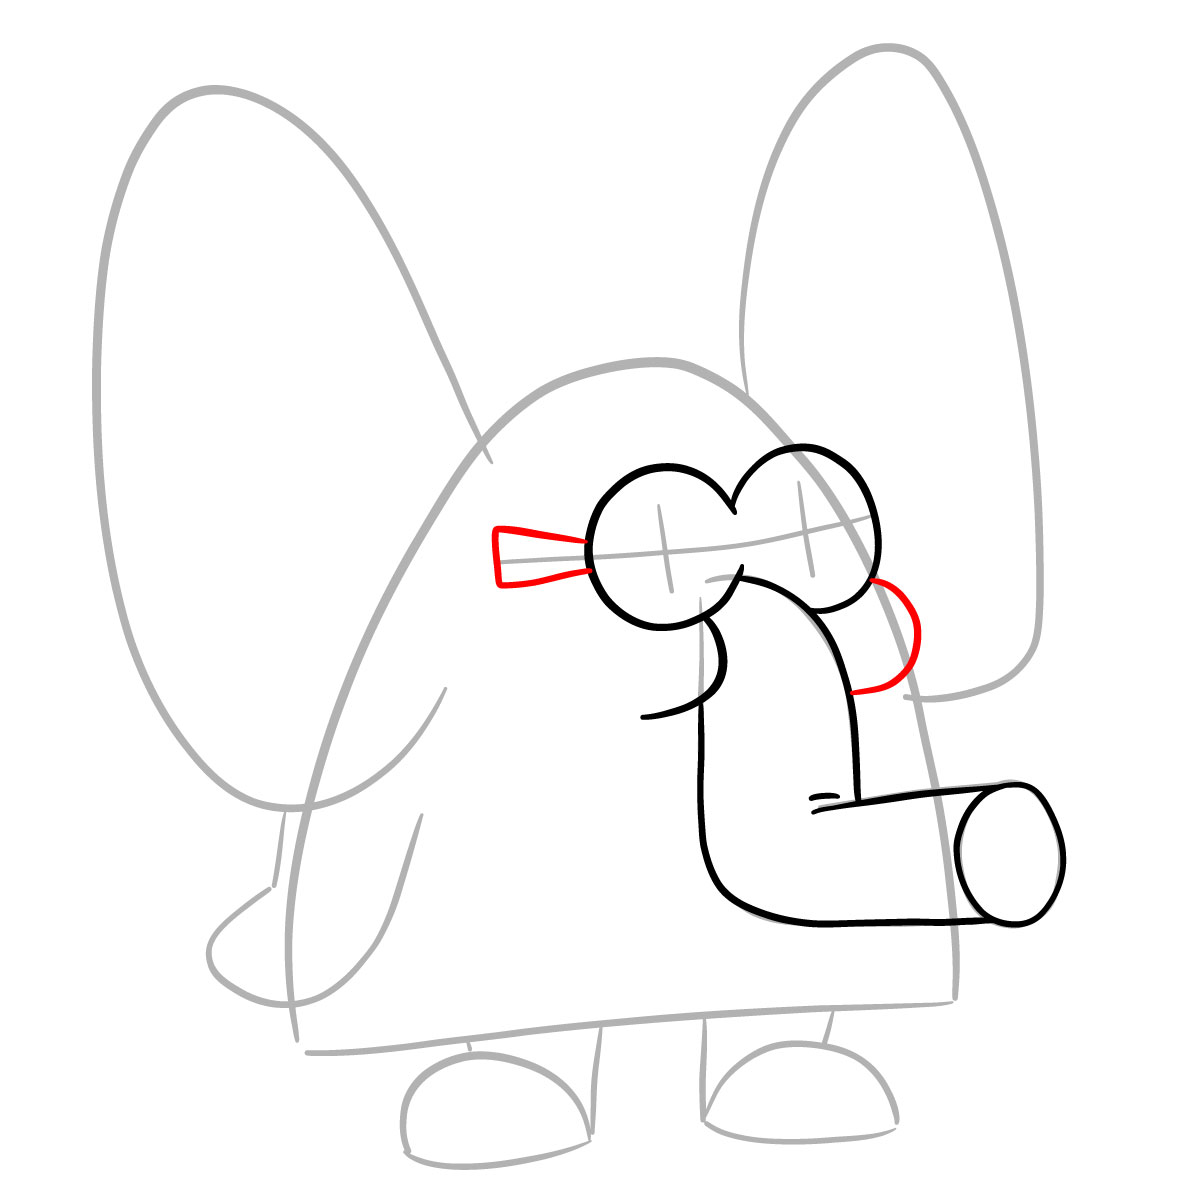
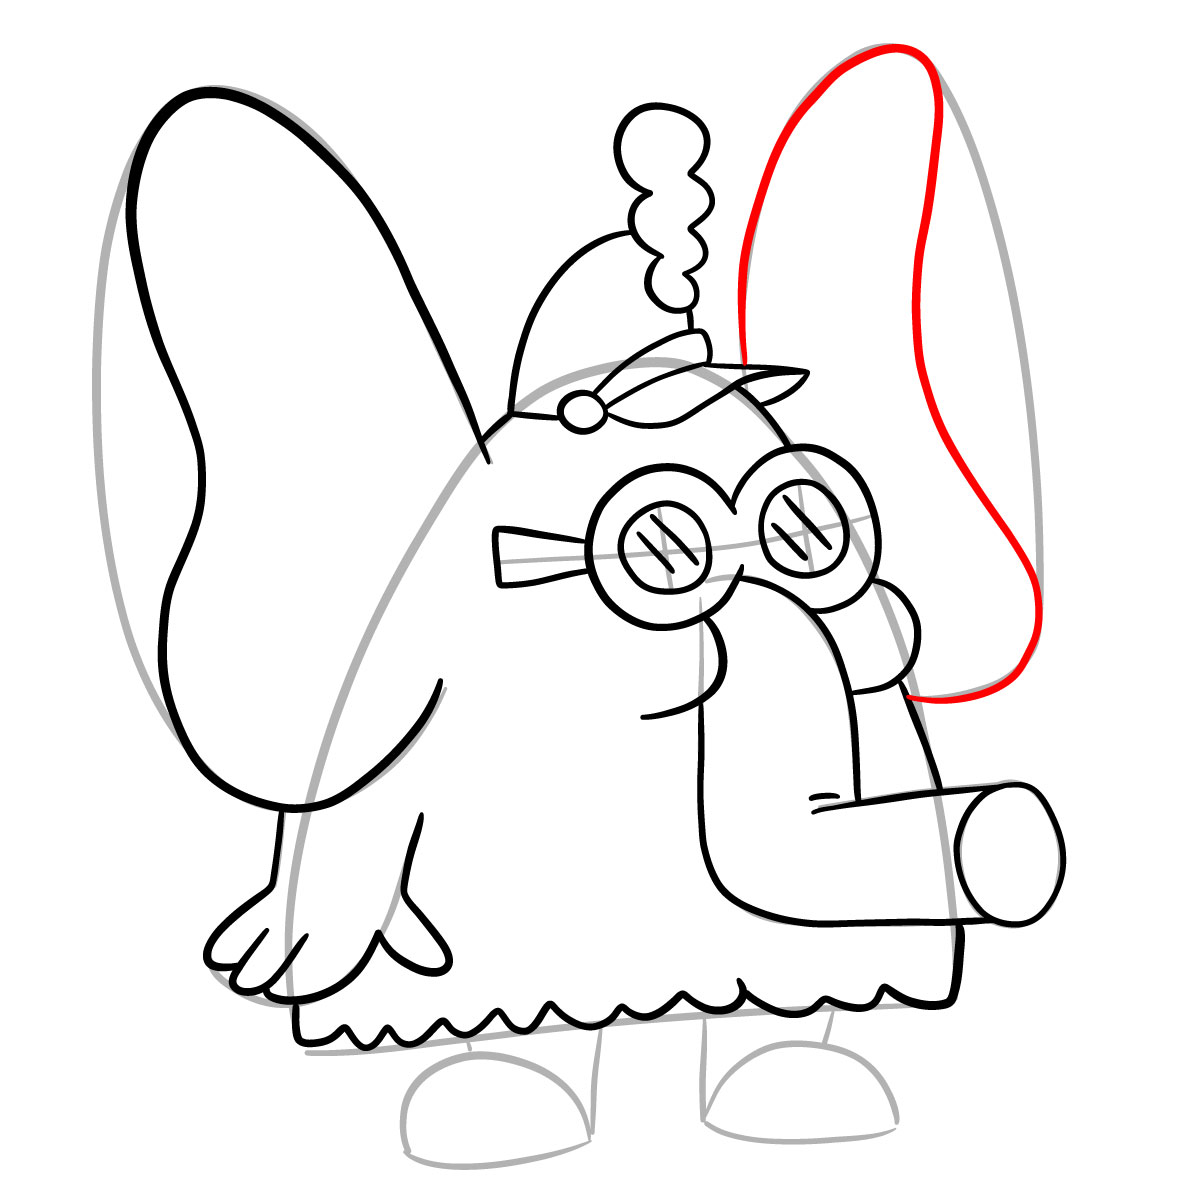
  • Red Color: lines added in the current step.
  • Black Color: lines completed earlier.
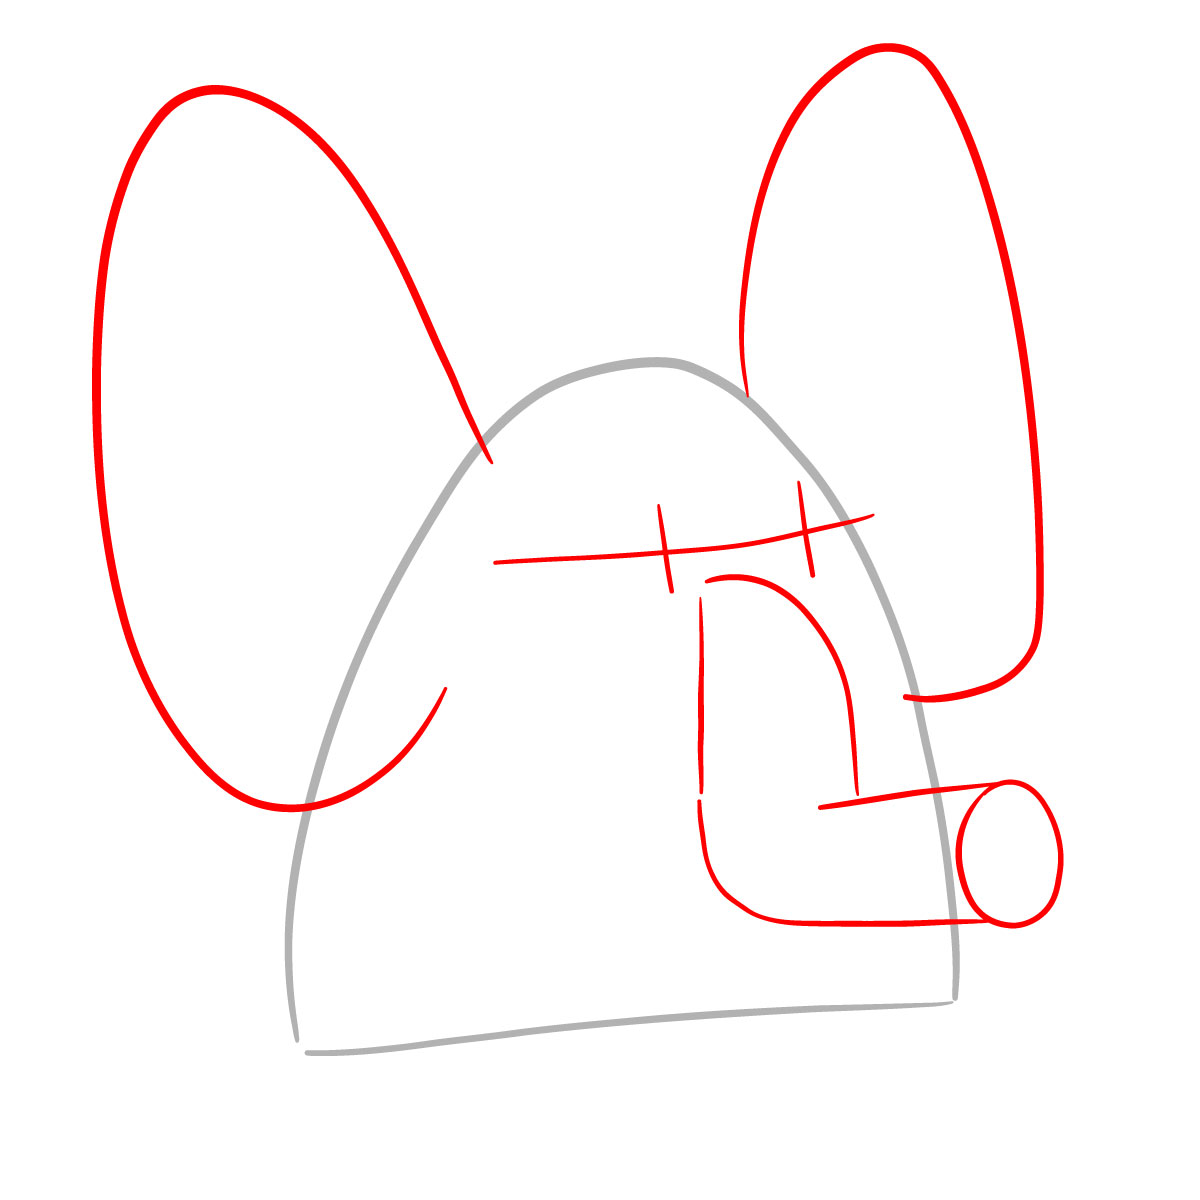
  • Gray Color: base sketch for structure.

How to Draw Snorky: Step-by-Step Tutorial

Step 01

How to draw Snorky (Jellystone!) - step 01

Step 02

How to draw Snorky (Jellystone!) - step 02

Step 03

How to draw Snorky (Jellystone!) - step 03

Step 04

How to draw Snorky (Jellystone!) - step 04

Step 05

How to draw Snorky (Jellystone!) - step 05

Step 06

How to draw Snorky (Jellystone!) - step 06

Step 07

How to draw Snorky (Jellystone!) - step 07

Step 08

How to draw Snorky (Jellystone!) - step 08

Step 09

How to draw Snorky (Jellystone!) - step 09

Step 10

How to draw Snorky (Jellystone!) - step 10

Step 11

How to draw Snorky (Jellystone!) - step 11

Step 12

How to draw Snorky (Jellystone!) - step 12

Step 13

How to draw Snorky (Jellystone!) - step 13

Step 14

How to draw Snorky (Jellystone!) - step 14

Step 15

How to draw Snorky (Jellystone!) - step 15

Step 16

How to draw Snorky (Jellystone!) - step 16

Step 17

How to draw Snorky (Jellystone!) - step 17

Step 18

How to draw Snorky (Jellystone!) - step 18

Step 19

How to draw Snorky (Jellystone!) - step 19

Step 20

How to draw Snorky (Jellystone!) - step 20

Step 21

How to draw Snorky (Jellystone!) - step 21

Step 22

How to draw Snorky (Jellystone!) - step 22

Step 23

Finished Snorky drawing from Jellystone!
Don't Miss New Tutorials! Follow SketchOk
I publish new step-by-step drawing guides every single day. Follow on your favorite platform so you never miss a tutorial. Thousands of artists are already drawing along and I can't wait you to join in!
PATREON
Love Drawing? Help Me Create More Tutorials
On my Patreon you can grab unique hand-made coloring pages: each one drawn by me personally. Every purchase directly supports the creation of new drawing tutorials. It's the best way to practice your skills, keep the site going, and get something truly original at the same time.
Get Coloring Pages on Patreon

Finished Your Snorky Drawing? Share It

Once you have your finished sketch, drop it in the comments section below. It is always good to see how different people handle the wing spots and the goggle shape. New tutorials get posted to Facebook and Telegram as soon as they go live, a new YouTube video based on the guides goes up every day, and Pinterest stays updated regularly too. For more from the same show, Wally Gator and Boo Boo Bear are both available on the site. If you want to support the project and get access to unique hand-drawn coloring pages, the Patreon page is the place to go.

Disclaimer: All original artworks and photos used as references for the creation of these drawing tutorials are the property of their respective owners. If your work has been featured without proper credit, please kindly leave a comment below, and the issue will be promptly addressed. We greatly appreciate your exceptional art. Thank you.

Leave a Comment

FOLLOW