If you’ve ever been captivated by the eccentric world of San Fransokyo in Big Hero 6, you’d certainly be familiar with Frederick Flamarion “Fred” Frederickson IV. As an animated embodiment of all things quirky and passionate, Fred stands out as one of the most vivid characters in the universe of Big Hero 6. Whether he’s spending time fantasizing about superheroes or chilling in his mansion with Heathcliff, his story is as vibrant as his personality.
As fans, we’ve seen Fred evolve – from his rich familial ties, his playful rivalry with the Mole family, to his adventures at the San Fransokyo Institute of Technology. And, if you’ve ever wanted to sketch this charismatic character, our guide is here to help!
Character Highlights & Drawing Focus Points
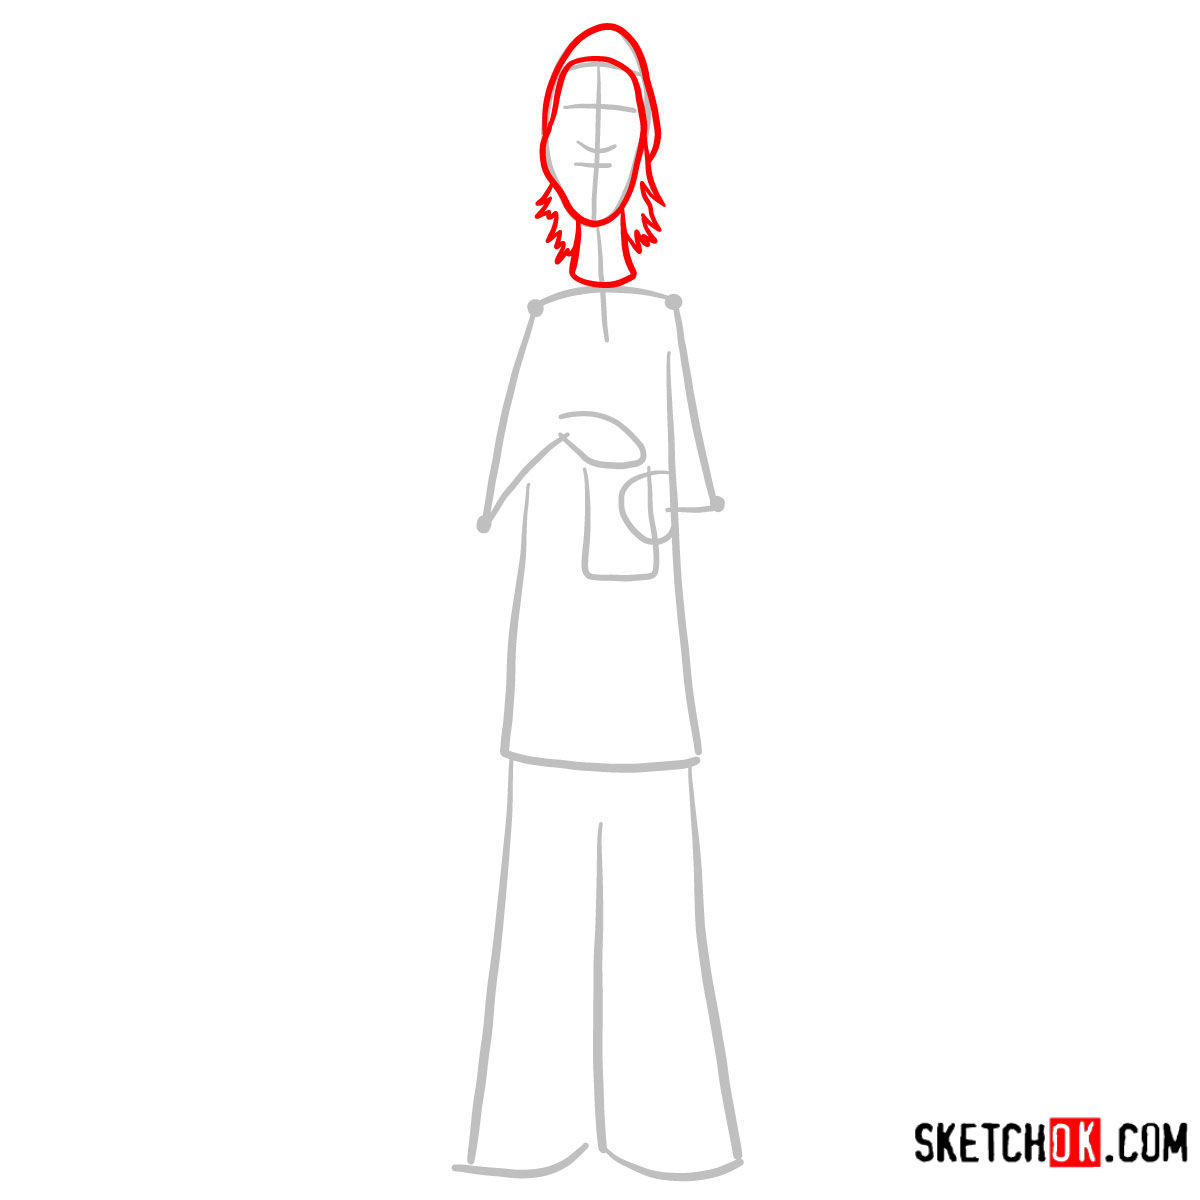
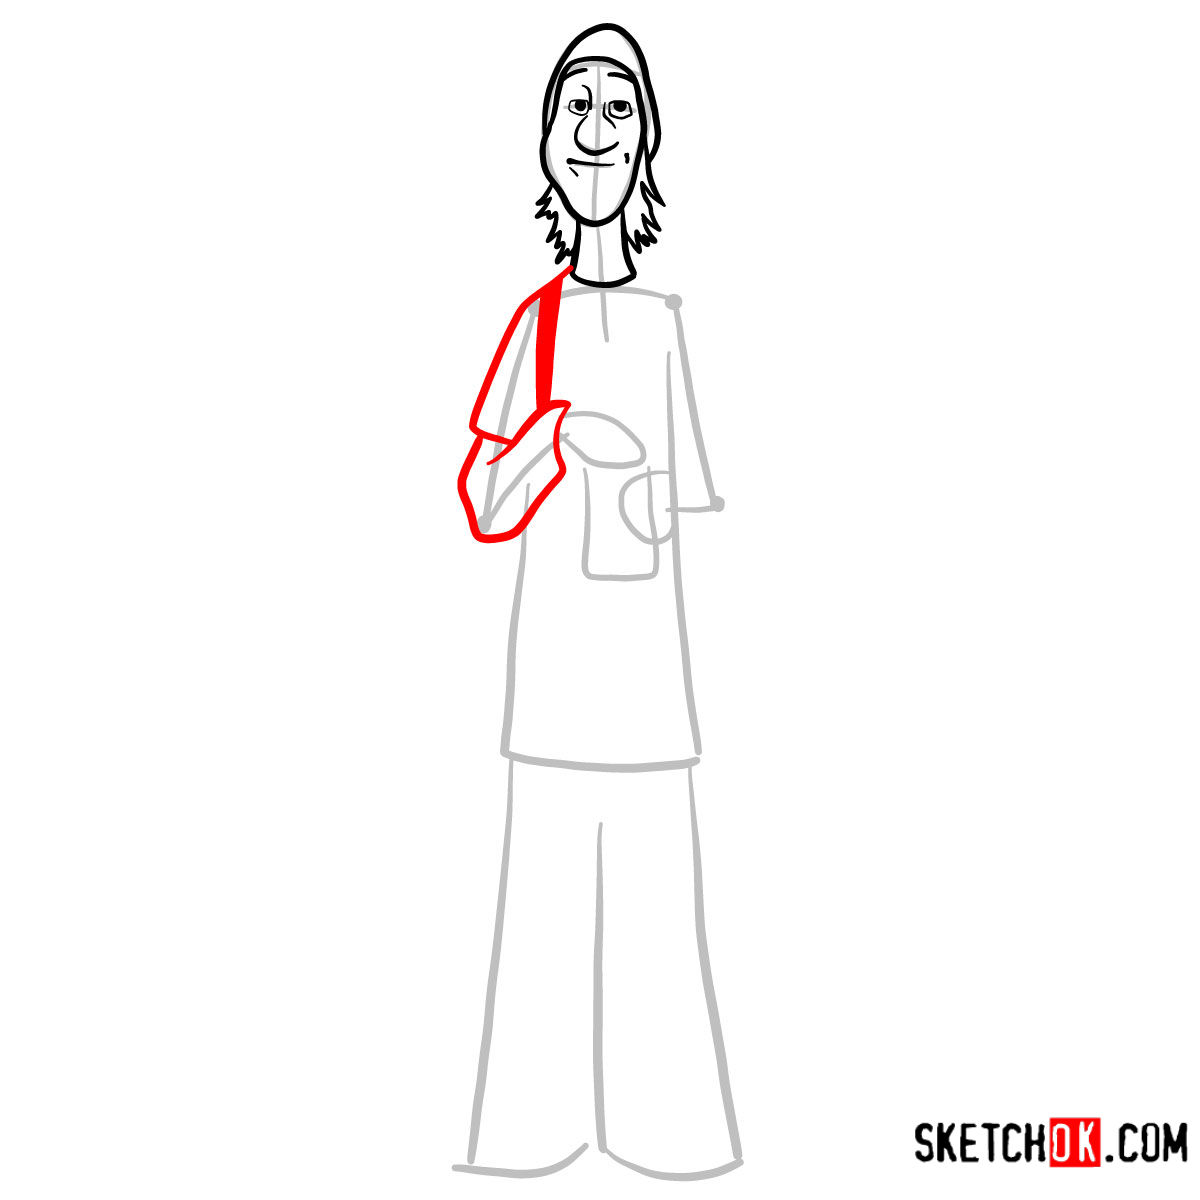
- Fred’s Signature Look: Fred boasts a tall, lean build with shaggy light brown hair and bright blue eyes. His often-hunched posture adds to his unique character design.
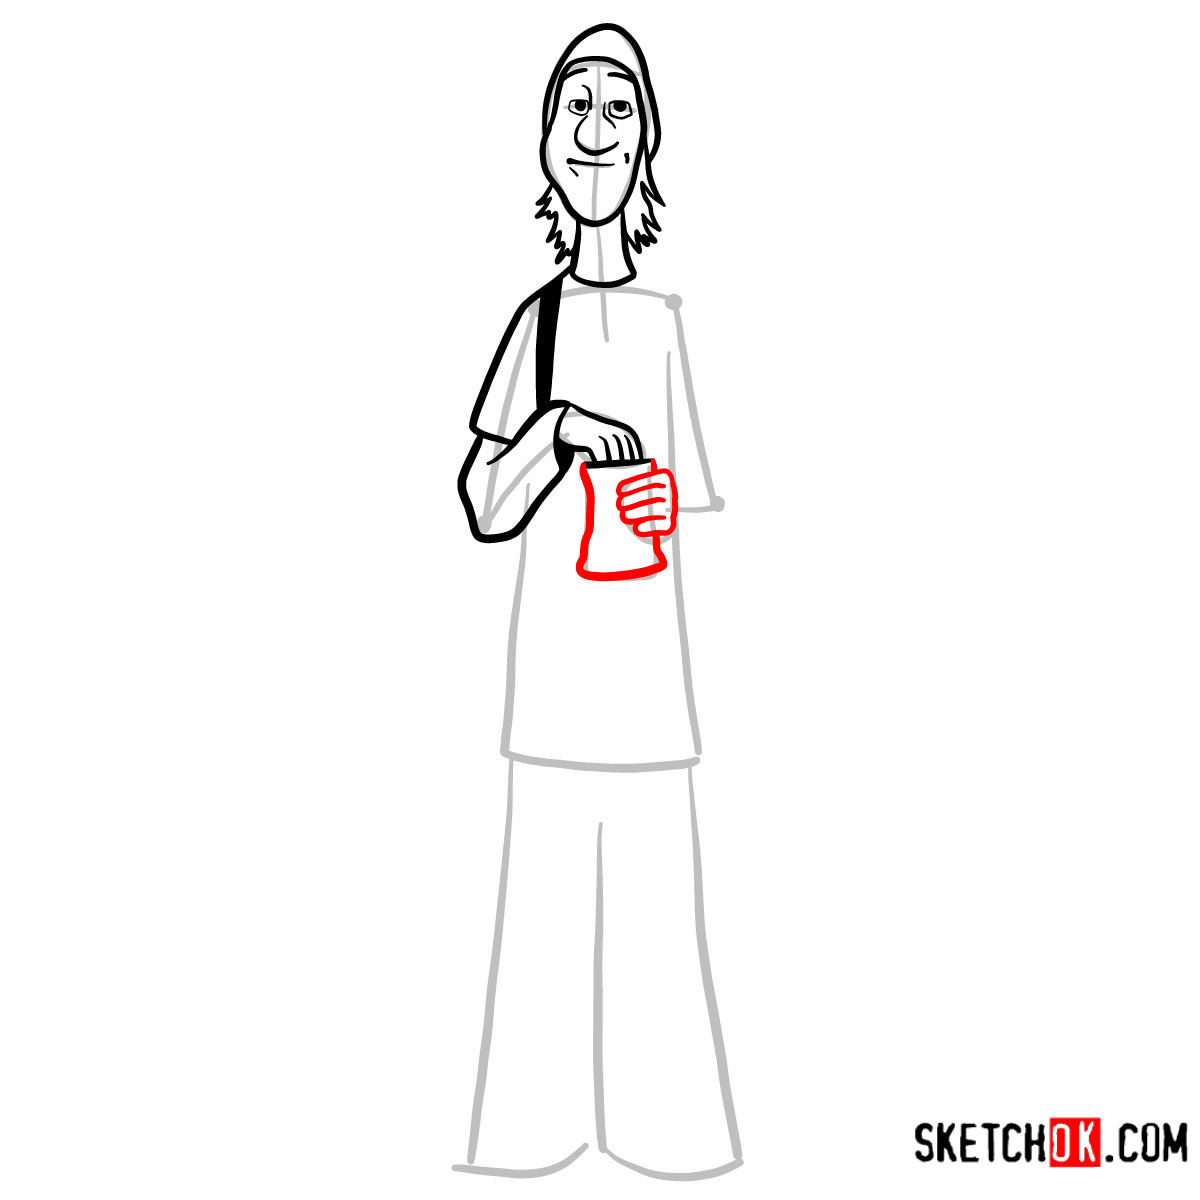
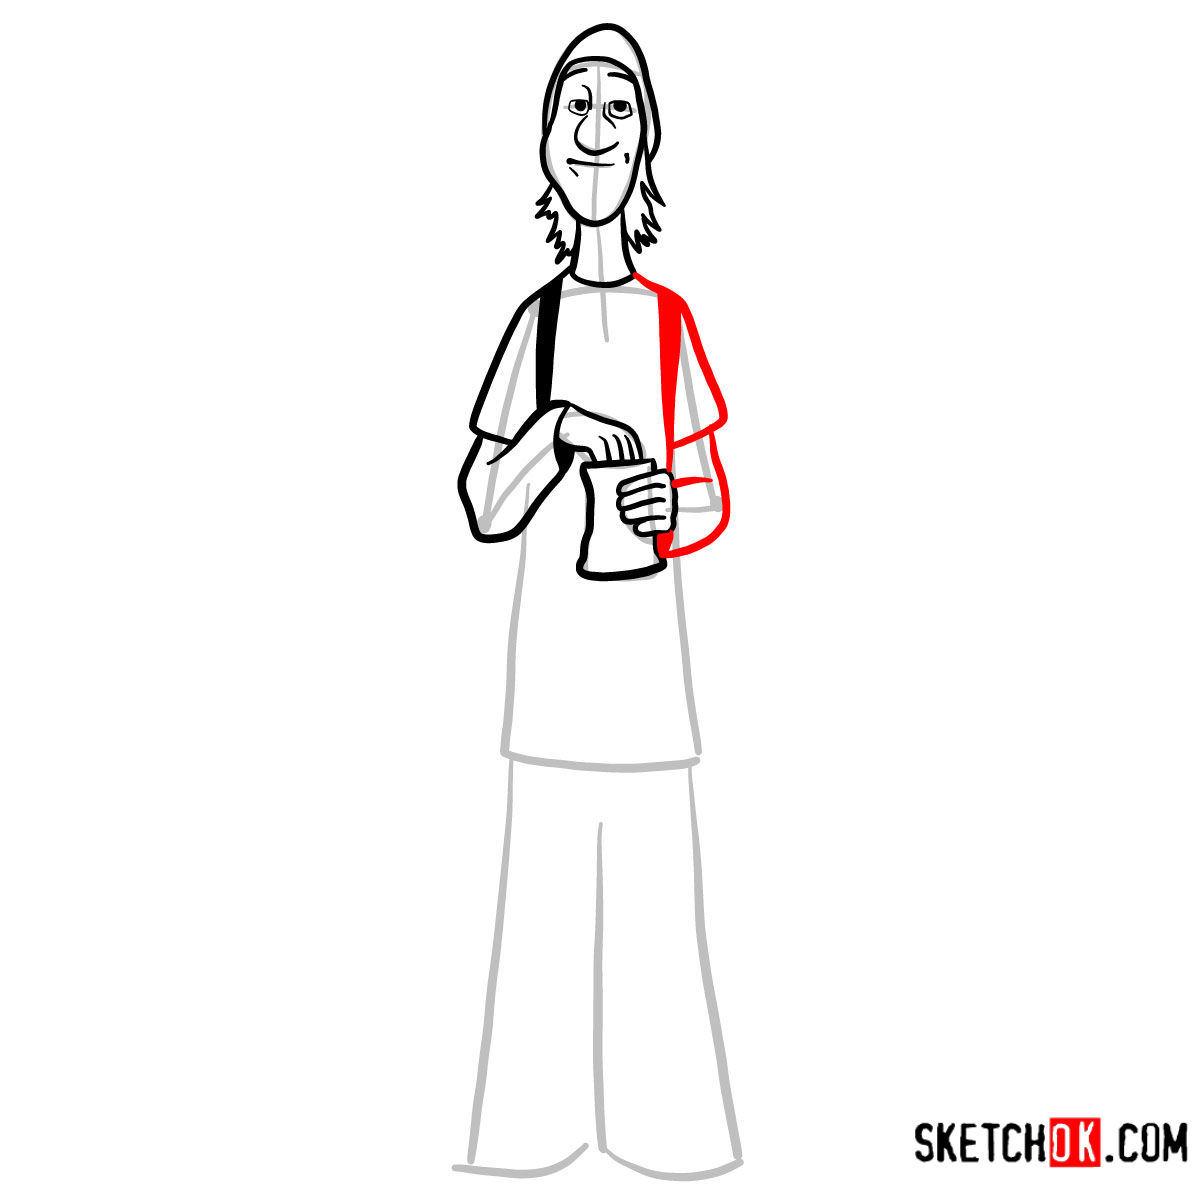
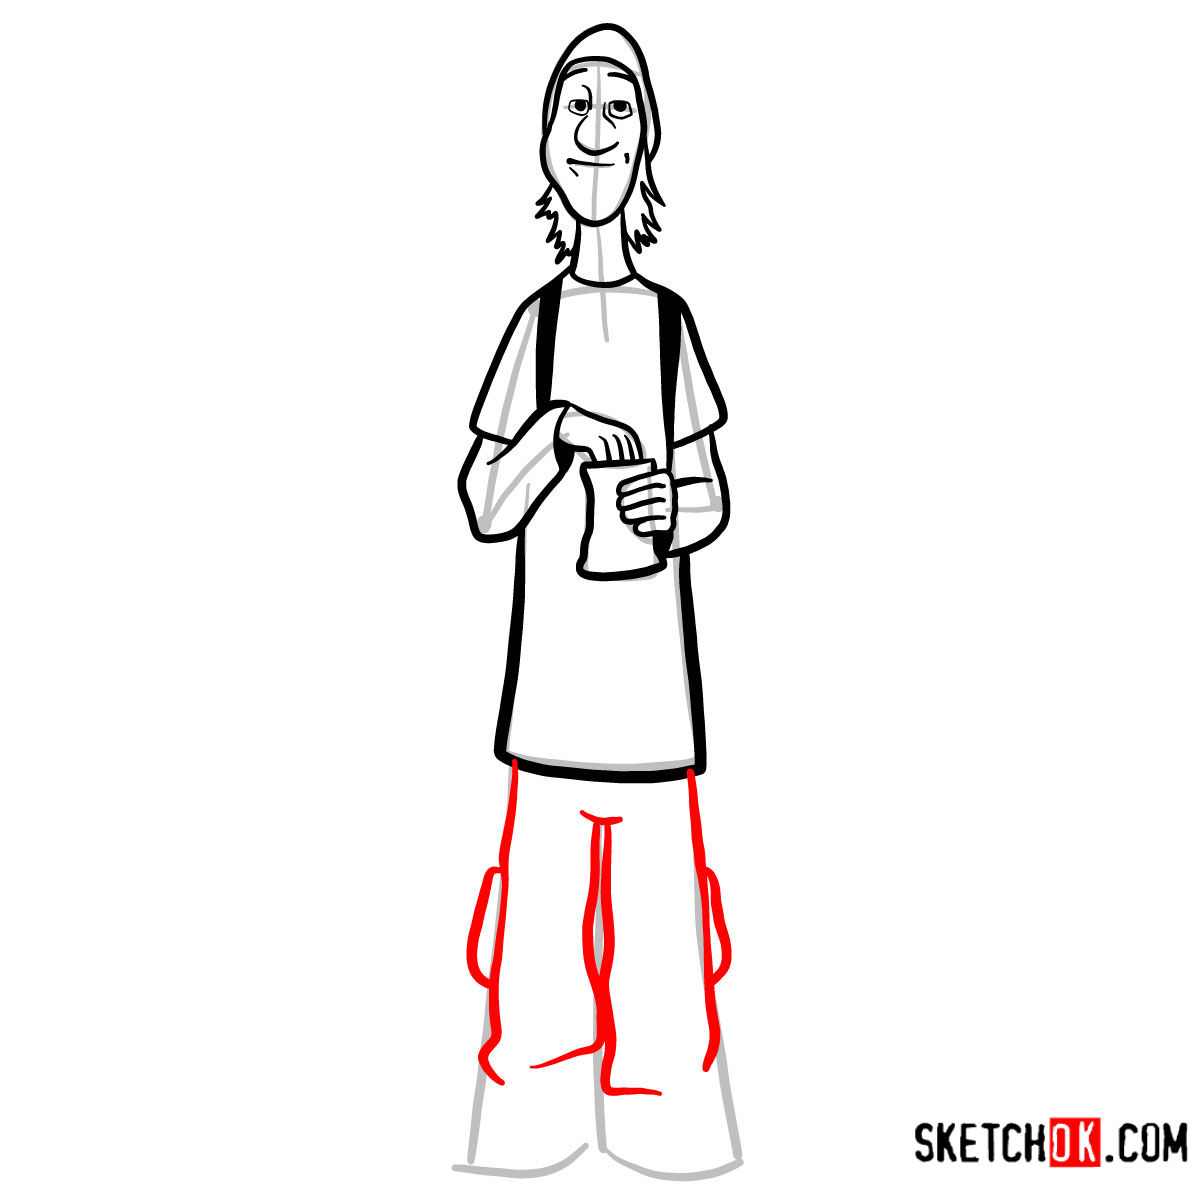
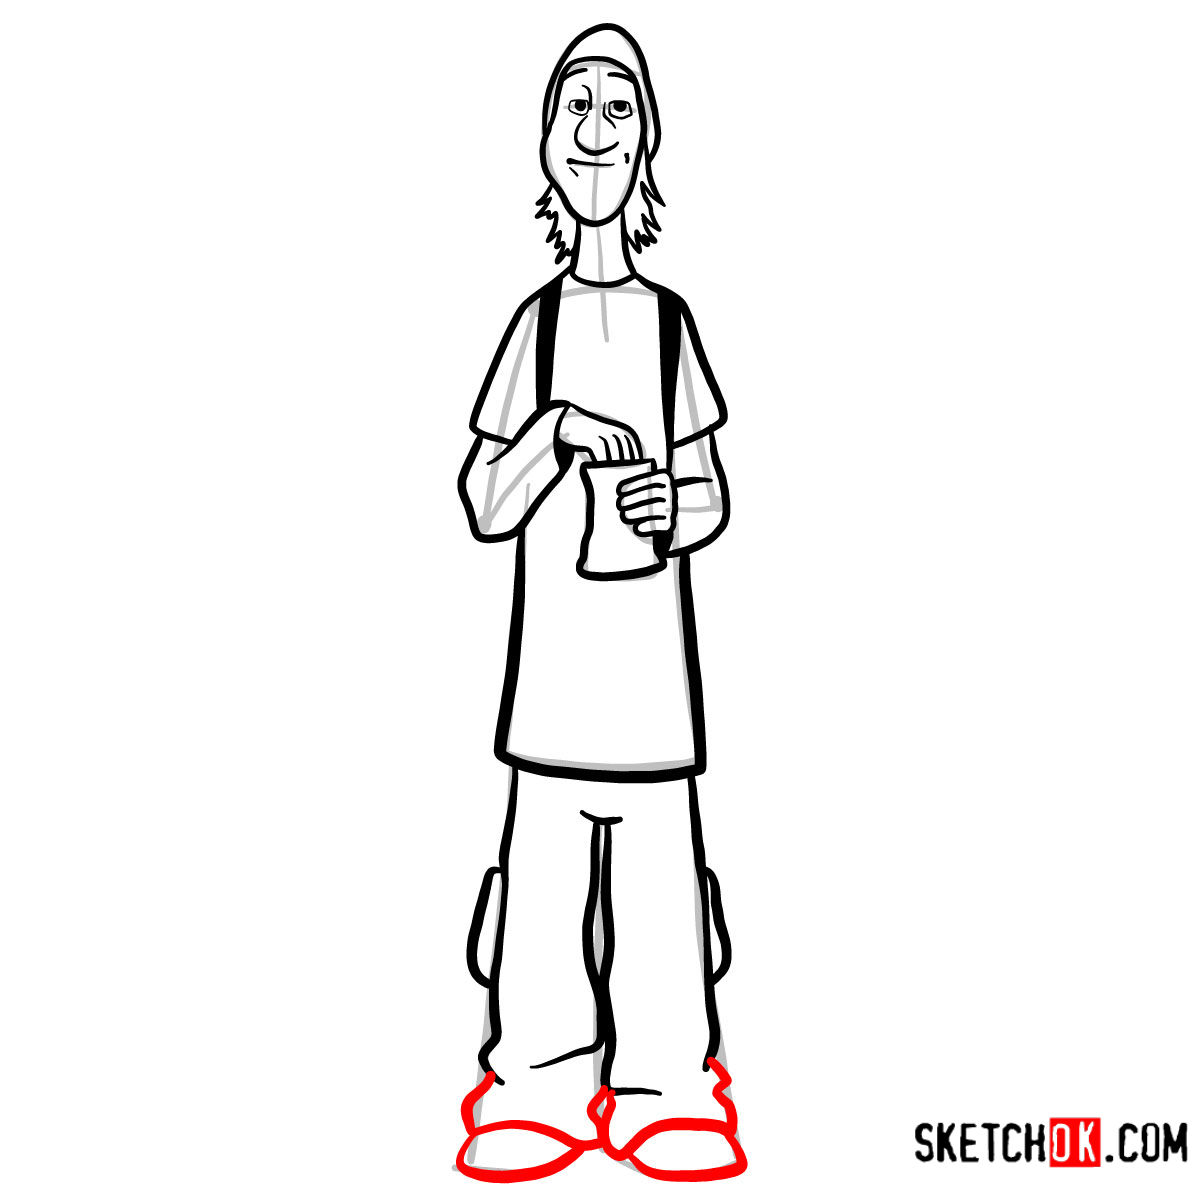
- Stylish Attire: Fred’s casual attire includes a white long-sleeved undershirt topped with a red T-shirt. Dark green cargo pants and sneakers complete his ensemble.
- Accessorize: Don’t forget his teal hat and the pendant around his neck that pays homage to the Kentucky Kaiju.
- Character Interactions: If you’re looking to add depth to your sketch, consider adding other characters from Big Hero 6, like Hiro Hamada or Honey Lemon. Their relationships can bring life to the scene.
Understanding the Drawing Guide
Before you embark on the journey of sketching Fred, it’s essential to understand our guide’s color-coded system. This helps ensure that your drawing process is streamlined and straightforward.
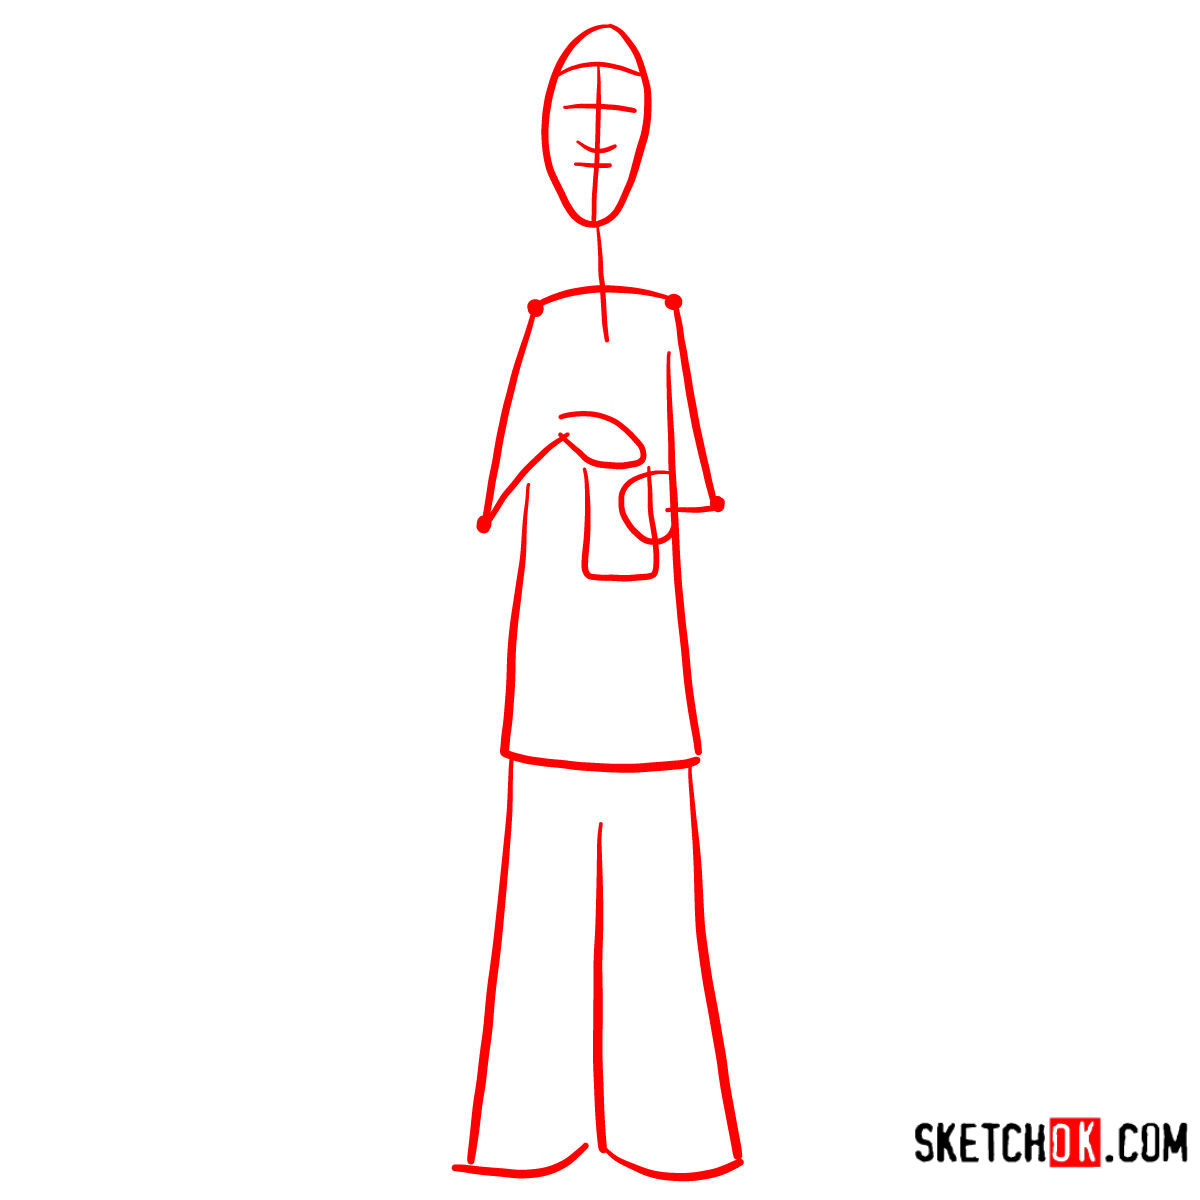
- Red Color: This indicates the current step you should focus on.
- Black Color: Showcases the lines you’ve previously drawn.
- Grey Color: Represents the basic structure and proportions sketch. Remember to sketch lightly in this phase, making it easier to refine later.
Our guide is split into 12 steps, starting with the basic structure and culminating in a finely detailed sketch. For those who wish to go a step further, inking your sketch can provide a polished finish. After inking, wait for it to dry before erasing the underlying pencil marks to prevent smudging.


Thank you for diving into this tutorial on how to draw Fred from Big Hero 6!
If you’ve found this guide valuable, I’d be honored if you’d spread the word by sharing this tutorial link with fellow art enthusiasts. Every share, every mention, enriches our creative community, helping others in their artistic journey.
Behind SketchOk is just one individual, me, and I’m fueled by a passion to teach and inspire. While I aim to provide these tutorials for free, maintaining this platform and consistently generating high-quality content comes with its challenges. Should you feel inclined to offer your support, any contribution through Buy me a coffee would be immensely appreciated. Plus, with each donation, there’s an added perk. You get the chance to suggest the subject for our next tutorial. I can assure you, these suggestions receive priority, bringing your ideas to the fore faster than you’d expect!
For daily doses of inspiration and to stay updated with our latest tutorials, feel free to connect with SketchOk on our social media platforms. Find us on Facebook, give a nod on Instagram, or join our community of artists on Pinterest.
Thank you for being a part of our journey. Keep practicing, keep sketching, and most importantly, keep enjoying the process!