Home » Cartoon Characters » Adventure Time » Make a Splash: Learn How to Draw Water Nymphs from Adventure Time

Make a Splash: Learn How to Draw Water Nymphs from Adventure Time

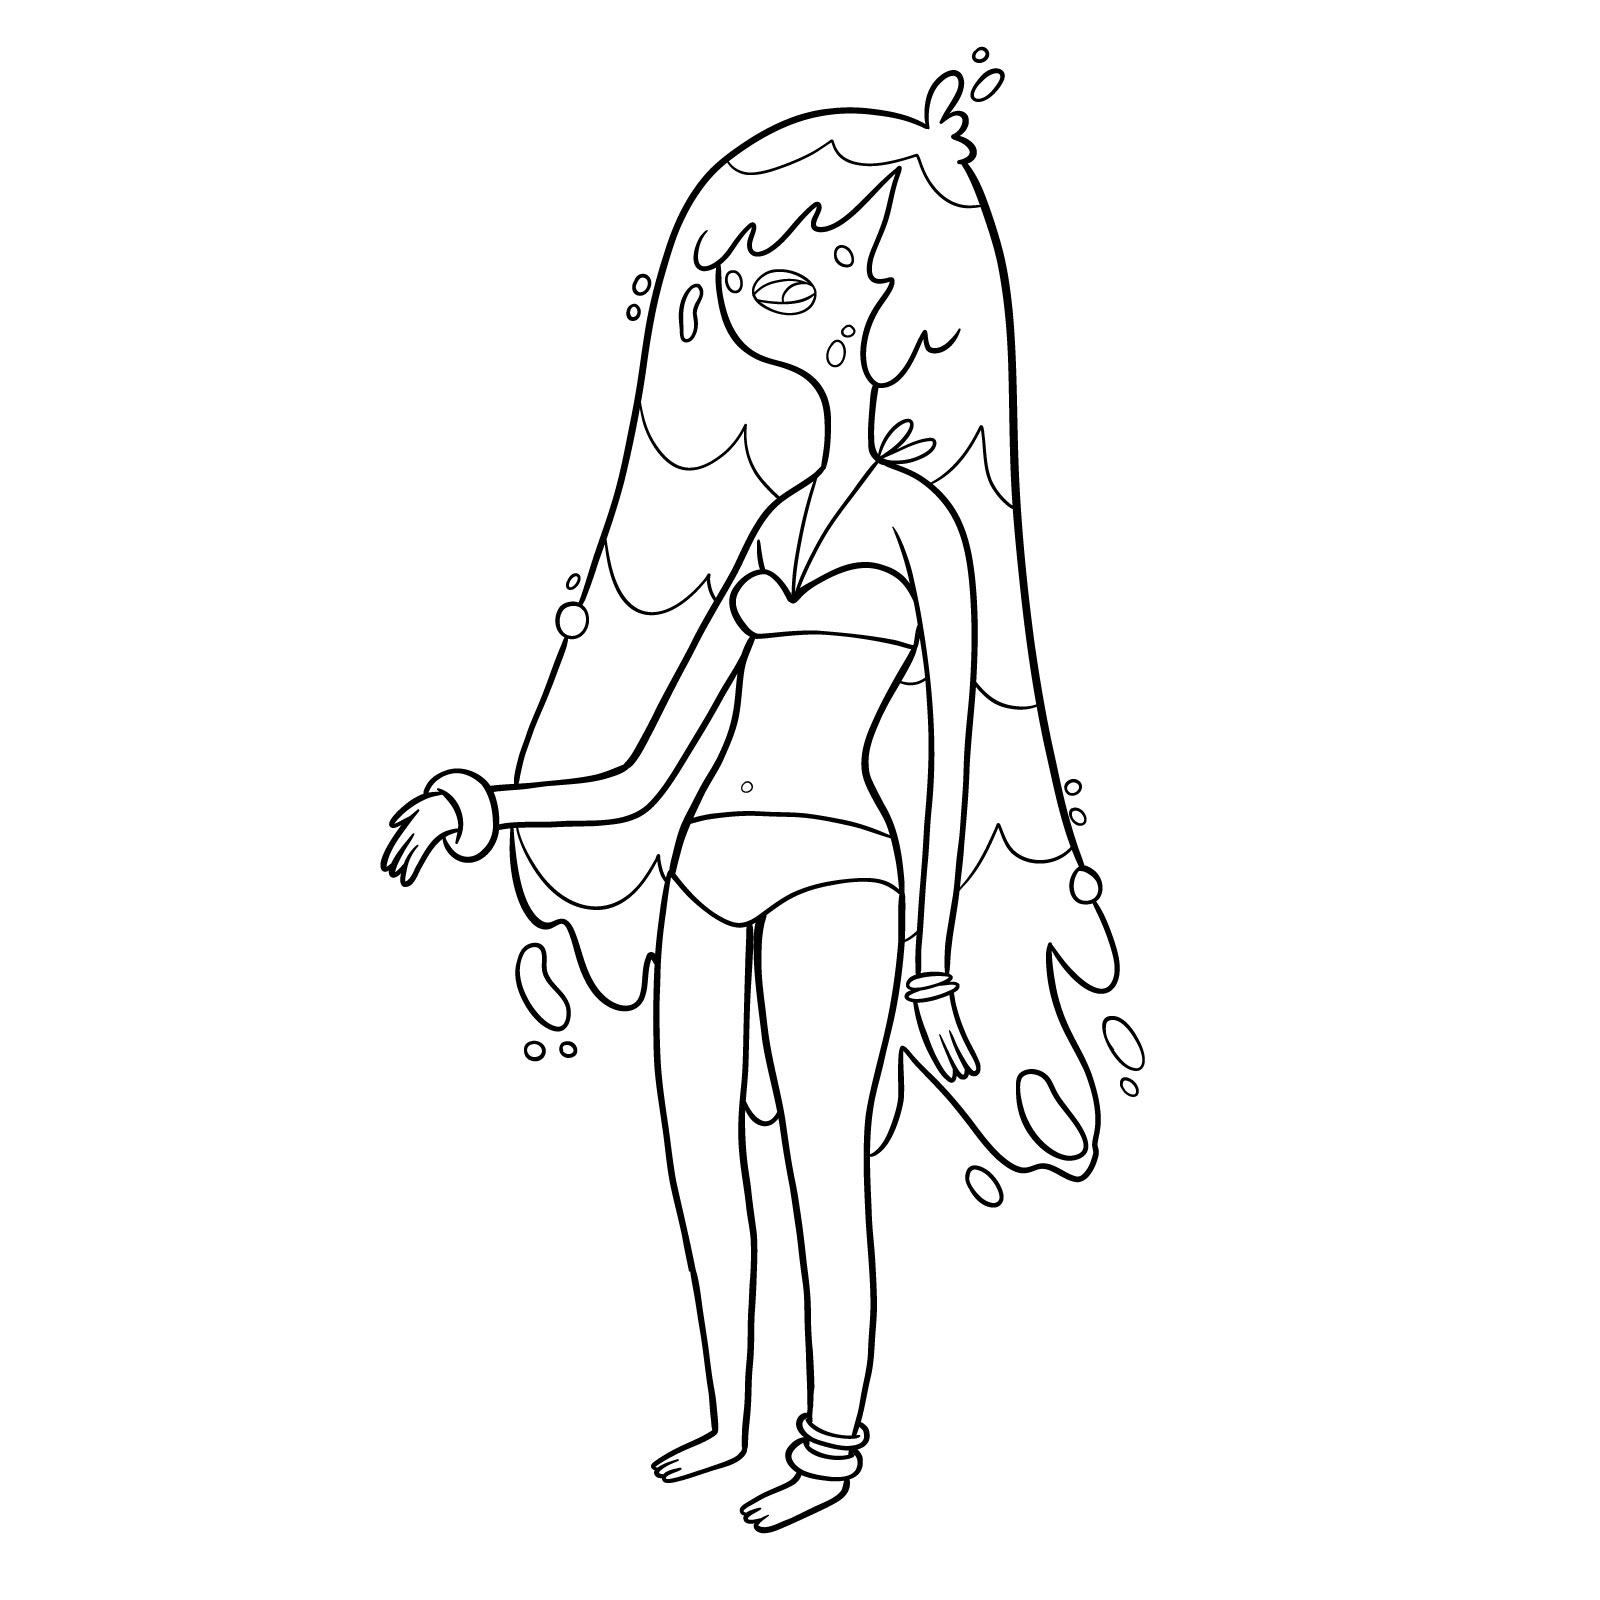
Adventure Time has captivated audiences with its unique characters and whimsical world. Among its many inhabitants are the Water Nymphs, Denise and her friend. These alluring water spirits are known for their moving bodies of water for hair, swimsuits, and their inability to tell a good joke. In this tutorial, we’ll guide you through the process of drawing these enchanting characters, one step at a time.

Water Nymphs: Beauty, Humor, and Magic

The Water Nymphs first appeared in the episode “Power Animal,” playing in a pond near the Tree Fort and telling terrible jokes to one another. Although their humor may be lacking, their beauty and magic have captured the hearts of Adventure Time fans. As water spirits, they possess a unique charm that sets them apart from other characters in the series.

Denise, the nymph in pink, sports long, flowing water hair and a pink bikini, while her unnamed friend has shorter hair and a blue bikini. Each nymph has her own distinct appearance, making them an exciting and rewarding challenge for artists looking to capture their essence on paper.

In this tutorial, we’ll be providing you with two separate drawing guides—one for Denise and one for her friend. We’ll cover all the necessary steps, from creating the basic sketch to adding the finishing touches. So, grab your drawing tools and let’s dive in!

Materials and Tools: Preparing for Your Artistic Adventure

Before we begin, gather the following materials and tools to ensure a smooth drawing experience:

  • Pencils (HB, 2B, and 4B)
  • Eraser
  • Paper
  • Fineliner pens
  • Colored pencils or markers (optional for coloring)

Feel free to use any other drawing tools that you prefer or have on hand.

Step-by-Step Drawing Guide: From Sketch to Masterpiece

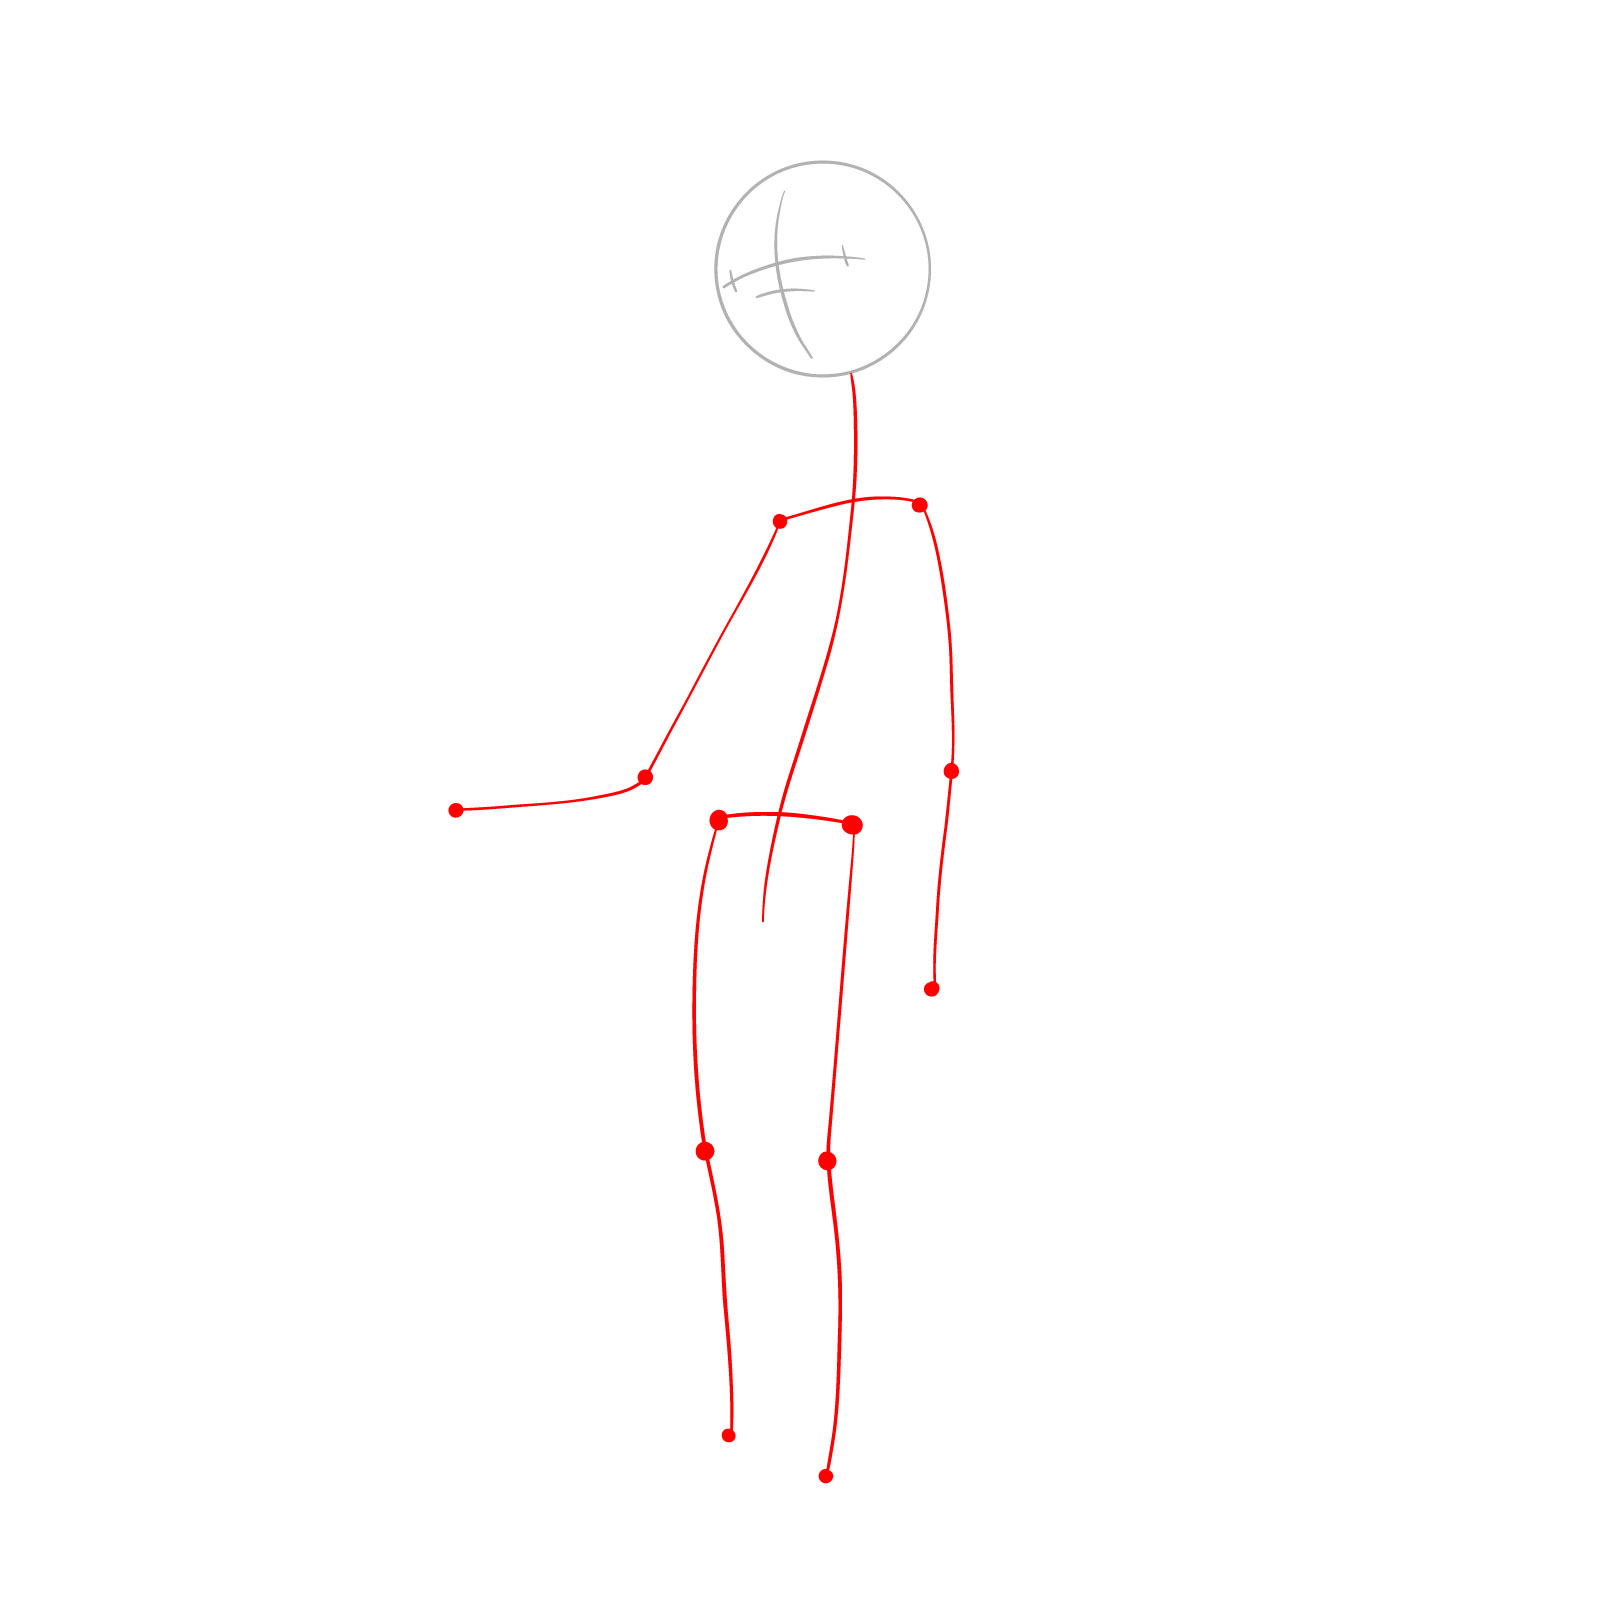
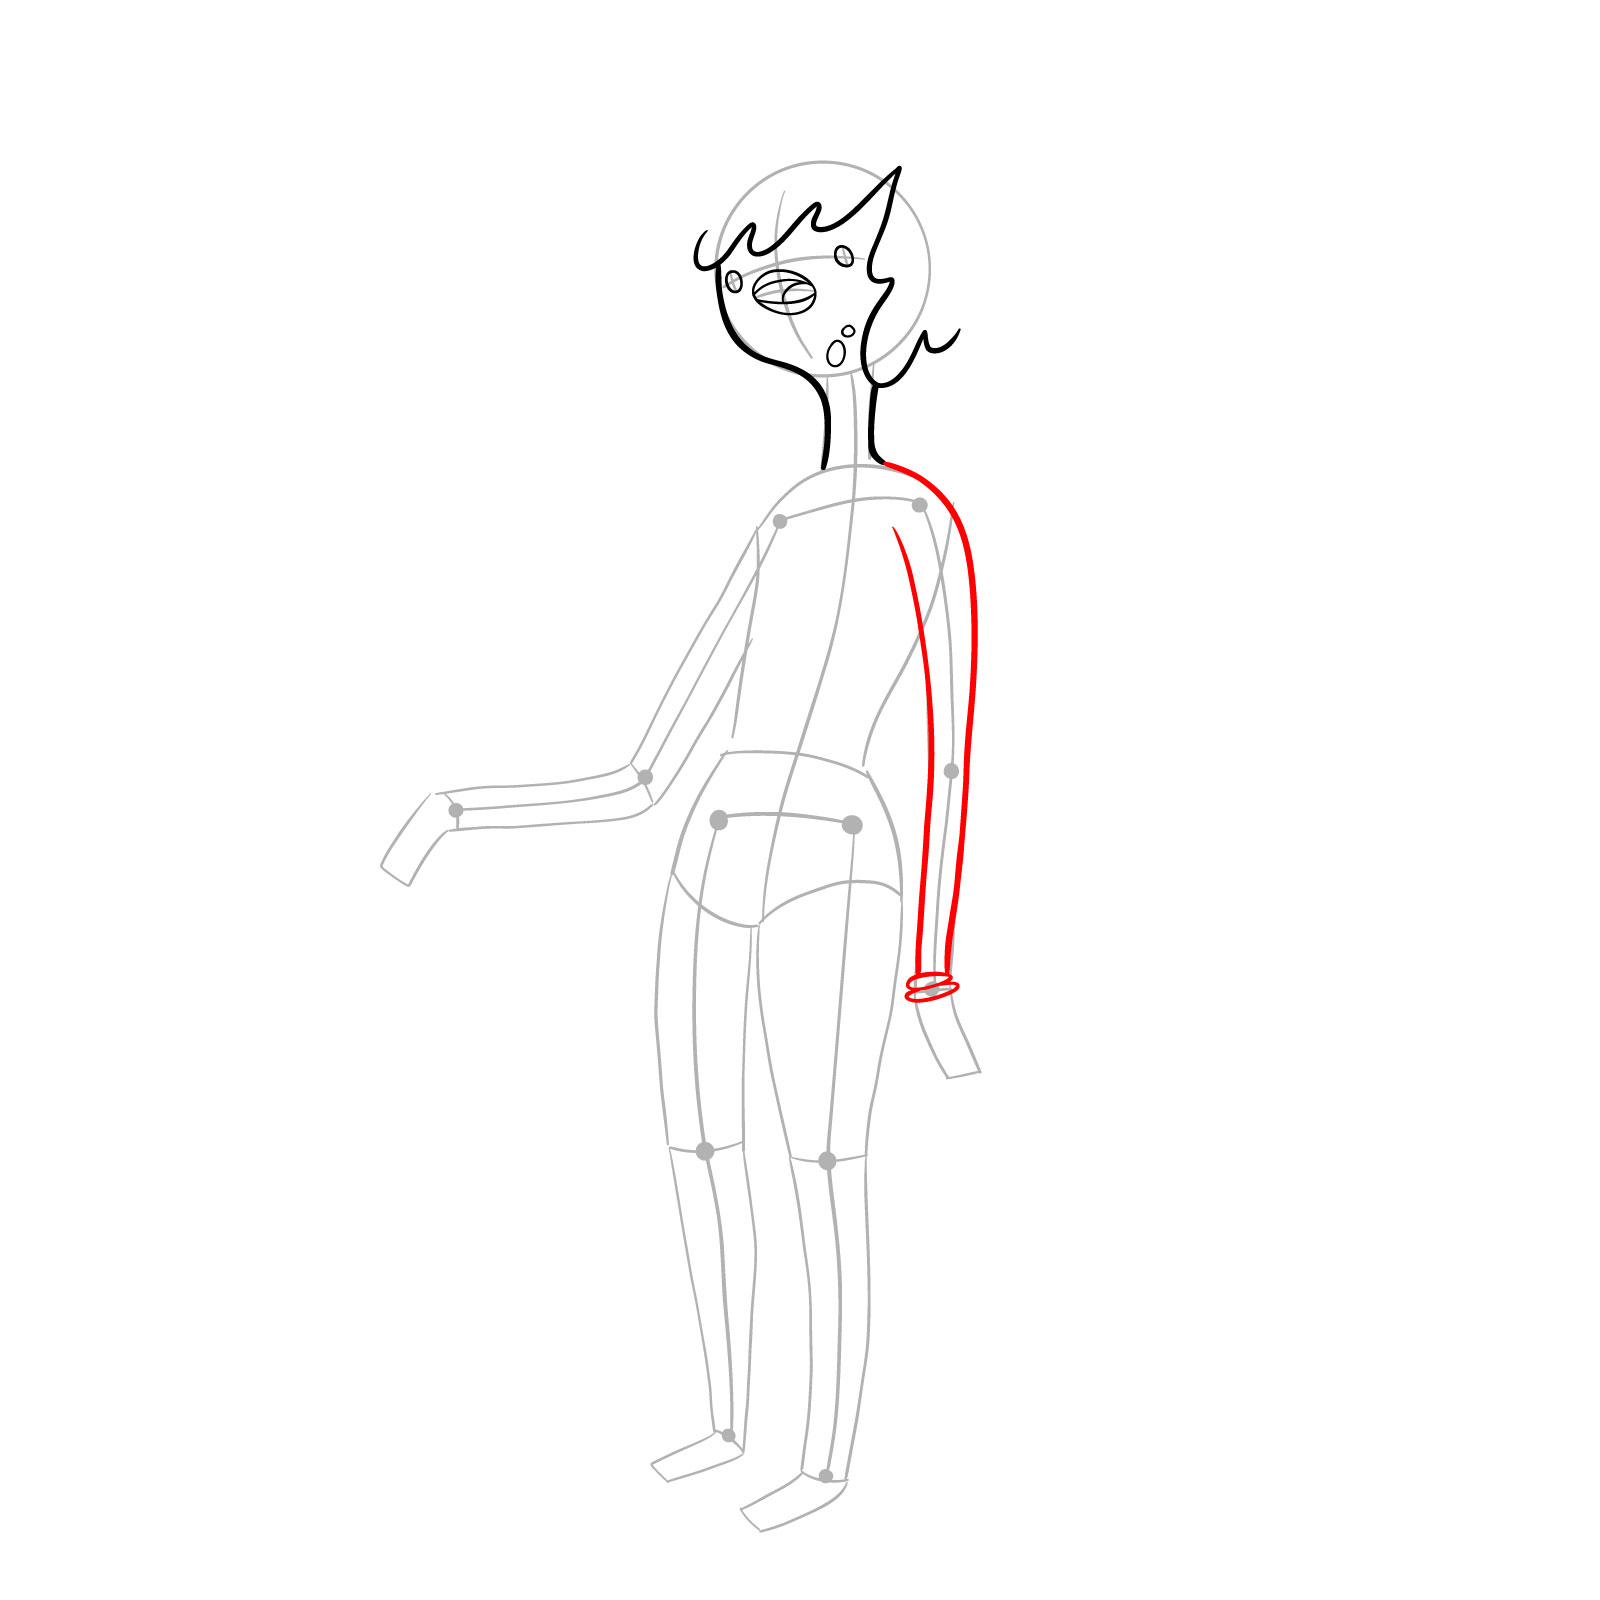
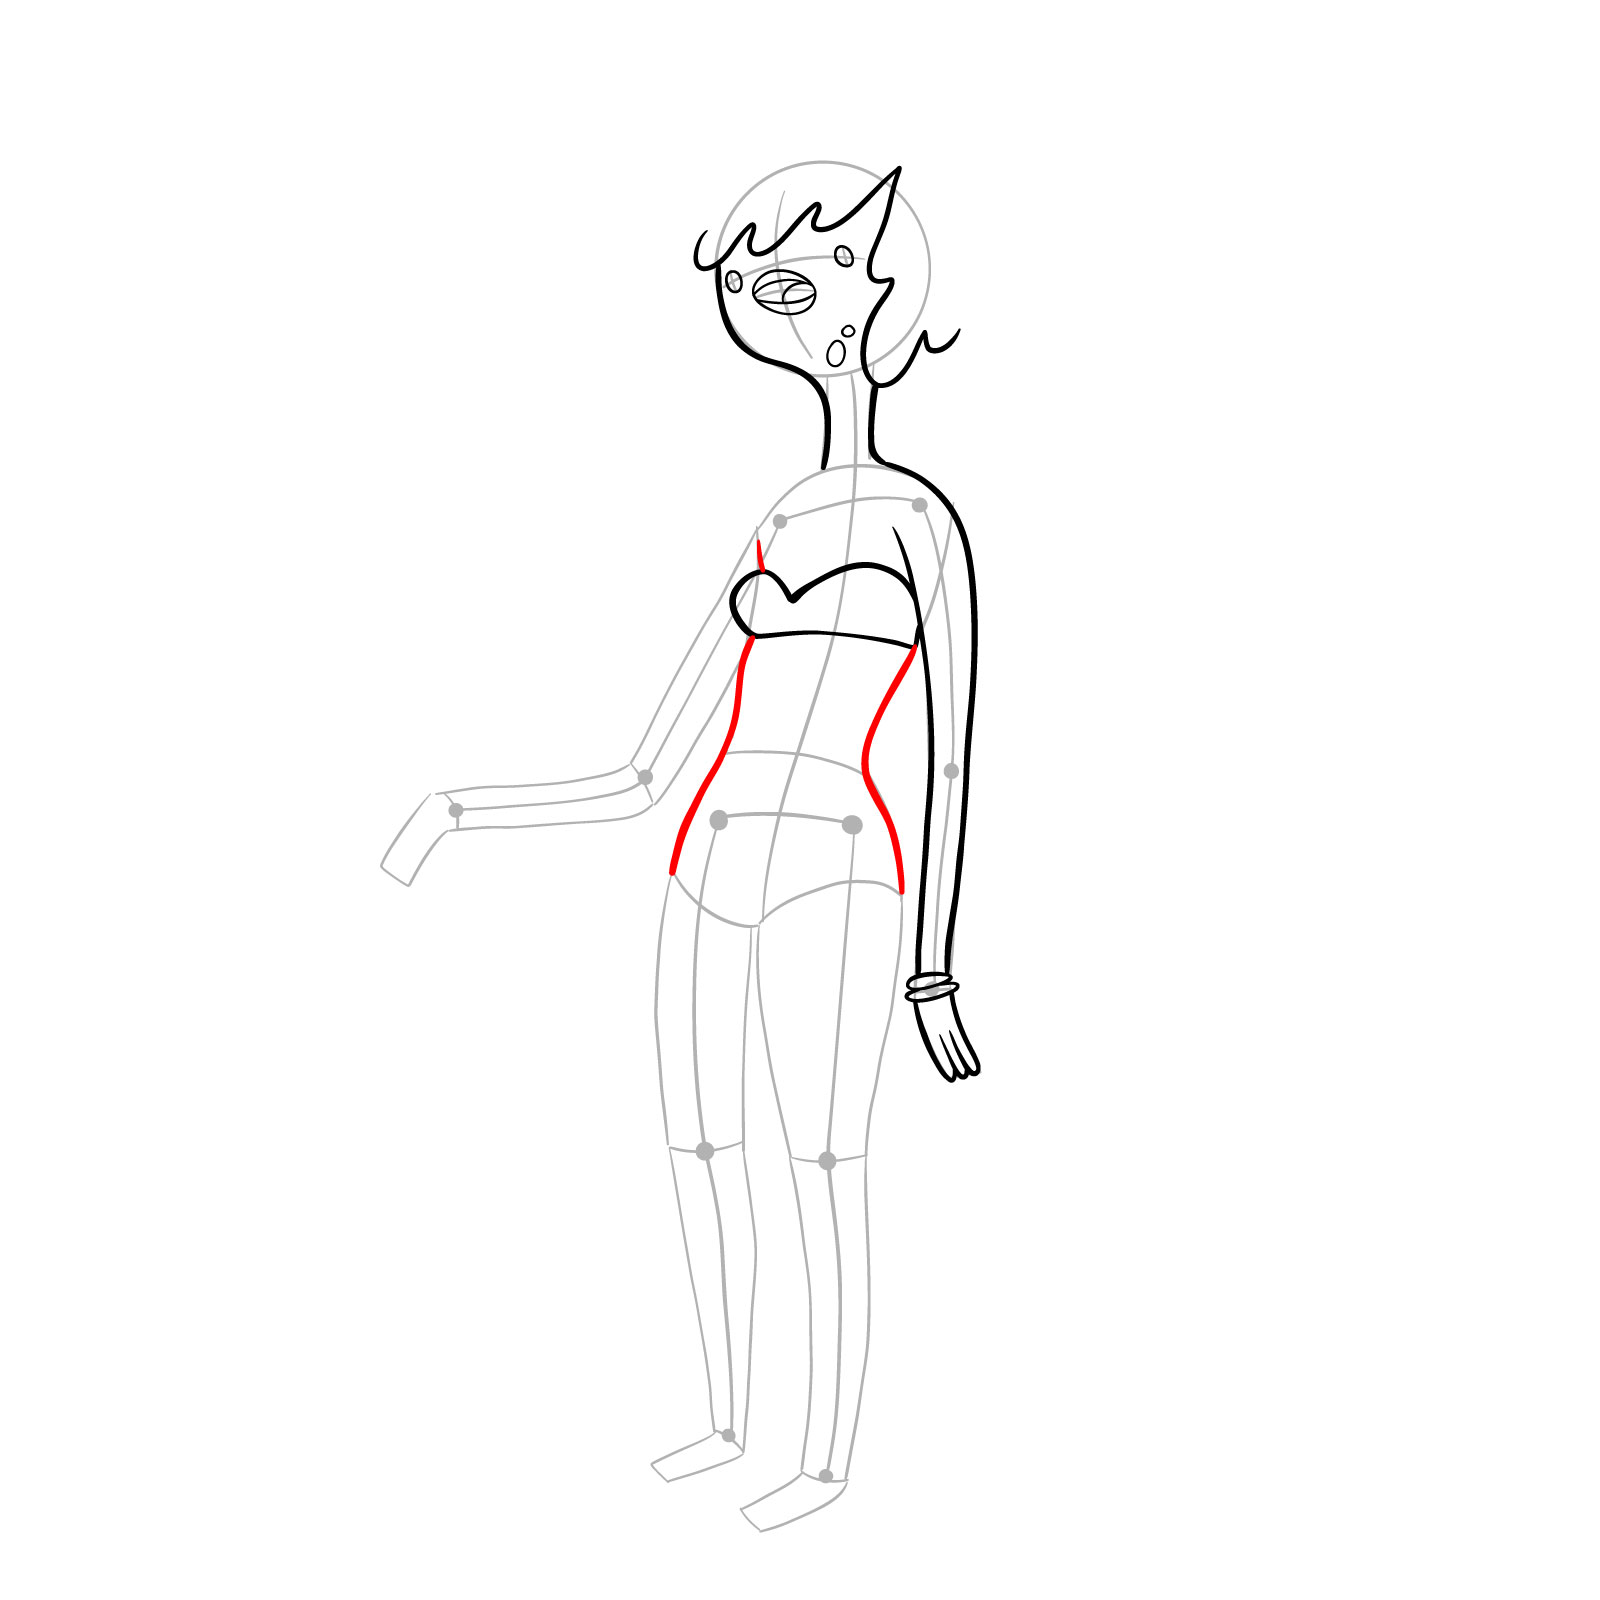
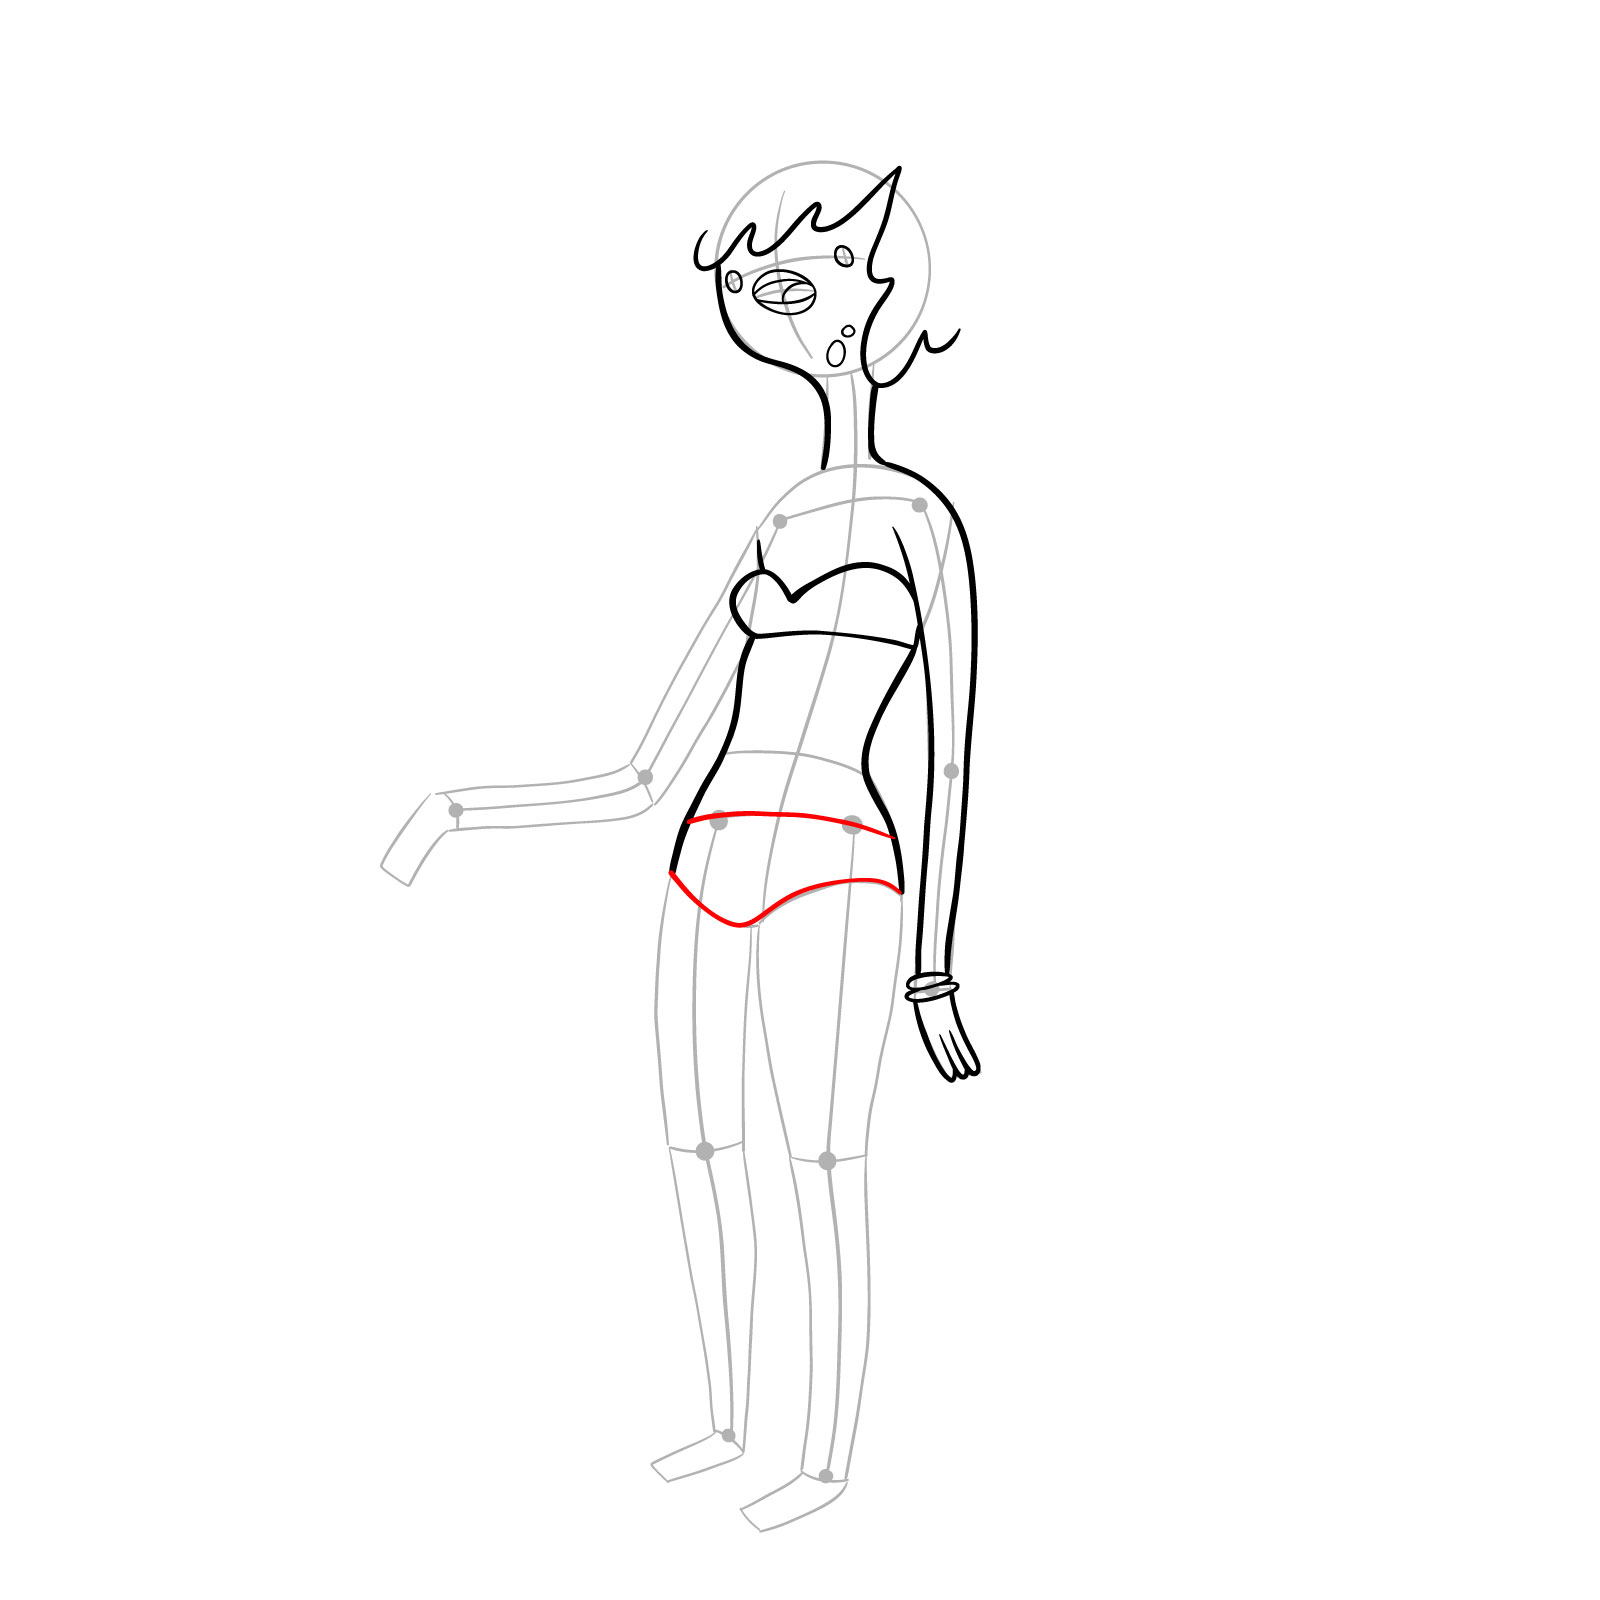
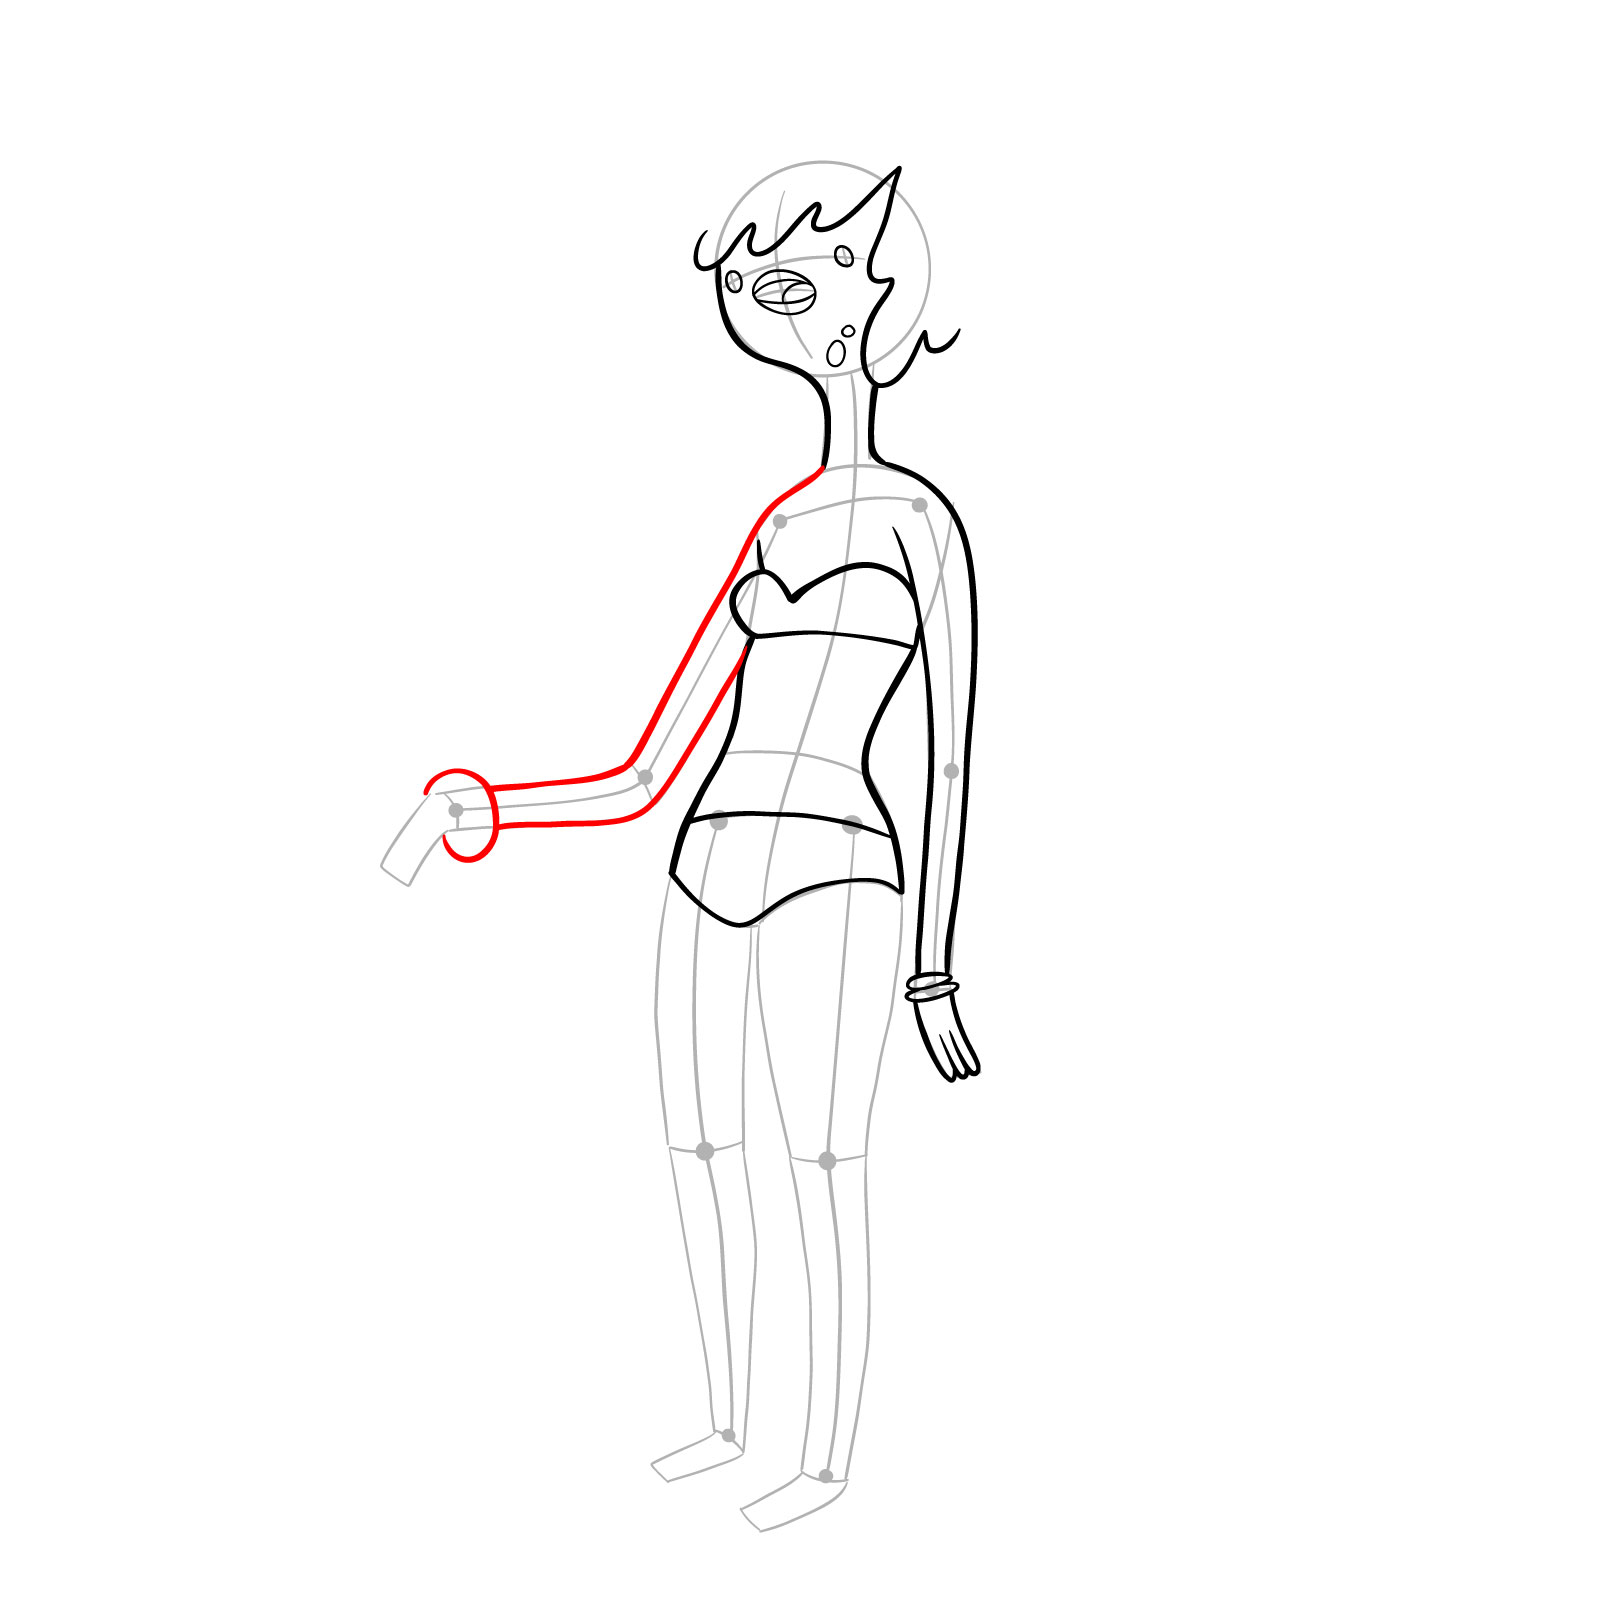
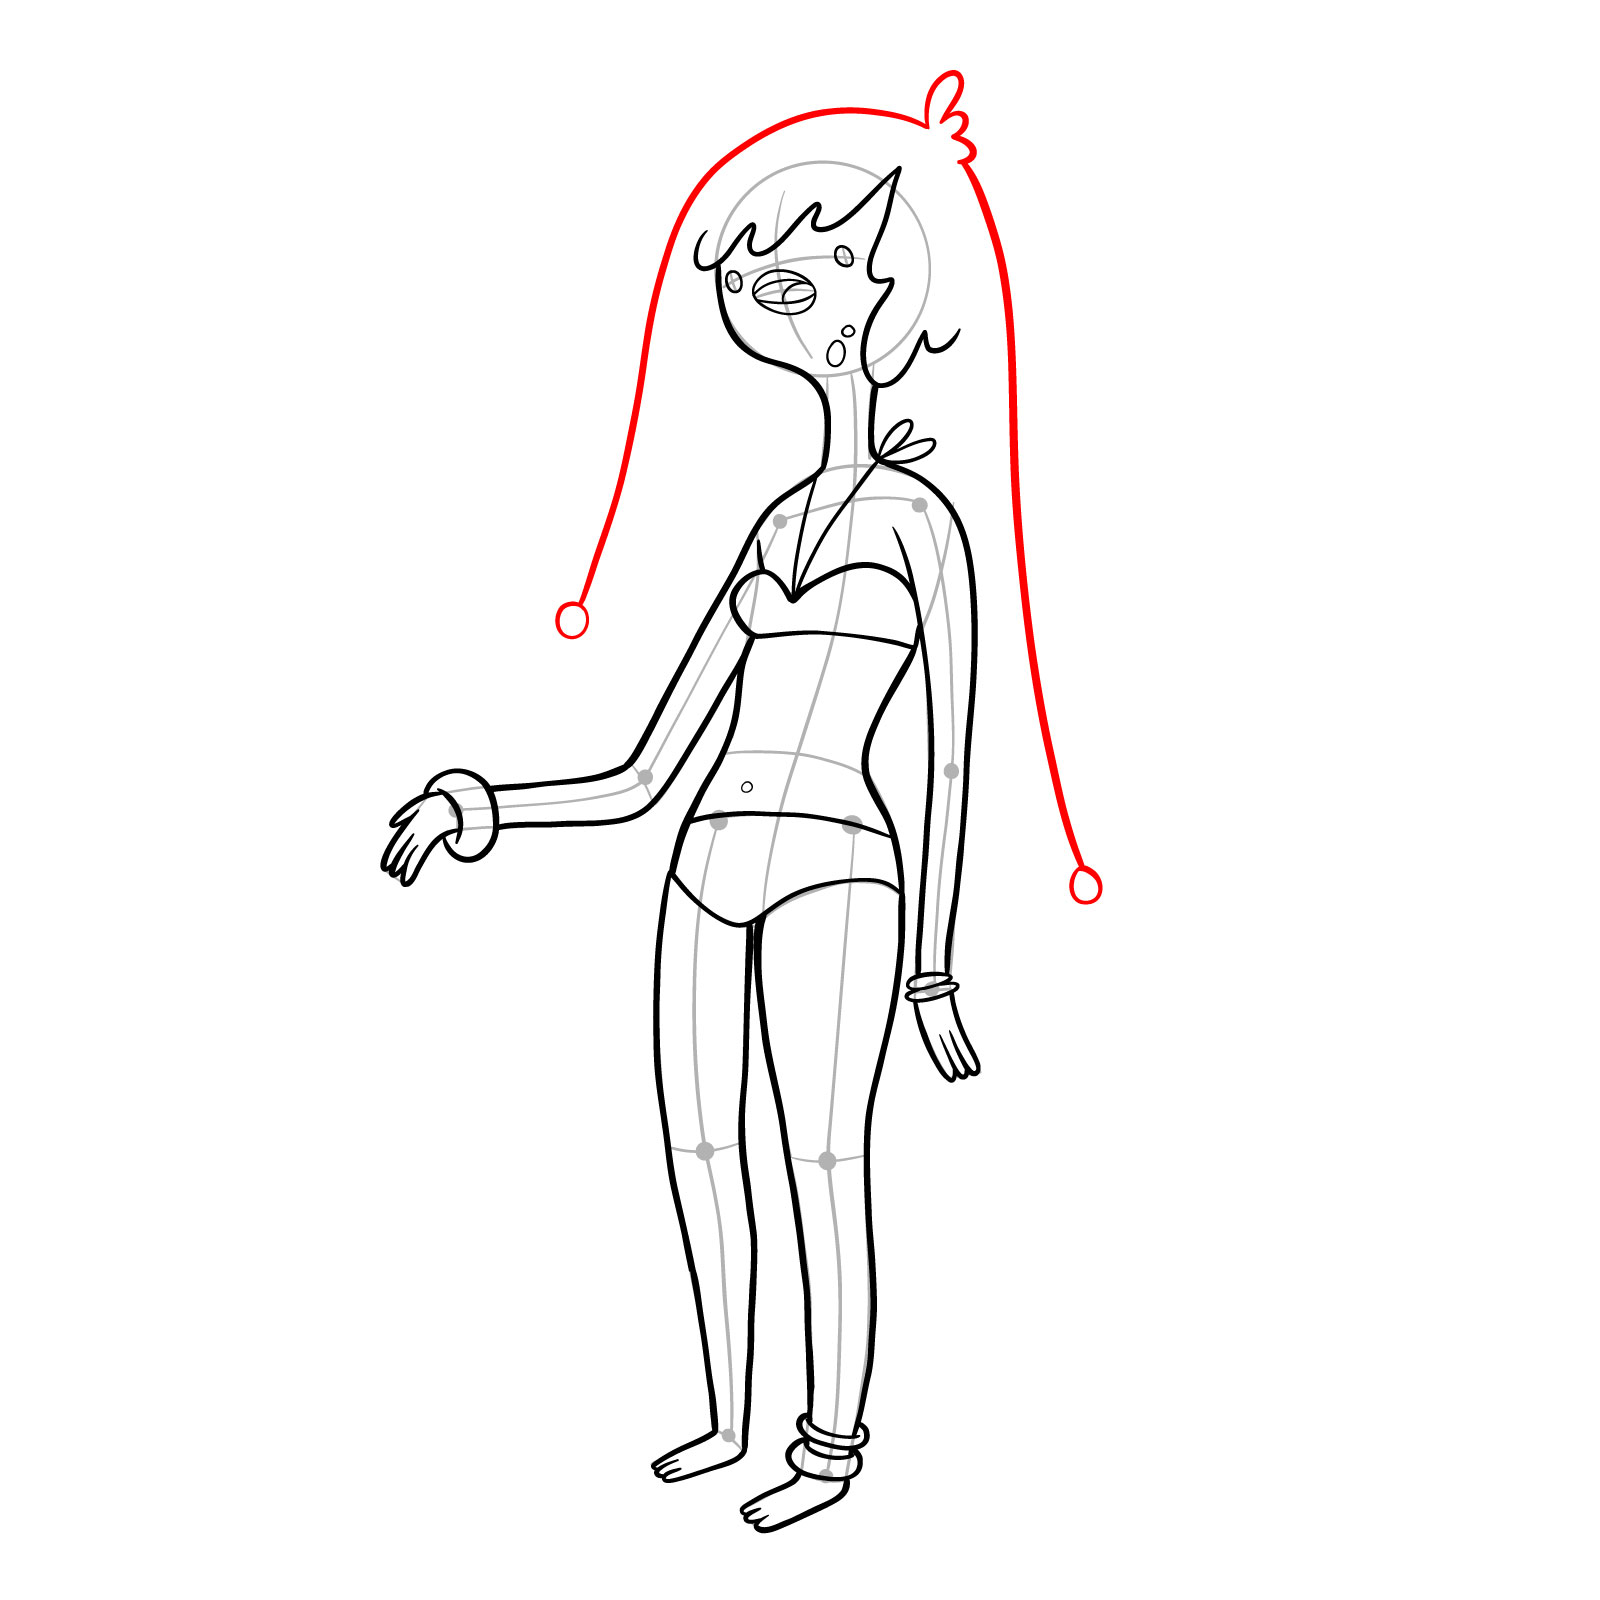
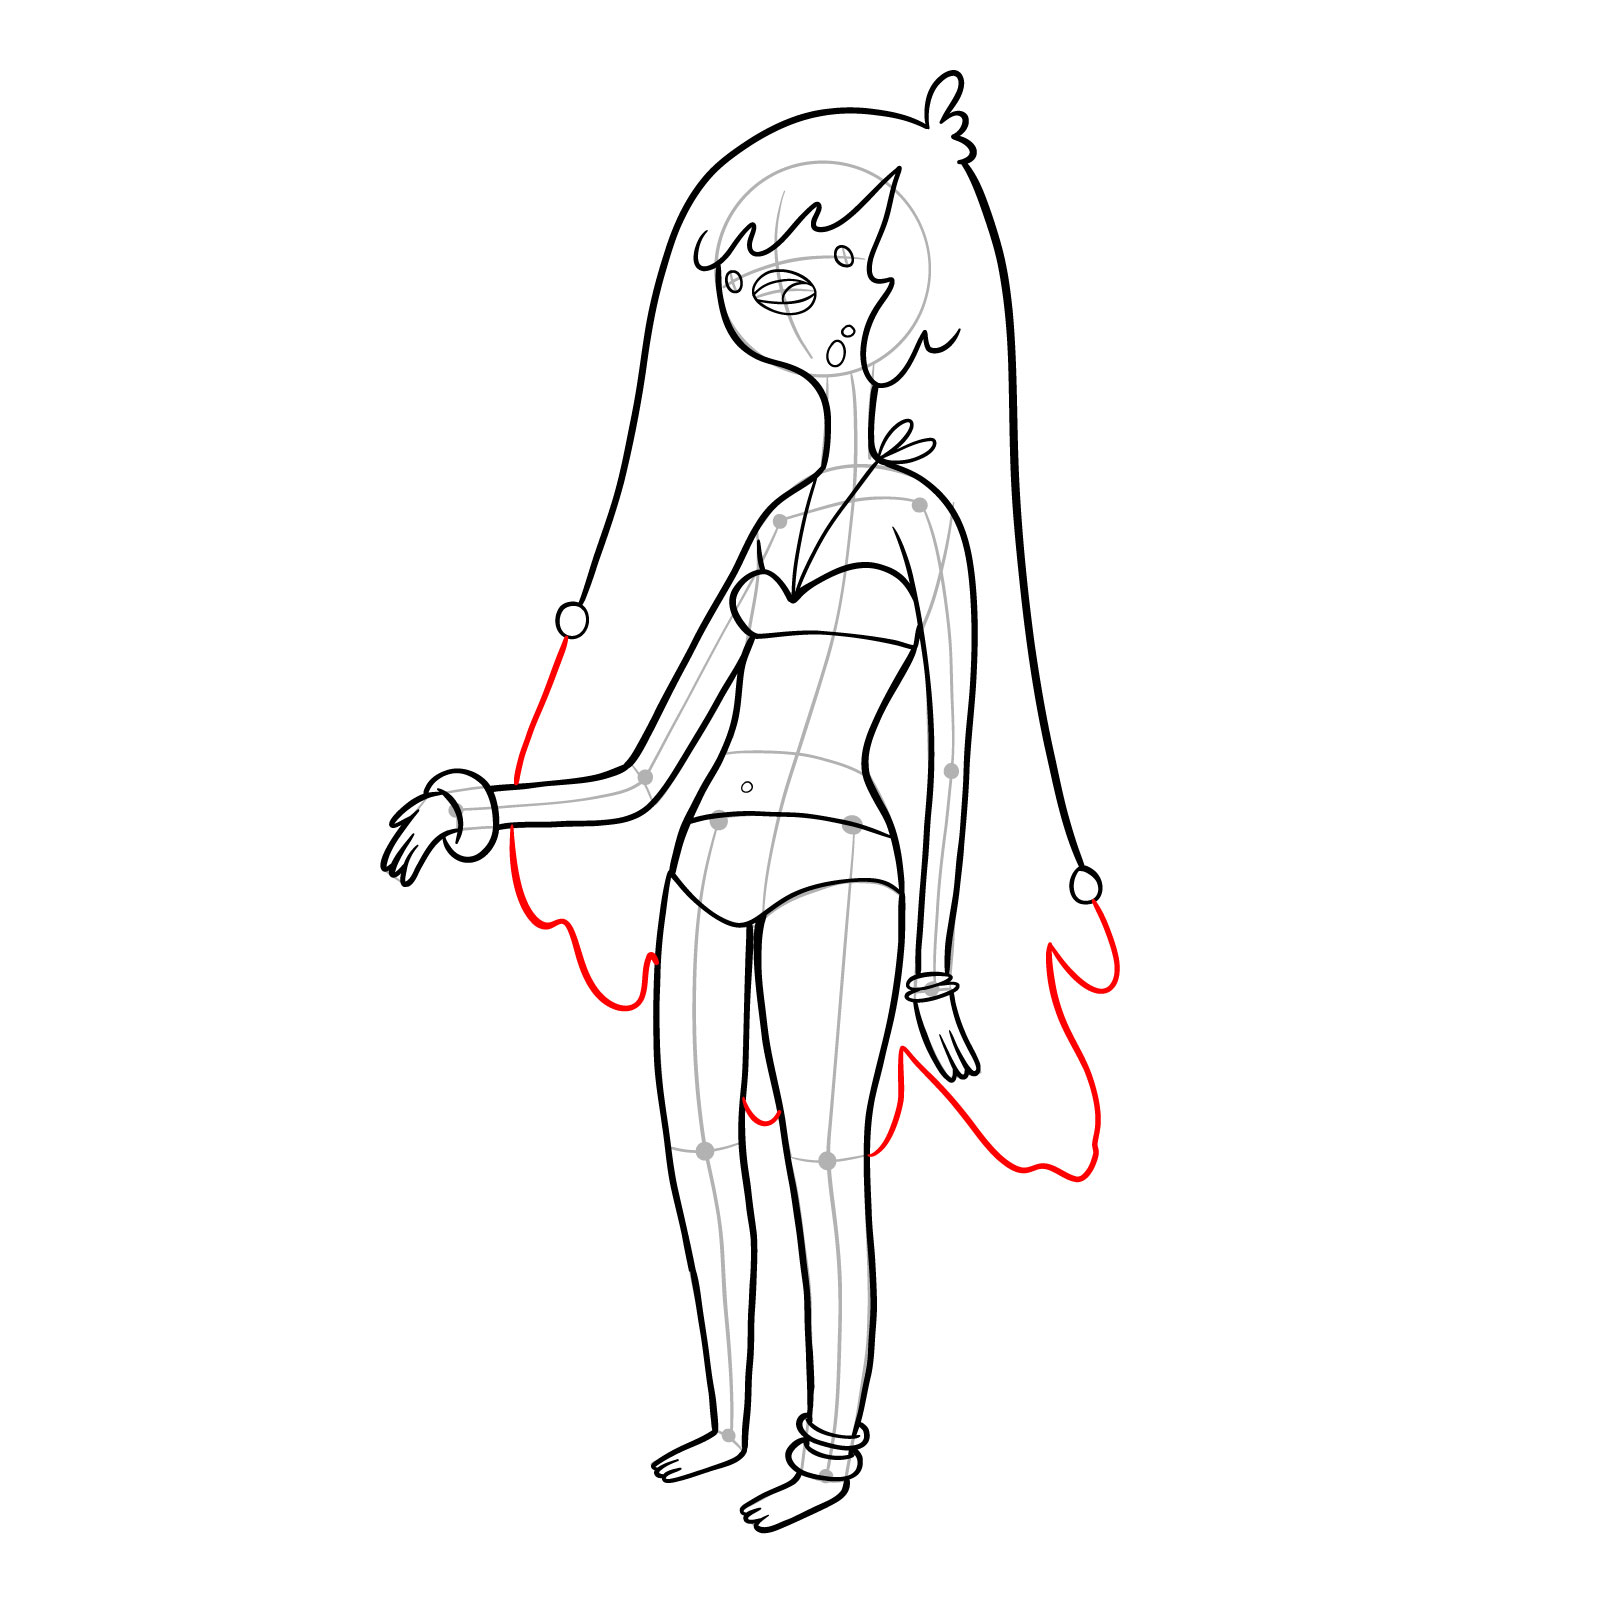
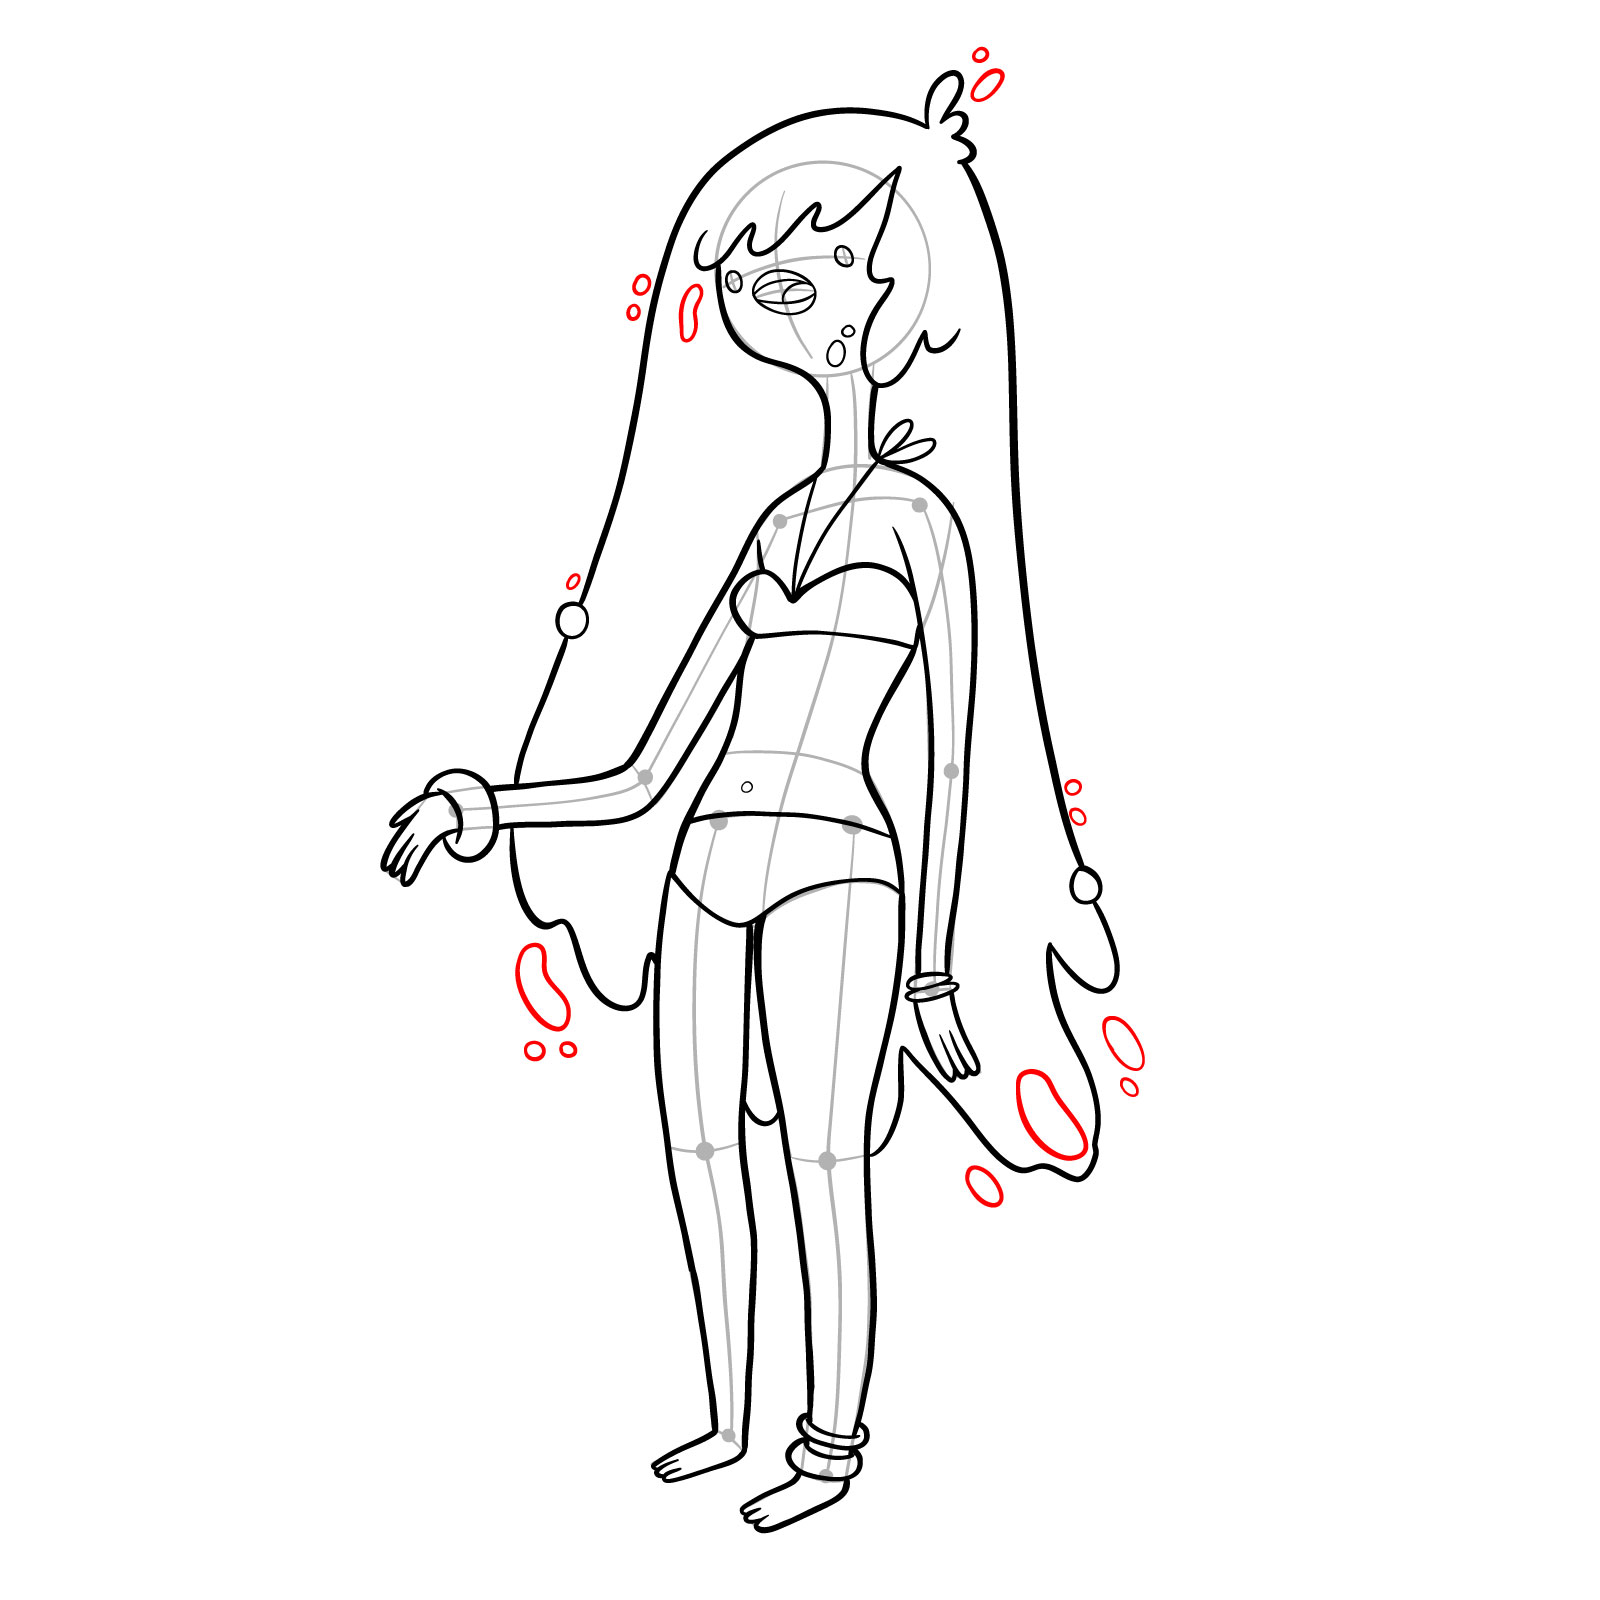
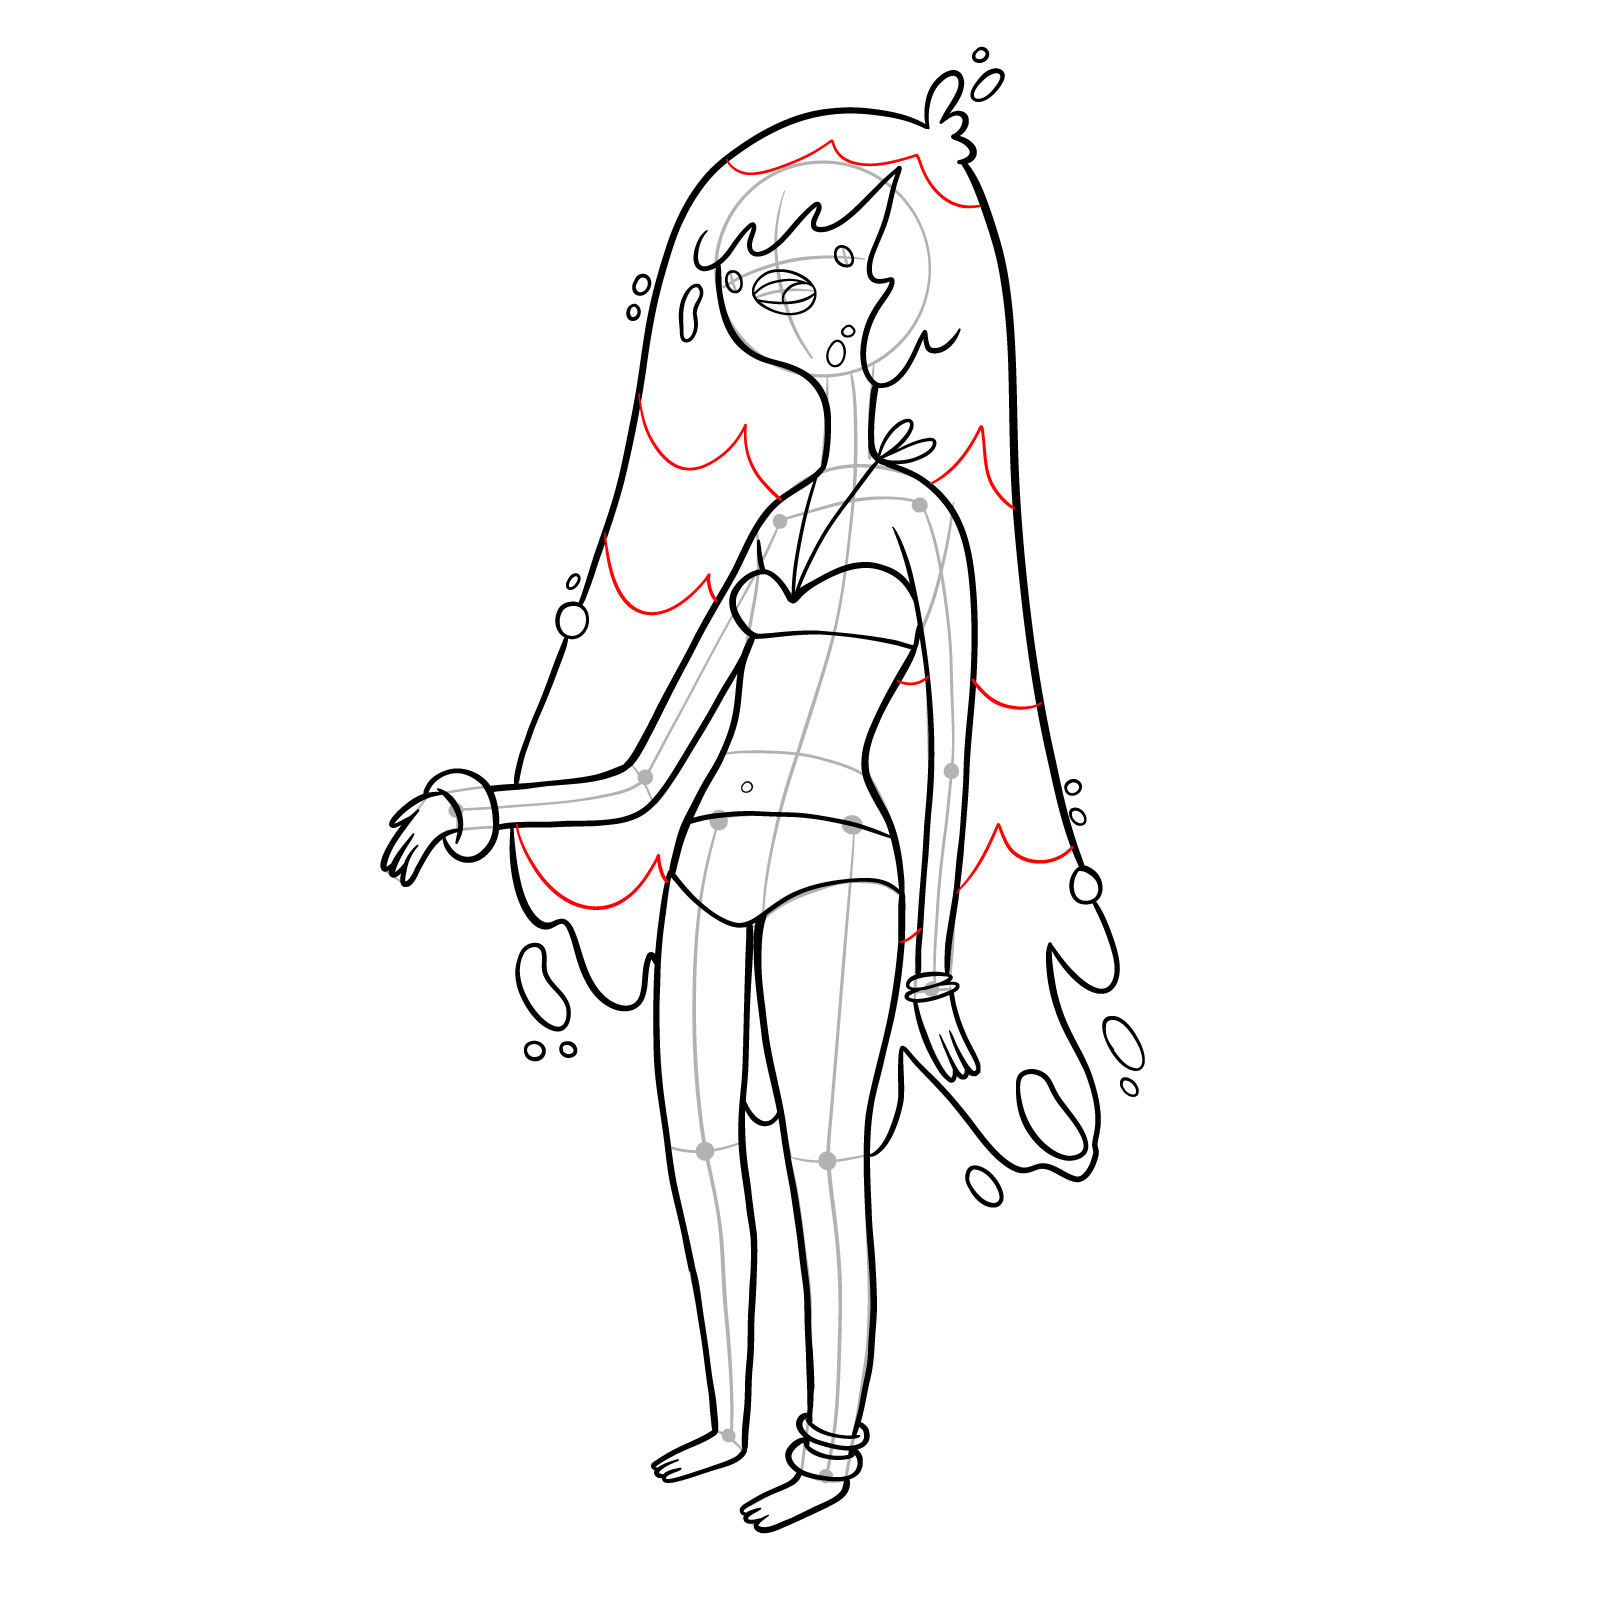
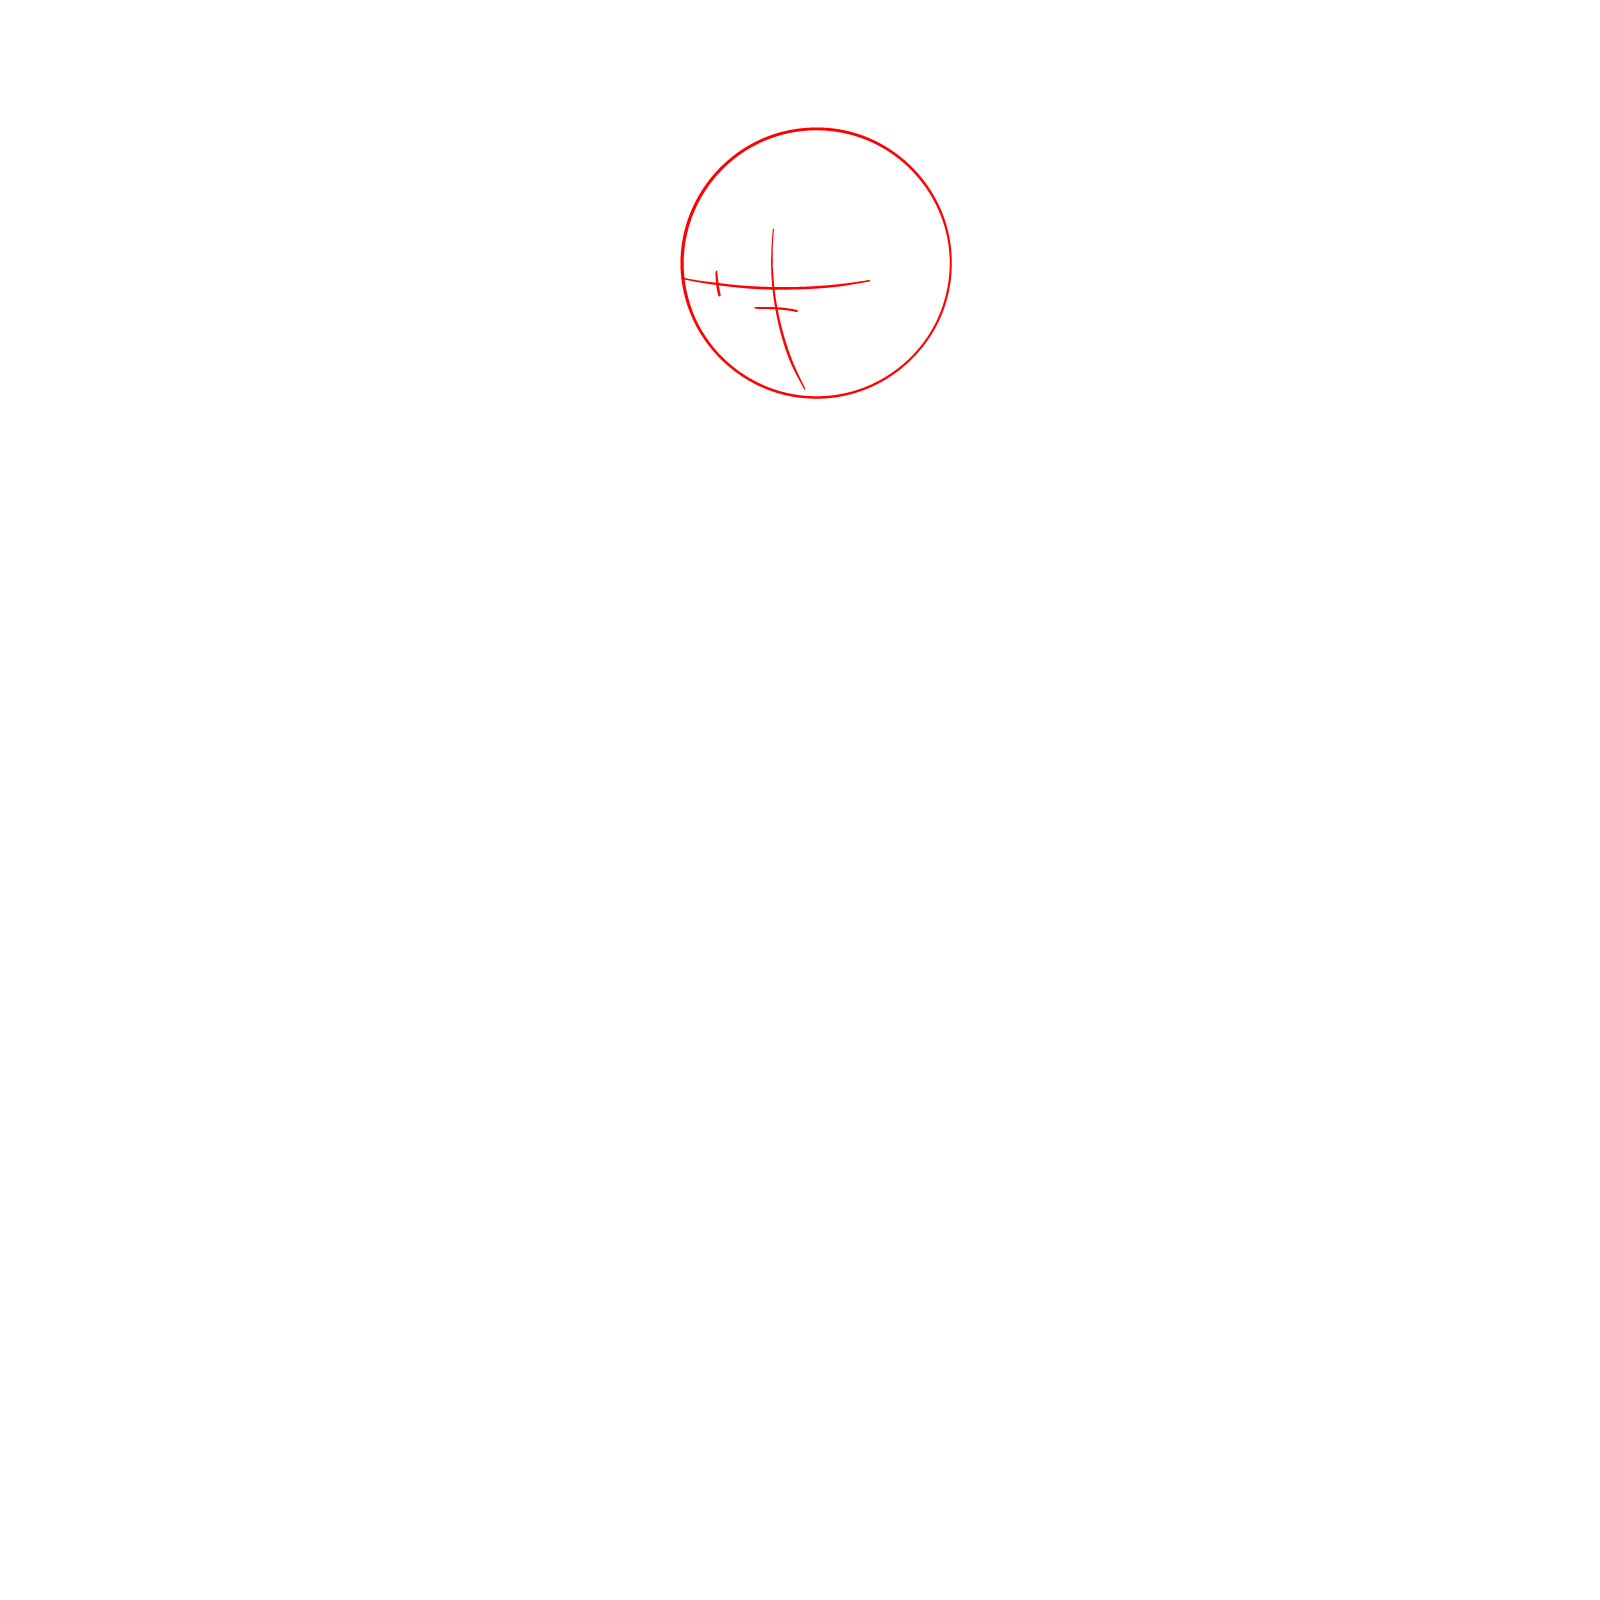
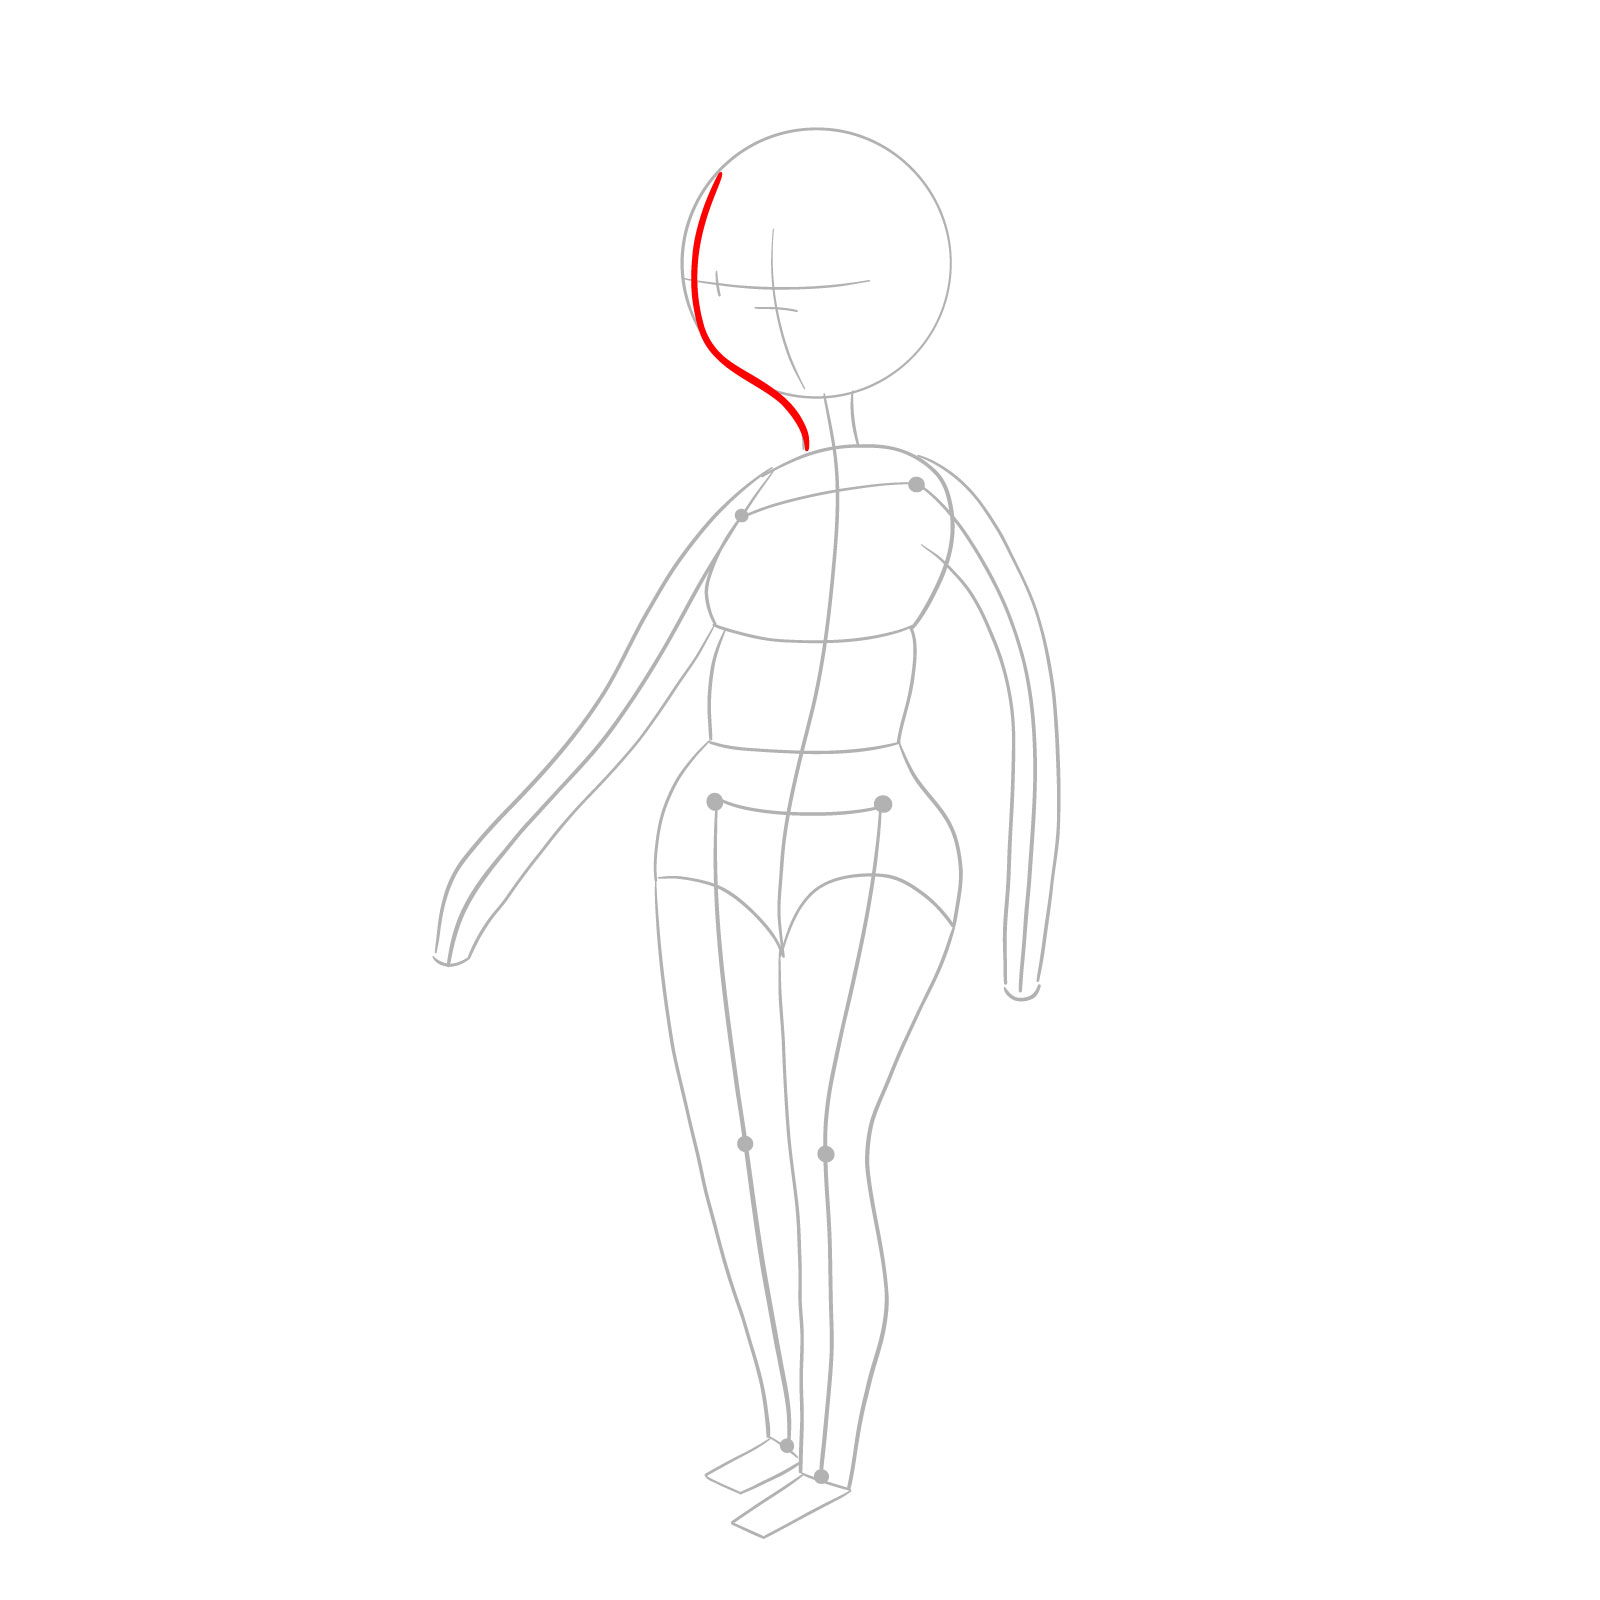
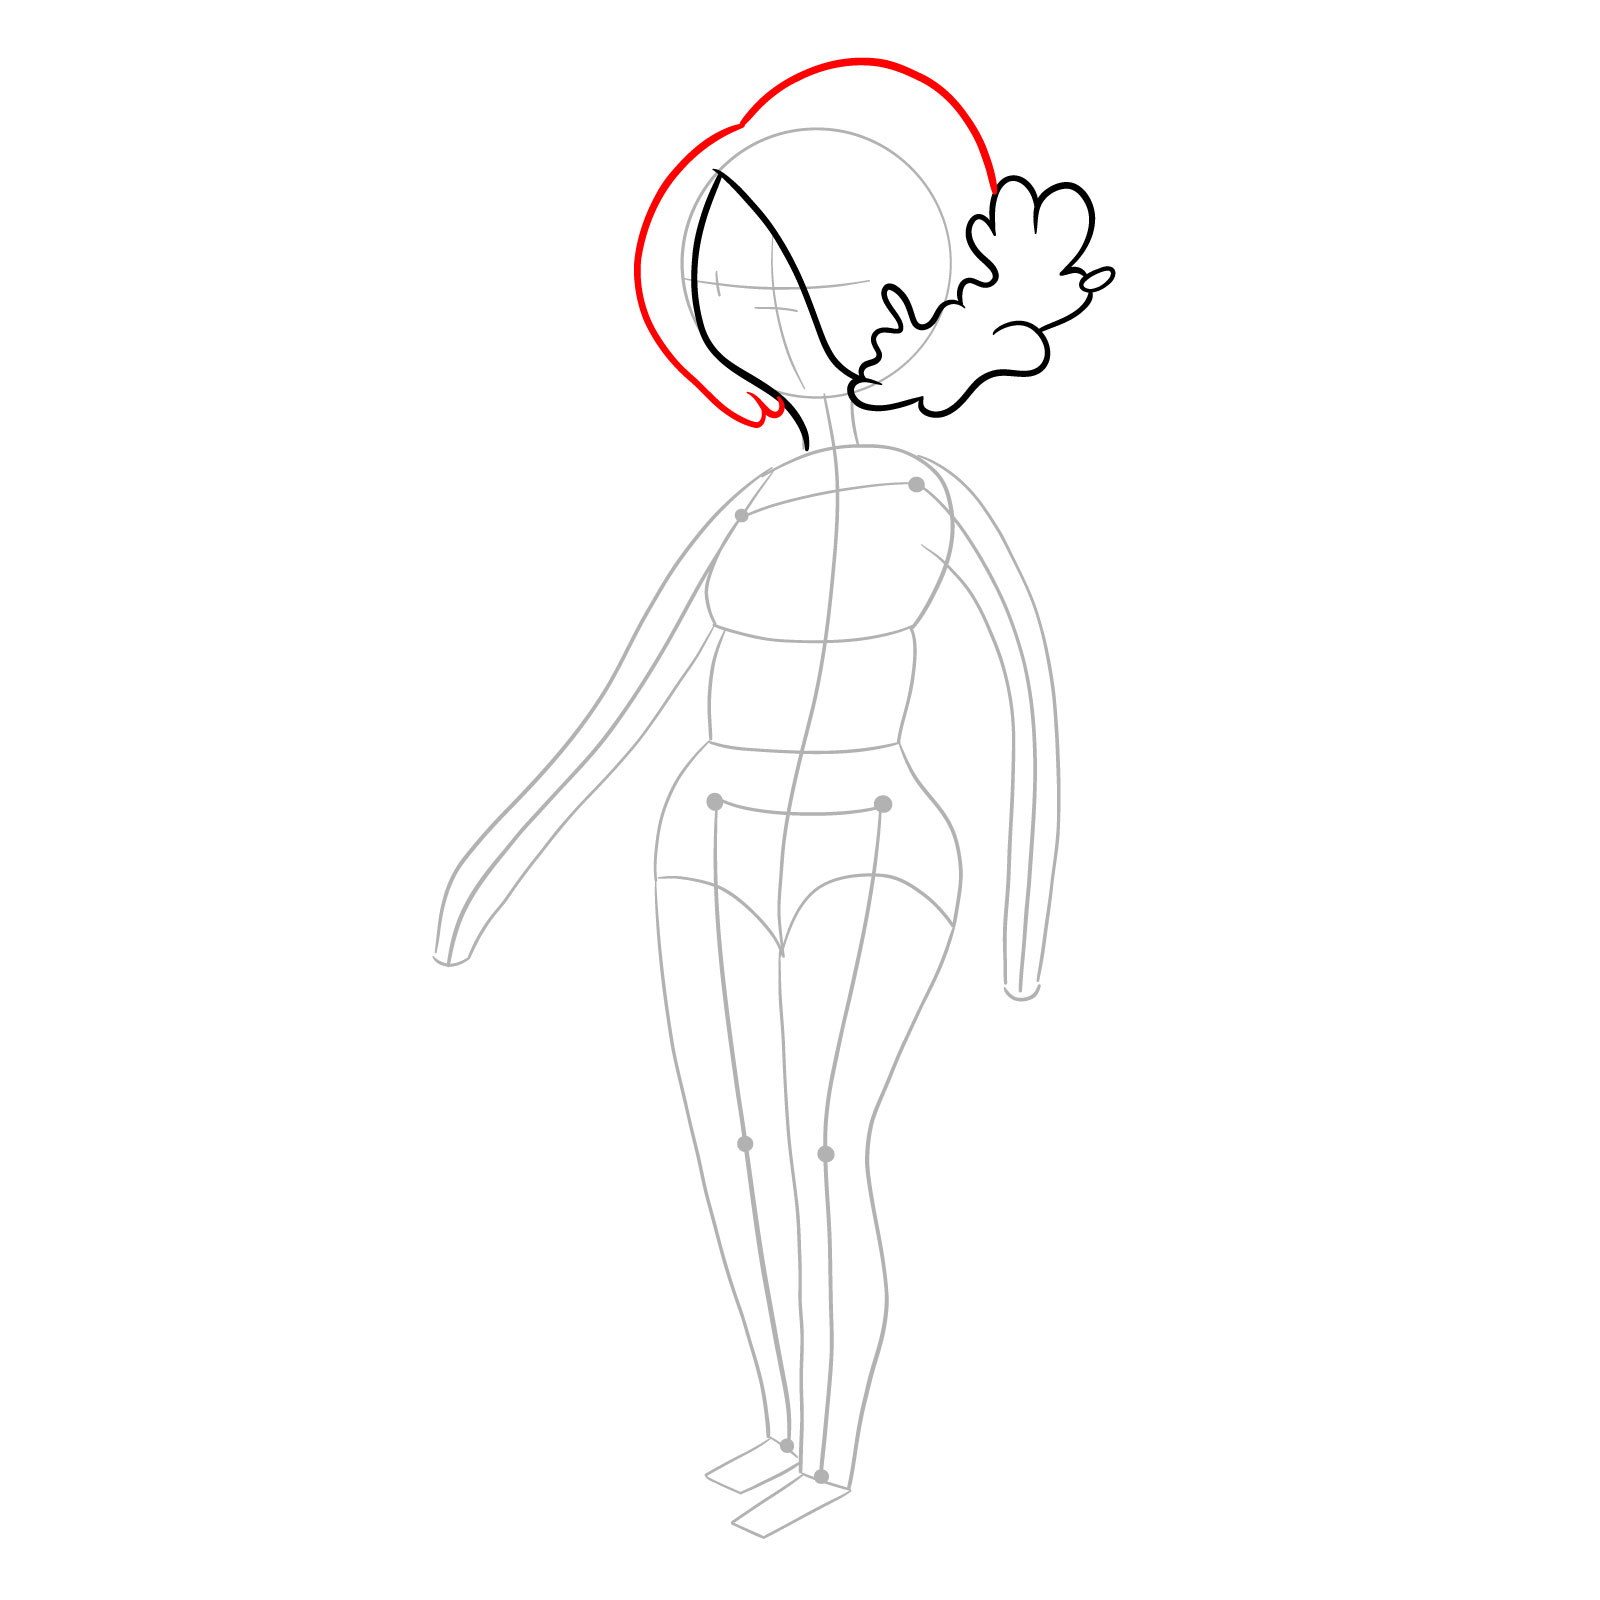
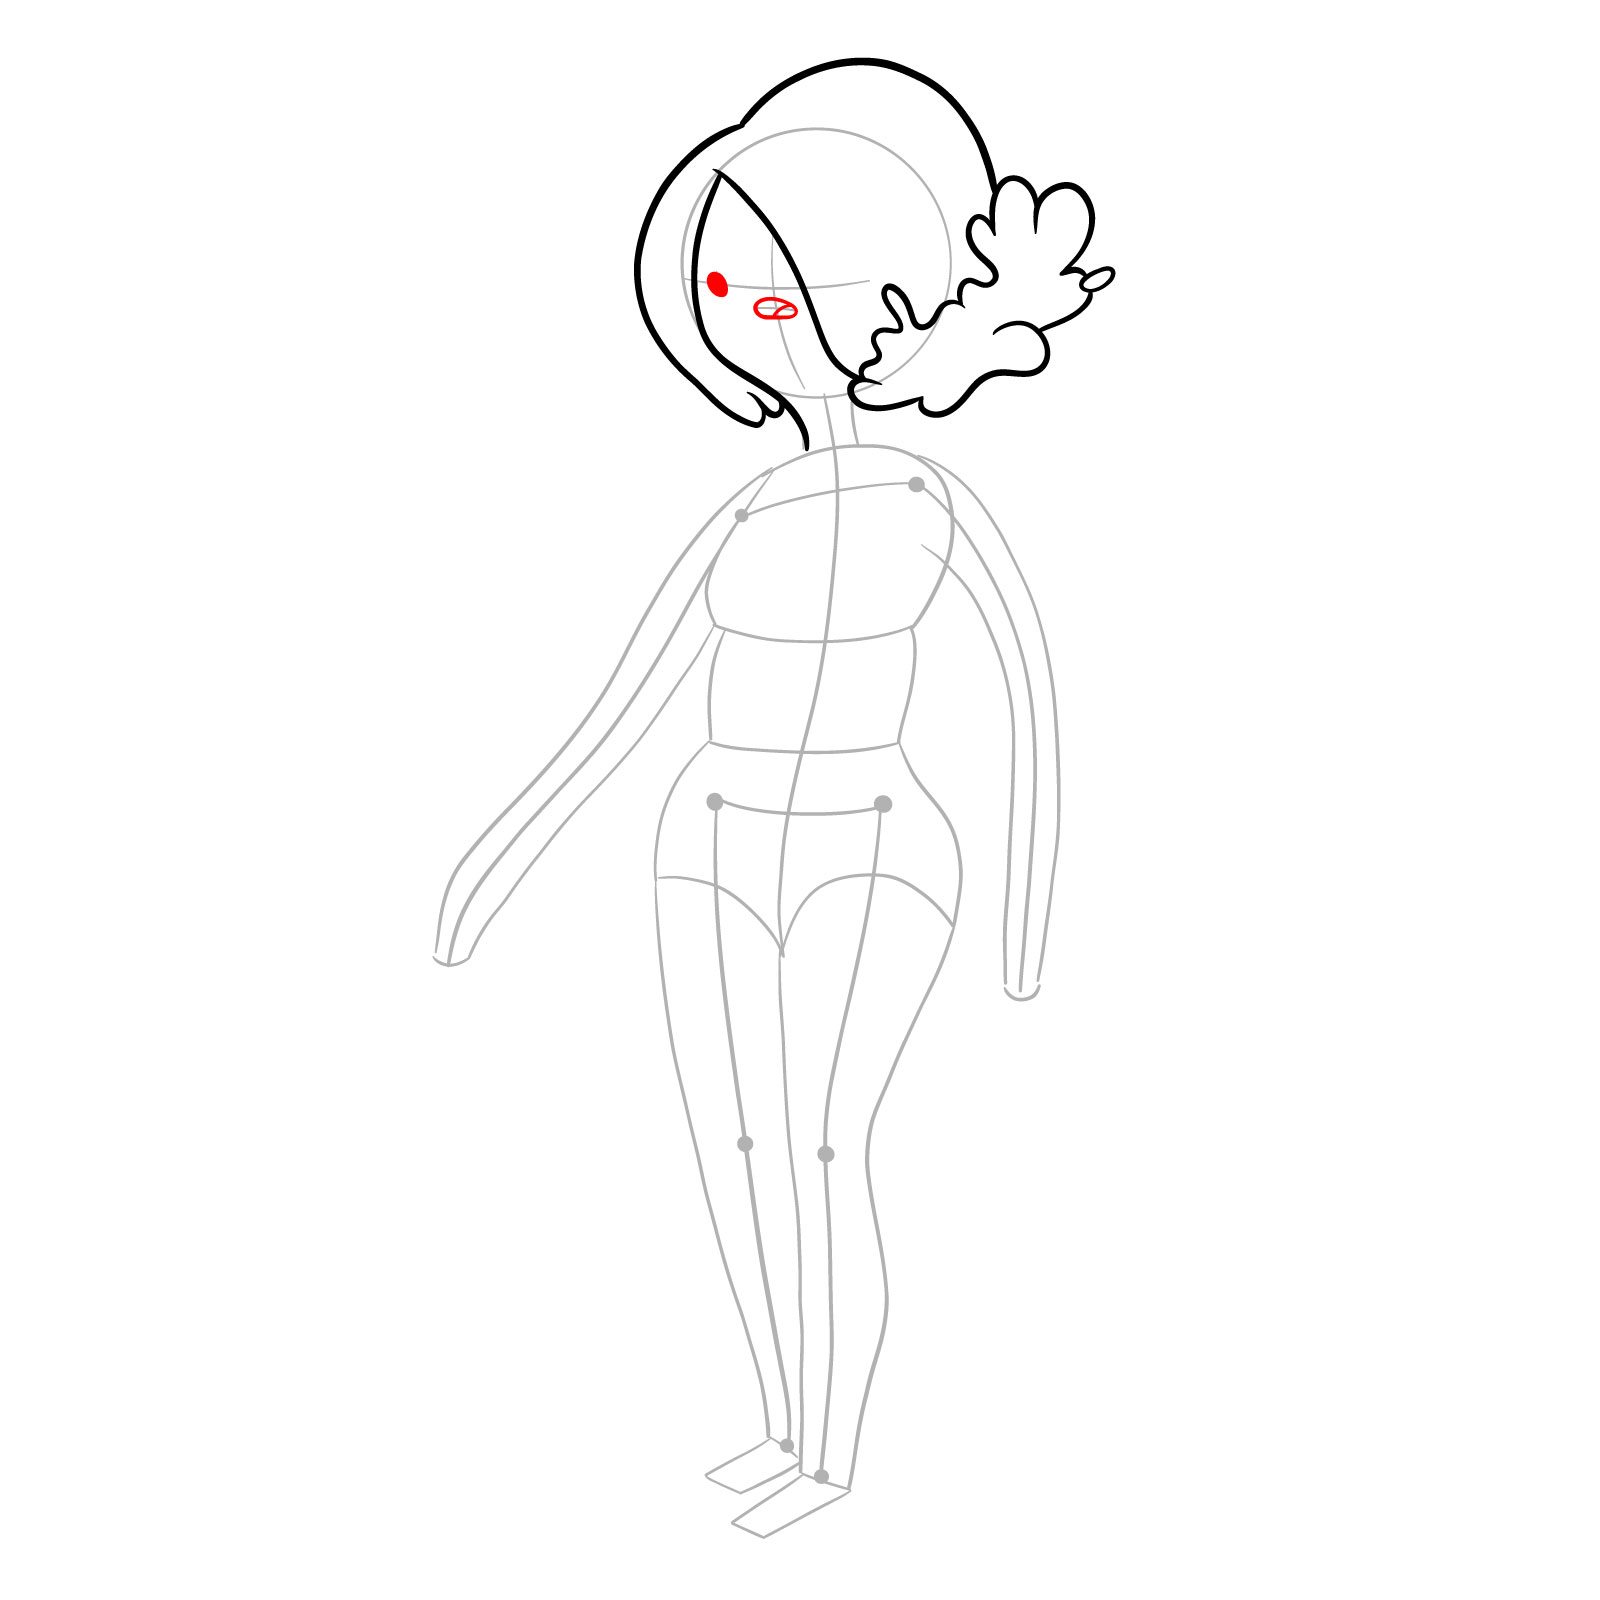
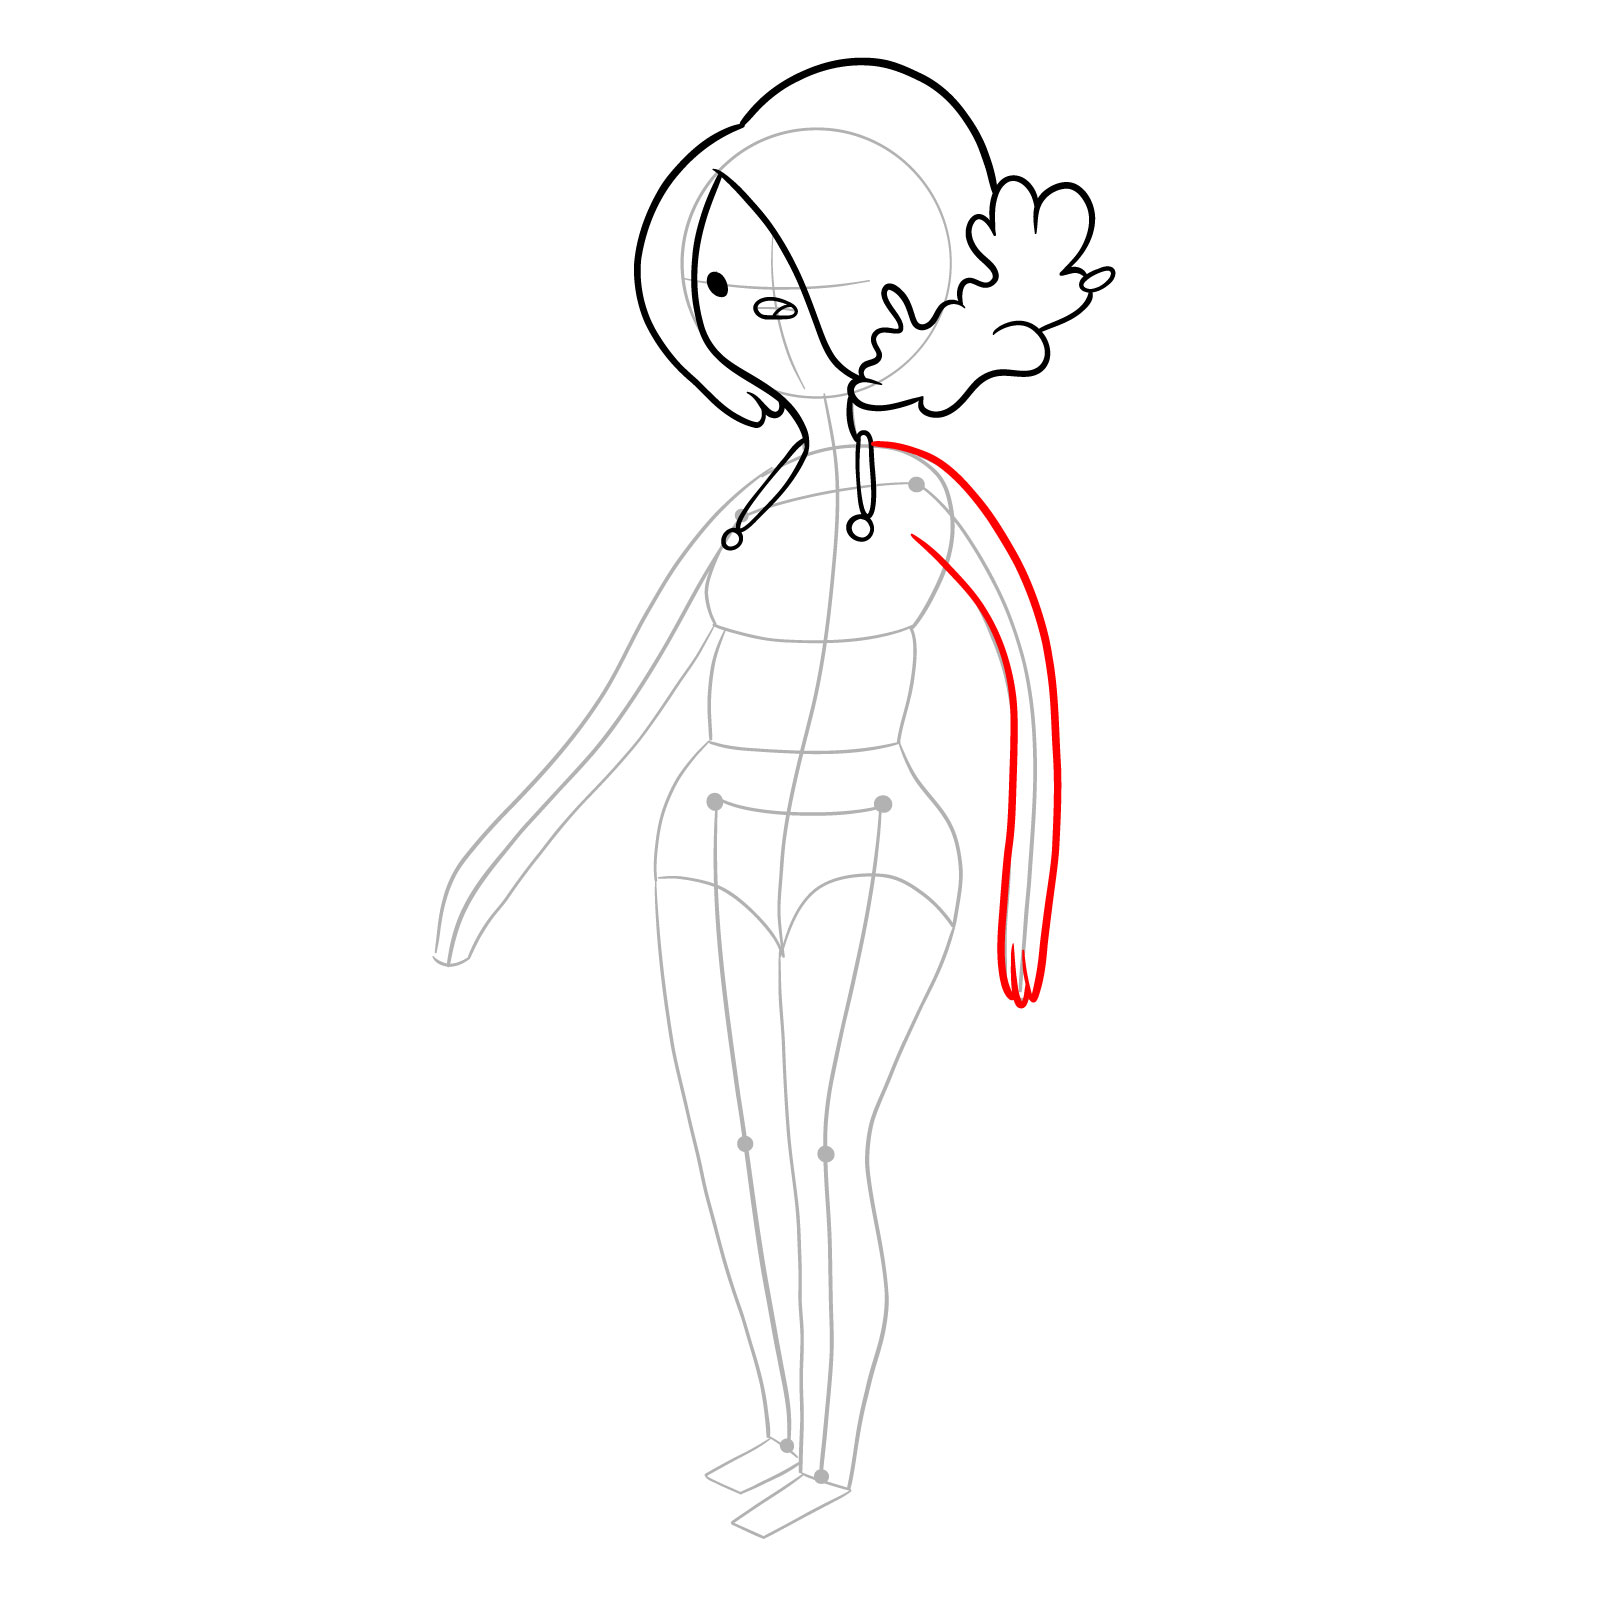
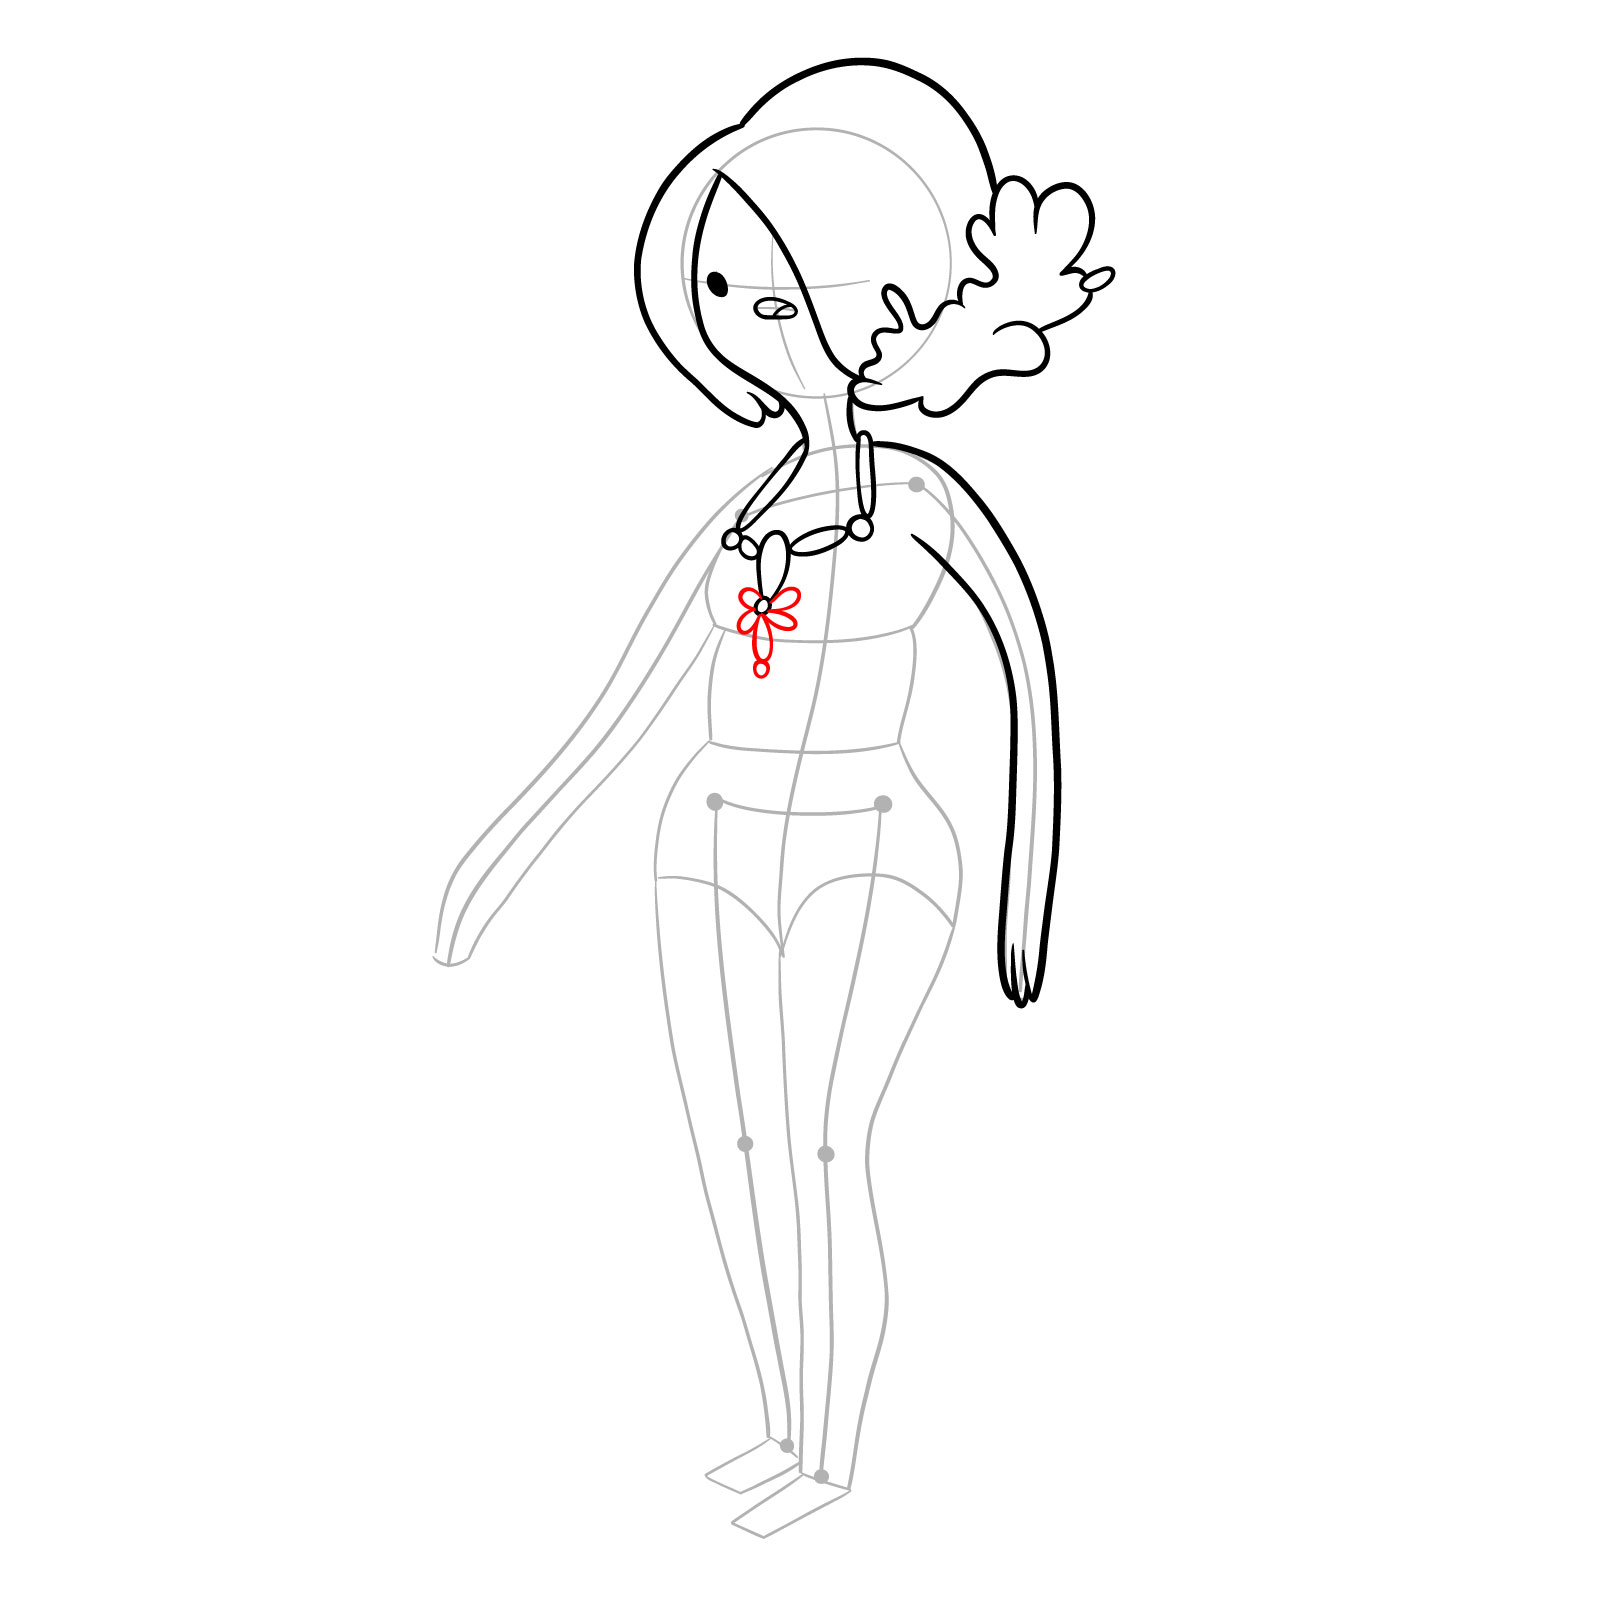
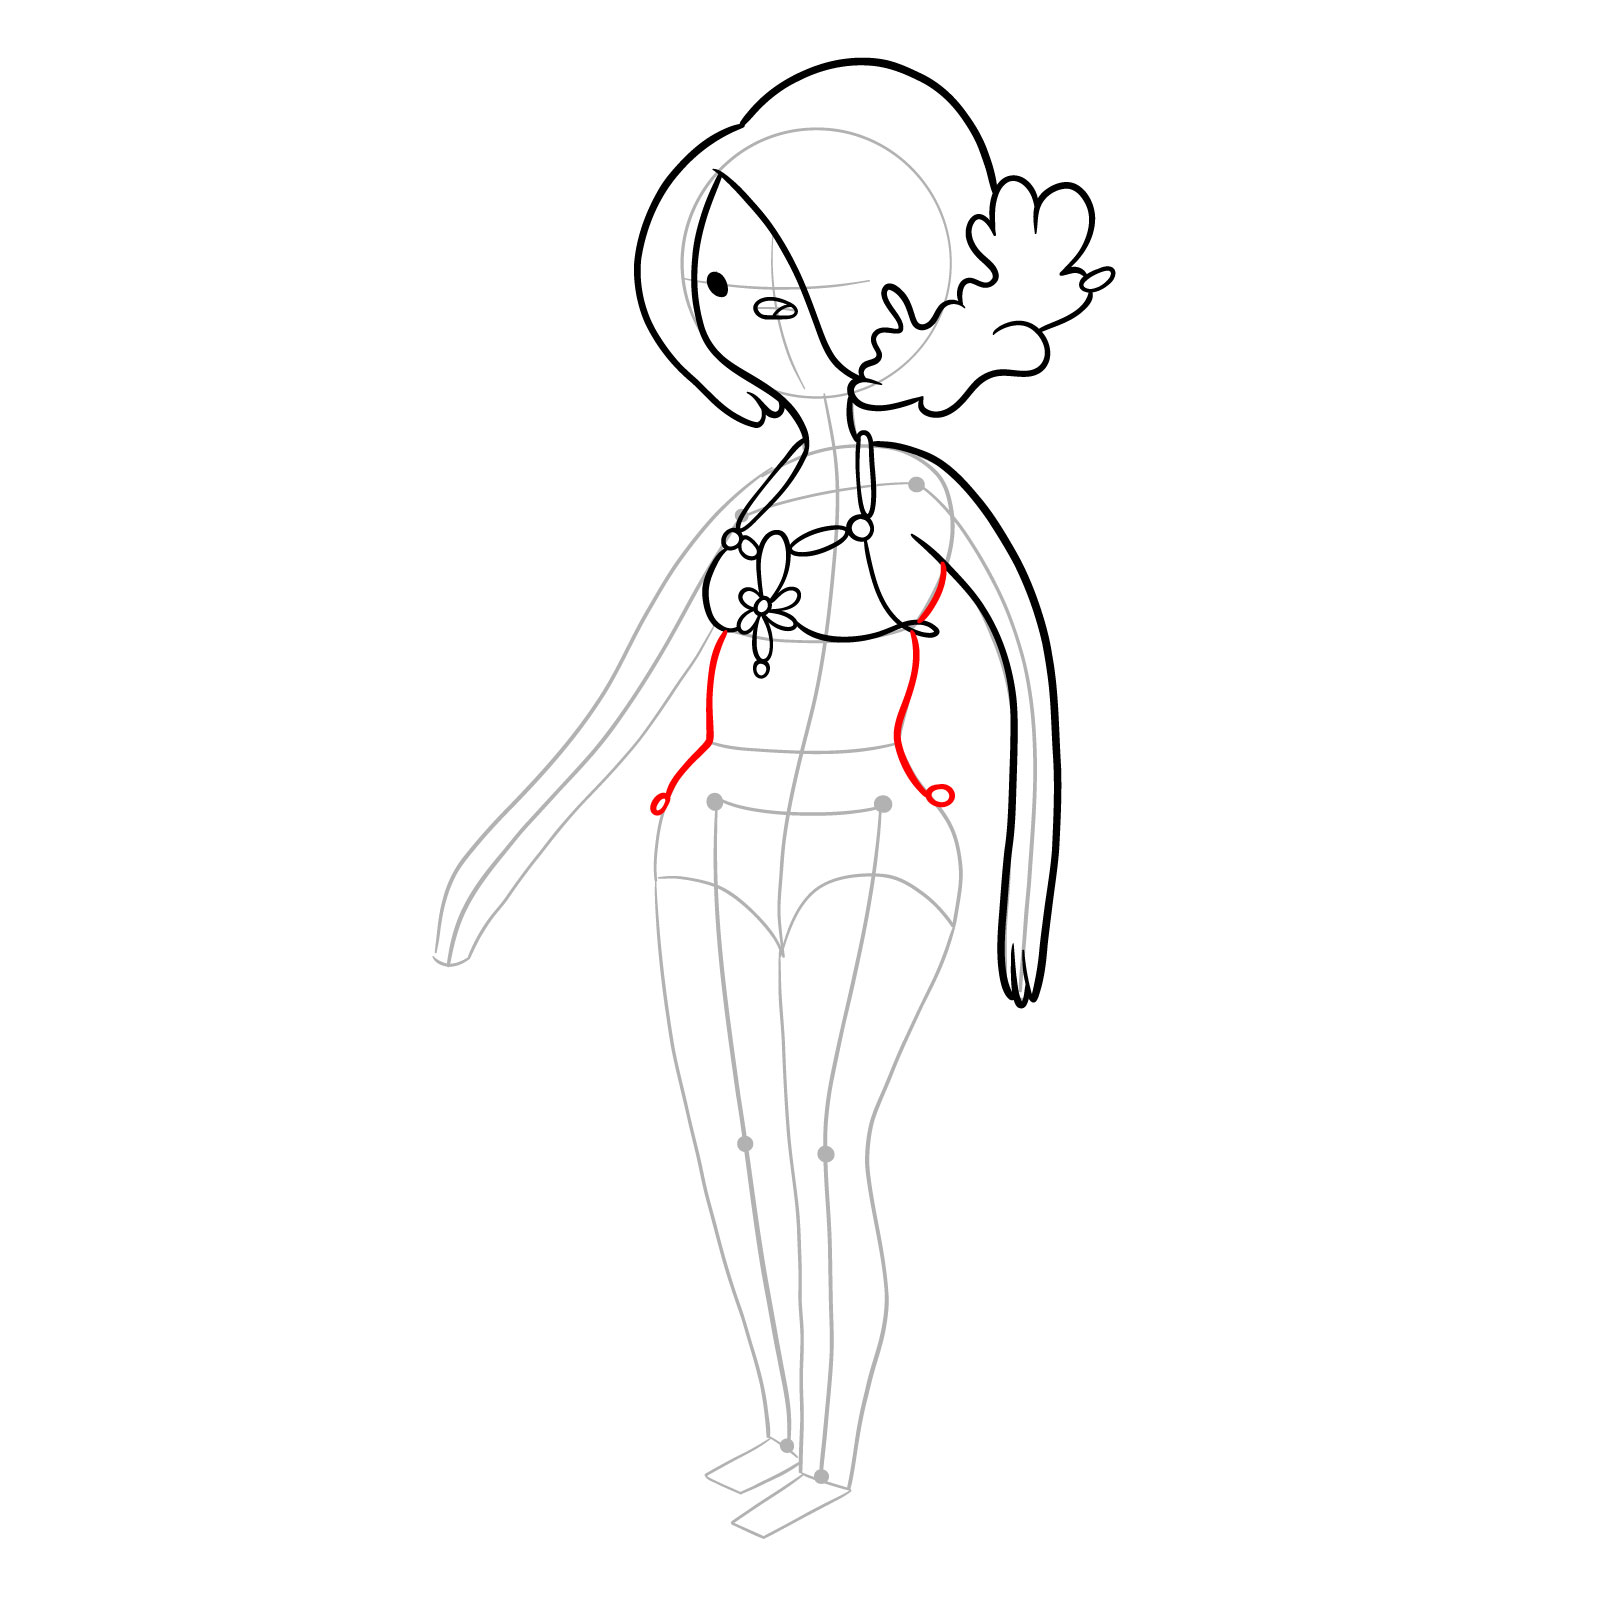
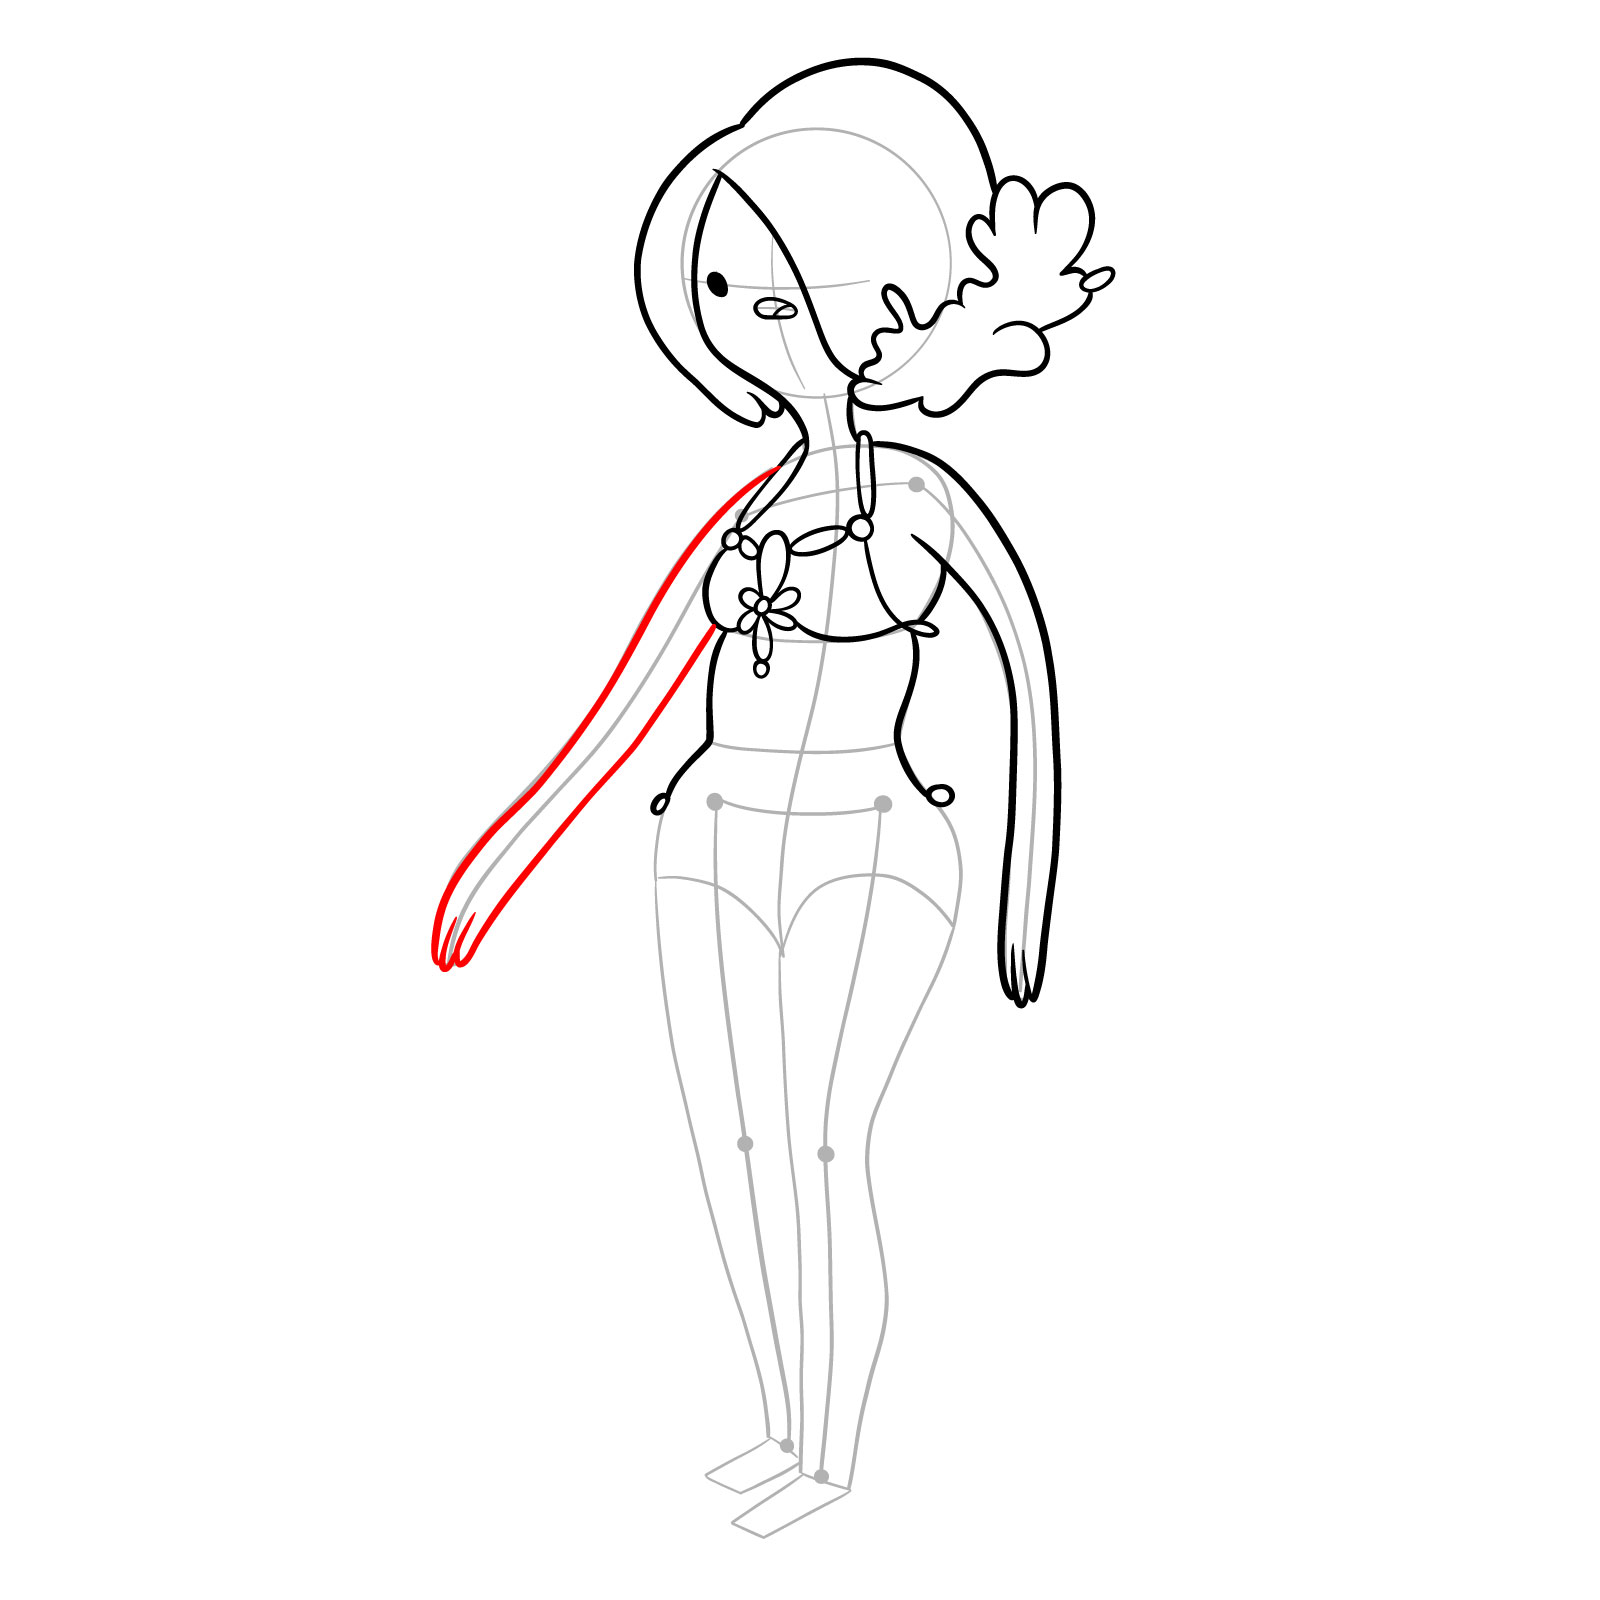
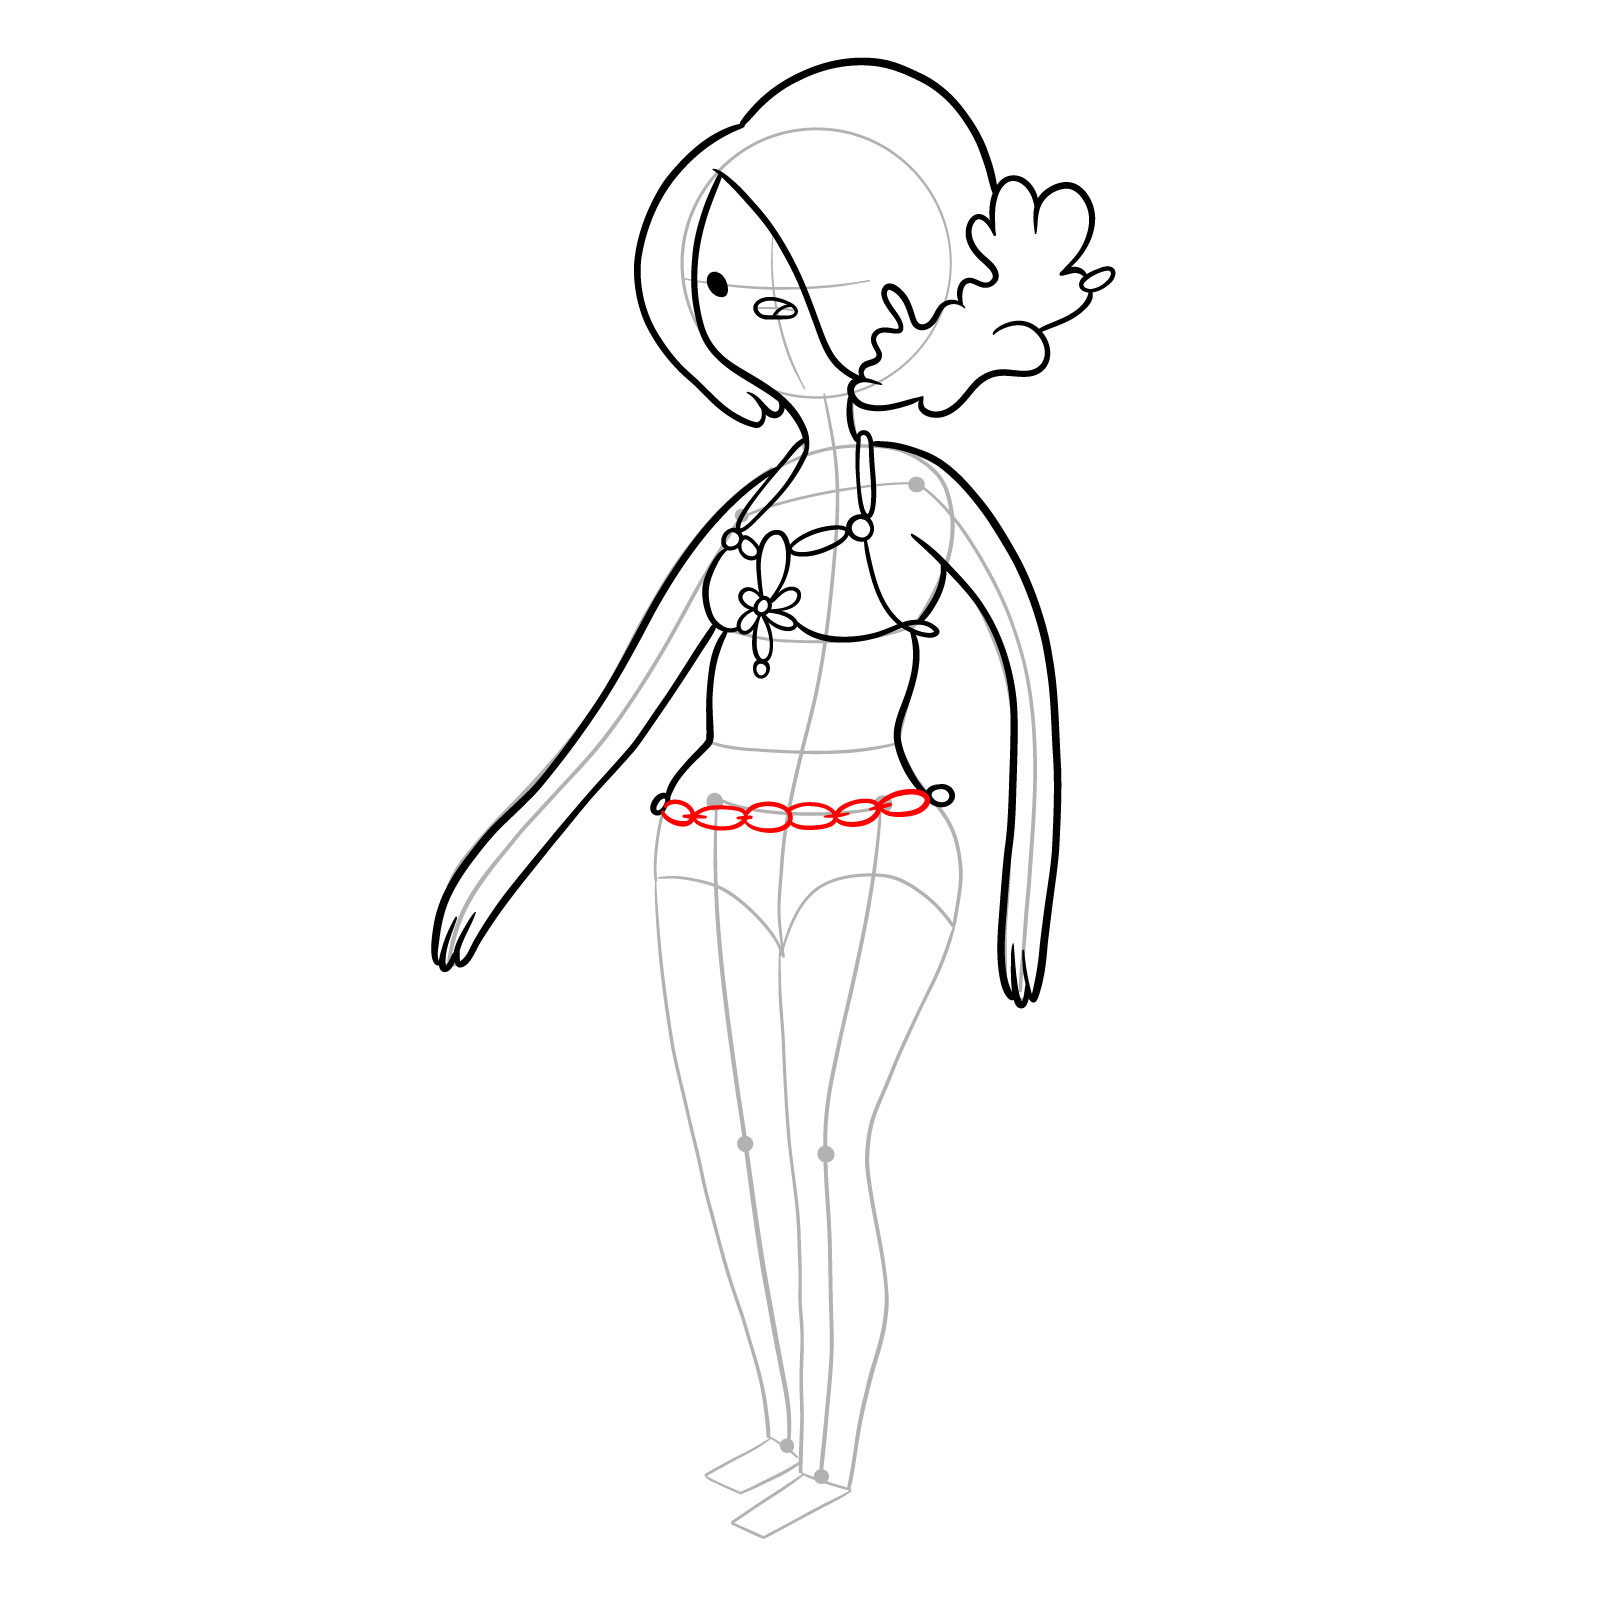
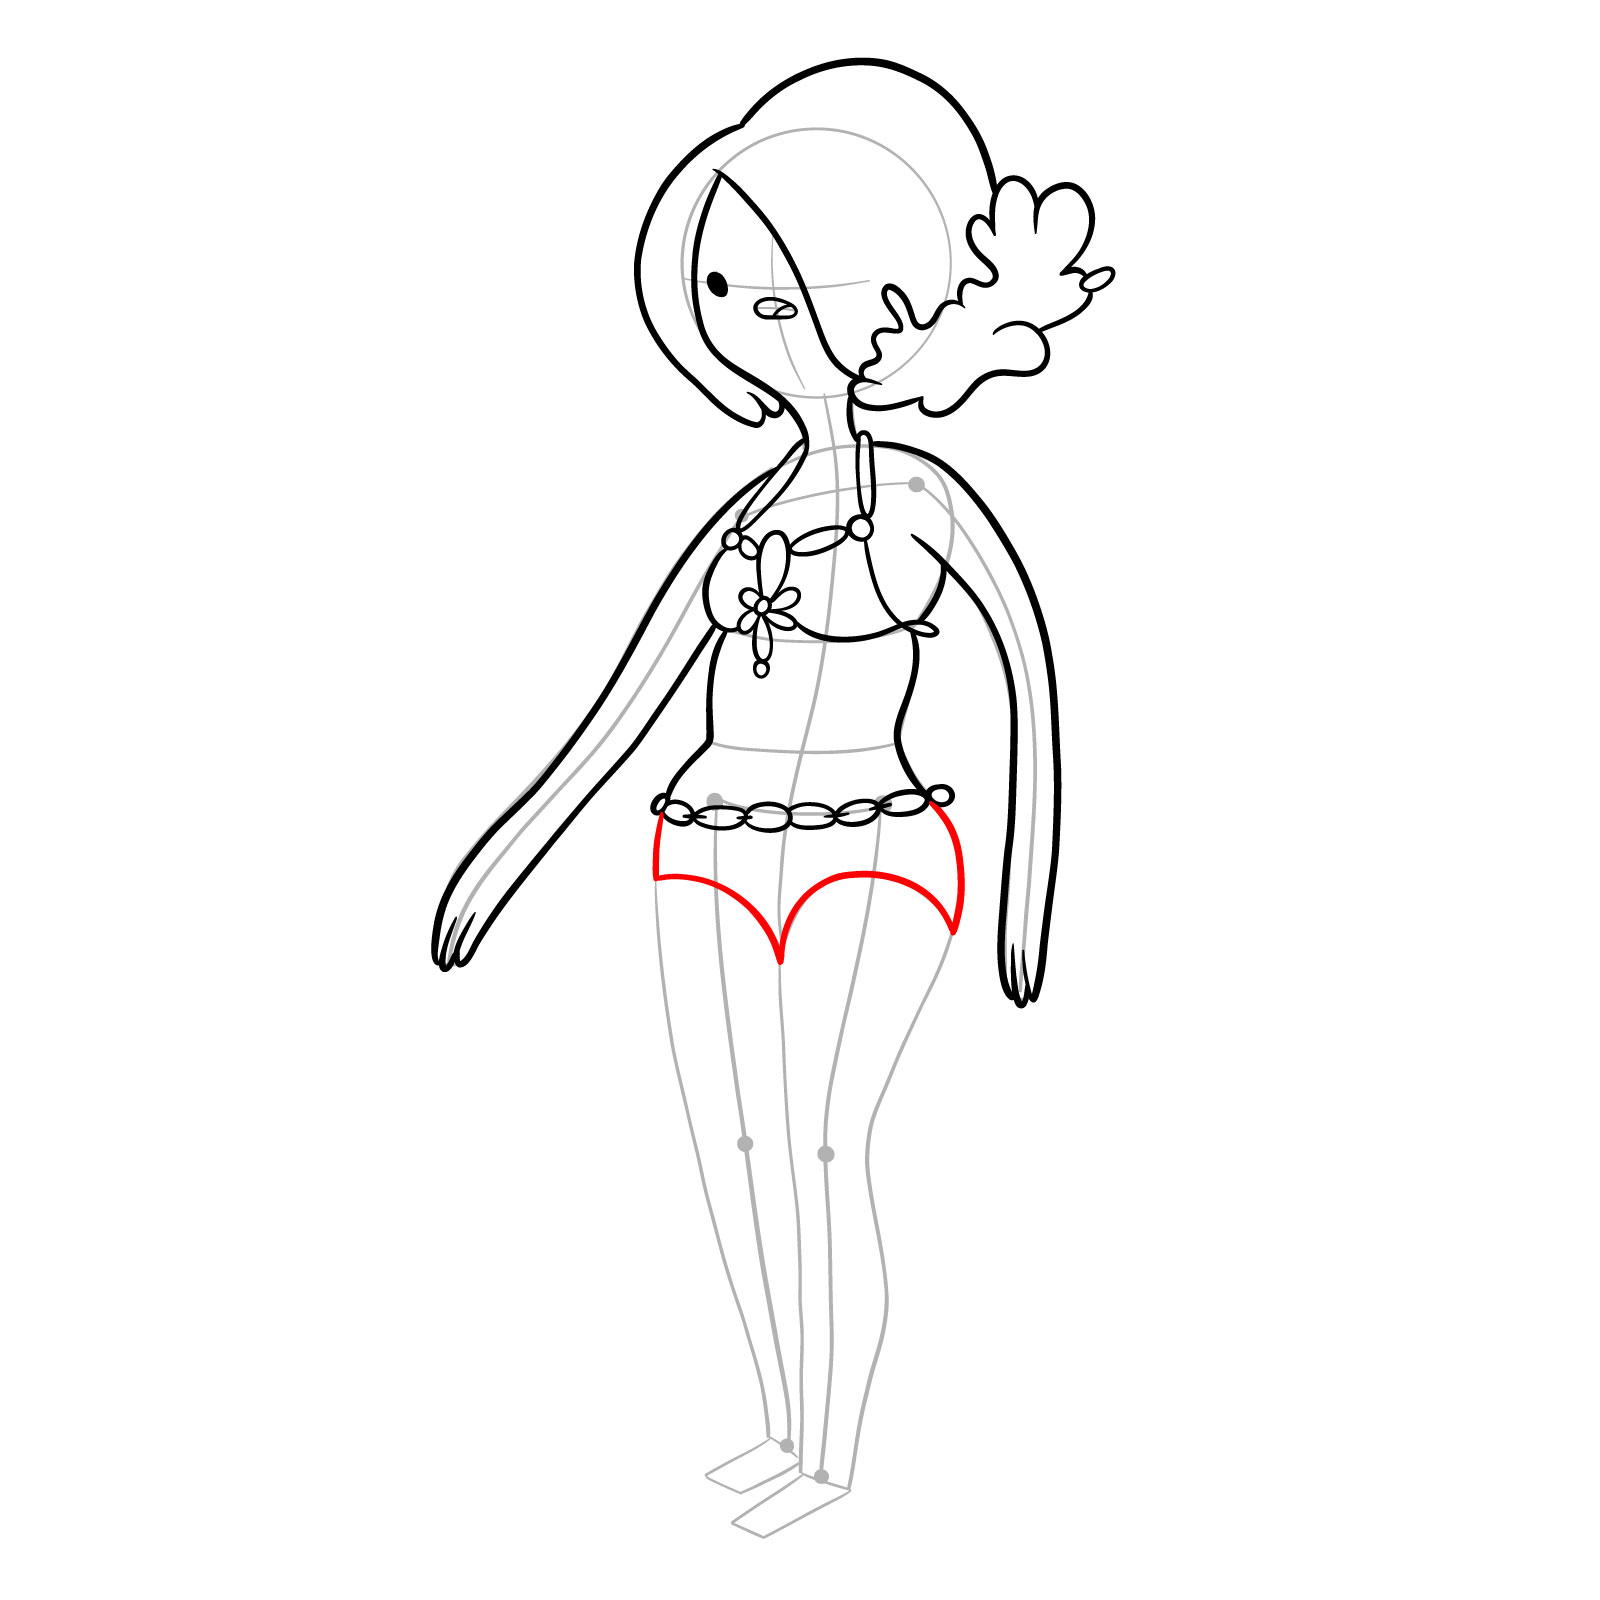
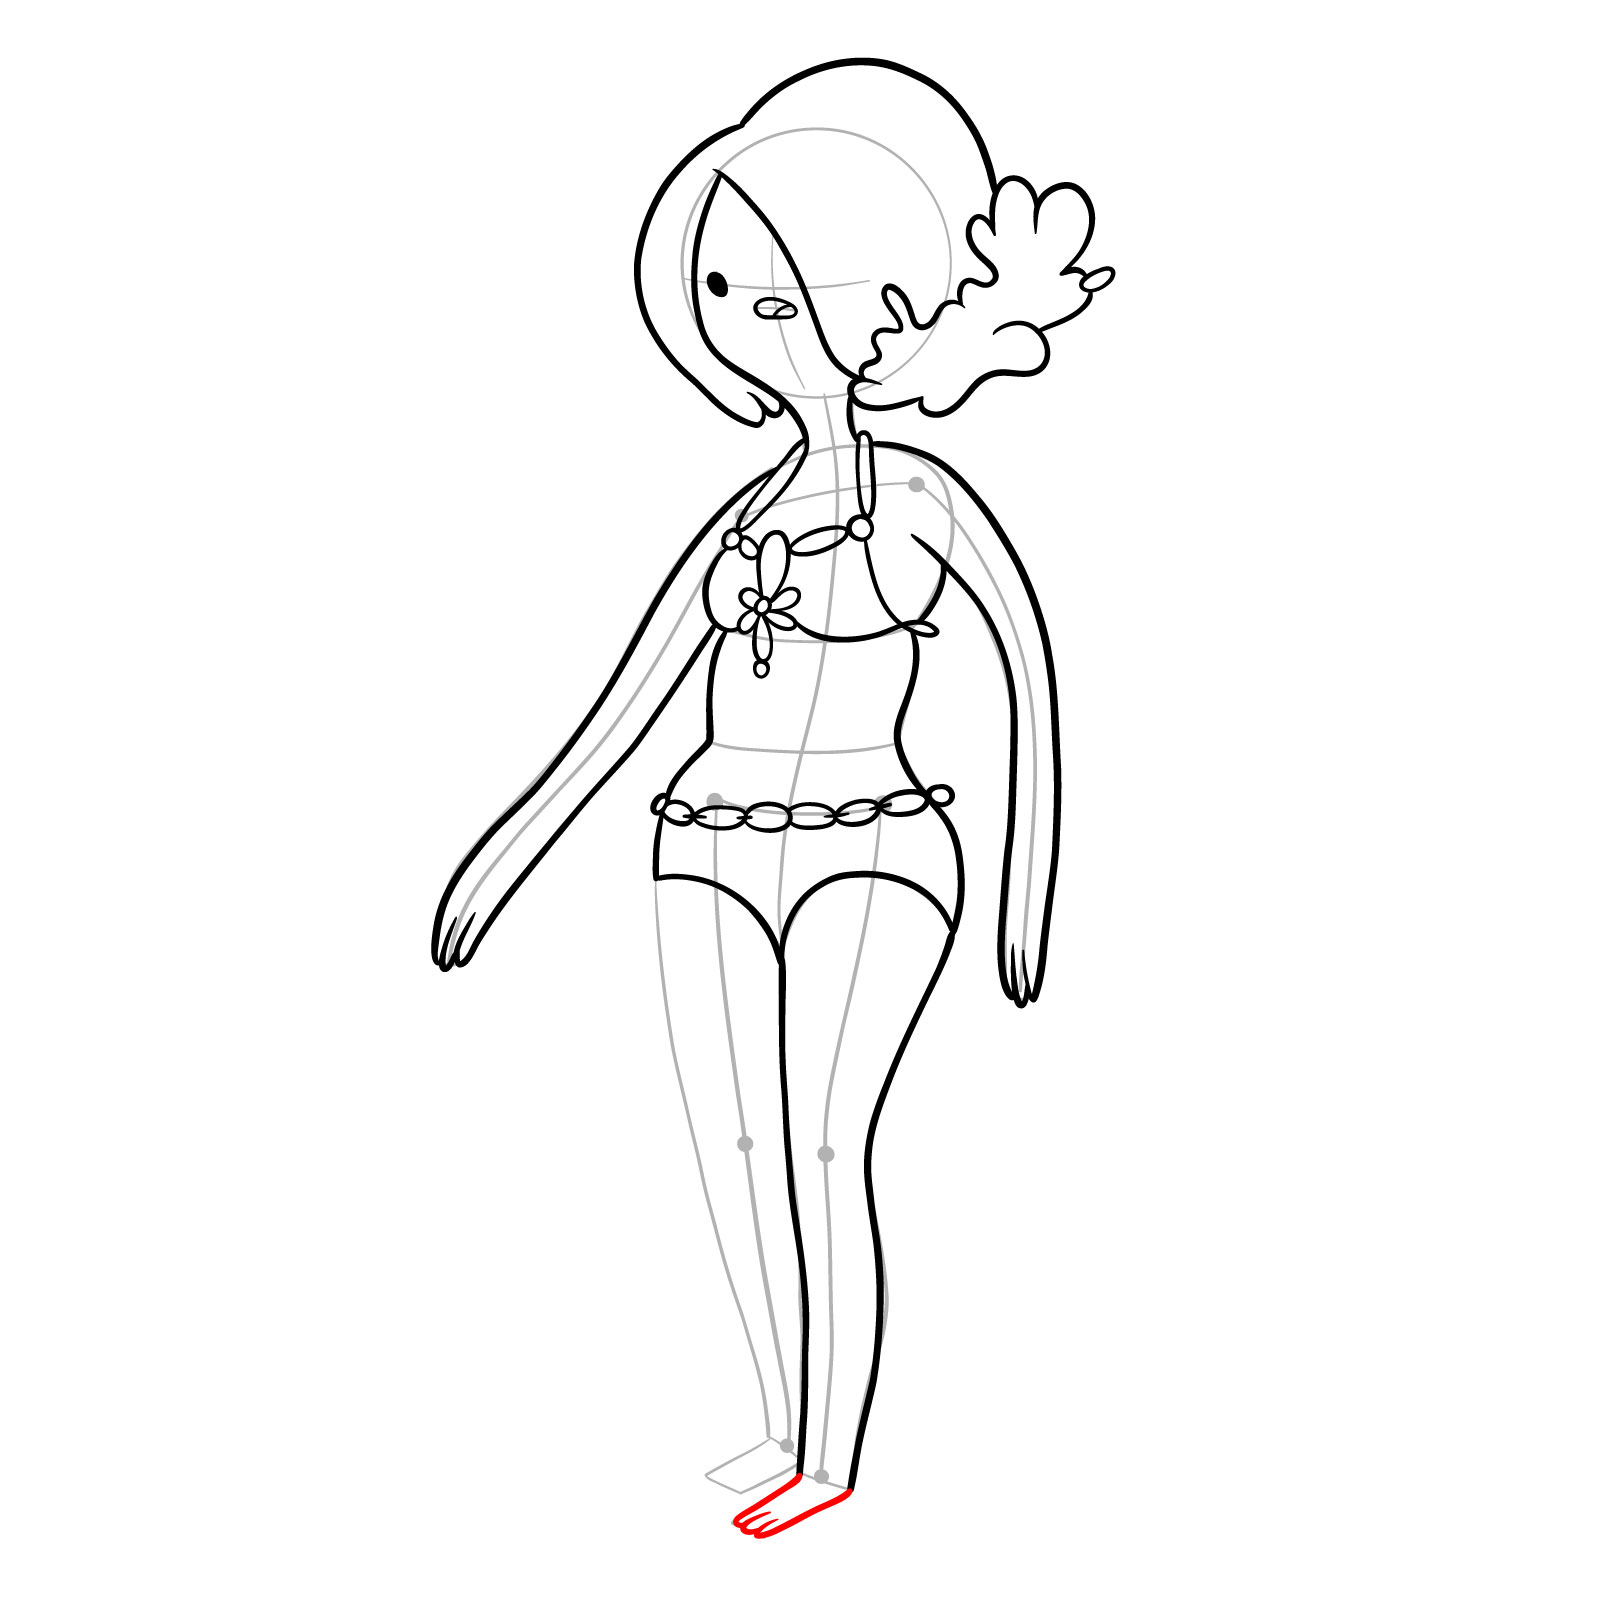
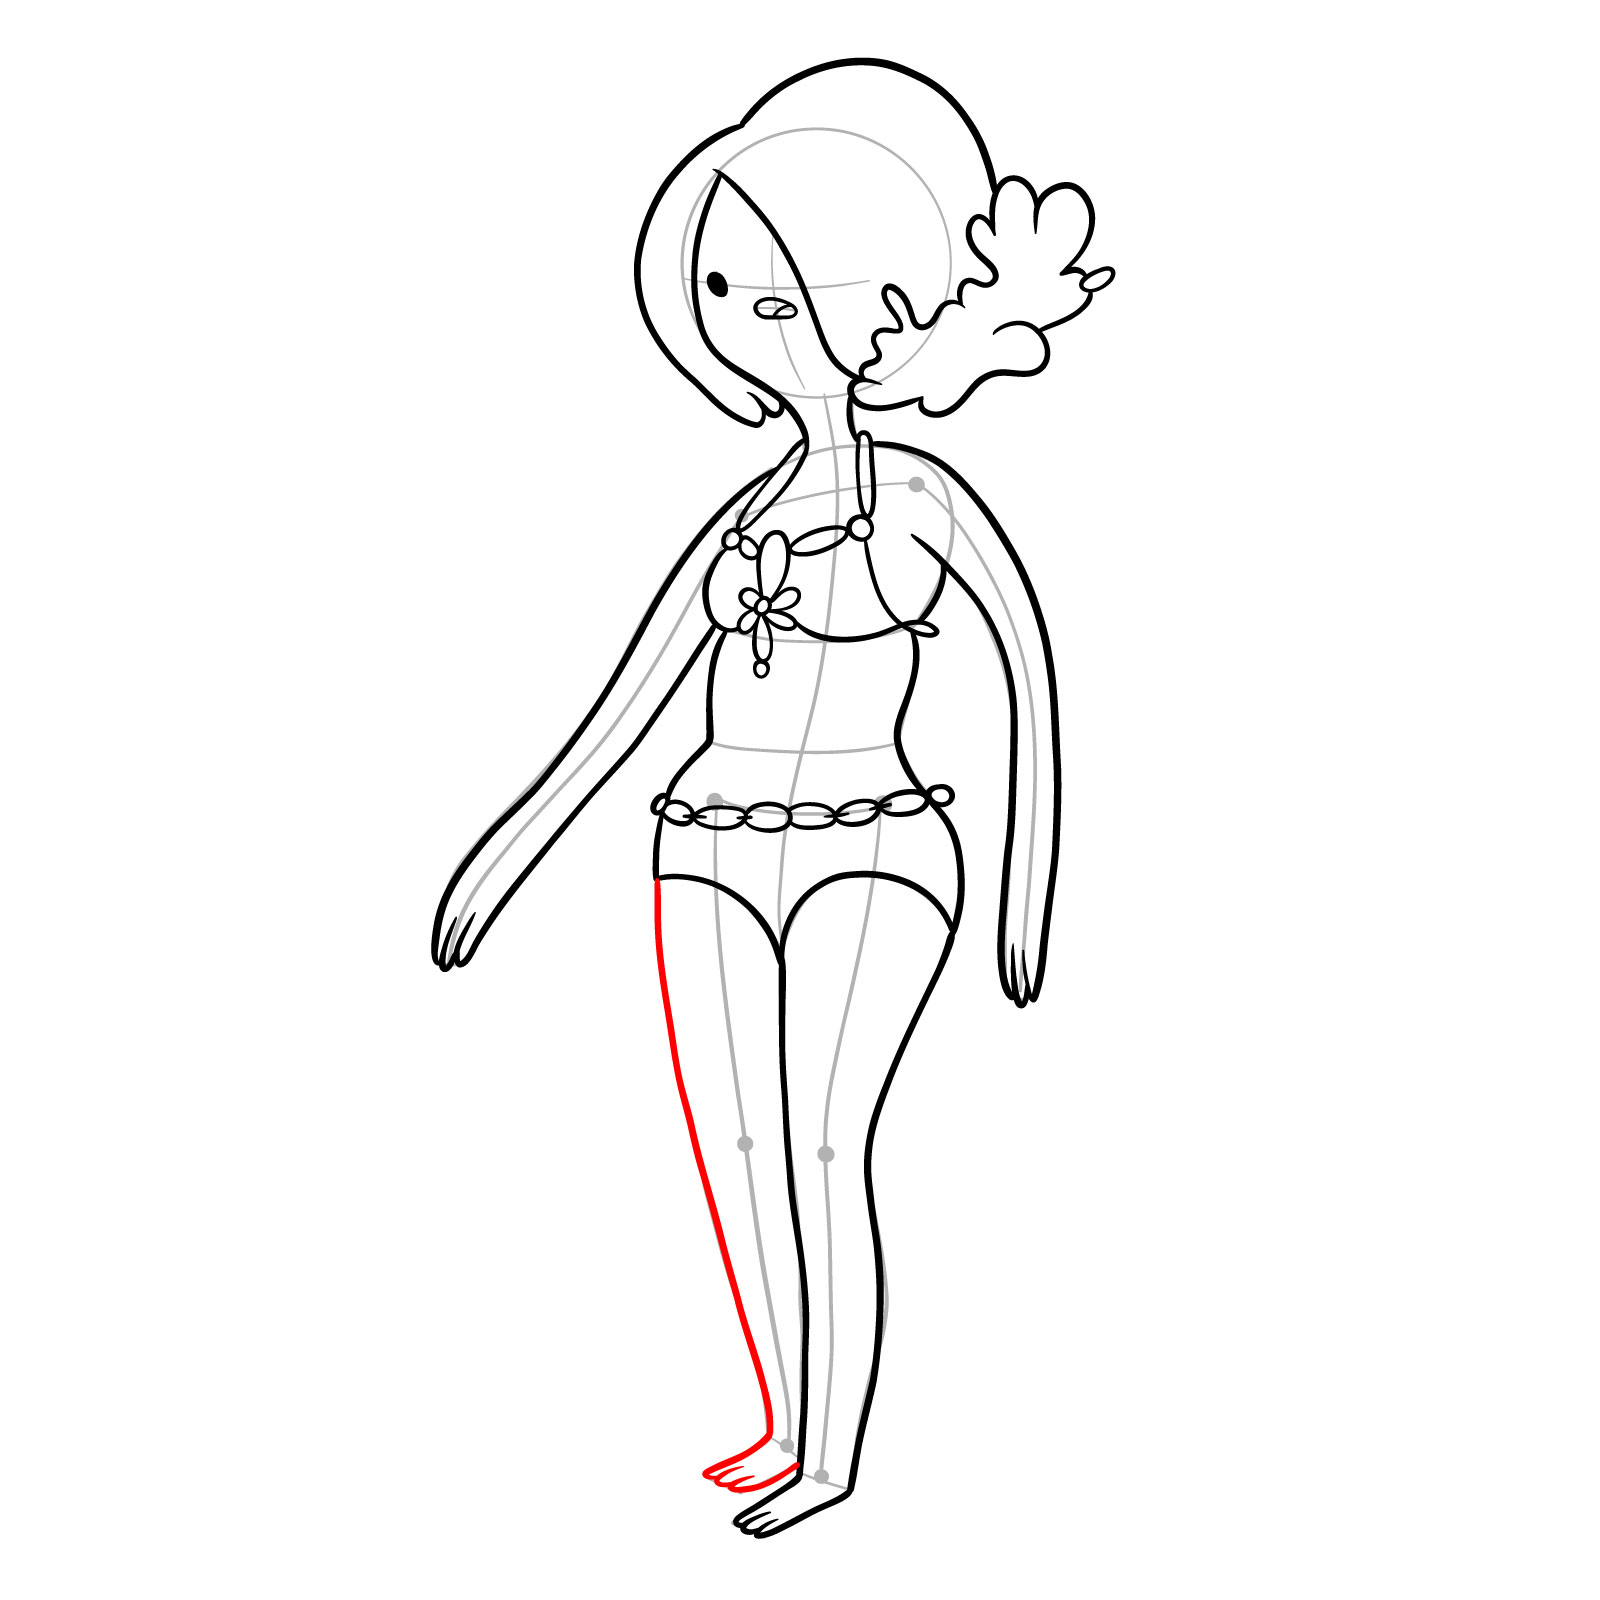
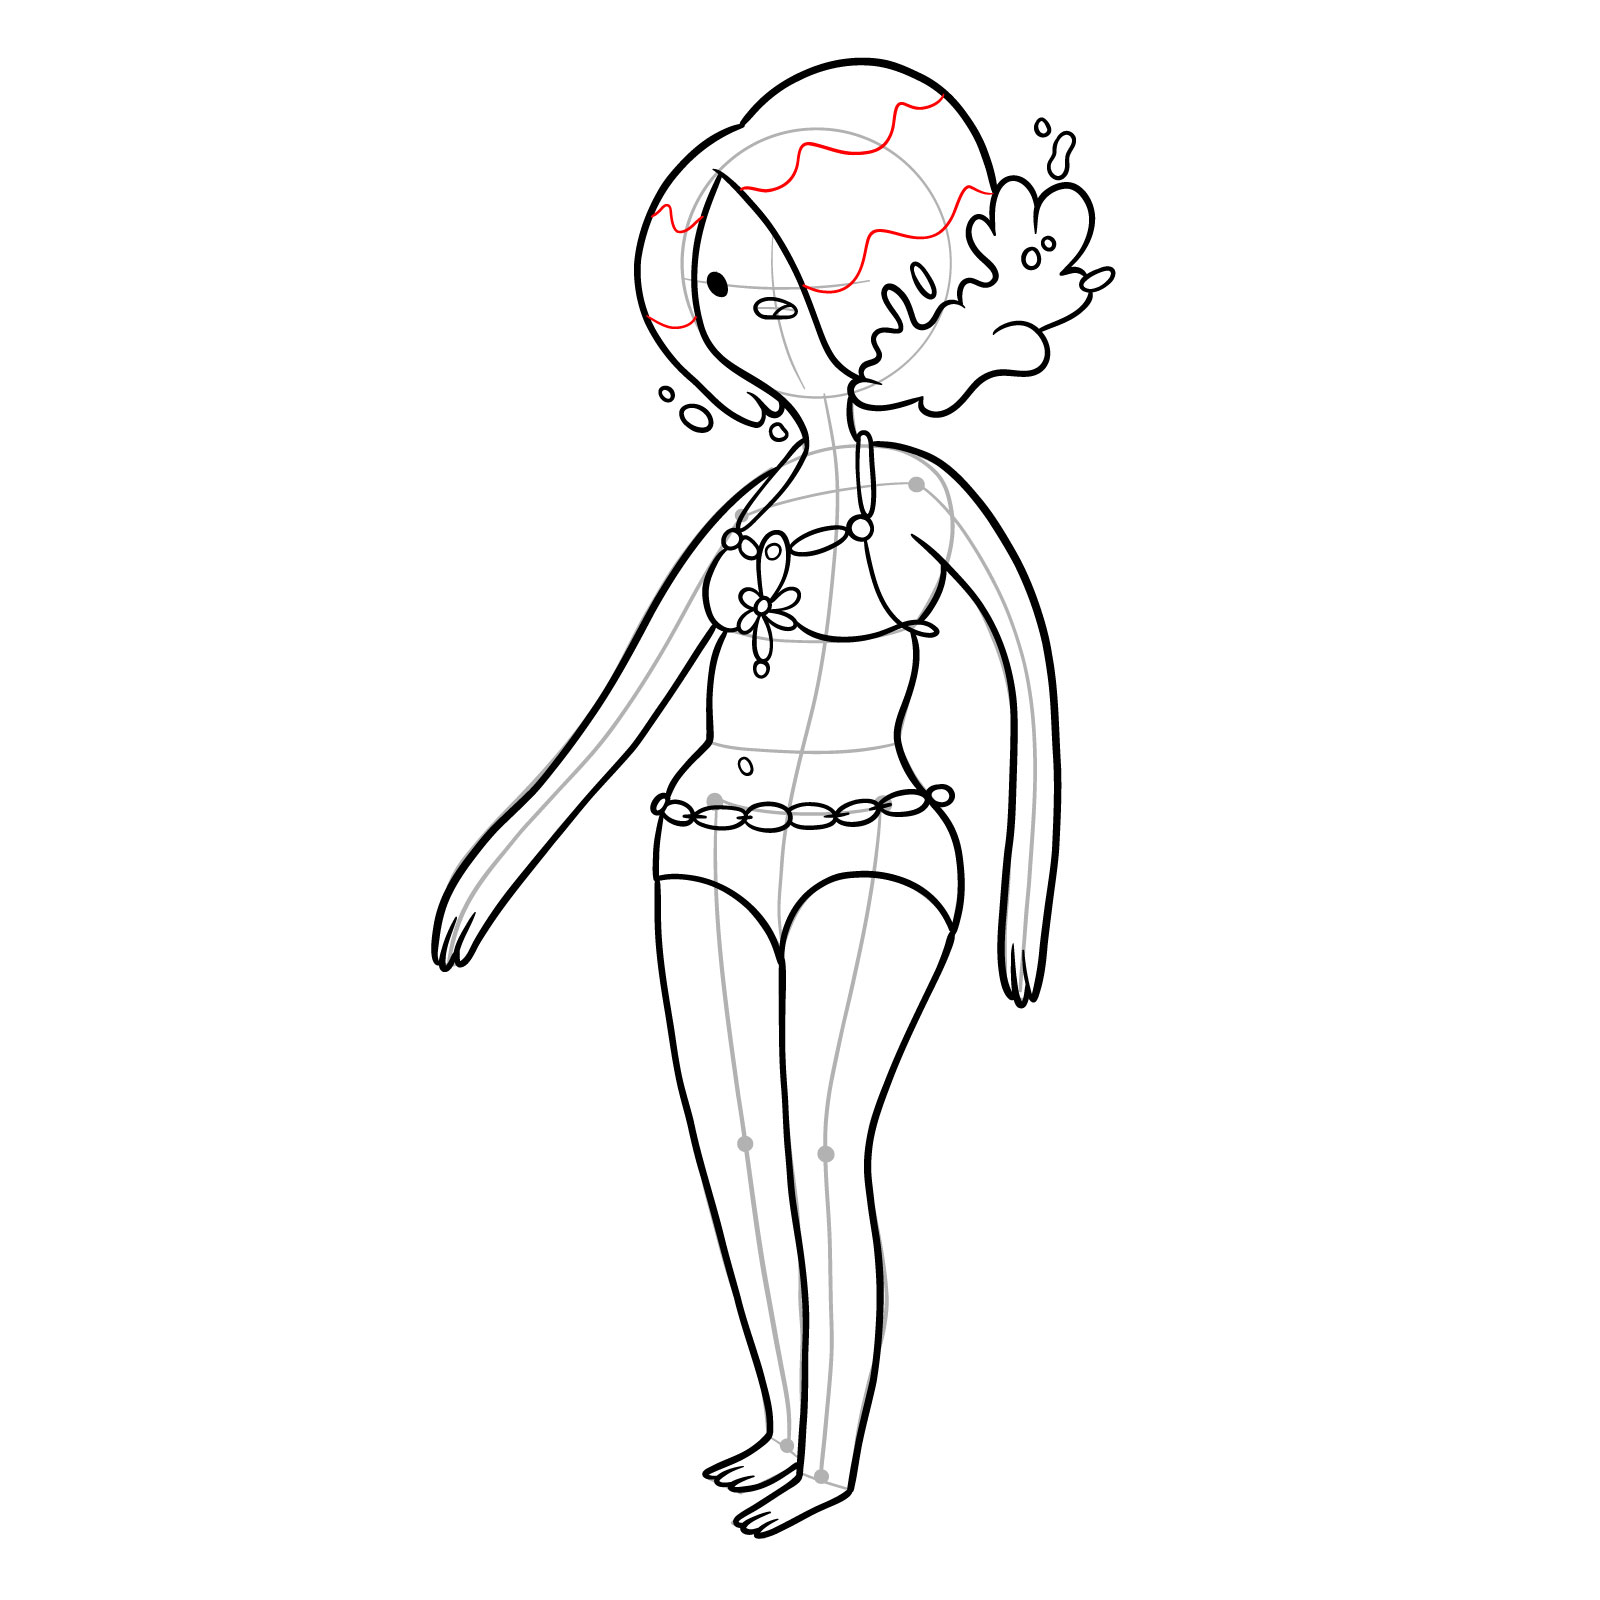
Our drawing guide will take you through the process of creating your very own Water Nymphs artwork. We’ll start with the basic sketch and refine it, followed by inking. Remember, the red color in the guide images represents the current drawing step, while the gray color indicates the basic proportions sketch, and the black color shows the previously drawn lines.

Part 1: Drawing Denise – Basic Sketch

Begin by creating a basic structure for Denise using light pencil strokes. Focus on capturing her proportions and positioning, as this will serve as the foundation for the rest of the drawing.

Step 01

How to draw Denise - a water nymph from Adventure Time - step 01

Step 02

How to draw Denise - a water nymph from Adventure Time - step 02

Step 03

How to draw Denise - a water nymph from Adventure Time - step 03

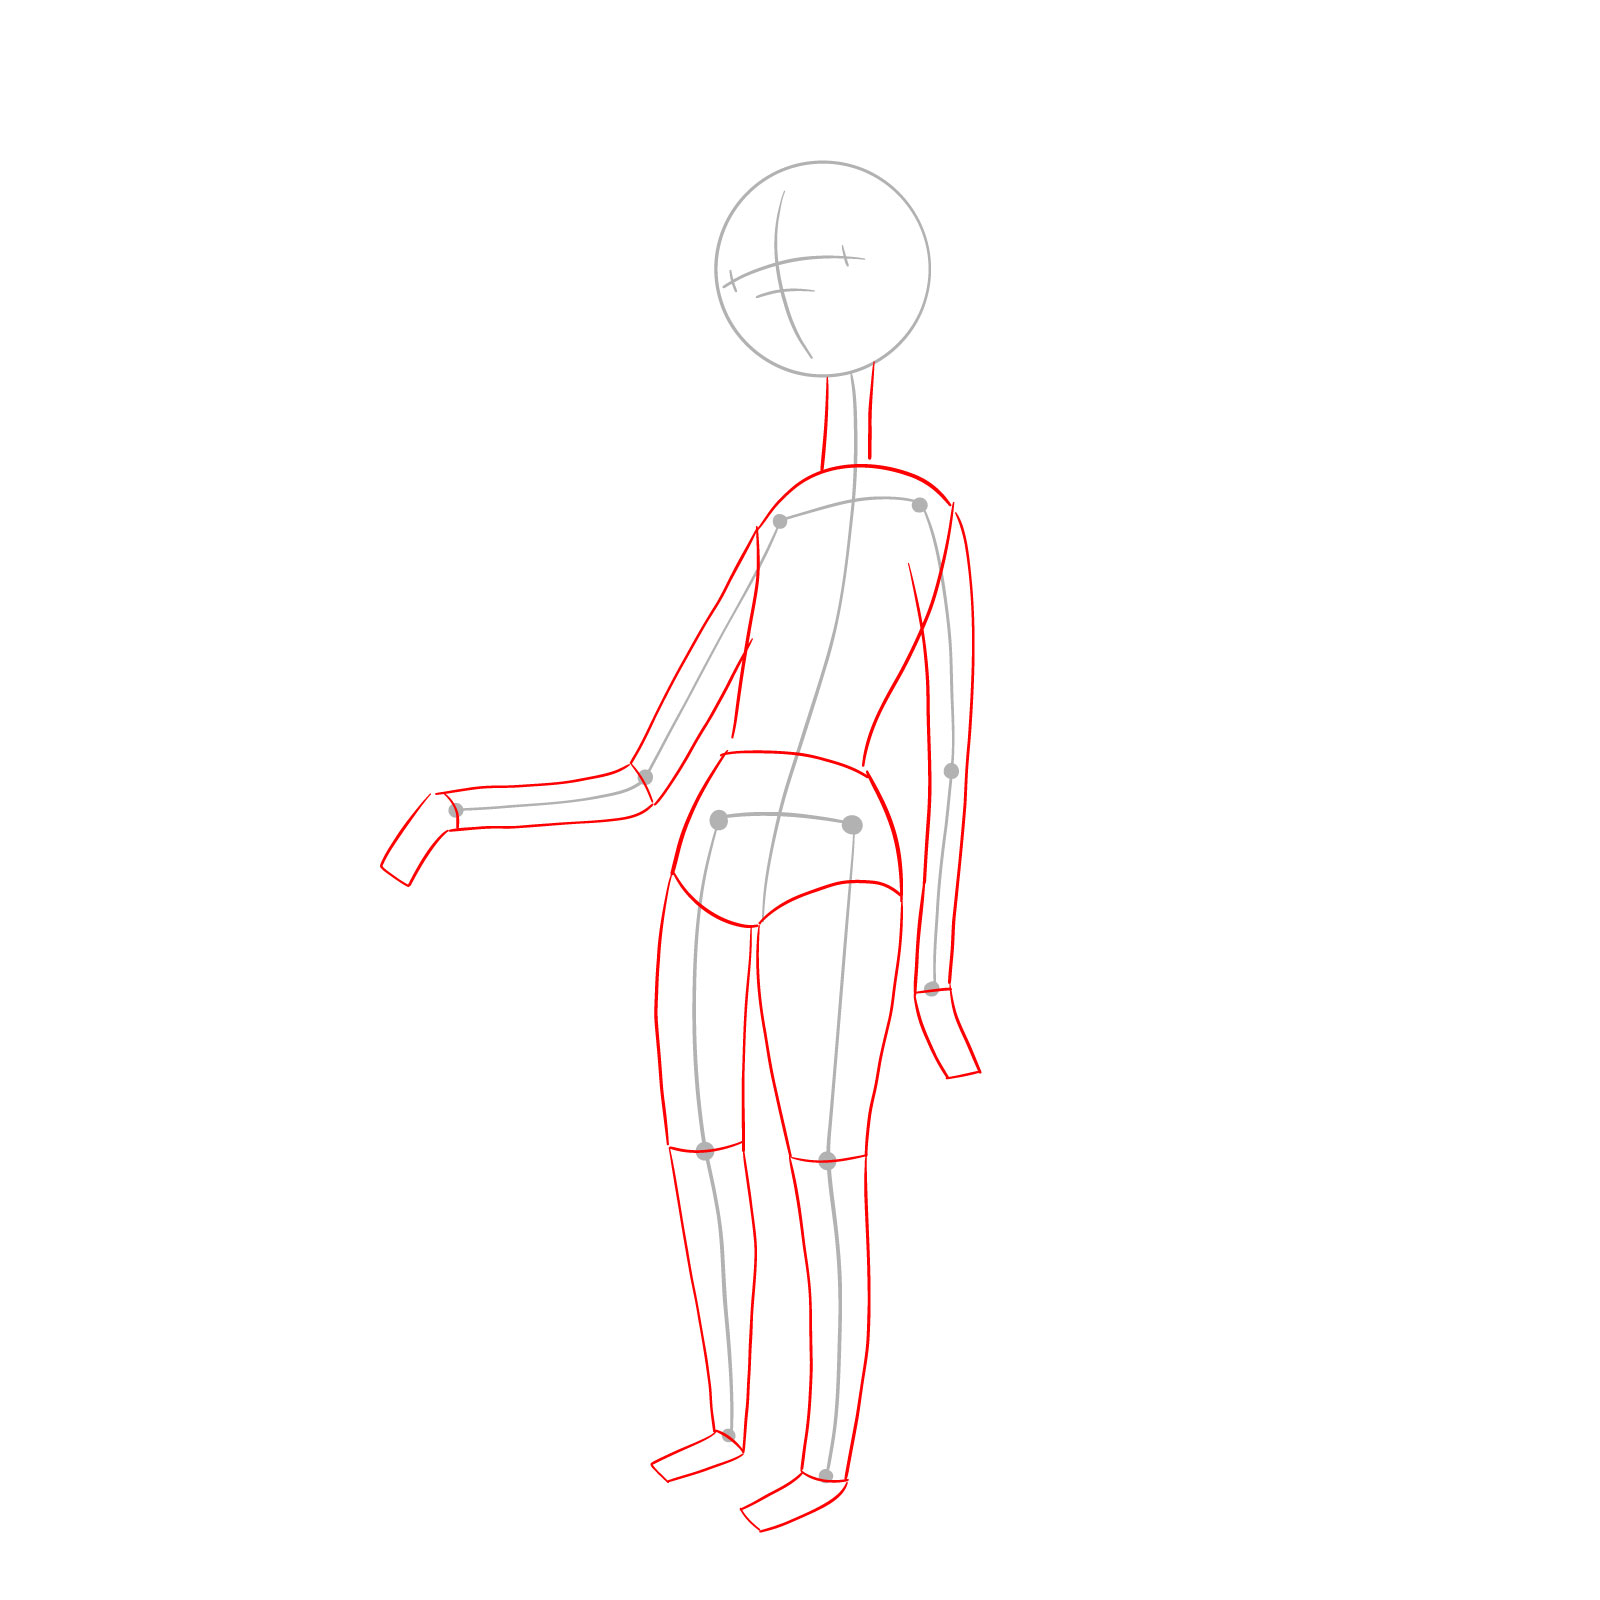
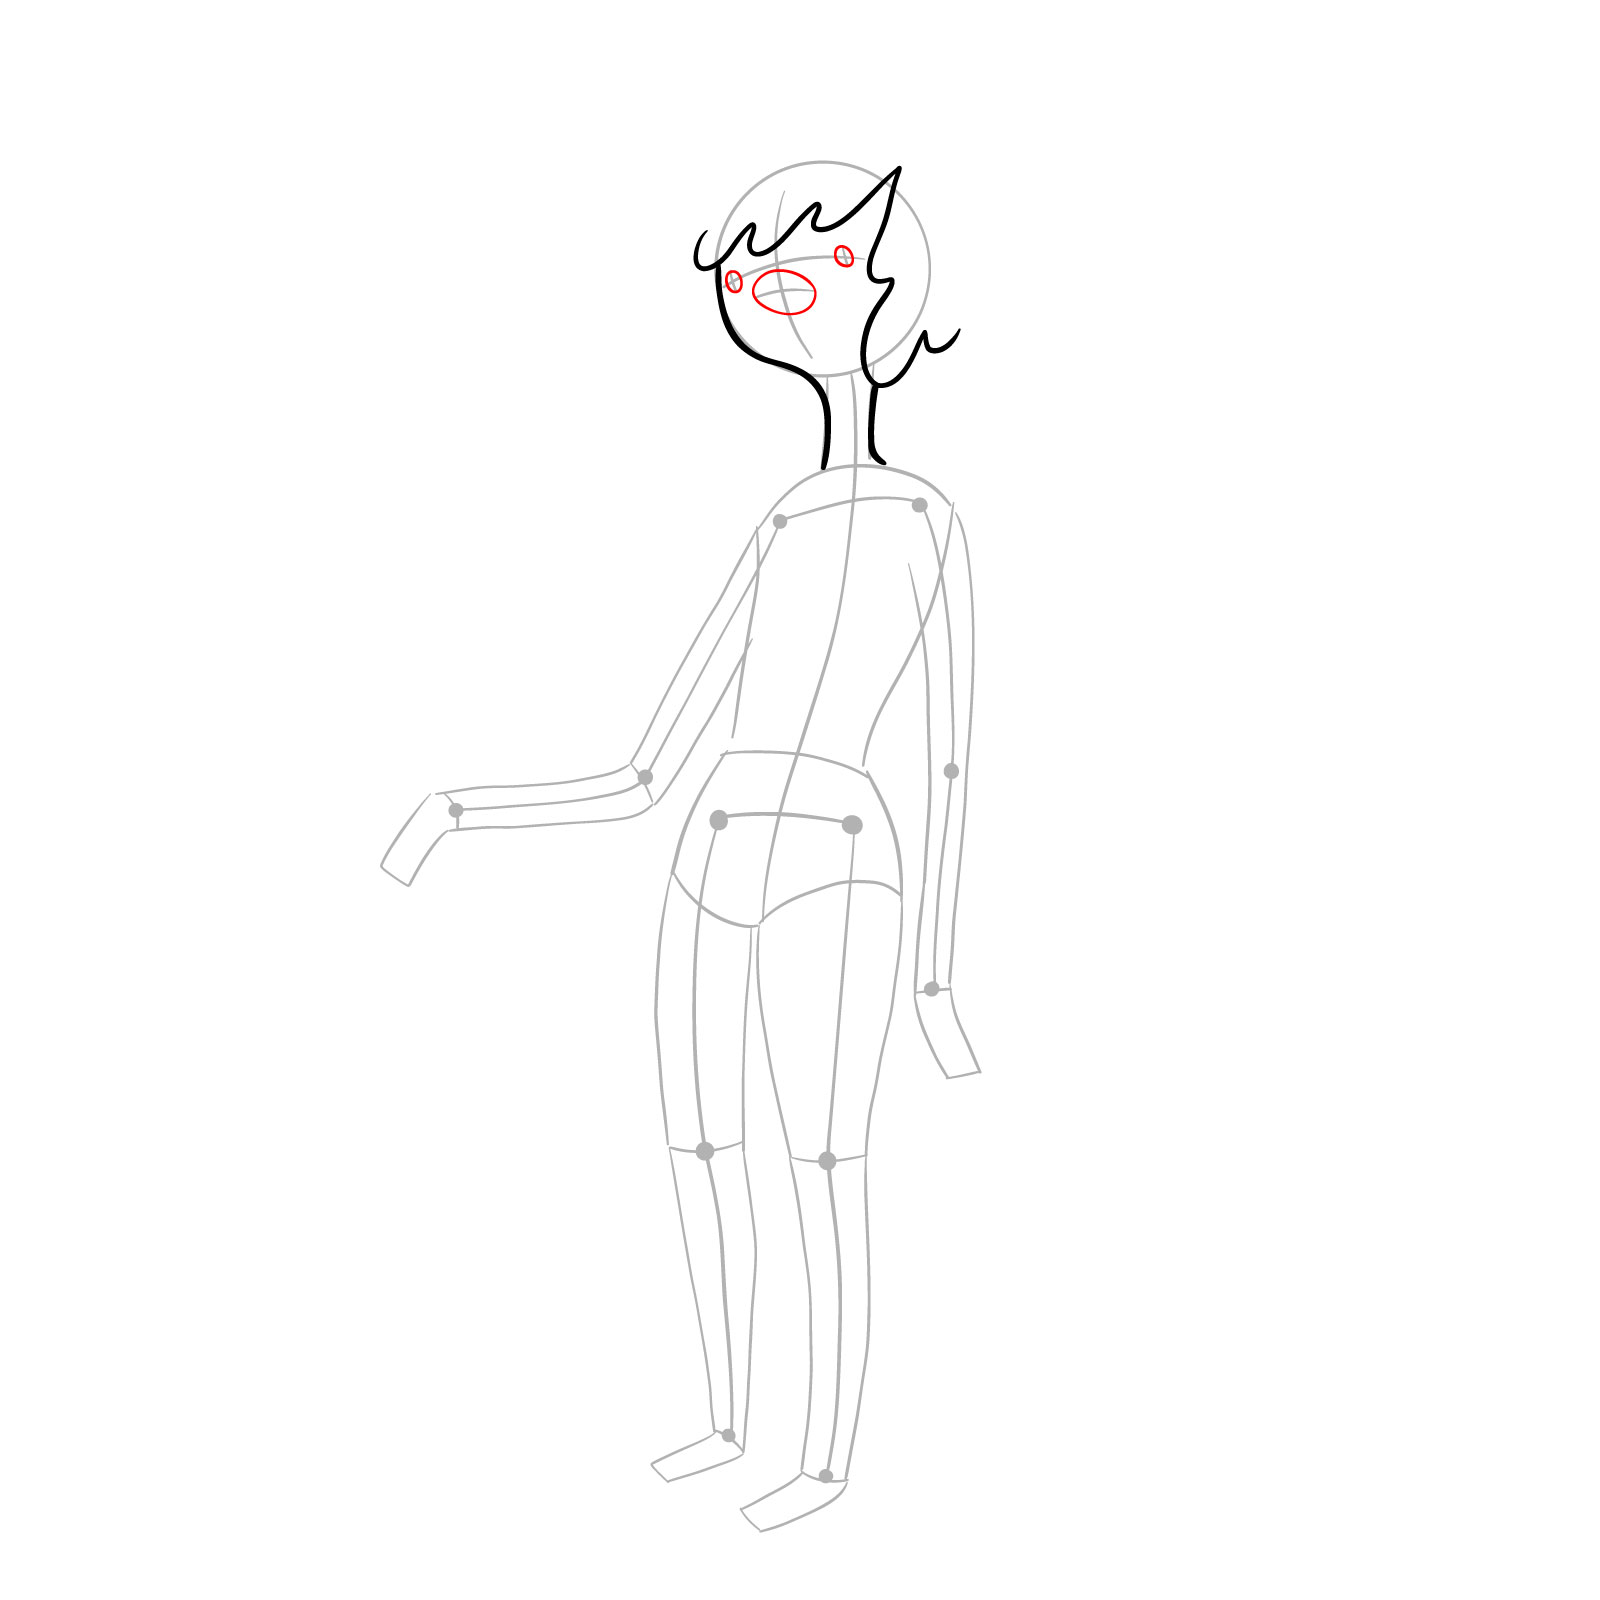
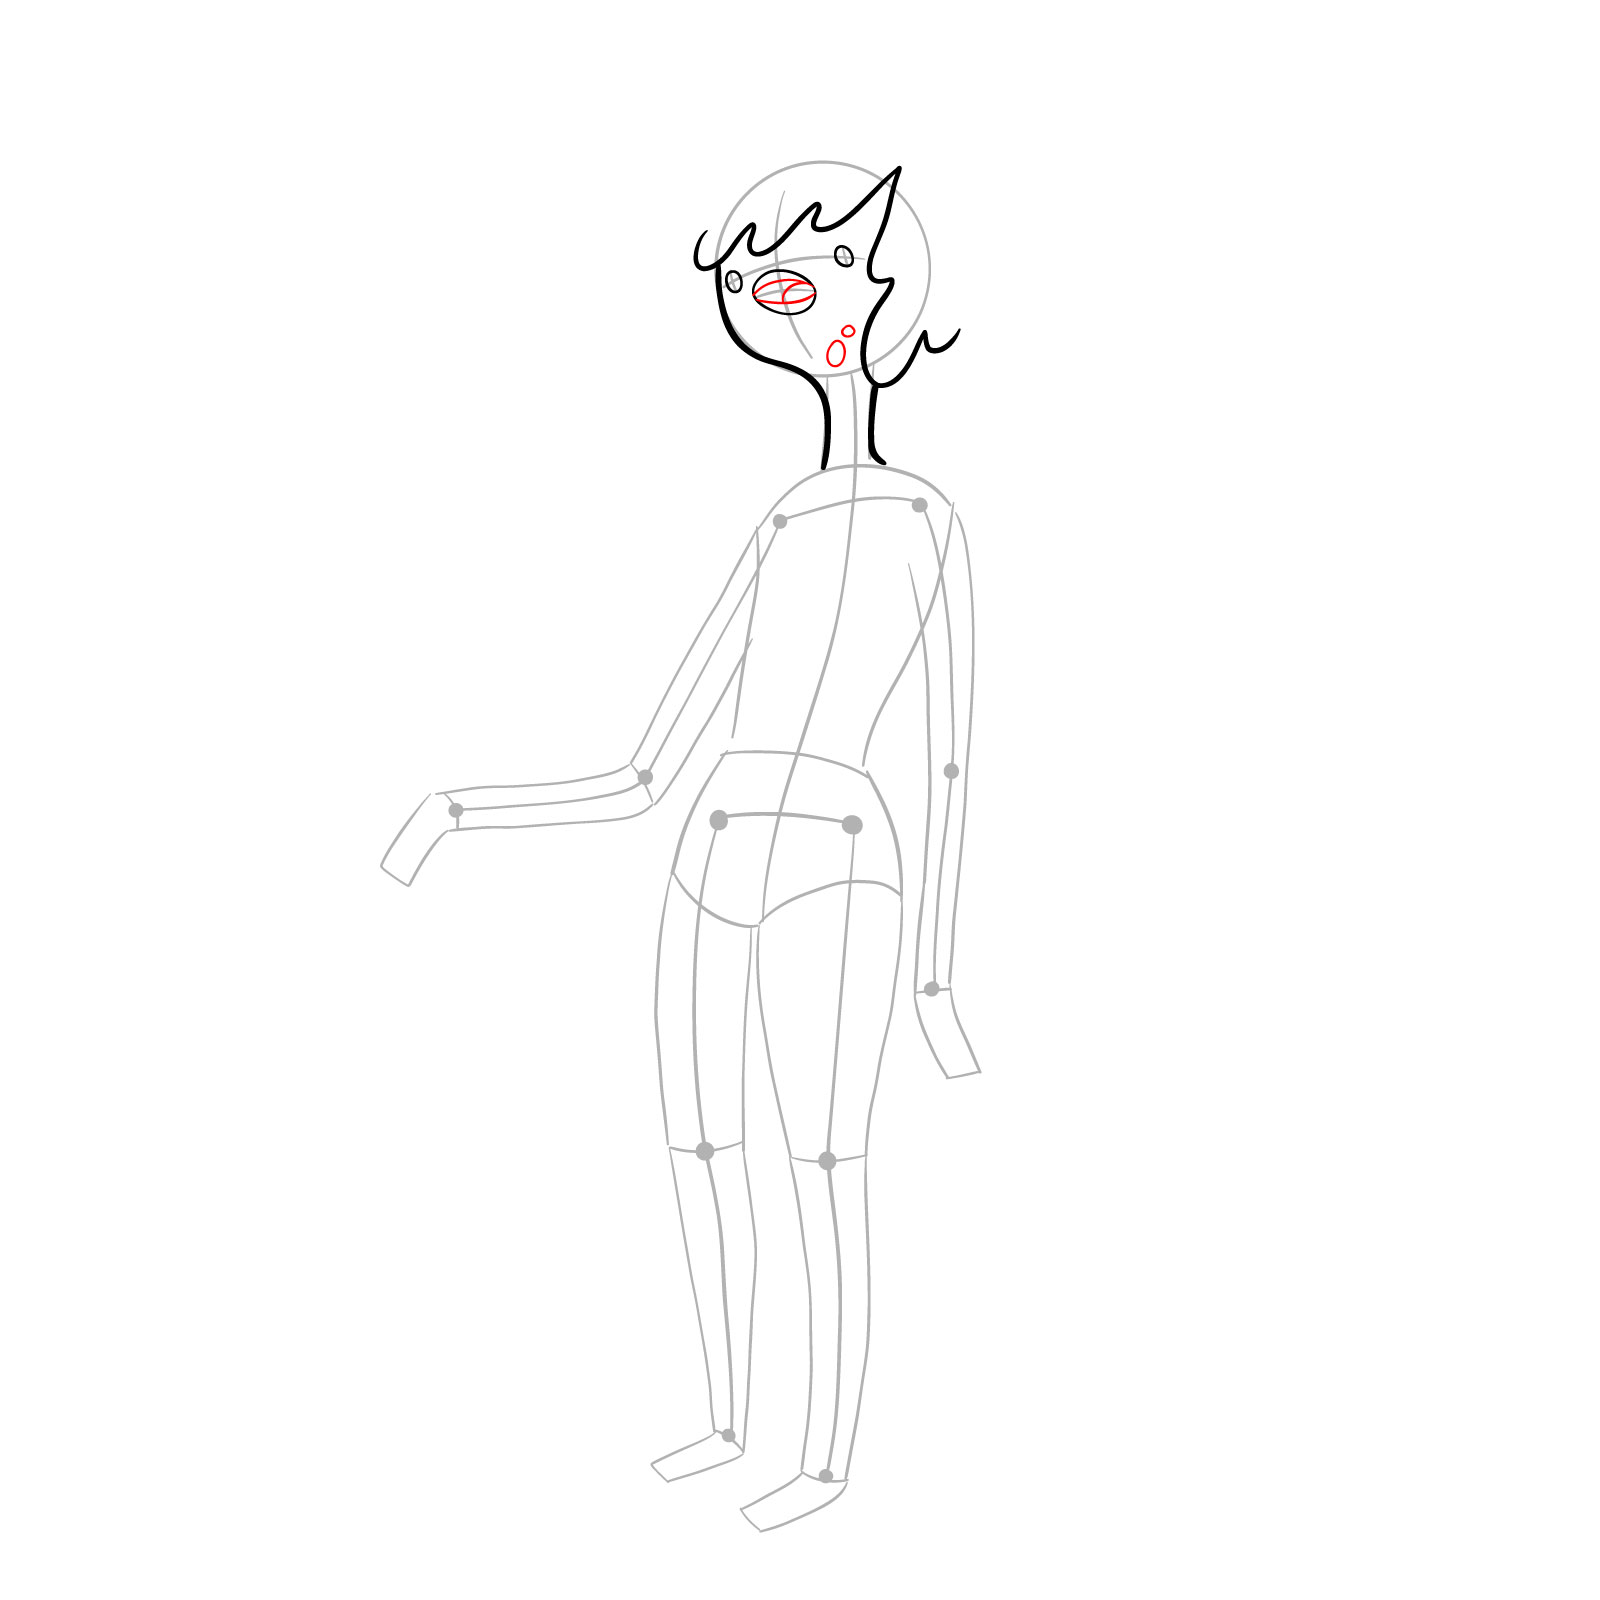
Part 2: Refining Denise’s Sketch

Once the basic sketch is complete, refine the drawing by adding details and improving proportions. Pay close attention to Denise’s facial features, water hair, and her swimsuit.

Step 04

How to draw Denise - a water nymph from Adventure Time - step 04

Step 05

How to draw Denise - a water nymph from Adventure Time - step 05

Step 06

How to draw Denise - a water nymph from Adventure Time - step 06

Step 07

How to draw Denise - a water nymph from Adventure Time - step 07

Step 08

How to draw Denise - a water nymph from Adventure Time - step 08

Step 09

How to draw Denise - a water nymph from Adventure Time - step 09

Step 10

How to draw Denise - a water nymph from Adventure Time - step 10

Step 11

How to draw Denise - a water nymph from Adventure Time - step 11

Step 12

How to draw Denise - a water nymph from Adventure Time - step 12

Step 13

How to draw Denise - a water nymph from Adventure Time - step 13

Step 14

How to draw Denise - a water nymph from Adventure Time - step 14

Step 15

How to draw Denise - a water nymph from Adventure Time - step 15

Step 16

How to draw Denise - a water nymph from Adventure Time - step 16

Step 17

How to draw Denise - a water nymph from Adventure Time - step 17

Step 18

How to draw Denise - a water nymph from Adventure Time - step 18

Step 19

How to draw Denise - a water nymph from Adventure Time - step 19

Step 20

How to draw Denise - a water nymph from Adventure Time - step 20

Step 21

How to draw Denise - a water nymph from Adventure Time - step 21

Step 22

How to draw Denise - a water nymph from Adventure Time - step 22

Step 23

How to draw Denise - a water nymph from Adventure Time - step 23

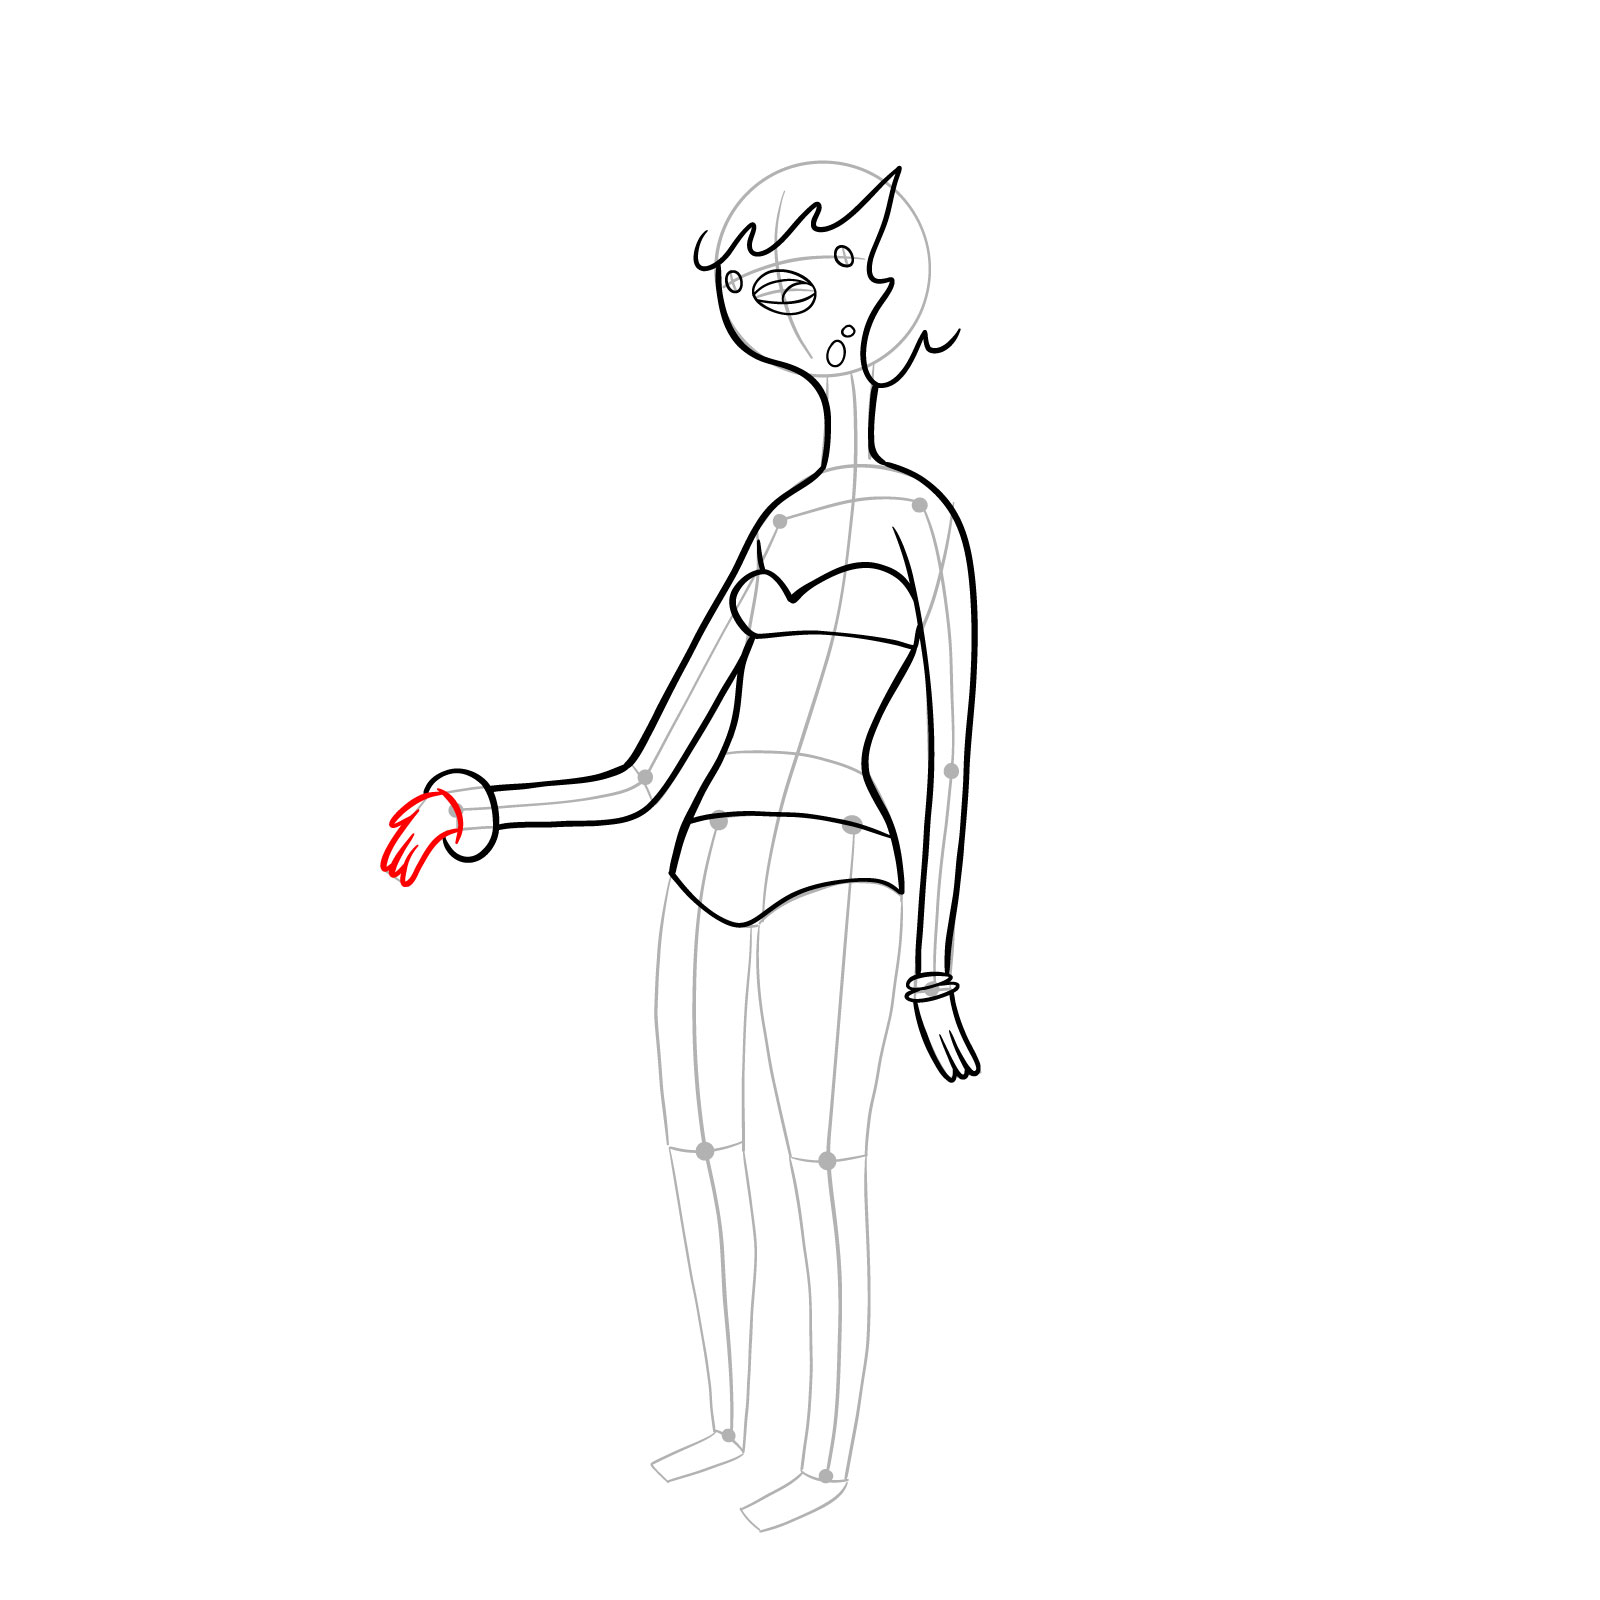
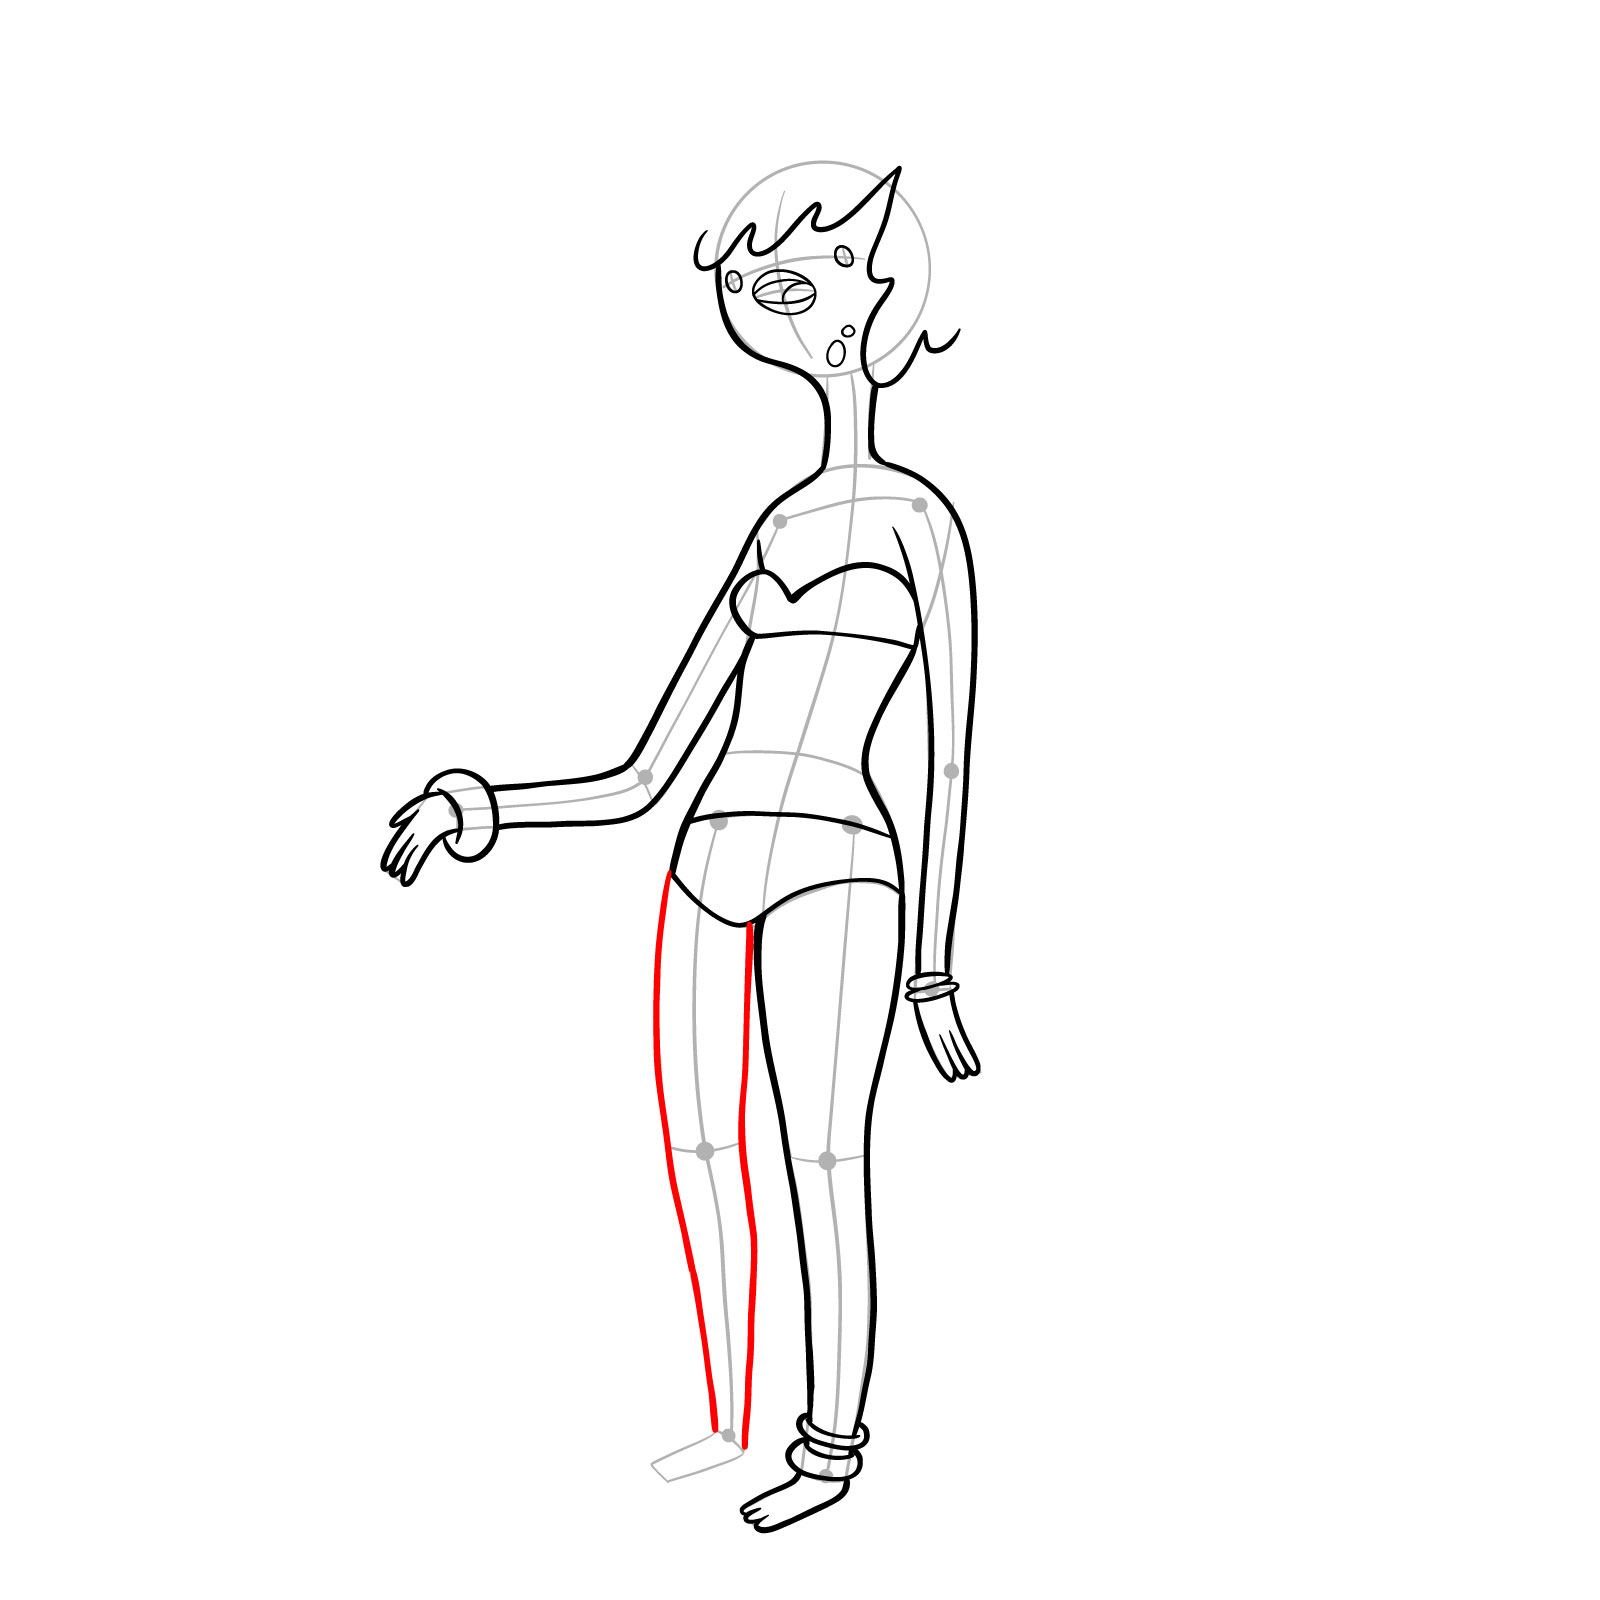
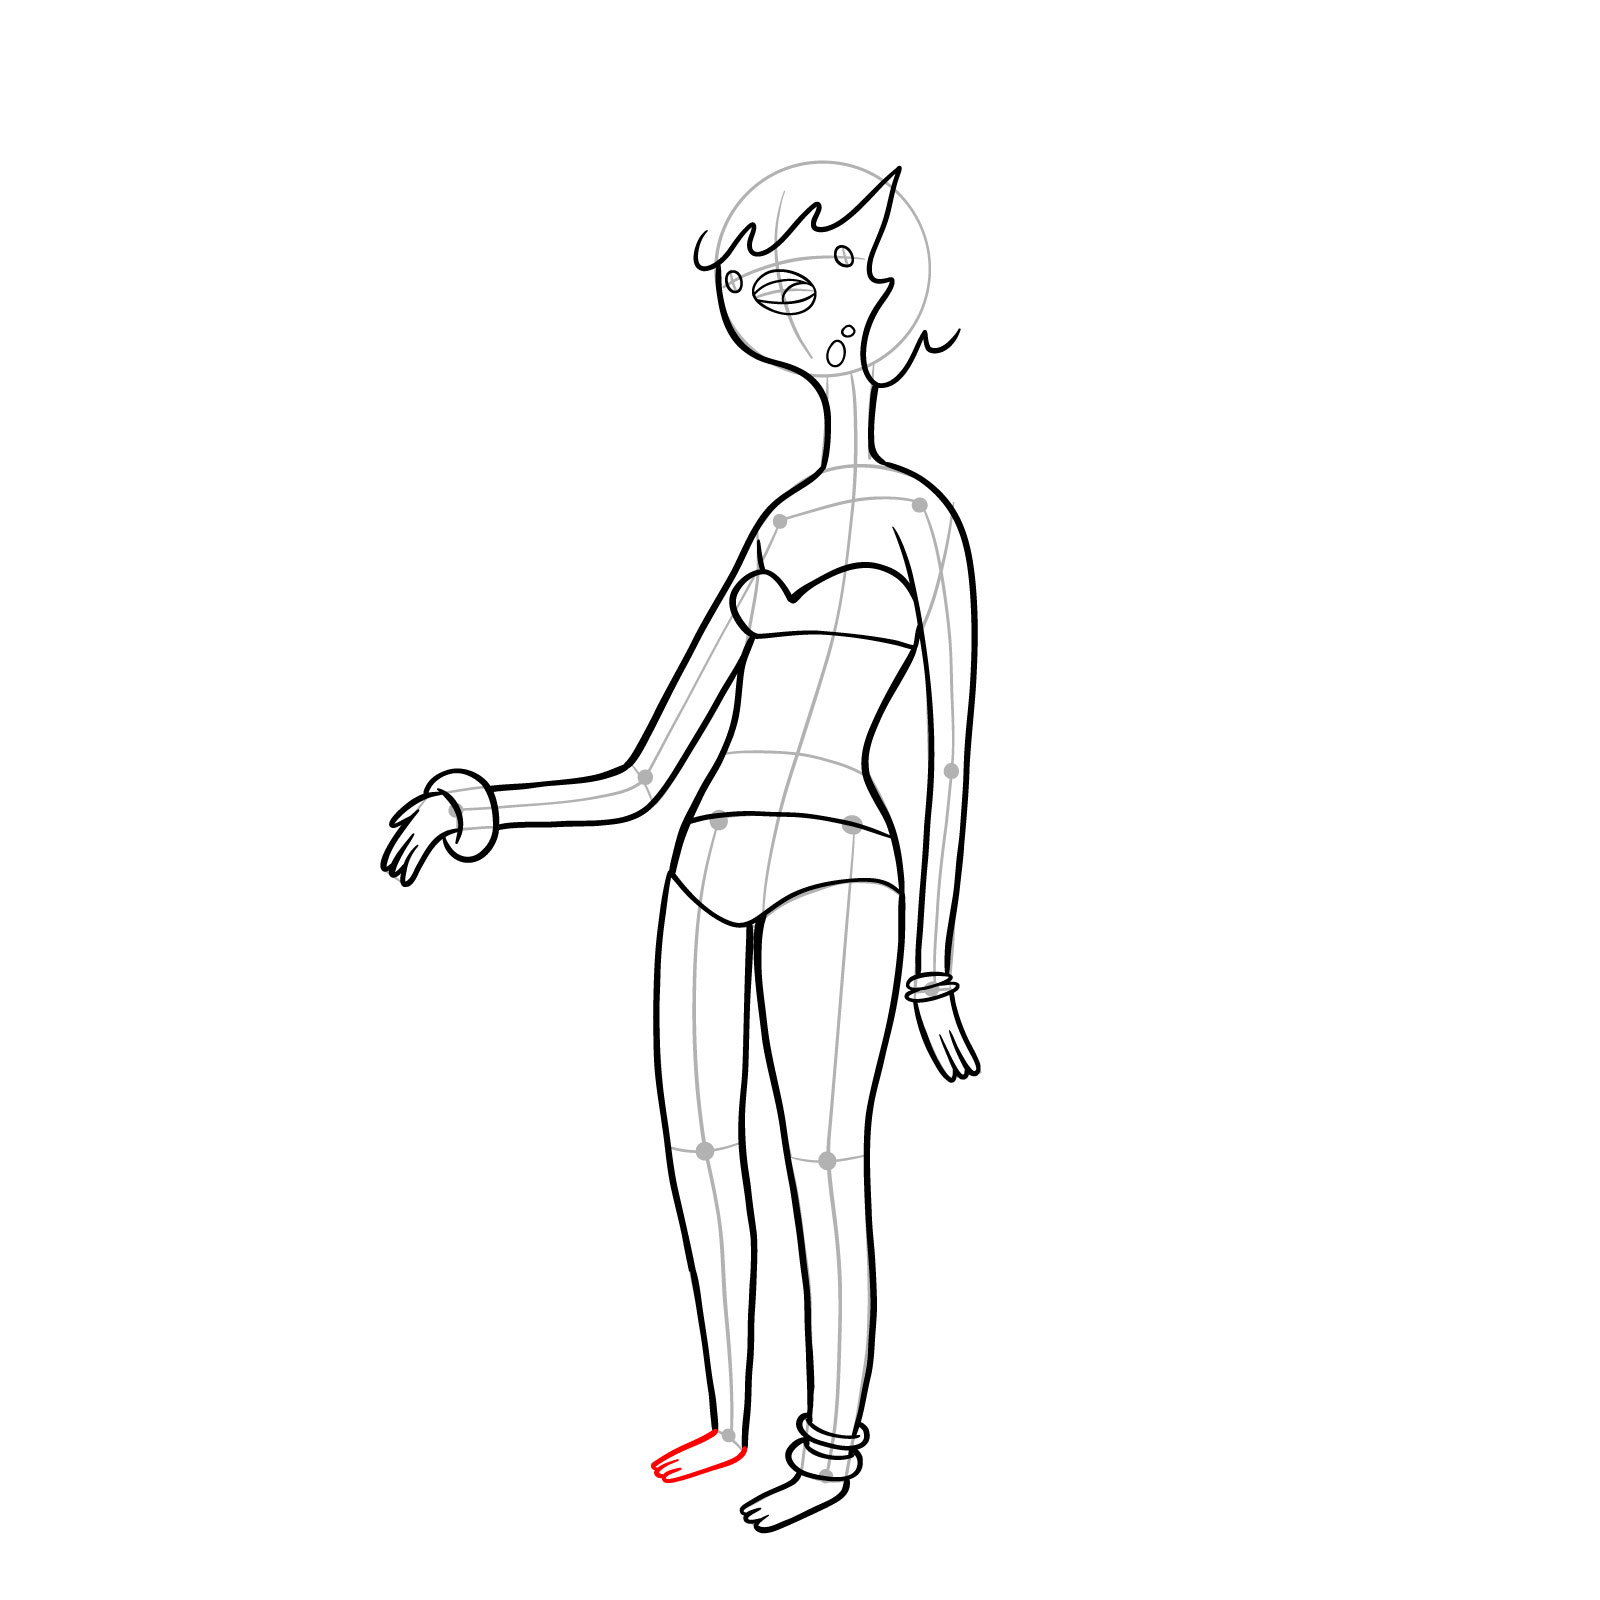
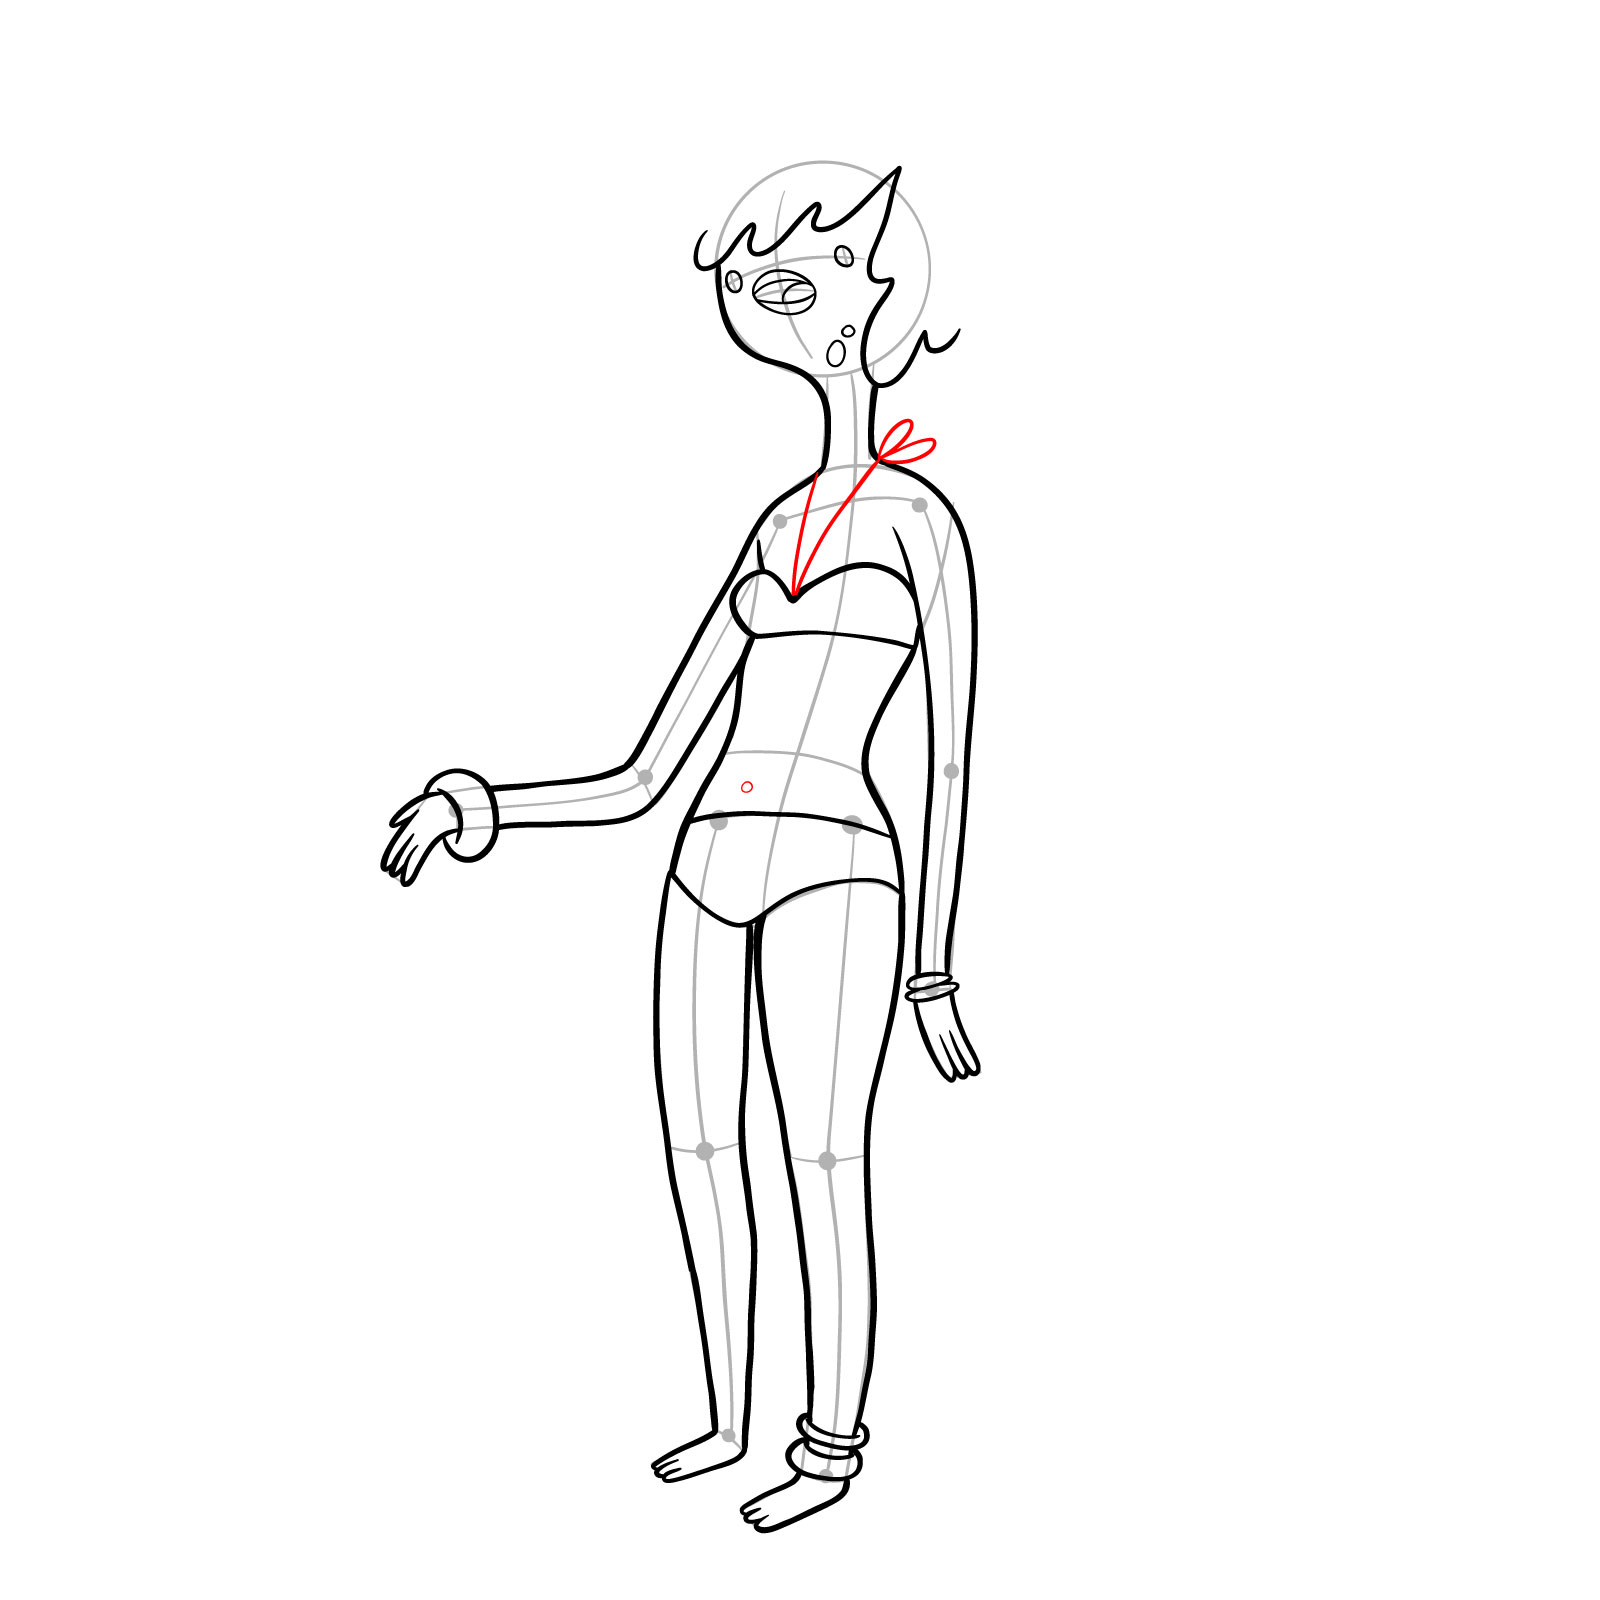
Part 3: Inking Denise

With the refined sketch in place, use fineliner pens to ink the drawing. Outline the character and add any final touches to perfect the illustration.

Step 24

How to draw Denise - a water nymph from Adventure Time - final step

Drawing the Water Nymph #2

Part 1: Basic Sketch

As with Denise, start by creating a basic structure for the second Water Nymph using light pencil strokes. Focus on capturing her unique proportions and positioning.

Step 01

How to draw the second Water Nymph from Adventure Time - step 01

Step 02

How to draw the second Water Nymph from Adventure Time - step 02

Step 03

How to draw the second Water Nymph from Adventure Time - step 03

Part 2: Refining the Second Nymph’s Sketch

Refine the sketch by adding details and improving proportions. Pay close attention to the second Nymph’s facial features, shorter water hair, and her blue swimsuit.

Step 04

How to draw the second Water Nymph from Adventure Time - step 04

Step 05

How to draw the second Water Nymph from Adventure Time - step 05

Step 06

How to draw the second Water Nymph from Adventure Time - step 06

Step 07

How to draw the second Water Nymph from Adventure Time - step 07

Step 08

How to draw the second Water Nymph from Adventure Time - step 08

Step 09

How to draw the second Water Nymph from Adventure Time - step 09

Step 10

How to draw the second Water Nymph from Adventure Time - step 10

Step 11

How to draw the second Water Nymph from Adventure Time - step 11

Step 12

How to draw the second Water Nymph from Adventure Time - step 12

Step 13

How to draw the second Water Nymph from Adventure Time - step 13

Step 14

How to draw the second Water Nymph from Adventure Time - step 14

Step 15

How to draw the second Water Nymph from Adventure Time - step 15

Step 16

How to draw the second Water Nymph from Adventure Time - step 16

Step 17

How to draw the second Water Nymph from Adventure Time - step 17

Step 18

How to draw the second Water Nymph from Adventure Time - step 18

Step 19

How to draw the second Water Nymph from Adventure Time - step 19

Step 20

How to draw the second Water Nymph from Adventure Time - step 20

Step 21

How to draw the second Water Nymph from Adventure Time - step 21

Step 22

How to draw the second Water Nymph from Adventure Time - step 22

Step 23

How to draw the second Water Nymph from Adventure Time - step 23

Part 3: Inking the Second Nymph

Once the refined sketch is ready, ink the drawing using fineliner pens. Outline the character and add any final touches to perfect the illustration.

Step 24

How to draw the second Water Nymph from Adventure Time - final step

Creative Tips and Techniques for Drawing Water Nymphs

With our step-by-step drawing guide, you’re well on your way to creating stunning Water Nymphs artwork. However, we’d like to offer some additional tips and techniques to help you elevate your drawings even further:

  1. Pay attention to the flow and movement of the water hair, as this is a key feature of the Water Nymphs.
  2. Experiment with different facial expressions to convey the character’s emotions and personalities.
  3. If you decide to add colors, don’t be afraid to use a variety of shades and tones to create depth and dimension in your drawings.
  4. Practice drawing the Water Nymphs in different poses to develop a better understanding of their anatomy and proportions.
  5. Consider using a reference image to help guide your drawing process.

Frequently Asked Questions

Q: How do I make the water hair look more realistic?

A: To create realistic water hair, pay attention to the flow and movement of the water. Observe how water behaves in real life and incorporate those elements into your drawing. Use shading and highlights to create depth, and experiment with different shades of blue and green to capture the essence of flowing water.

Q: How can I improve my drawing skills?

A: The key to improving your drawing skills is practice. Dedicate time each day to draw and experiment with different techniques and styles. Seek feedback from others, and don’t be afraid to make mistakes. Learning from your mistakes and trying new approaches will ultimately help you grow as an artist.

In summary, learning how to draw Water Nymphs from Adventure Time can be a fun and rewarding experience. With our step-by-step guide, tips, and techniques, you’ll be well on your way to creating captivating artwork featuring these enchanting characters. Remember to practice, be patient, and most importantly, have fun on your artistic journey!

If you enjoyed this tutorial, consider supporting the content creator by sharing the link to the guide, checking out other tutorials, and donating on Buy Me a Coffee.

Did you like the tutorial?

You can support the author of this website and also suggest your own ideas for new drawings by making a small donation here:

2 thoughts on “Make a Splash: Learn How to Draw Water Nymphs from Adventure Time”

  1. Thanks for doing tutorials on the Adventure Time characters. I don’t know if it went through the first time.

    Reply

Leave a Comment