When it comes to animated characters with depth and intriguing backstories, Adventure Time never disappoints. One such character that has captivated audiences is the Ice Queen. This guide offers a methodical approach on how to draw the Ice Queen, breaking down her complex design into simple steps.
Understanding the Ice Queen’s Appearance
- Physique and Skin: The Ice Queen boasts a light blue skin tone, setting her apart from most other characters. This hue signifies her cold, icy nature and powers.
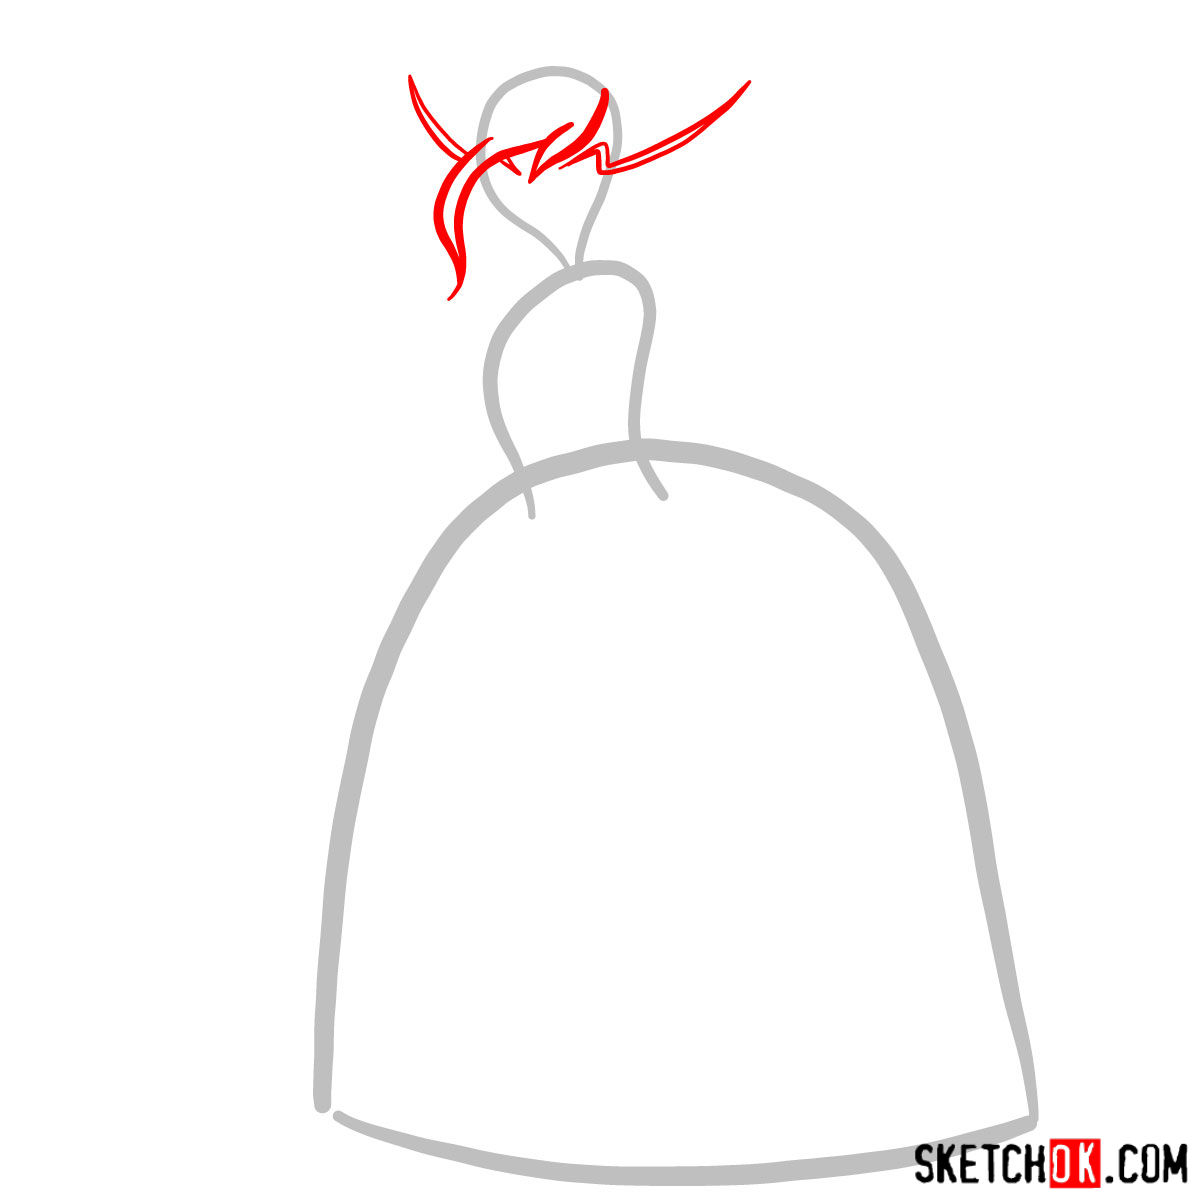
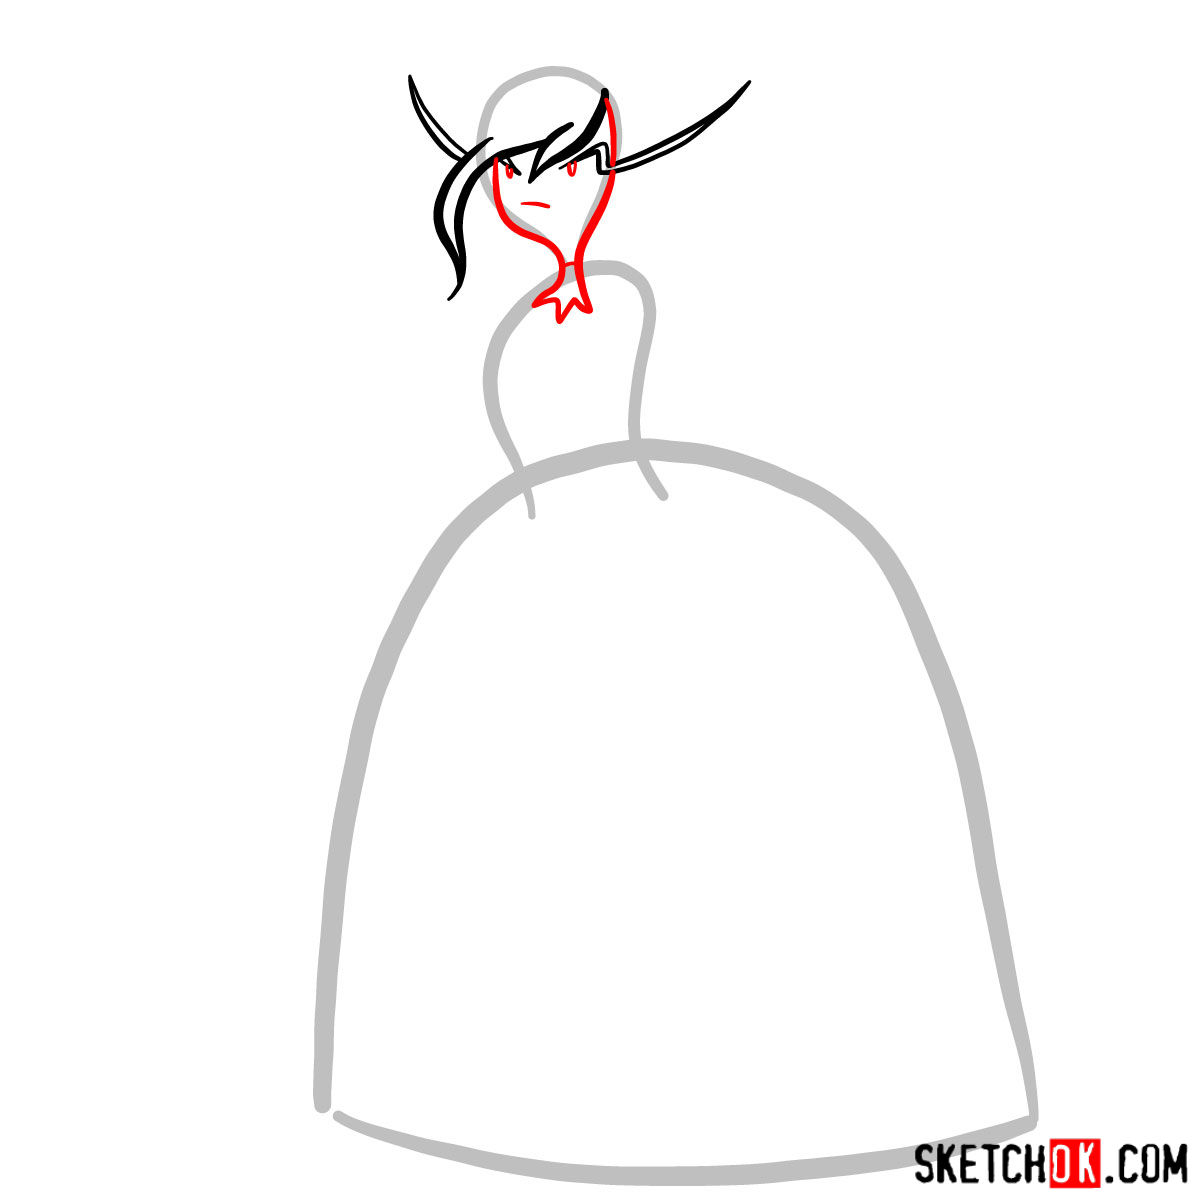
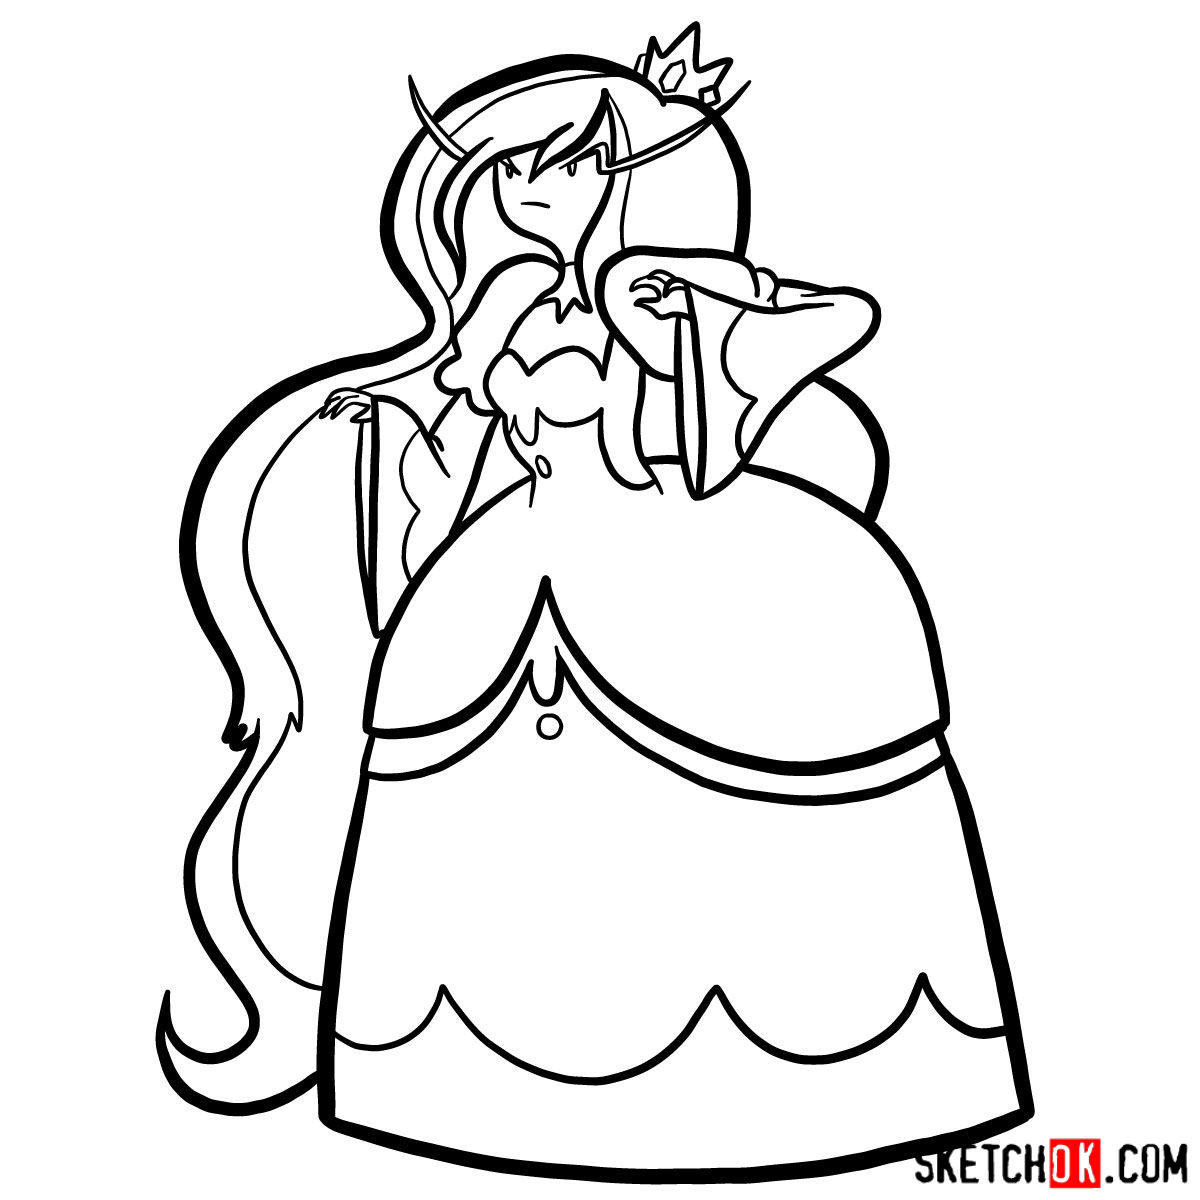
- Hair and Eyebrows: Her long, white hair isn’t just long—it’s wavy with elegant curls. This contrasts the Ice King’s shaggy beard. Moreover, her eyebrows are lightning-shaped, adding an element of fierceness to her visage.
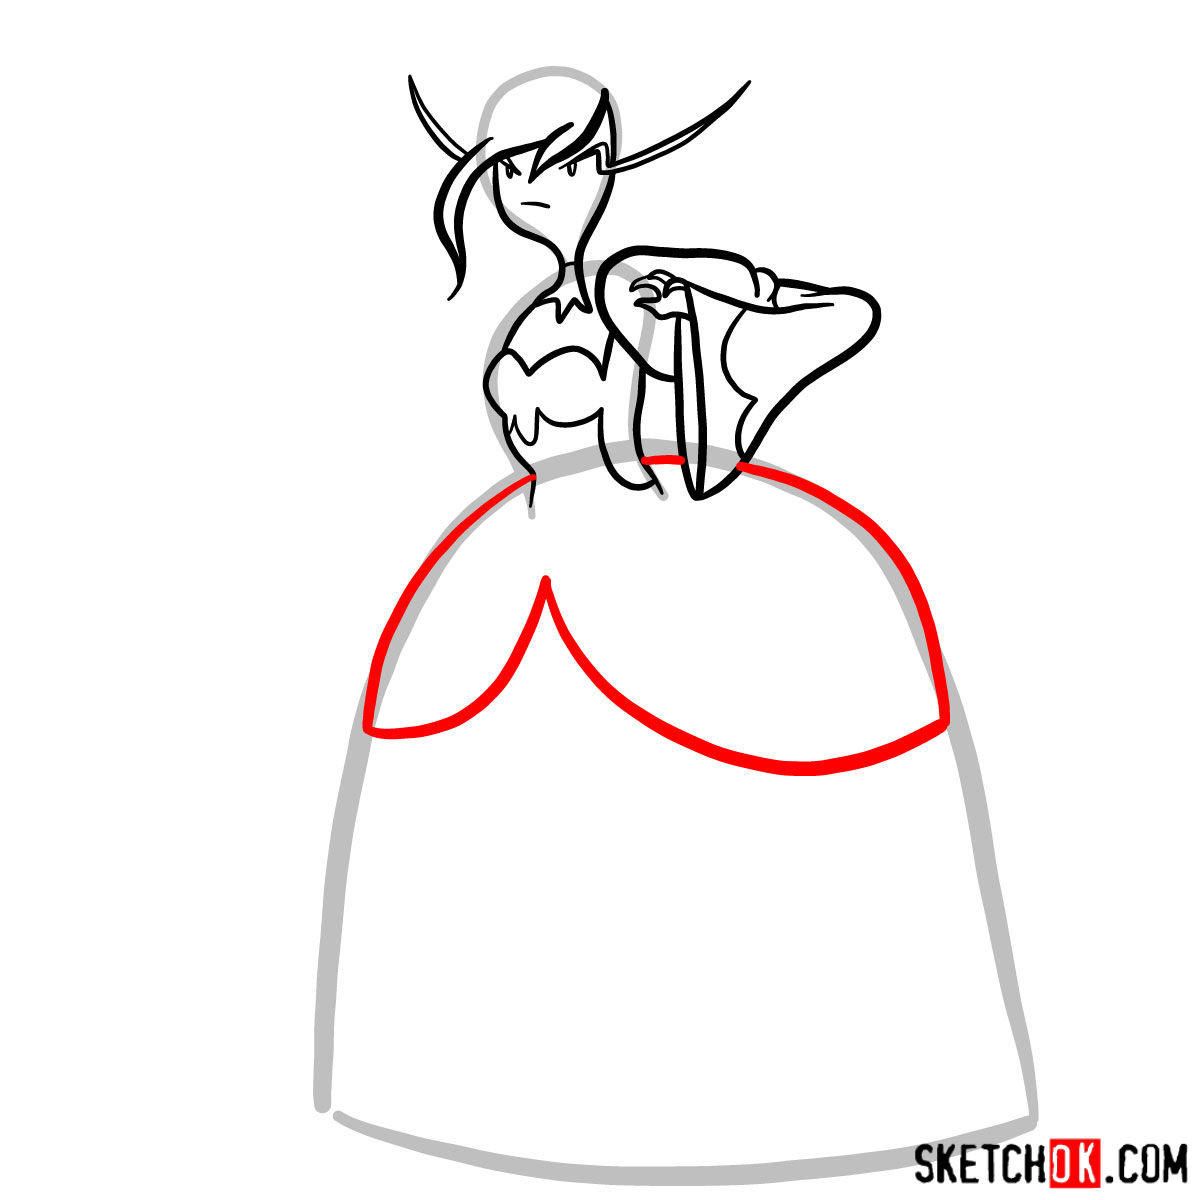
- Attire: Adorning her head is a golden tiara with gleaming red gems. She flaunts a neckband with a striking sapphire blue gem at its center. Her attire is completed with a blue long-sleeved ball gown with blue buttons.
For those familiar with the series, consider adding other characters from the Fionna and Cake episodes, like the gender-swapped version of Finn, Jake, or even Prince Gumball, to make your artwork even more dynamic.
Decoding the Drawing Guide
This guide offers a systematic approach to drawing, ideal for both beginners and seasoned artists. It’s essential to understand the guide’s structure to make the most of it:
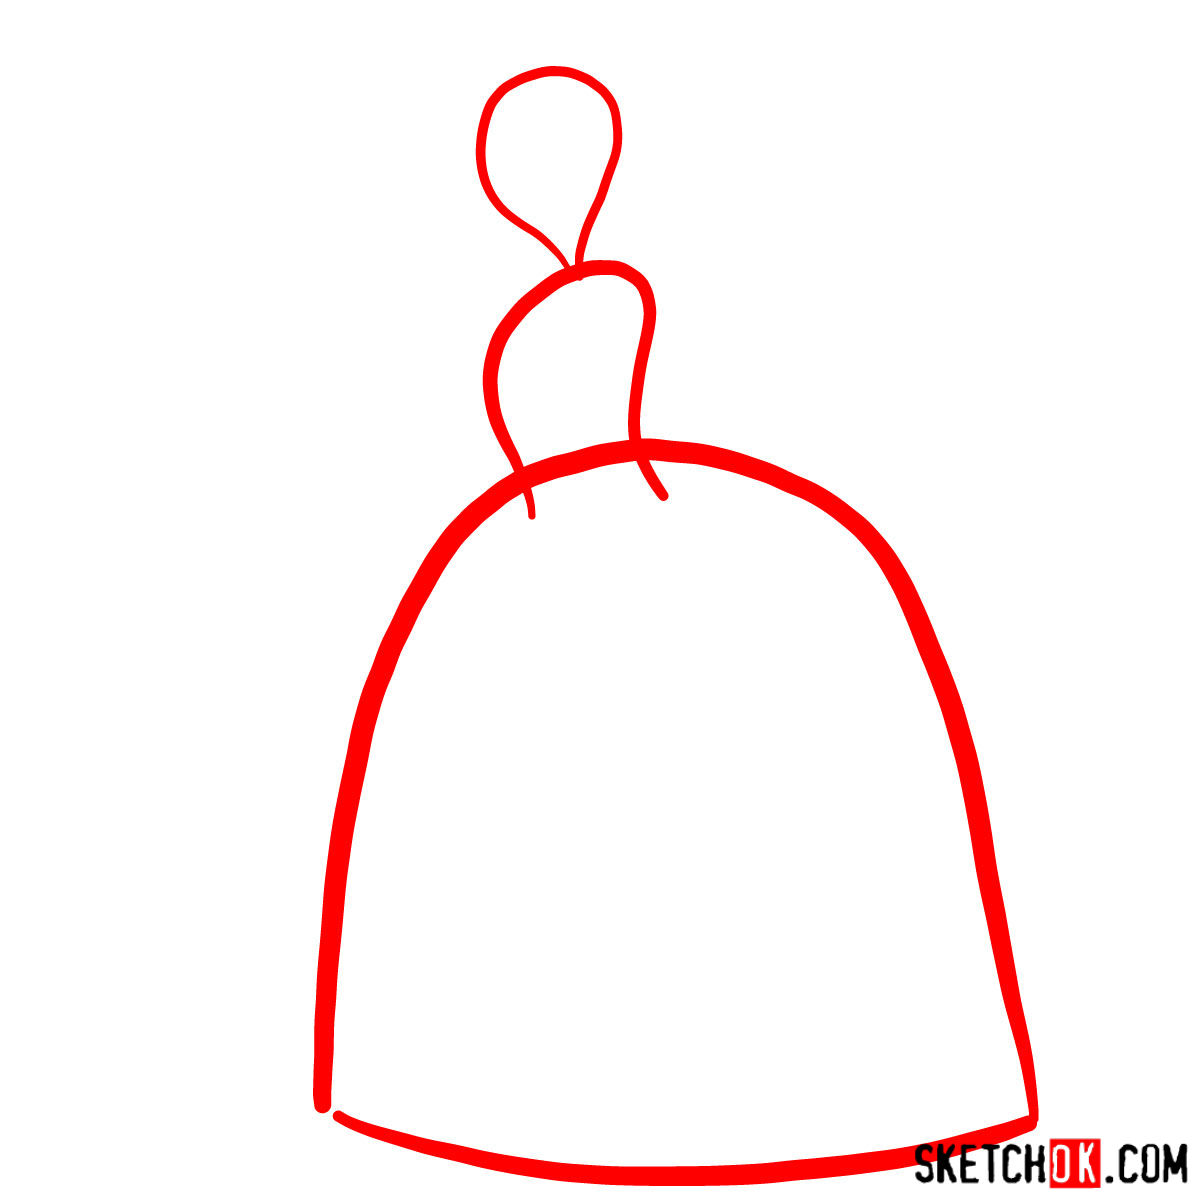
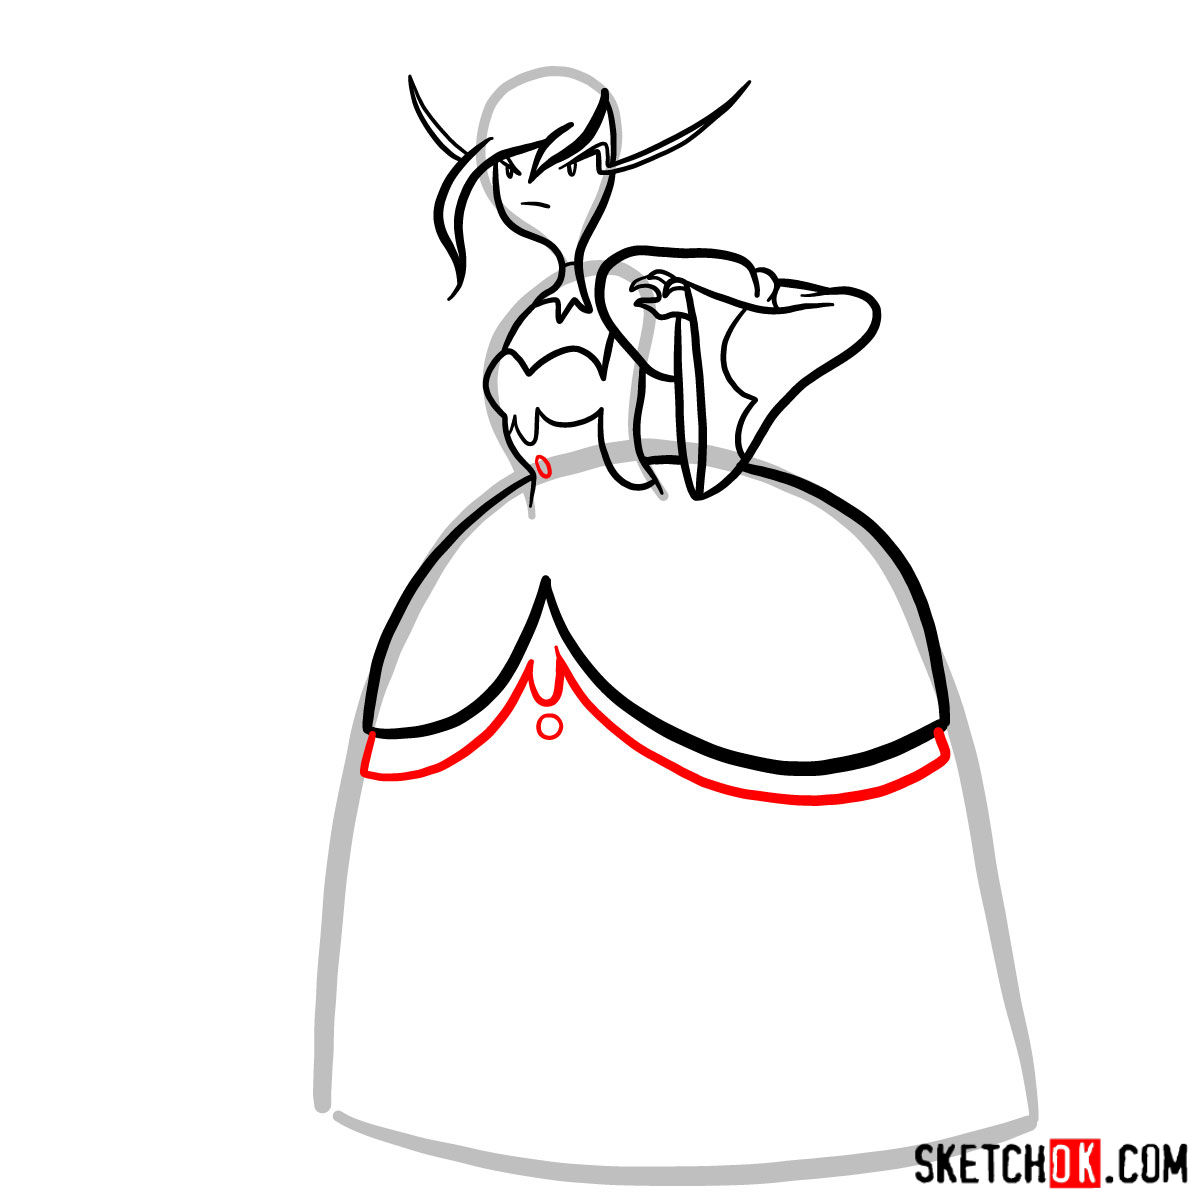
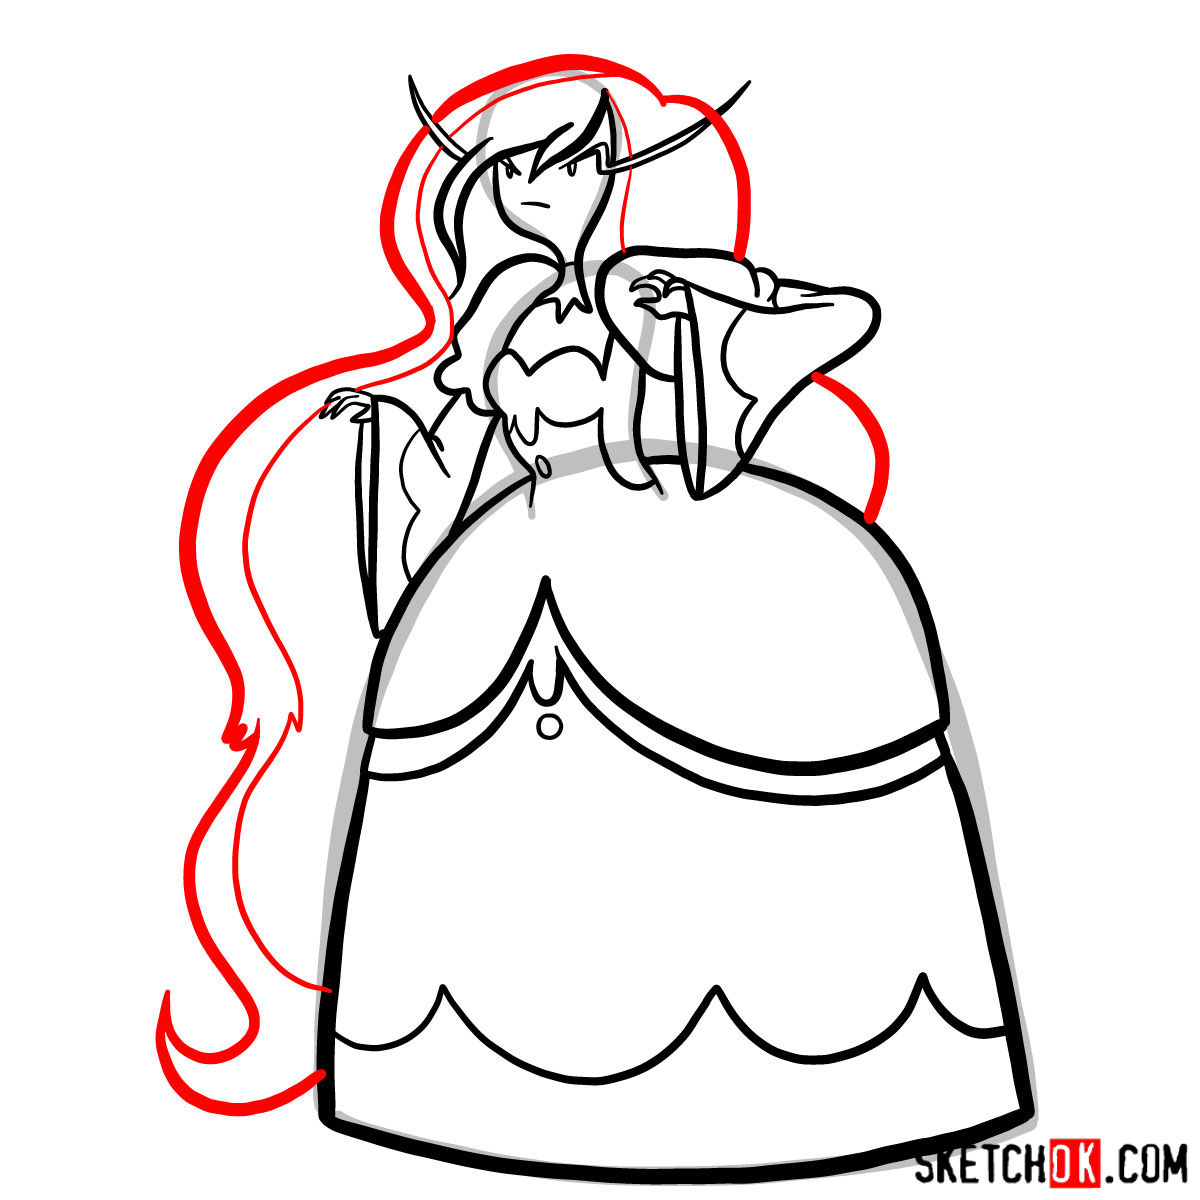
- Red Color: This color indicates the current drawing step. Focus on the lines marked in red to understand what to draw next.
- Black Color: Represents the lines you’ve already drawn. It’s a benchmark showing your progress.
- Grey Color: This color demonstrates the basic sketch or foundation of your drawing. Use light strokes for these as they serve mainly for proportional purposes.
The tutorial consists of 15 steps. The very first step focuses on laying down this basic sketch, ensuring accurate proportions. Once you’ve reached the end, you have the option of inking the sketch. If you decide to ink, always wait for the ink to dry completely before erasing the pencil marks. This prevents smudging and ensures a neat finish. The last image showcases a colored version of the Ice Queen, which serves as a color reference if you choose to bring your sketch to vibrant life.


Now that you know how to draw Ice Queen, it would be great to see what you came up with. Finished drawings posted in the comments under the pinned Pinterest tutorial get noticed by other artists working through the same guide, so it is a nice little community spot to share your take on this Adventure Time villain. You can also sign up for the weekly digest using the form at the top of the page, or follow along on Facebook and YouTube for more guides as they come out.