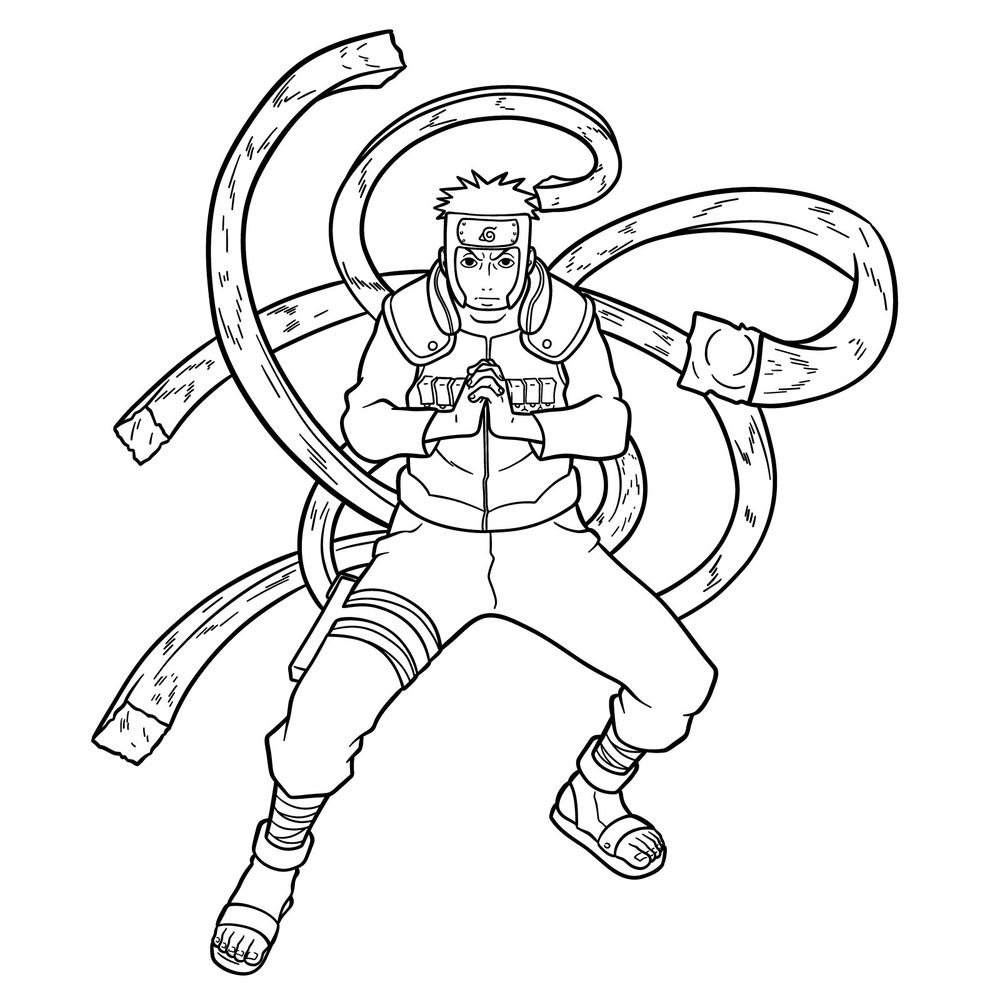
Yamato’s mastery of Wood Release sets him apart in battle, allowing him to create large wooden structures and attacks with precision. His stance, focused hand seal, and the twisting tendrils of wood make this drawing dynamic. In this guide, I’ll show how to draw Yamato as he uses his Kekkei Genkai.
Key Features of Yamato’s Wood Release Form
- Battle-ready stance with legs spread for balance.
- Hands forming a focused chakra seal.
- Konoha headband with a metal plate.
- High-collared zip-up jacket with shoulder armor.
- Fitted pants with bandages on one leg.
- Open-toed ninja sandals.
- Large wooden tendrils extending from behind, twisting in various directions.
- Rough texture on the wooden structures, with visible cracks and grain details.
After drawing this version of Yamato, you might want to try sketching other Naruto characters like Hashirama Senju, Kakashi, or Naruto in Tailed Beast Mode.
Understanding the Step-by-Step Guide
This guide uses a simple color-coded system to help you build the drawing:
- Red Color: Highlights the current step to focus on.
- Black Color: Represents the lines already drawn.
- Gray Color: Shows the basic sketch as a foundation.
By following these steps, you’ll be able to create a detailed drawing of Yamato using his Wood Release ability.


Now that you know how to draw Yamato’s Kekkei Genkai, it’d be great to see what you came up with. The pinned post for this tutorial on Pinterest is where the SketchOk community tends to gather, sharing their finished sketches and swapping tips on getting those Wood Release details just right, so drop yours in the comments there. If you prefer learning by watching, video versions of some guides do show up on the SketchOk YouTube channel as well.