
Last Updated on May 13, 2026
For this one, I’m going for a slightly different style. I’ll break down how to draw a stylized tiger face with brush-like strokes using either a pen, pencil or any of your favorite sketching tools. The technique focuses on bold, simplified lines that resemble traditional brush painting, but you don’t need an actual brush to create the look. It’s not too complicated, but attention to stroke placement is key to pulling off this effect.
Details to Focus on for This Stylized Tiger Face
- Simplified facial structure with no contour lines
- Large eyes with solid dark fills
- Angular black nose and thin closed mouth line
- Black fur stripes flowing naturally with the head shape
- Emphasis on line thickness variation for the brush look
- Ears with minimal inner detail
- Neck fur suggested with loose curved strokes
After you’ve drawn this one, you can try regular animal sketches like a more realistic tiger’s face, a wolf head, or even a cheetah and a roaring lioness.
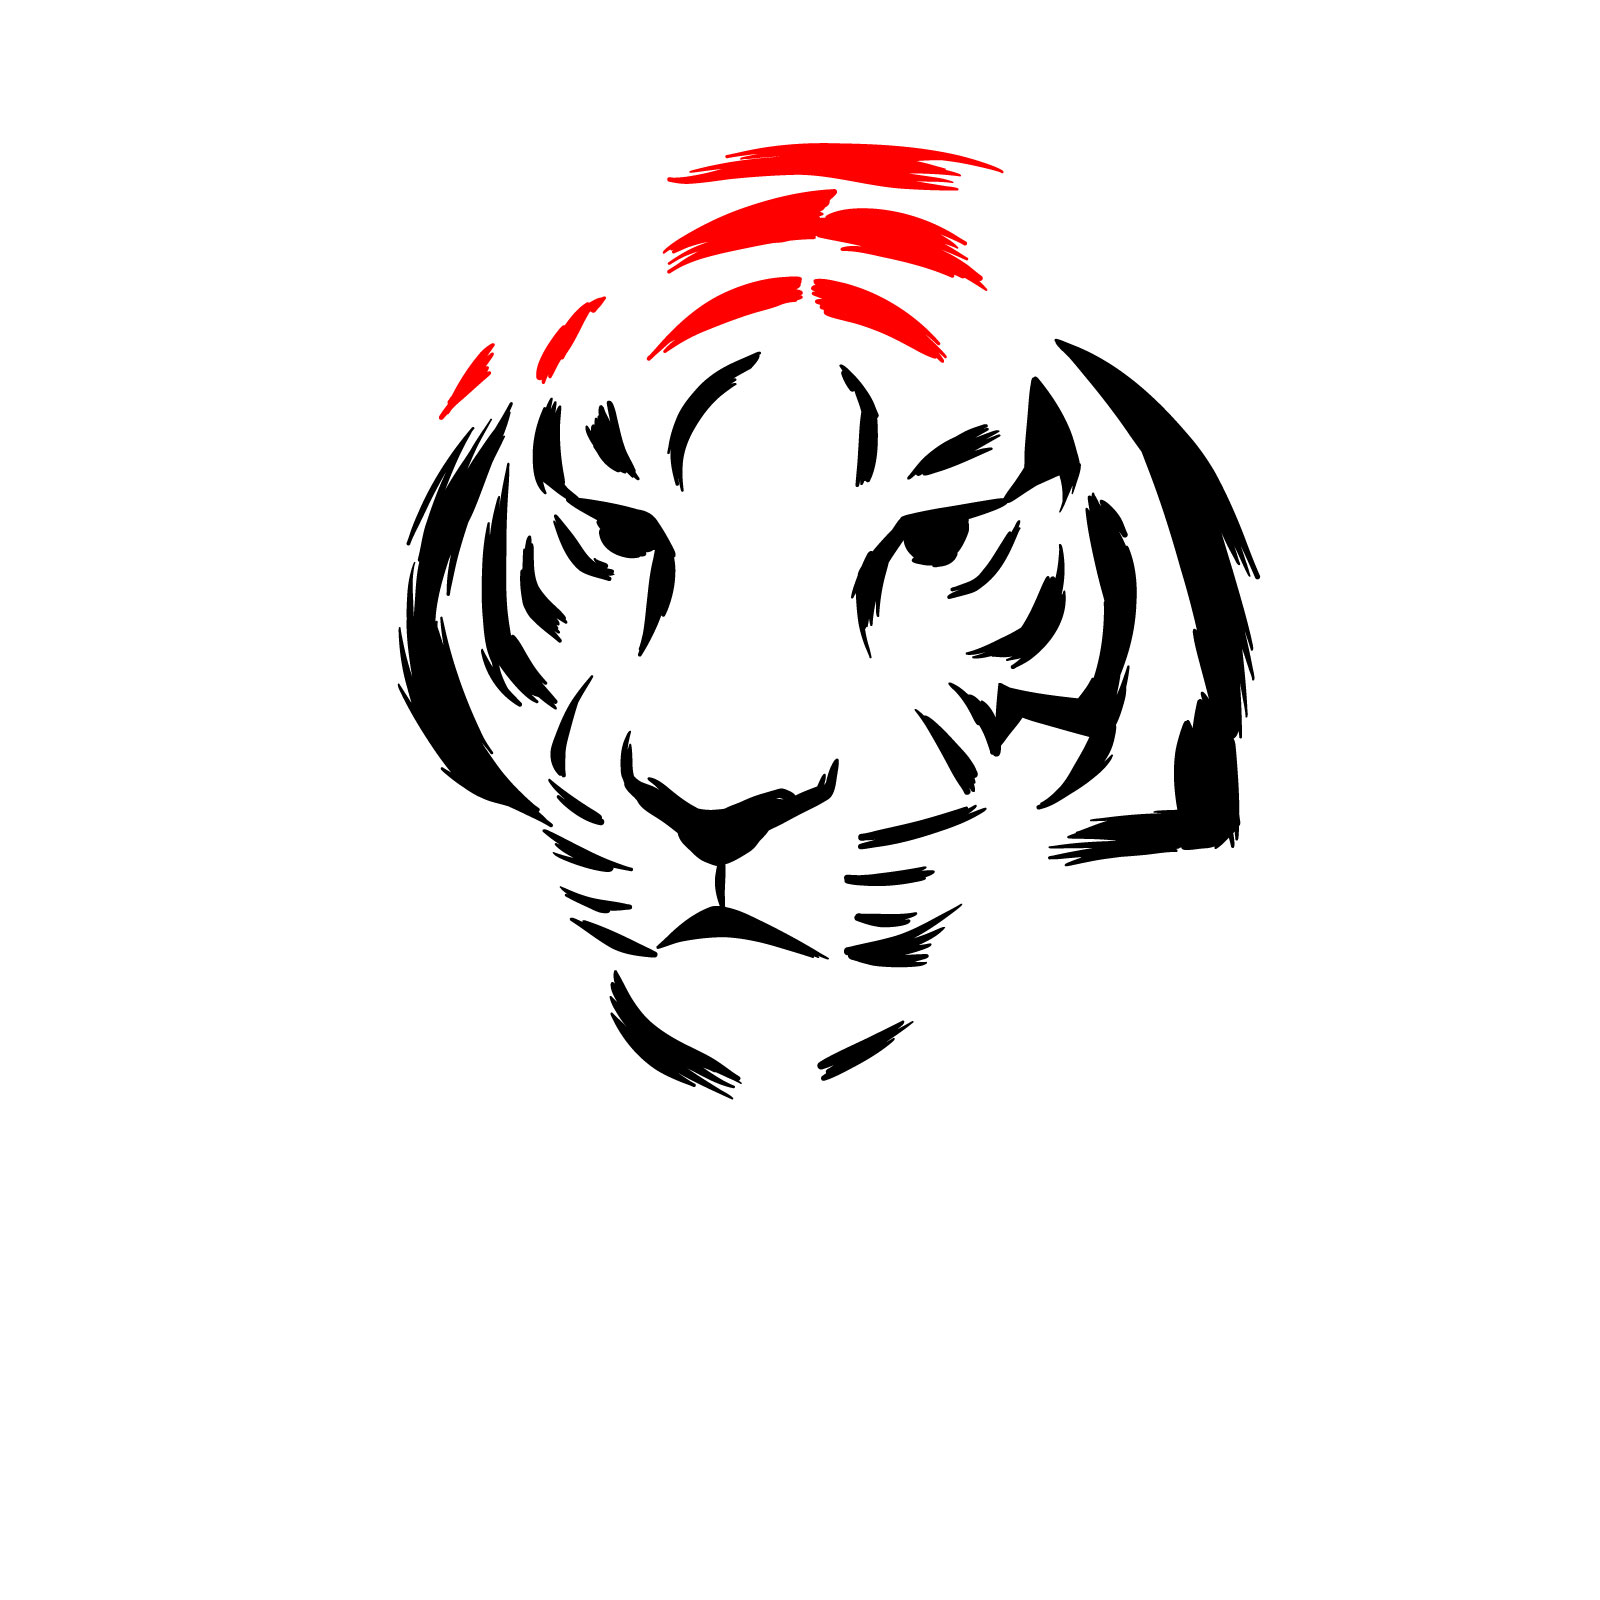
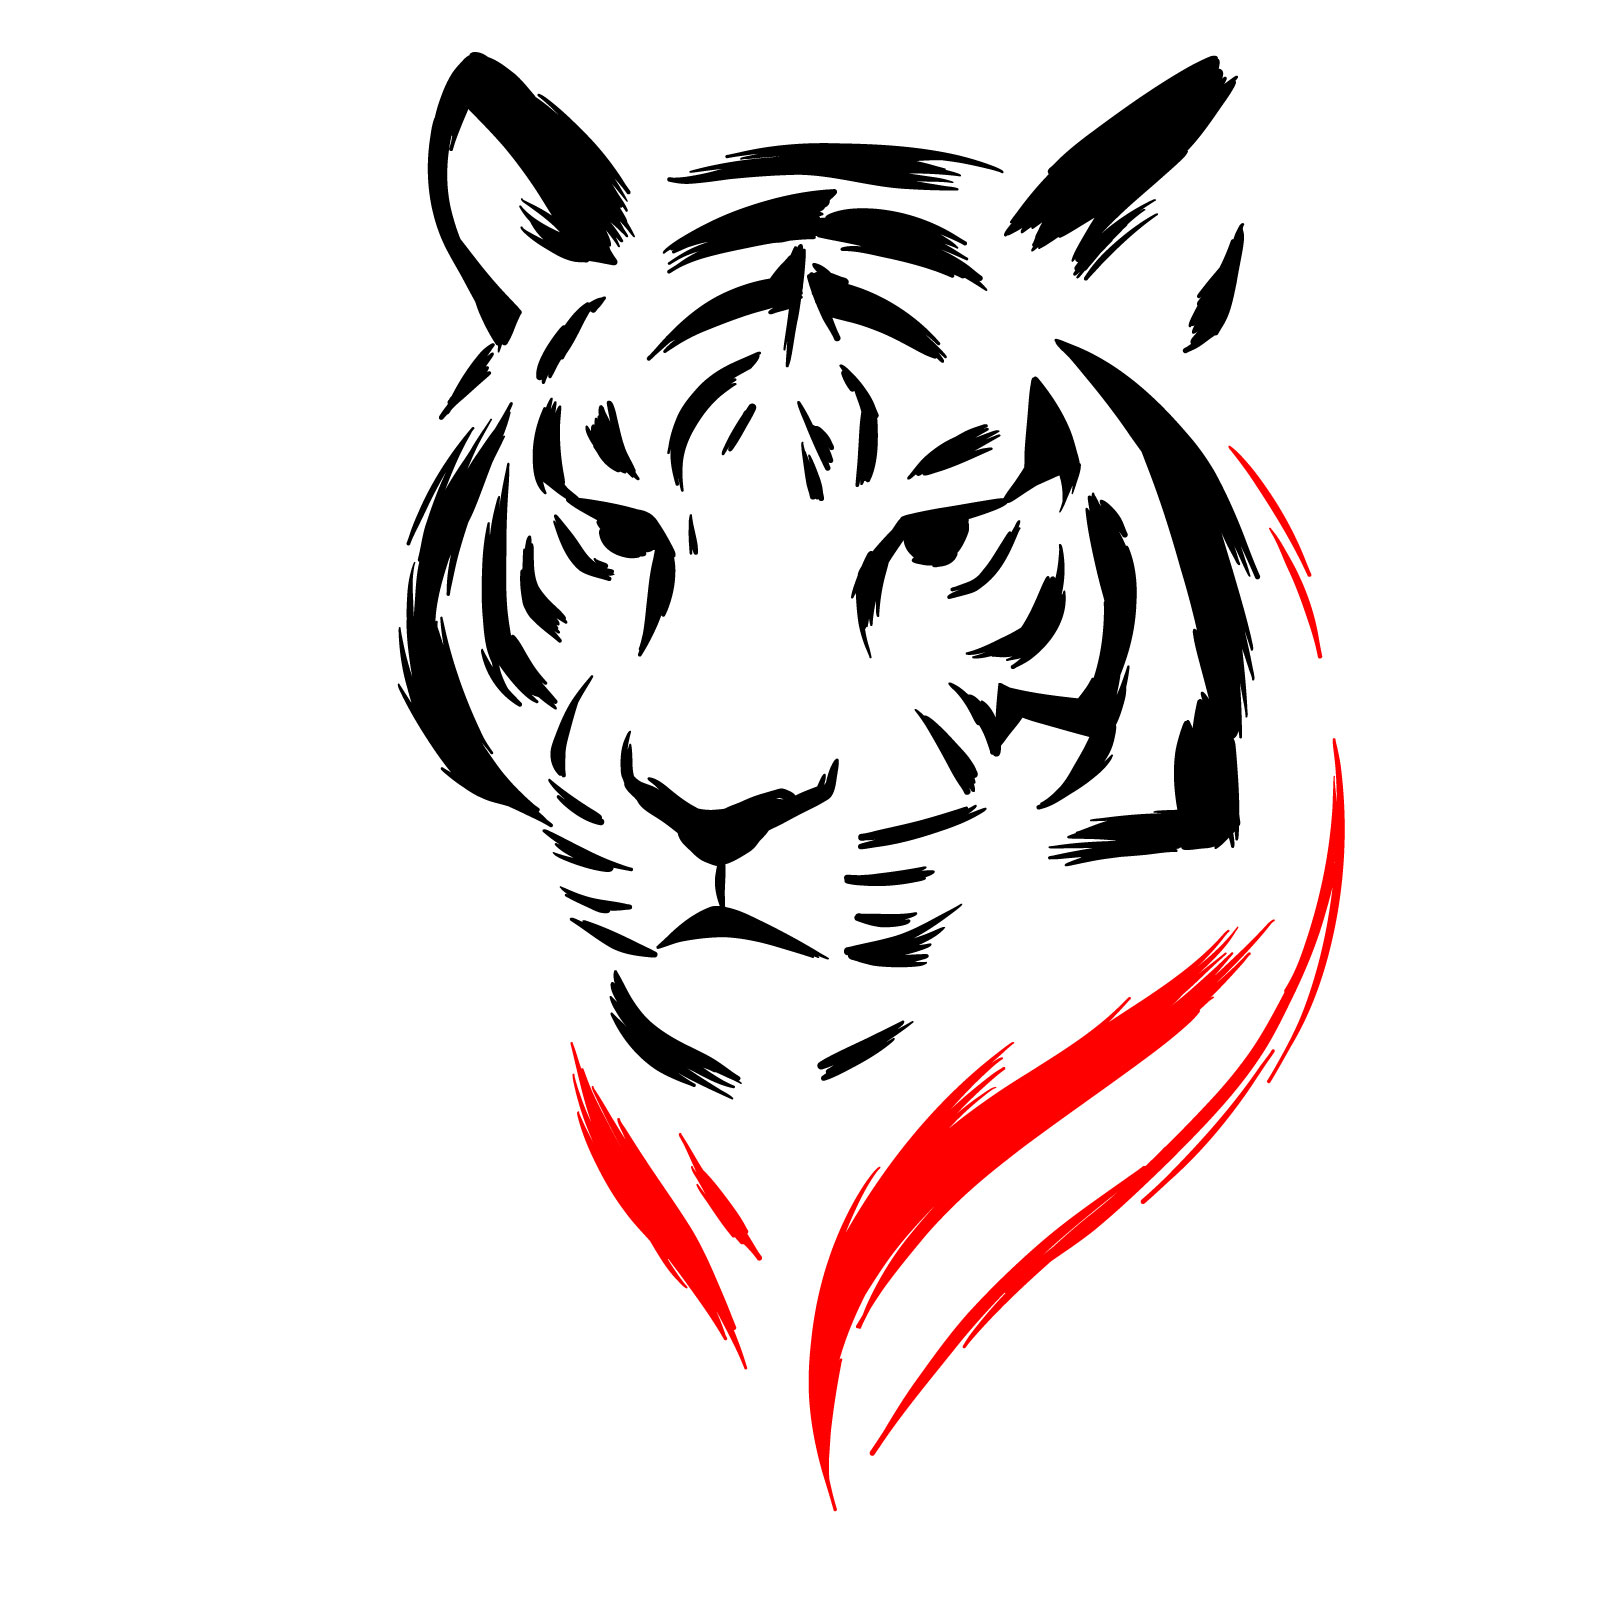
Line Color System for the Drawing Stages
To make it simple to follow, I use a color-coded system for each step:
- Black Color: All previously completed lines
- Red Color: The current stroke or detail to focus on in each step
To mimic the bold brush-like strokes, try to replicate the shapes from each step below using your sketching medium.


The signup form at the top of the page is the easiest way to stay current with new guides, including more Wild Animals pieces like this one, delivered as a weekly digest straight to your inbox. Once you know how to draw a Tiger Face with Stylized Ink Brush Effect, it’s worth browsing the other animal tutorials to keep that momentum going. You can also find video versions of some guides over on the SketchOk YouTube channel if you prefer watching the process.