Introduction: Unraveling the Mysteries of Drawing Doctor Strange
Welcome, fellow artists! Today, we’ll be delving into the mystical world of Doctor Strange and learning how to draw this enigmatic character with our step-by-step tutorial. By the end of this guide, you’ll be well on your way to mastering the art of Doctor Strange drawing, so grab your pencils and let’s begin!
Doctor Strange: The Sorcerer Supreme and His Magical Journey
Doctor Stephen Strange is a captivating character from the Marvel Comics universe. Created by Steve Ditko, Doctor Strange serves as the Sorcerer Supreme, the primary protector of Earth against magical and mystical threats. Initially introduced as a brilliant but arrogant neurosurgeon, a car accident leaves him with severe nerve damage in his hands. Desperate to heal, he embarks on a journey that ultimately leads him to the Ancient One and the world of magic and mysticism.
Over time, Doctor Strange becomes a master of both the mystical and martial arts, acquiring powerful artifacts like the Eye of Agamotto and the Cloak of Levitation. With his loyal friend and valet Wong by his side, he defends the world from otherworldly threats, taking up residence in the Sanctum Sanctorum in New York City. Portrayed by Benedict Cumberbatch in the Marvel Cinematic Universe, Doctor Strange has captured the imaginations of fans around the world.
Arsenal for Art: Gathering Your Magical Drawing Tools
Before we begin our Doctor Strange drawing adventure, let’s gather our trusty drawing tools. While you can use any materials you prefer, we recommend the following:
- Pencils (HB, 2B, and 4B)
- Eraser
- Sharpener
- Fineliners or inking pens
- Colored pencils, markers, or paints
- Drawing paper or sketchbook
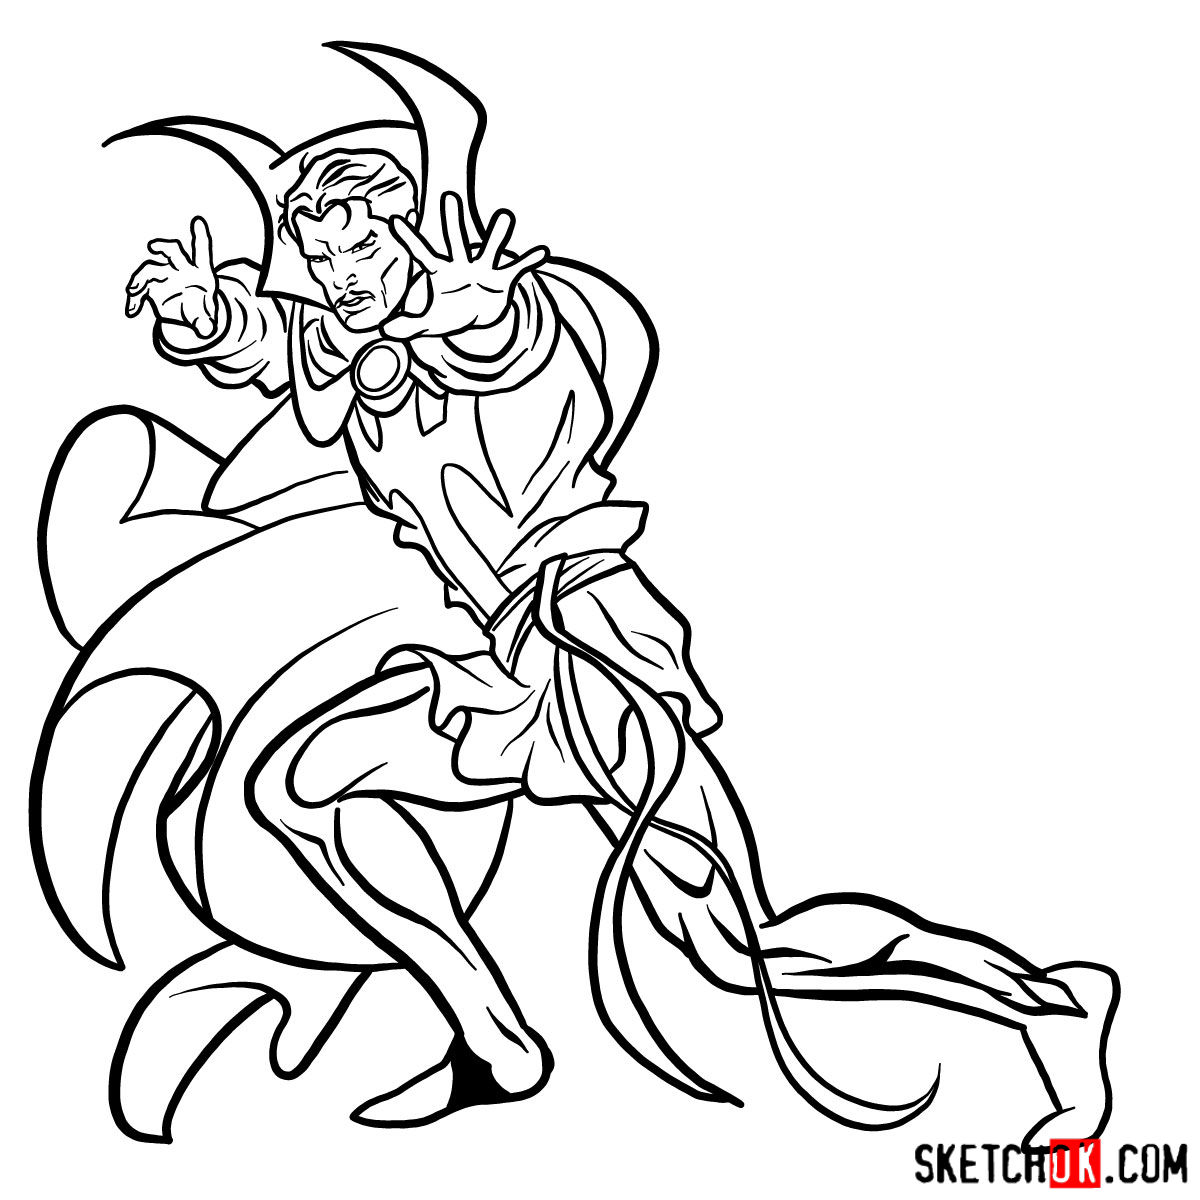
Embark on the Magical Journey: Step-by-Step Doctor Strange Drawing Guide
Now that we’ve gathered our tools, let’s embark on our step-by-step Doctor Strange drawing journey. Remember, the images in the tutorial use red to indicate the current step, grey for the basic proportions sketch, and black for the lines from the finished steps.
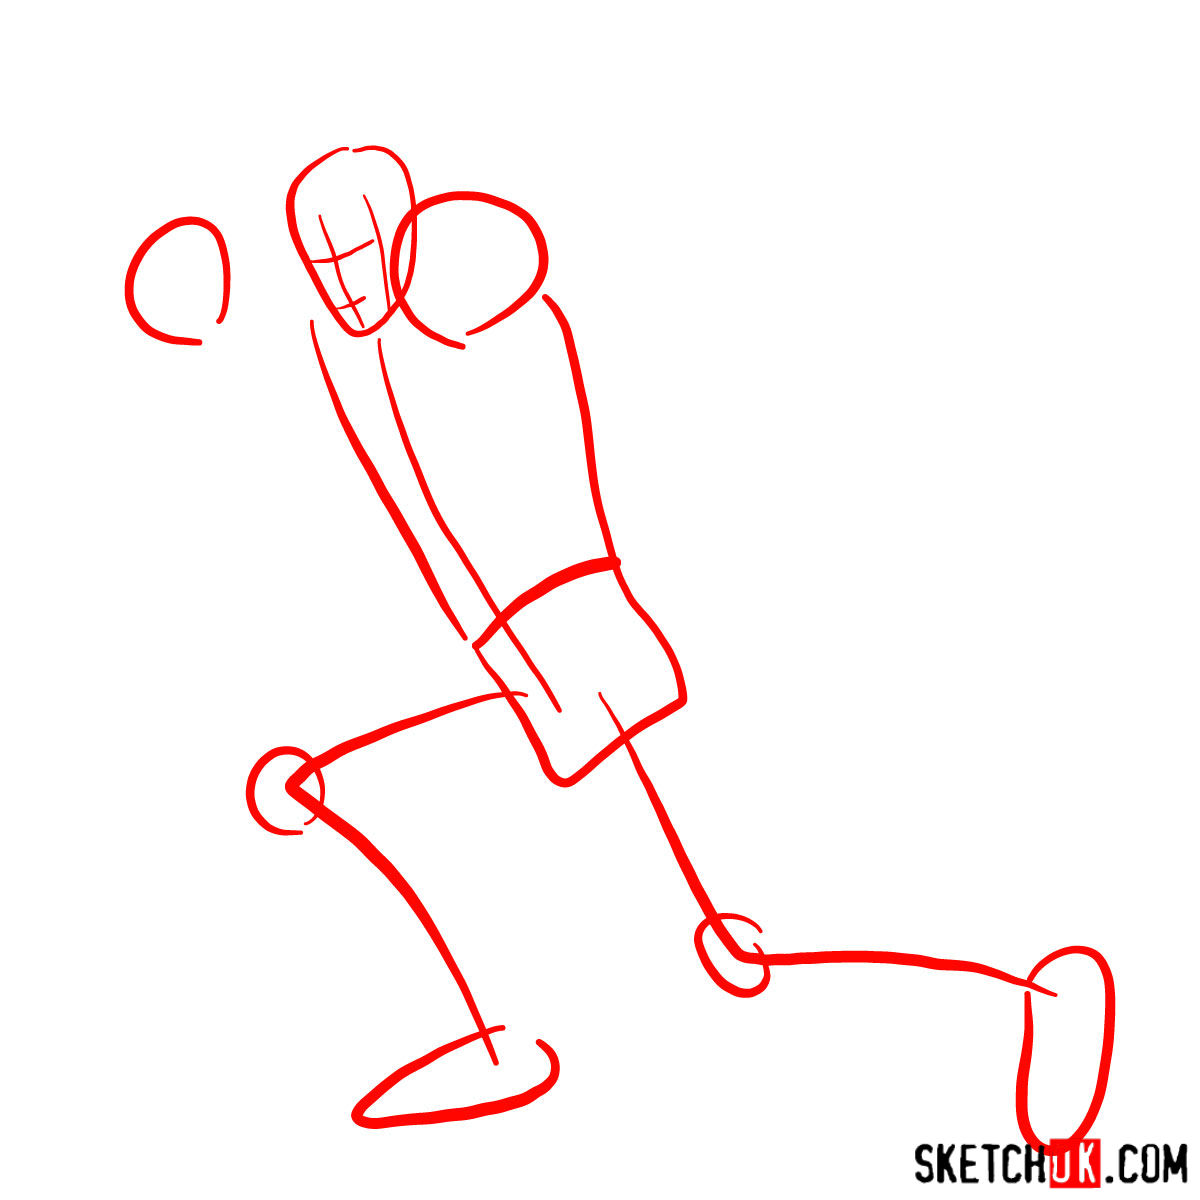
Part 1: Conjuring the Basic Sketch
The first step in our drawing process involves creating a basic structure for Doctor Strange. Using light pencil strokes, sketch out the foundation of the character, focusing on proportions and placement. This stage is crucial as it sets the groundwork for the rest of the drawing. Don’t worry about details just yet; we’ll tackle those in the next step.
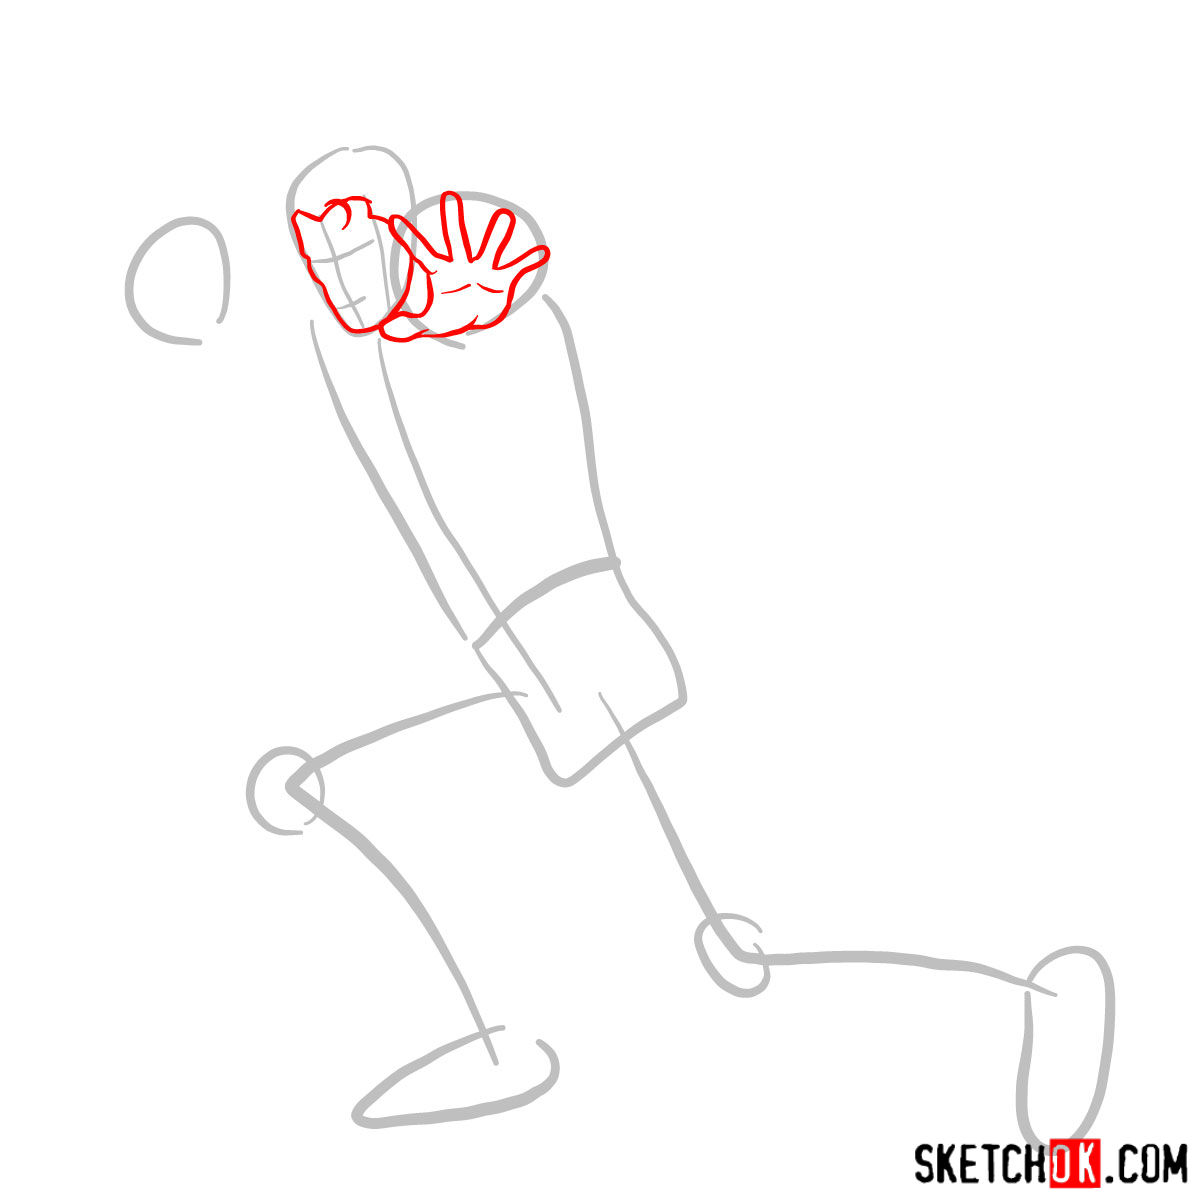
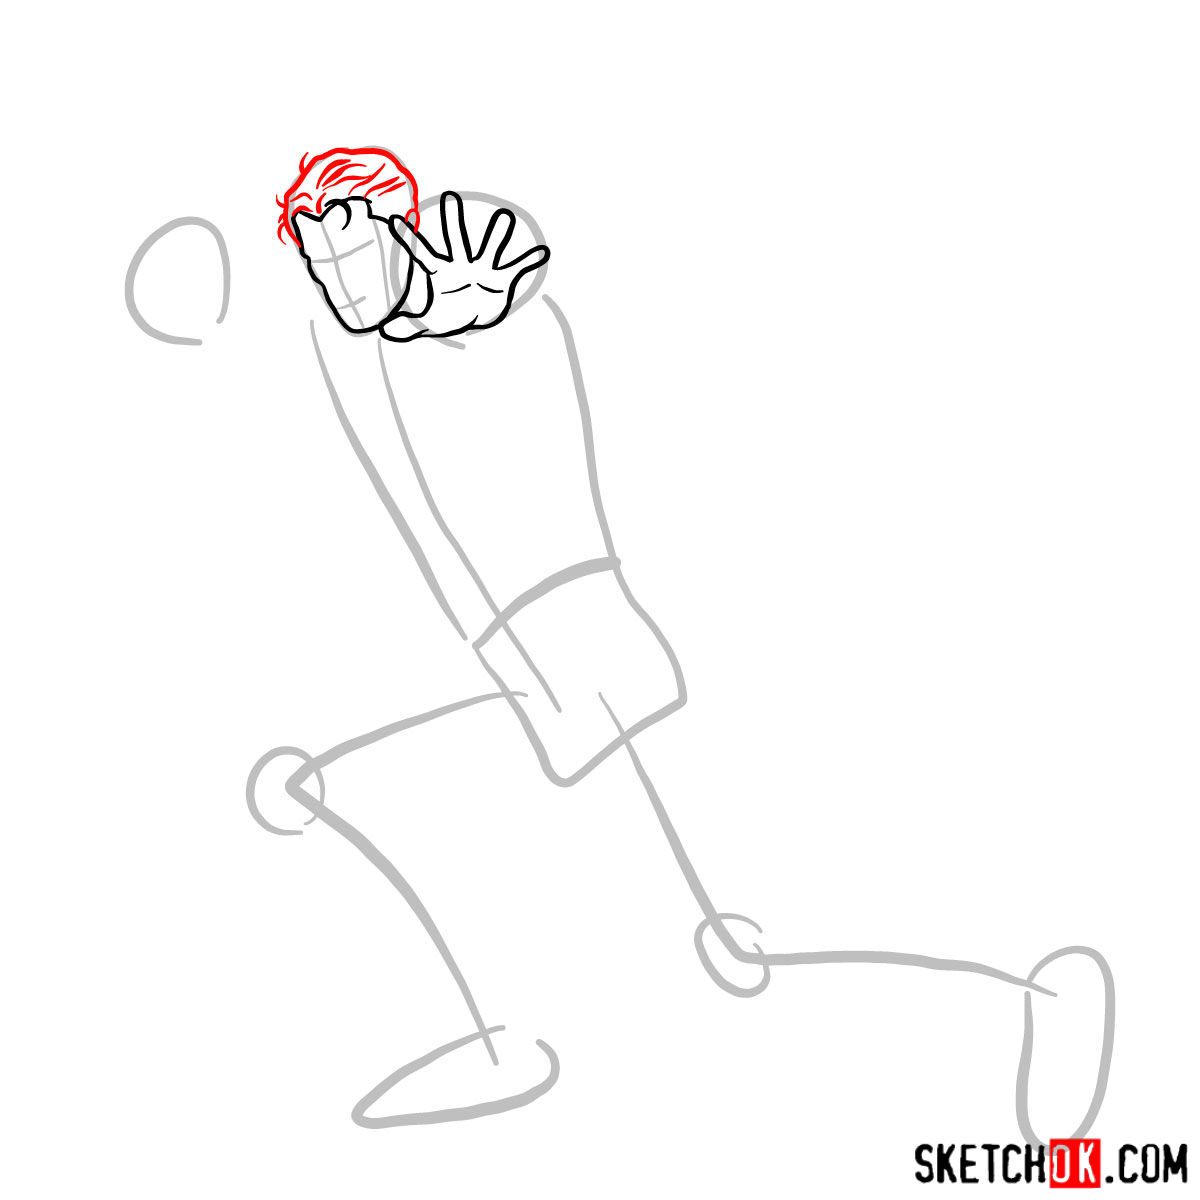
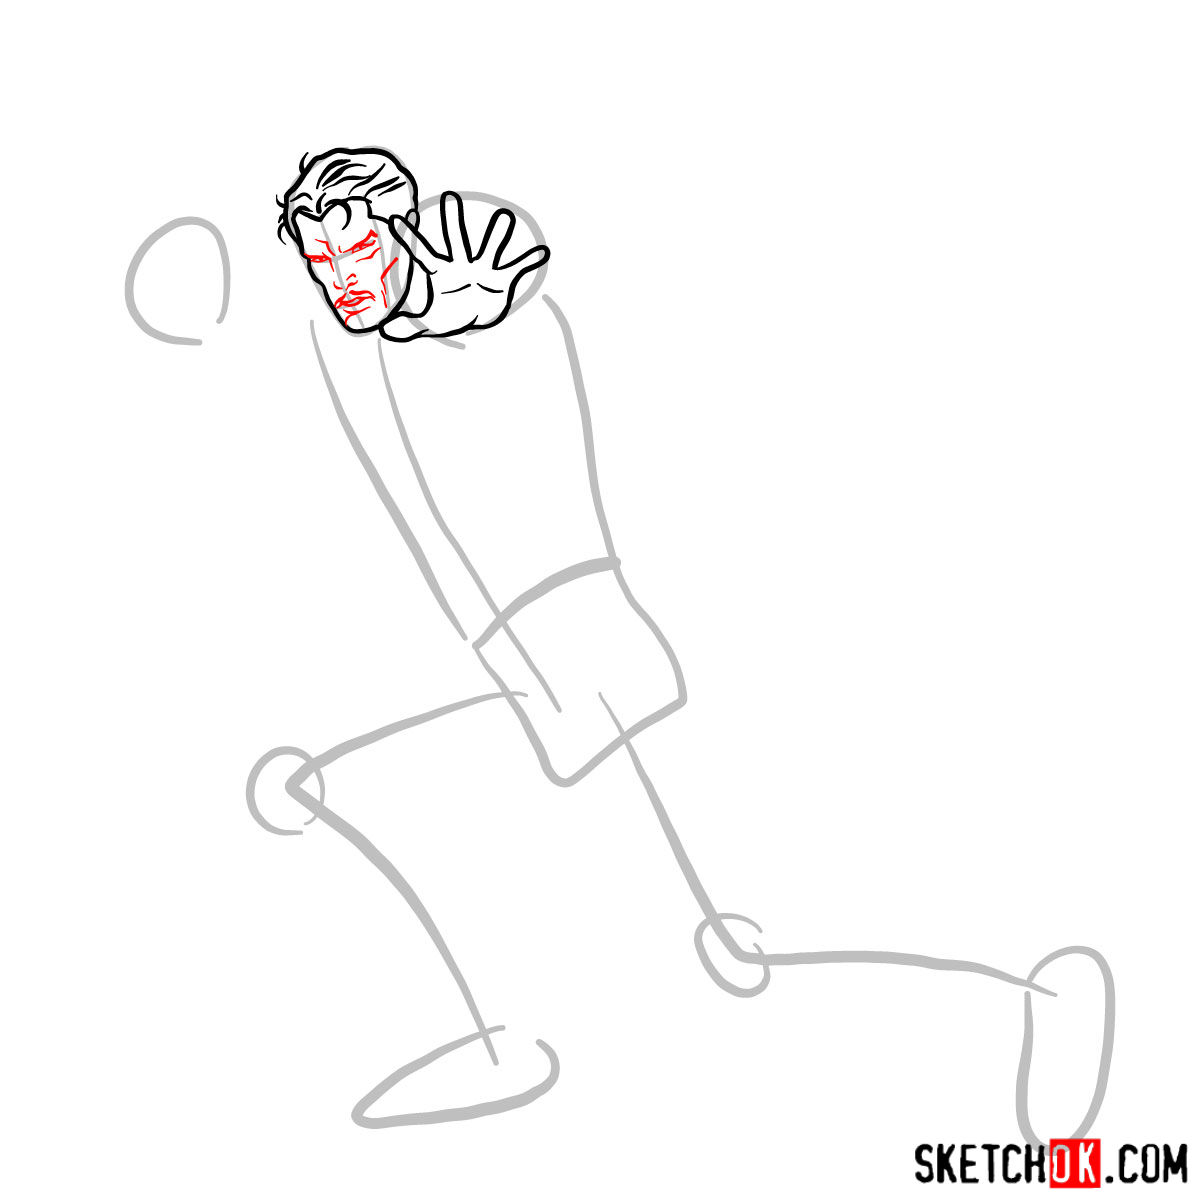
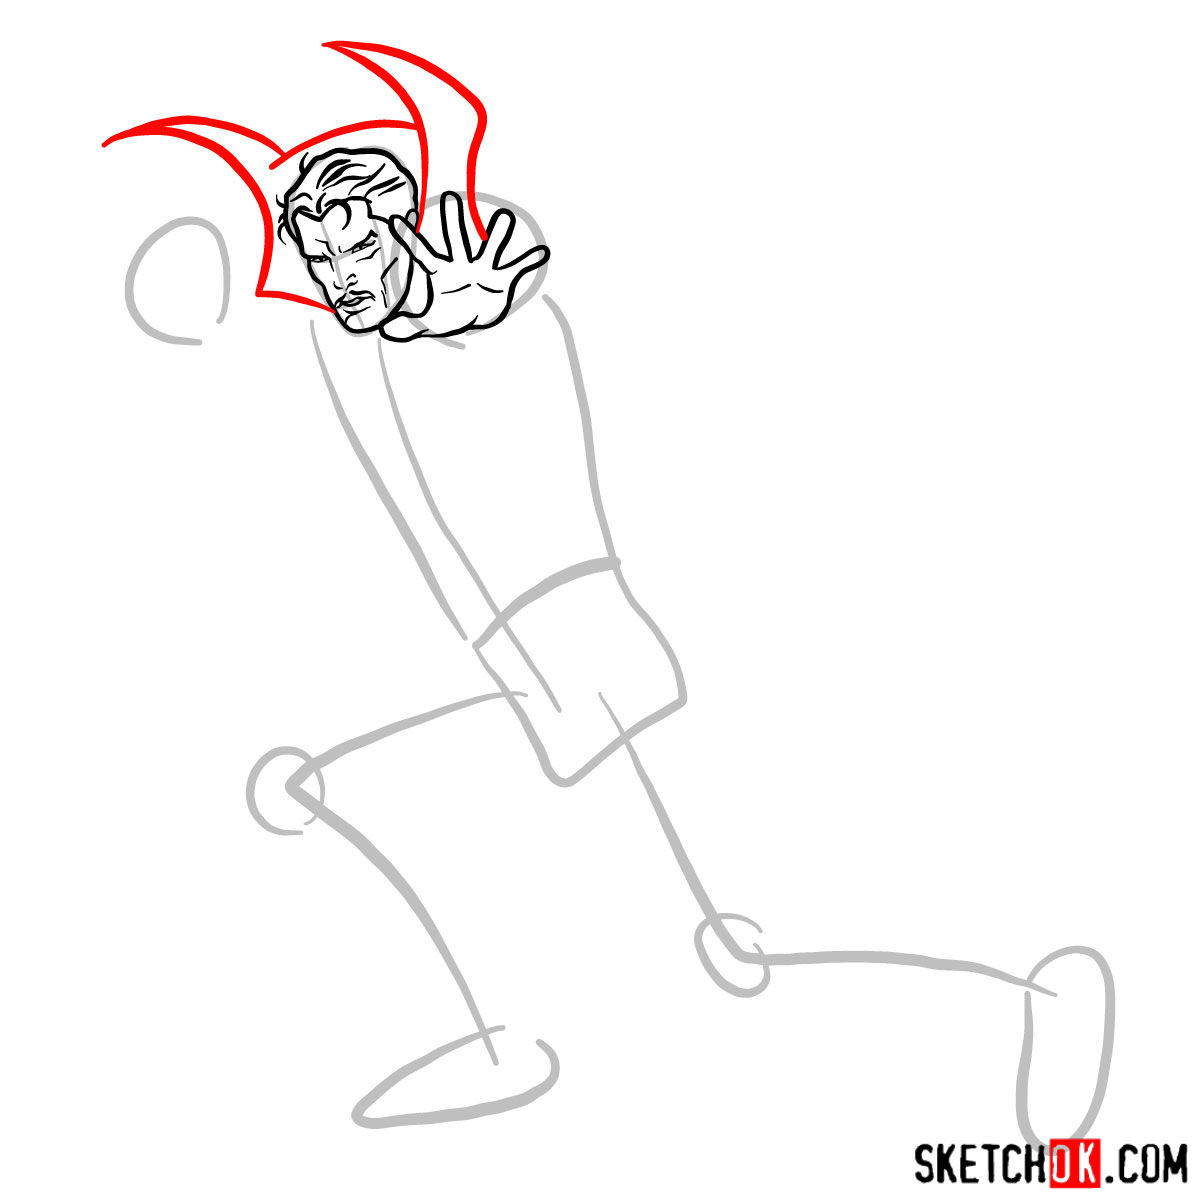
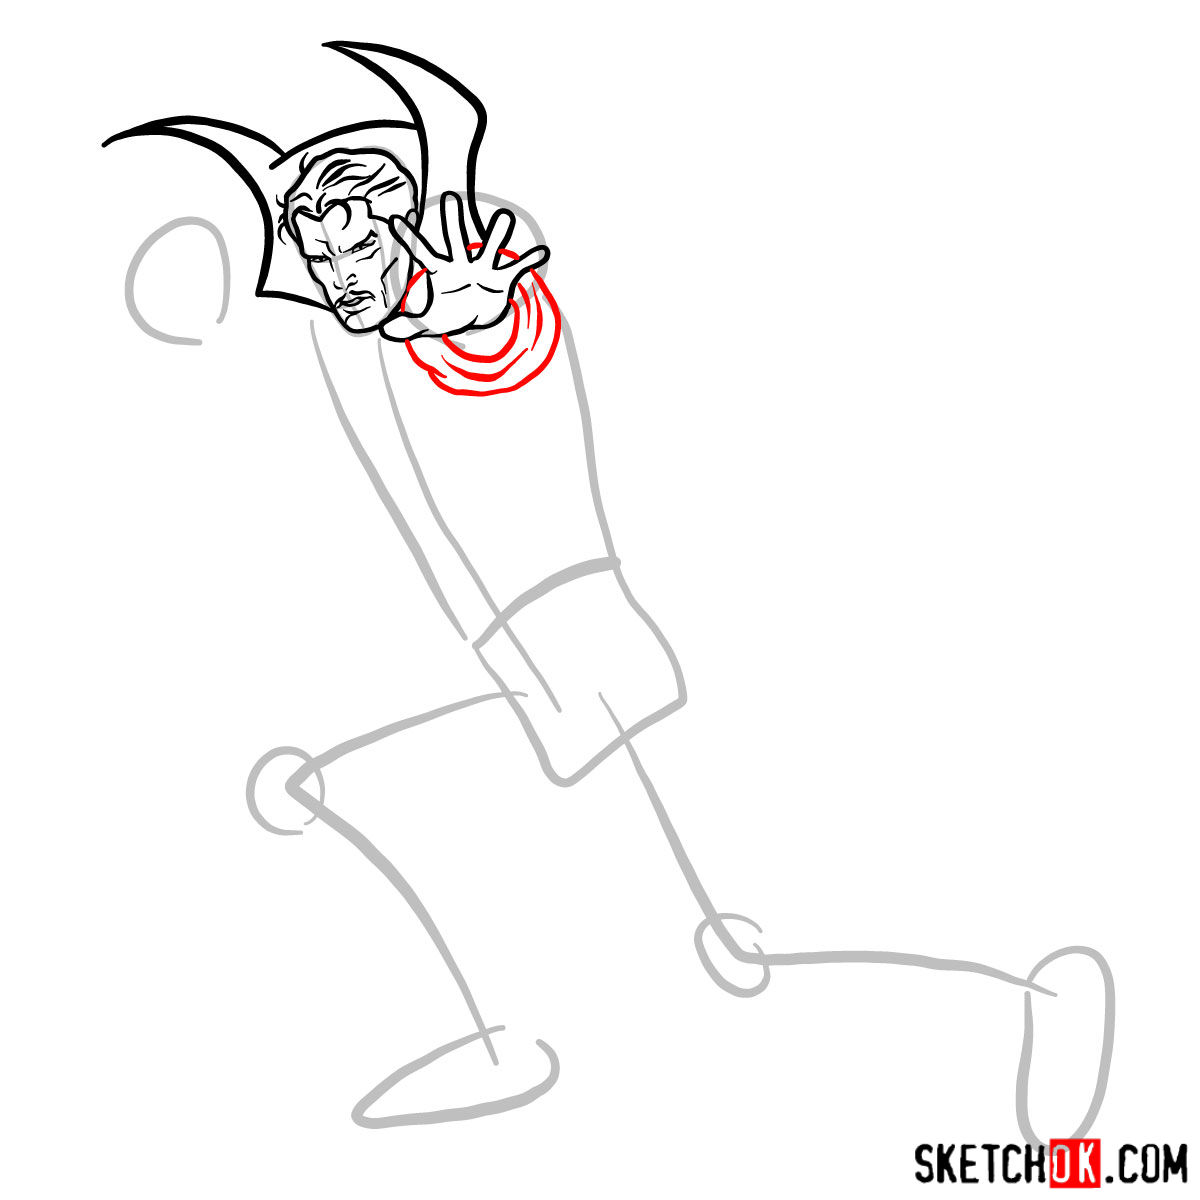
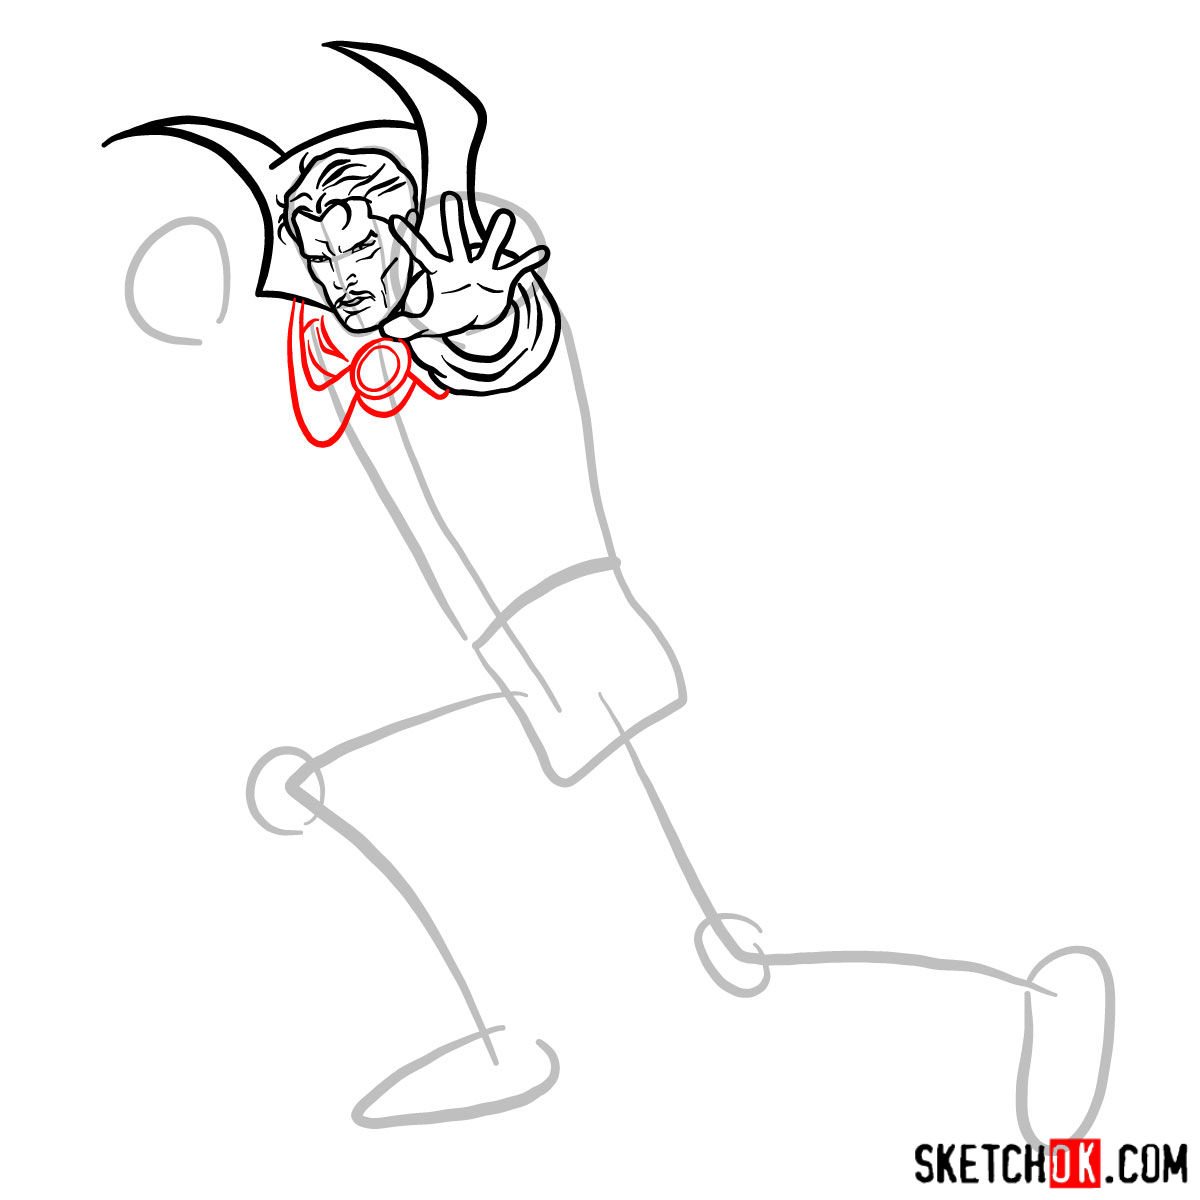
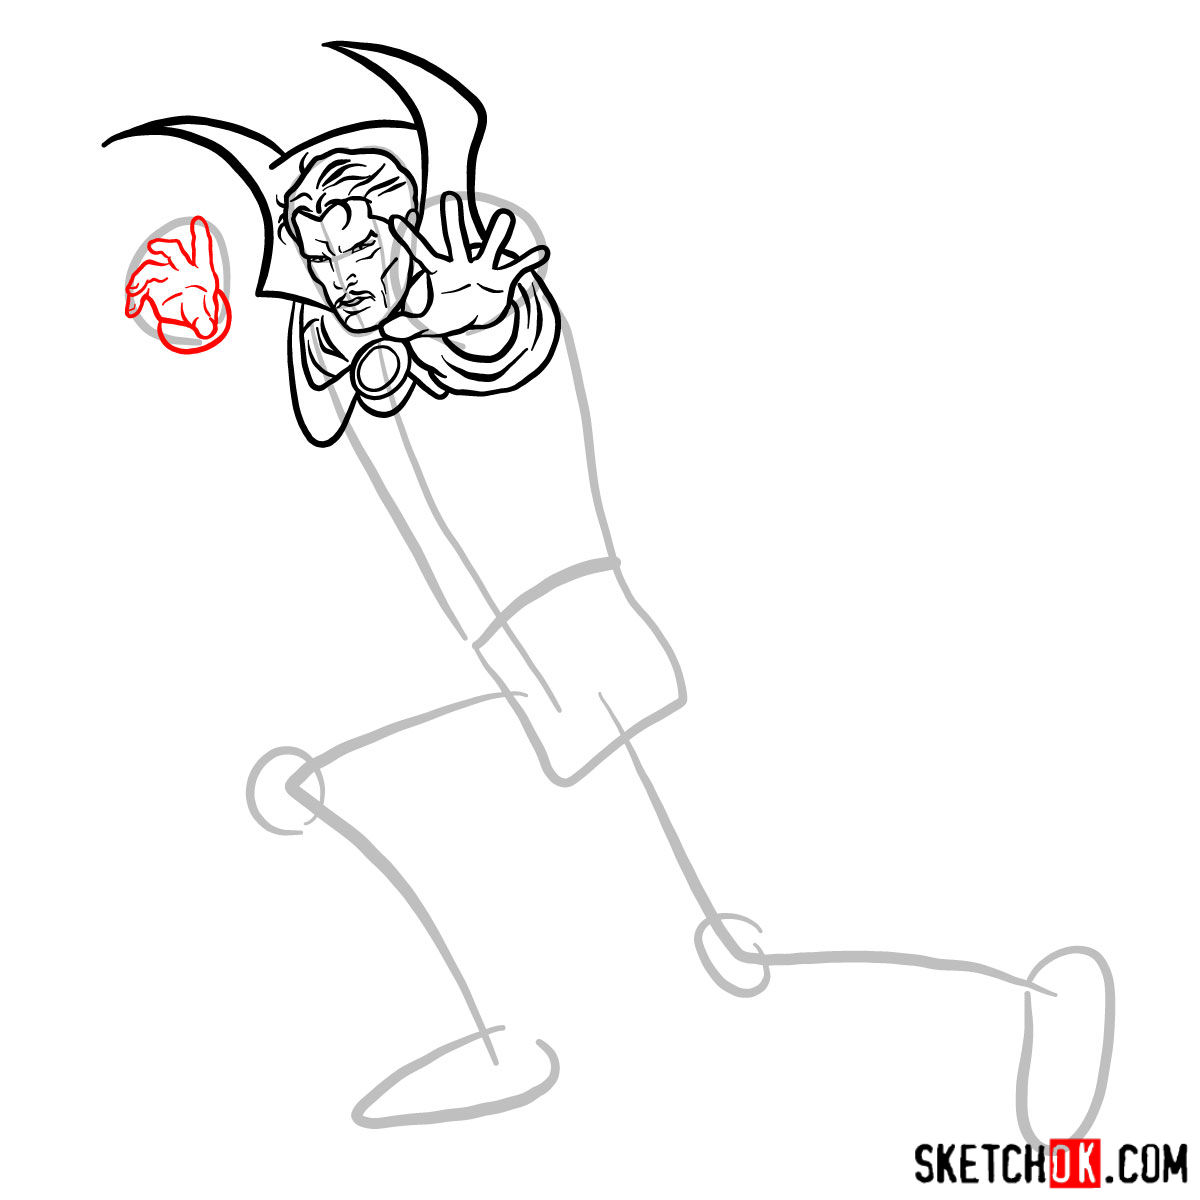
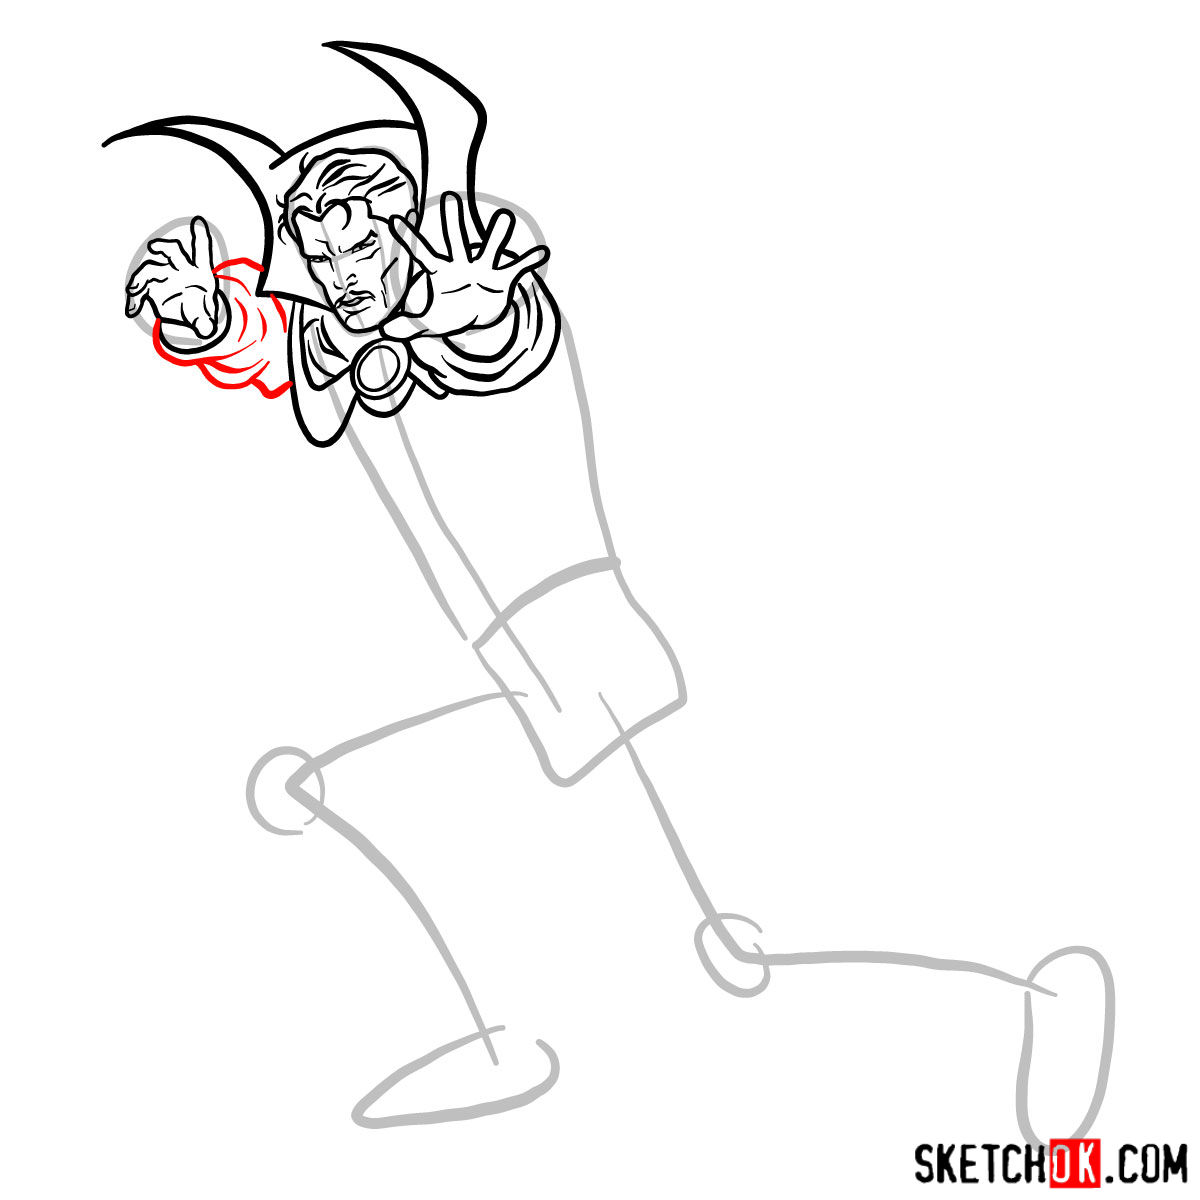
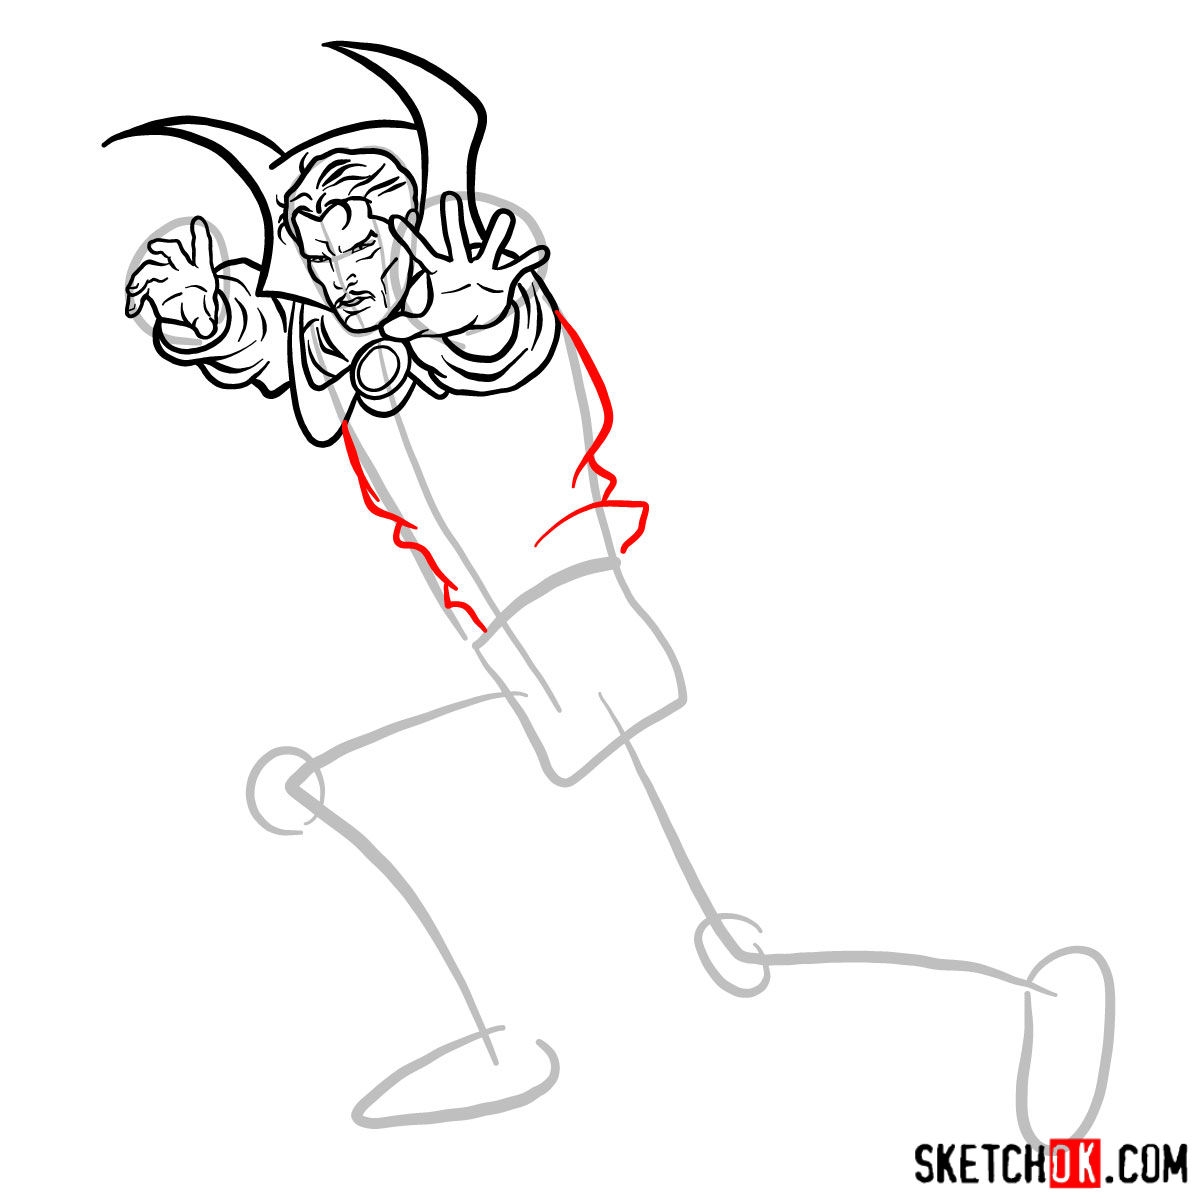
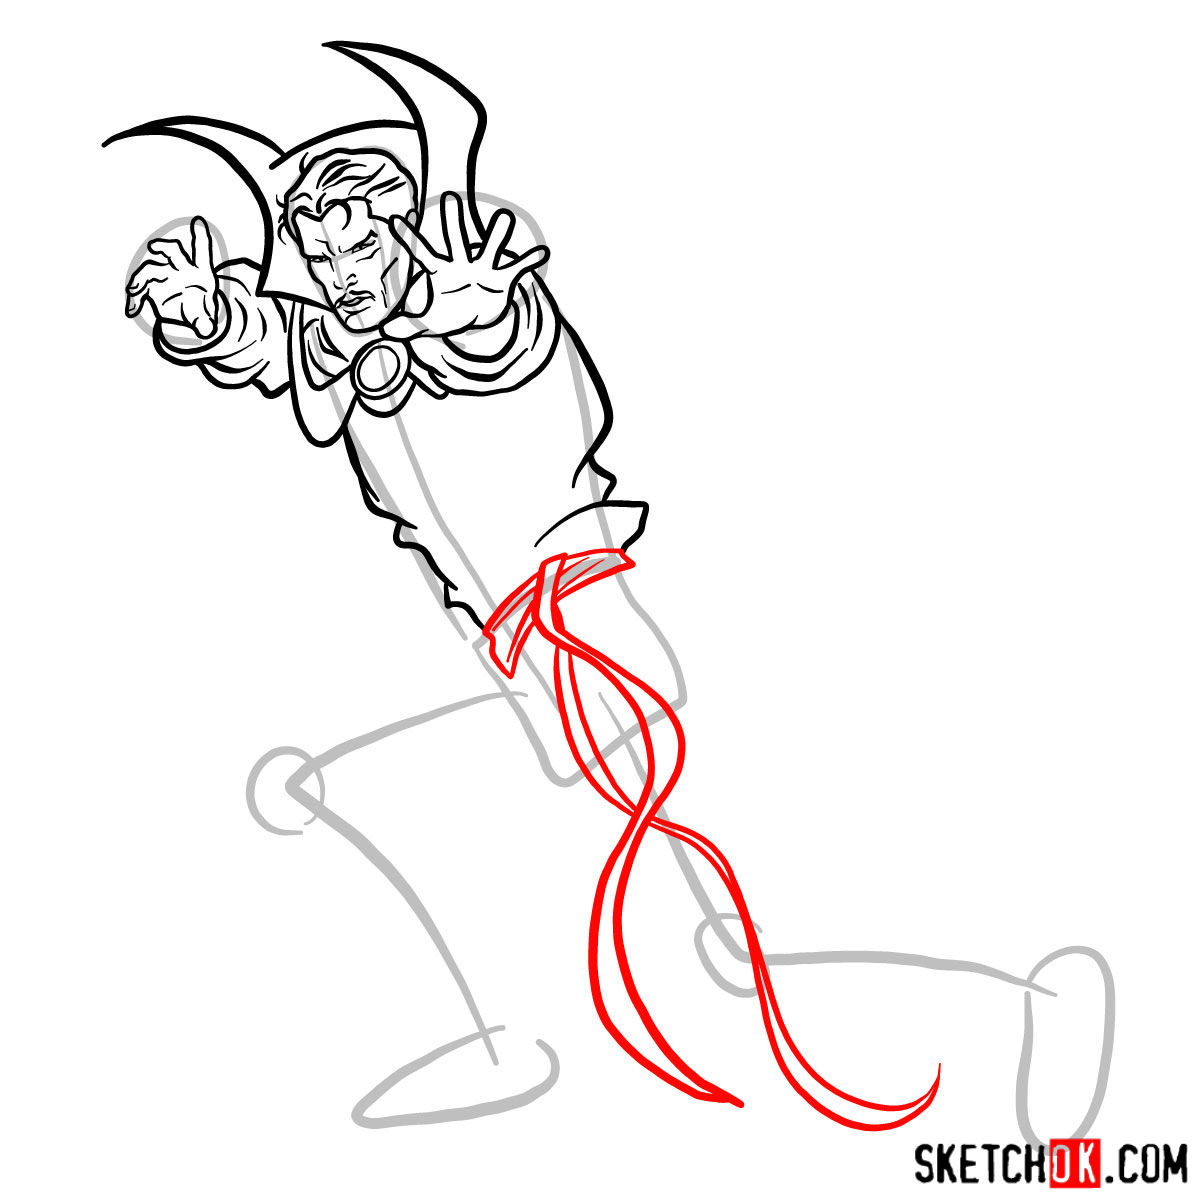
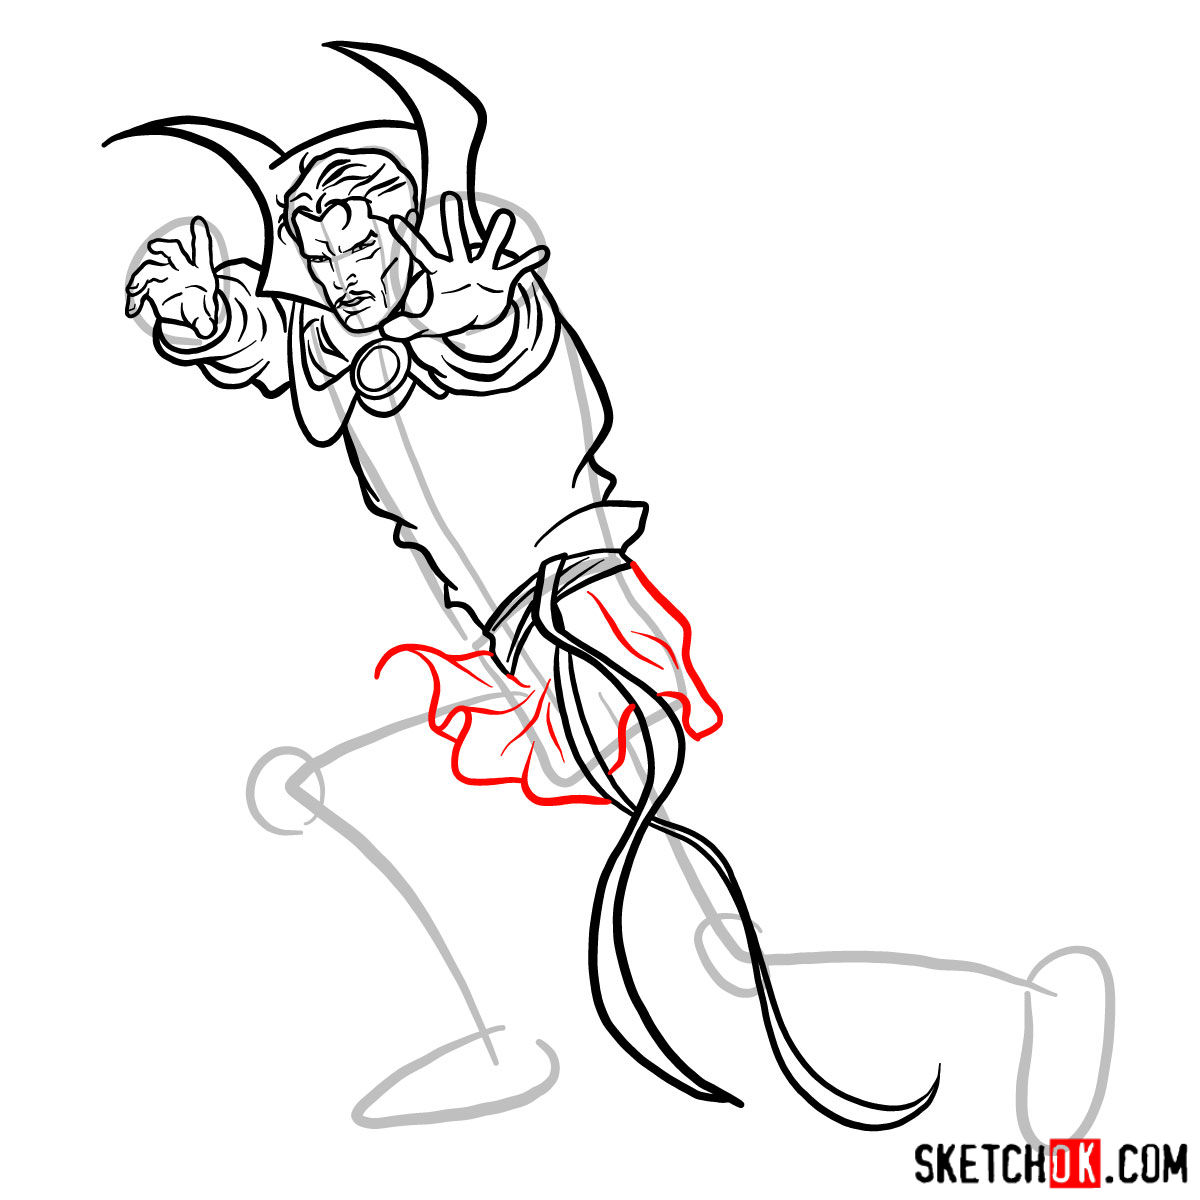
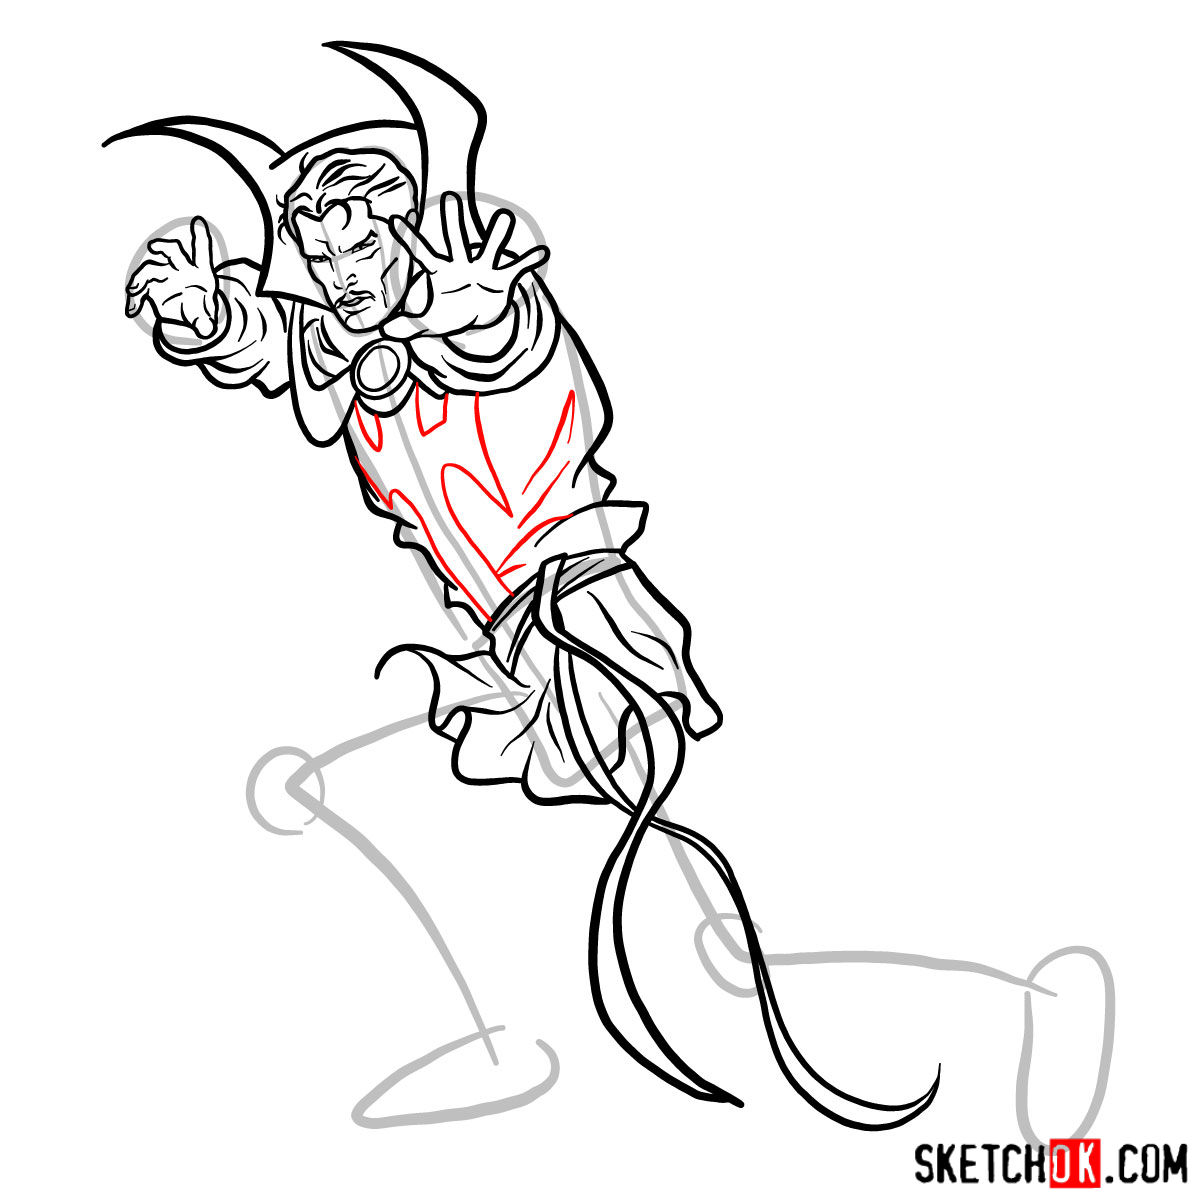
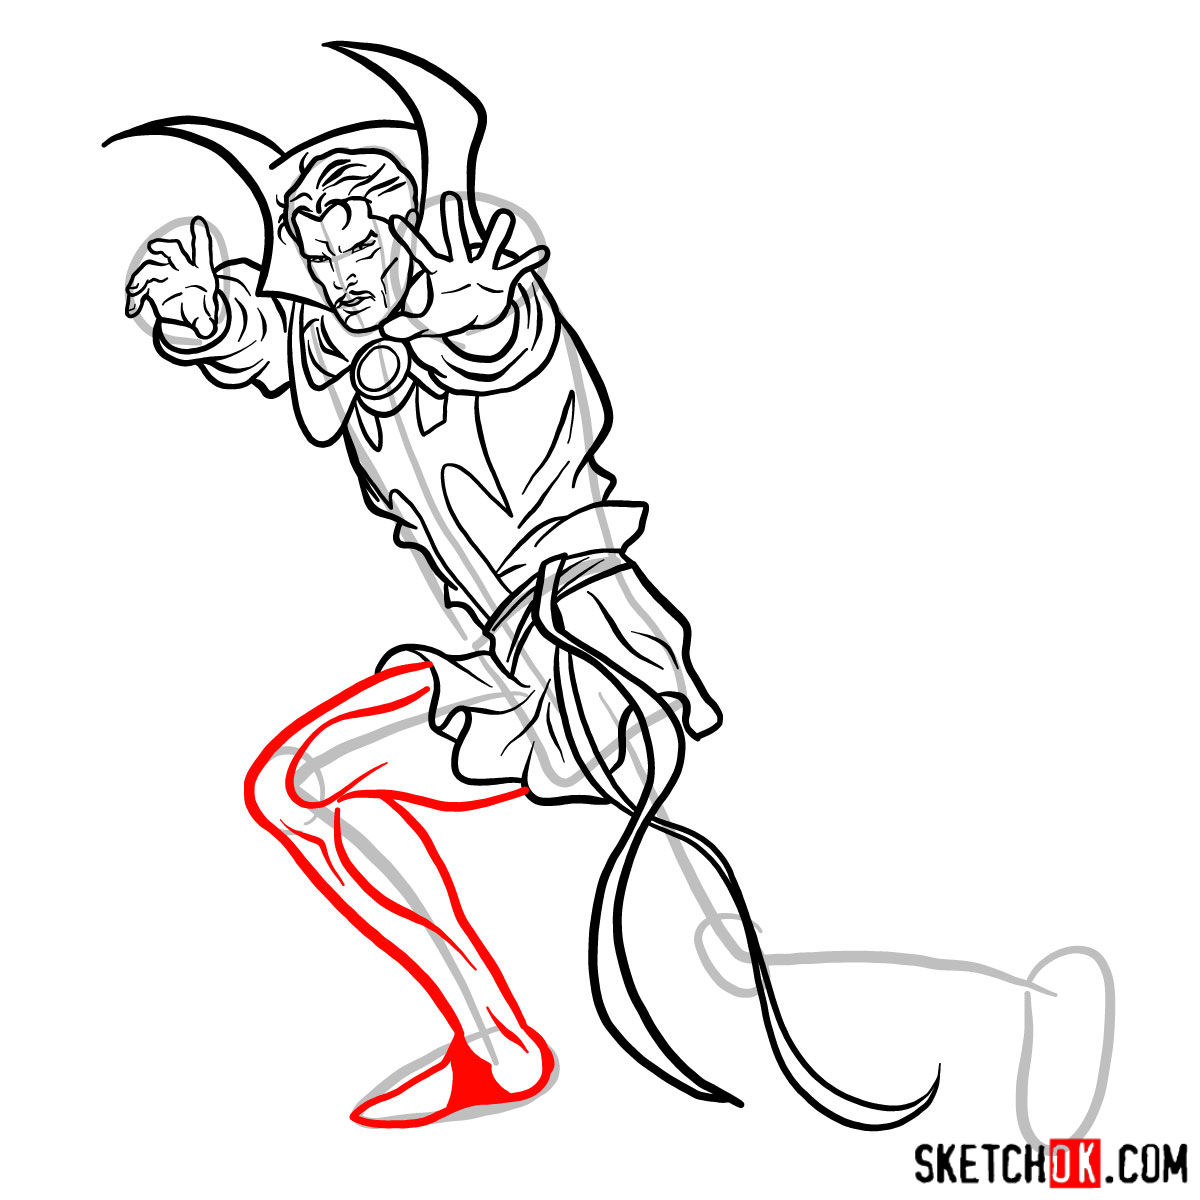
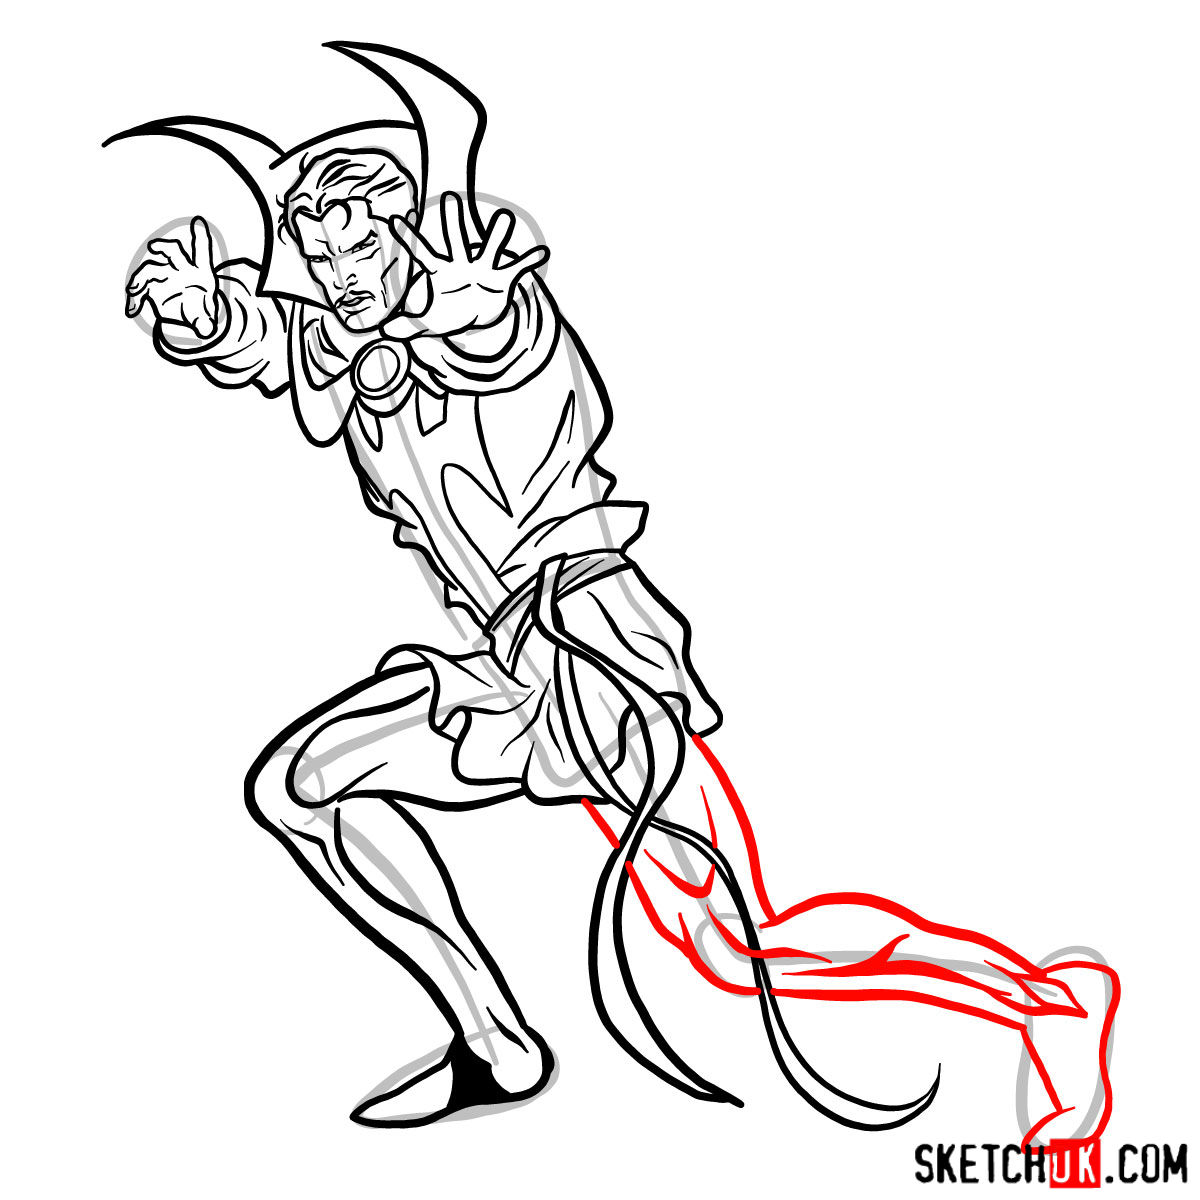
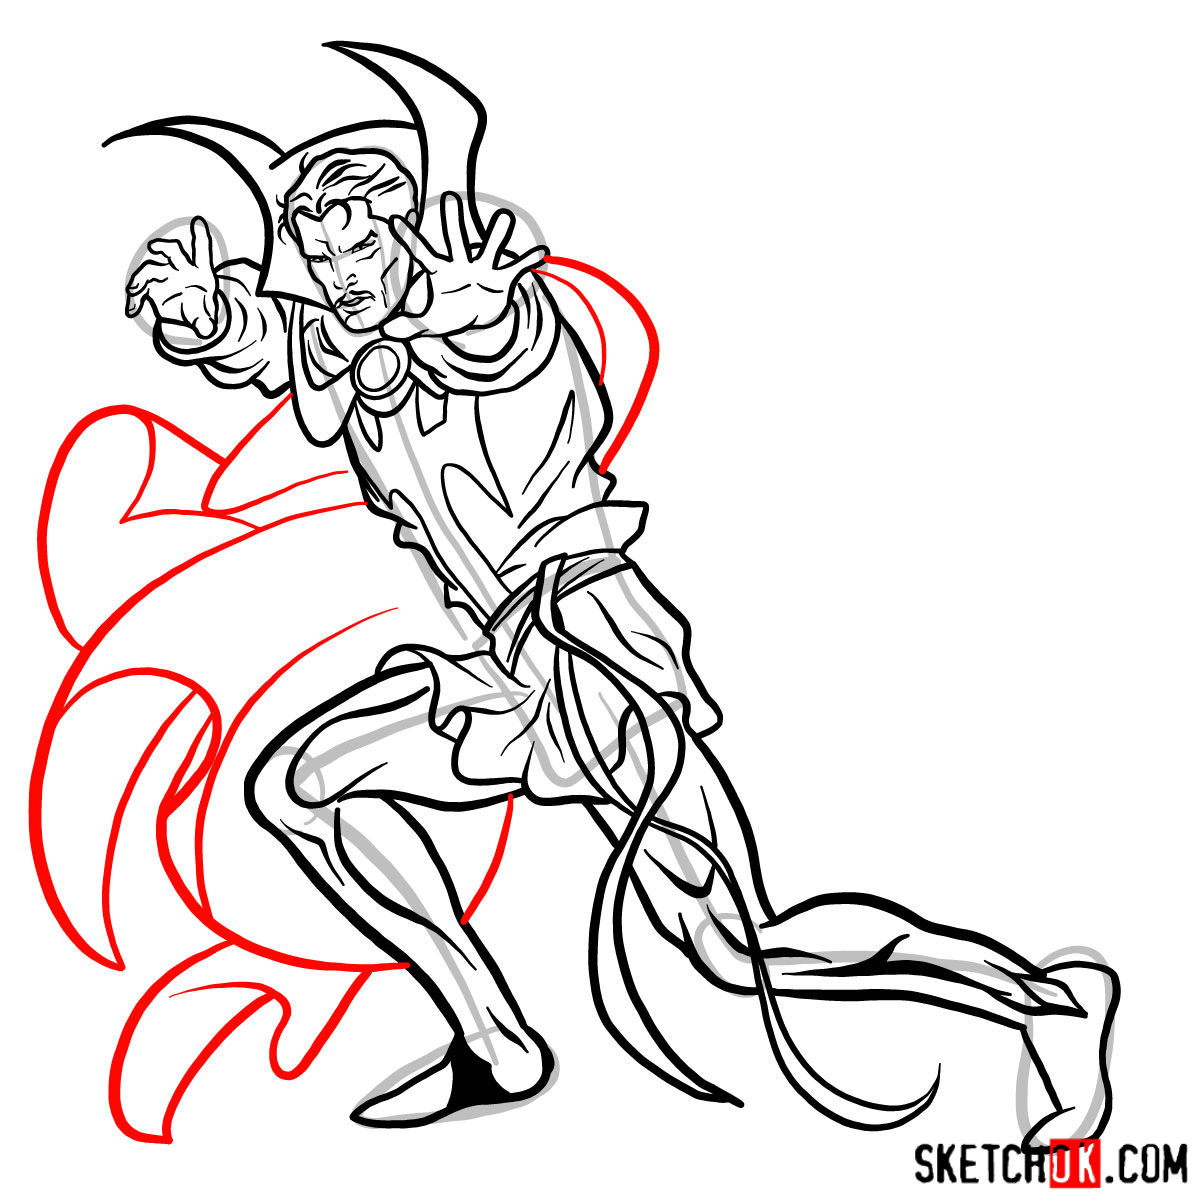
Part 2: Refining the Sketch and Channeling Details
With the basic structure in place, it’s time to refine our Doctor Strange drawing. Begin to add details and improve the proportions of the character. Focus on capturing the intricacies of his costume, facial features, and any other elements unique to the Sorcerer Supreme. Remember to be patient and take your time, as this stage is essential for bringing the character to life.
Part 3: Inking the Mystical Masterpiece
Now that our sketch is refined and filled with details, it’s time to ink the drawing. Carefully trace over your pencil lines with fineliners or inking pens, creating clean and crisp outlines. As you ink, be mindful of line thickness and add any final touches or details that will enhance the overall appearance of Doctor Strange. Once the inking is complete, carefully erase any remaining pencil marks.
Part 4: Coloring and Shading the Sorcerer Supreme
With our inking complete, we can now add color, shading, and highlights to our Doctor Strange drawing. Choose your preferred coloring medium, such as colored pencils, markers, or paints, and begin to bring the character to life with vibrant hues and subtle shading. Consider the light source and how it affects the shadows and highlights to create depth and dimension in your artwork.

Unlocking the Secrets: Tips and Techniques for Drawing Doctor Strange
As you progress through this drawing tutorial, consider the following tips and techniques to elevate your Doctor Strange artwork:
- Study the character’s design and costume elements for a more accurate and detailed depiction.
- Focus on capturing the unique facial features and expressions of Doctor Strange to convey his enigmatic personality.
- Experiment with different shading techniques to create depth and dimension in your drawing.
Frequently Asked Questions
Q: How can I improve my sketching skills when drawing Doctor Strange?
A: Practice makes perfect! Take time to study the character’s design, practice drawing different poses and expressions, and learn from other artists’ interpretations of the character. Additionally, focus on mastering basic drawing techniques and understanding human anatomy to improve your sketching skills.
Q: What drawing techniques should I use when sketching Doctor Strange?
A: Some effective drawing techniques include using light pencil strokes for the initial sketch, refining the drawing with more precise lines, and applying shading and highlights to create depth and dimension. Experiment with different techniques to find what works best for you and your style.
Congratulations! You’ve successfully completed our step-by-step Doctor Strange drawing tutorial. We hope you’ve enjoyed the journey and discovered new skills to help you create your own mystical masterpieces. Don’t forget to share your artwork with others and continue exploring the Marvel universe with other drawing tutorials.
If you appreciate these free drawing guides and want to support our work, consider buying us a coffee. Every cup of magical elixir helps us create more enchanting drawing tutorials for aspiring artists like you!
I really like doing this, I done a lot already, its really fun.
Thanks! Happy to hear that
How to draw Dr. Hugo Strange from DC?