What if you could bring to life Ding-A-Ling Wolf, the iconic sidekick from Hokey Wolf, with just a pencil and paper? Today, we’re going to guide you through a step-by-step tutorial to do just that. Drawing might seem complicated, but with the right guidance and a sprinkle of patience, you can unlock your inner artist and create impressive sketches of your favorite characters.
Spotlight: Ding-A-Ling Wolf and His Unique Features
Before diving into the sketching process, let’s talk a little bit about our subject. Ding-A-Ling Wolf, despite his size, has a large personality, often seen scheming alongside his con-artist companion, Hokey Wolf. They are known for their relentless, and often hilarious, attempts to live the easy life.
Here are a few key features to consider when drawing Ding-A-Ling:
- Diminutive size compared to Hokey Wolf
- Signature bowler hat
- Round and innocent eyes
- Wide, cheeky grin
Considering sketching other characters from the series like Hokey Wolf or Yogi Bear? Their distinct features can provide great additional practice and a complete artistic challenge.
A Step-by-Step Guide: Unveiling the Process
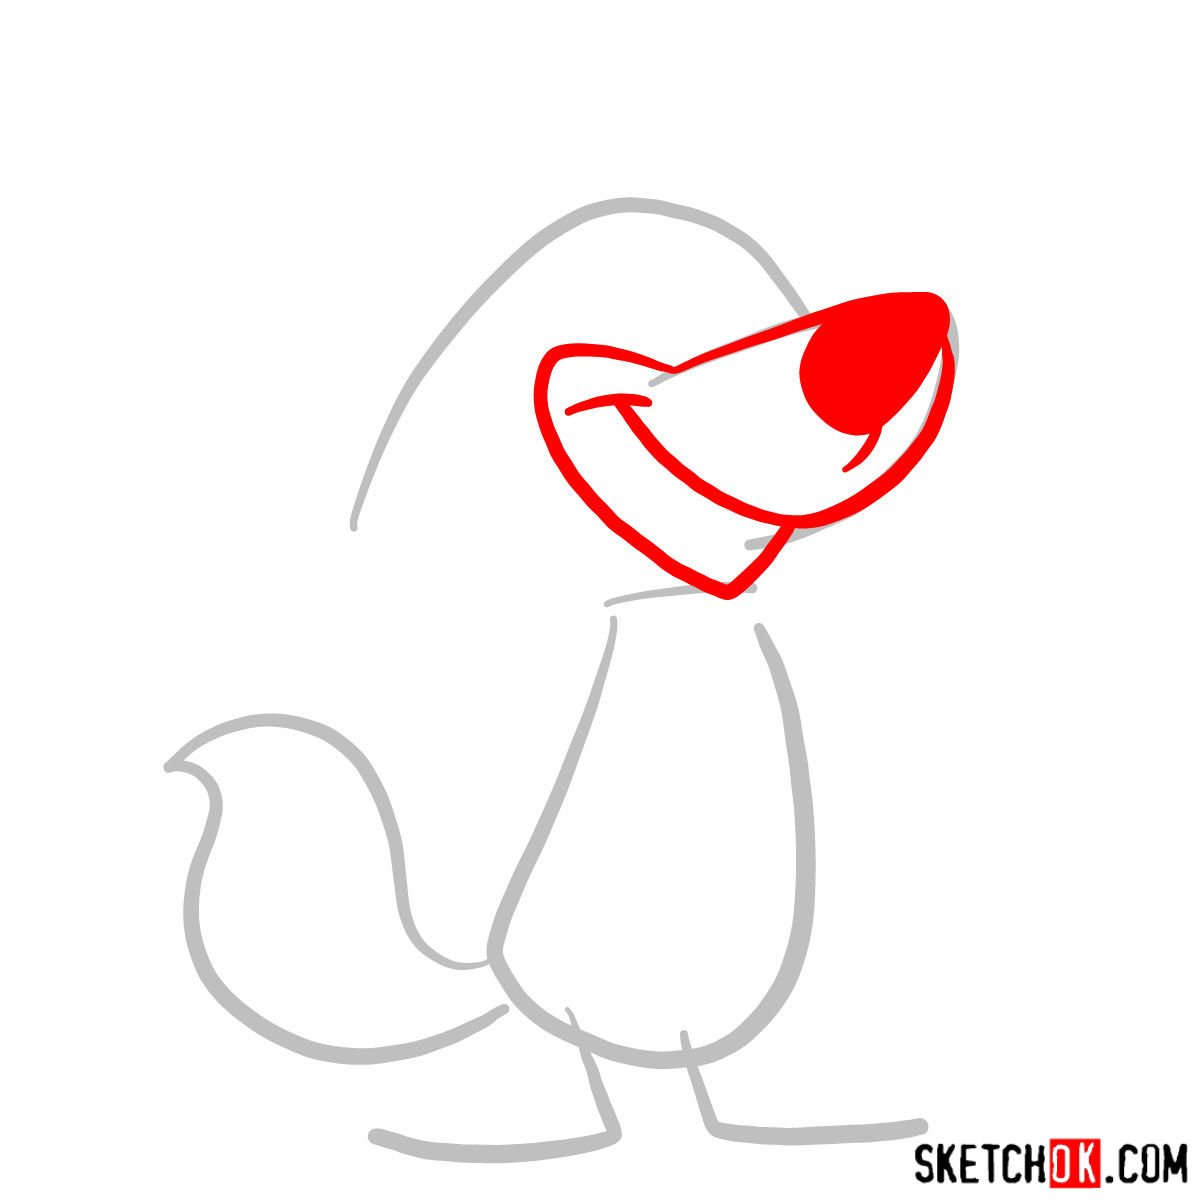
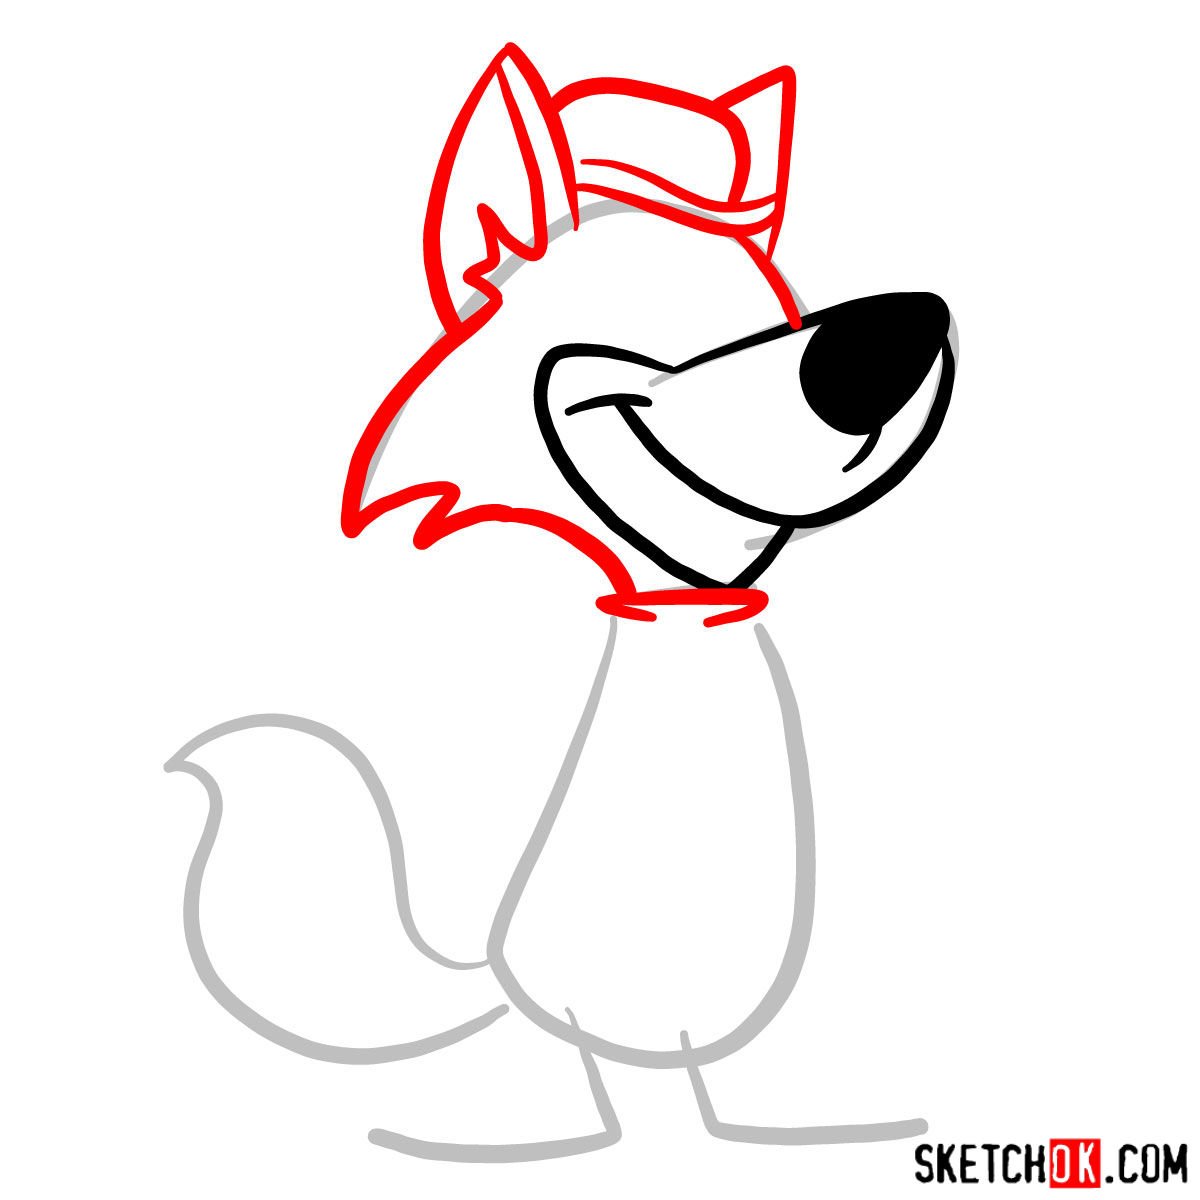
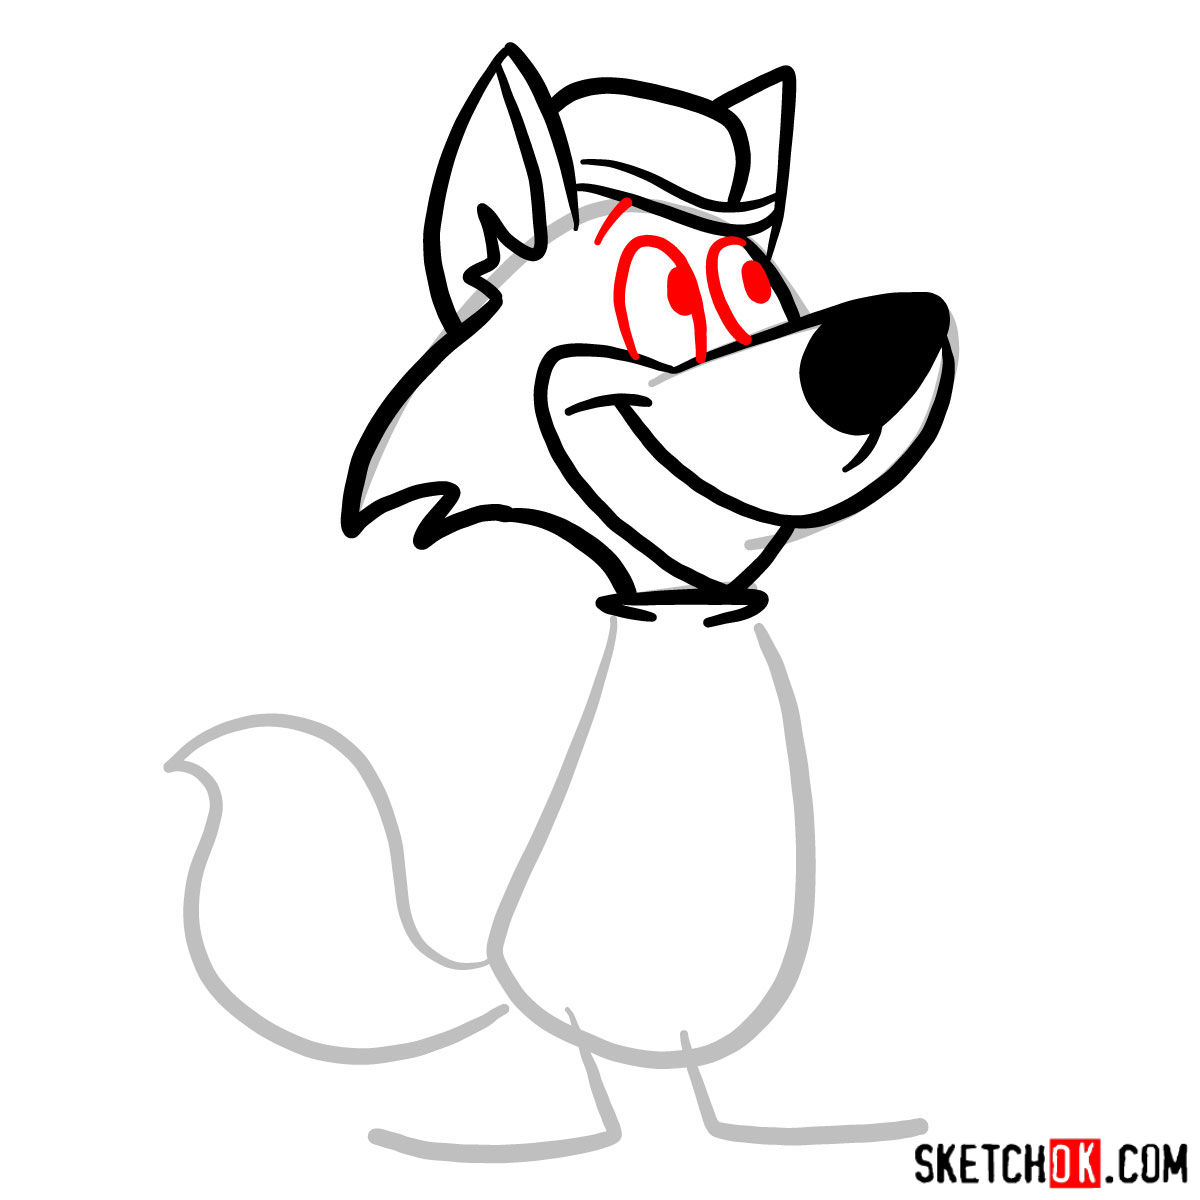
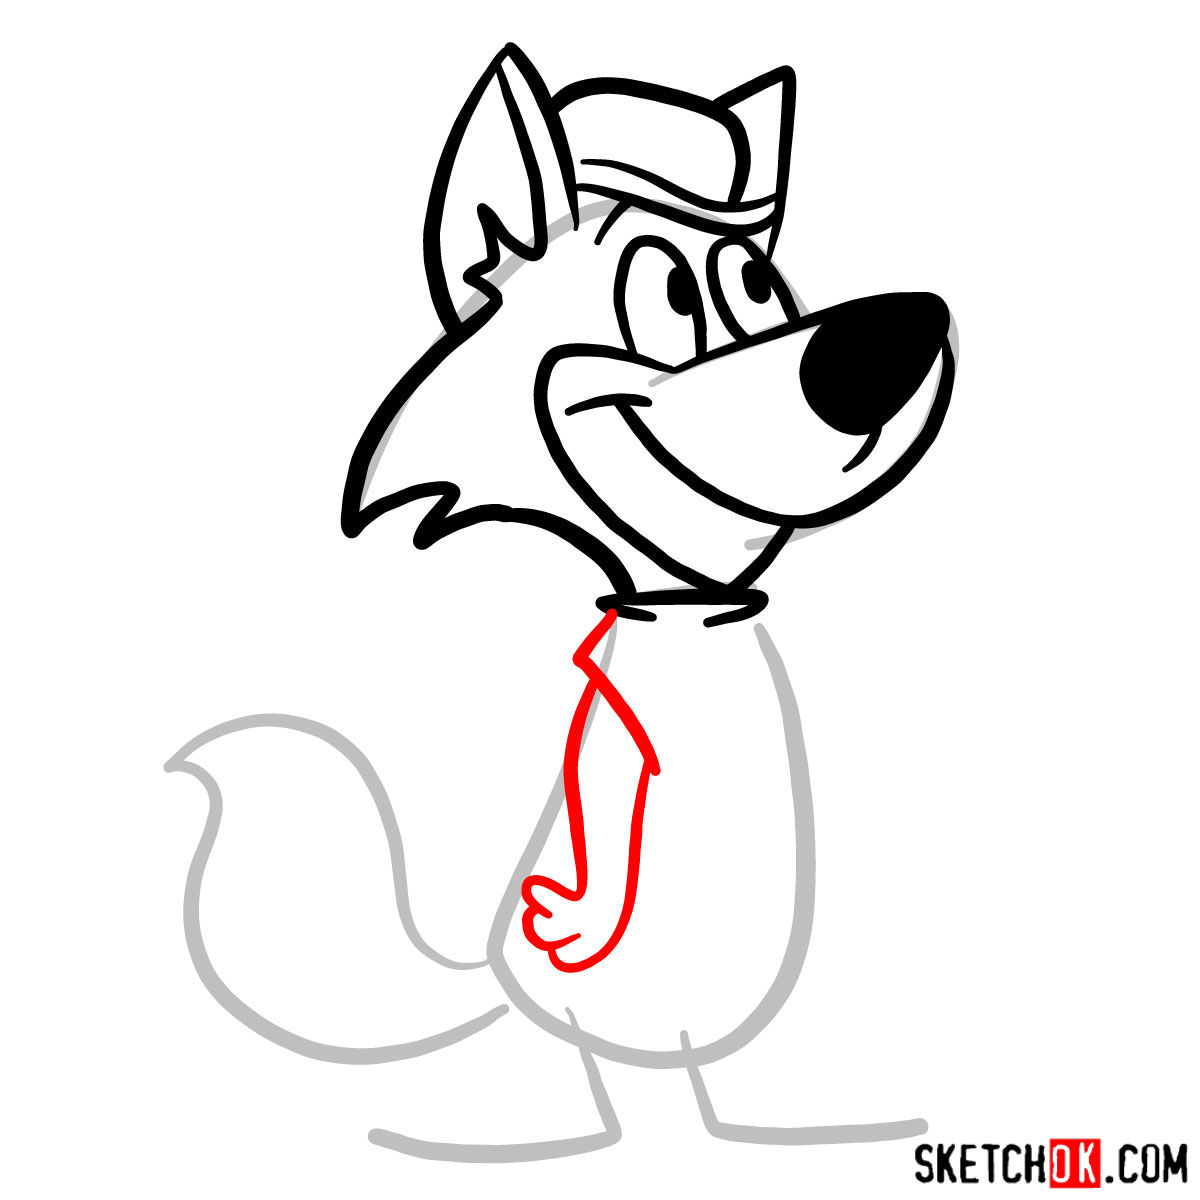
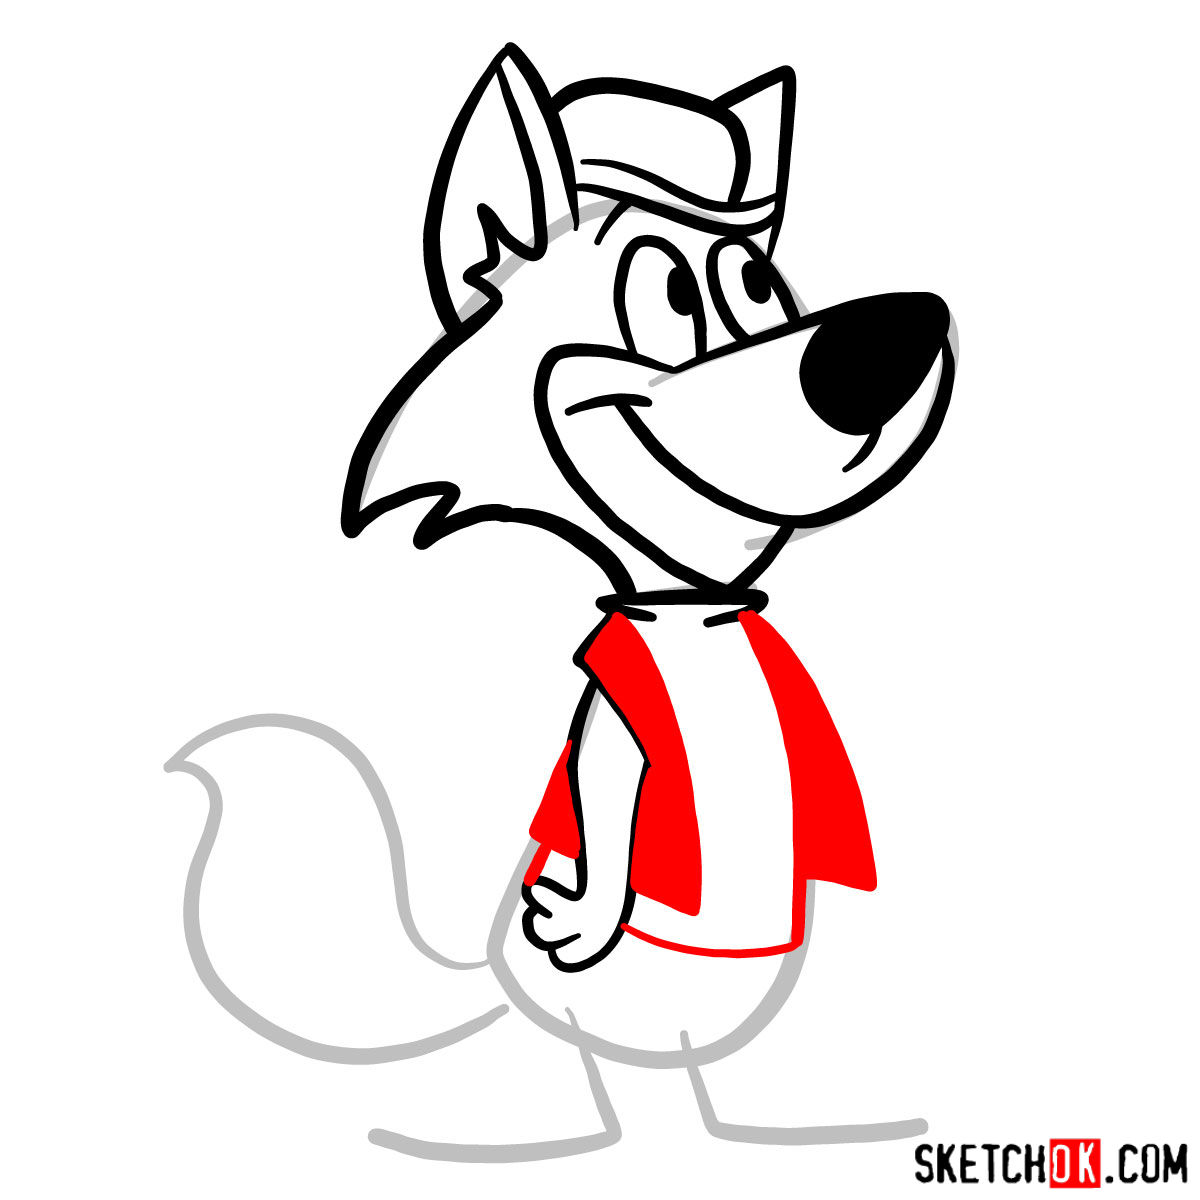
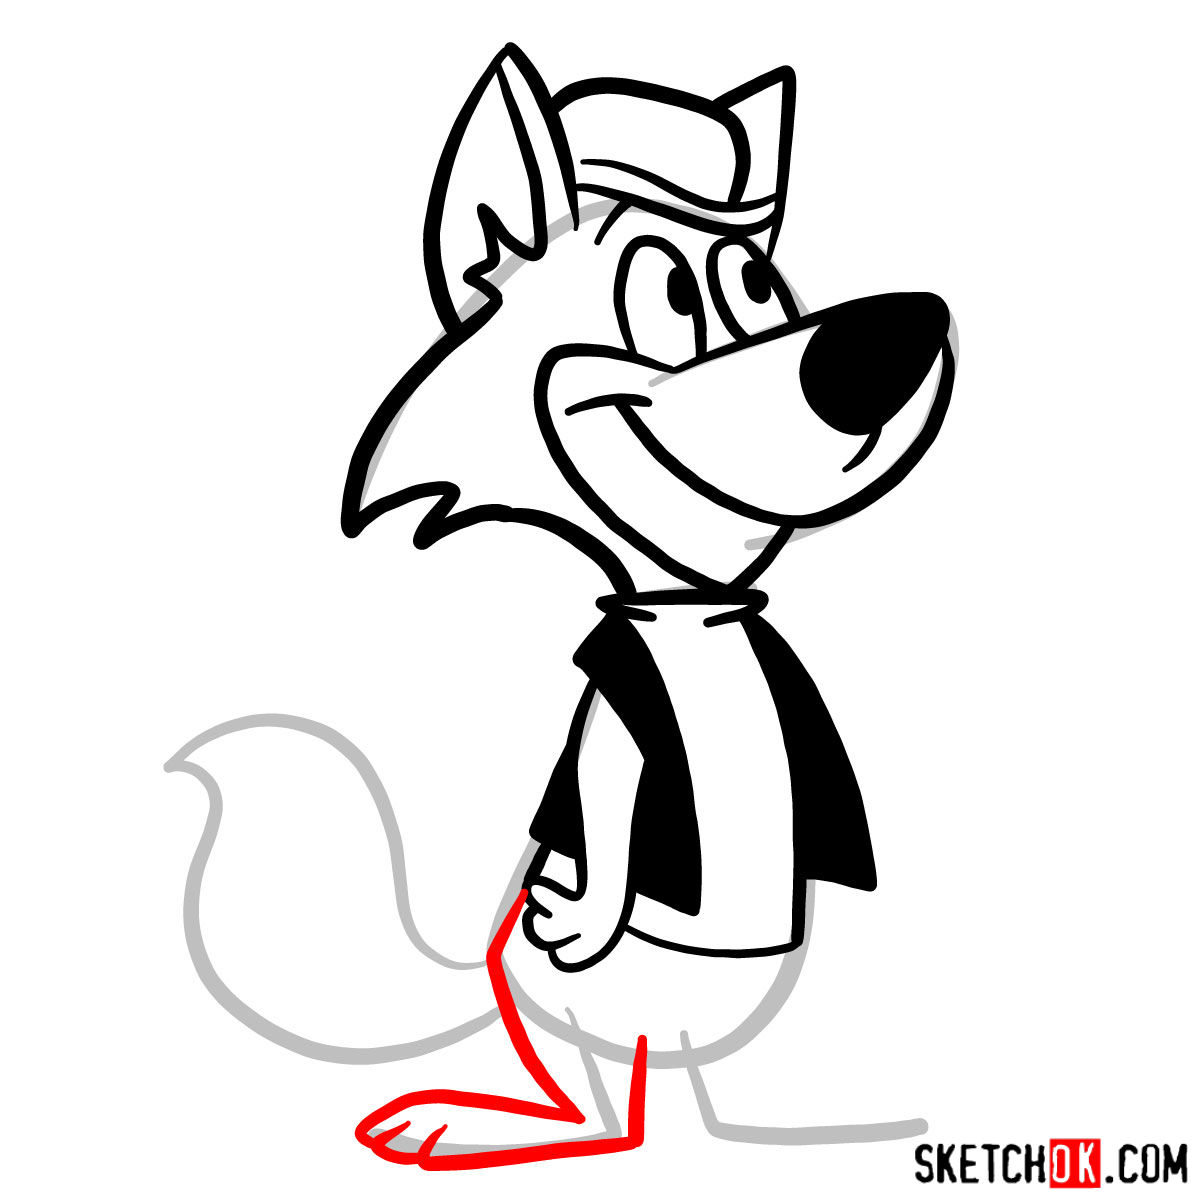
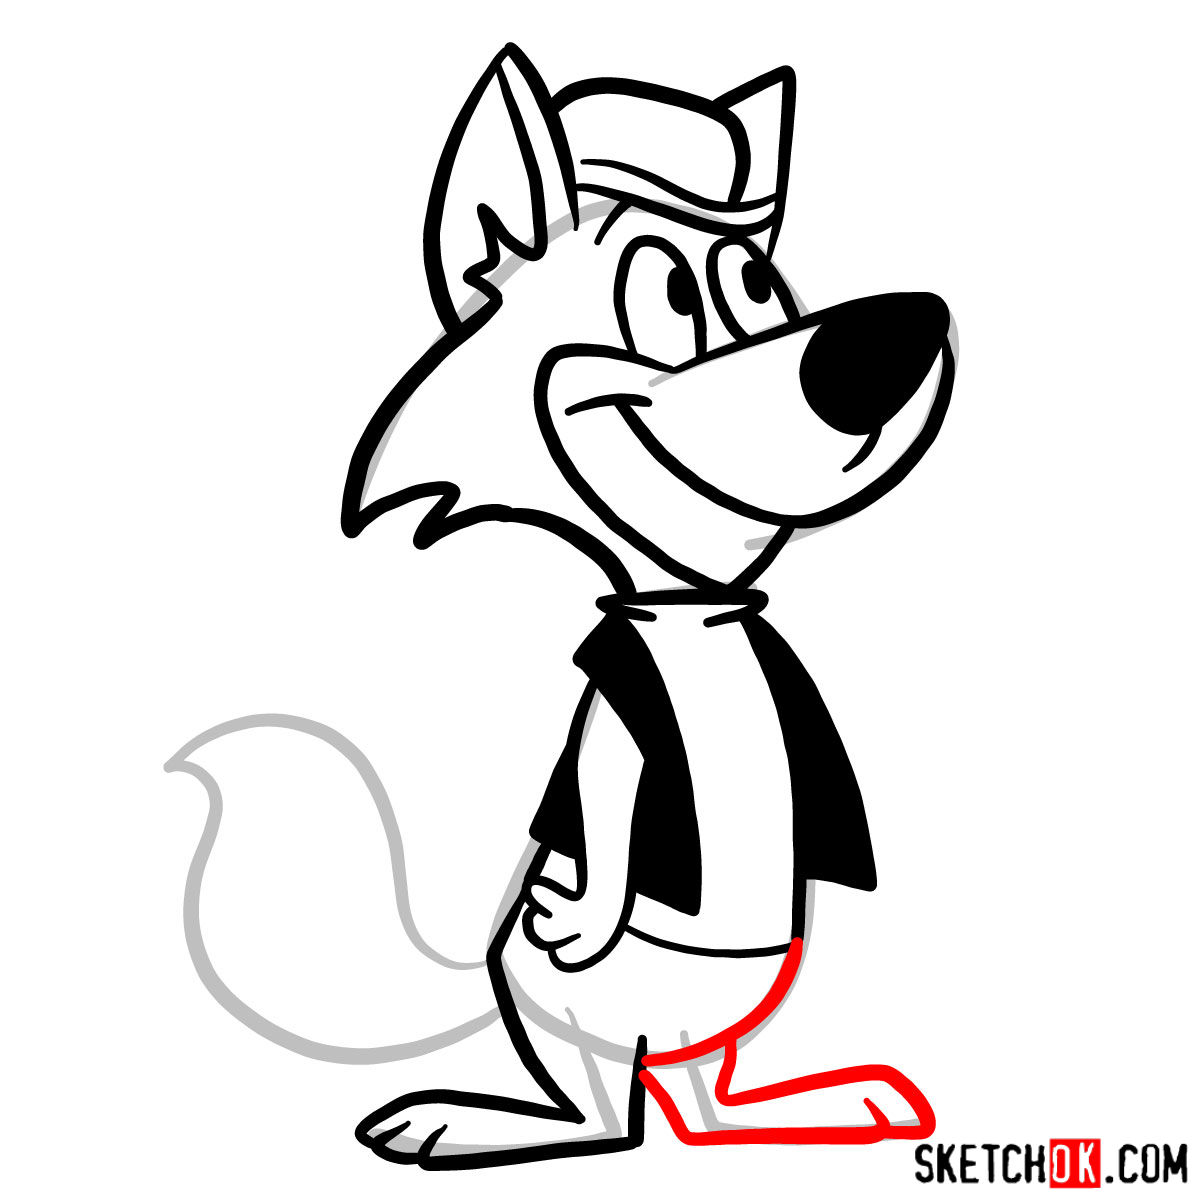
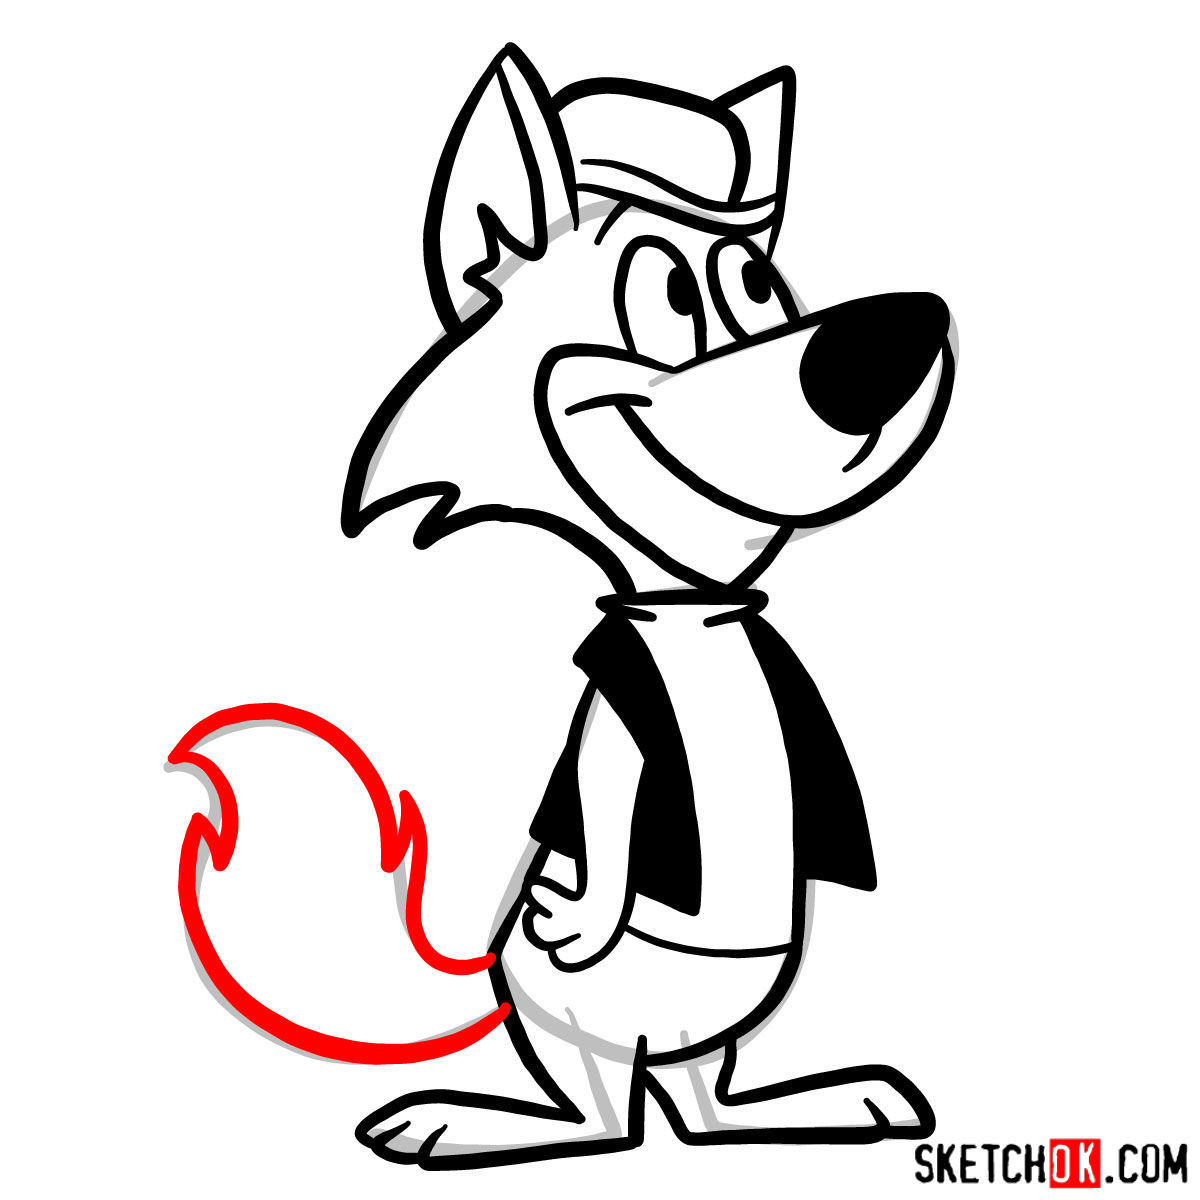
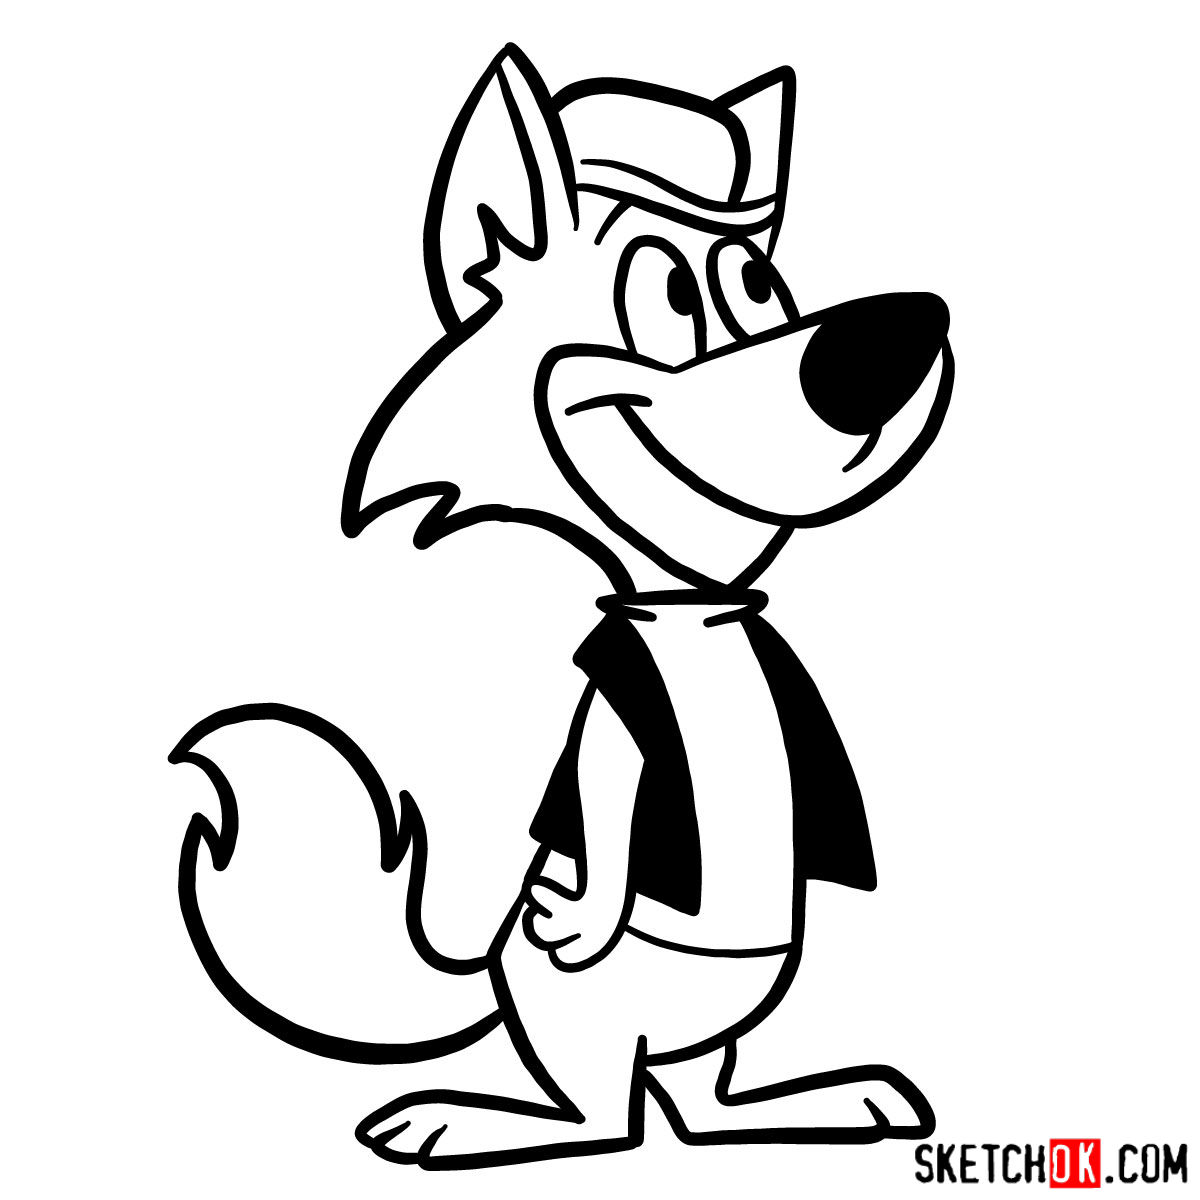
Our guide consists of 11 clear steps that will take you from a basic sketch to a fully realized drawing of Ding-A-Ling Wolf. Here’s what you need to know about the color codes:
- Red Color: Represents the current step you should be focusing on.
- Black Color: Showcases the lines you have previously drawn.
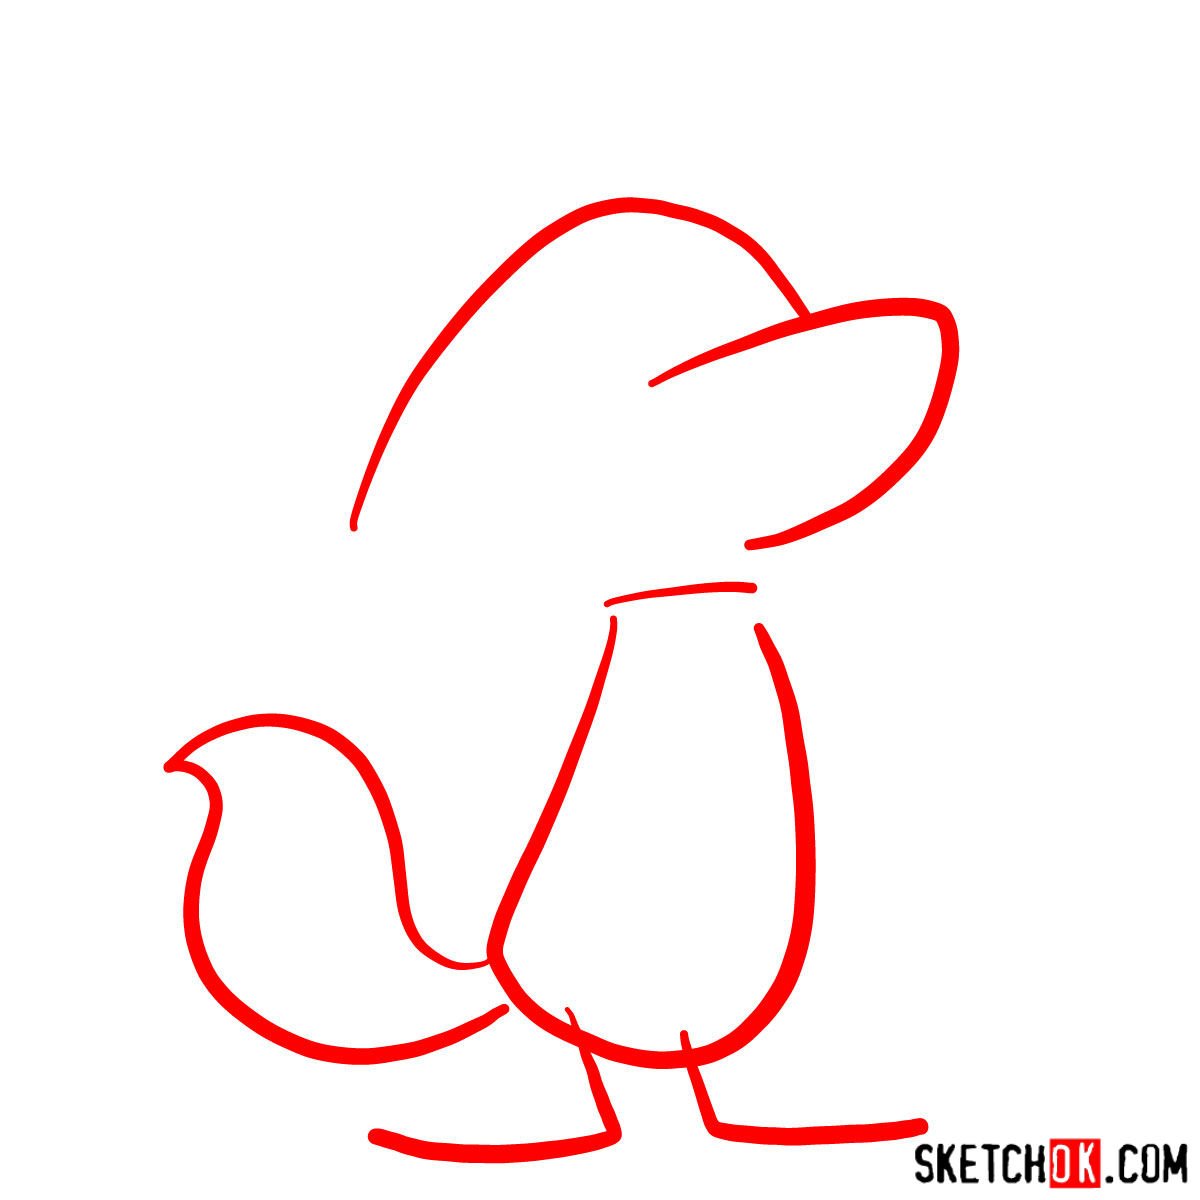
- Grey Color: Shows the basic proportions sketch.
The first step is all about laying down a basic sketch for proportions. Light pencil strokes are recommended during this stage to make adjustments easier. As you proceed through the steps, you’ll start adding details, building upon your sketch, and giving life to Ding-A-Ling Wolf.
After completing the sketch, you can choose to ink it for a crisp finish. Once the ink has dried, gently erase the pencil sketch. This is why we start with light pencil strokes – it makes the clean-up process much easier. Finally, if you’re up for it, use the last image as a color reference to breathe some color into your creation.

Frequently Asked Questions
Why is it important to start with a basic sketch?
Starting with a basic sketch allows you to set proper proportions and positions for your character. It serves as a roadmap for your drawing, ensuring all the details align correctly in the final piece.
Why should I wait for the ink to dry before erasing the pencil lines?
Allowing the ink to dry completely before erasing the pencil lines prevents the ink from smearing and ruining your artwork. It helps maintain the crispness of the inked lines and the cleanliness of your drawing.
Can I add color to my sketch?
Absolutely! Adding color can bring your sketch to life and make it even more engaging. You can use the last image in our guide as a reference for coloring Ding-A-Ling Wolf.
A Toast to Your Artistic Journey
As we wrap up this guide on how to draw Ding-A-Ling Wolf, I’d like to applaud your artistic endeavor. Drawing is a beautiful journey, one stroke at a time. Remember, practice makes perfect, and every sketch takes you one step closer to mastery.
If you found this guide useful and want to help keep the SketchOk project alive, please consider donating here. Your contributions allow us to create more free drawing tutorials and foster a creative community. Sharing the guide with others or on social media also helps spread the word. Follow us on Facebook, Instagram, and Pinterest to stay updated with new tutorials.
So grab your sketchbook, unleash your creativity, and let’s continue this artistic journey together.