The art of drawing is a skill that unveils the hidden intricacies of a character’s design. Today, we embark on an enlightening journey on how to draw Mako, a distinguished firebender from the celebrated series, “The Legend of Korra“. Whether you’re a novice sketcher or a seasoned artist, this guide is tailored to help you capture Mako’s essence on paper.
Understanding Mako’s Intricate Design
Mako’s design is a harmonious blend of his heritage and his personal journey. Before we begin, let’s delve into the features that make Mako stand out:
- Firebending Abilities: Mako’s prowess in firebending, especially his unique capability to both generate and redirect lightning, makes him a force to be reckoned with.
- Signature Red Scarf: A sentimental memento from his father, this scarf is more than just a fashion statement; it’s a piece of Mako’s heart.
- Stoic and Brooding Personality: Contrasting his brother Bolin’s naive nature, Mako’s expressions tend to be more reserved and contemplative.
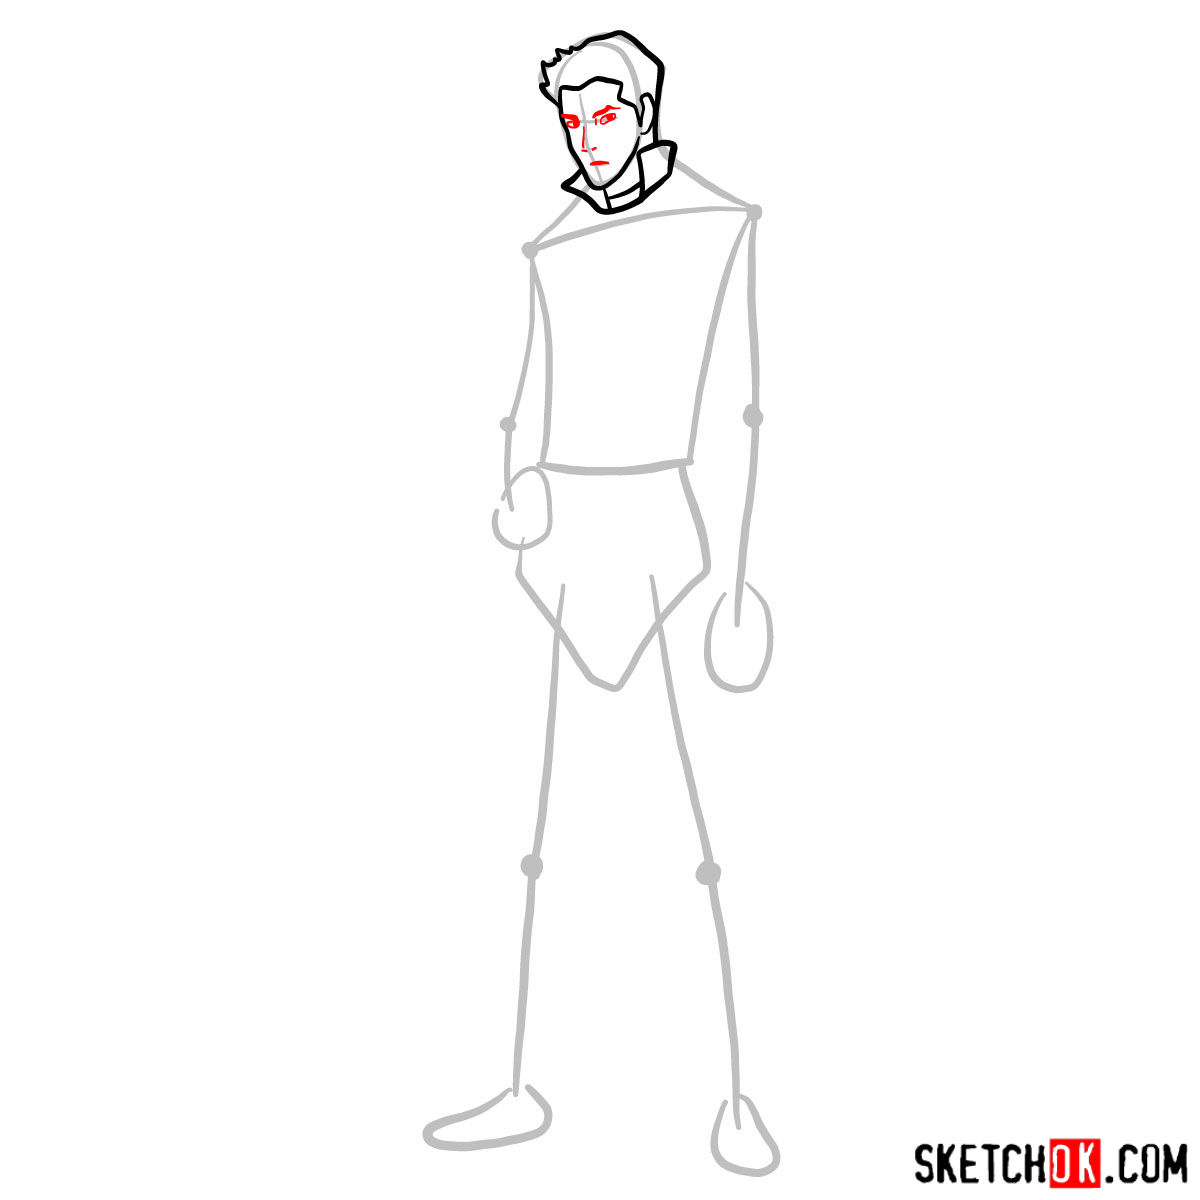
- Sharp Features: Highlighting his strong nose and determined gaze will capture Mako’s intense character.
For those looking to expand their drawing portfolio, consider adding characters like Asami or Avatar Korra to complement Mako and showcase the dynamic trio in action.
Navigating the Drawing Guide
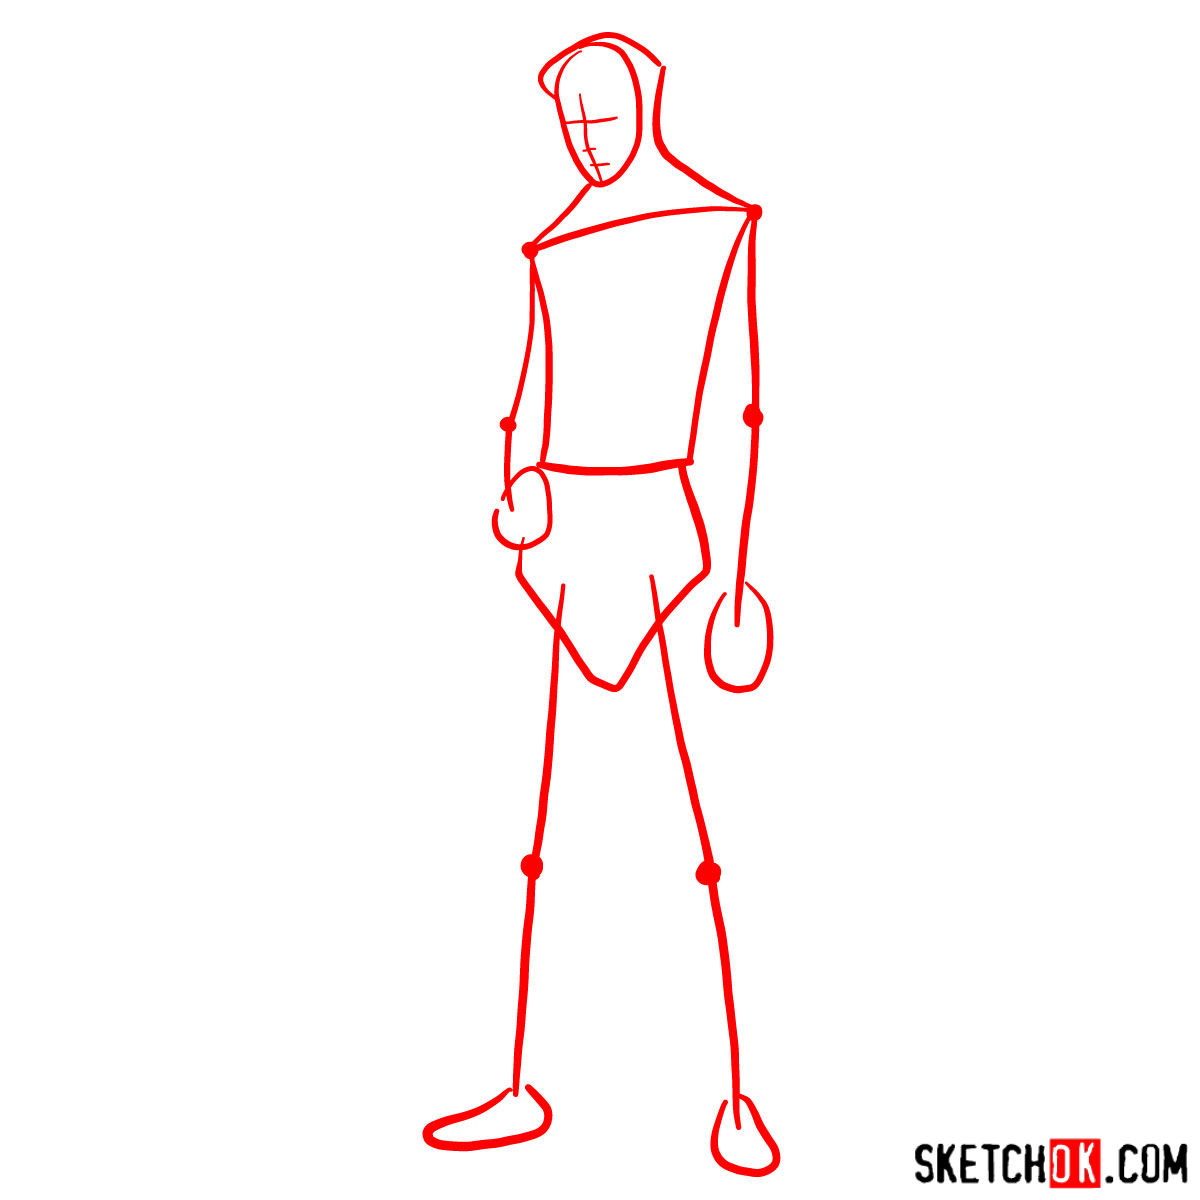
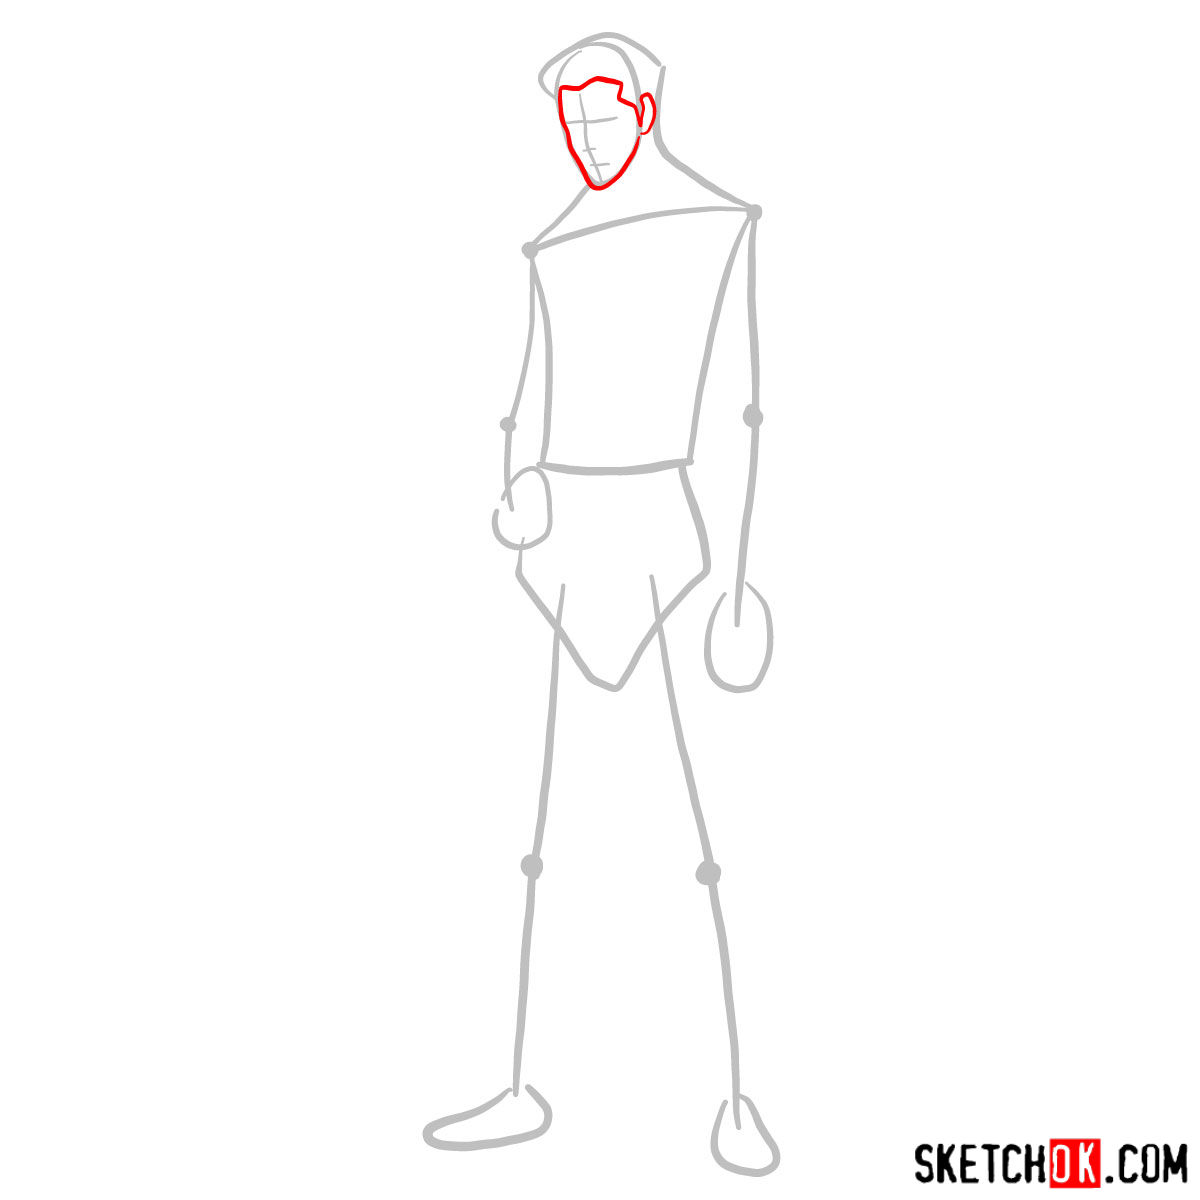
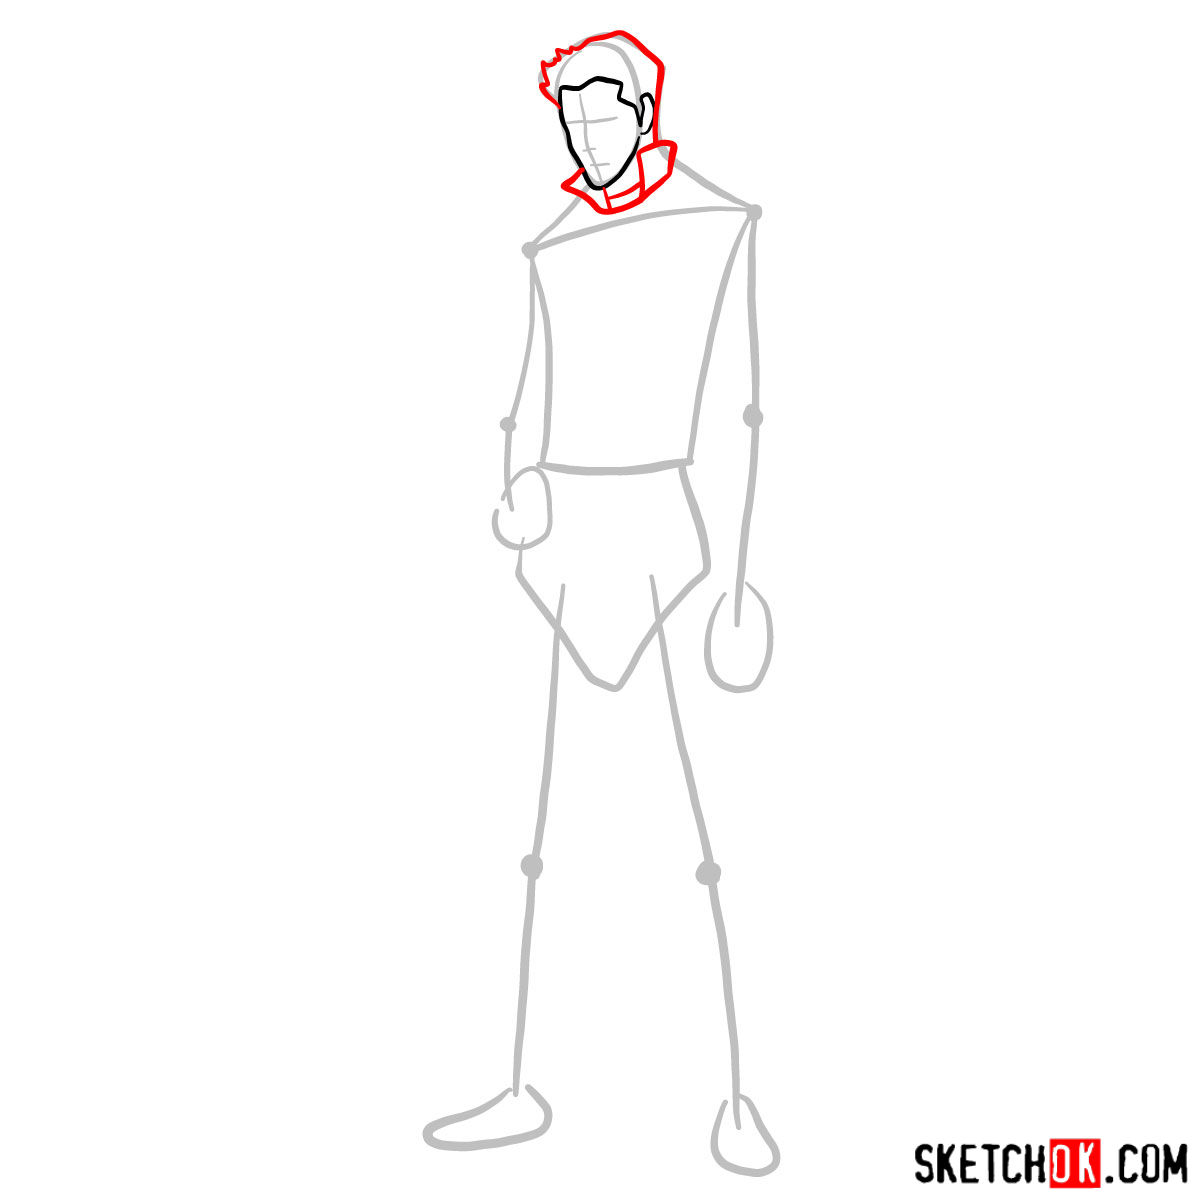
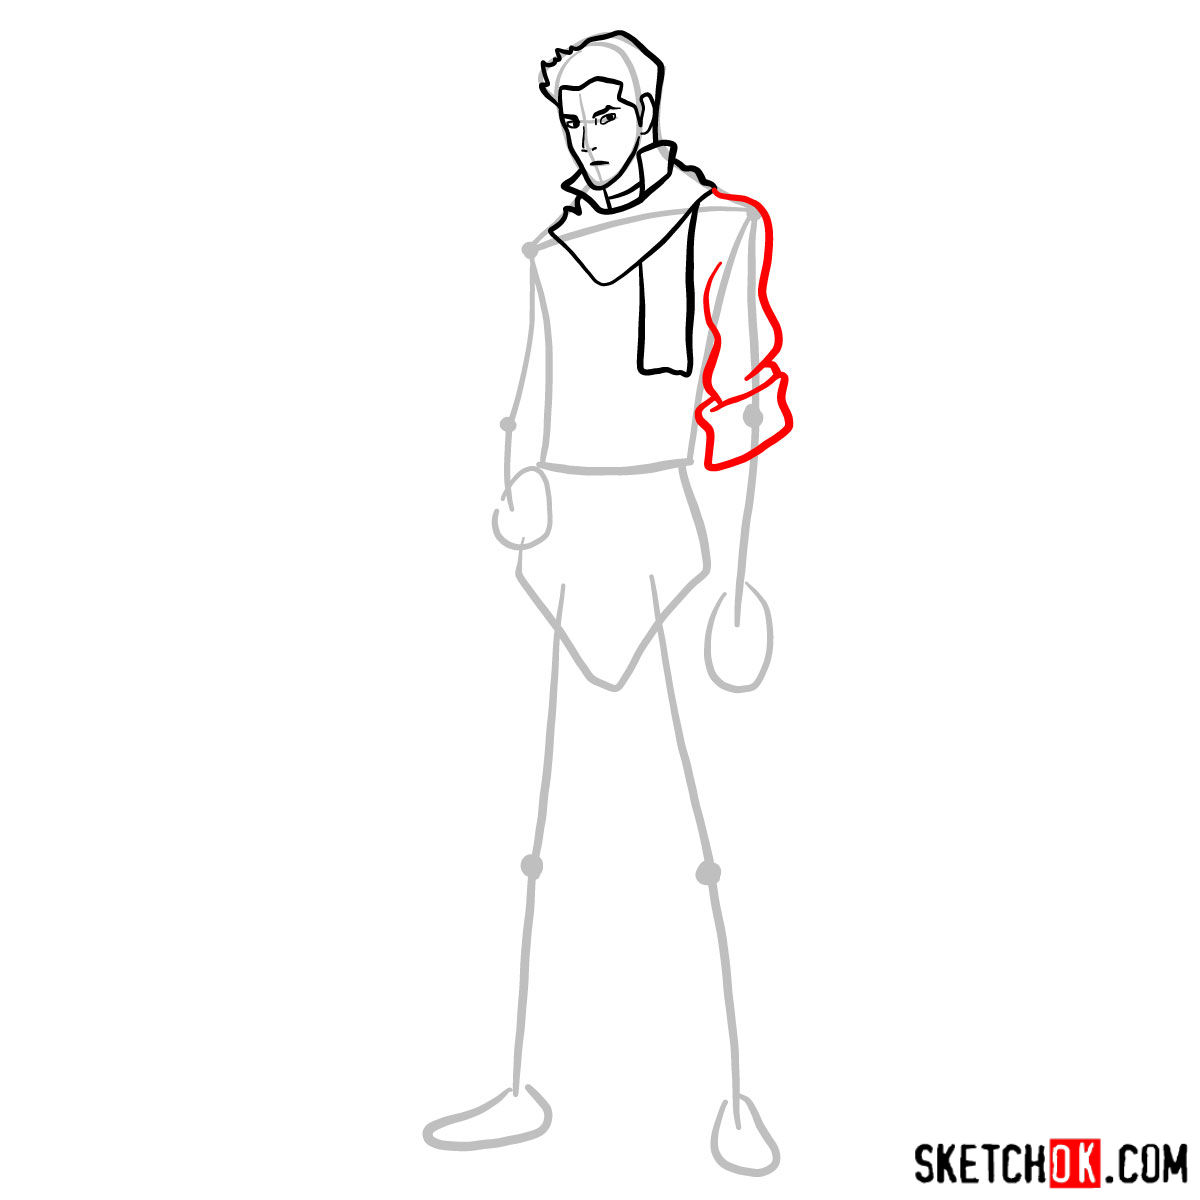
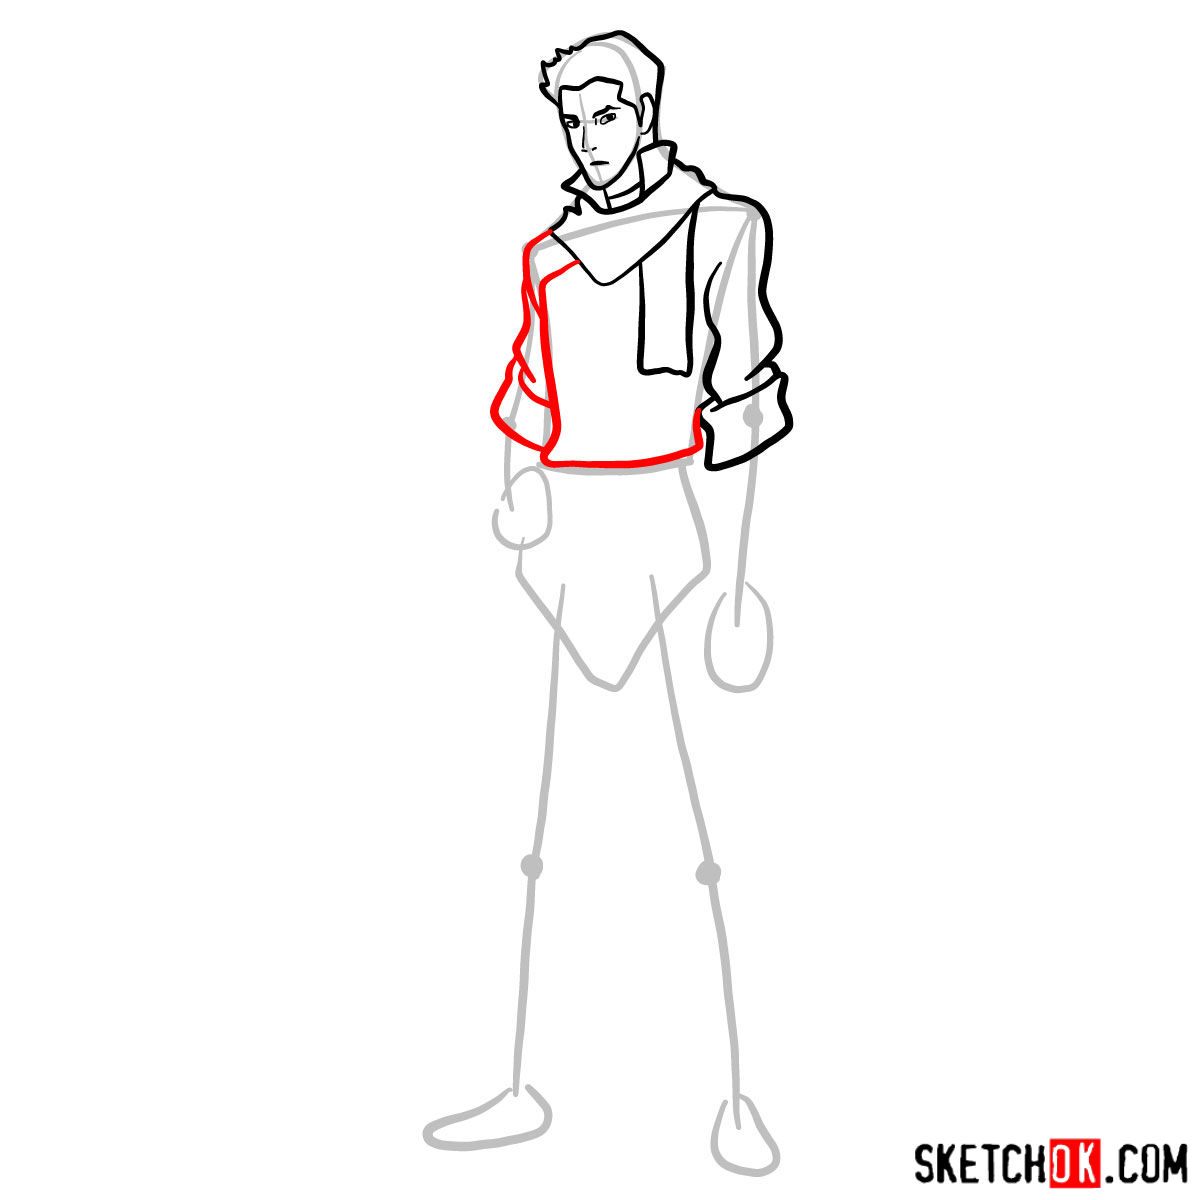
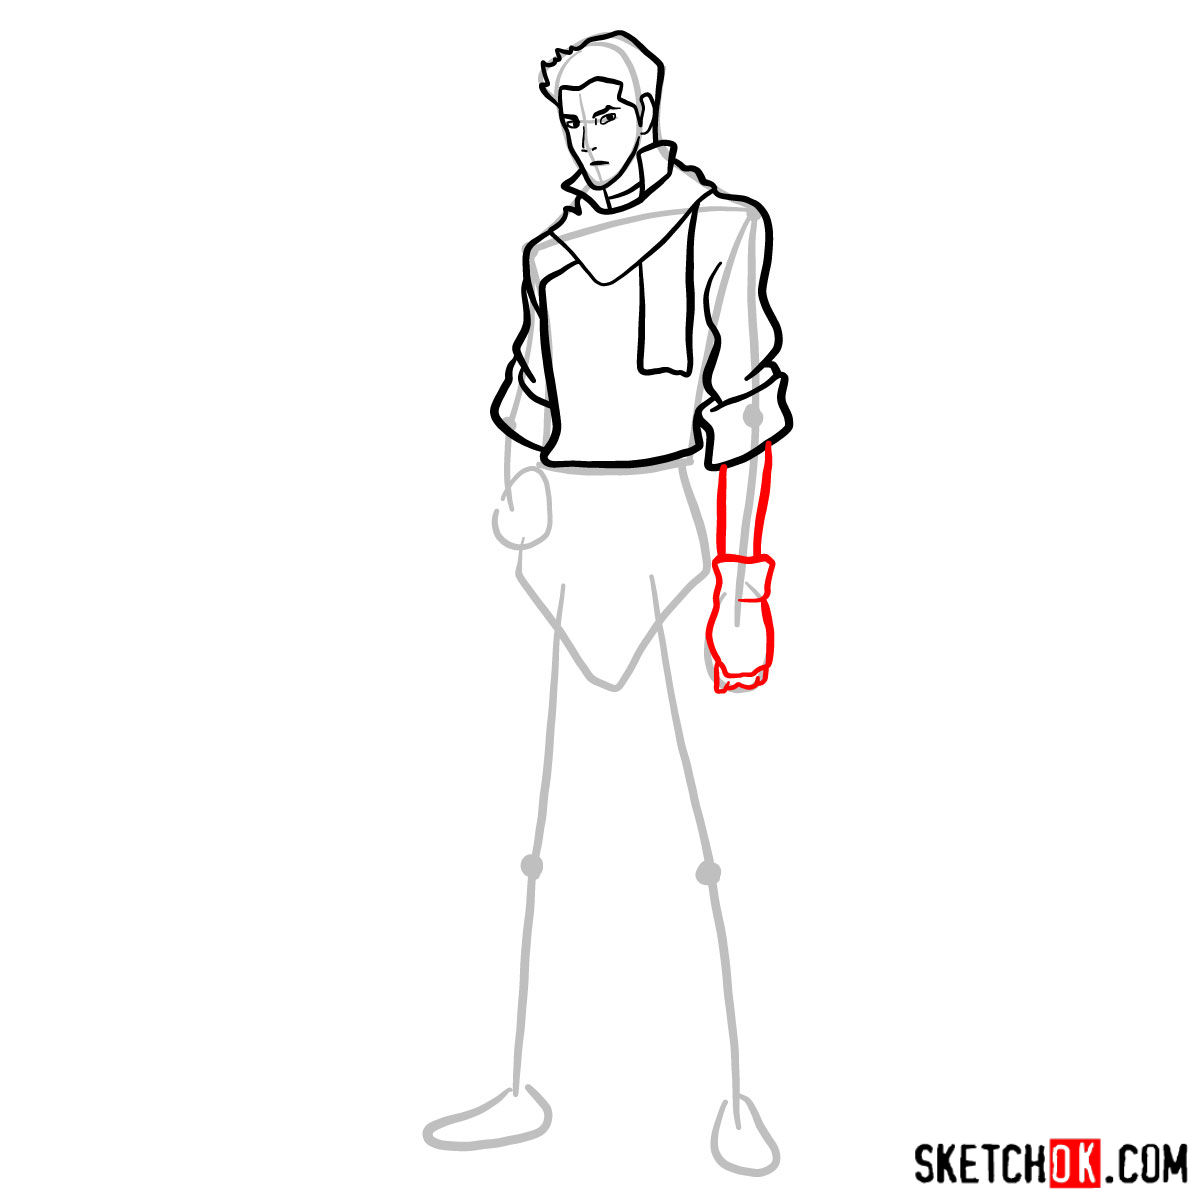
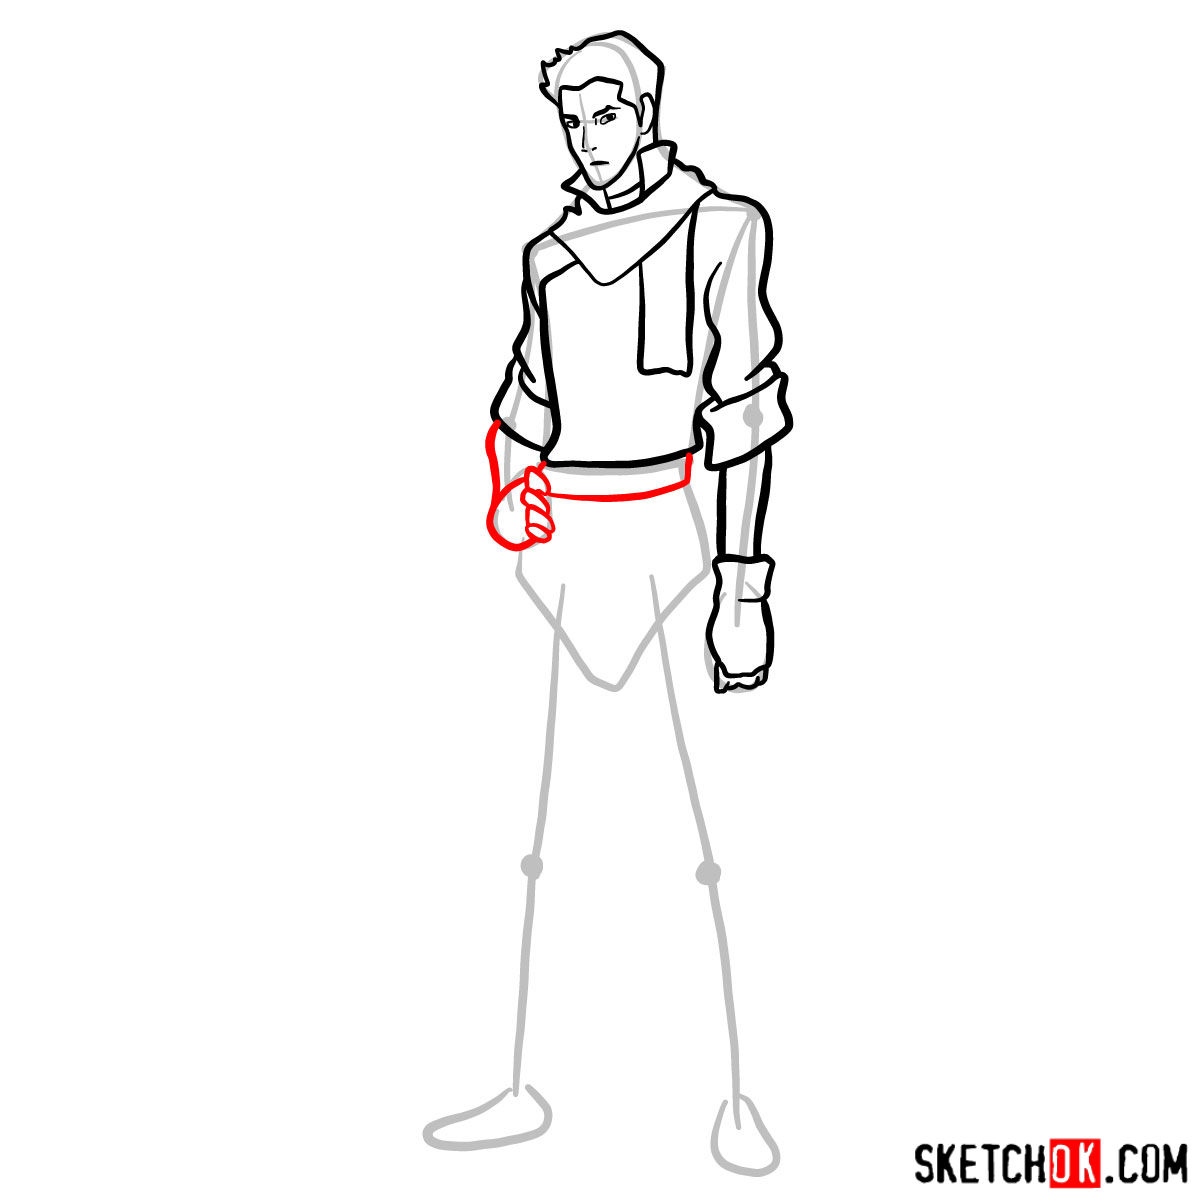
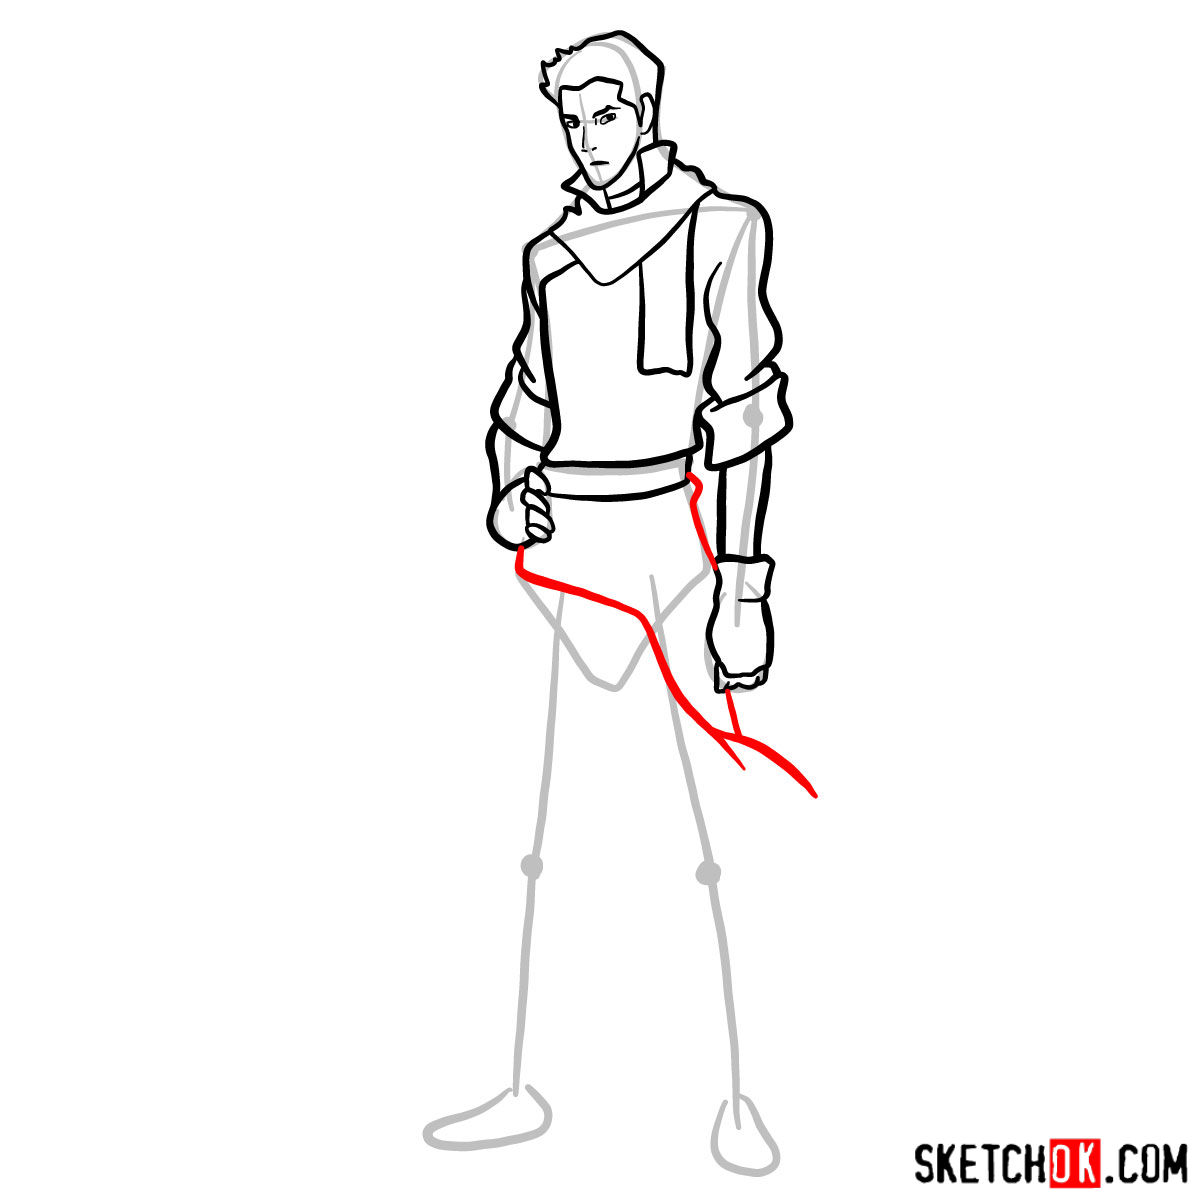
This guide is segmented into 14 steps, ensuring that every facet of Mako’s design is captured. Here’s what each color signifies in our visual guide:
- Grey Color: Represents the preliminary sketch. Use light strokes to lay the foundation.
- Black Color: Denotes the lines from preceding steps. These will give depth and form to your sketch.
- Red Color: Highlights the current step. Focus on these lines to proceed in the drawing.
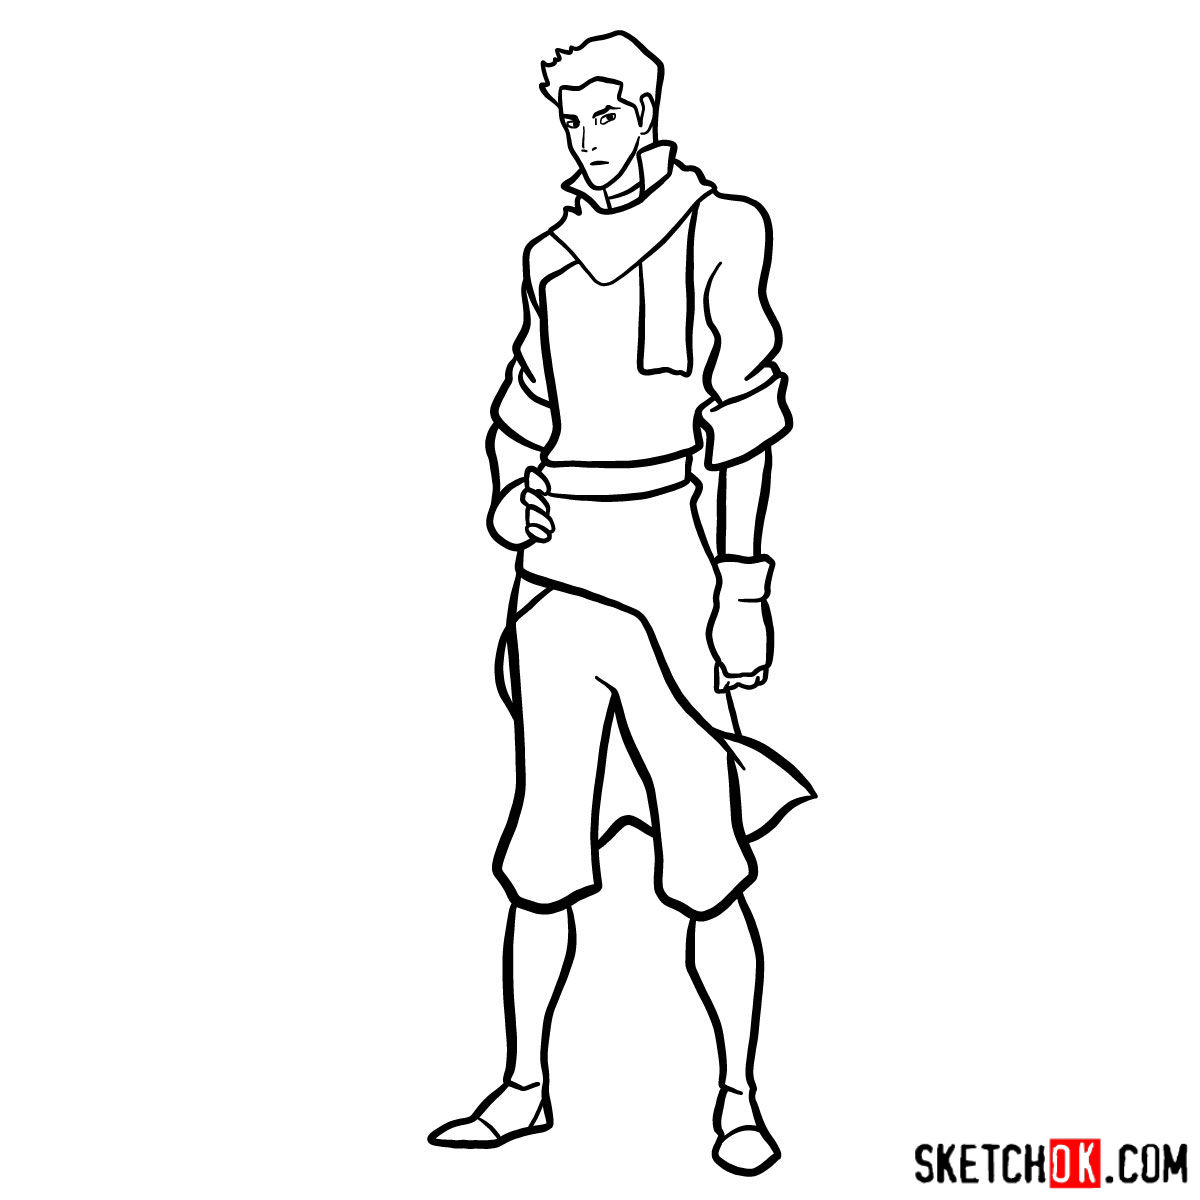
Starting with a foundational sketch ensures that Mako’s proportions are accurately represented. As you transition to the concluding steps, you may opt to ink your masterpiece. When inking, it’s crucial to let the ink dry to prevent smudging. Once dry, gently erase the underlying pencil sketch to reveal a crisp drawing. And while this guide focuses on sketching, the last image showcases a colored version of Mako, which can be used as a reference if you decide to breathe life into your drawing with colors.


Congratulations on taking the initiative to explore how to draw Mako. The artistic journey is a continuous one, and with each sketch, you refine your skills. If you found this guide beneficial, please consider sharing the link with fellow art enthusiasts or on your social platforms.
The donations garnered not only help keep the SketchOk project alive but also empower artists like you. By donating, you’re playing a role in suggesting ideas for future tutorials and ensuring the proliferation of free drawing guides. Your support is instrumental in ensuring budding artists have the resources they need.
Stay connected with SketchOk on Facebook, Instagram, and Pinterest. Together, let’s continue to spread the joy of art!