Welcome, aspiring artists, to this step-by-step drawing tutorial where we’ll delve into the world of Sword Art Online and learn how to draw Konno Yuuki, also known as Yuuki.
A Glimpse into Yuuki’s Story
Yuuki, or Konno Yuuki as she is known in the real world, was a young girl who became one of the founders and the second leader of the Sleeping Knights guild. This guild, comprised of terminally ill patients, sought solace and support in virtual reality games.
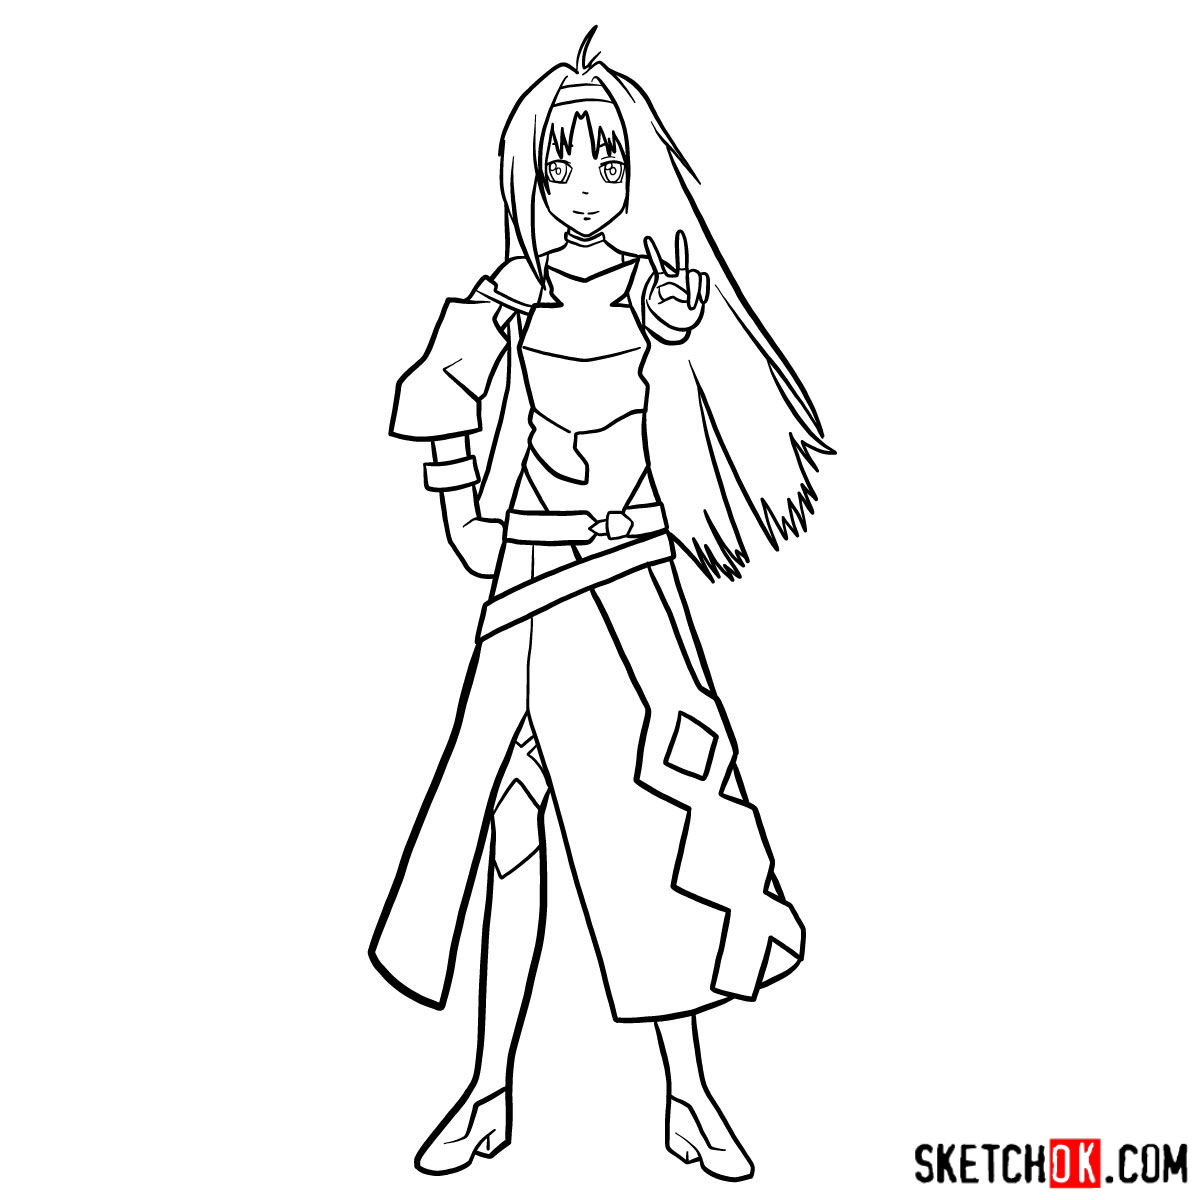
As we explore the captivating world of Yuuki, her avatar in ALfheim Online (ALO), we encounter a slim Imp with milky white and purple-toned skin. Her beautiful, long purplish-black hair cascades around her, and her piercing red eyes reflect her determination and unwavering spirit.
Donning obsidian chest armor, a bluebottle violet tunic, and a windswept skirt of the same hue, Yuuki’s avatar emanates both grace and strength. A red sheath rests at her waist, a testament to her skill as a formidable warrior.
Materials and Tools: Unleash Your Creativity
Before we embark on our drawing journey, here’s the list of recommended tools to bring Yuuki to life on paper:
- Pencil (preferably 2B or HB)
- Eraser (to correct any mistakes)
- Smooth drawing paper or sketchbook
- Fine-tipped pens (for inking)
- Colored pencils or markers (optional for coloring)
Step-by-Step Drawing Guide: Unveiling Yuuki’s Essence
Now, let’s dive into the step-by-step process of drawing Yuuki. Remember, the following guide is based on a series of images. We’ll start by creating a basic structure and gradually refine the sketch, ink it, and add color and shading. Let your imagination soar as we capture Yuuki’s essence on paper.
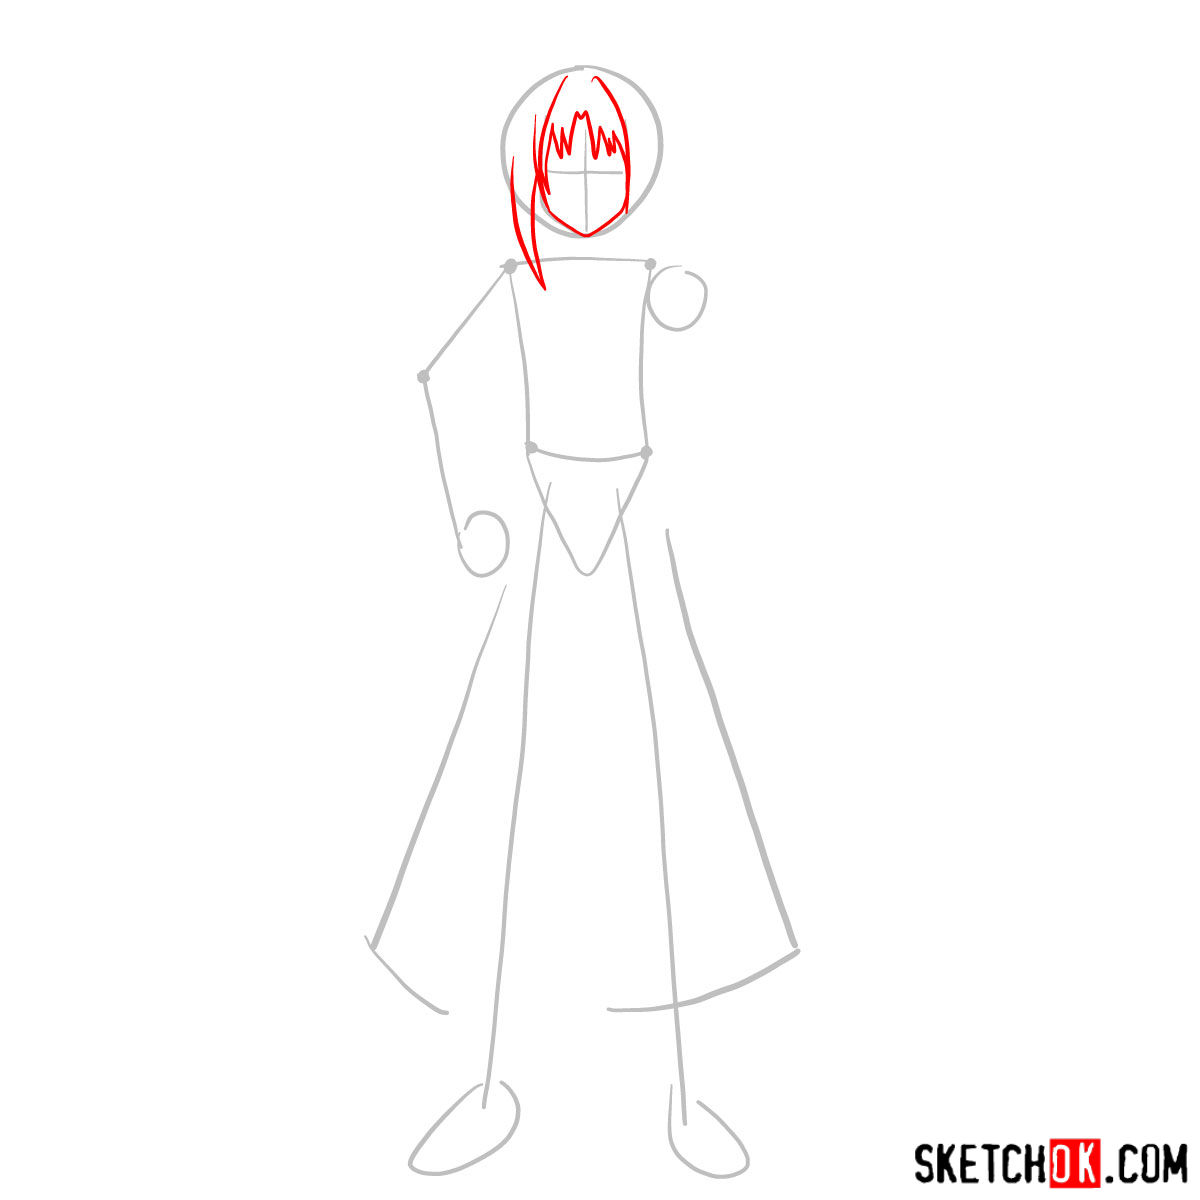
Part 1: Basic Sketch
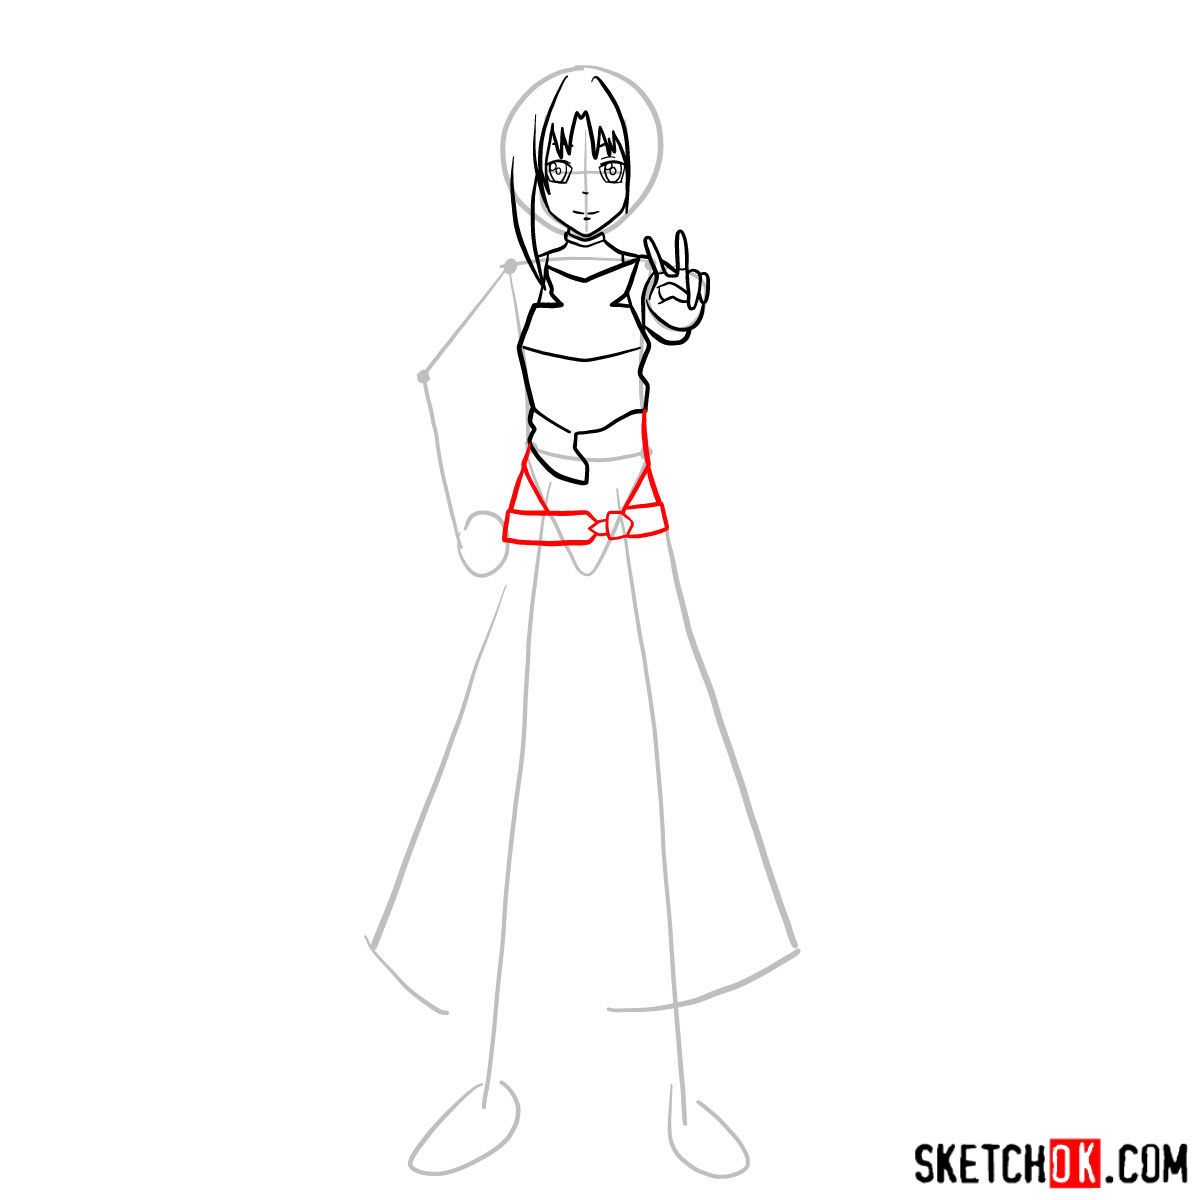
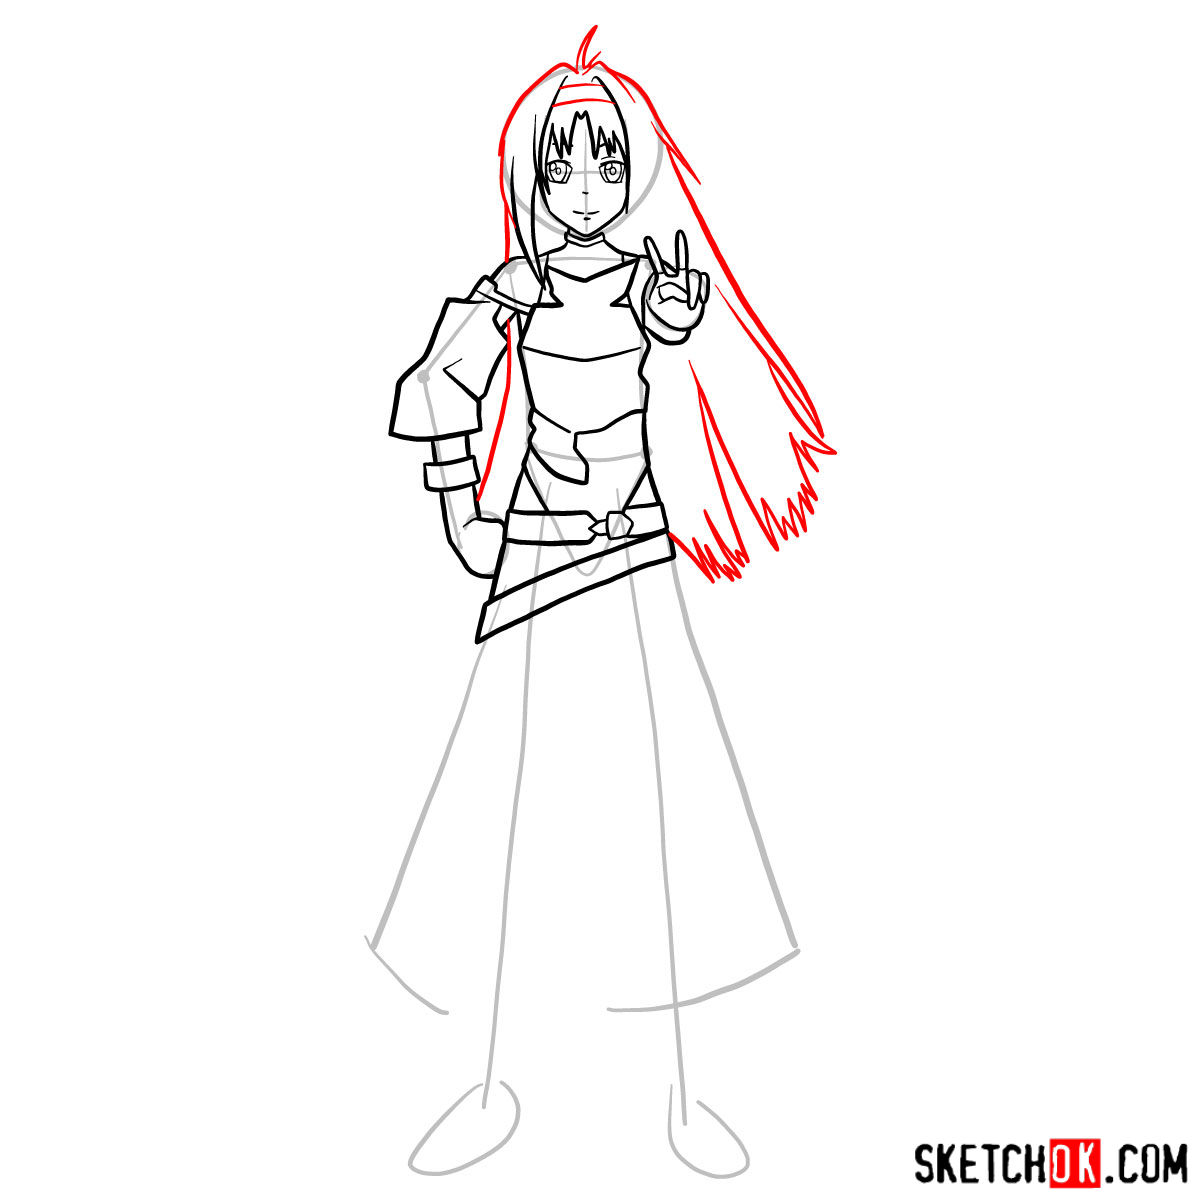
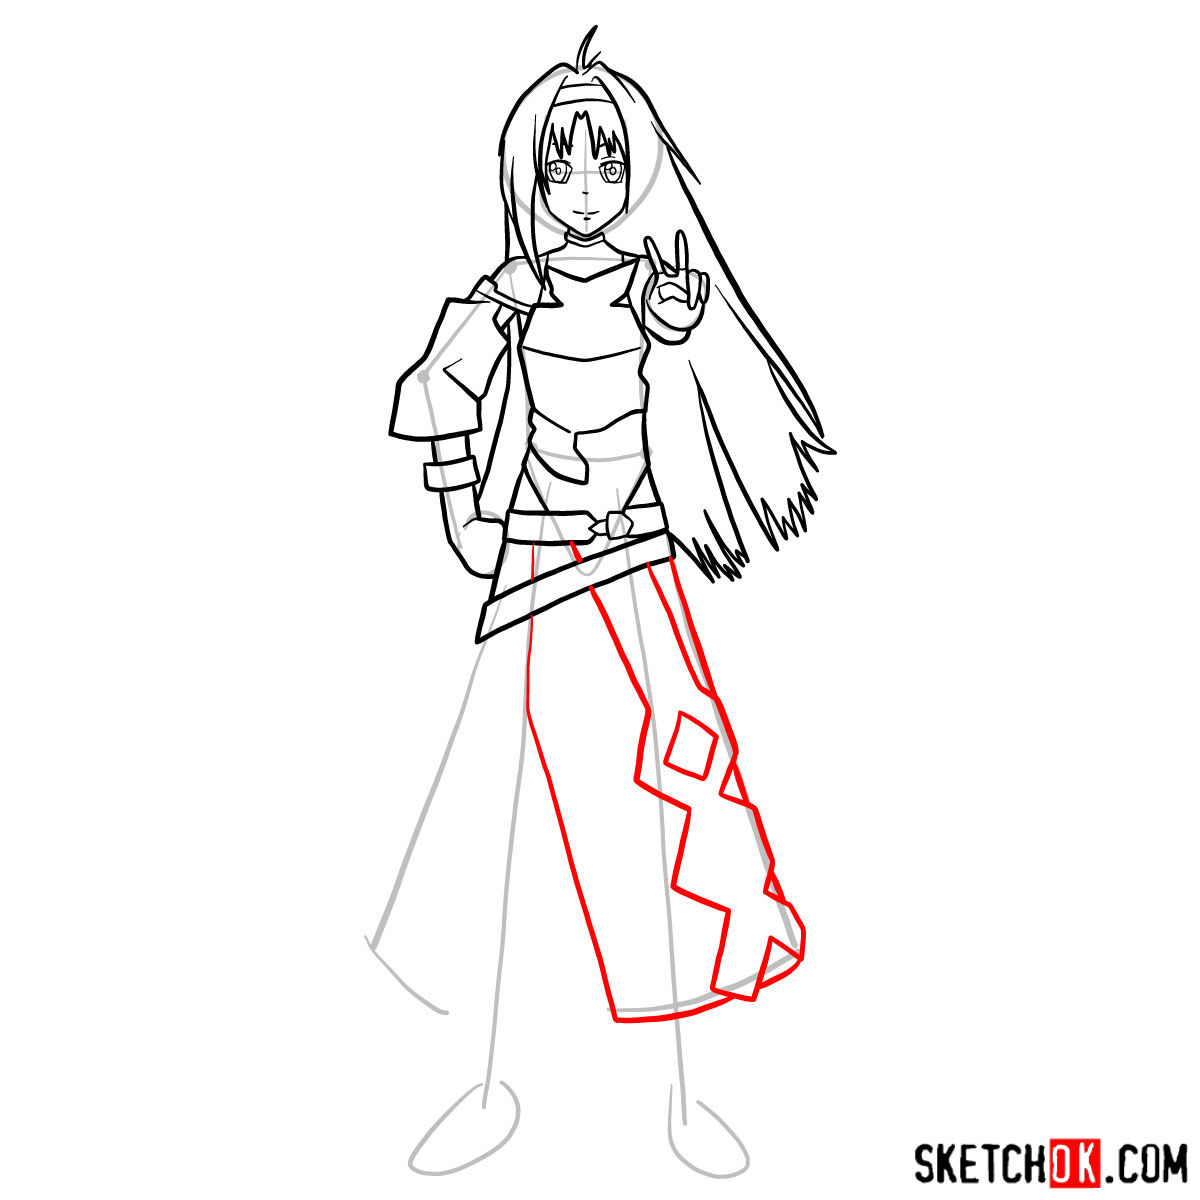
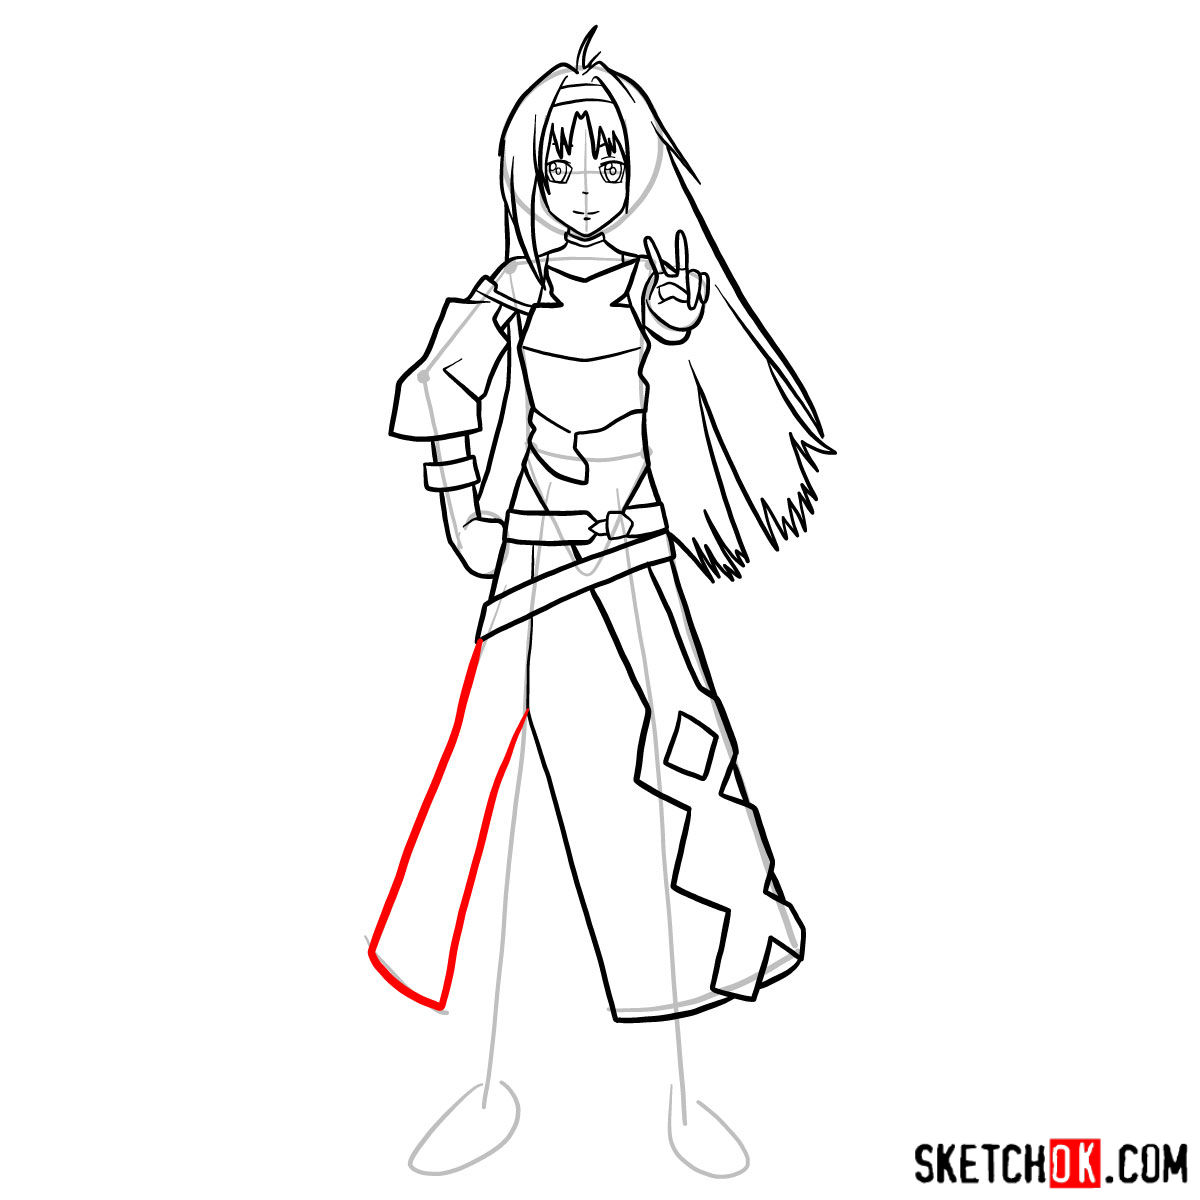
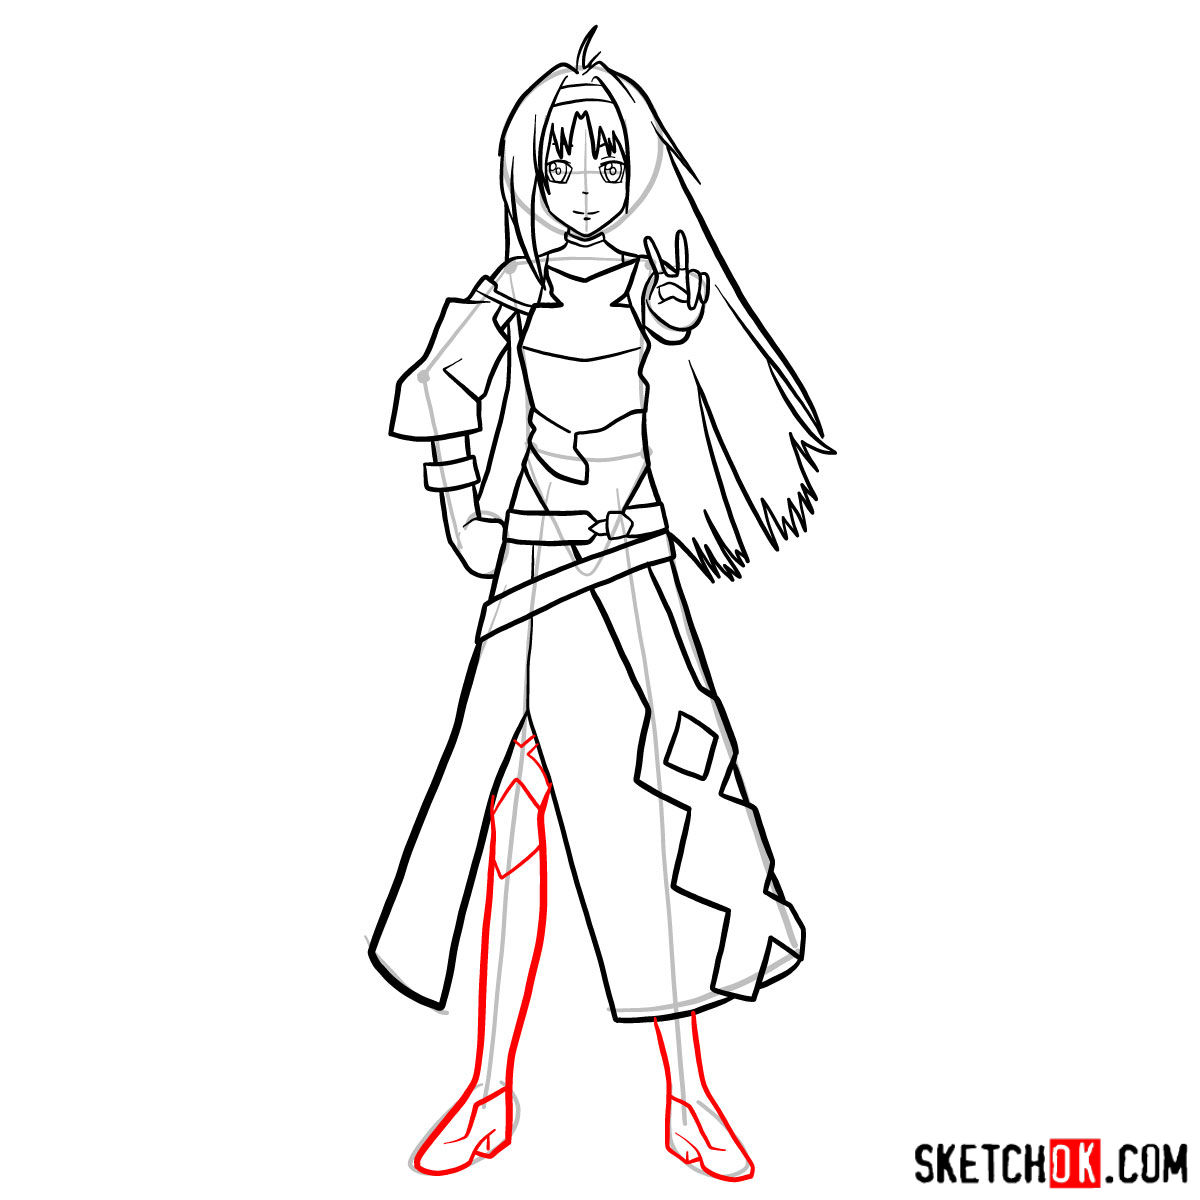
To lay the foundation for our drawing, we’ll begin with a basic sketch. Use light pencil strokes to create the initial proportions and shapes of Yuuki’s figure. The red color in the images represents the current drawing step, while the grey color depicts the basic proportions sketch, and the black color shows previously drawn lines. Take your time and ensure the proportions are accurate before moving on to the next step.

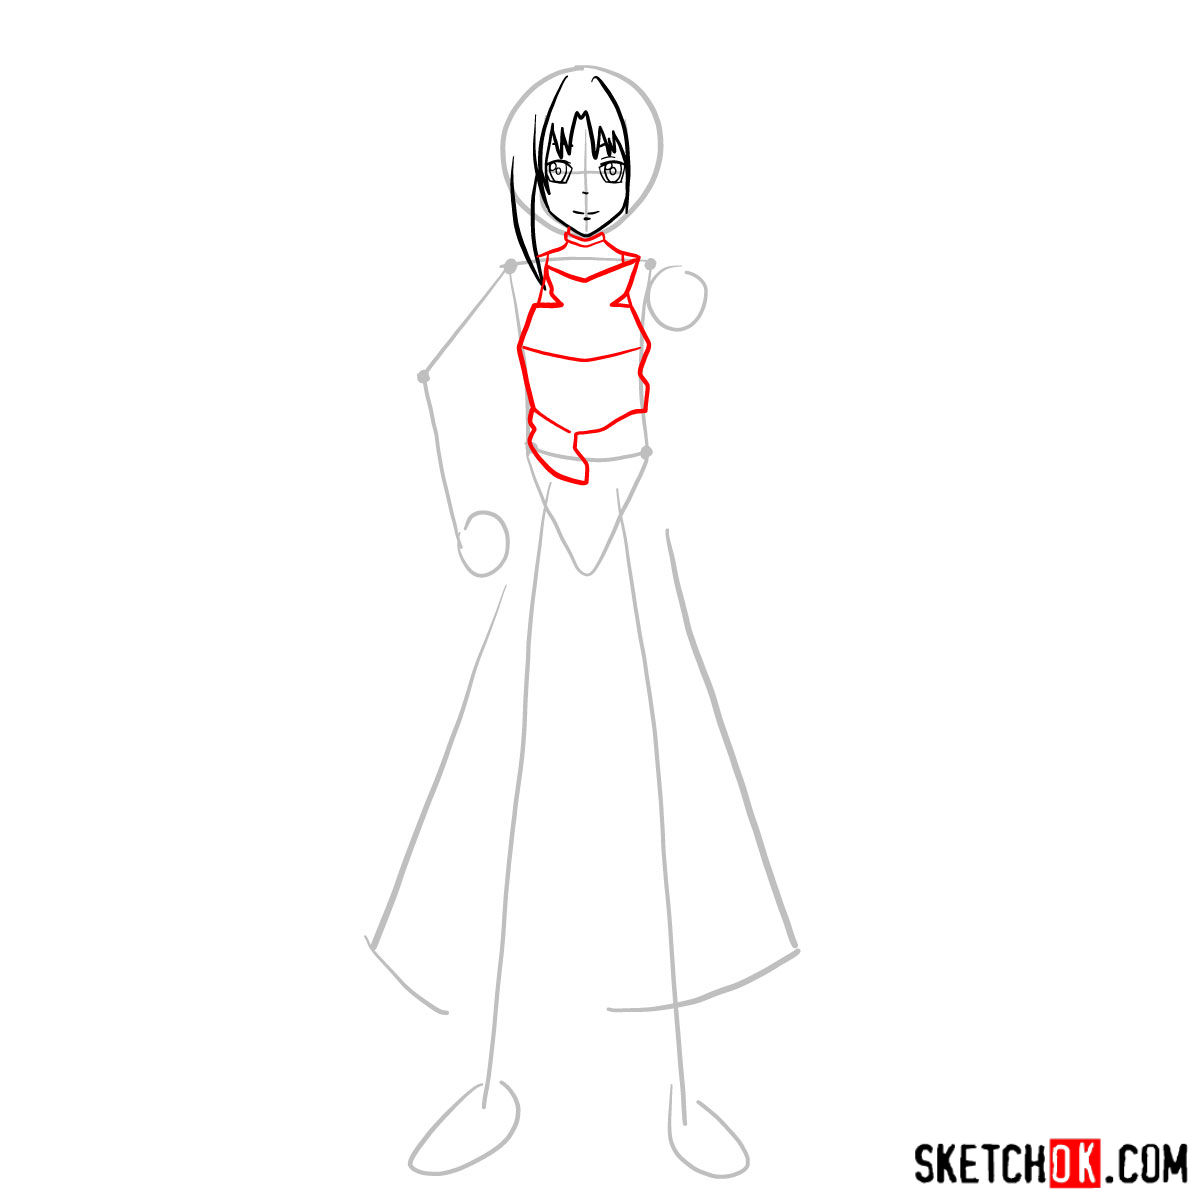
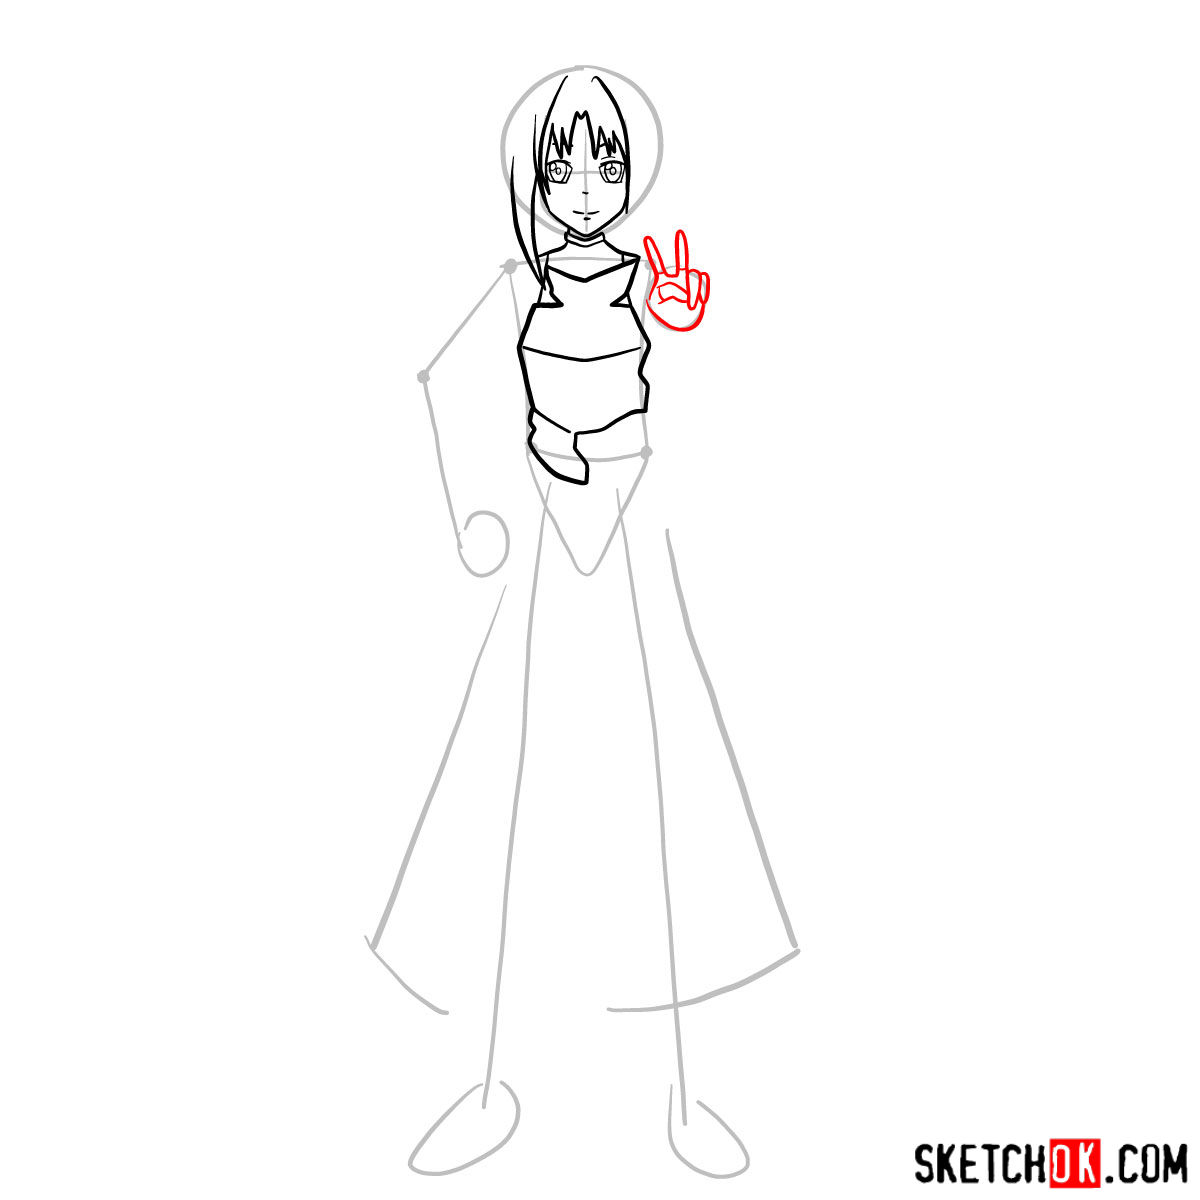
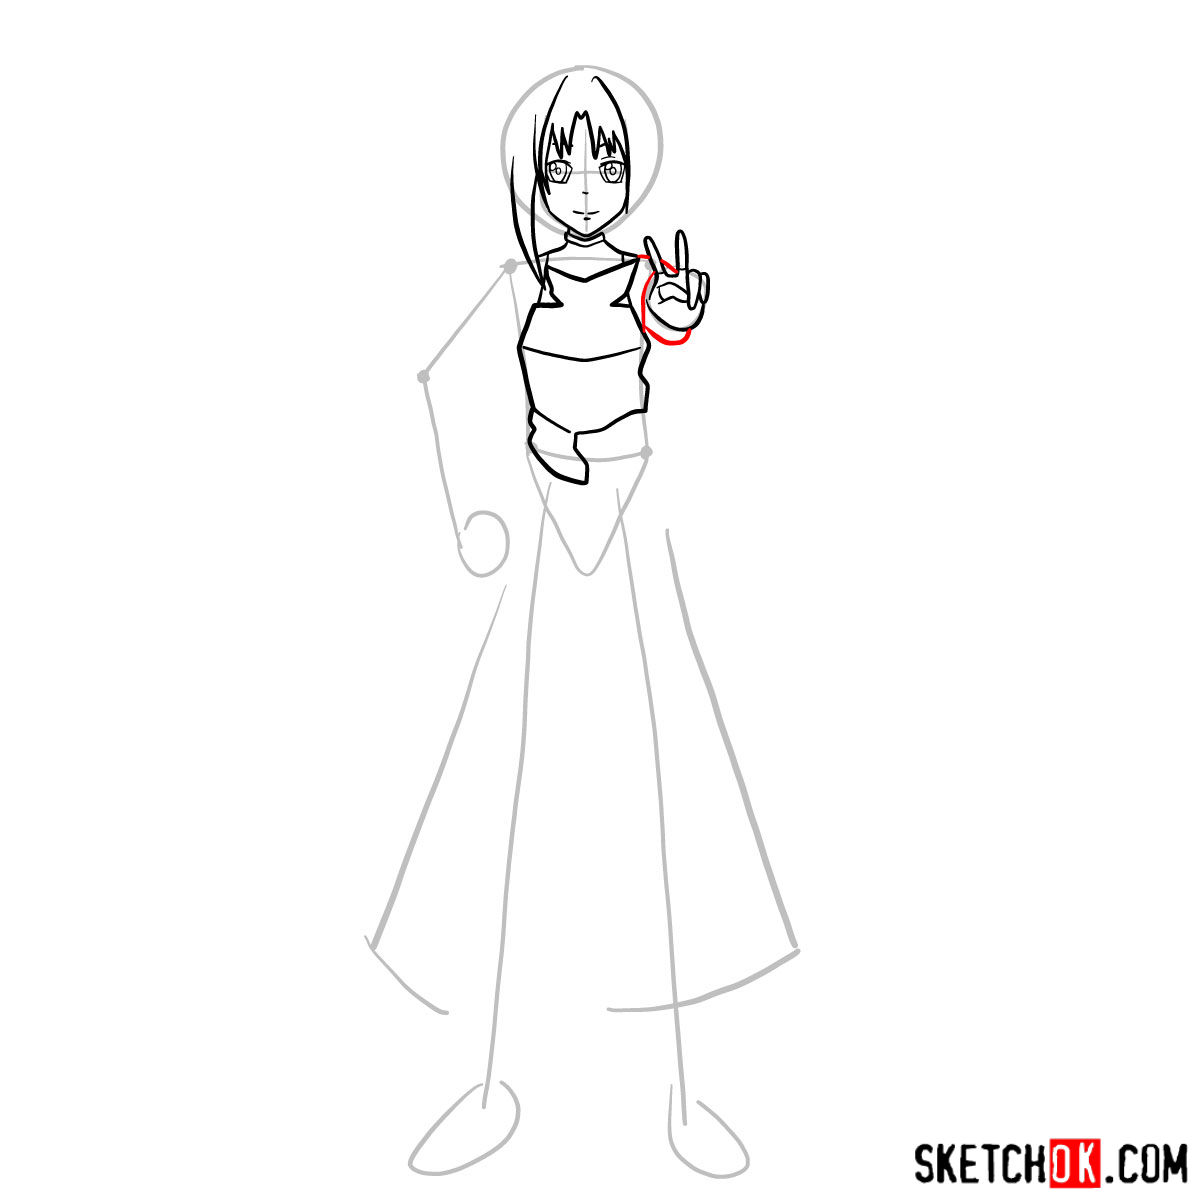
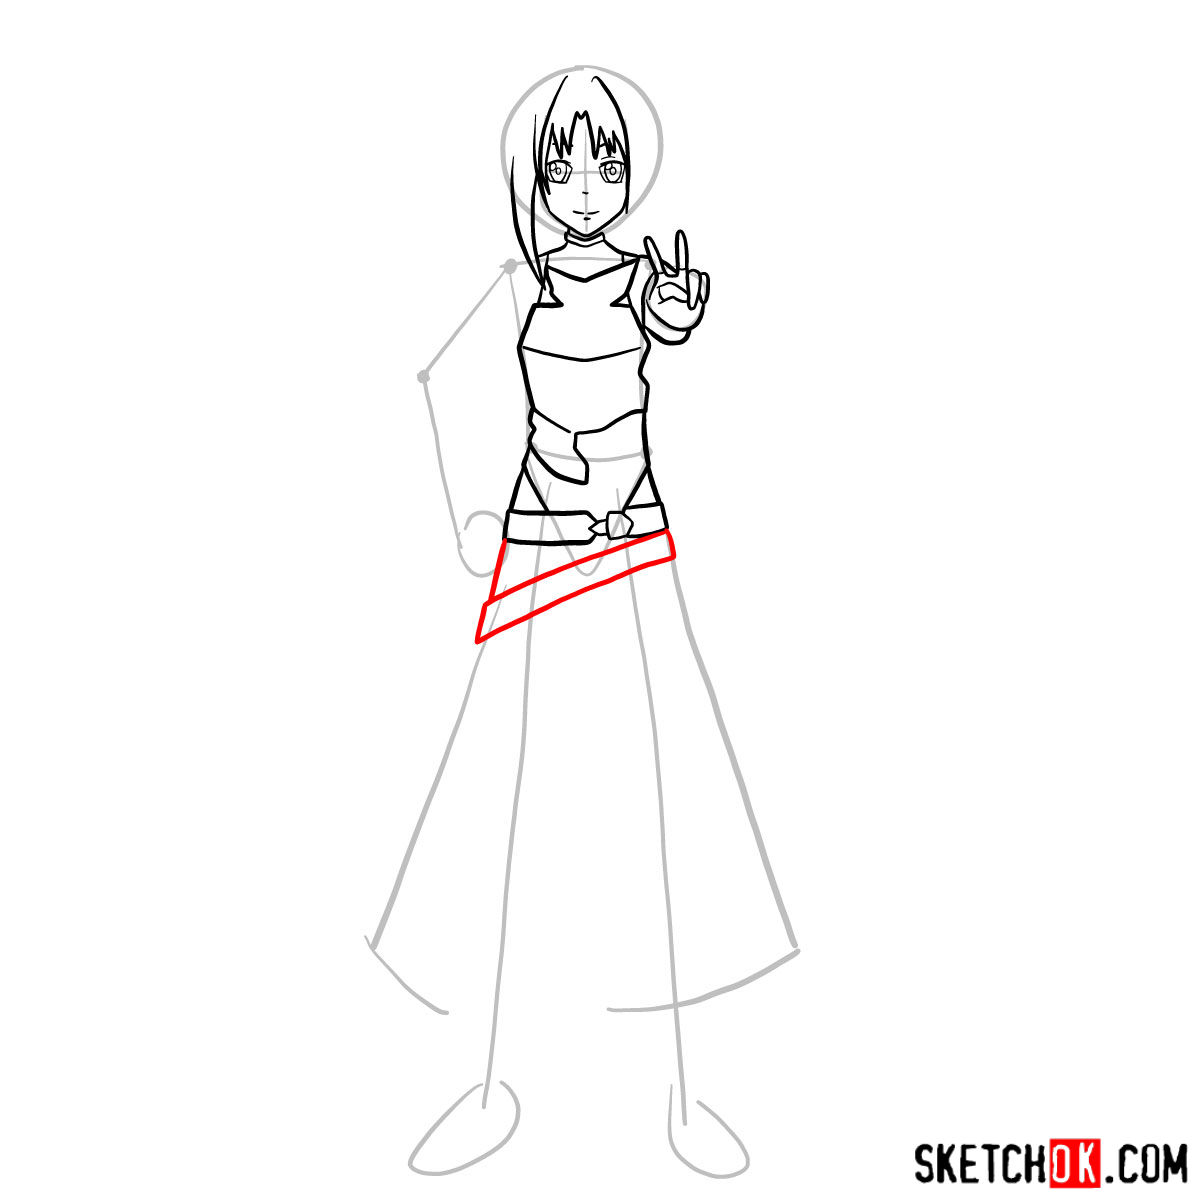
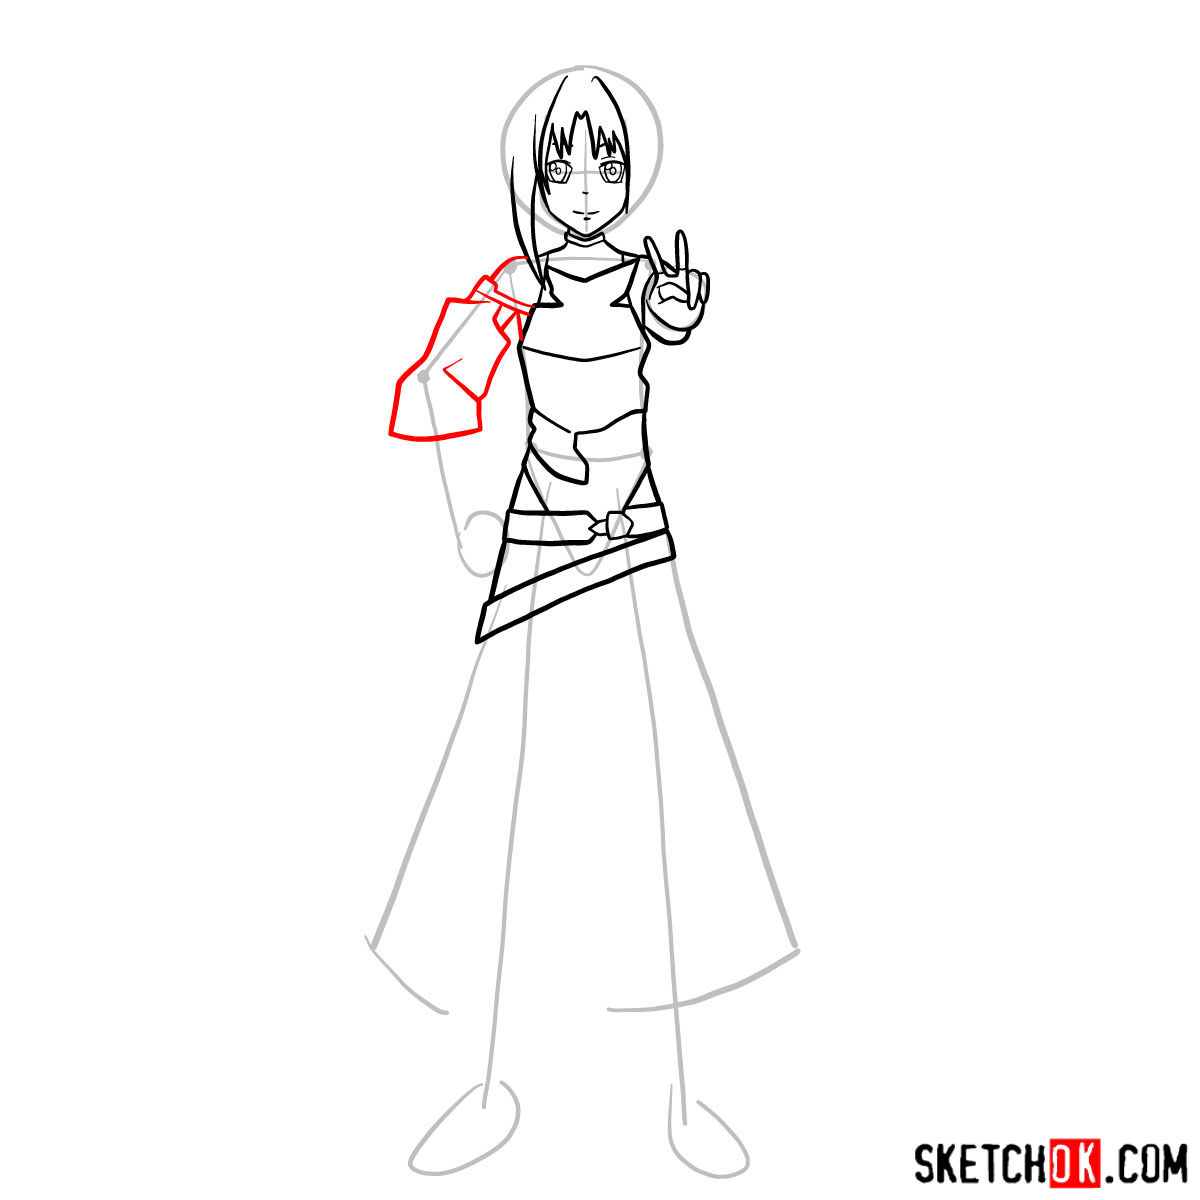
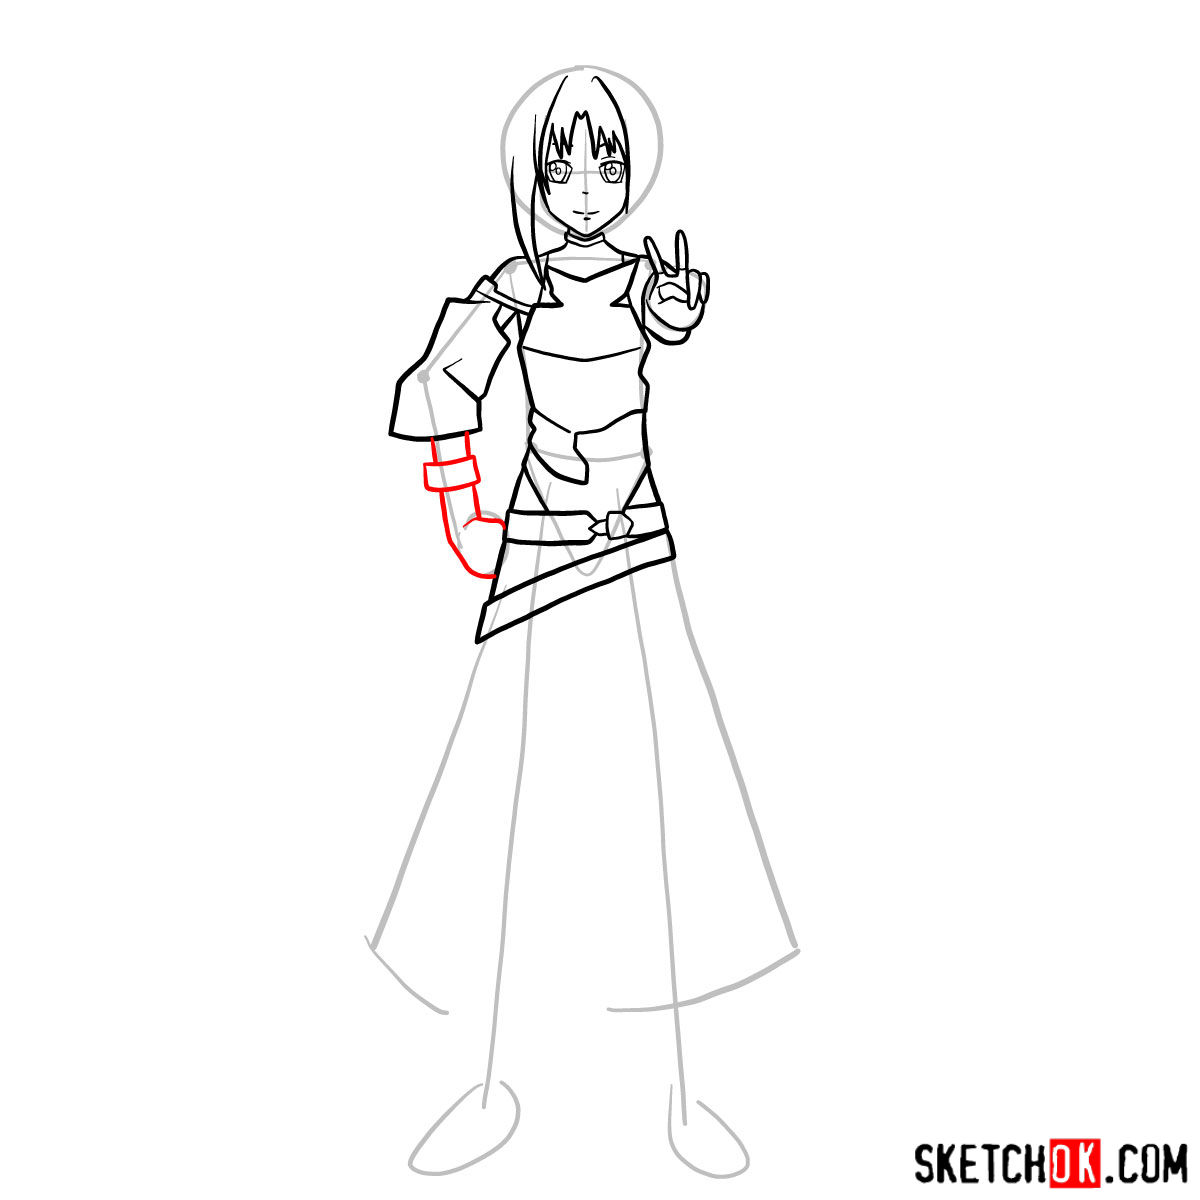
Part 2: Refining the Sketch
Now that we have the basic structure, it’s time to refine our sketch and add more details to bring Yuuki to life. Pay close attention to her facial features, hair, armor, and clothing. Use reference images if needed to capture her unique characteristics and expressions. Feel free to adjust any lines or shapes as you work towards achieving a more accurate representation of Yuuki.

Part 3: Inking
Once you’re satisfied with the refined sketch, it’s time to ink the drawing. Grab your fine-tipped pens and carefully outline the main lines, adding depth and definition to your artwork. Take it one line at a time, ensuring clean and confident strokes. Remember, practice makes perfect, so don’t be discouraged if it takes a few tries to master the inking process.
Part 4: Coloring and Shading
Now comes the exciting part—adding color and shading to your drawing. You can use colored pencils or markers to bring Yuuki’s vibrant world to life. Pay attention to light sources and apply shading accordingly, adding depth and dimension to your artwork. Experiment with different techniques to achieve the desired effects, and don’t hesitate to unleash your creativity and make Yuuki’s character shine.

Frequently Asked Questions: Drawing Yuuki like a Pro
Q: How can I improve my proportions when drawing Yuuki?
A: Achieving accurate proportions takes practice. Start with basic shapes and use guidelines to ensure the correct placement of features. Remember to compare and adjust as you go.
Q: What’s the best way to ink my drawing?
A: Inking requires a steady hand and confidence in your lines. Start with light strokes and gradually build up to darker lines. Practice hatching and cross-hatching techniques for shading and texture.
Q: How can I make my colors blend smoothly?
A: Gradual layering and blending are key to achieving smooth color transitions. Start with light layers and build up intensity gradually.
Congratulations on completing this step-by-step drawing tutorial of Konno Yuuki! We hope you’ve enjoyed the journey of bringing this beloved character to life on paper.
To further explore your artistic skills and stay updated with our latest tutorials, we invite you to subscribe to our social media accounts:
Feel free to share this tutorial with your friends and fellow artists. Your support and feedback mean the world to us. If you’d like to show additional support, consider donating on Buy Me a Coffee. Every contribution helps us continue creating valuable content for aspiring artists like you.
So it’s looking bad and it doesn’t have layers