Welcome, aspiring artists! If you’re a fan of Ninjago and want to learn how to draw Master Garmadon, you’ve come to the right place. Our step-by-step tutorial will guide you through each stage of the drawing process, from creating a basic sketch to adding the final touches. Whether you’re a beginner or a seasoned artist, we’ve got you covered. So grab your pencils, and let’s get started!
A Glimpse into the Life of Master Garmadon
Master Garmadon, once known as Lord Garmadon, is a complex character with a rich backstory. As the Master of Destruction, he initially played the role of the ninja’s archenemy, but eventually became their ally and former mentor. His journey from evil to redemption is a captivating tale, providing plenty of inspiration for artists looking to capture his essence in their drawings.
Throughout his life, Master Garmadon has faced numerous challenges and conflicts, including his battle with The Overlord and his adventures with the ninja during the Nindroid crisis. His transformation from a villain to a hero makes him an intriguing character to draw, and one that offers endless possibilities for artistic interpretation.
Prepare Your Art Arsenal
Before we dive into the drawing process, let’s gather our materials and tools. Although you can use any tools you prefer, here are some recommendations to help you get started:
- Pencil: For sketching and refining your drawing
- Eraser: To correct mistakes and remove guidelines
- Pen or fine liner: For inking and outlining
- Colored pencils or markers: For coloring and shading
Unleash Your Inner Artist with Our Step-by-Step Guide
Now that you’re ready to draw, let’s begin our journey to create a stunning Master Garmadon masterpiece. Remember, practice makes perfect, so don’t be discouraged if your first attempt isn’t flawless. Keep trying, and you’ll soon see improvement!
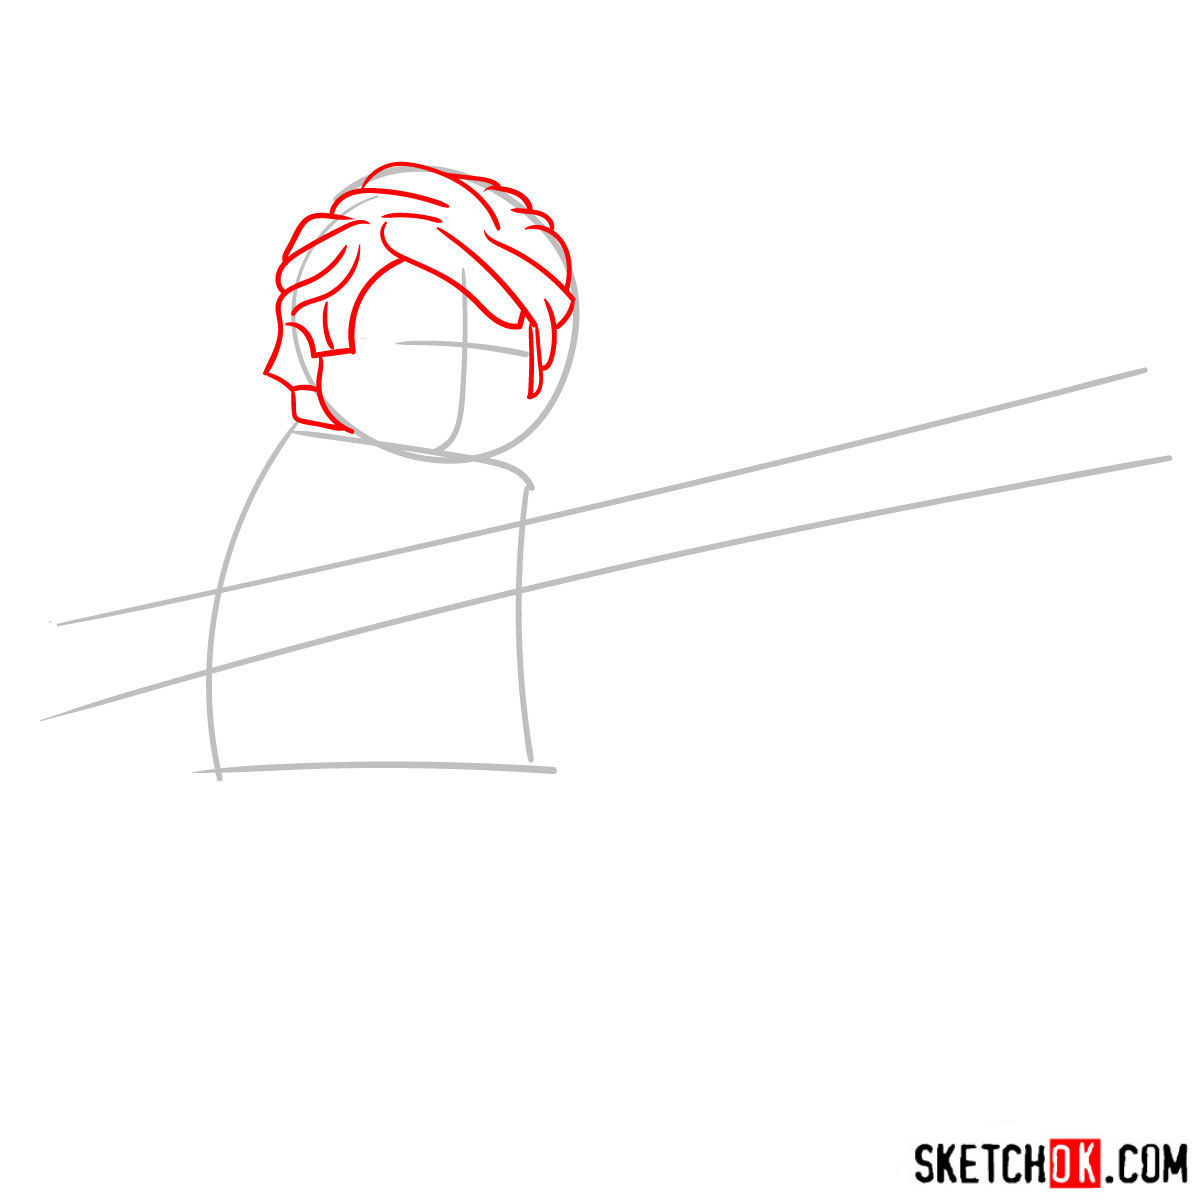
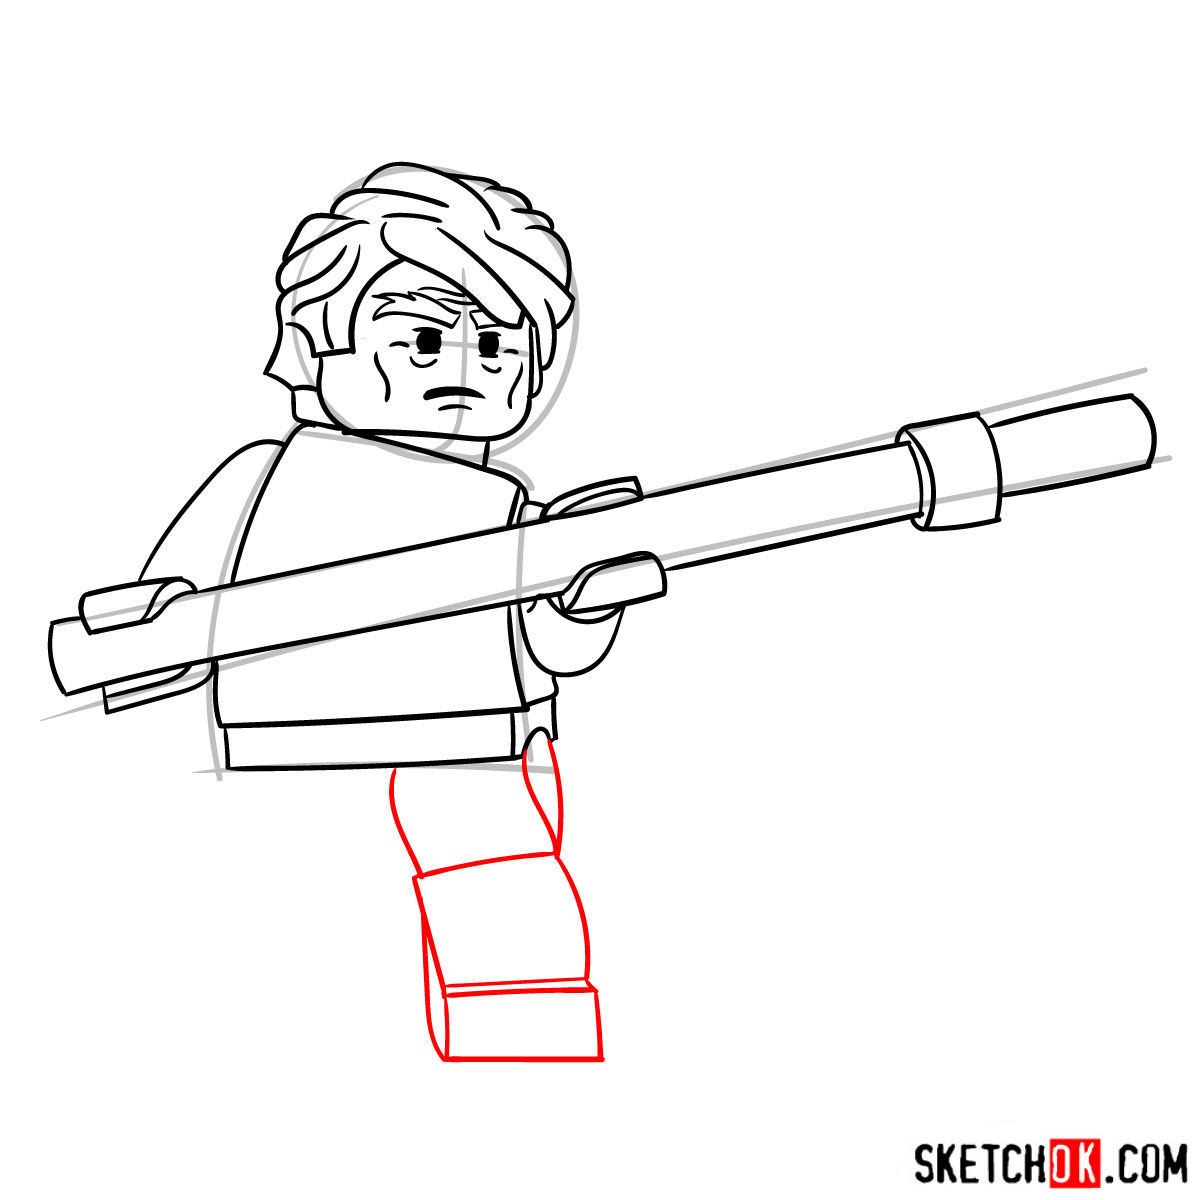
Part 1: Basic Sketch
In this initial step, focus on creating a basic structure for Master Garmadon’s proportions using light pencil strokes. This foundation will serve as a guide for the rest of your drawing. Remember, the red color in the tutorial images represents the current drawing step, the grey color signifies the basic proportions sketch, and the black color indicates what has already been drawn.

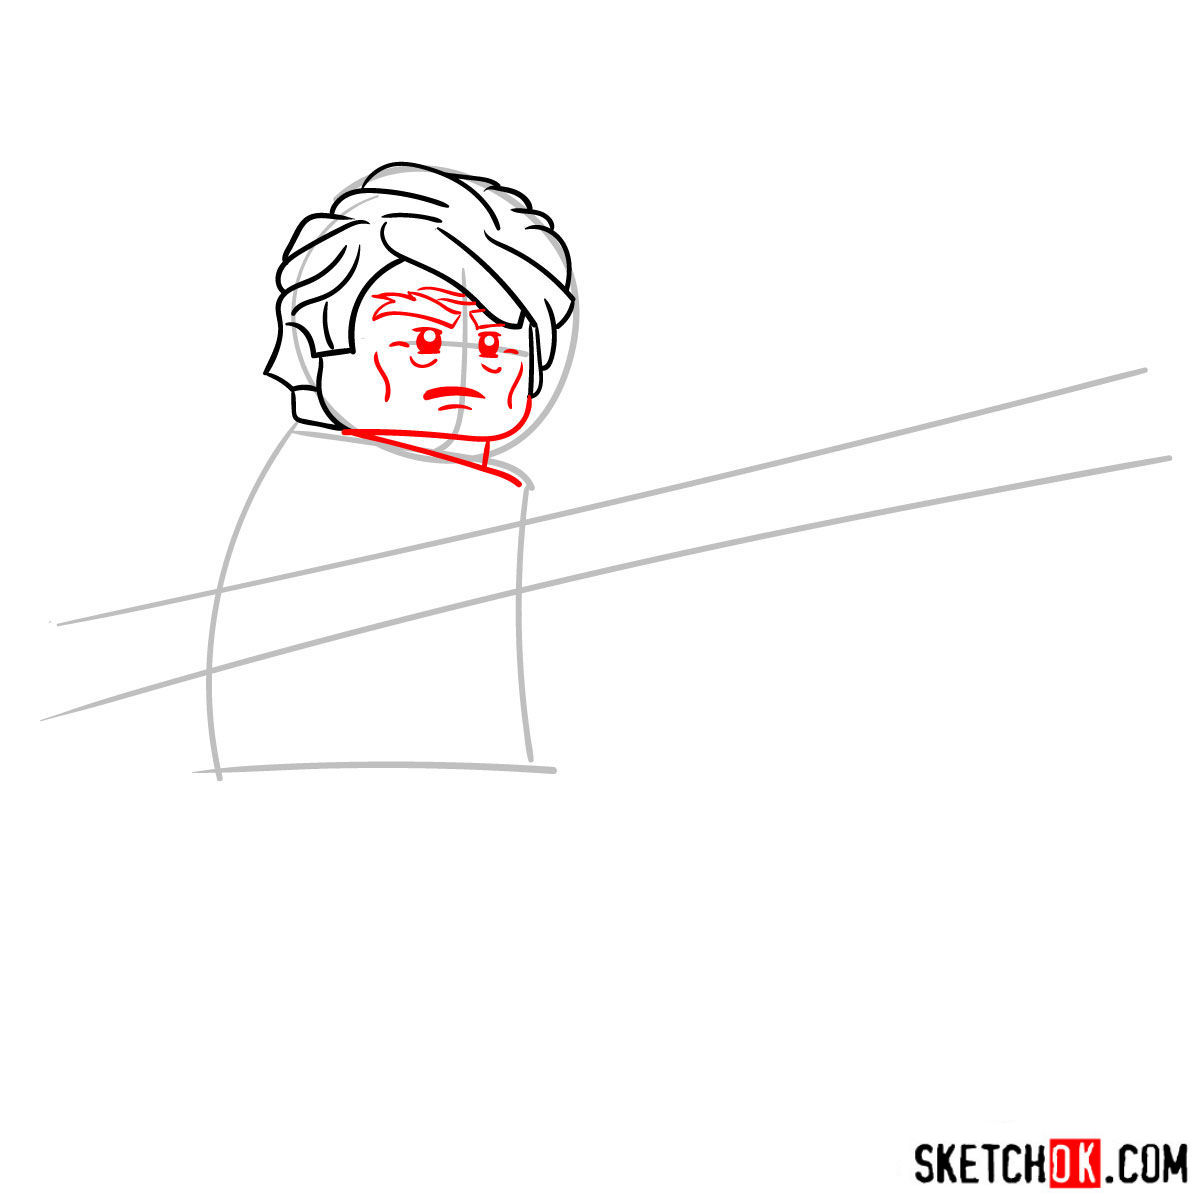
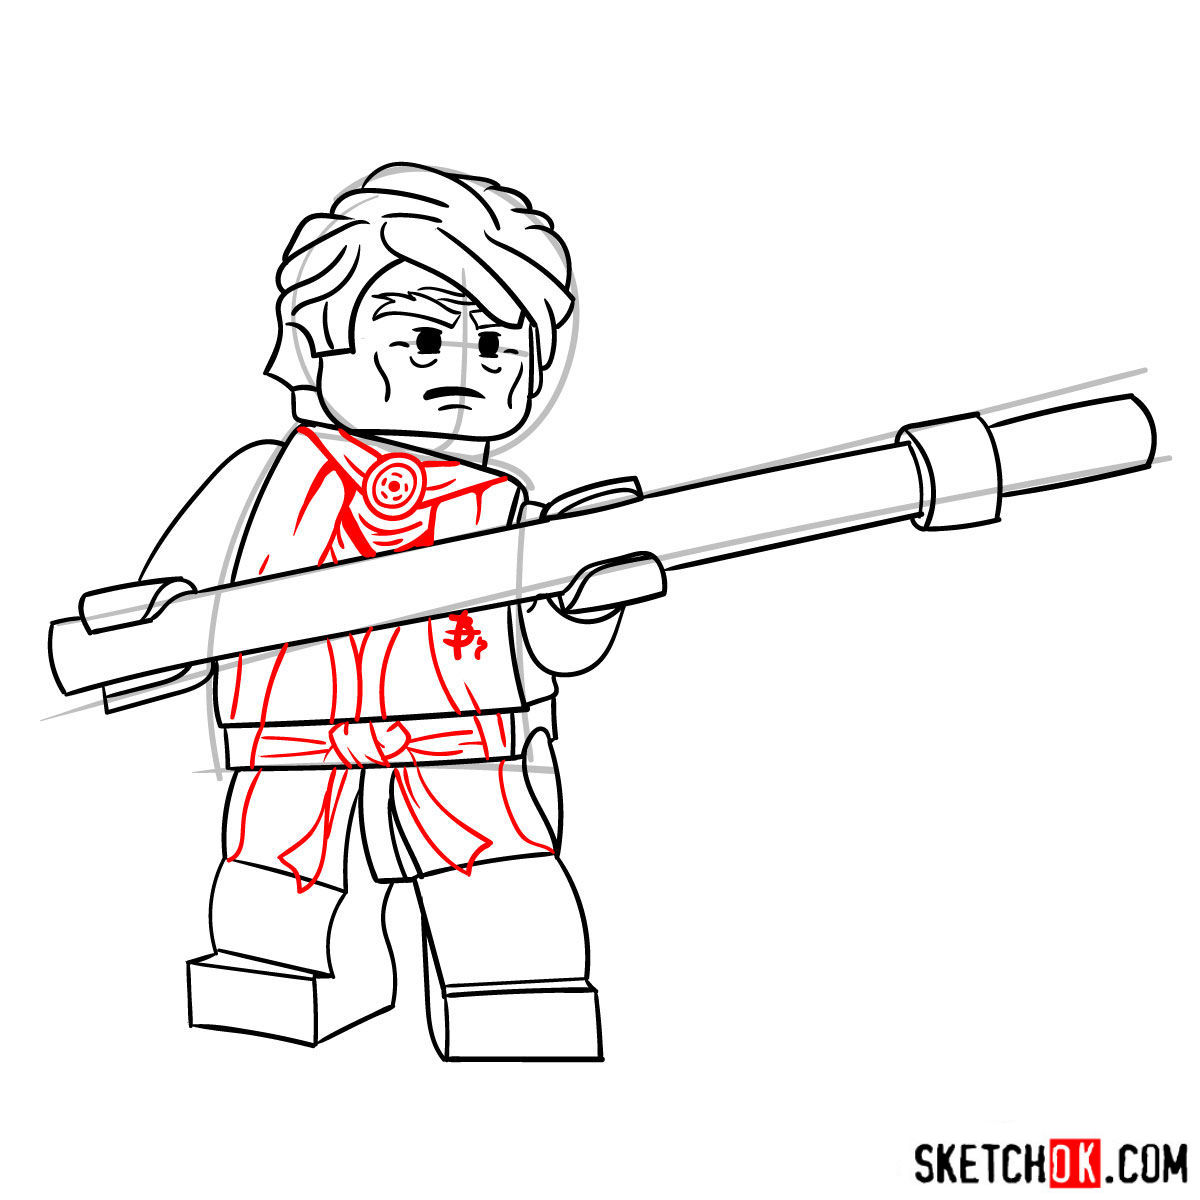
Part 2: Refining the Sketch
With your basic sketch in place, it’s time to refine it by adding details and improving proportions. Carefully observe the tutorial images and make any necessary adjustments. Consider Master Garmadon’s unique features, such as his distinctive grey hair, clothing, and facial expression, to bring your drawing to life.
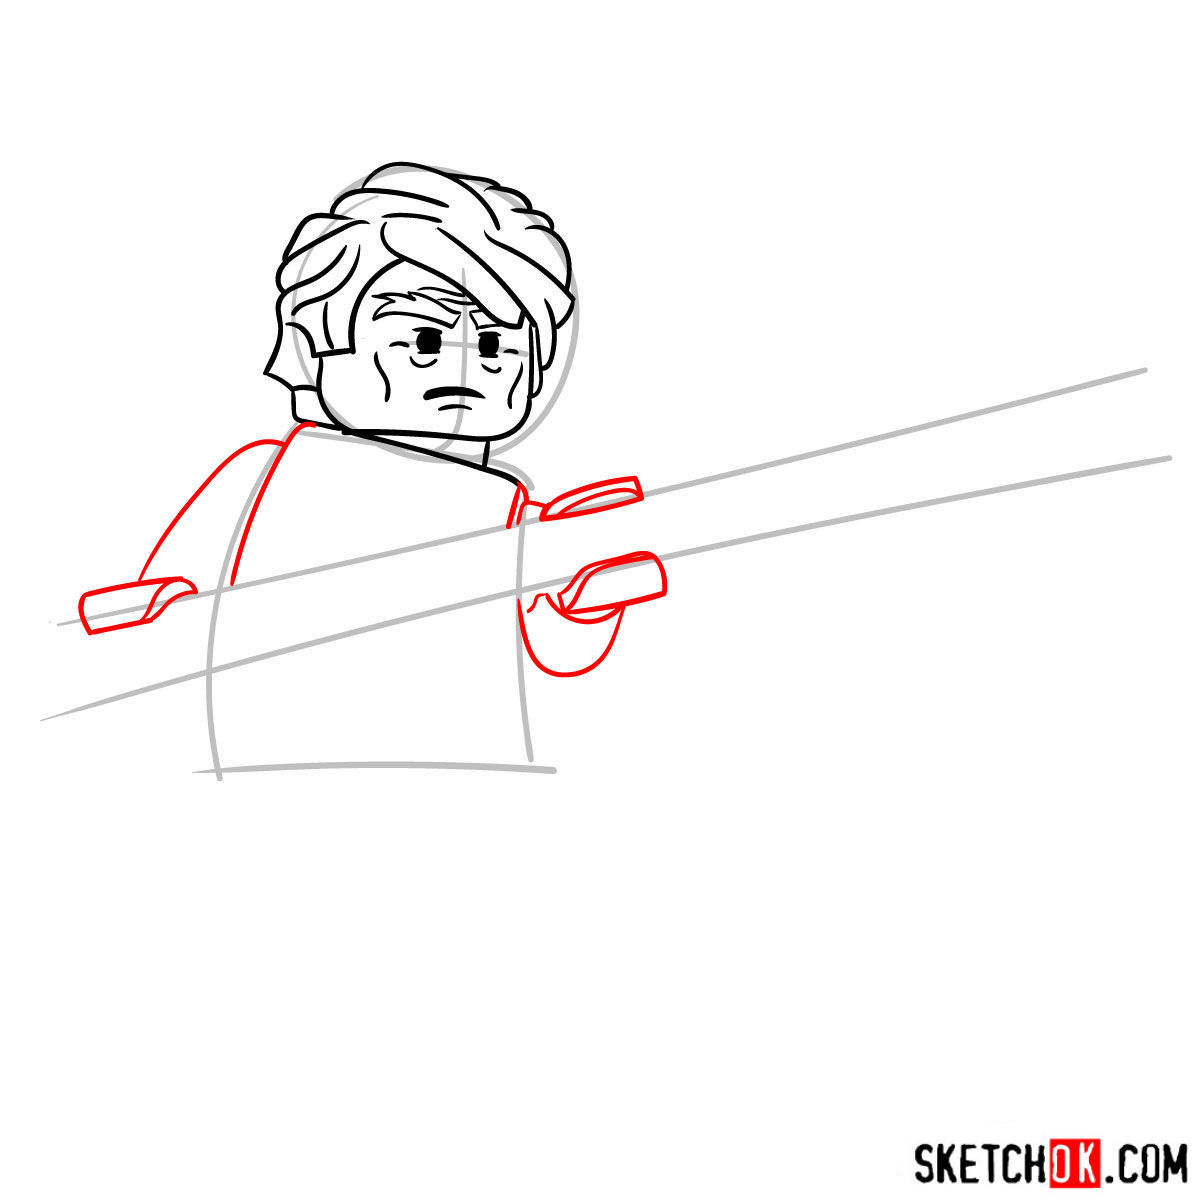

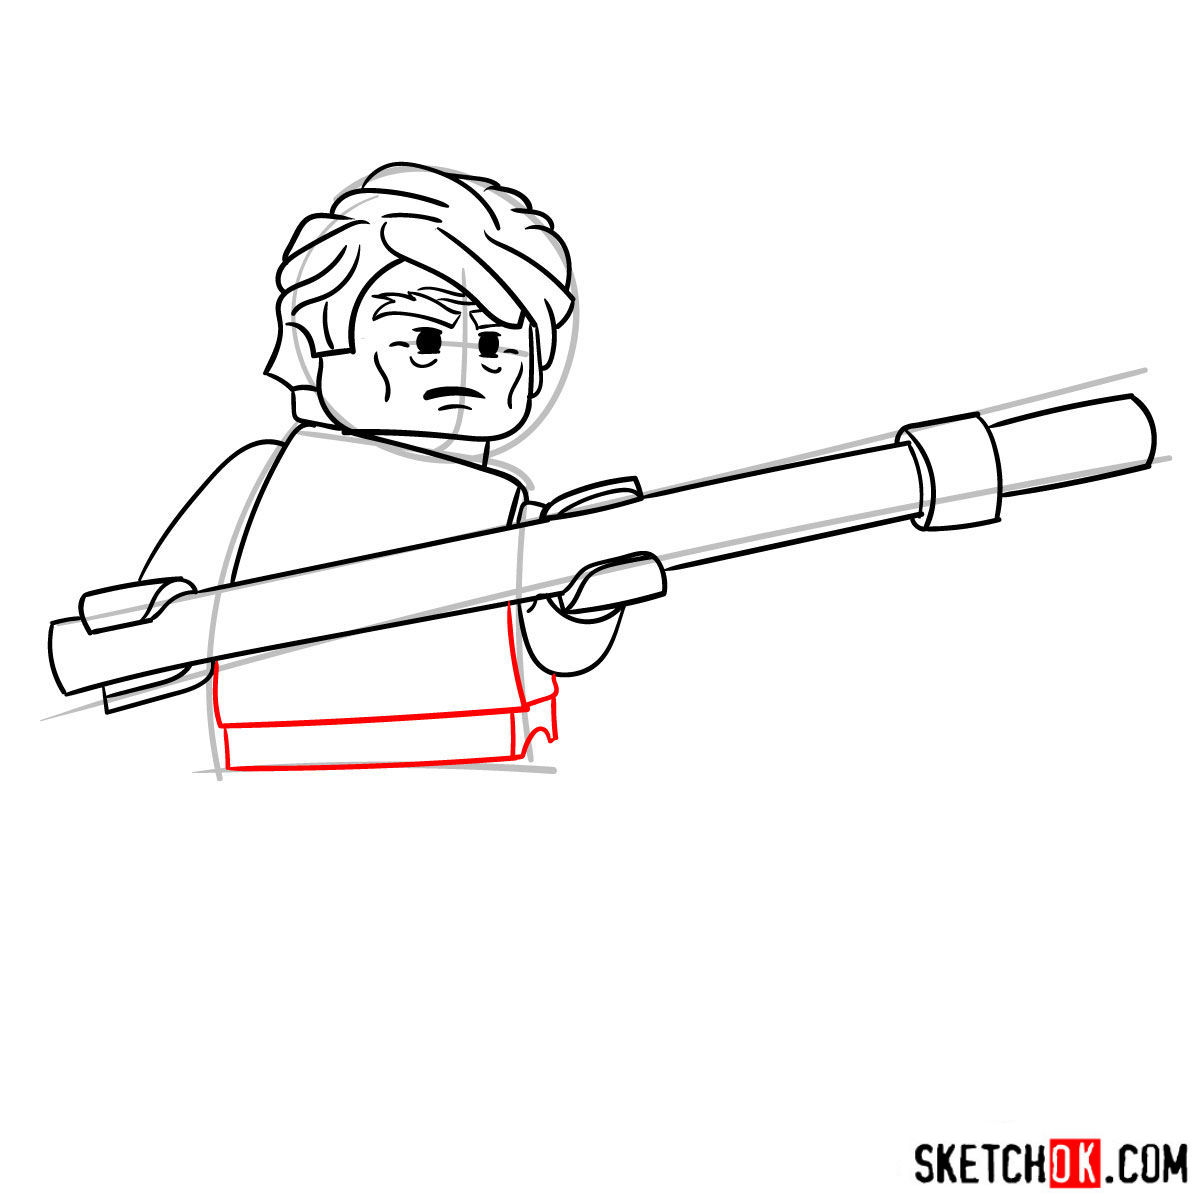

Part 3: Inking
Once you’re satisfied with your refined sketch, grab your pen or fine liner and begin outlining the drawing. This stage is crucial for defining Master Garmadon’s features and making your artwork pop. Be careful not to smudge the ink, and allow it to dry before moving on to the next step.

Part 4: Coloring and Shading
Now for the fun part – adding color, shading, and highlights to your drawing! Use colored pencils or markers to bring Master Garmadon to life. Pay close attention to the tutorial images to accurately capture the character’s color scheme, and don’t be afraid to get creative with shading and highlights to give your artwork depth and dimension.

As you practice drawing Master Garmadon, experiment with different techniques and styles to find what works best for you. Remember, there’s no one-size-fits-all approach to art, so embrace your unique perspective and have fun!
If you’re looking for more drawing inspiration, why not try your hand at sketching some other characters from the Ninjago universe, like Lloyd, Wu, or Kai? The possibilities are endless!
Frequently Asked Questions
Q: How can I improve my sketching technique?
A: Practice is key. The more you draw, the better you’ll become at capturing proportions, details, and expressions. Additionally, try observing and drawing from real-life references to improve your understanding of anatomy and form.
Q: How can I make my drawing more dynamic?
A: Experiment with different poses, angles, and perspectives to create more engaging compositions. Remember, art is about self-expression, so don’t be afraid to push boundaries and think outside the box.
Congratulations on completing your Master Garmadon drawing! We hope this tutorial has inspired you to continue honing your artistic skills and exploring the world of Ninjago. If you enjoyed this tutorial and would like to support the regular release of free drawing guides, please consider donating to SketchOk on Buy Me a Coffee. Your support helps us keep the creative juices flowing and the pencils sharpened! Now go forth, share your masterpiece with the world, and happy drawing!
How to draw the serphant team from Ninjago