Welcome to our step-by-step tutorial on how to draw a Mirelurk, a formidable creature from the Fallout series. Whether you’re a fan of the games or simply love to tackle challenging sketches, this guide is designed to help you capture the intricate details of the Mirelurk’s unique form.
Mirelurk’s Appearance
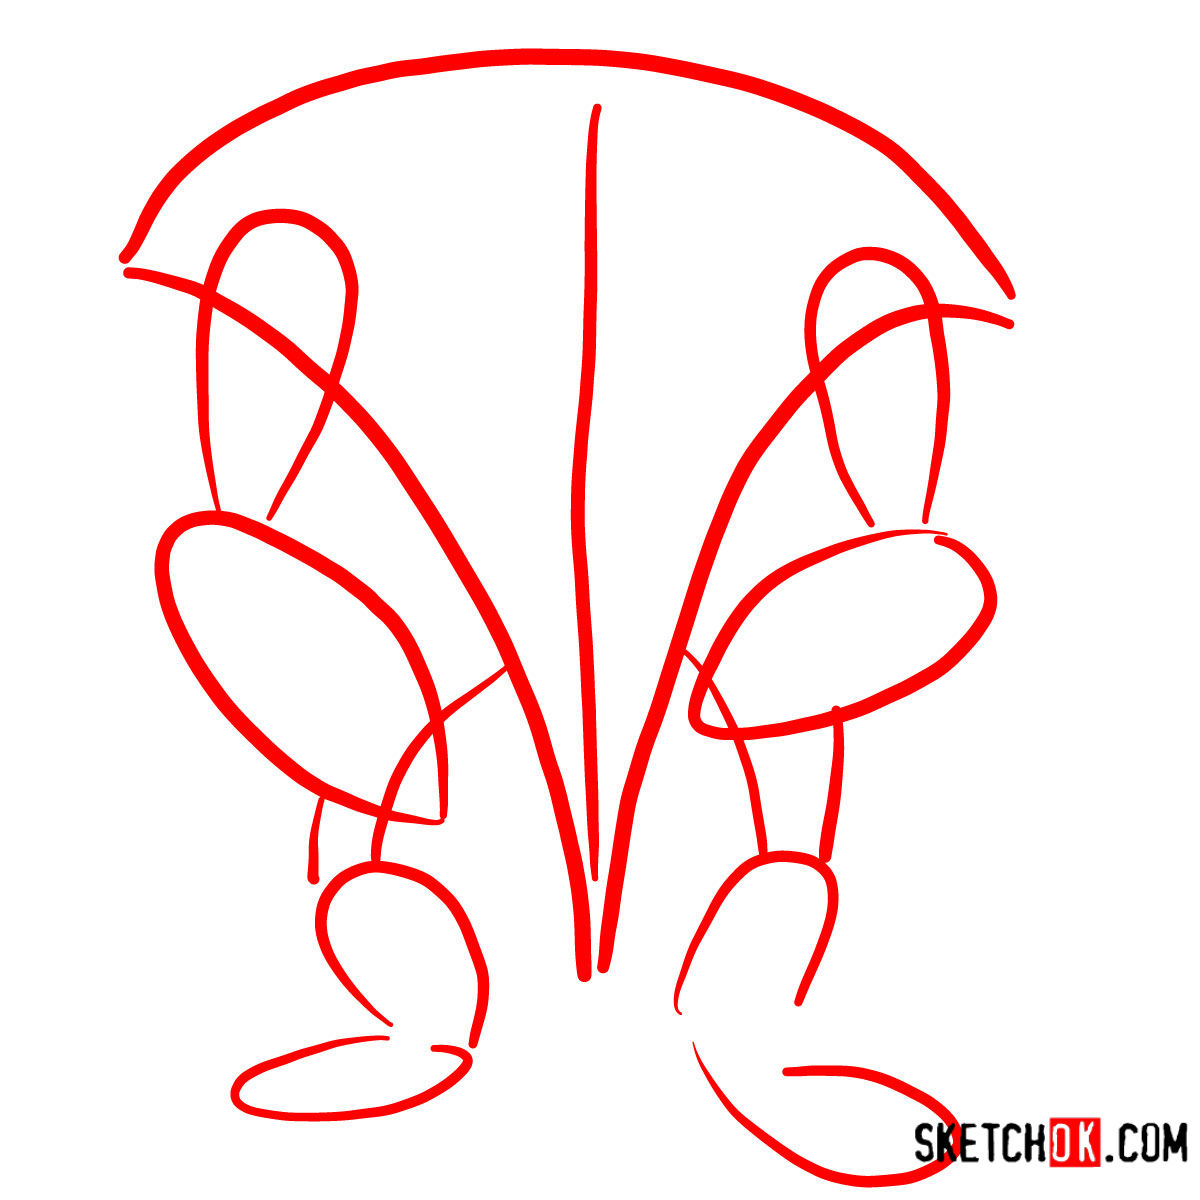
When drawing a Mirelurk, there are several key features to keep in mind:
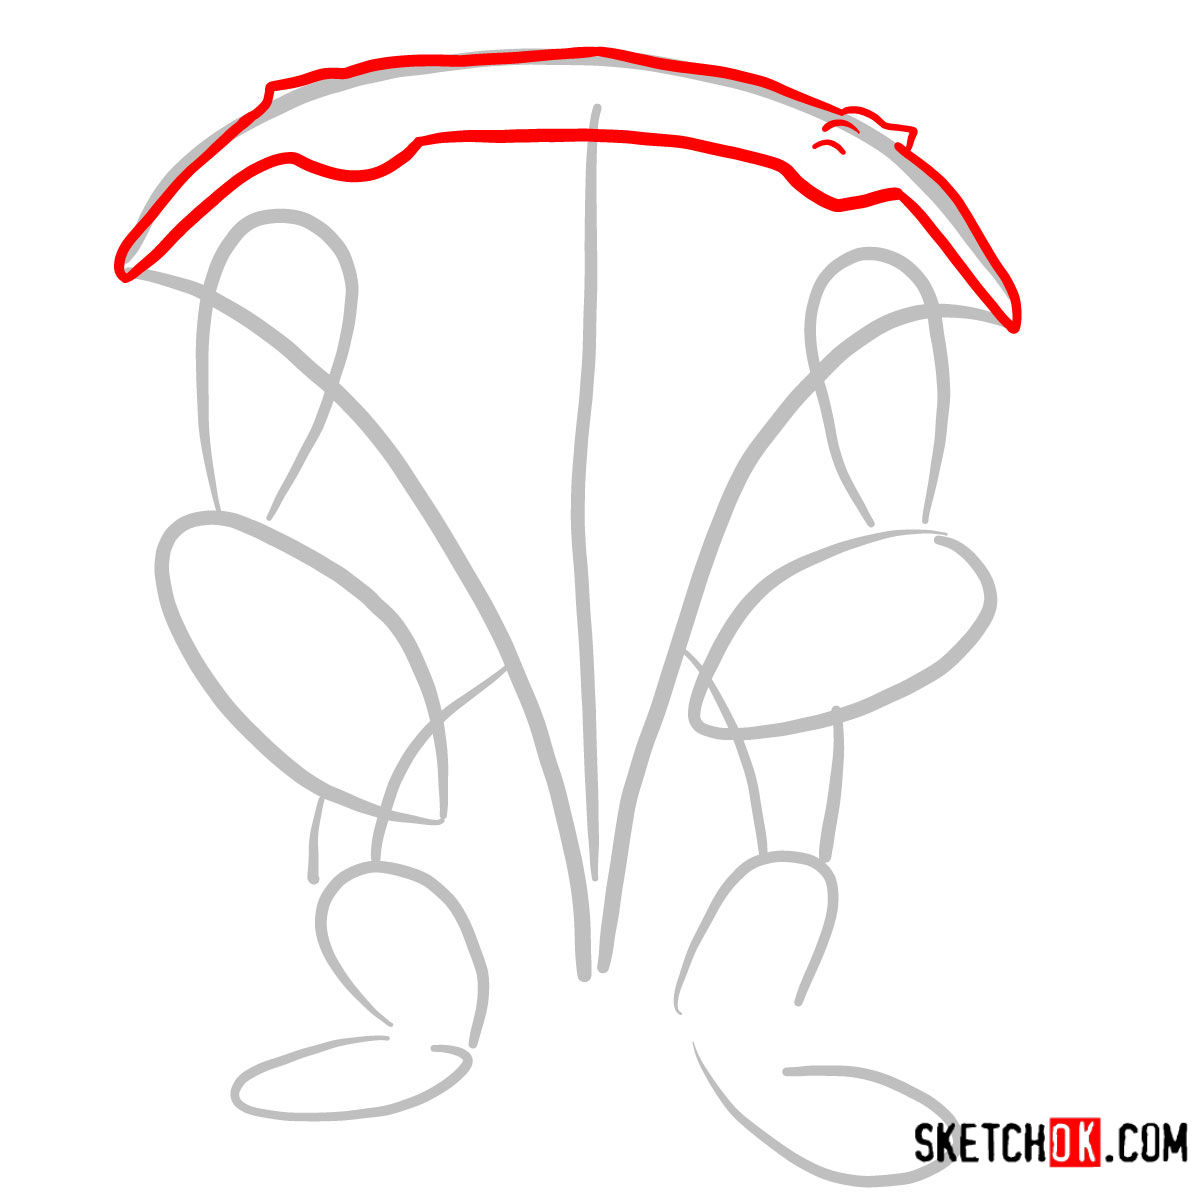
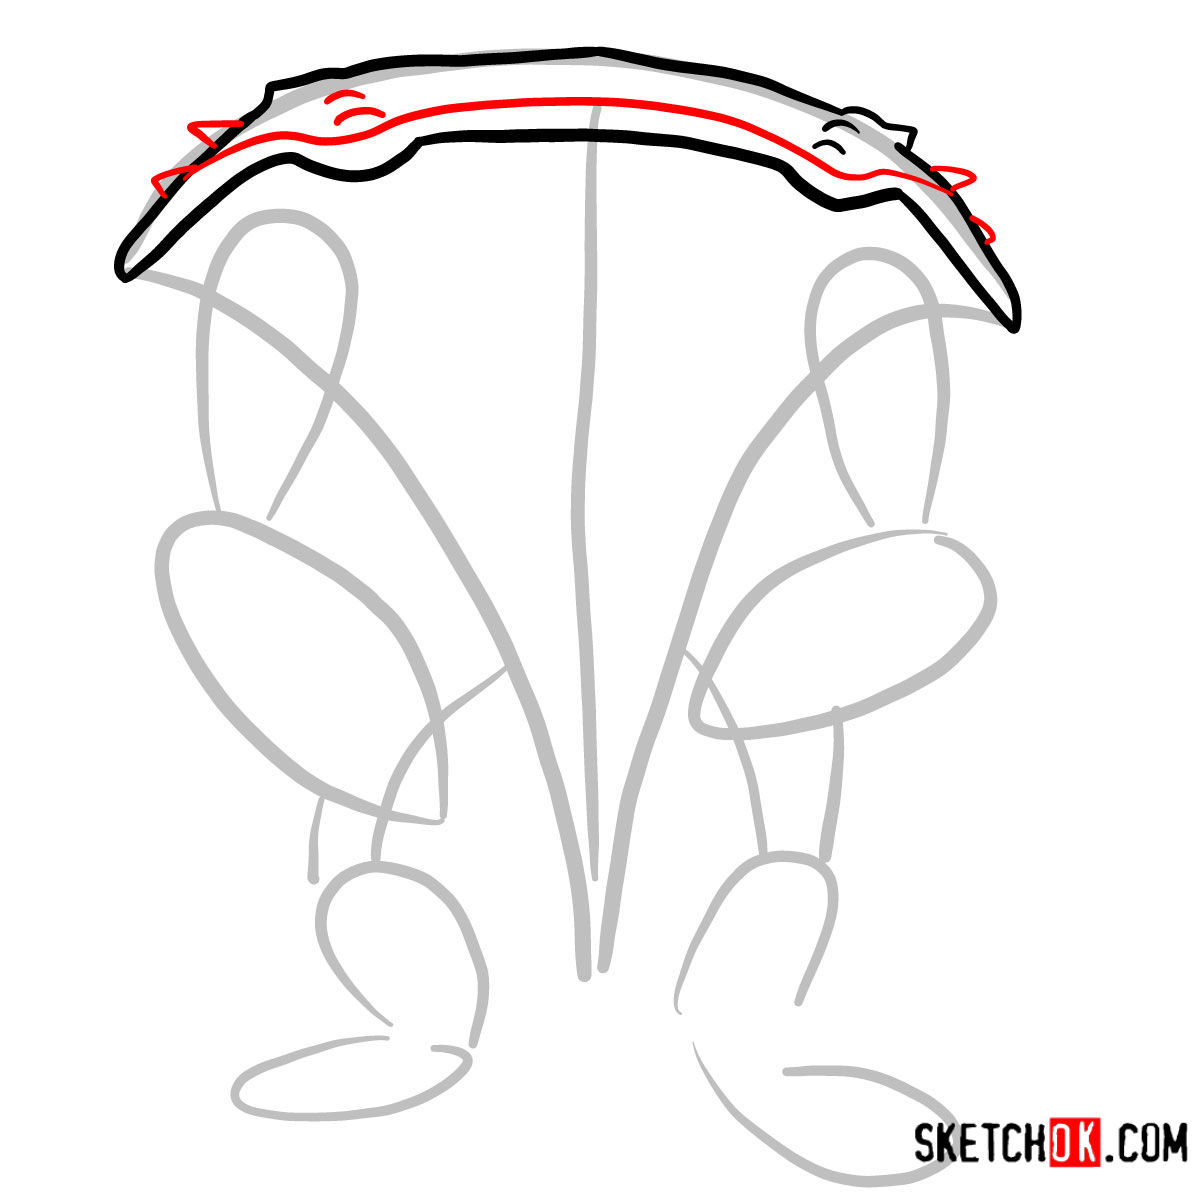
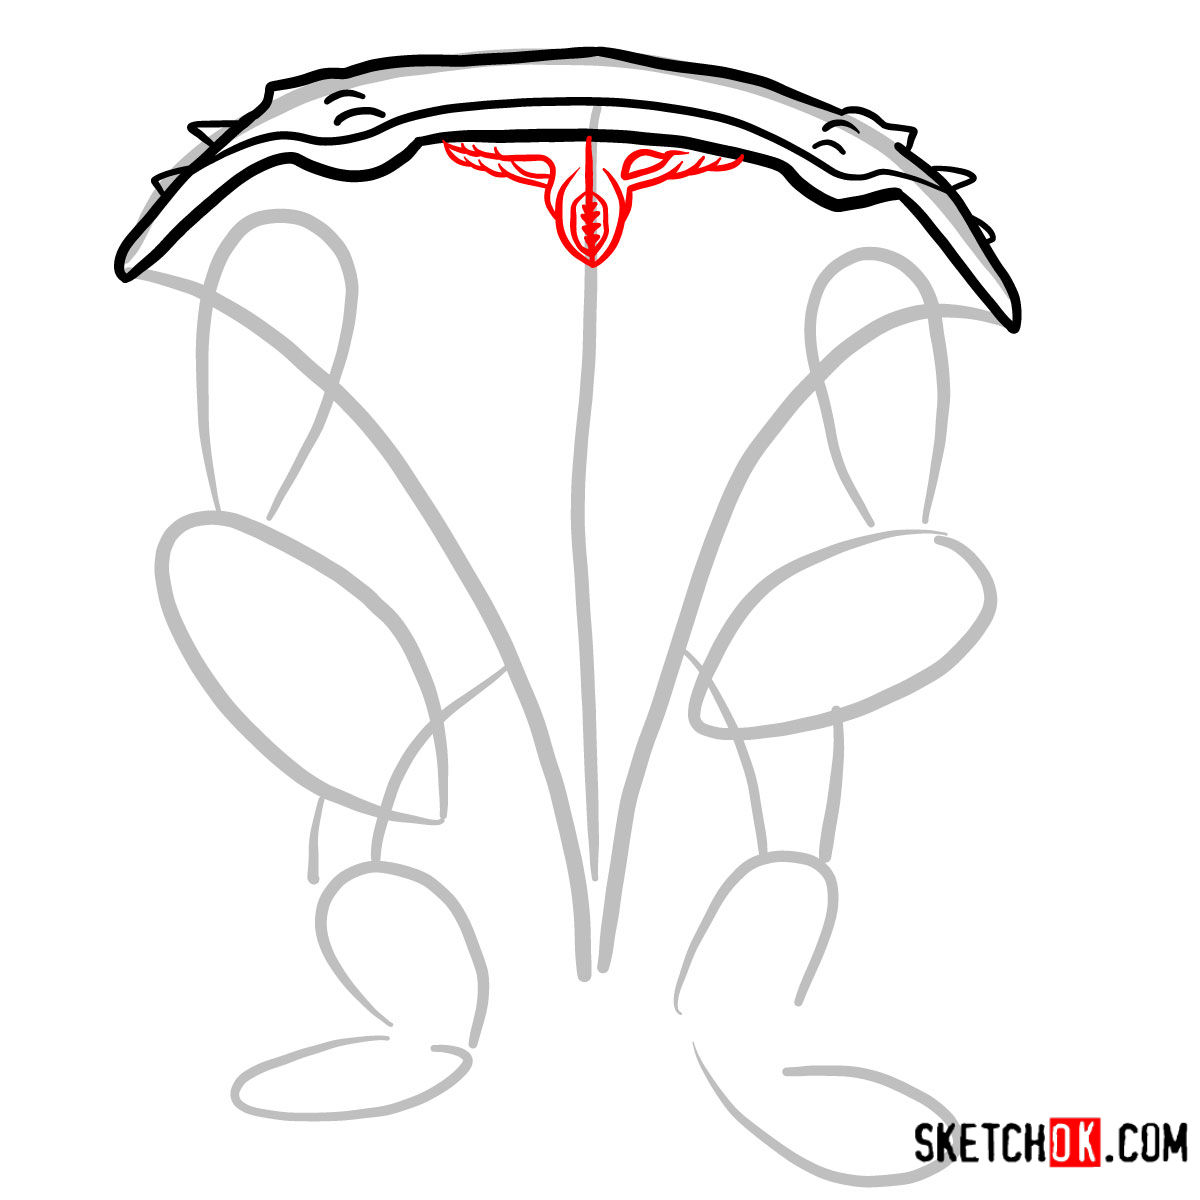
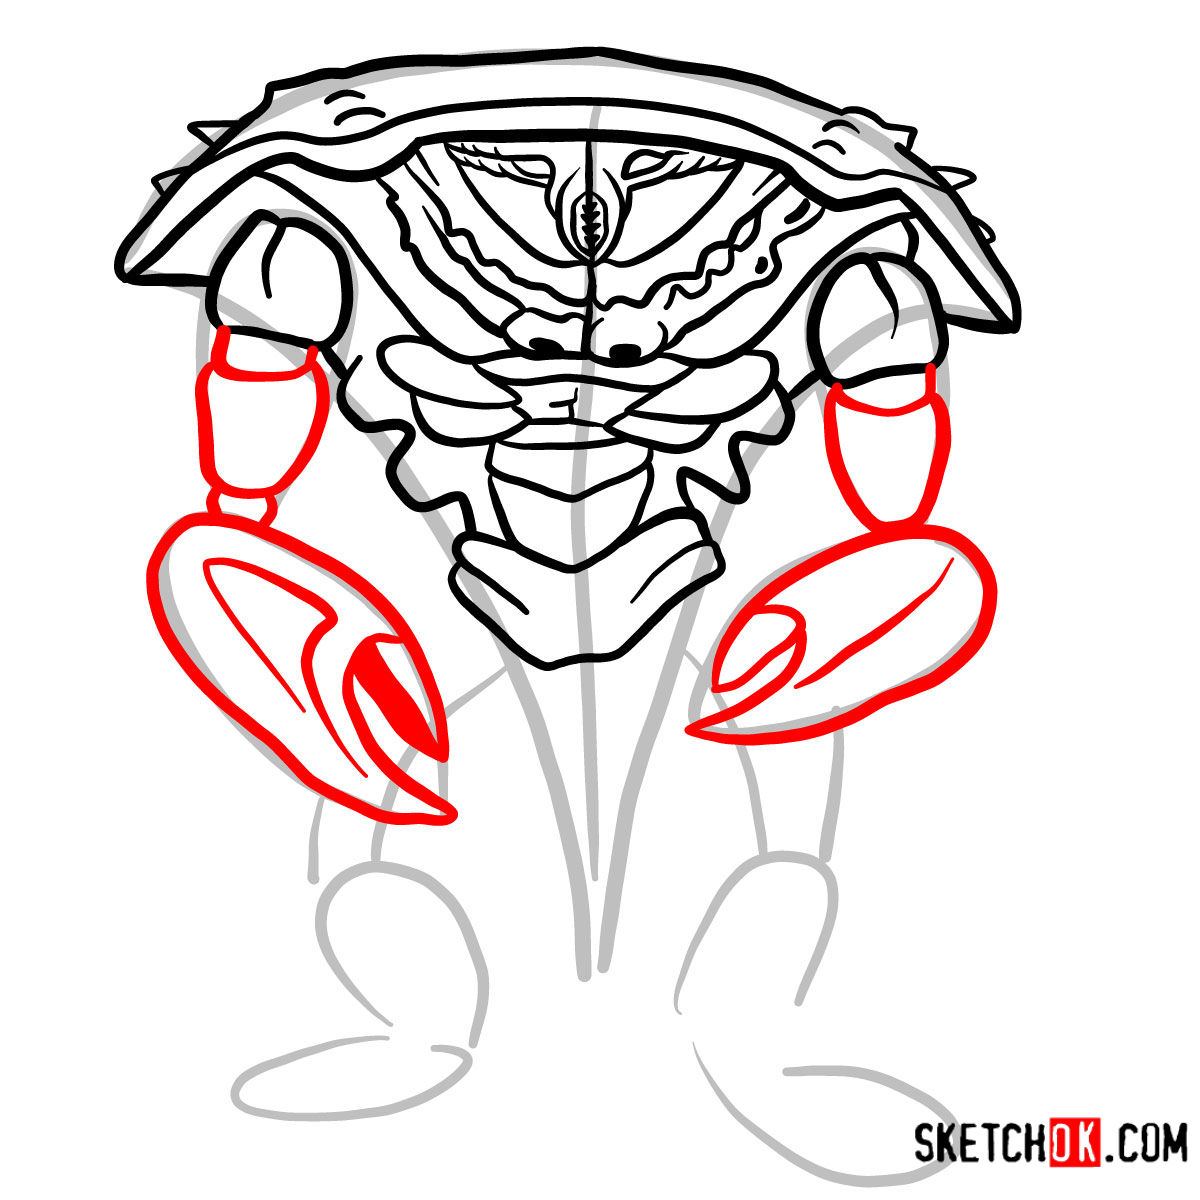
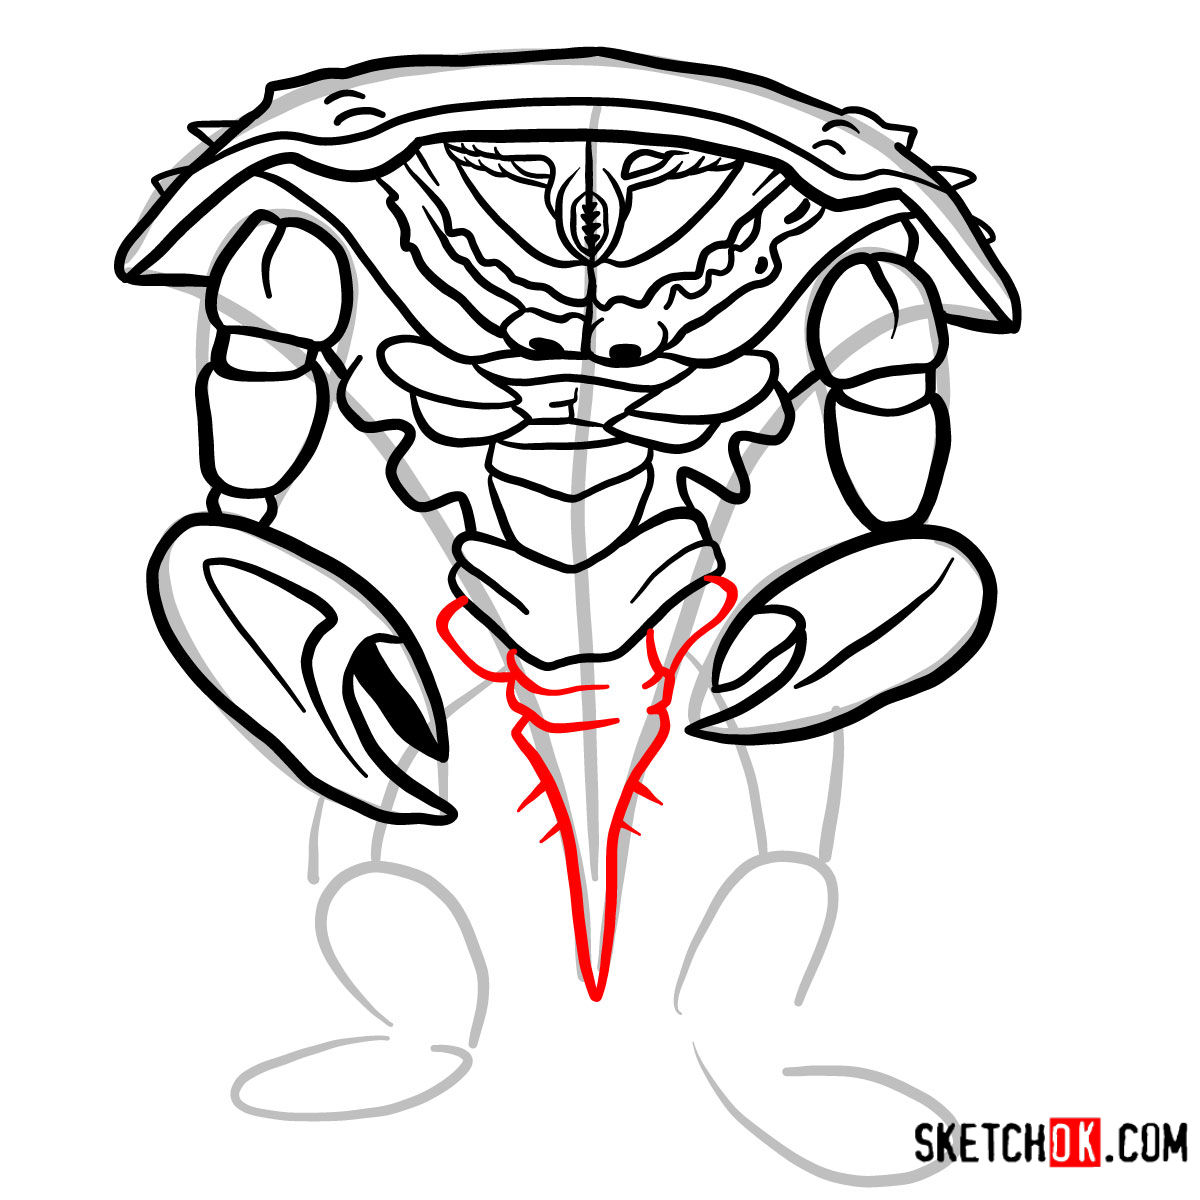
- Their heavily armored exoskeleton, reminiscent of crustaceans.
- Their distinct, menacing posture and bulky limbs.
- Their claws and facial structure which are pivotal to their intimidating appearance.
Other creatures, like the Deathclaw and the Gulper, share mutation with Mirelurks and can be added to your drawing for a dynamic scene. As you sketch, remember to:
- Start with light pencil strokes to create the basic structure.
- Focus on the proportions and angles to ensure a realistic portrayal.
- Gradually add details, paying close attention to the texture and armor plating.
About the Guide
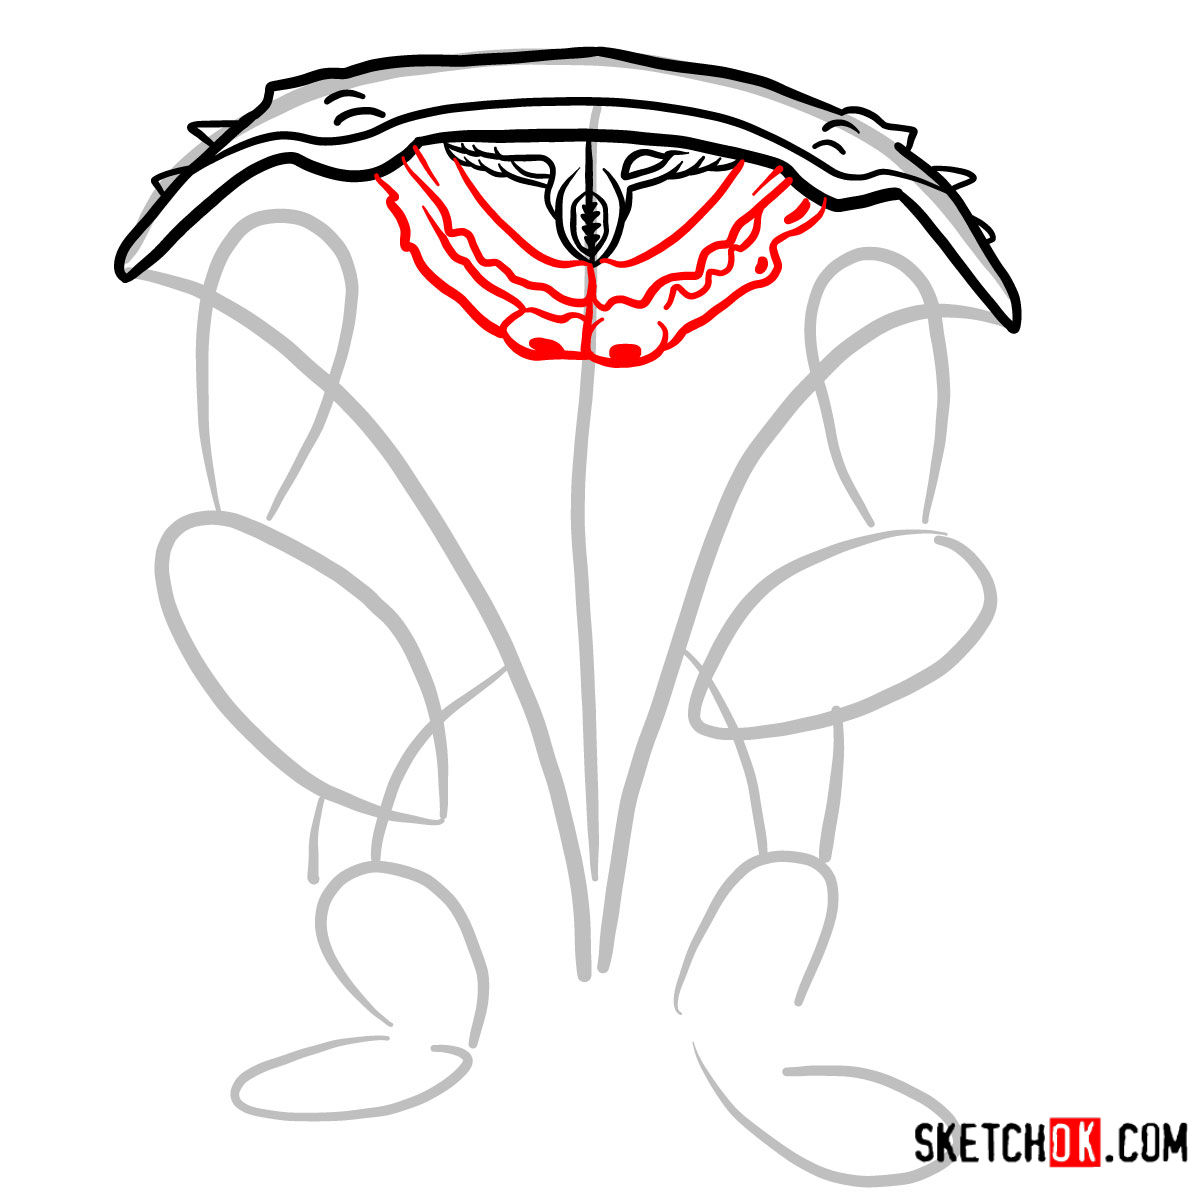
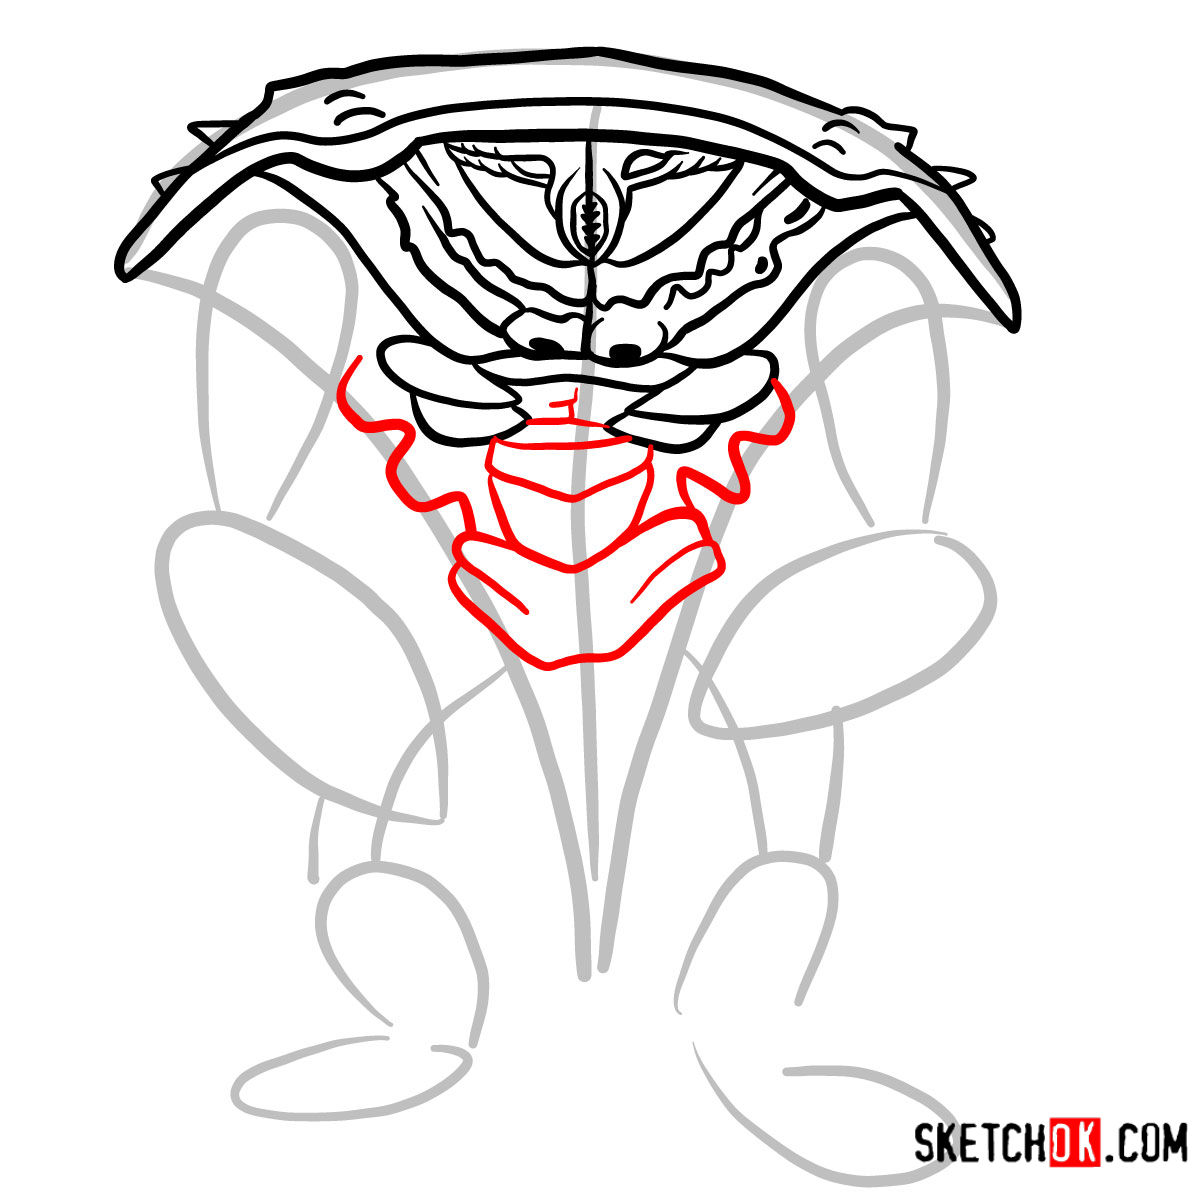
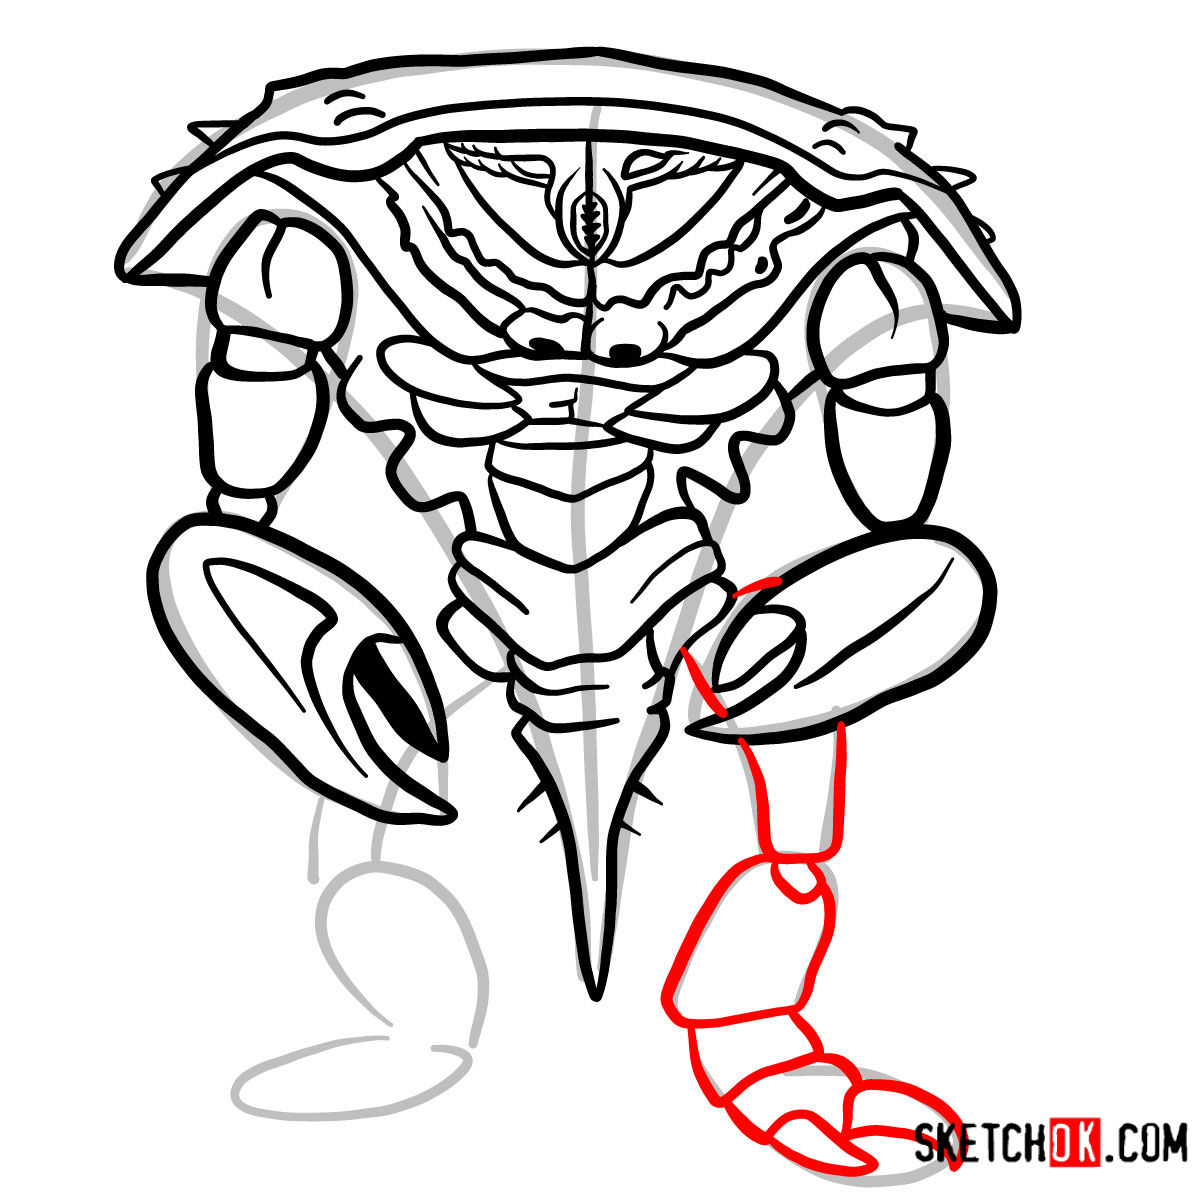
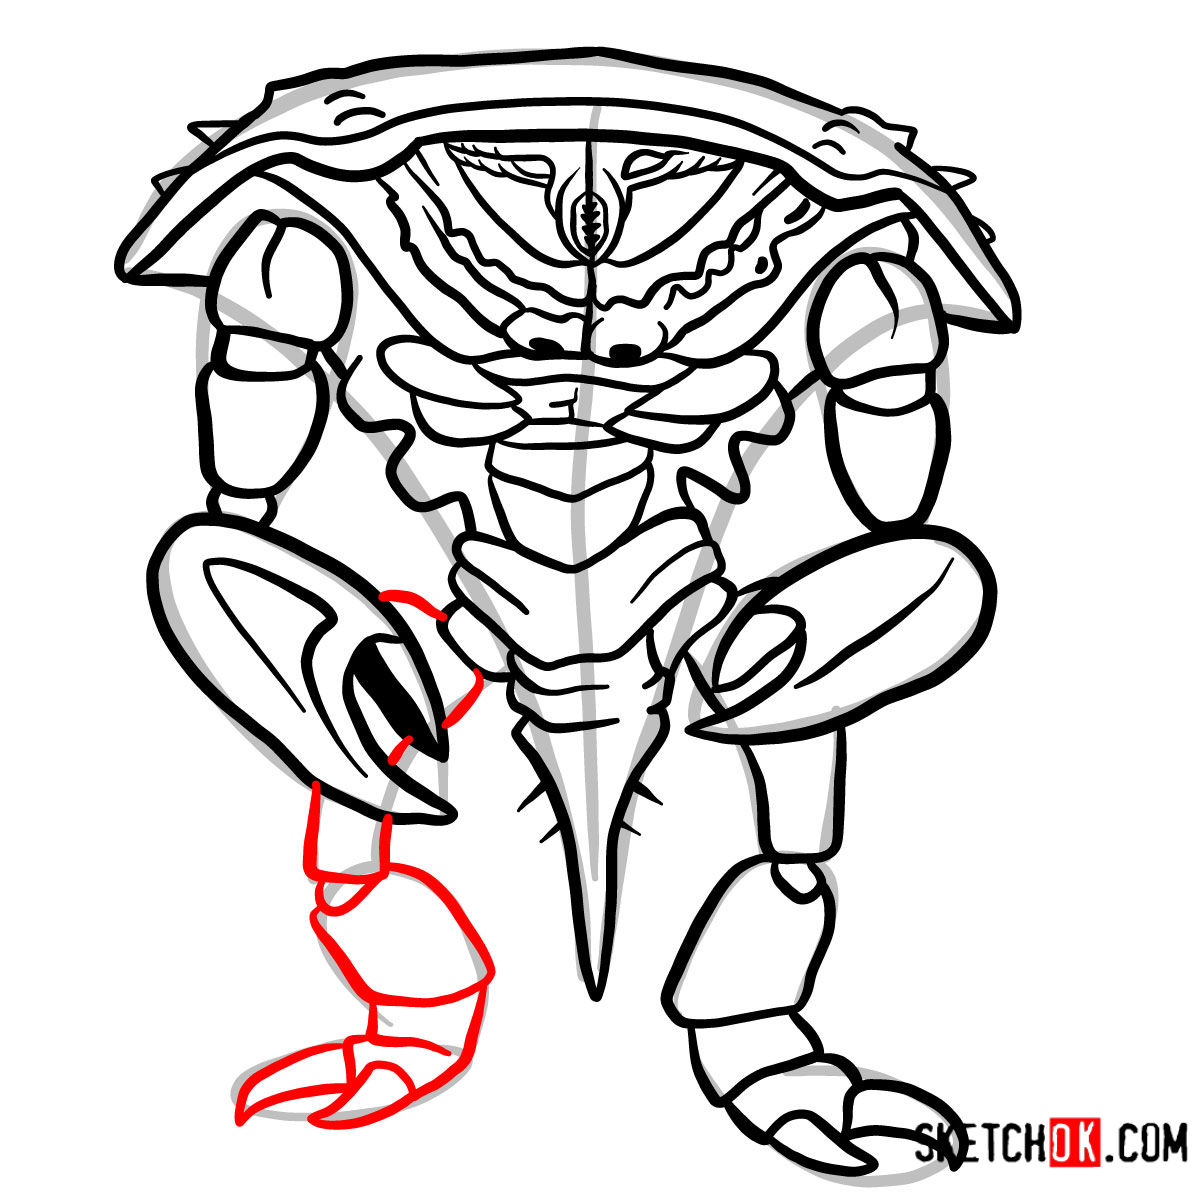
This guide comprises a series of high-quality images, each representing a step in the drawing process. By following these images sequentially, you will see your Mirelurk drawing take shape. The guide uses a simple color coding system to assist you:
- Red Color: Highlights the current step to focus on.
- Black Color: Indicates the lines you’ve drawn in previous steps.
- Grey Color: Shows the basic sketch used for proportions.
In total, there are 13 steps. The initial phase involves creating a basic sketch, which serves as a foundation for the detailed work to follow. In the final stage, you have the option to ink your sketch. Inking brings out the clarity of your drawing, but ensure to wait for the ink to dry before gently erasing the pencil marks to avoid smudges.


As you bring your Mirelurk to life on paper, consider the creature’s origins. Born from the radioactive aftermath of corporate pollution, Mirelurks carry a history as rich as their design is complex. Reflecting on their backstory can inspire your drawing, adding a layer of depth to your creation.
Wrap-Up
We’ve explored the essential steps on how to draw a Mirelurk, emphasizing the significance of proportions, details, and the final inking process. If you’ve enjoyed this guide, follow SketchOk on our social media channels for more insights and regular updates: visit us on Facebook, Instagram, and Pinterest. Join our community of artists and Fallout enthusiasts alike, and share your Mirelurk drawings with us!