Creating art is an enriching experience, especially when it involves bringing beloved Disney characters like Goofy to life. Our guide will help you master how to draw a puzzled Goofy, capturing the essence of this lovable, goofy, and sometimes clueless, character.
Understanding Goofy’s Appearance and Key Features
As you embark on your drawing journey, understanding Goofy’s key features is essential. Here’s what to keep in mind:
- Distinct hat: Goofy’s hat, with its unique shape, is an iconic part of his outfit.
- Long, droopy ears: Similar to a dog’s, Goofy’s ears are large, floppy, and expressive.
- Outstretched limbs: Goofy’s arms and legs are usually stretched out, reflecting his clumsy yet playful nature.
Once you get the hang of drawing Goofy, consider adding his friends like Mickey Mouse, Pluto, or Donald Duck to your Disney sketch collection.
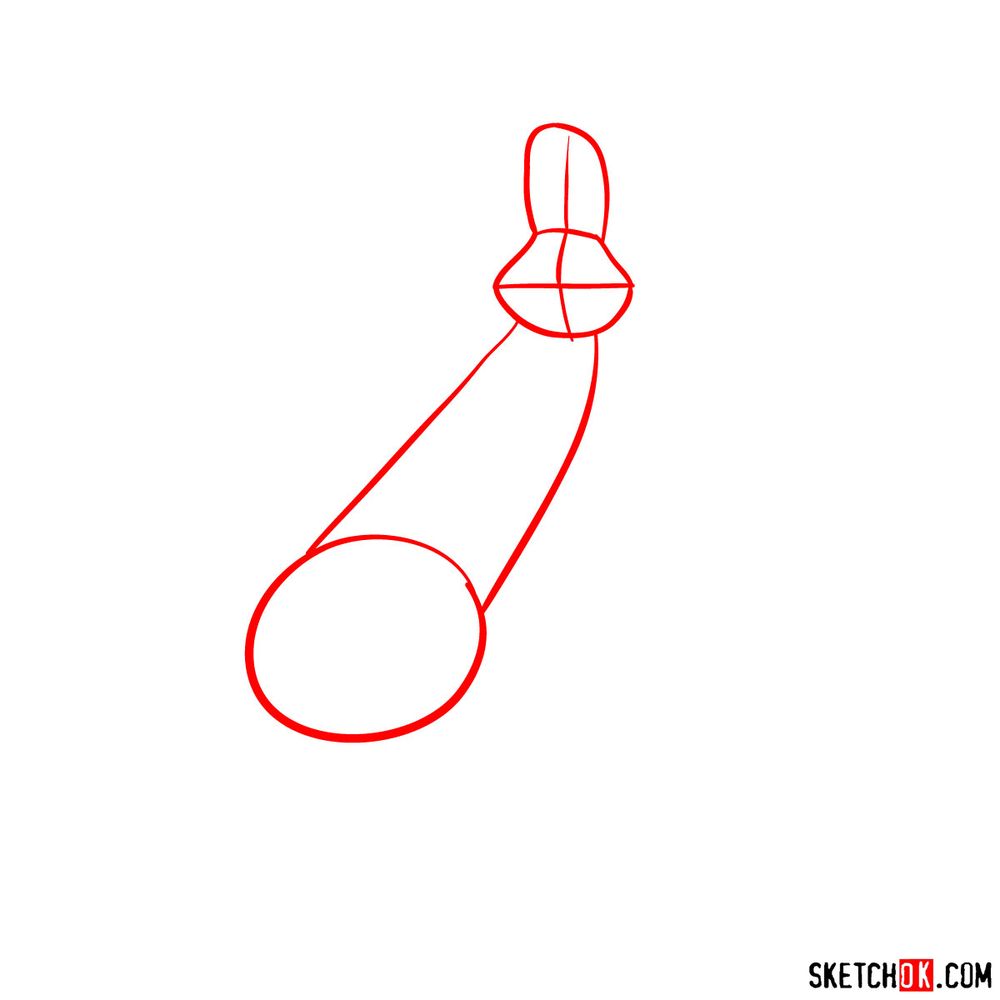
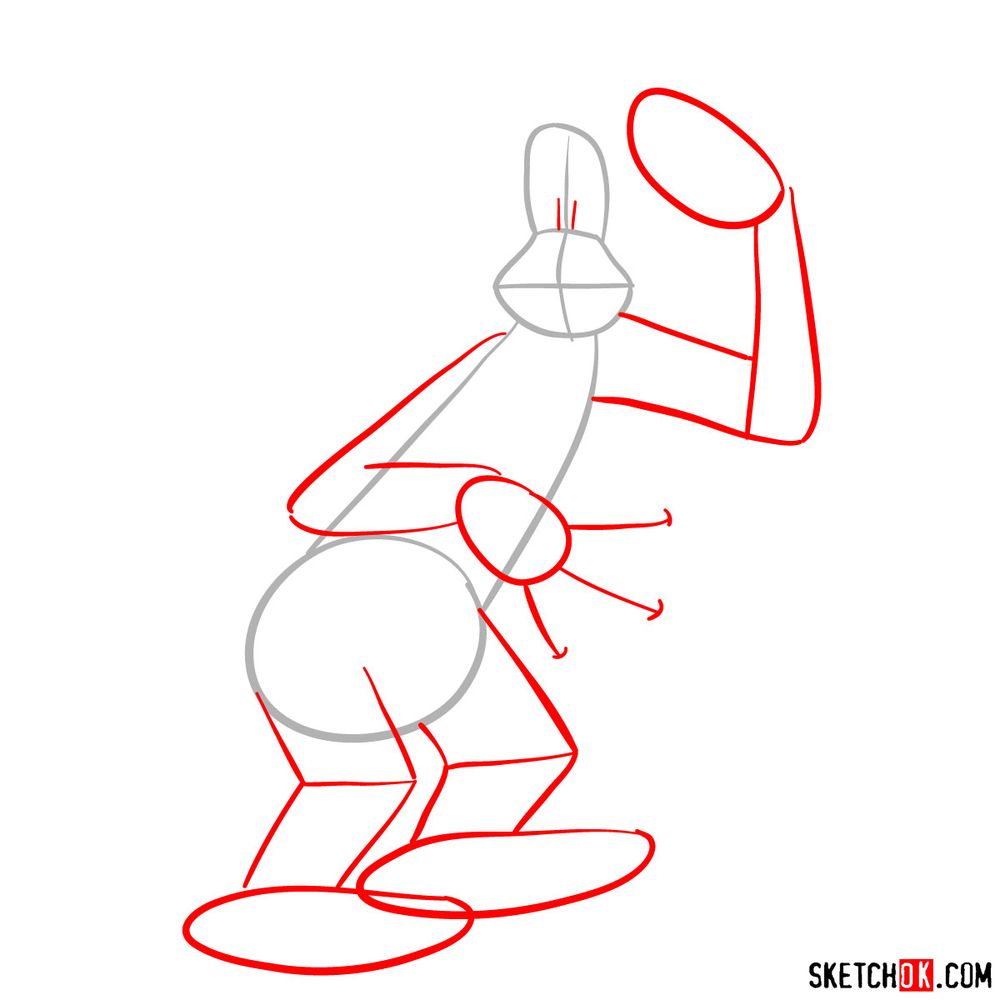
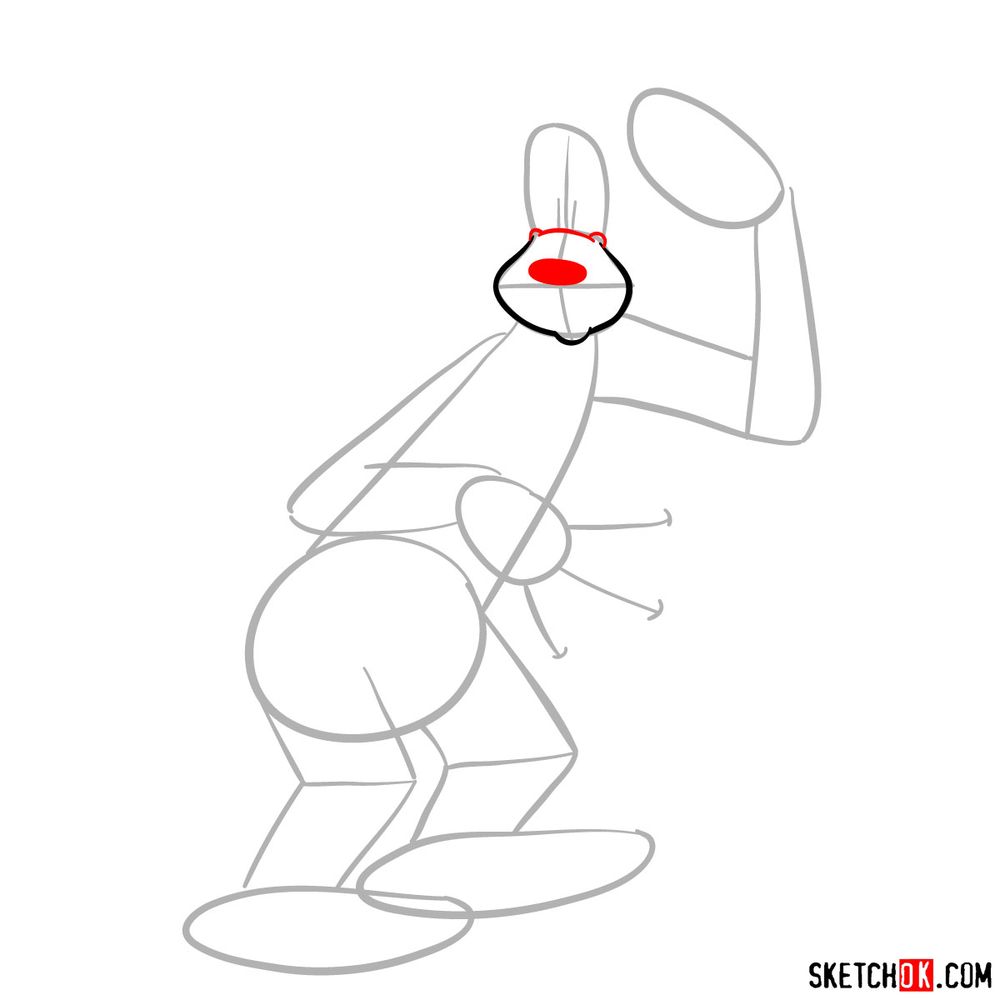
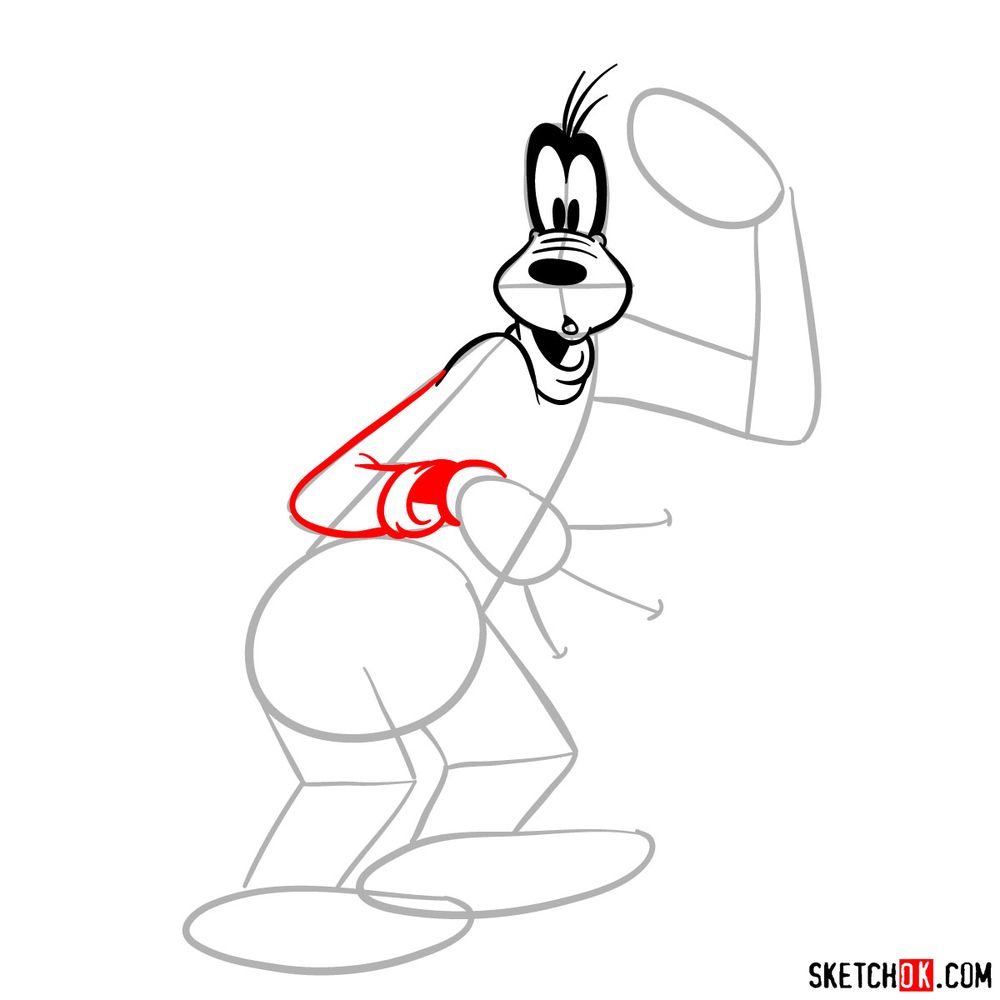
About the Step-by-Step Guide
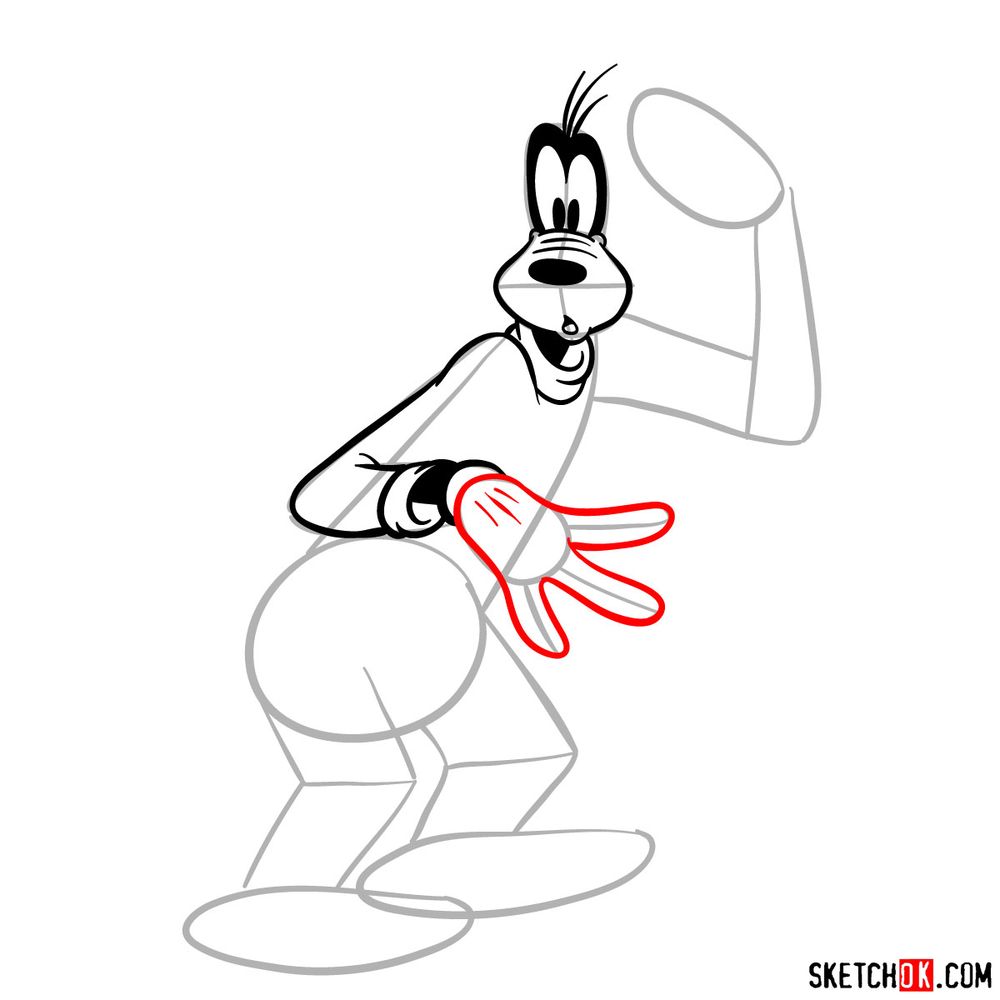
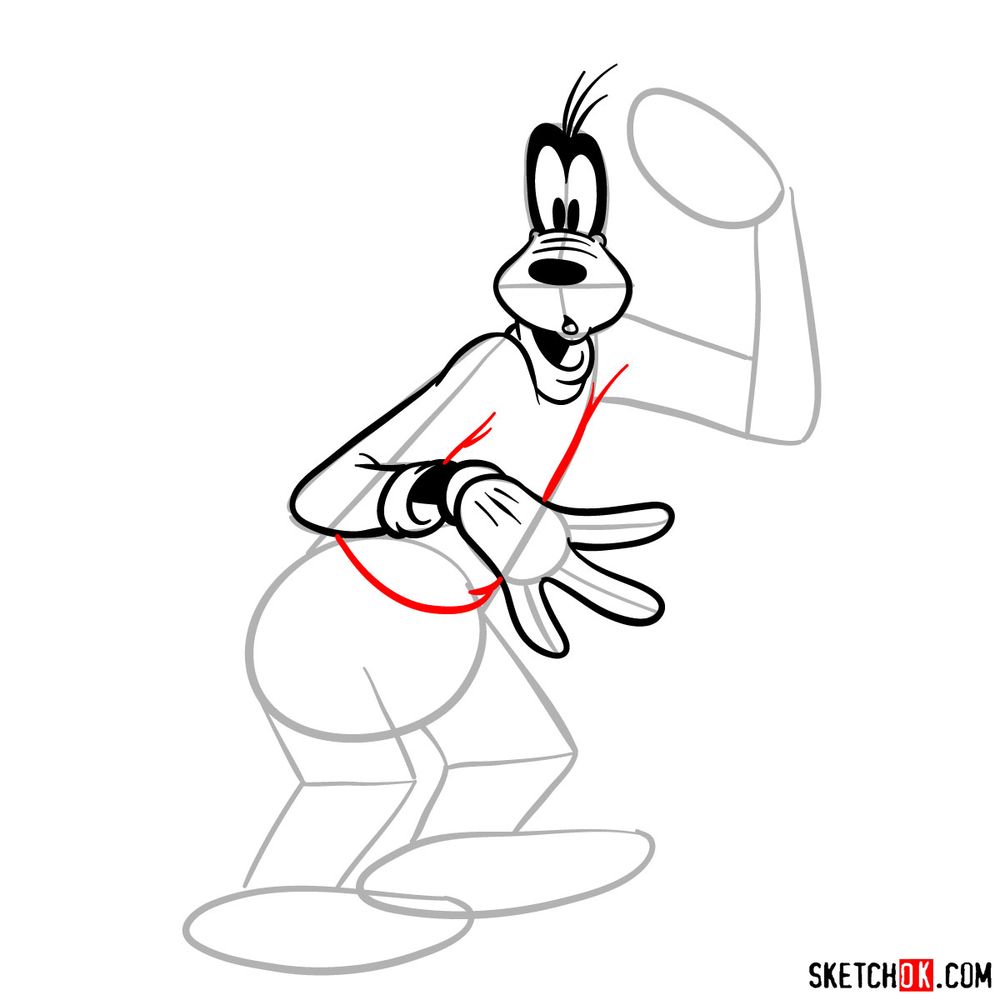
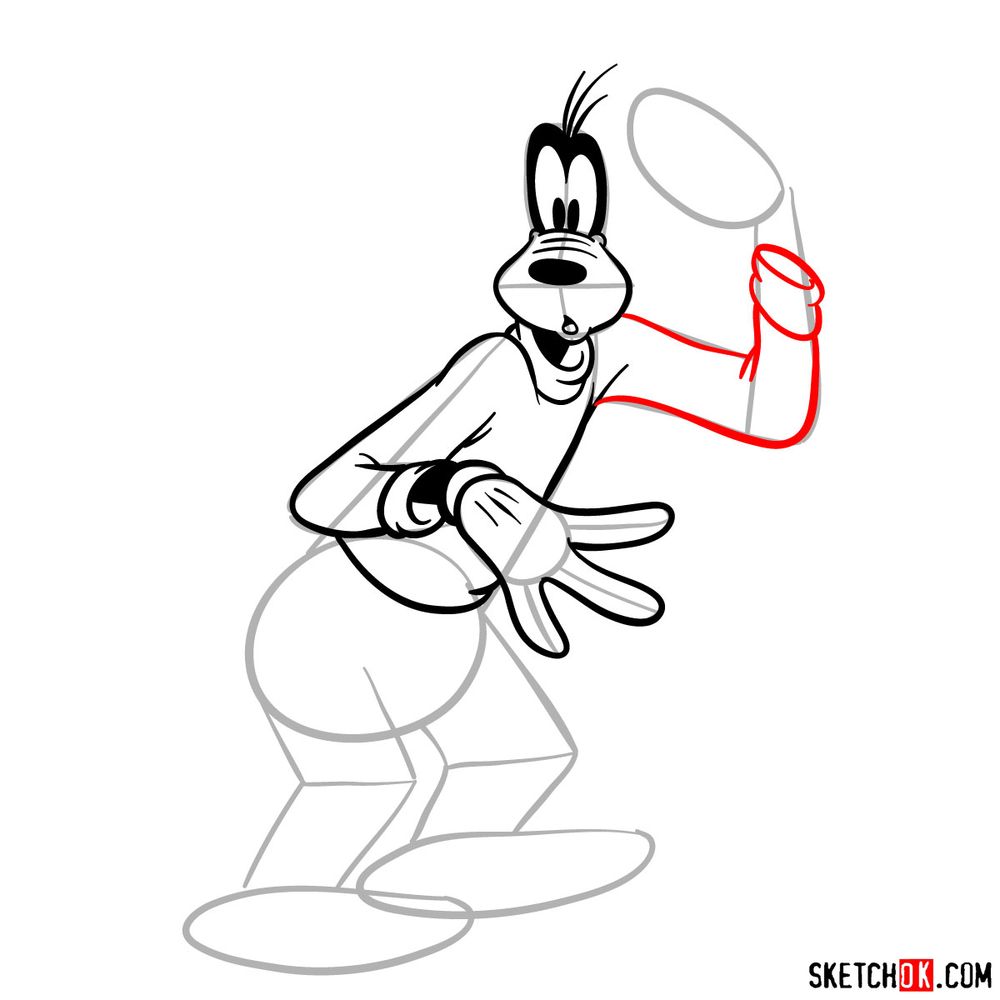
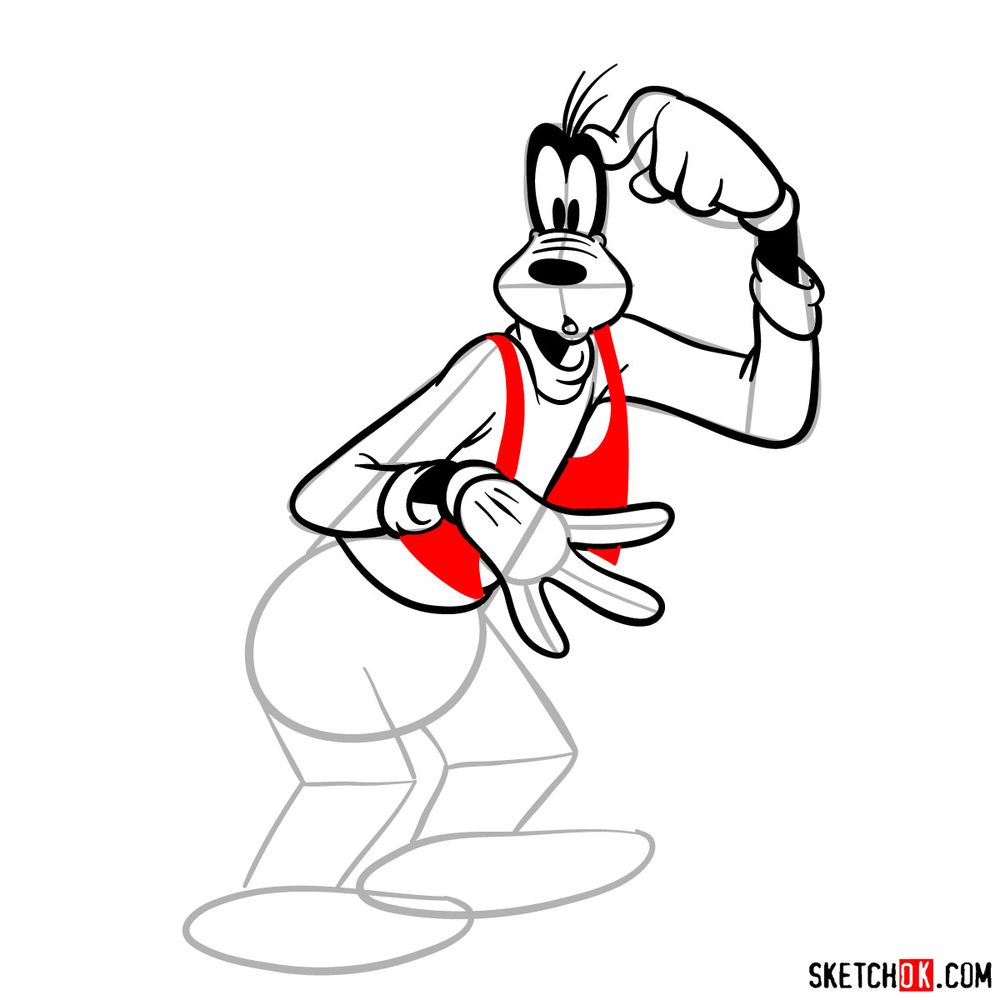
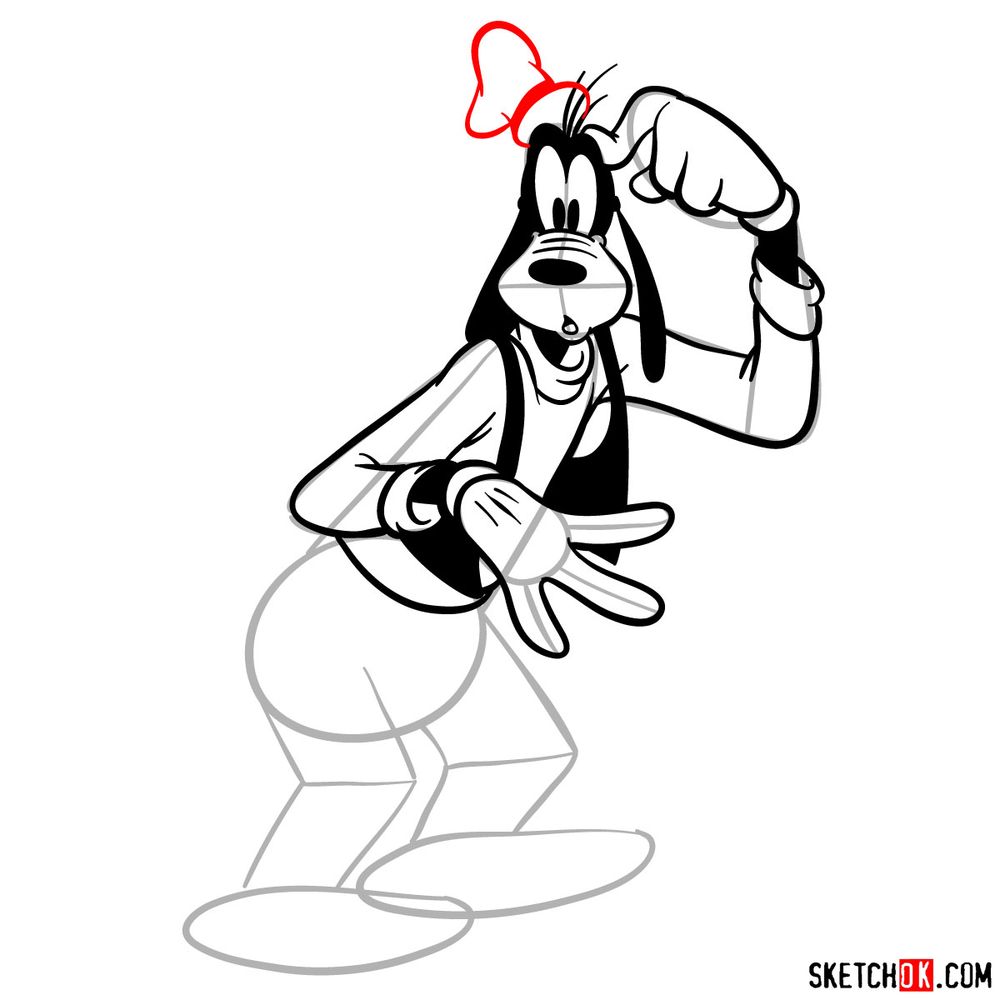
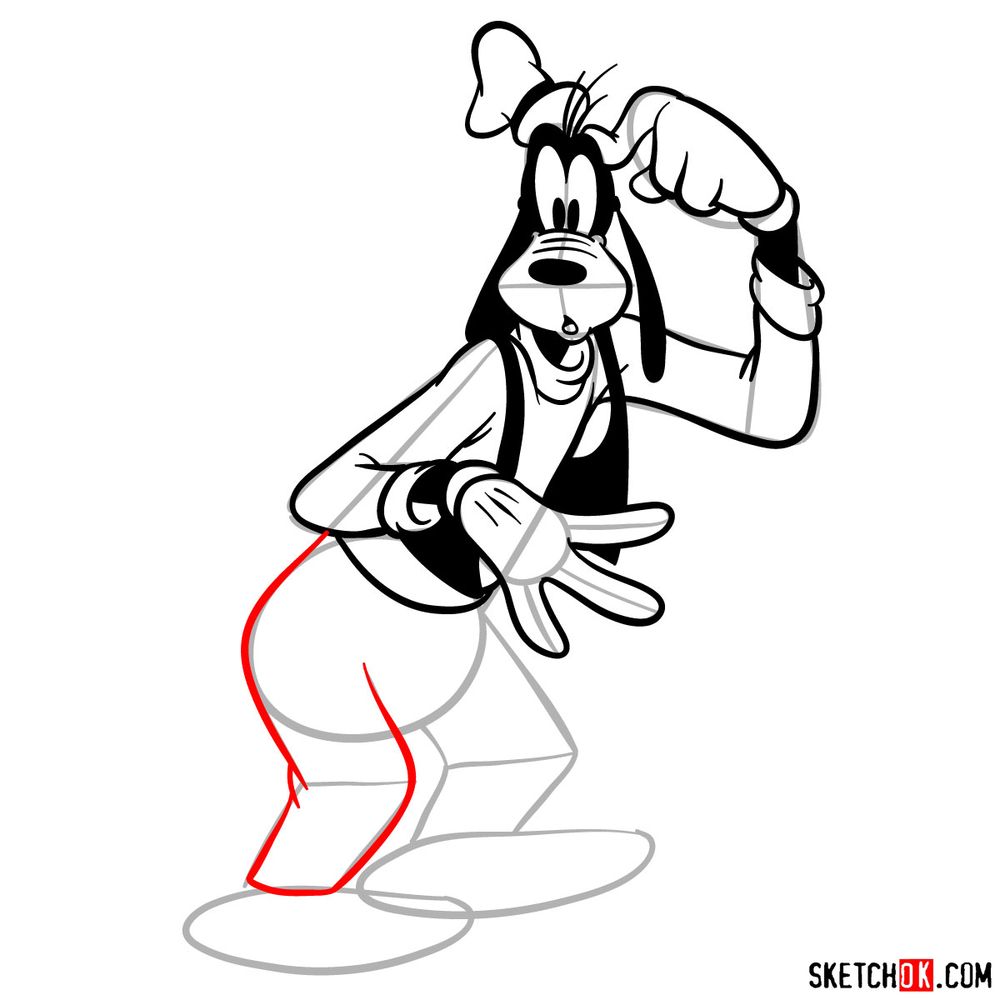
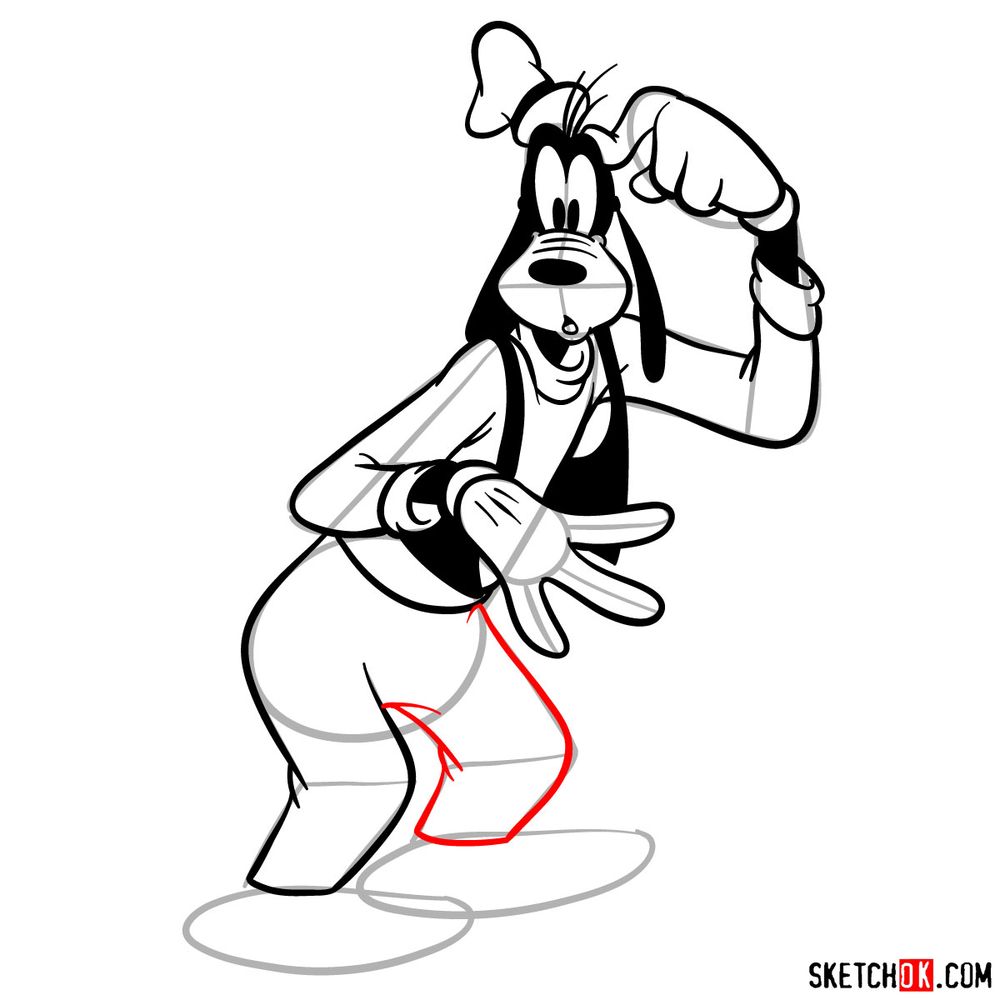
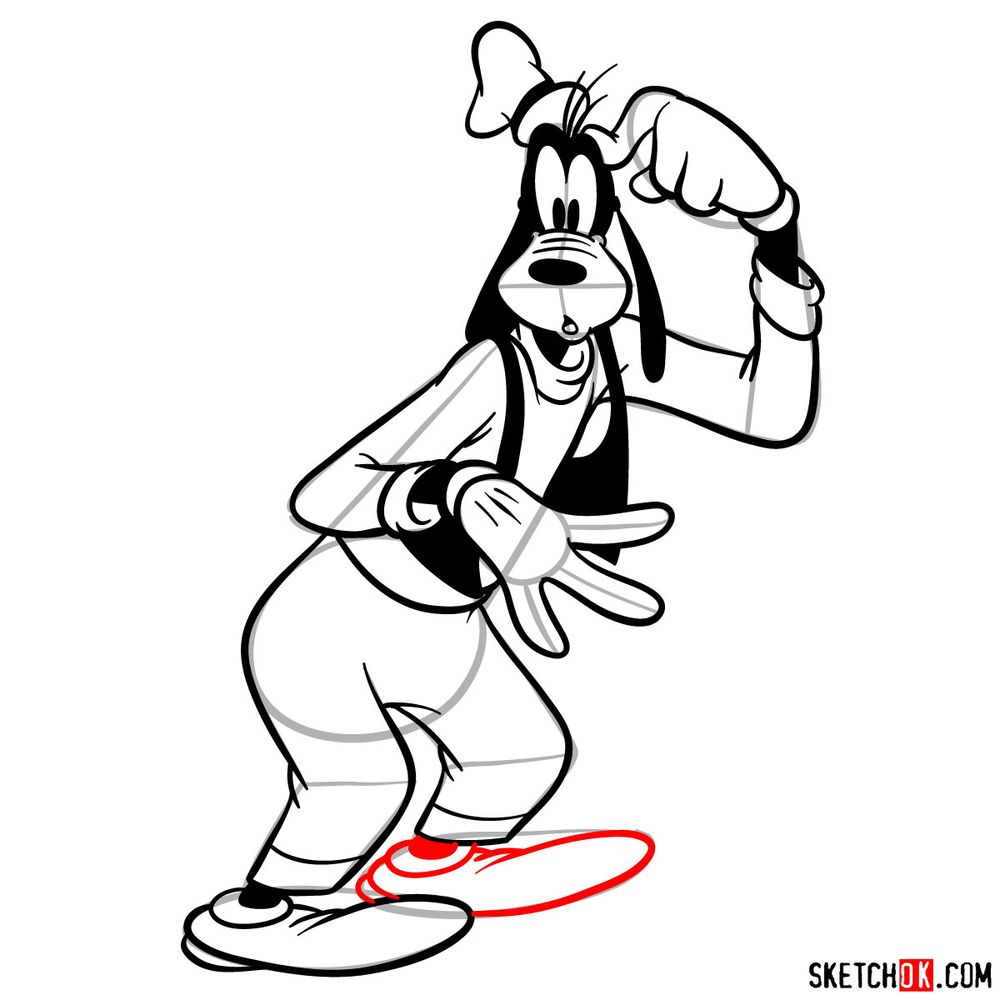
This guide simplifies the process into 20 manageable steps, using a color-coded approach:
- Red Color: Indicates the current drawing step you should focus on.
- Black Color: Represents the lines you’ve previously drawn.
- Grey Color: Shows the basic sketch and proportions.
The initial 2 steps concentrate on creating a basic sketch of Goofy’s structure. In the final step, you may choose to ink the sketch. Ensure the ink dries thoroughly before gently erasing the pencil sketch to keep your artwork clean and neat.


")
Common Queries: Drawing Goofy
What are some tips for capturing Goofy’s puzzled expression?
A puzzled expression involves wide-open eyes and a slightly open mouth, with eyebrows raised high. Practice sketching these features while paying attention to how they alter Goofy’s overall expression. Using references can also be helpful in capturing the right emotion.
How can I accurately sketch Goofy’s unique hat?
Start with a basic shape, similar to a small cylinder for the base of the hat, and then add the elongated, drooping section. Remember, it’s not about getting it perfect in one go, but about adjusting and refining as you progress.
How can I ensure my drawing of Goofy’s limbs looks natural?
Goofy’s limbs are lanky and often appear in exaggerated poses, enhancing his goofy demeanor. Practice drawing fluid, extended shapes, and use light strokes initially to get the proportions right before finalizing the outlines.
Concluding Thoughts
As we wrap up this journey of learning how to draw a puzzled Goofy, I invite you to share the joy of drawing. Spread the word about this guide with others, share it online, and encourage more people to explore their artistic abilities.
Your kind donations keep the SketchOk project alive and enable us to create more free drawing tutorials. Donations also allow you to suggest ideas for new tutorials. Follow us on Facebook, Instagram, and Pinterest to stay updated with our latest guides.
Thank you for your continued support. Keep sketching, keep creating, and most importantly, keep having fun!